One of the great things about hand embroidery nowadays is the ability to download a digital file of a pattern, print it out and start stitching. At first, transferring an embroidery pattern might seem a bit tricky, but there are various techniques that work well and don’t require any elaborate tools.
Here are 4 different ways to transfer your embroidery pattern.
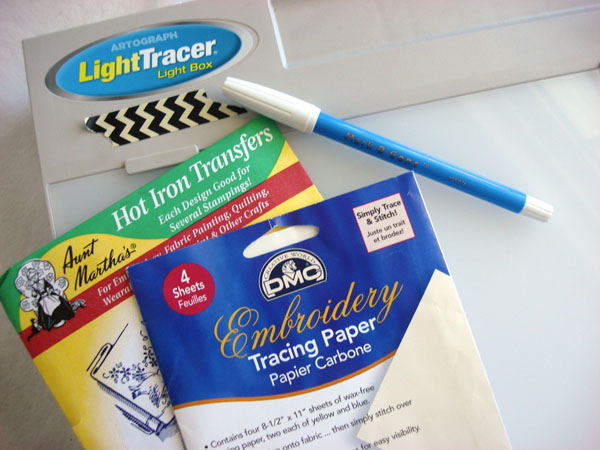
Option 1: Transferring patterns with heat
Iron-on transfers are easy and quick for placing a pattern on fabric. But if your pattern of choice is not in heat-transfer form, you can turn it into one with heat transfer pens.
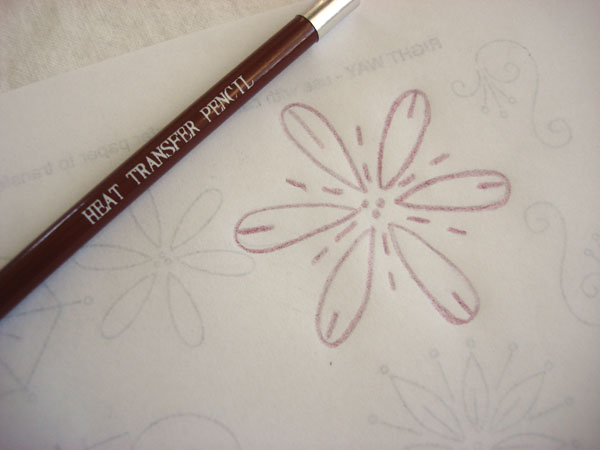
Heat transfer pens and pencils can be used in two ways. If your pattern is printable in reverse form, you can trace directly on the lines of the pattern with a heat transfer pencil or pen, place the fabric face down and heat with the an iron to transfer. The pattern will transfer to the fabric after a few seconds of steady heat application. You can also flip the paper over, and trace the design onto the back side of the paper using a heat transfer pencil or pen, pressing the design onto the fabric much like a ready-made iron-on transfer.
Option 2: Transferring patterns with light
Another option, and my preferred method of transferring an embroidery pattern, is to use light. I feel that this allows me to trace each line and get to know the pattern well, prior to stitching. This technique requires making use of daylight or investing in a light box. A water-soluble pen works well for transferring patterns using light.
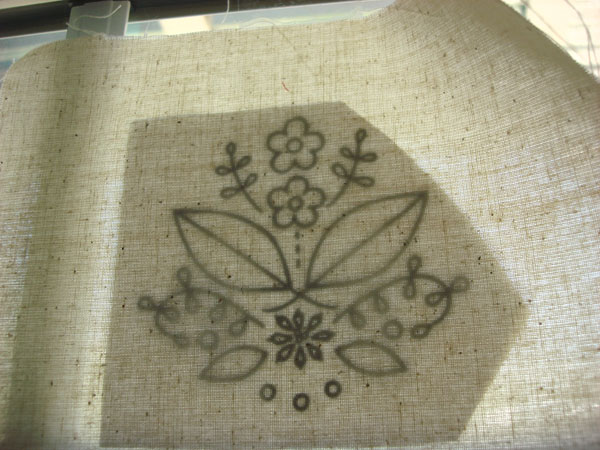
To use daylight, find a bright window that receives a good amount of sunlight. Tape the pattern to the window, and tape the fabric over that. The light will shine through and you can trace over each pattern line in order to transfer to fabric.
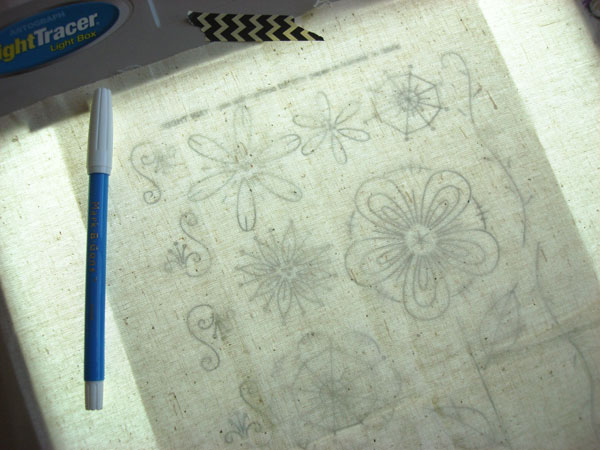
Using a light box works similarly to taping to a window, but is not constricted by time (i.e., sunset). I recommend taping the pattern to the light box, taping the pattern over that and then using a water-soluble pen for transferring each pattern line.
Option 3: Transferring with carbon paper
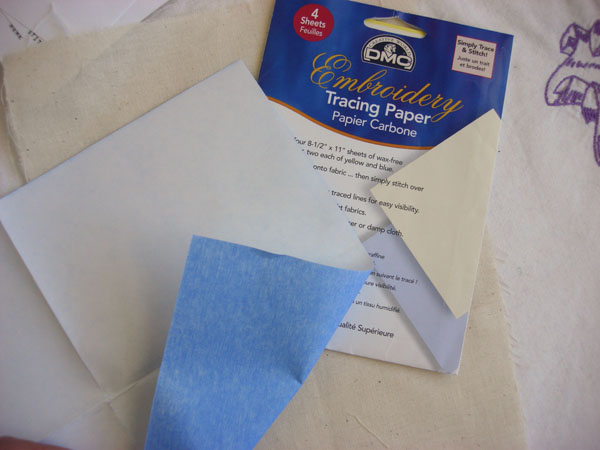
When I first learned to embroider, this is the method my grandmother shared with me. Carbon transfer paper is available at fabric and most craft stores. One side is colored, while the other side is blank.
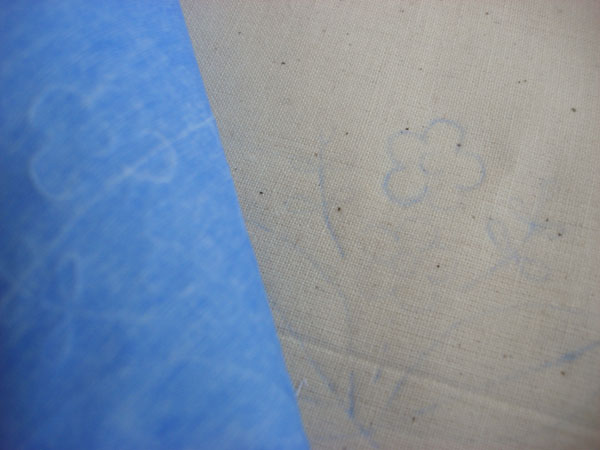
To use this method, place the colored carbon side of the transfer paper on the fabric, and place the pattern face up over that. Use a ballpoint pen to trace each line in order to transfer to the fabric. You may have to go over the lines more than once. Be careful not to apply too much pressure because the pen can push through the paper and potentially mark or stain the fabric.
Option 4: Transferring patterns with printer ink
Laser printer ink can be transferred using the heat method. Most laser printer ink can be transferred to fabric by heating it. While this is an easy method, I have experienced that the transfer can be a little light. It would be best to test this method out first. Some people print directly on their fabric by running it through the printer, but this leaves a permanent line on the fabric that the stitches will cover.
New and notable: Sulky Sticky Fabric-Solvy pattern transfer paper
I have seen quite a few embroiderers take to using Sulky Sticky Fabri-Solvy. It can go through a computer printer, adheres to the fabric and dissolves away when submerged in water. This is a super easy and fun technique that provides a completed transfer of each pattern line. However, using this paper for all your embroidery projects can get a little pricey.
As with all hand embroidery techniques, try a few out and see which one works best for you.
Downloading other designers patterns is good, but creating your own embroidery designs is better! Conquer your digital fears and unlock a world of creativity by learning to how to edit and evaluate embroidery designs in the Craftsy class Elements of Design Editing: Machine Embroidery.

I like your post! Thank you very much for sharing!