
Embroidery hoops aren't just for stitching. With some sheer fabric and the right kind of paint, you can hoop up to create a screen-printed design that's totally your style.
Screen-Printed T-Shirt
Level: Easy
What You Need
Pro Tip: It's important to use a cotton garment to prevent bleeding.
Instructions
1. Hoop Up
Insert your organza into an embroidery hoop, pulling the fabric taut so it's tight like a drum. Trim the fabric so there's about 1" excess around all sides of the hoop.
2. Create Your Design
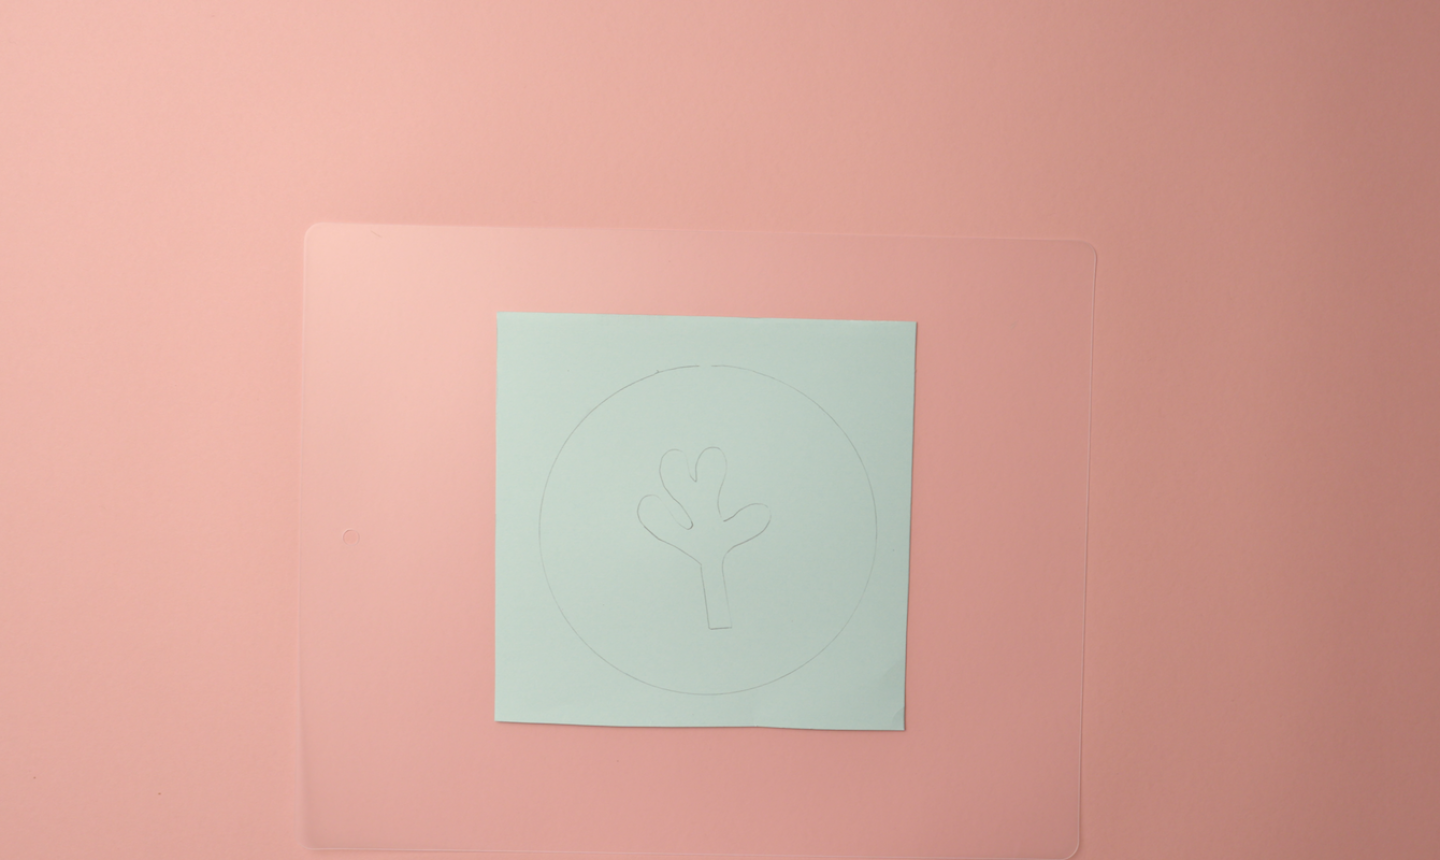
Place your hoop on top of a piece of scrap paper. Use a pencil to trace around the outside of your hoop — this will ensure your design isn't too big for the fabric. Remove the hoop and draw any design you like inside the circle.
3. Trace
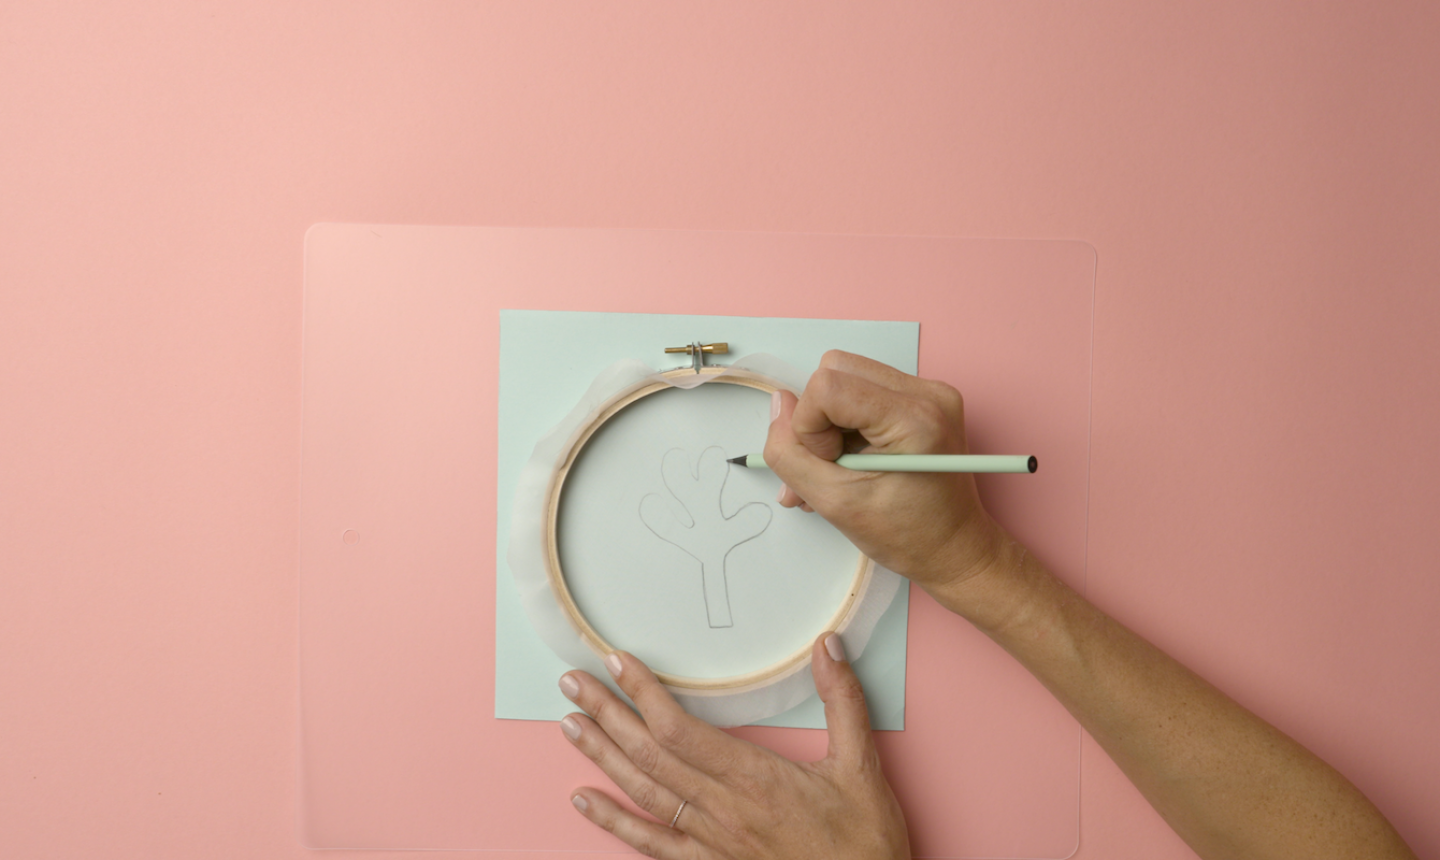
Place the hoop back on the paper, front-side down so the fabric is right against the surface. Trace the design onto the organza with a fabric marker or pen — it doesn't need to be erasable, but you do need to see the design on the fabric clearly.
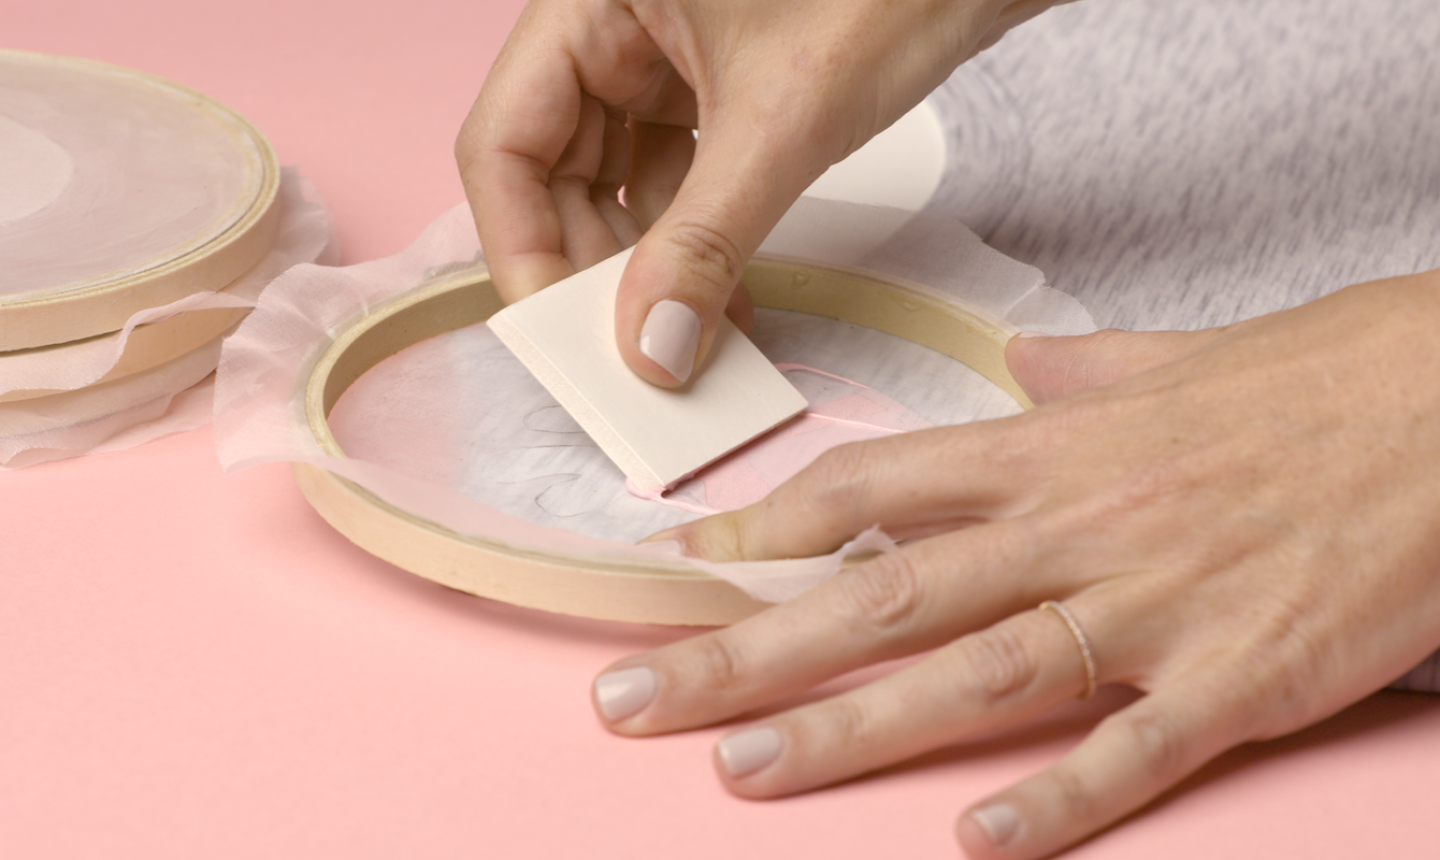
4. Mod Podge It Up
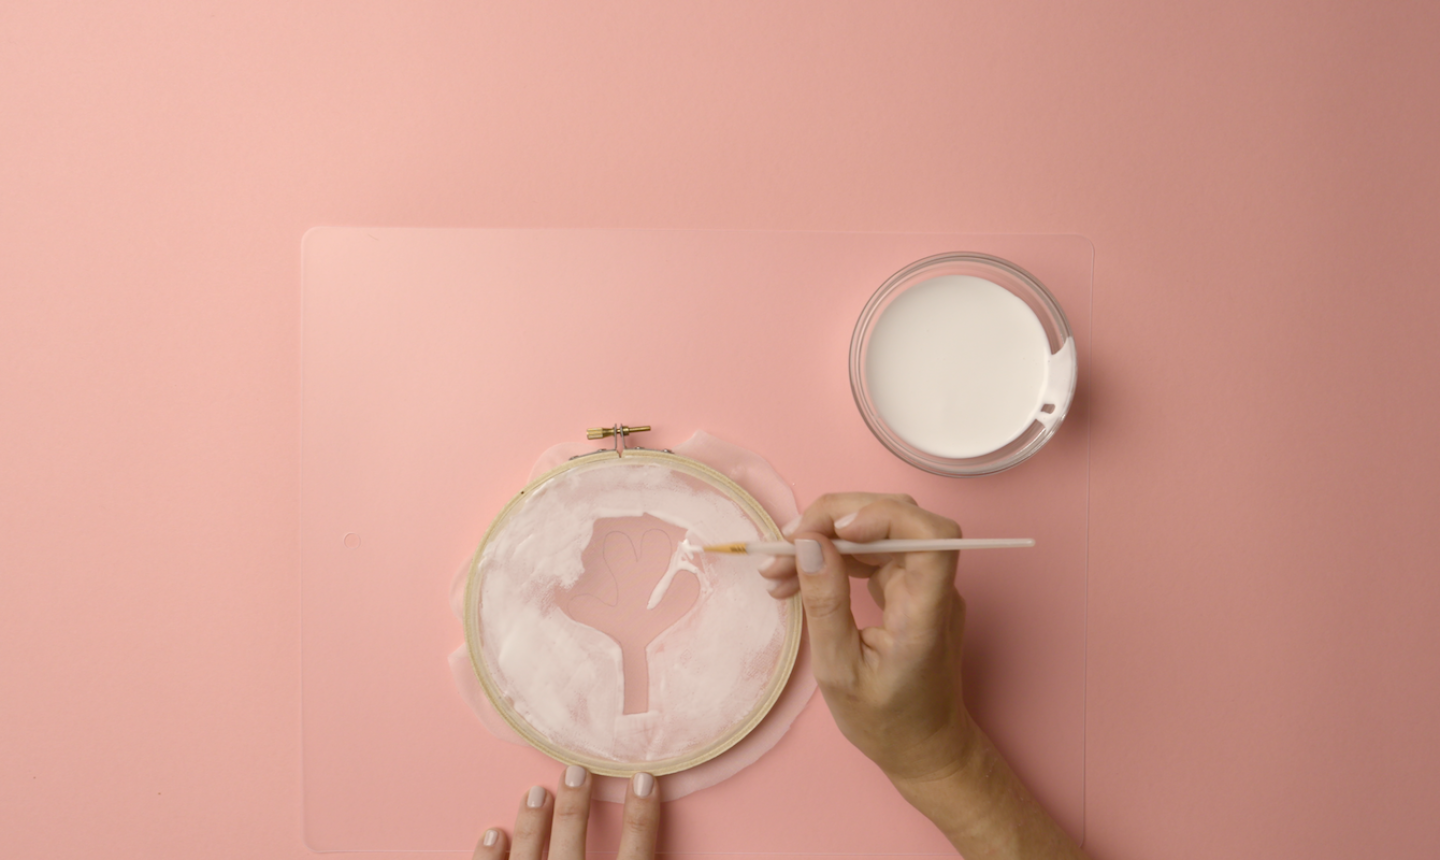
Paint the negative space on both sides of your fabric with Mod Podge. Make sure any areas you don't want to print are well-covered. Once painted, set the hoop aside to dry.
Repeat steps 1-4 with all the designs you want to include in your project.
5. Prep for Printing
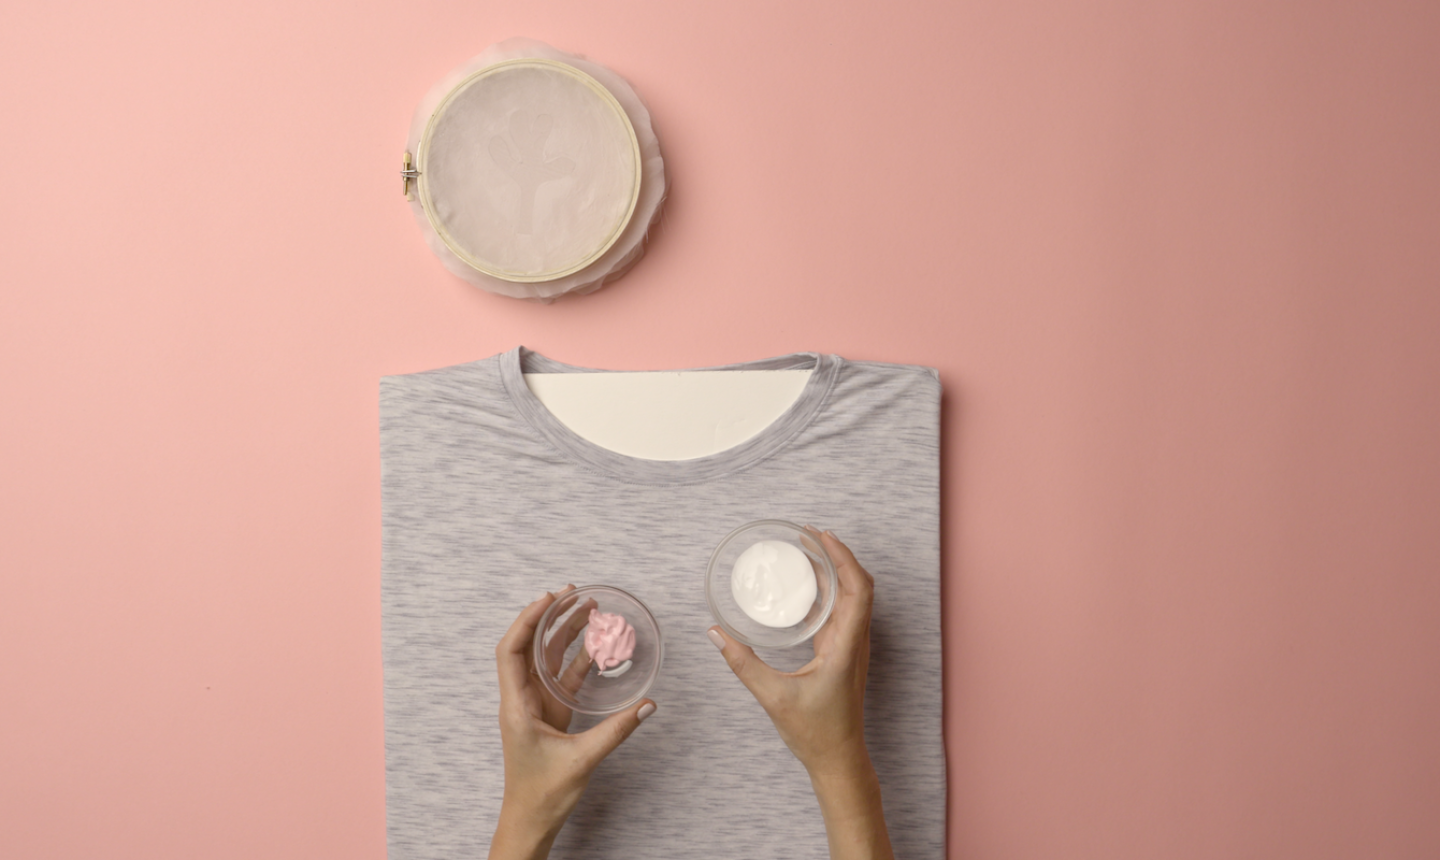
Insert a piece of cardboard into your shirt. This will prevent the paint from bleeding onto the back.
Mix together your acrylic paint with a screen paint medium, following the instructions for achieving the proper paint-to-medium ratio.
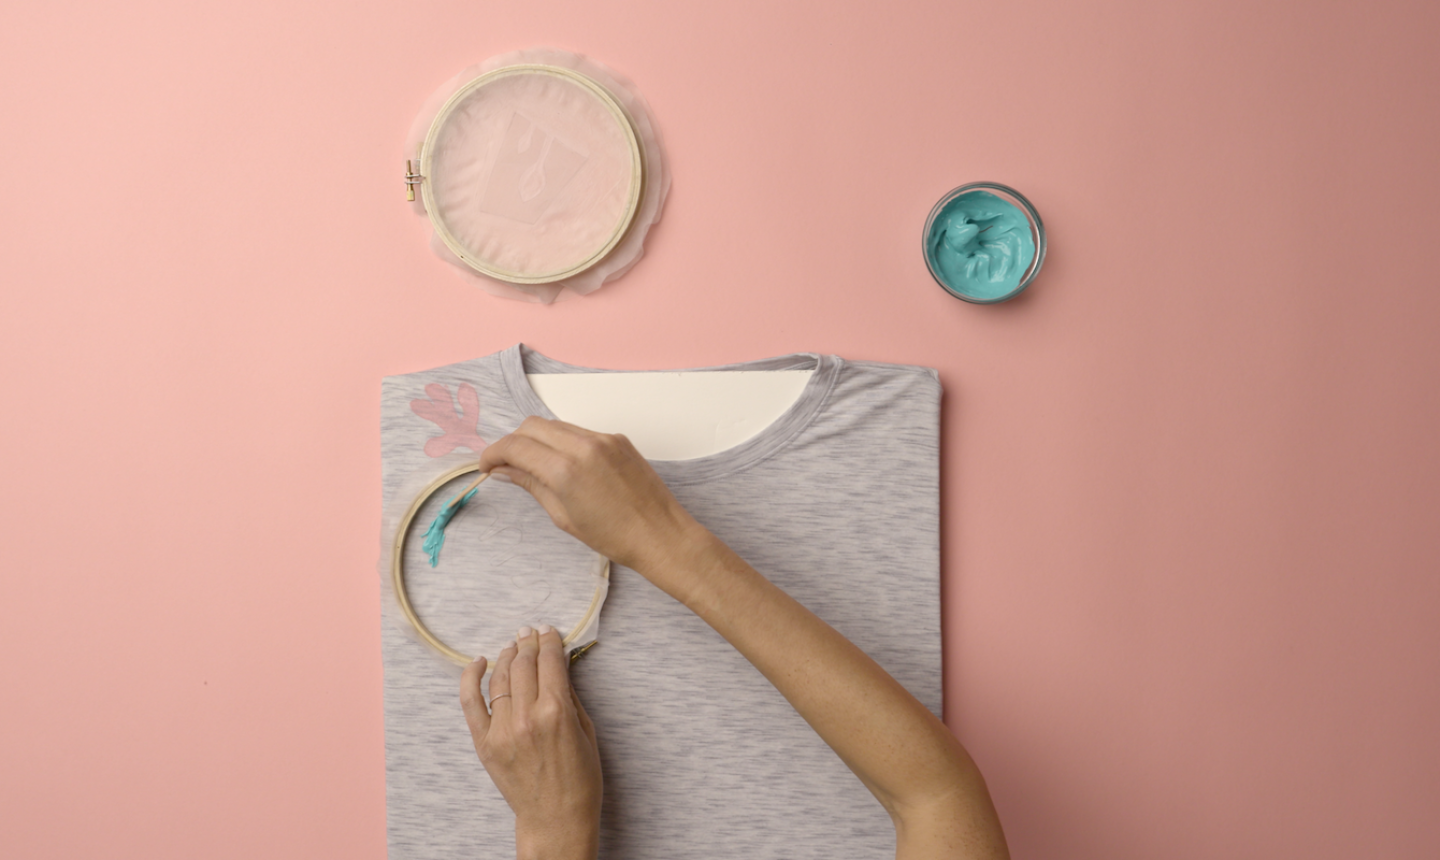
6. Print
Position your embroidery hoop, front-side down, onto your garment where you want the print to be made. Dab a little paint onto the organza, right beside your design. Using a piece of foam core (or even an old credit card), scrape the paint across the design, making sure to fill every crevice.
Pro Tip: During this step, make sure to hold the hoop firmly in place. If it shifts, the print will be distorted.
Remove the hoop and marvel at your first print! Repeat this process with your other designs until your project is finished.
Pro Tip: For efficiency, use different hoops and organza for each color. You could use one hoop for multiple colors if you wash the fabric before adding a different paint.
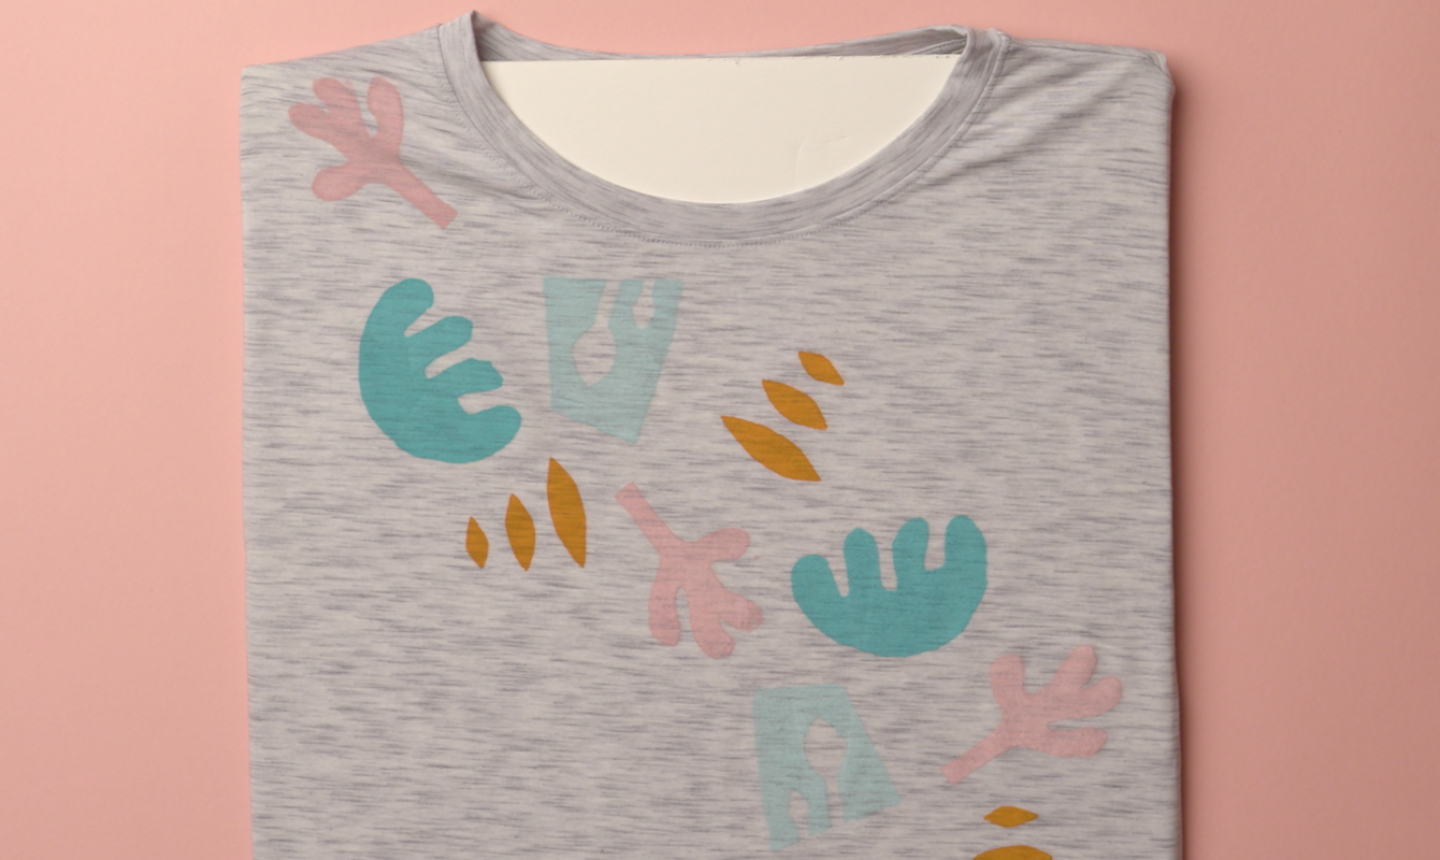
Heat dry your design with a hair dryer, then it's ready to wear!
Good to Know: This DIY shirt is durable, so no need to hand wash — toss in the washer on cold and you're good to go.

Me resulto fácil. gracias