There are some great stitches for outlining or creating the shape of an embroidery pattern, like the stem or split stitch. When it comes to filling an embroidery pattern or covering a larger area with more than a line or curve of stitching, there are a few basic embroidery fill stitches that I find myself going back to consistently.
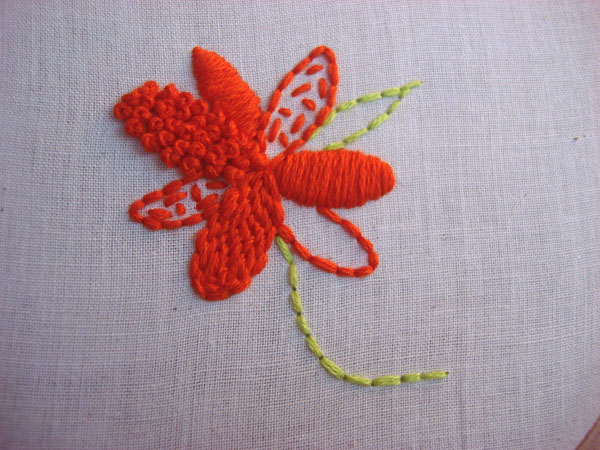
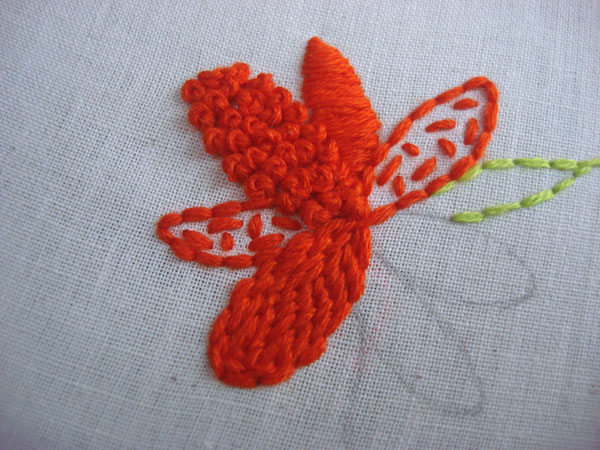
I created this little flower and filled in the petals with different stitches to demonstrate the different texture each one can give an embroidery design.
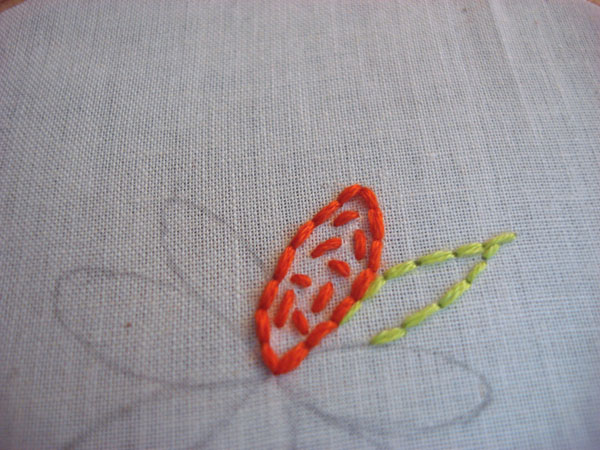
1. The seed stitch
A fun way to fill space is to use the seed stitch. It literally looks like seeds that have been thrown in the air and left to scatter on the ground. It's just a randomization of the stitches to fill the space within the outline of the embroidery. I think this stitch has a vintage feel to it and can add some fun texture to an embroidery design.
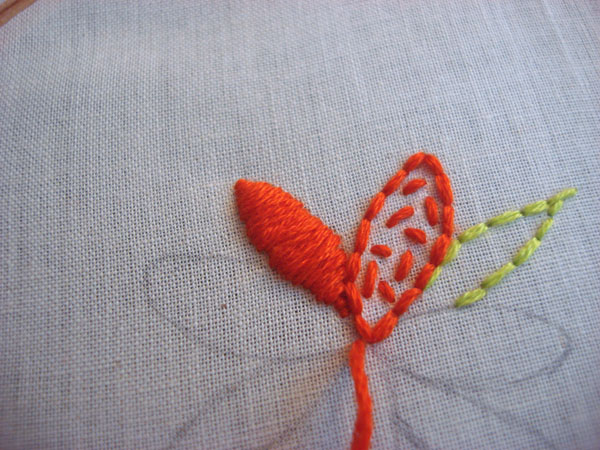
2. The satin stitch
To create a smooth surface for an embroidery design, the satin stitch is perfect to build a raised and even filling. It requires keeping the length of the stitches even in order to ensure that they fill the design in a complete manner. This is one of my favorite fill stitches because it can be used in miniature or large embroidery and adds a nice raised texture.
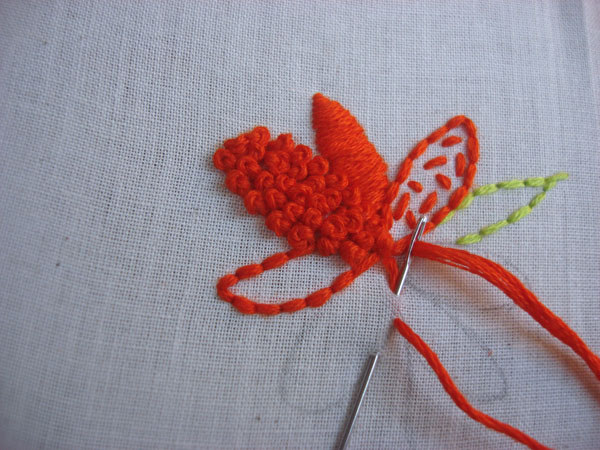
3. French knots
I adore the look of French knots because the knot is noticeable and adds an intricacy to hand embroidery that is visual and tactile. I usually follow the edges of the design first and create an outline with french knots, then can go back into the center of the design and fill it with french knots to ensure they are contained within the design.
5. The long and short stitch
A nice fill stitch that works in small and larger embroidery pieces is the long and short stitch. This stitch is laid out as a brick floor or path might be laid out. My stitches are sort of small in the photo above, but they are not exactly the same next to each other. This stitch is good for trying to create ombré or animal fur and feathers. Different colors of floss in the long and short stitch can build the shading and various hues seen in animal furs and feathers.
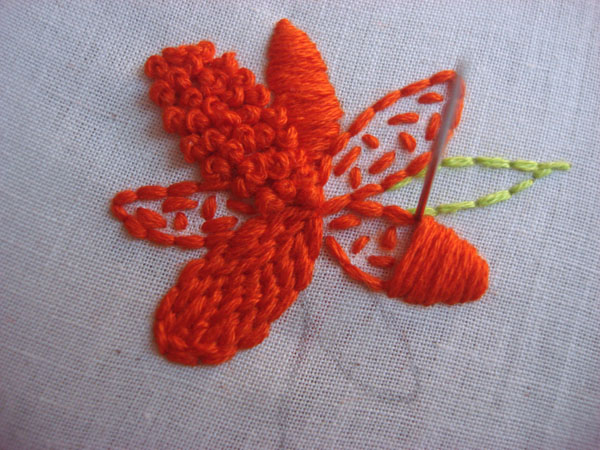
5. Raised or padded satin stitch
Adding satin stitches over a seed and backstitch creates a more raised satin stitch. This is good for creating eyes or facial features on dolls, in addition to adding texture to flowers or any design that you might want to fill with smooth texture.
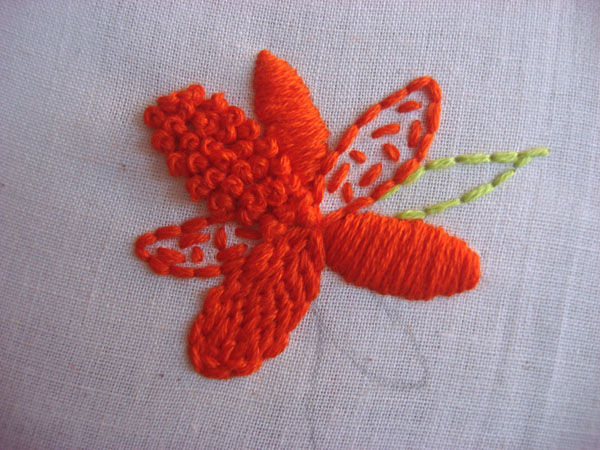
These are not the only fill stitches used in hand embroidery, but some of the more common fill stitches that add texture and complete an embroidery design. I tend to lean more toward satin stitching for filling in embroidery designs because I like the smooth surface that this stitch add.
Add a tantalizing array of textured stitches to your embroidery! Join celebrated artist Sue Spargo in her class Embroidering Texture & Dimension by Hand and learn how to layer, stitch and embellish your way to gorgeous pieces!

I learned to do needlework as a child and want to get back into it. This is helpful
The French knots and the long & short stitches are my favorite. I learn more every time I look at a different way of stitching. Thanks