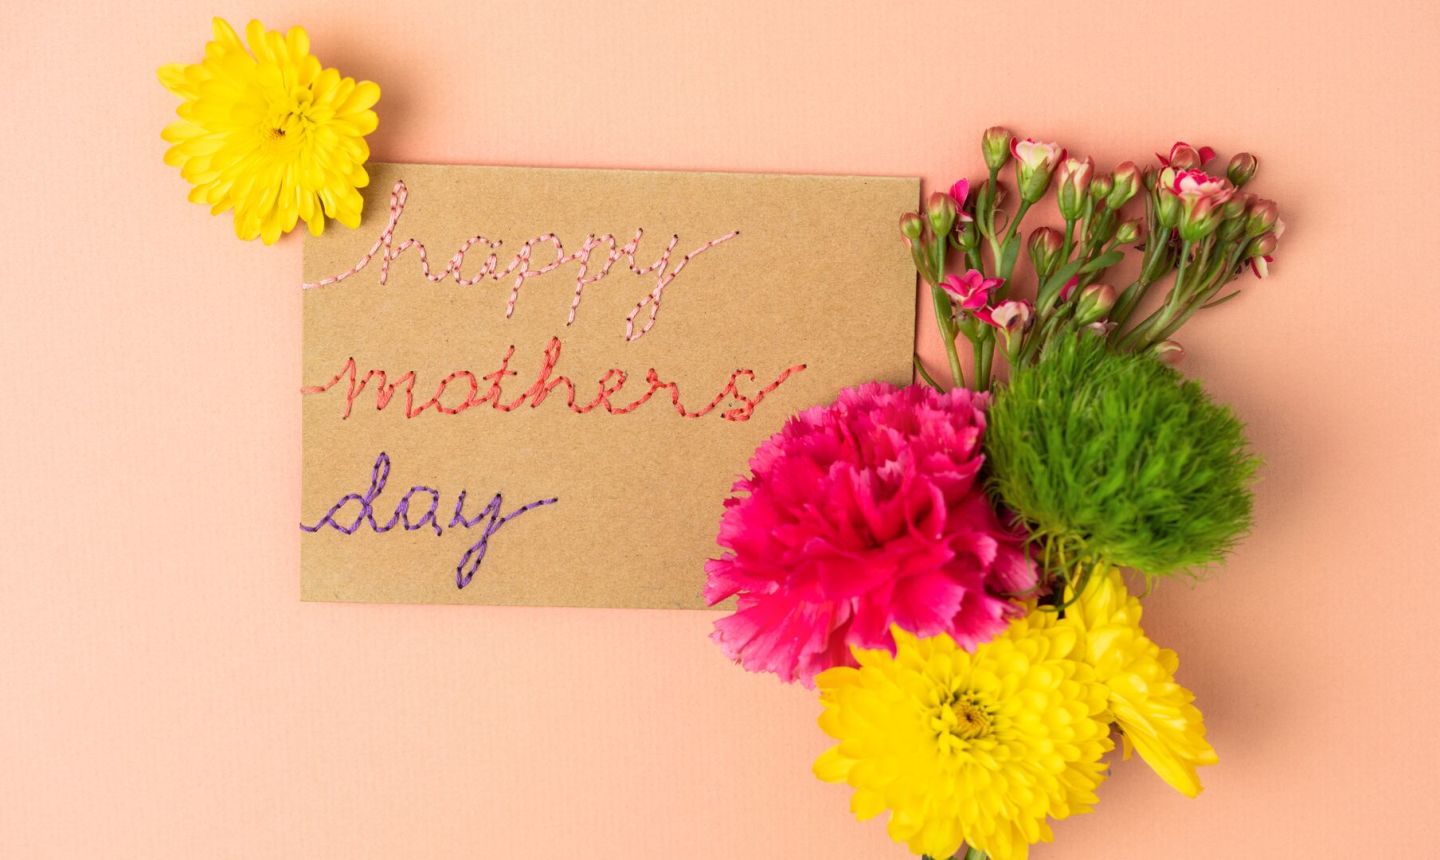
 Nothing says "I love you" like a handmade card, especially for Mother's Day. With some simple supplies that you likely already have around the house, you can stitch a card that's totally one-of-a-kind.
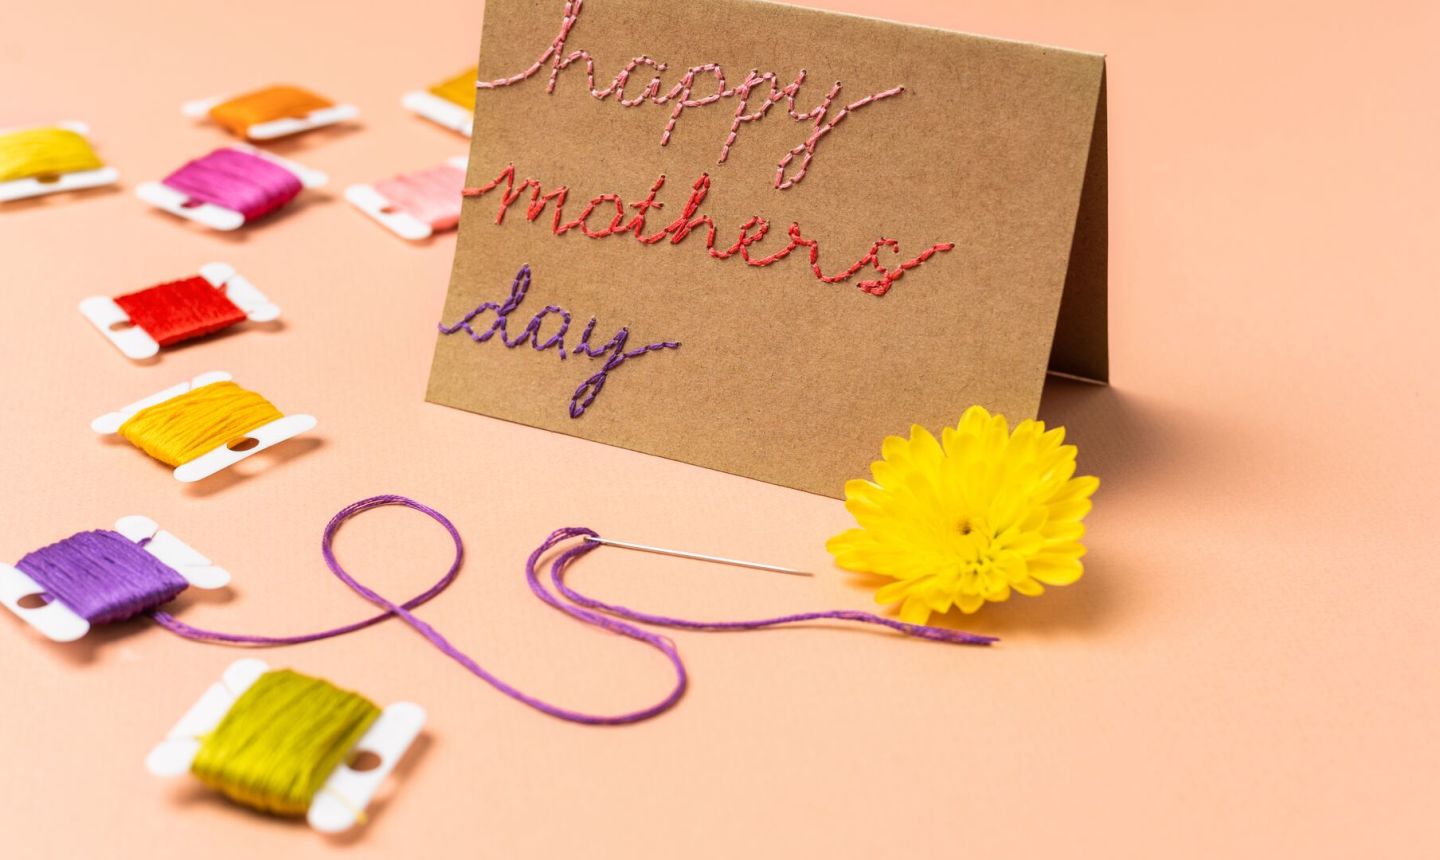
Embroidered Mother's Day Card
Level: EasyWhat You Need
- Blank card
- Envelope
- Embroidery scissors
- Embroidery floss
- Embroidery needle
- Pencil
- Eraser
- T-pins, safety pins or push pins (or another tool for punching small holes)
- Scrap paper
- Glue
Instructions
1. Create Your Design
Using a pencil, lightly sketch your design or phrase on the front of your card. Pro Tip: If you're looking for inspo for your font and layout, check out our class Hand-Lettering for Beginners.2. Punch It
 Use a pin to punch holes along the letters, making each about ⅛" apart. When the letters are fully punched into a template, erase the pencil lines.
3. Start Stitching
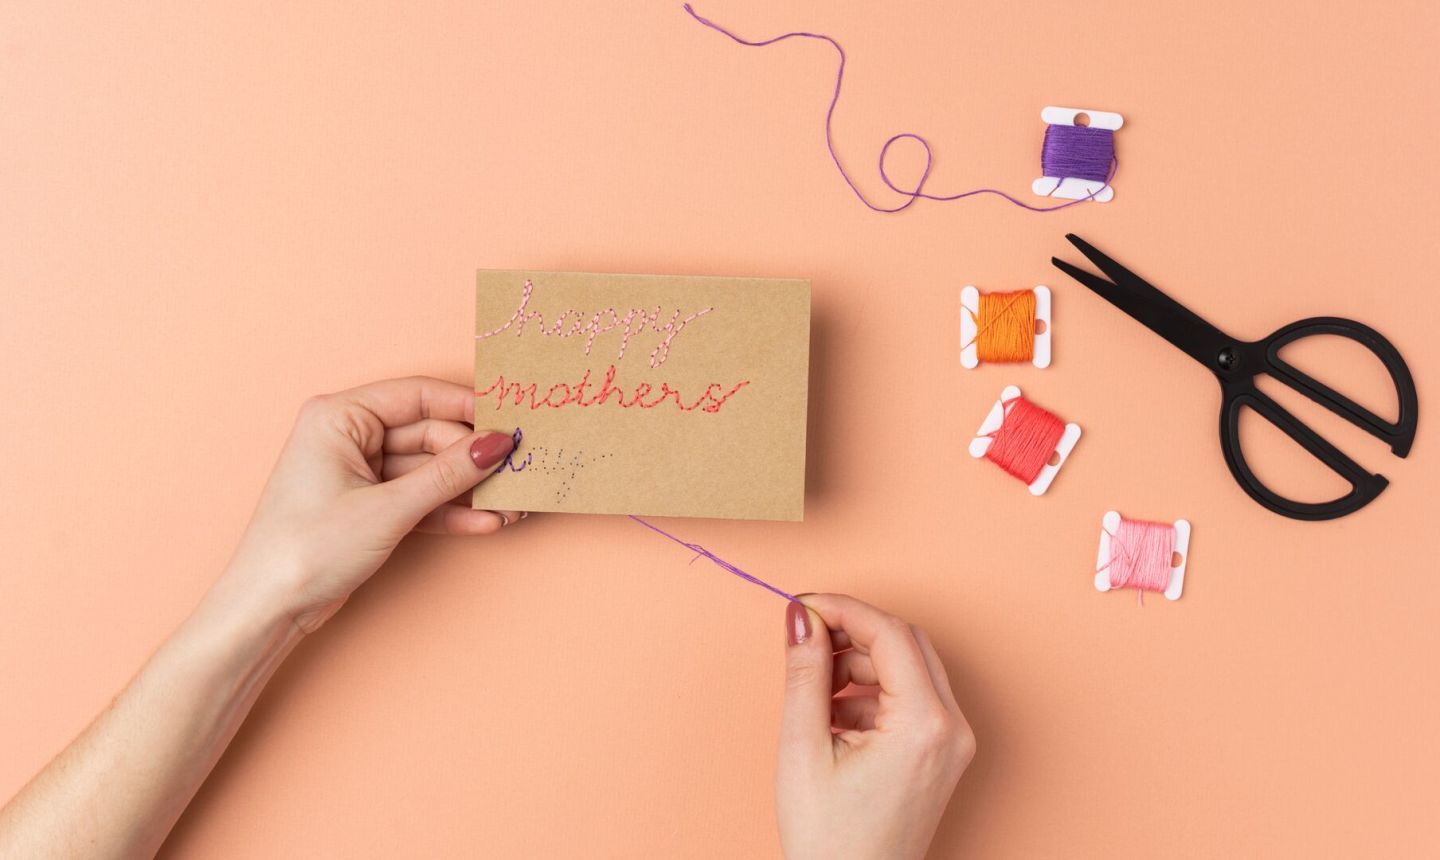 Thread your needle with the floss of your choosing and knot the end. Starting from the inside (the wrong side) of your card, come up through the hole and begin stitching.
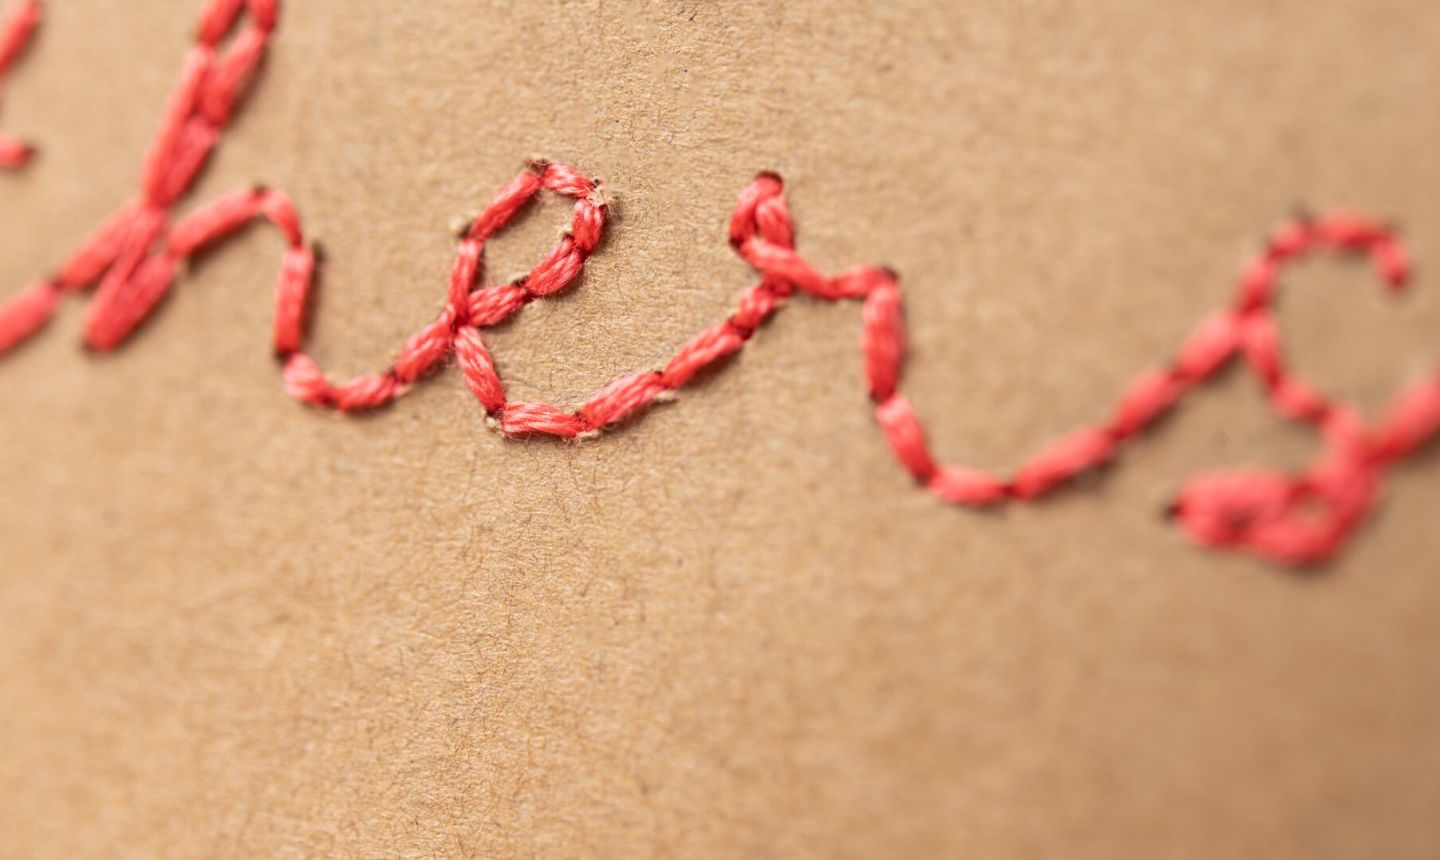 There are a ton of embroidery stitches you can use, but for our hand-embroidered letters, we used backstitch throughout.
When you finish stitching a word (or you run out of floss), weave the end into previous stitches on the wrong side of your card.
There are a ton of embroidery stitches you can use, but for our hand-embroidered letters, we used backstitch throughout.
When you finish stitching a word (or you run out of floss), weave the end into previous stitches on the wrong side of your card.
4. Finish the Card
 Tape or glue a piece of scrap paper to the wrong side of your stitching. This will give the inside of your card a cleaner finish.
Good to Know: Instead of stitching directly on your card, you can also embroider a piece of cardstock and then glue it to the front of a card. It's up to you!
Write your personal message inside, stick it in a fabric envelope and gift to Mom!

Great idea! Never thought of this
Very useful. I would recommend using step by step images as well as writing. Overall though it is very good!!!
I love this crafty way to make a Mother's Day card. Thank you!!
Kinda wish you would’ve included photos for the instructions on weaving the new piece of floss when one color ran out . And also the tape over the inside piece . I think I understand what is being described but I’m a visual learner so always helps to have photo examples. Thanks for the idea tho ! I lost my mom 2 years ago so this holiday is especially hard for me , I will still make this card for her tho and put at her memorial site inside something waterproof . Best wishes to all the mommas out there crafting !
I did counted cross stitch for decades and never once thought to embroider a card! A novel idea!!!
Love crafting!
What a fantastic idea ! I know this will surprise my 80 year old mom ! THANK YOU ♥️
Love this embroidery idea - thank you!!
Love crafting
I love craftsy