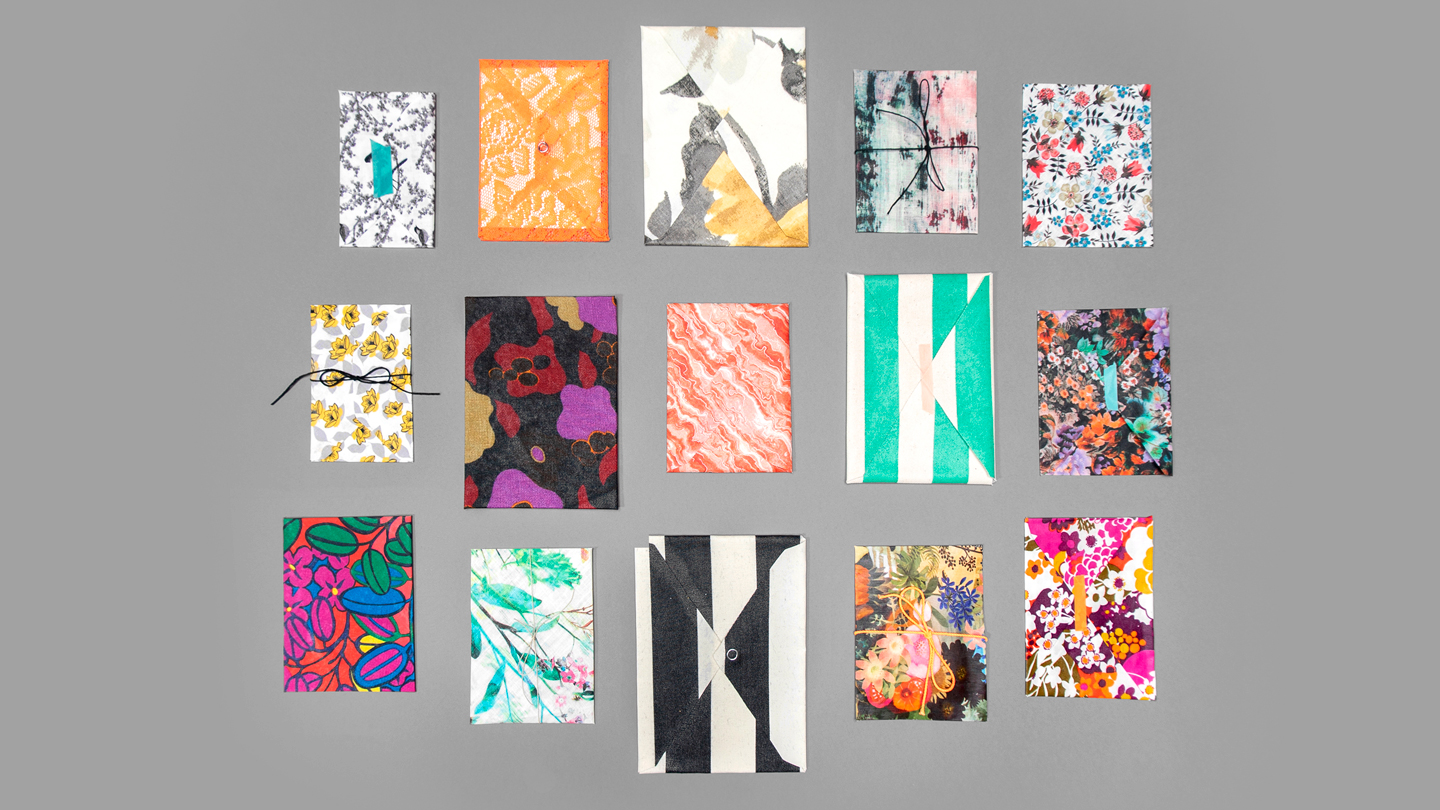
Handmade cards are lovely, but why stop there when you can DIY the envelope, too? Fabric envelopes are super cute, reusable and so much more personal than their store-bought cousins. Not to mention they’re a genius way to use fabric scraps left over from your latest project. Slip in a small gift, an extra-special photo or, obviously, a card that truly sends a heartfelt message.
Fabric Envelope
Level: Easy
What You Need
Instructions
1. Coat With Mod Podge
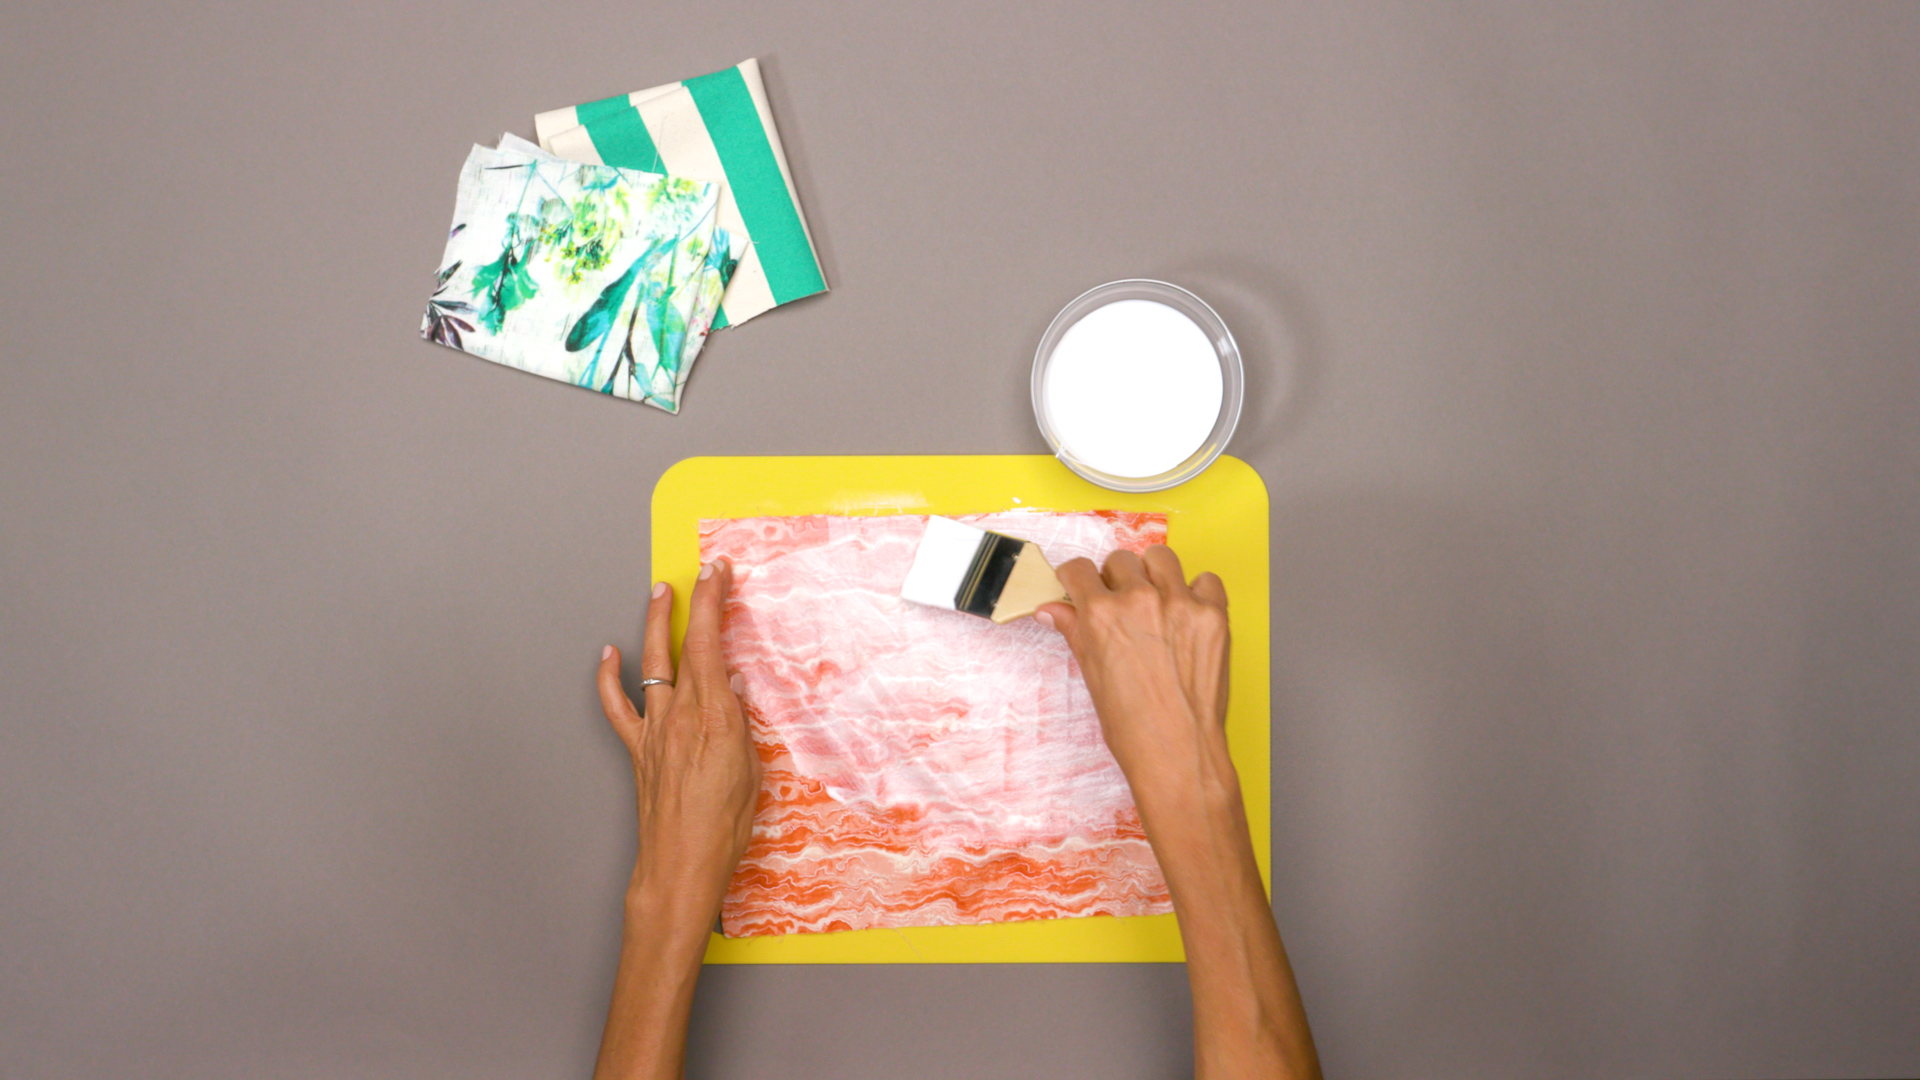
Generously spread the Mod Podge across the wrong side of your fabric. Let it sit until dry.
2. Trace and Cut
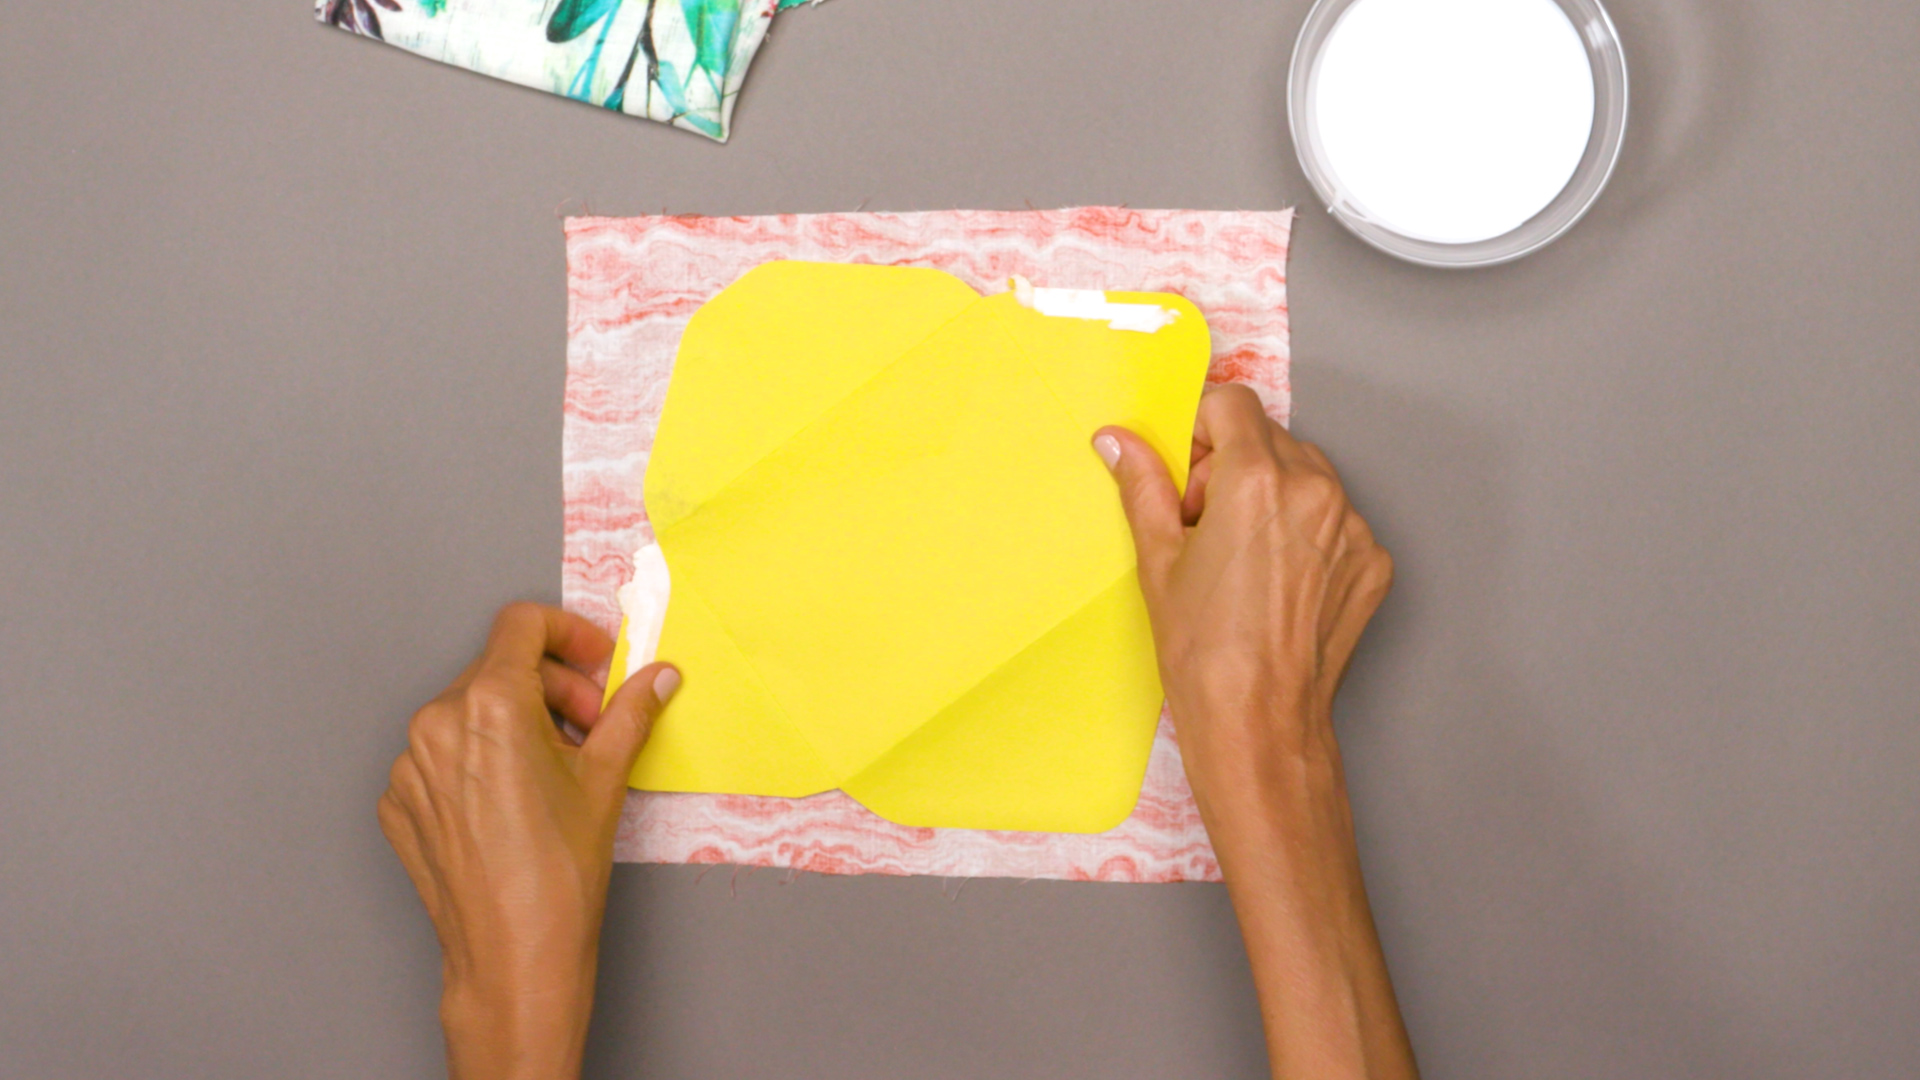
Once the Mod Podge is dry, take a paper envelope that’s your desired shape and size and carefully tear it along the seals to unfold it.
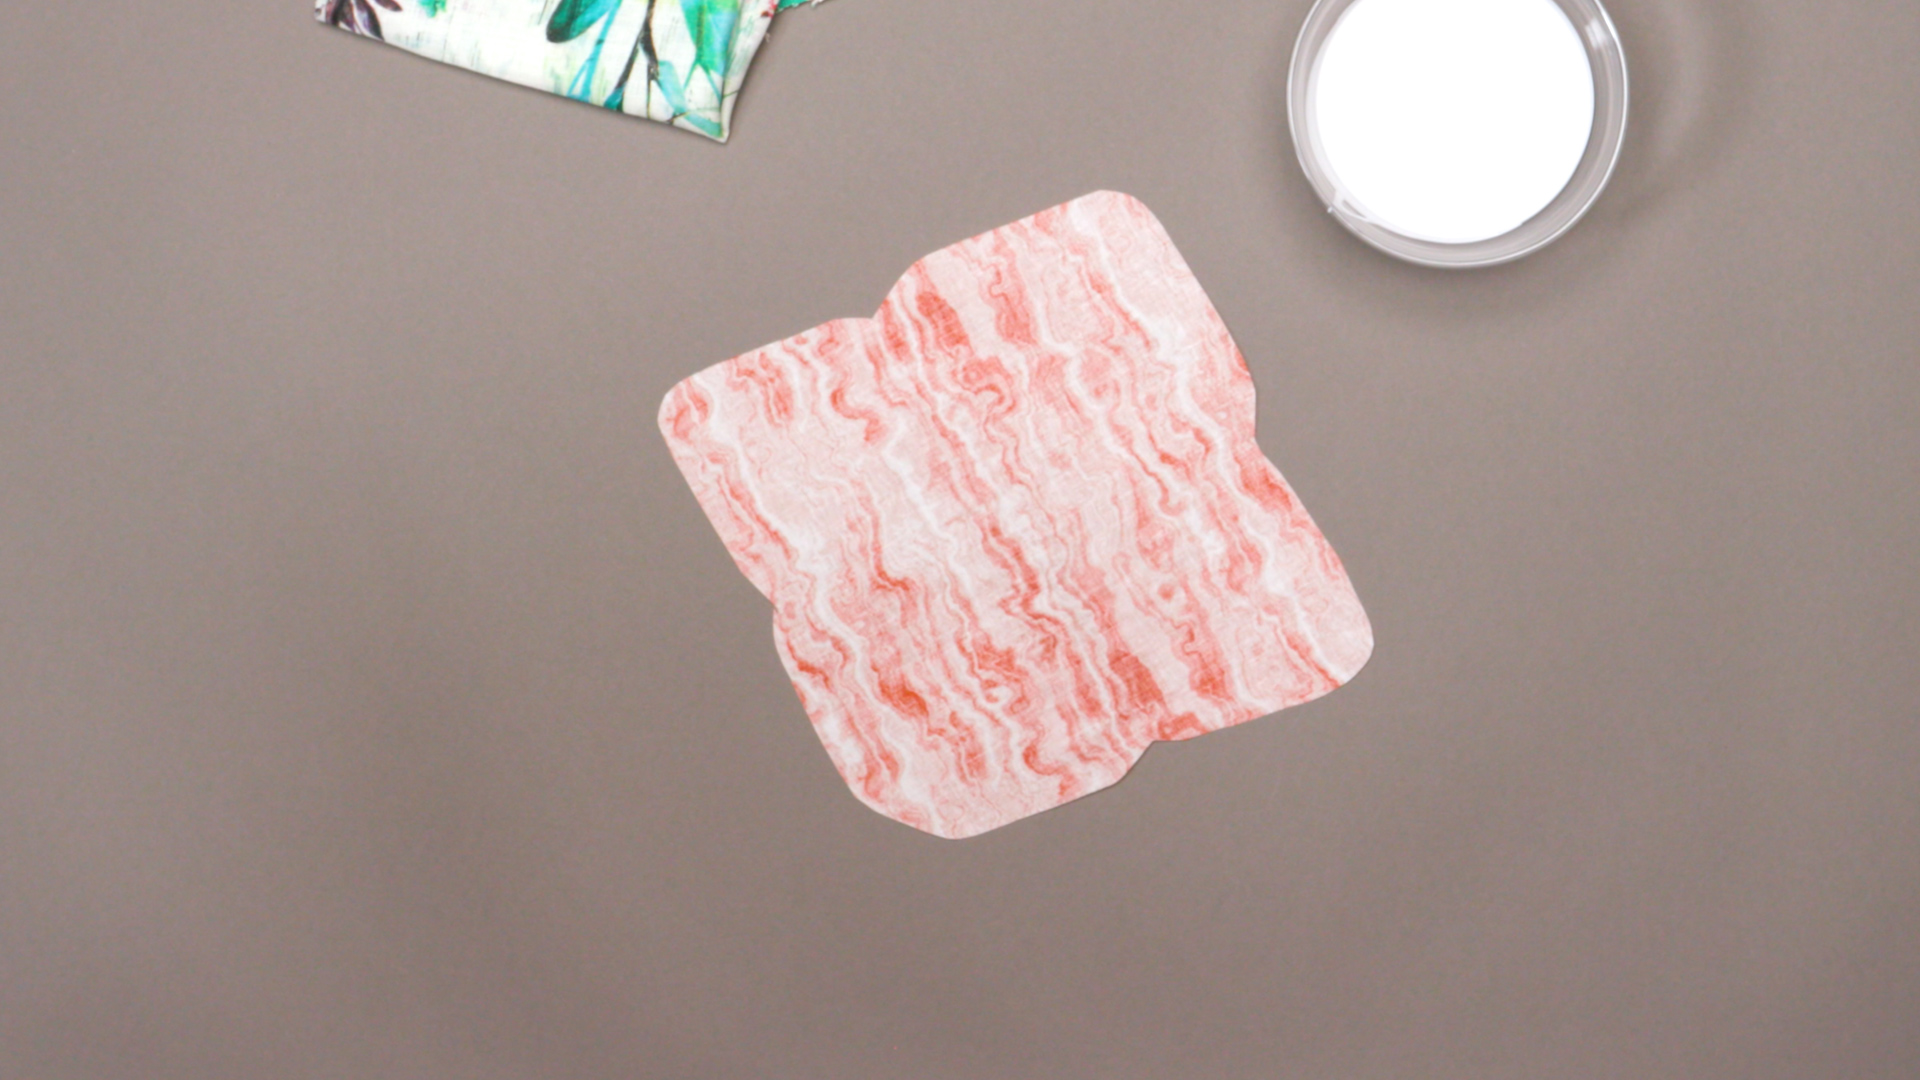
Place the unfolded envelope onto the fabric and trace with a pencil or pen. (Make sure you’re tracing on the side coated with Mod Podge.) Cut your fabric along the outline.
3. Glue the Flaps
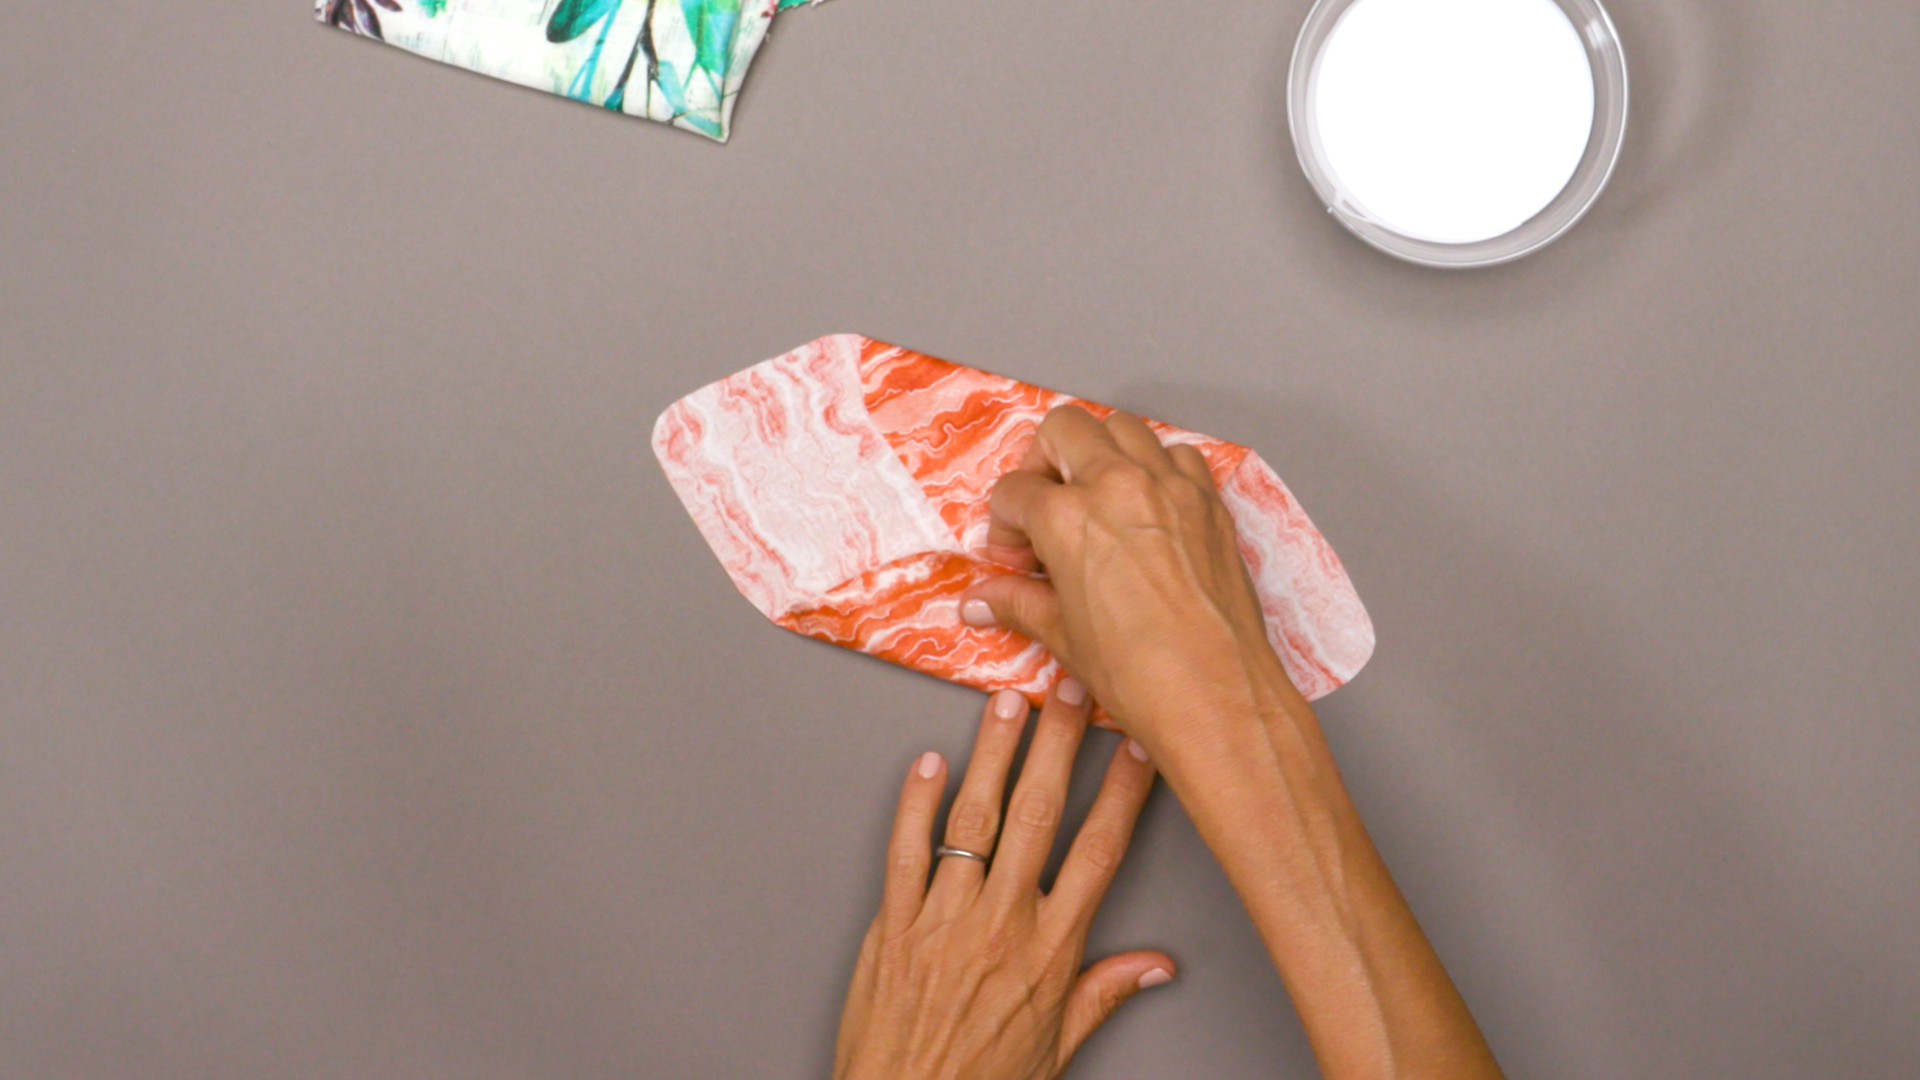
Fold the corners of the fabric to the center. You’ll see the final shape of your envelope begin to come together.
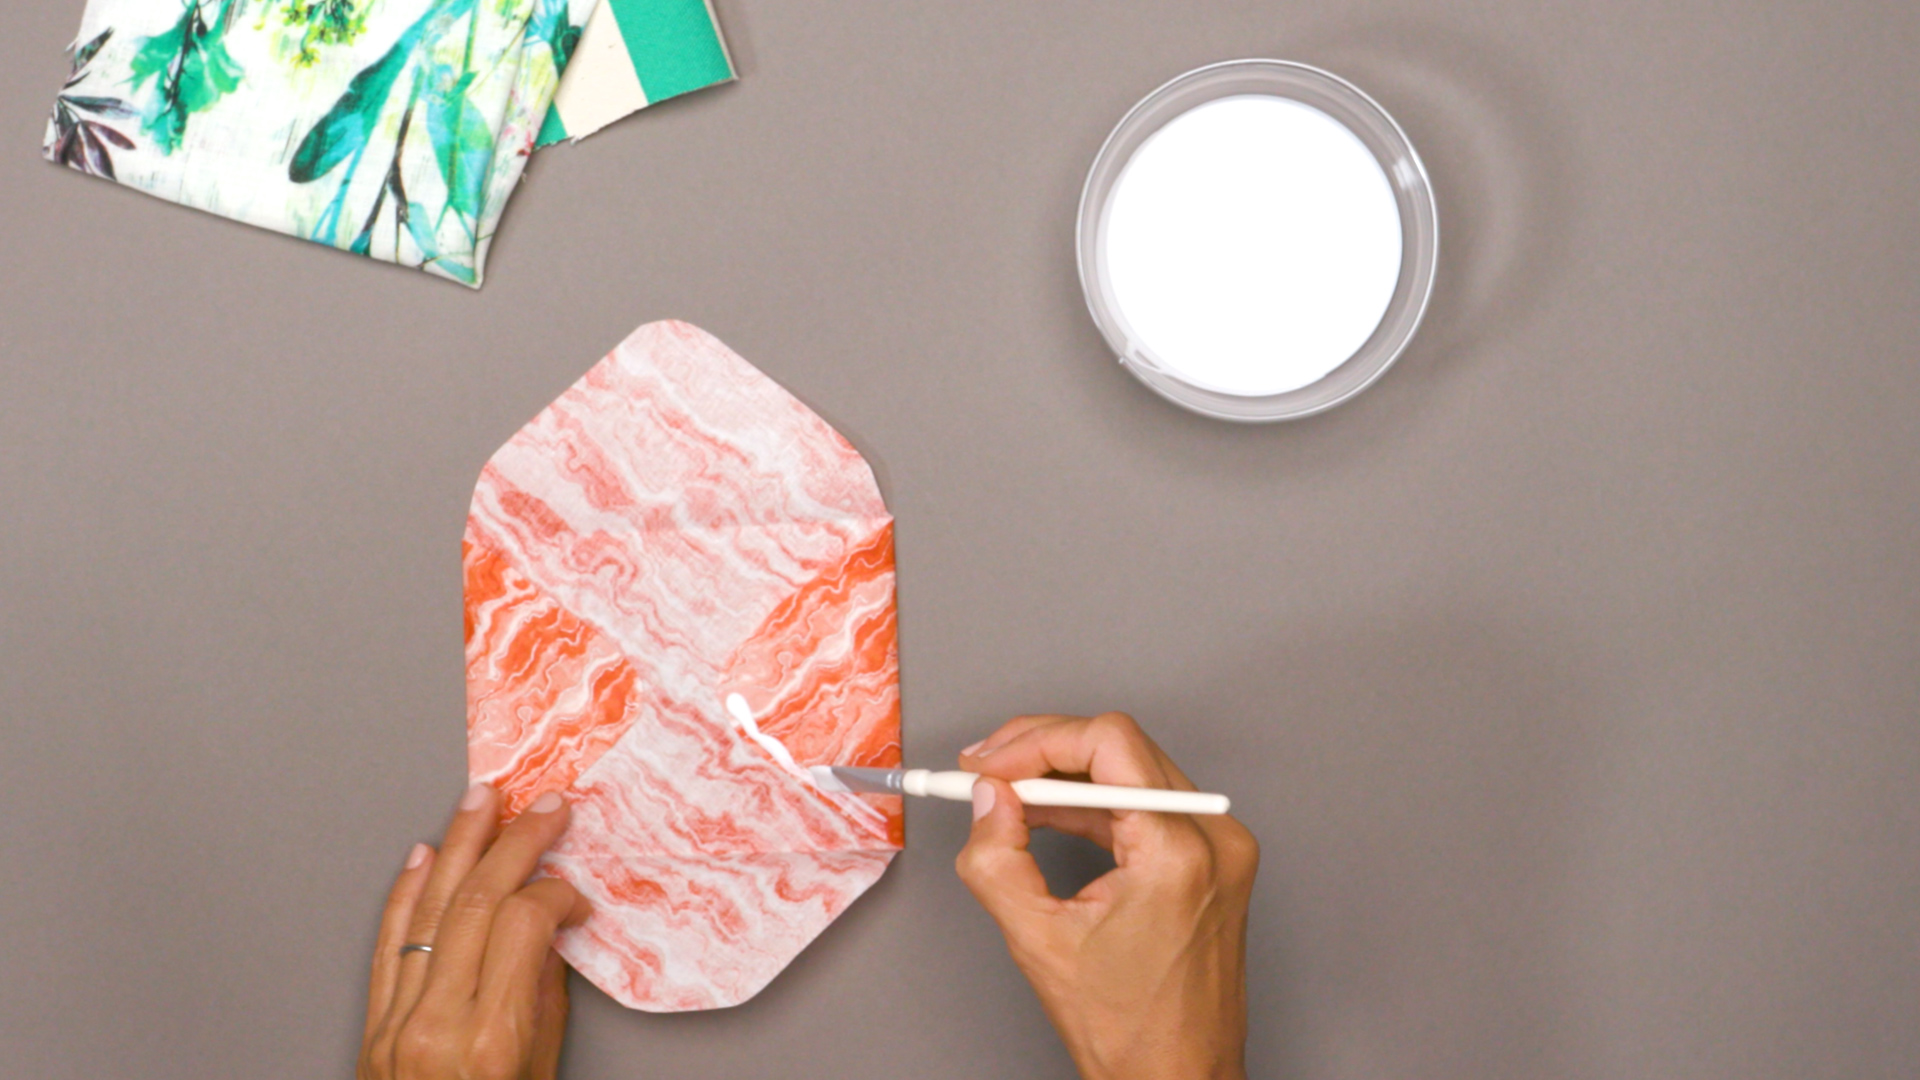
Apply more Mod Podge along the bottom edges of the envelope’s middle flaps, then secure the bottom flap in place. Again, set the envelope aside to dry.
4. Add a Hook and Loop
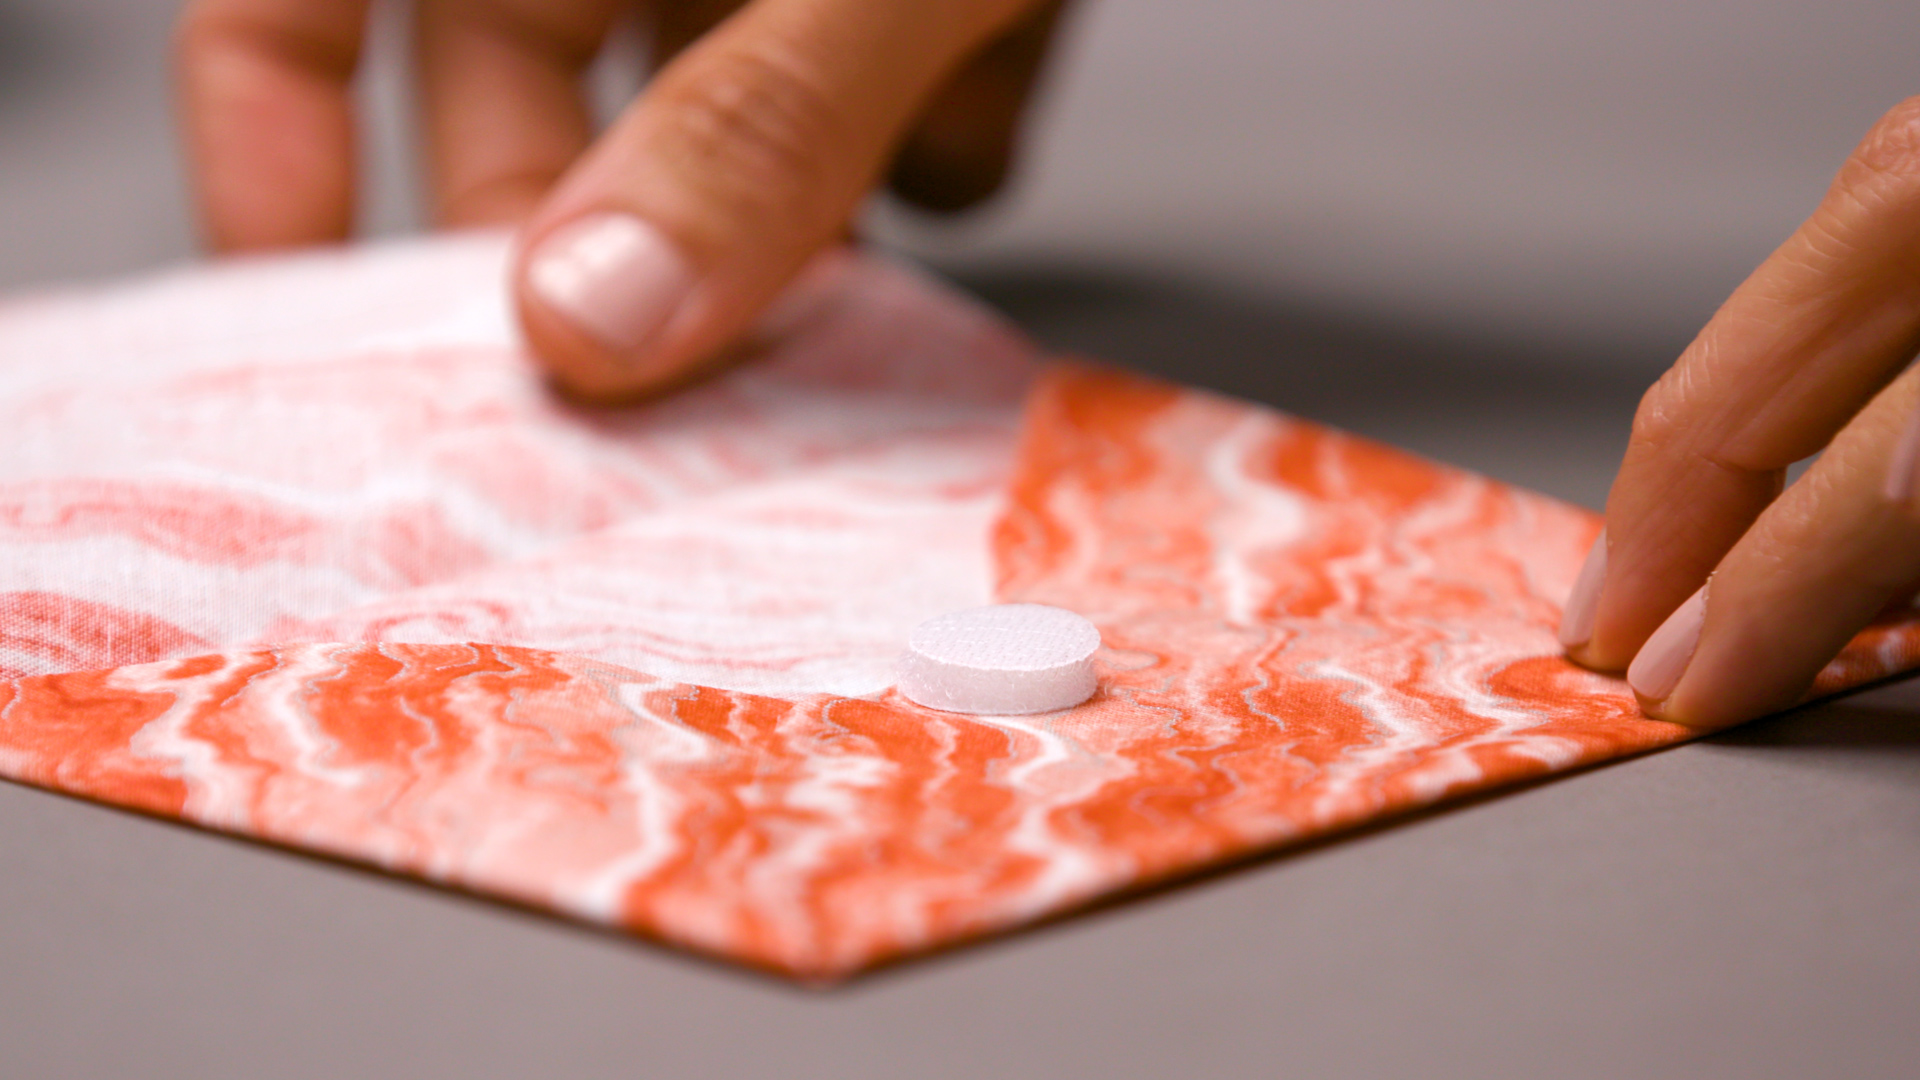
Fasten hook and loop dots to the envelope’s center and the tip of the top fold (so your envelope has a way to close).
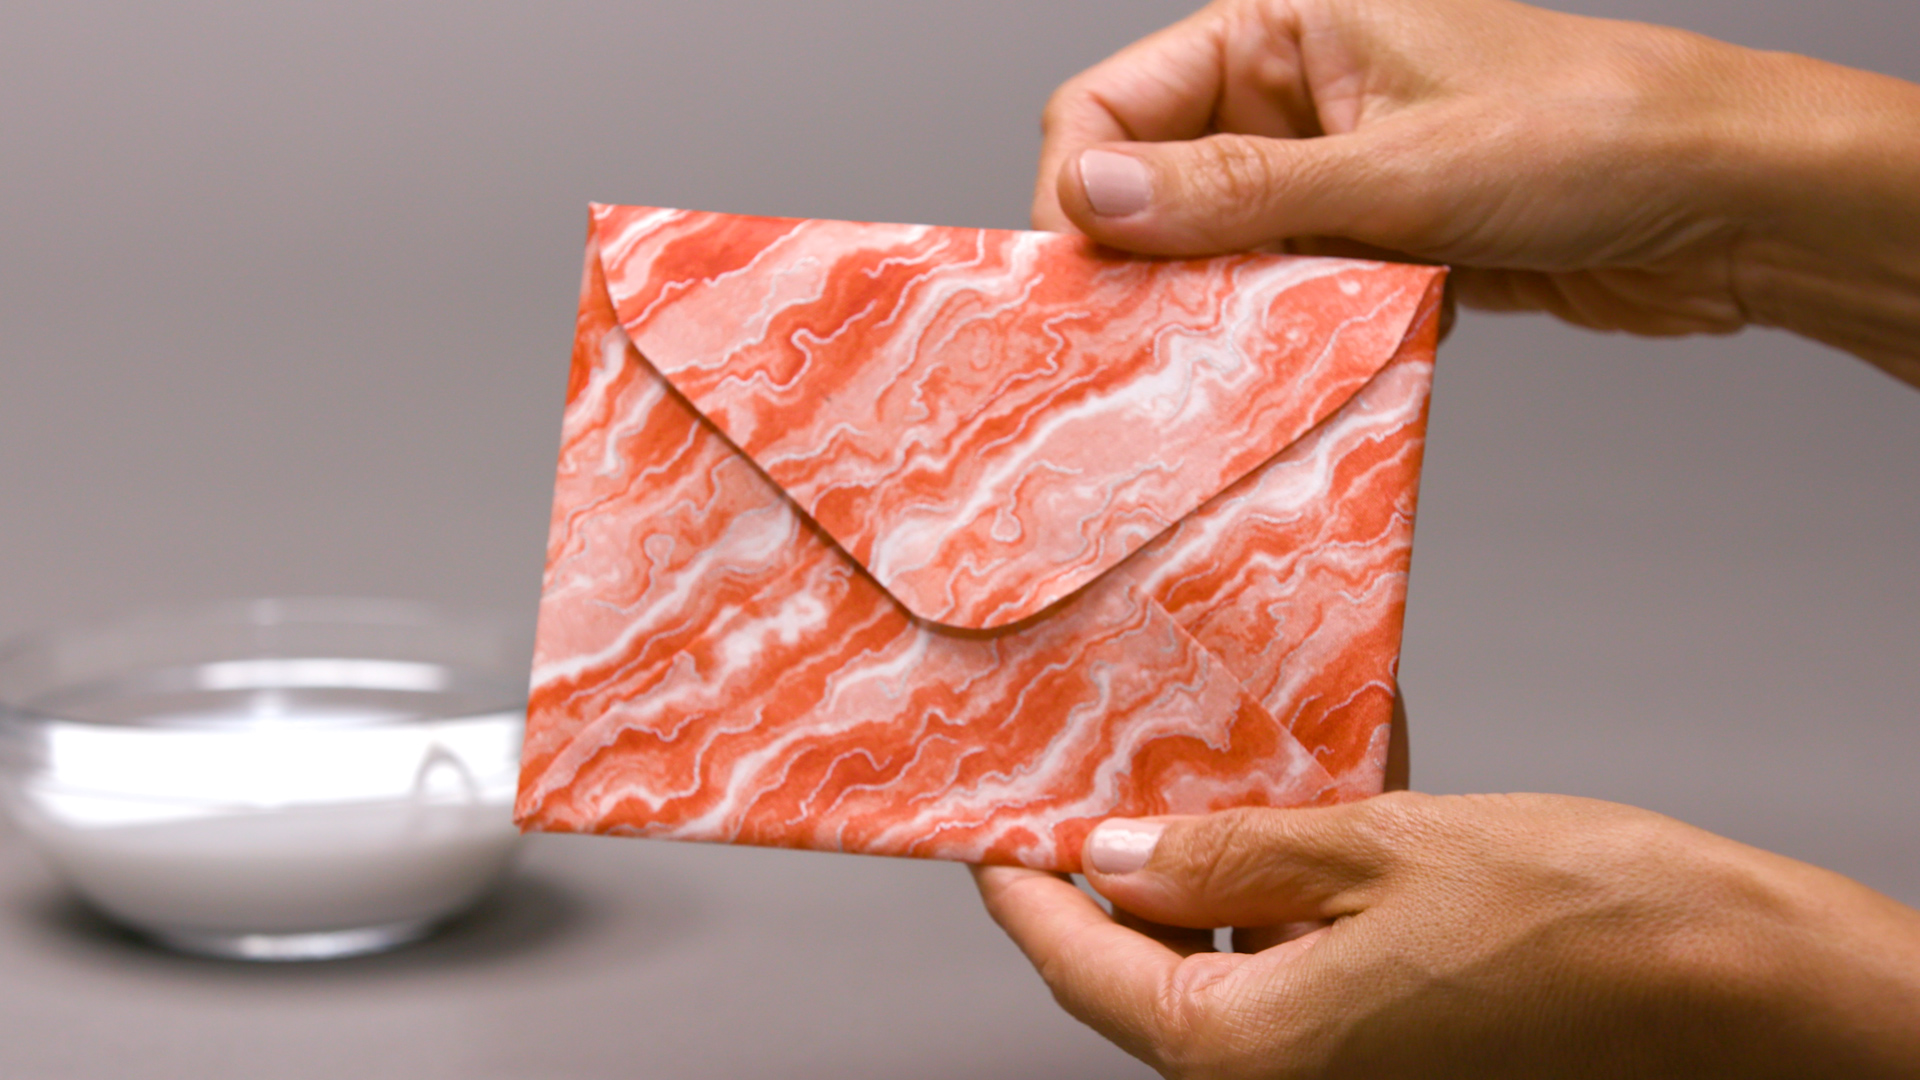
That’s it — your envelope is ready to be stuffed and delivered!
Use these easy steps to make as many envelopes in as many colors and patterns as you wish. You can’t go wrong with having a stash ready for the next holiday.
Love it!
Brilliant idea!
Make sure that the finished envelope with its contents is less than a fourth of an inch thick, otherwise you might have to pay for sending a parcel rather than an envelope. I learned that the hard way!