Horses are a great place to start, but these basic sketching methods can be applied to drawing any animal accurately. It’s all about taking the time to really study your reference photo (we provided a few for you!), then gradually building up from raw shapes to fine details. Give it a little practice, and you’ll be surprised how quickly your skills improve!
Horse Drawing
Level: Easy
What You Need
Instructions
1. Block In the General Shape
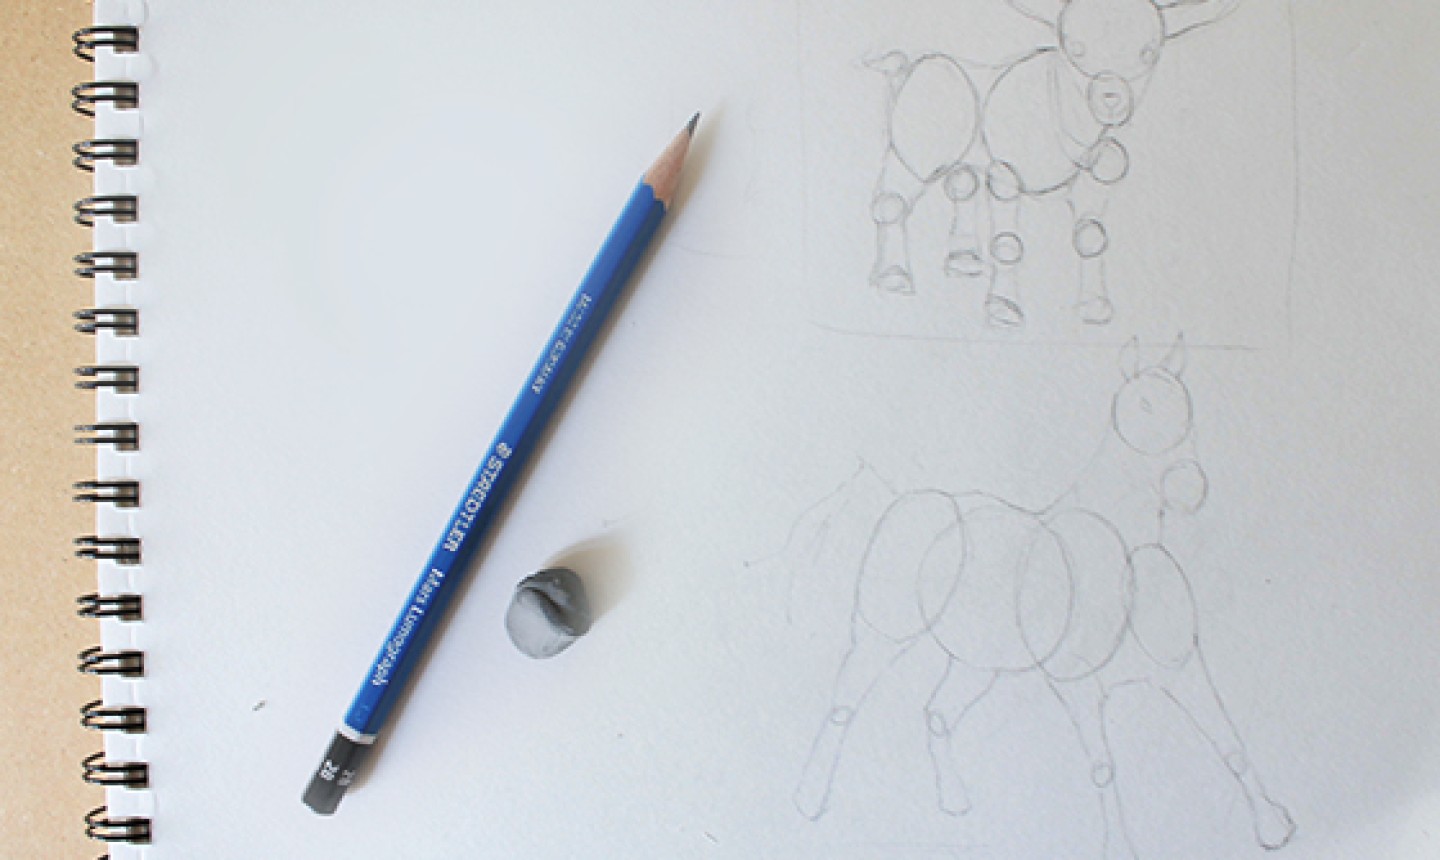
Don’t start with the details or even the contour lines — the first step for any figure drawing is sketching the general shapes.
Block in your animal using simple geometric forms. It helps to understand the basic structure of the animal’s body, so keep an eye on your reference photos as you draw circles, ovals and lines. These will act as a guide when you’re ready to sketch the more detailed contour line.
2. Sketch the Contour
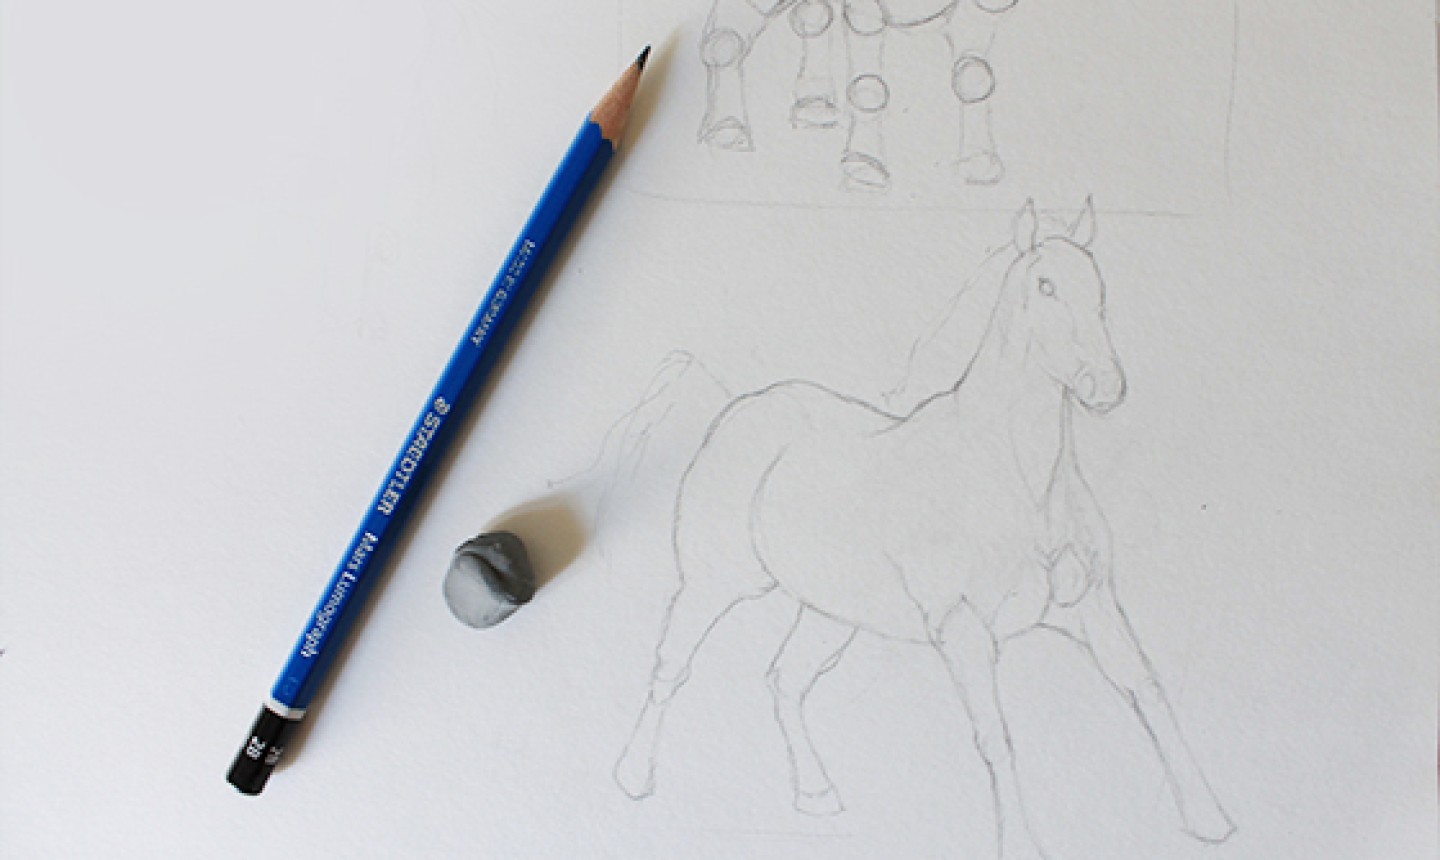
Use soft pencil strokes to define the horse’s figure and facial features. Once you have a detailed outline, use a kneaded eraser and eliminate the guides from the previous step. This will clean up the drawing and prepare us for shading and refining.
3. Begin Shading
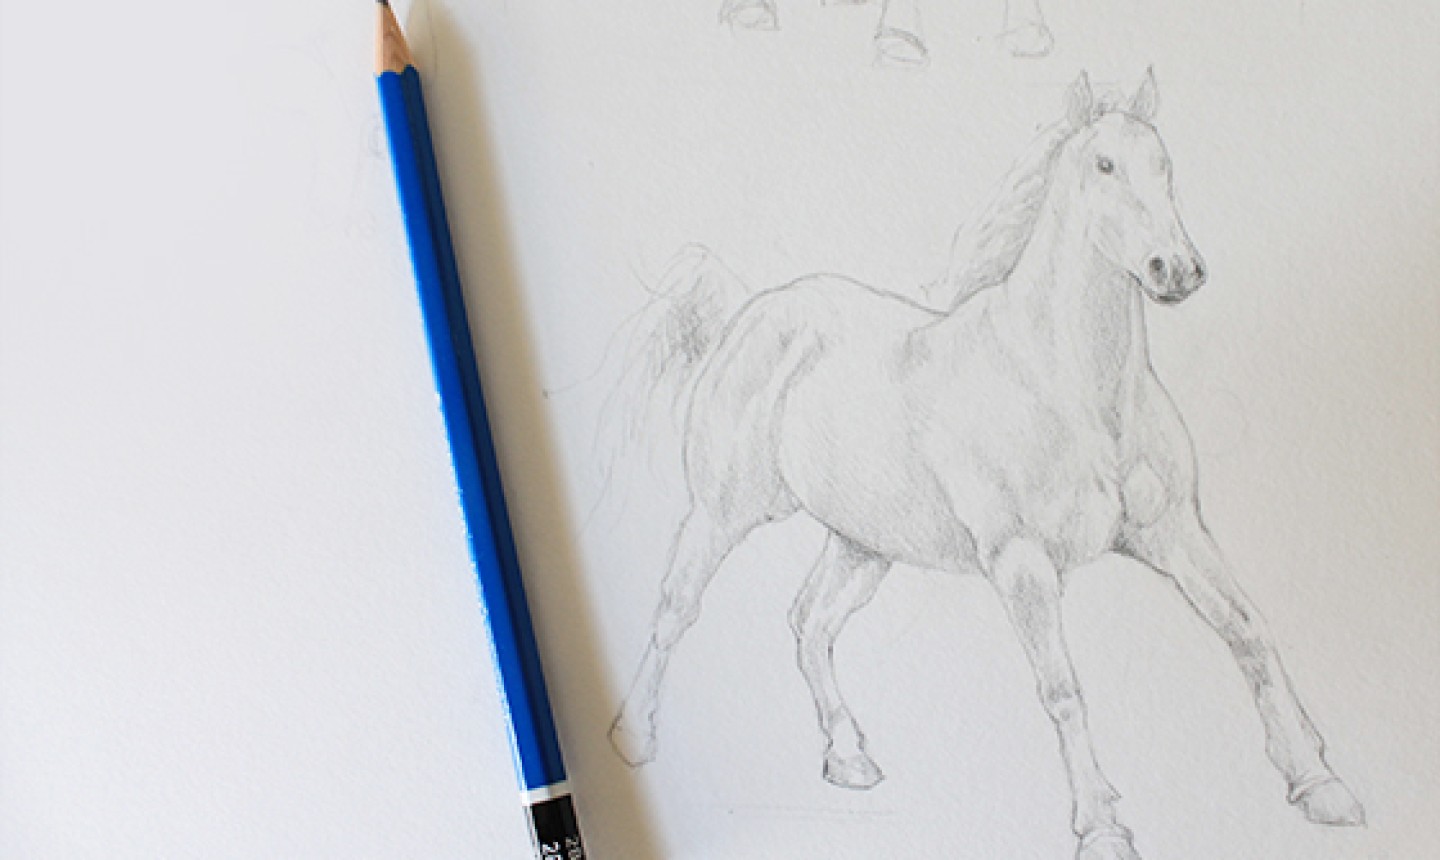
Use a 2B pencil to block in the basic shadows of the body, mane and tail. This is where you begin to define the horse’s muscles around the neck, legs and torso. Refer closely to a your photo to get the anatomy just right!
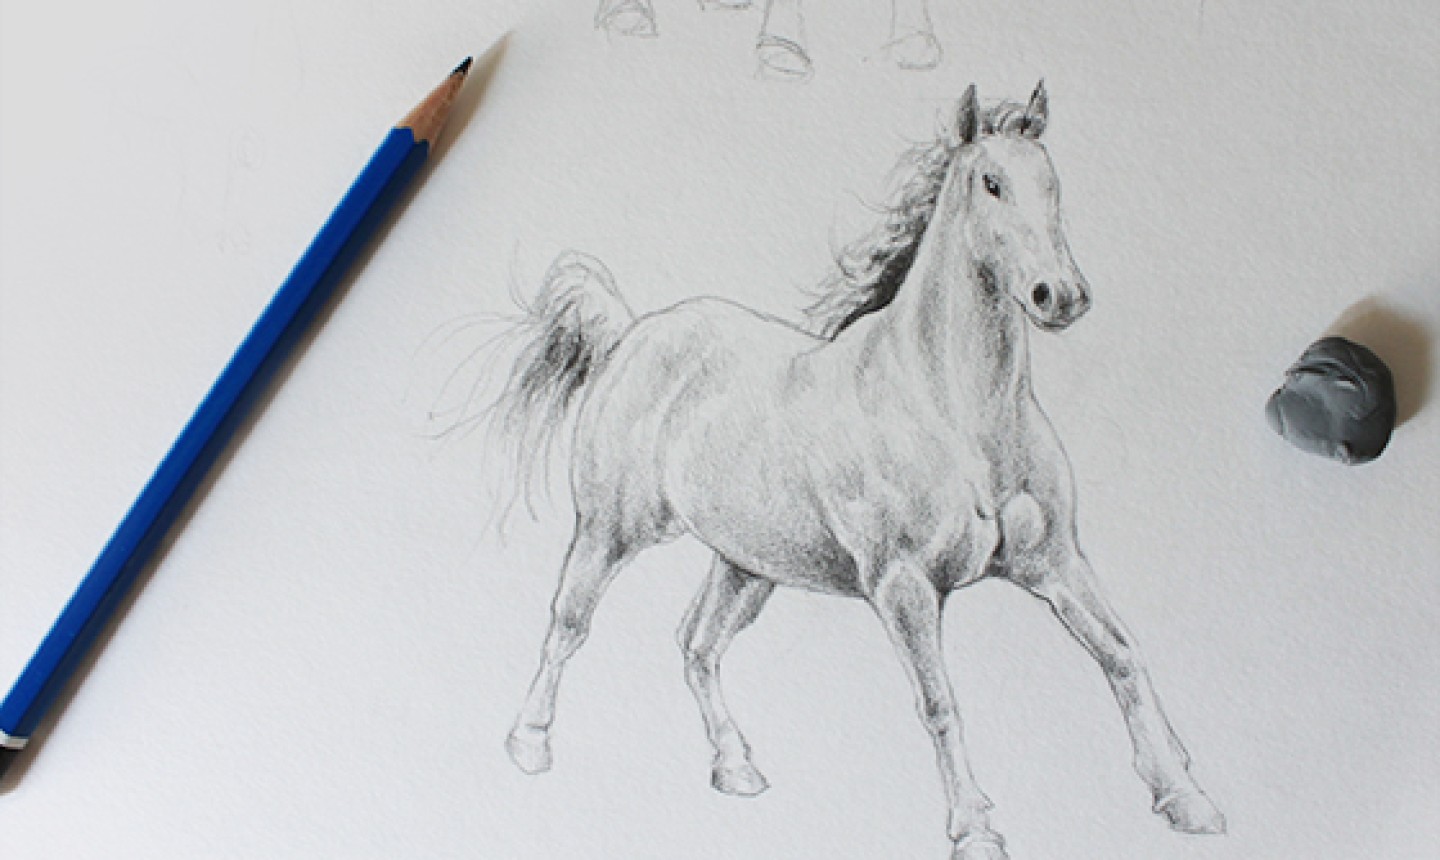
4. Lay the Darker Tones
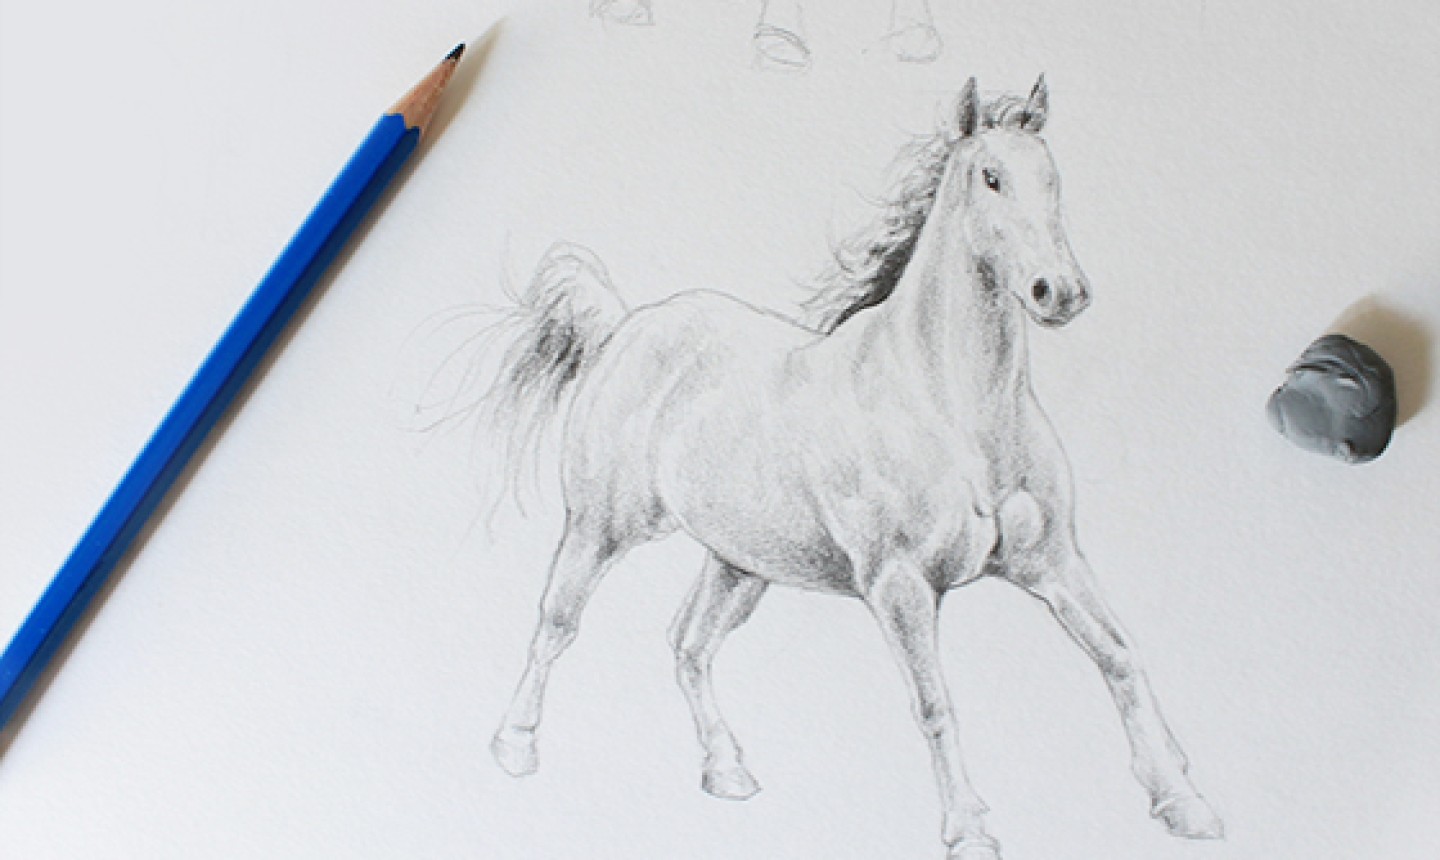
Once the basic shadows are finished, grab a 4B pencil and layer the darker tones to bring more dimension to the drawing. Horses have smooth, short fur, so smooth pencil strokes will give a realistic effect in the darker shadowed areas. For the longer mane and tail, don’t think about drawing every strand. Instead, shade the darker areas evenly, then use pencil strokes to make sparse, curved lines reaching up to the lighter areas.
Continue to analyze your drawing and your reference photo as you work, and make any necessary adjustments. When you’re satisfied, you’re done!
Goat Drawing
Level: Easy
What You Need
Instructions
1. Block In the General Shapes
As mentioned above, the first step for drawing any figure is to block in the general shapes using circles, ovals and lines. This will guide you as you make the more detailed sketch.
2. Sketch the Contour
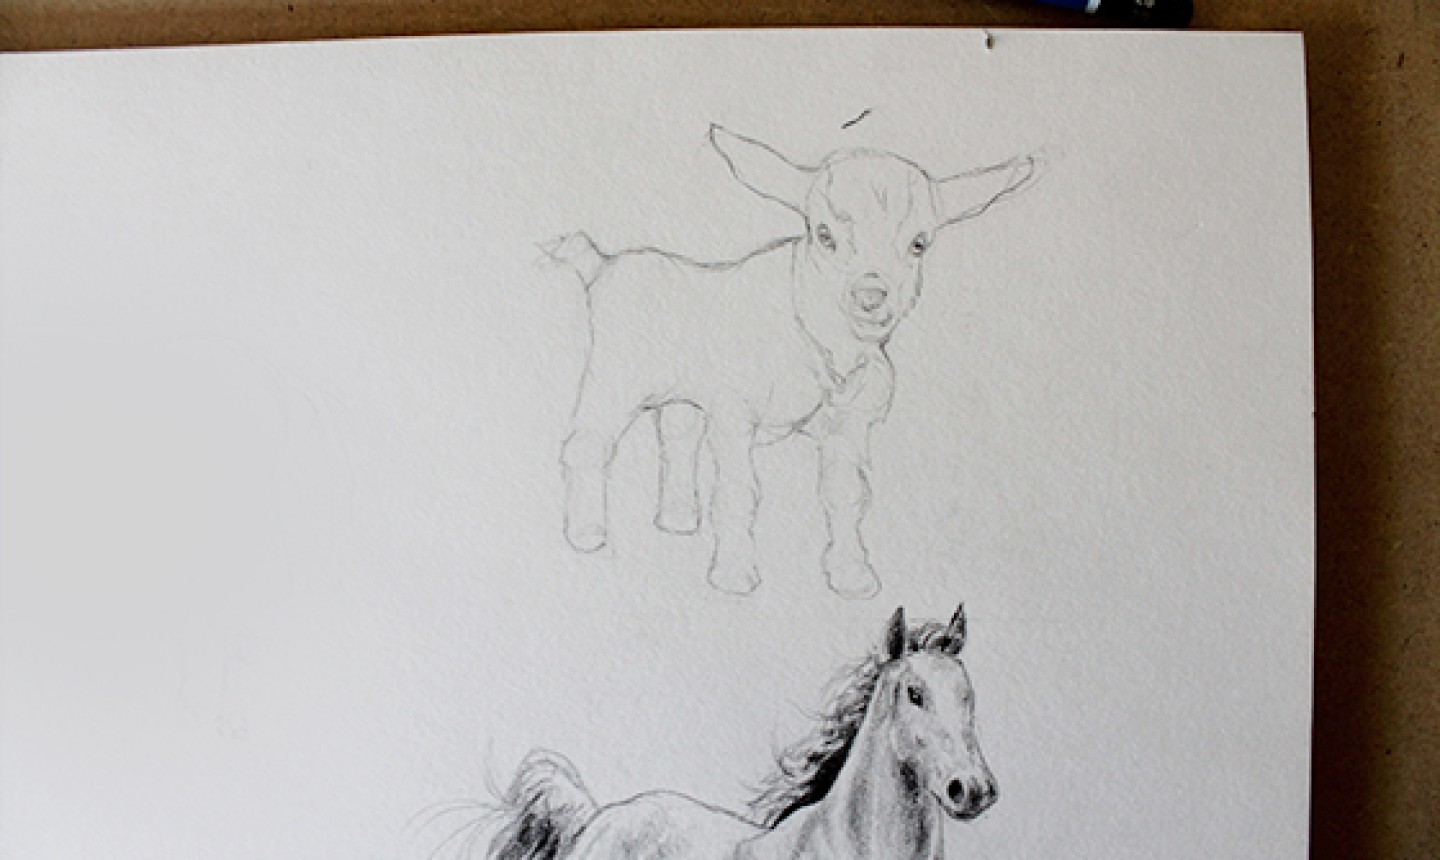
After defining the goat’s proportions, it’s time to sketch a more detailed outline. When you have the contour and facial features marked out, erase the geometric guidelines.
3. Start Defining the Fur
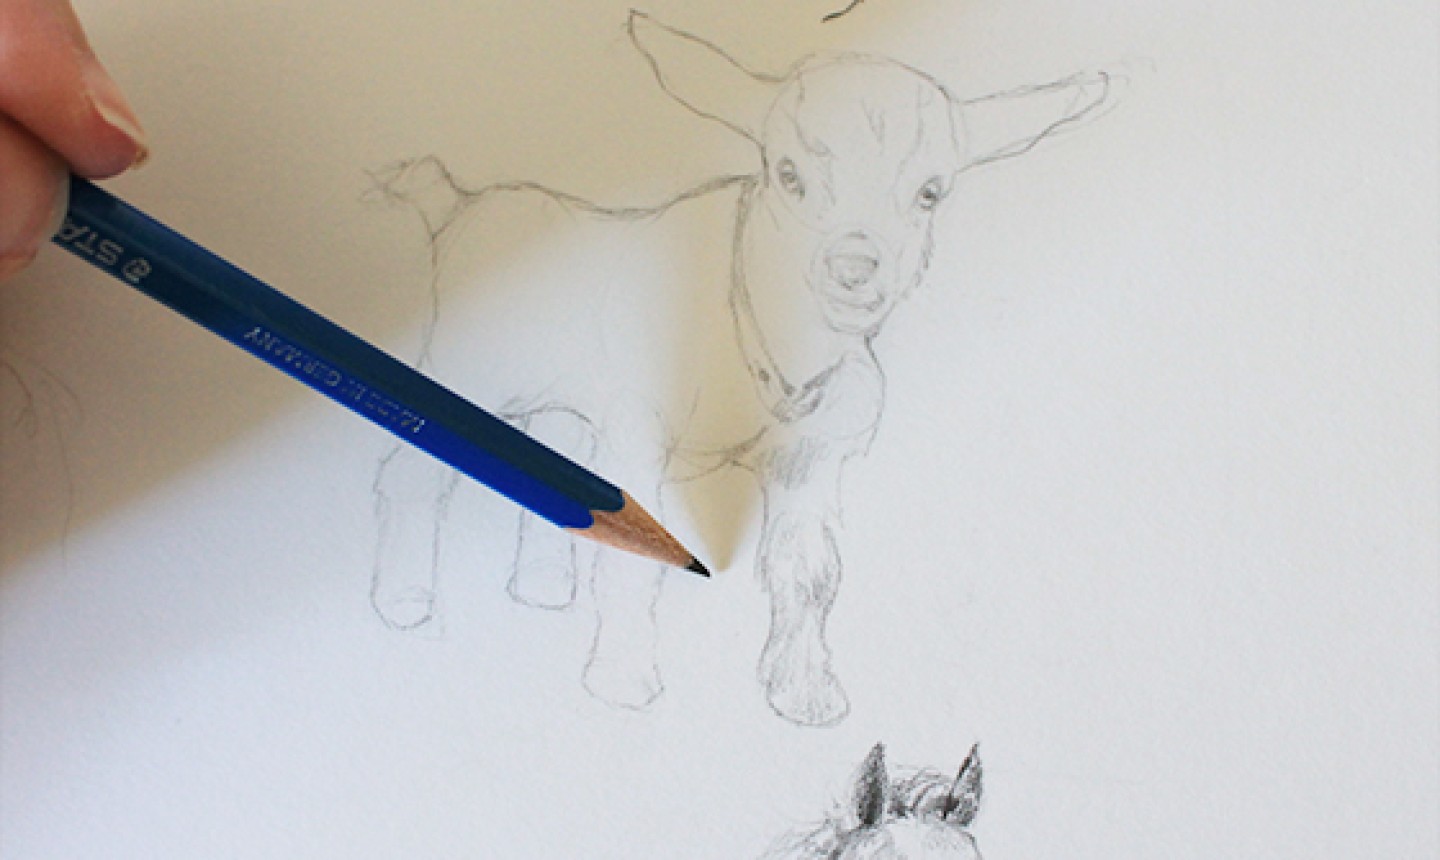
Unlike the short-haired horse, goats have longer fur that won’t appear as smooth when we shade. Start drawing the shadows by sketching directional lines with your 2B pencil to simulate longer hairs. Focus on shading larger areas of the body at this stage — we’ll go back later and add smaller, more detailed strokes.
4. Detail the Fur
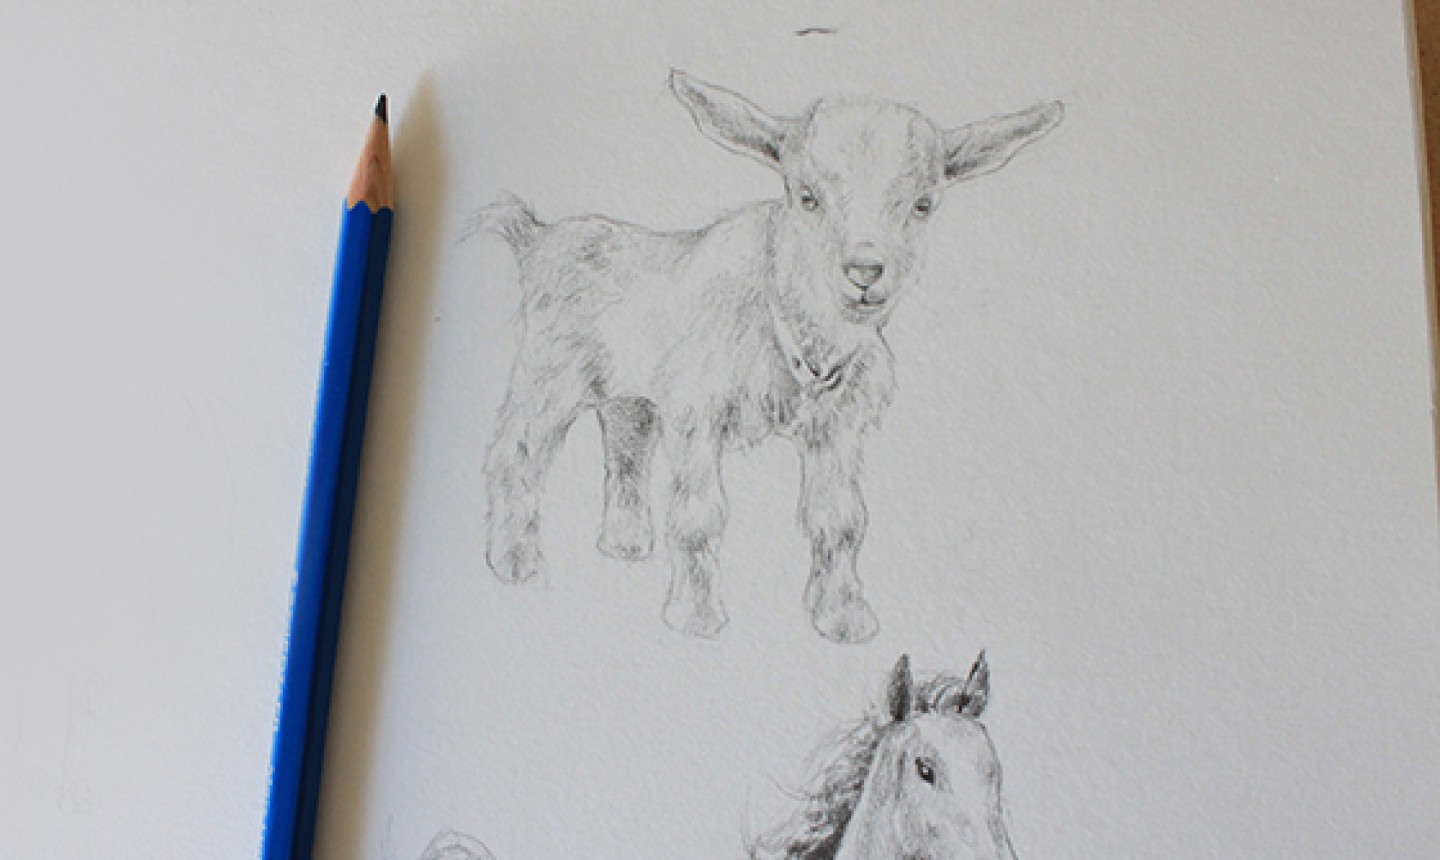
Still using your 2B pencil, build up the tone and details of your goat’s hair by applying more pressure. To prevent the drawing from looking flat and capture that wonderful furry texture, build the tones up in patches. Studying a reference photo along the way is key, and you’ll know you’re done when you’re happy with how the little goat looks!
Share tips, start a discussion or ask other students a question. If you have a question for an expert, please click here.
Already a member? Sign in
No Responses to “Drawn On the Farm: How to Draw Horses and Goats”