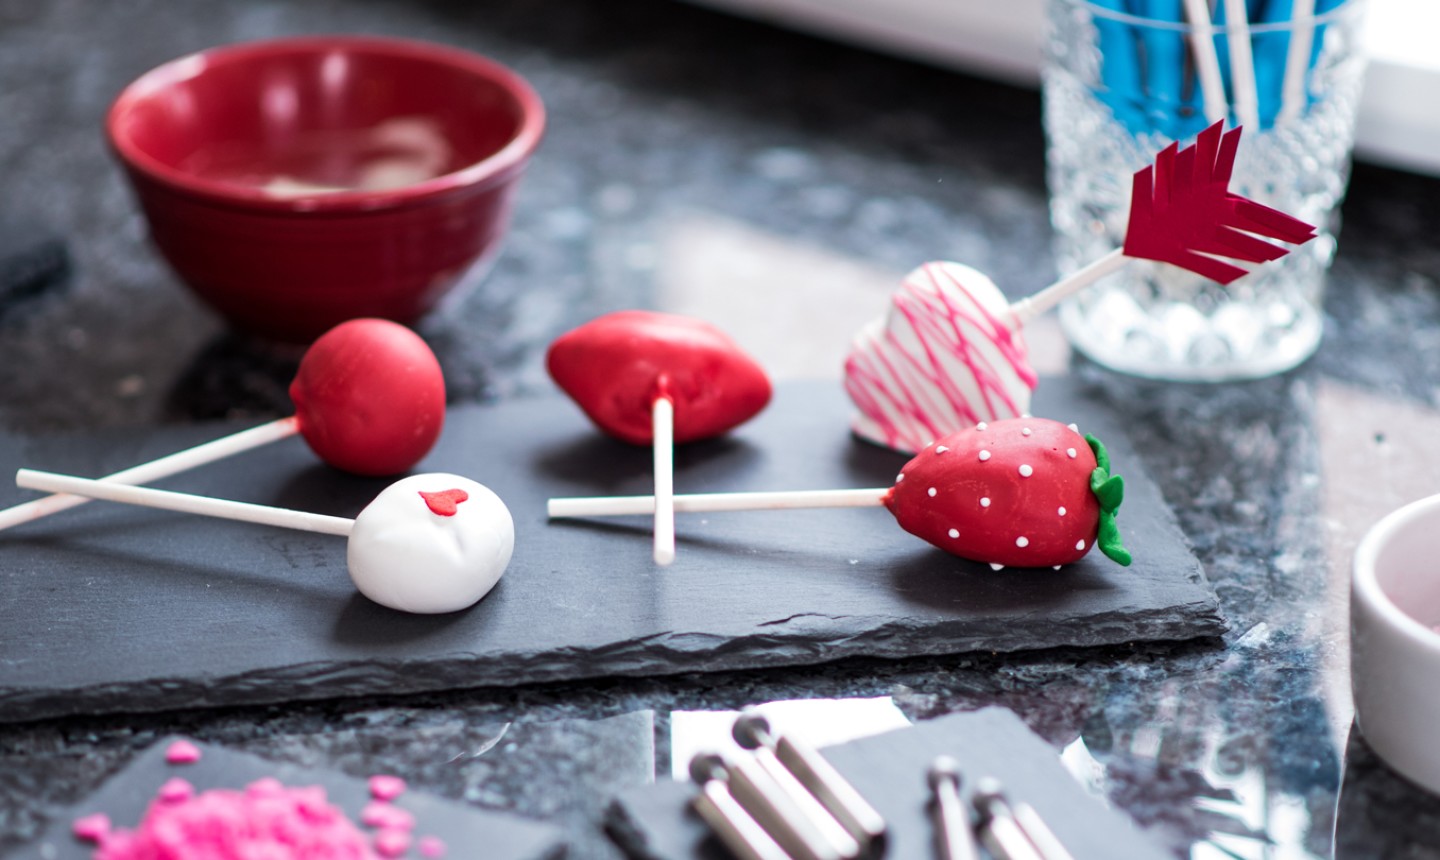
If you’re reading this, it’s safe to assume you’re either curious about or obsessed with cake pops . Same here. With our list of do’s and don’ts when making cake pops, you’ll be able to tackle that masterpiece-on-a-stick in no time.
Working With Dough
Do work with basic shapes , especially if you’re a beginner. Complex pops are totally cool, but less fun to make when you’re a newbie. And if making cake pops isn’t fun, what is?
Don’t be afraid to really push and shape the cake-pop dough with your hands. Use those muscles!
Do use a cookie scoop with a 4cm diameter to help you make small, uniform portions.
Don’t make your cake balls too big or they may fall apart when you dip them.
Do scoop and form only a few portions at a time. It’ll help prevent your dough from drying out.
Don’t keep the unformed dough exposed to air (again, it will dry out). Keep the portion you’re not working with wrapped in plastic.
Preparing the Coating
Do use candy coating . It’s made specifically for dipping, melts smoothly and hardens completely. Craft shops, grocery stores, and cake- and candy-supply stores sell brands like Wilton Candy Melts, Merckens Colors, Clasen Coatings, Ghirardelli Melting Wafers, Guittard A’Peels, Make & Mold and CandiQuik.
Don’t use chocolate bars, chocolate chip morsels, pure chocolate or baker’s chocolate blocks. These chocolates aren’t made for use as a coating, and come with a high risk of discoloring once they’re melted and cooled, or not hardening completely.
Do use Paramount Crystals — and only Paramount Crystals — to thin candy coating. They’re the only products that have the same combo of oils as the candy itself, so your coating will set correctly.
Don’t use oil or butter to thin candy coating, or it will never solidify as it should.
Coloring the Coating
Do use oil-based dyes for tinting candy coating . Just be aware that dyes will slightly change texture and taste. If possible, it’s better to buy the candy coating in the color you want instead of dyeing it later.
Don’t add any dyes that are not oil-based to candy coating. This can cause the coating to “seize,” making it unusable. Read the label carefully. If it doesn’t say oil-based, then it usually isn’t.
Selecting Tools
Do use small silicone or microwave-safe plastic bowls and cups (one-cup capacity) to melt candy wafers . This is the best way to do this evenly.
Don’t use ceramic or glass containers. Both retain heat too well, preventing the candy coating from heating or cooling at its own natural pace and increasing the risk of cracks.
Do use a microwave (preferred) or a chocolate melting pot to melt the candy coating.
Don’t use a double boiler or any other method that might expose the candy coating to water or steam. This will cause your coating to seize and become lumpy.
Dipping Pops
Do allow refrigerated cake balls to warm up and candy coating to cool down before dipping. The closer to room temperature both are, the better.
Don’t dip cold cake pops into too-warm candy coating or you’ll get cracks.
Decorating Pops
Do use sprinkles and nonpareils to prettify your pops.
Don’t use candies to decorate pops until you test them! First, place one in the fridge for a few minutes. Then take it out and see how it reacts as it comes to room temperature.
Do explore the many options out there for embellishing your cake pops! You can use simple techniques to turn them into bears, rocket ships and other fun shapes, or you could mix candy coating with corn syrup to make “candy clay” that’s perfect for molding ruffles or petals.
Storing Pops
Do refrigerate cake pops in individual packages or in airtight containers (arrange them in flat layers separated by paper towels). When you take everything out of the fridge, condensation will collect on the outside of the package or container, not on the pops.
Don’t store cake pops without wrapping or covering them, or they’ll end up dotted with condensation.
Do freeze uncoated cake balls. (But not your finished pops!)
Don’t keep them for more than 7 – 10 days. Gotta enjoy ’em while they’re fresh, folks!
It states on the candy melts bag. If you have to think it down use vegetable shortening
*pops
Great tips didn't realise the poos and candy melts work better at room temperature
I'm just starting out. This info really helps. Thanks
Thank you for the do’s and dont’s.