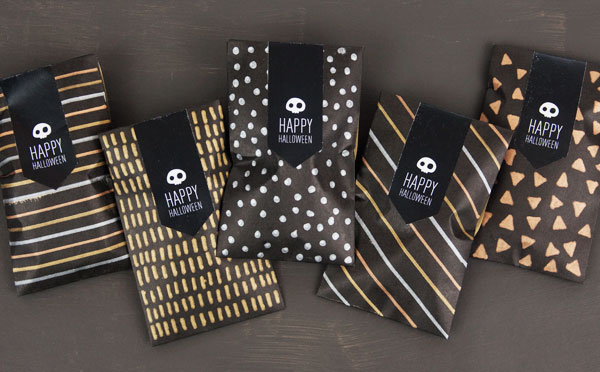
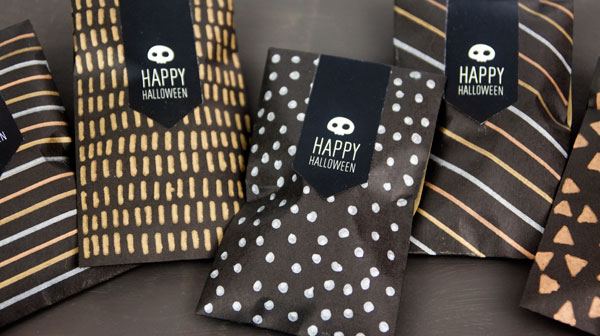
Sure, you could pick up bags at the store. But this DIY version really piles on the style — and won't look like anything else you see this season. The key to to all this graphic coolness is using metallic markers that really POP on the black bags. You can use these for school events, give 'em out to trick-or-treaters, or stuff them with costume-party favors. Add on our printable gift tag, load 'em up with goodies and you're done!
Halloween Treat Bags
Level: Easy
What You Need
Instructions
1. Design
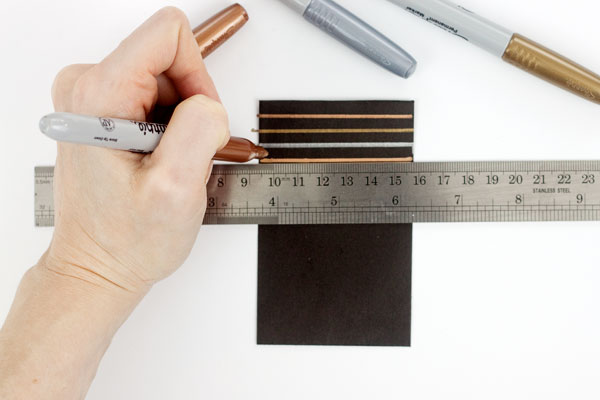
Place a treat bag onto a sheet of scrap paper to protect your work surface from any marker that goes off of the sides of the bags as you're drawing. Then, use your metallic markers to make patterns. Dots, triangles, circles, squiggles and zigzags are great choices, but the pattern possibilities are endless! Create single color patterns, or use multiple colors for more depth. (If you'd like to make stripes or crosshatch patterns that are more uniform, you can use a ruler as a guide.)
Pro Tip: If you'd like to make stripes or crosshatch patterns that are more uniform and you don't have a very steady hand, use a ruler as a guide.
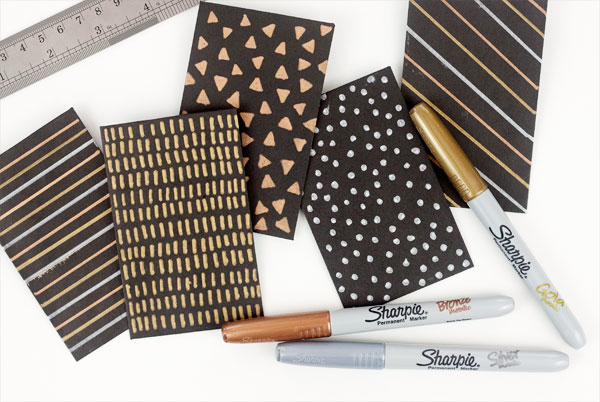
Keep on doodling! This is the fun part: try a new design on each bag.
3. Print
Bags all colored in? Print our free label onto sticker paper. (You can also just use regular paper, and attach with adhesive later.)
4. Add the Label
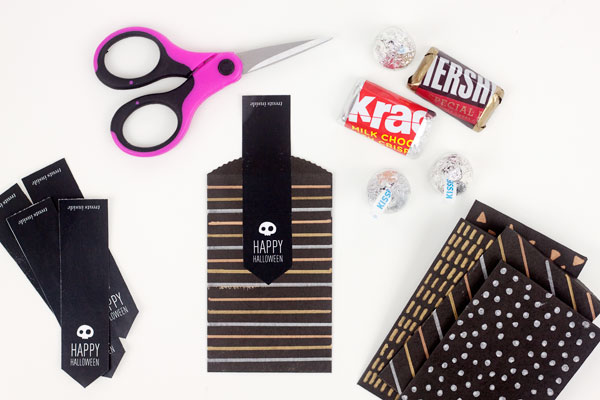
Cut out the printed labels with scissors and attach to the top of the treat bags, leaving enough overhang at the top so that the label more than covers the top flap of the bag.
Fill with candy and seal the bags shut by folding the top flap down and pressing the remaining portion of the label against the back of the bag. Sweet!

Your style is very unique compared to other people I have read stuff from. Thanks for posting when you've got the opportunity, Guess I'll just bookmark this blog.
Halloween bags
no website
They look great!
Where's the link to print the free label