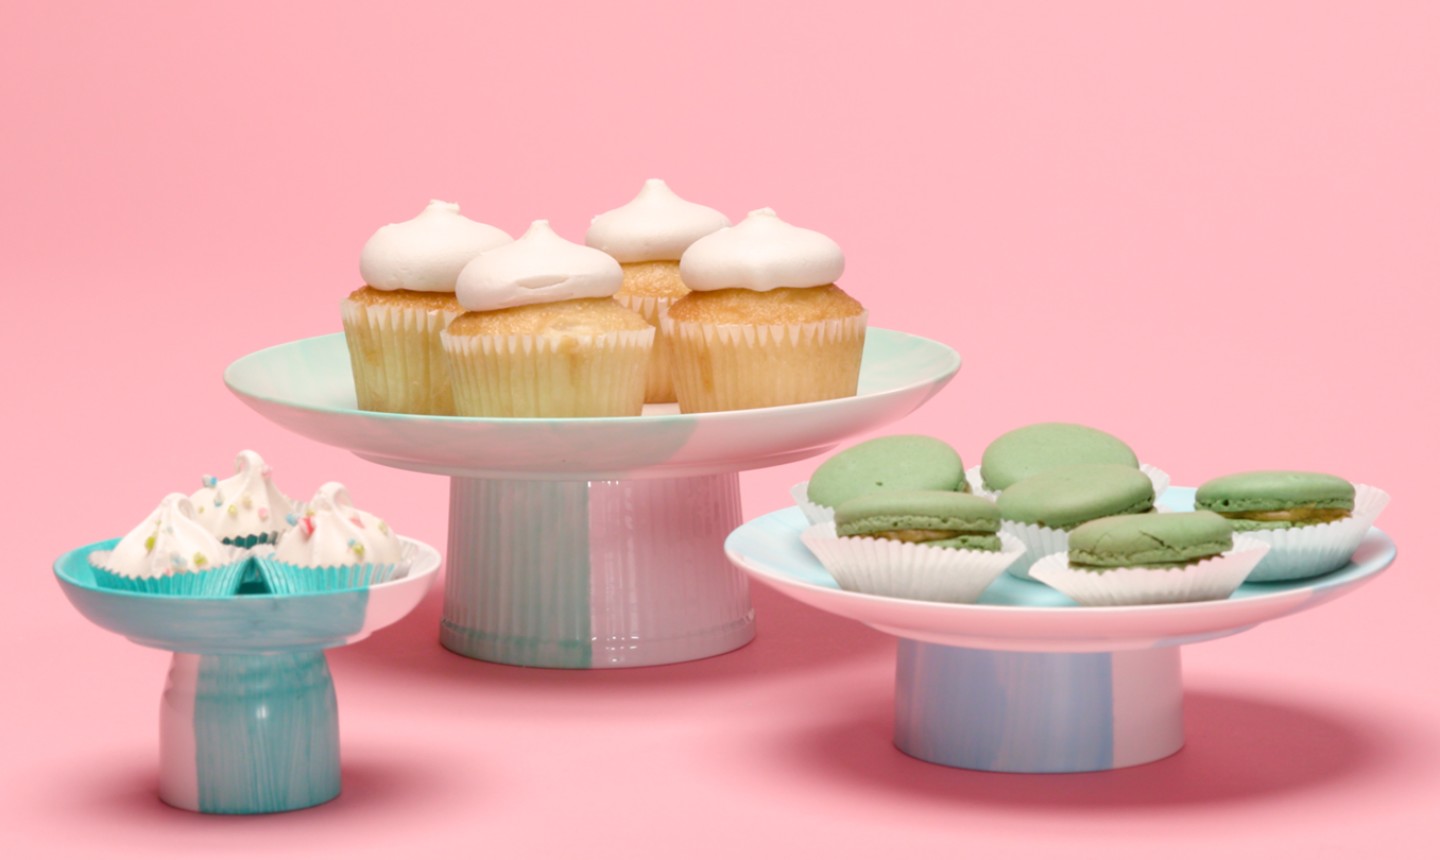
Give your cakes and cookies the DIY display they deserve! With pedestals this cute, you'll be totes inspired to whip up a fresh batch of macarons or some beautifully piped cupcakes. And that's the kind of inspiration we can all definitely get behind!
Dessert Stands
Level: Easy
What You Need
Instructions
1. Tape Your Plate and Ramekin
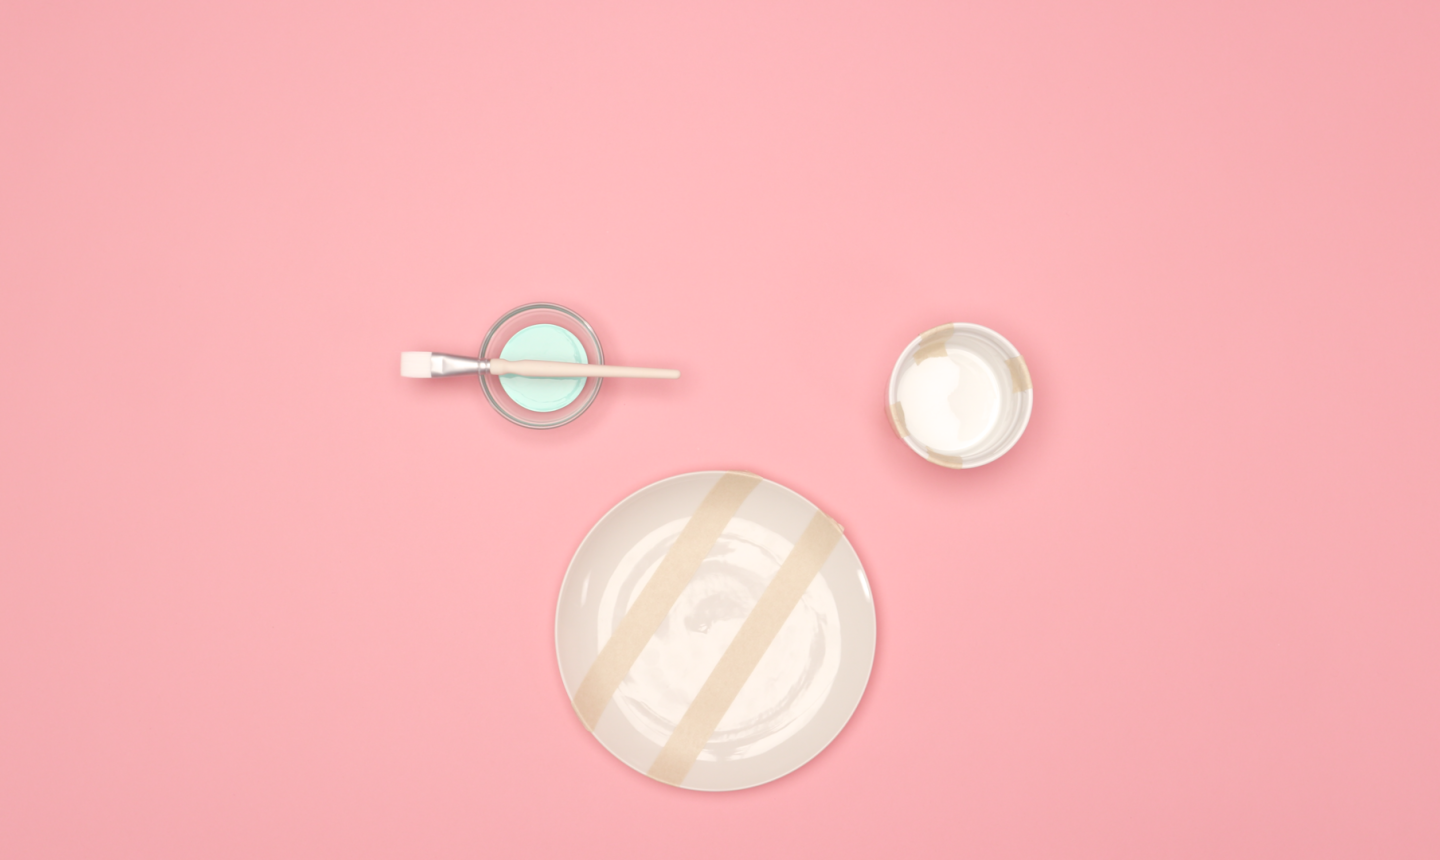 Apply masking tape on your place and ramekin to block off the section (or sections) that you want to paint. The masking tape will give your stand clean, straight lines and make it look totally professional.
2. Paint and Peel
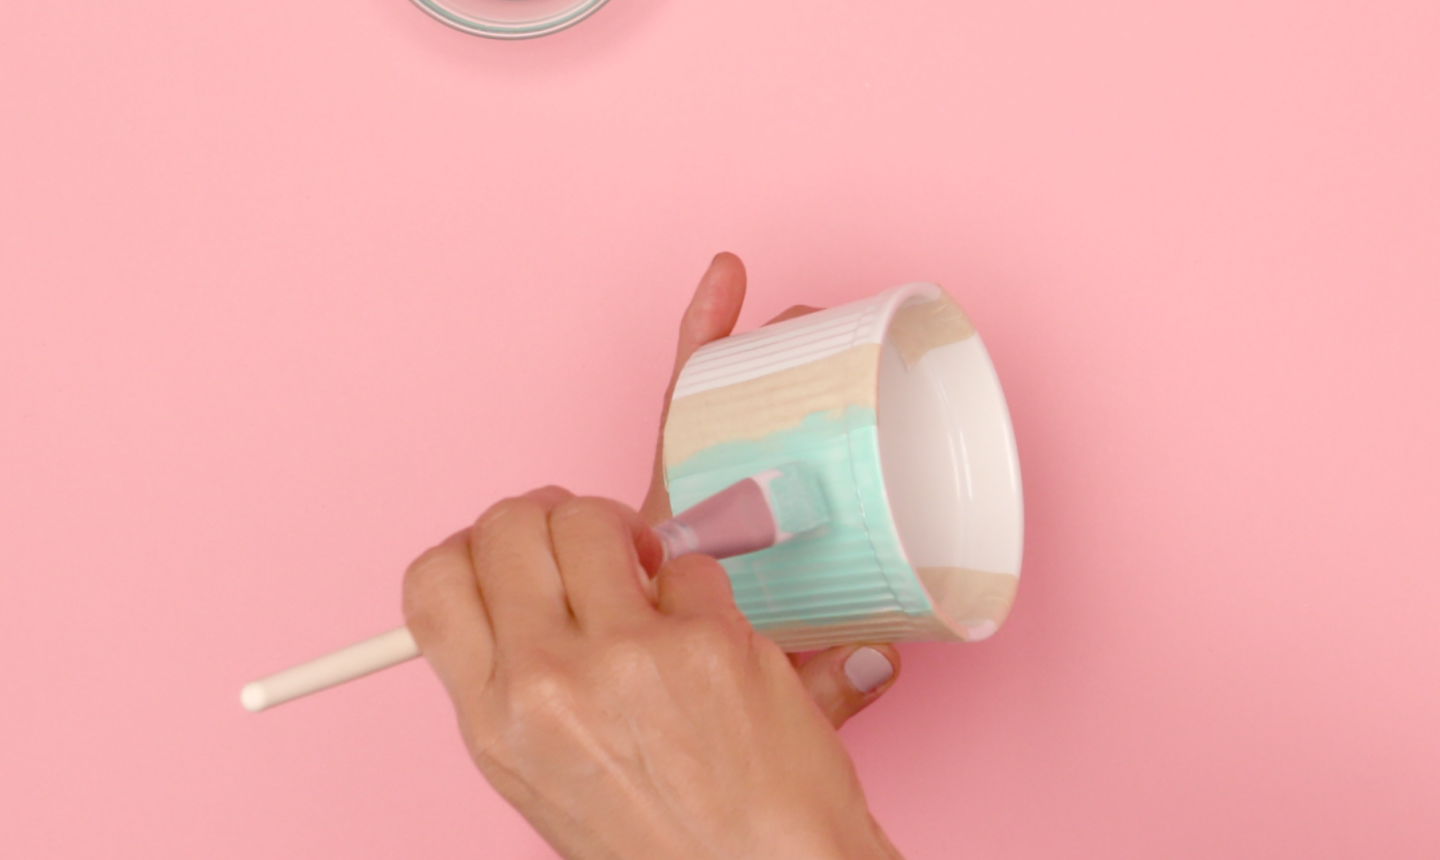
Brush a few layers of paint onto your dishes and set them aside to dry. Once they've dried completely, gently pull off the masking tape.
Pro Tip: If you applied thick layers of paint, run a craft knife along the edge of the masking tape before peeling it away. That way no paint will peel back when you remove the tape.
3. Find the Center
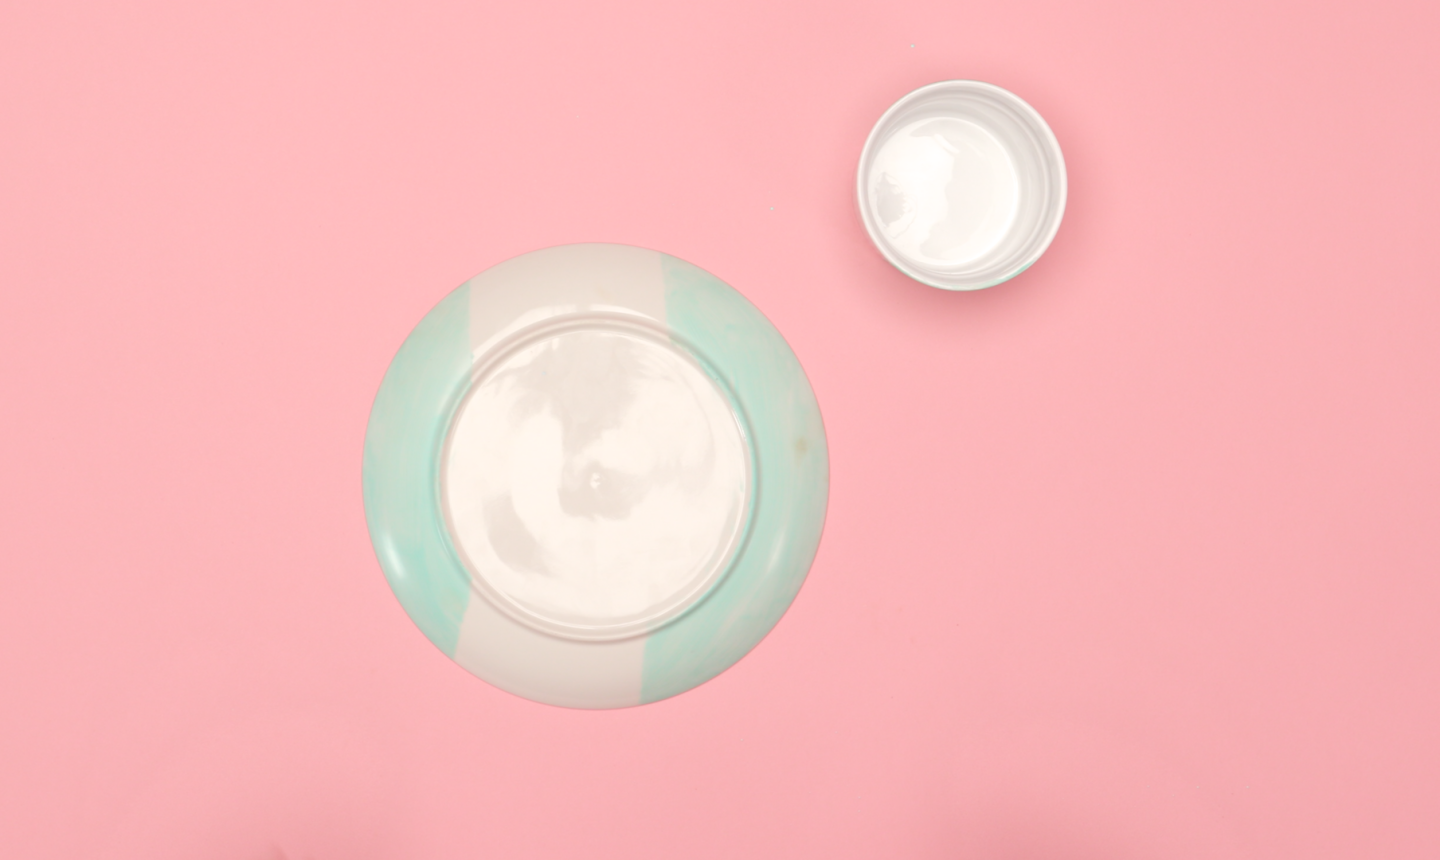
Flip the plate upside down and use a ruler to find the center. Place the ramekin on the center of the bottom of the plate and use your pencil to trace around the base of the ramekin, creating a guide for where you'll apply glue.
4. Glue
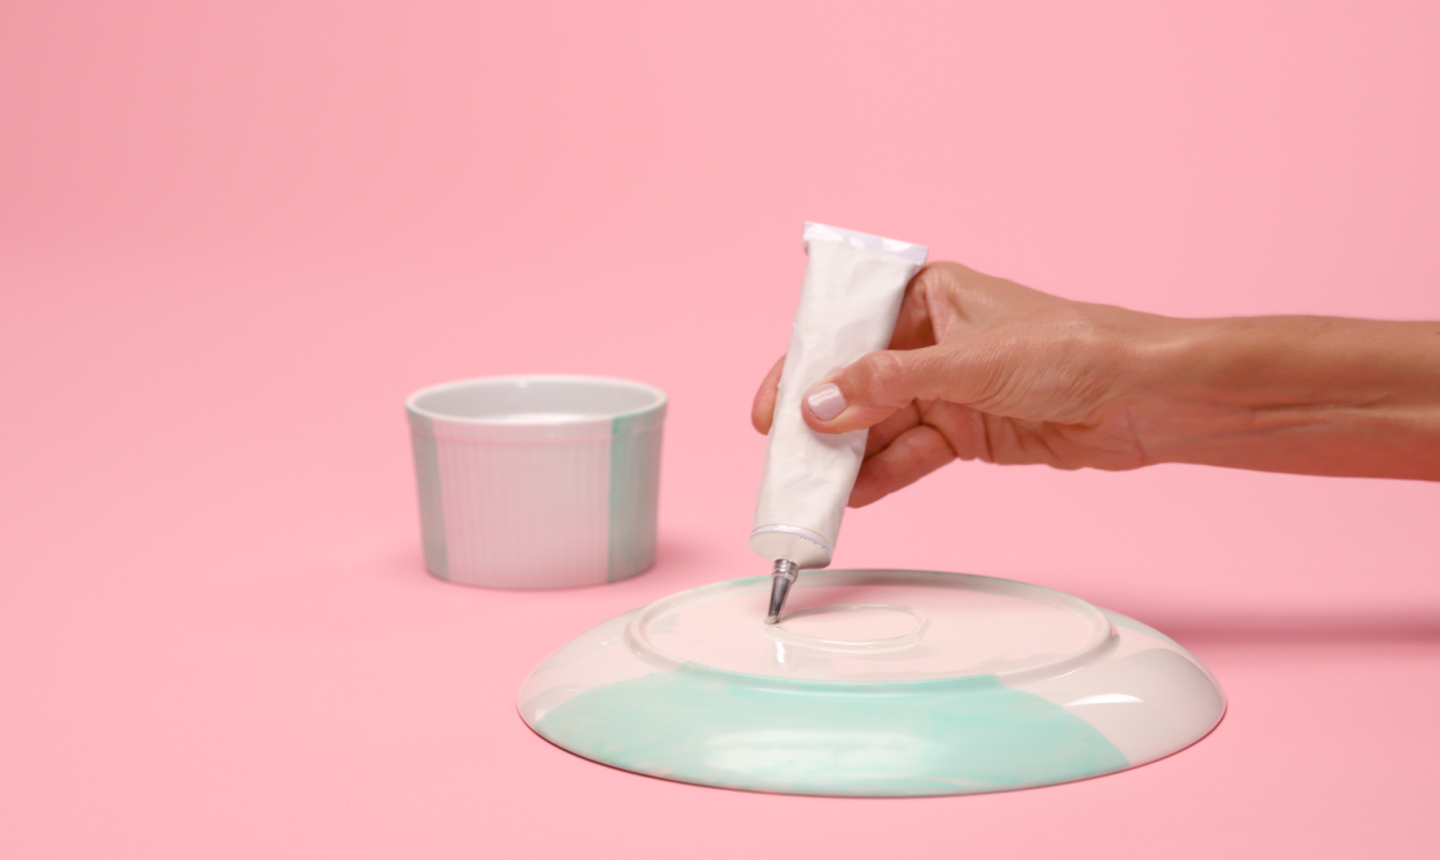
Apply a thin layer of glue and gently press the bottom of the ramekin to the plate. Let the stand dry for at least one hour before moving it, and wait a full day before using.
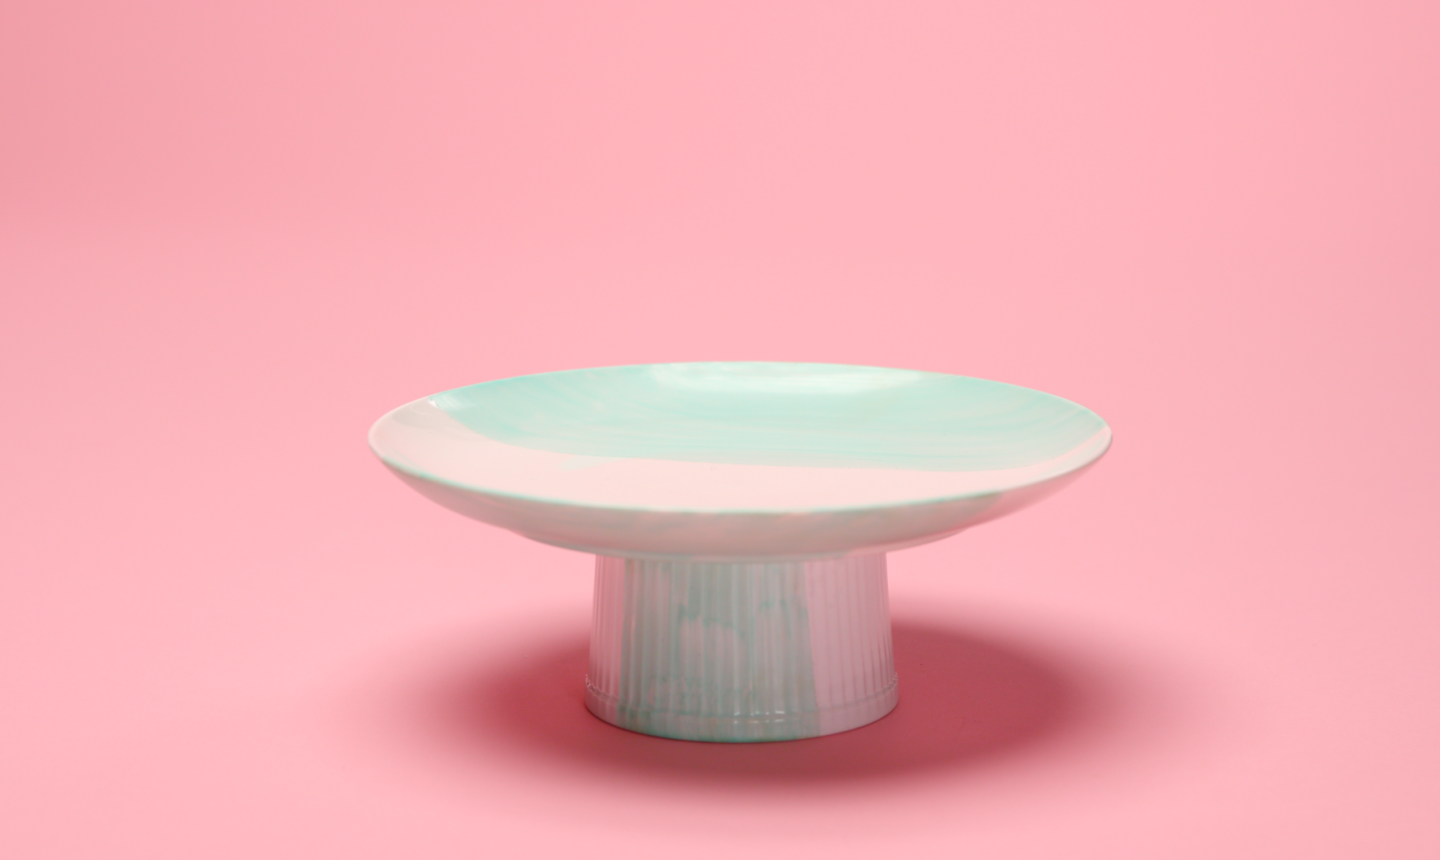
When you’re done, give your dessert stand a wash and it’s ready to show off some serious yummies.
An important note: you shouldn’t place food directly onto these pedestals — always use cupcake papers or doilies. The acrylic craft paint is non-toxic, but still shouldn't come into direct contact with food. Also, stick to hand-washing, not the dishwasher, to keep your dessert stand looking great for the long haul.

Share tips, start a discussion or ask other students a question. If you have a question for an expert, please click here.
Already a member?
No Responses to “These DIY Dessert Stands Show Off Sweets in Style”