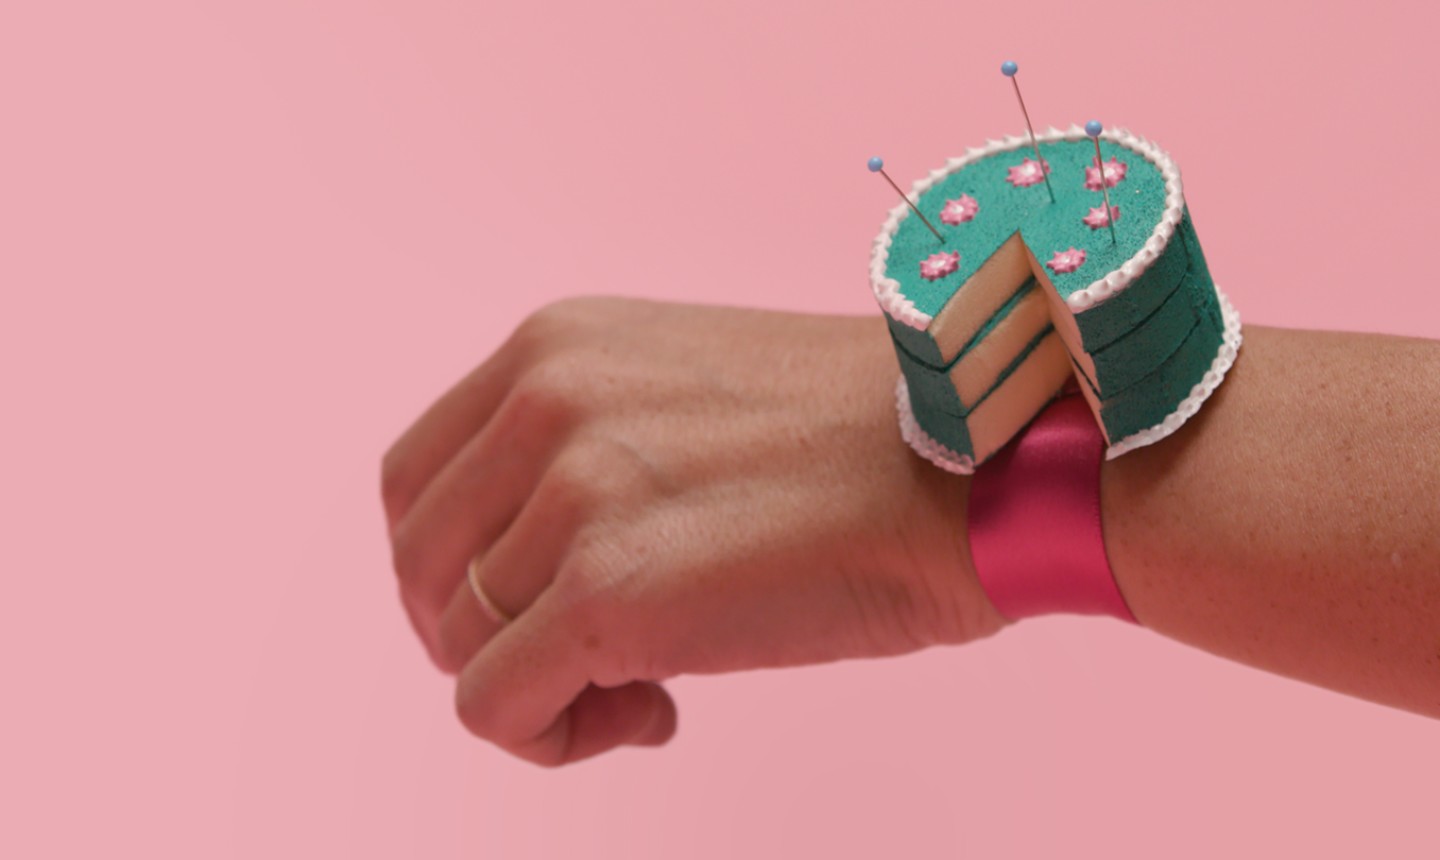
 Put your passion for cake right on your wrist. With this DIY tutorial, your crafting life will officially be sweeter than ever.
Cake Pin Cushion
Level: EasyWhat You Need
- 3 makeup sponges
- Fabric paint
- Paint brush
- Puff paint
- Hot glue gun
- Ribbon
- Velcro dots
- Scissors or X-ACTO knife
Instructions
1. Paint the Sponges
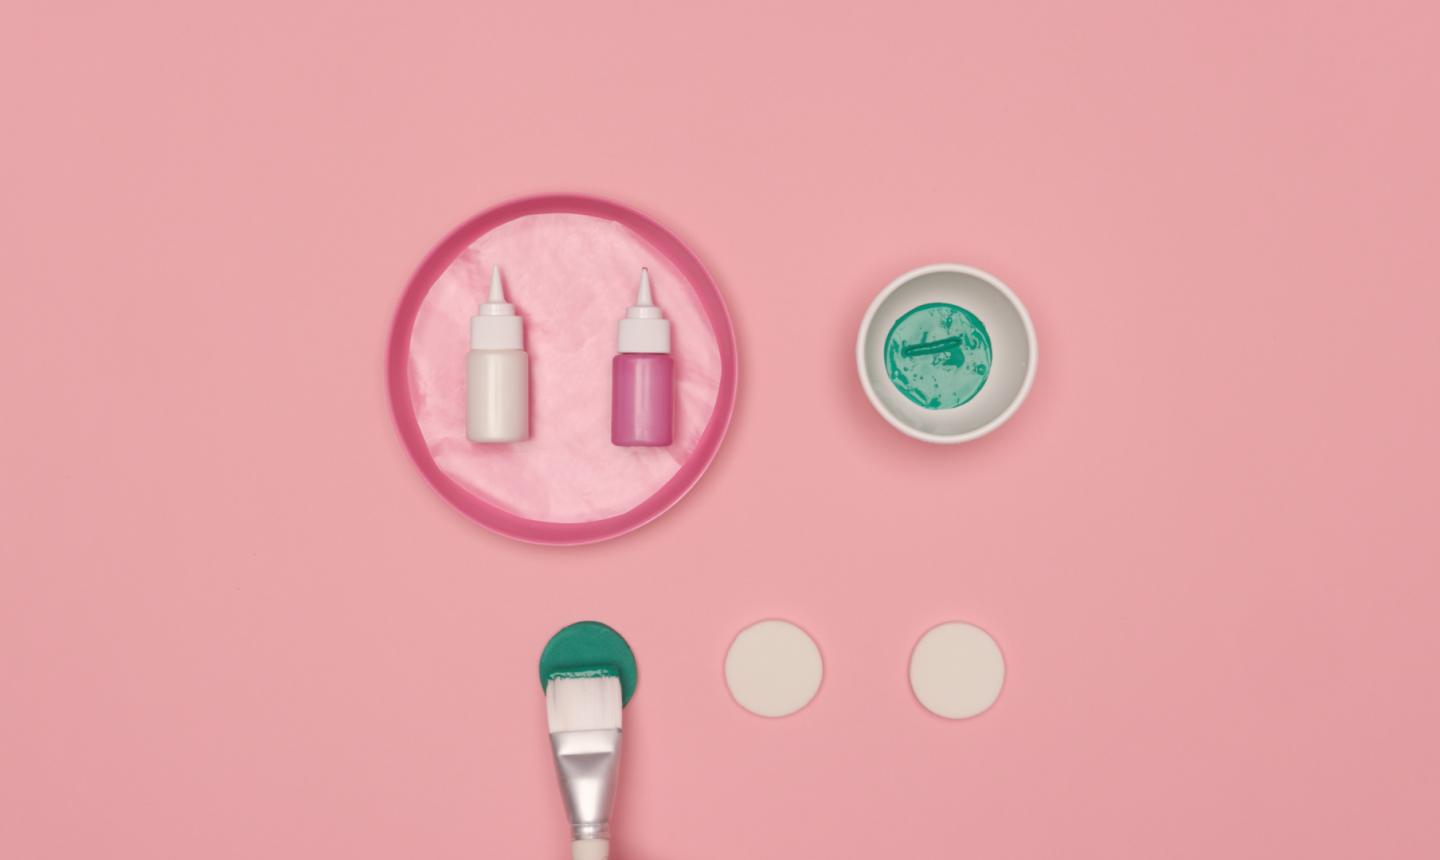 Paint all sides of the makeup sponges your favorite color.
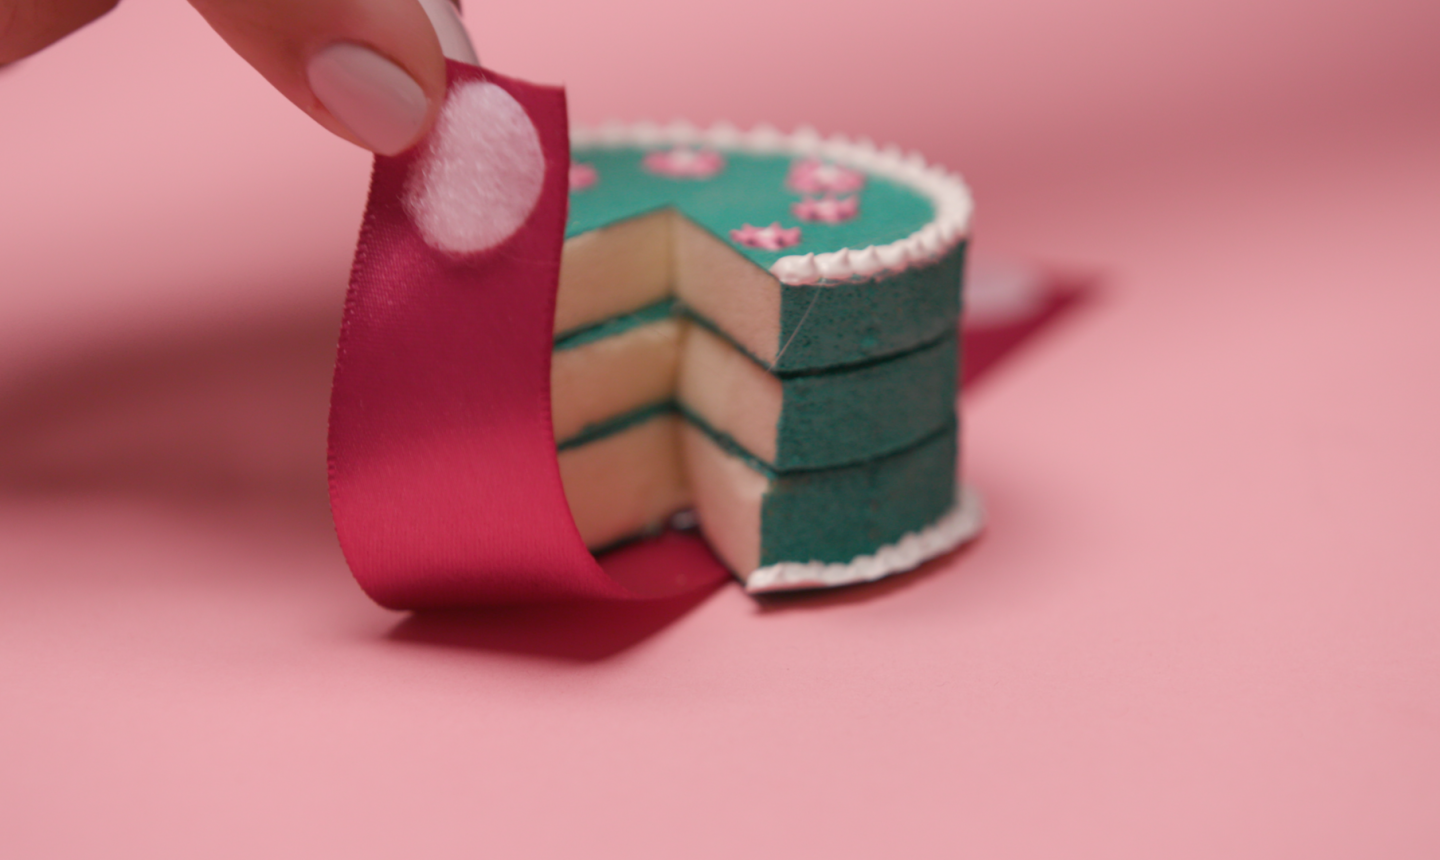
2. Make the Cake
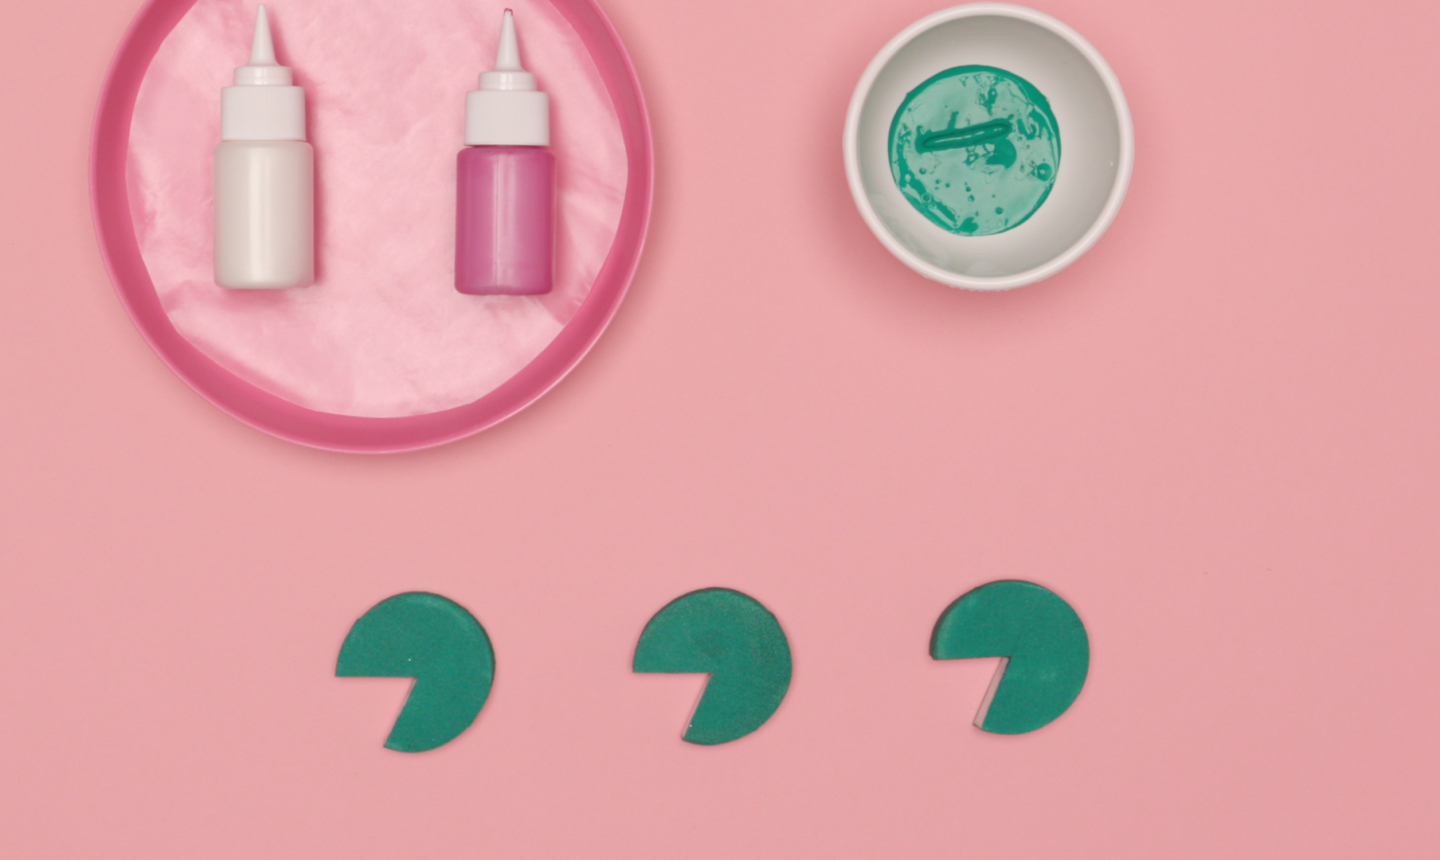 Cut a “slice” out of each makeup sponge. (To make the slices even, it might help to make a template to guide each cut.
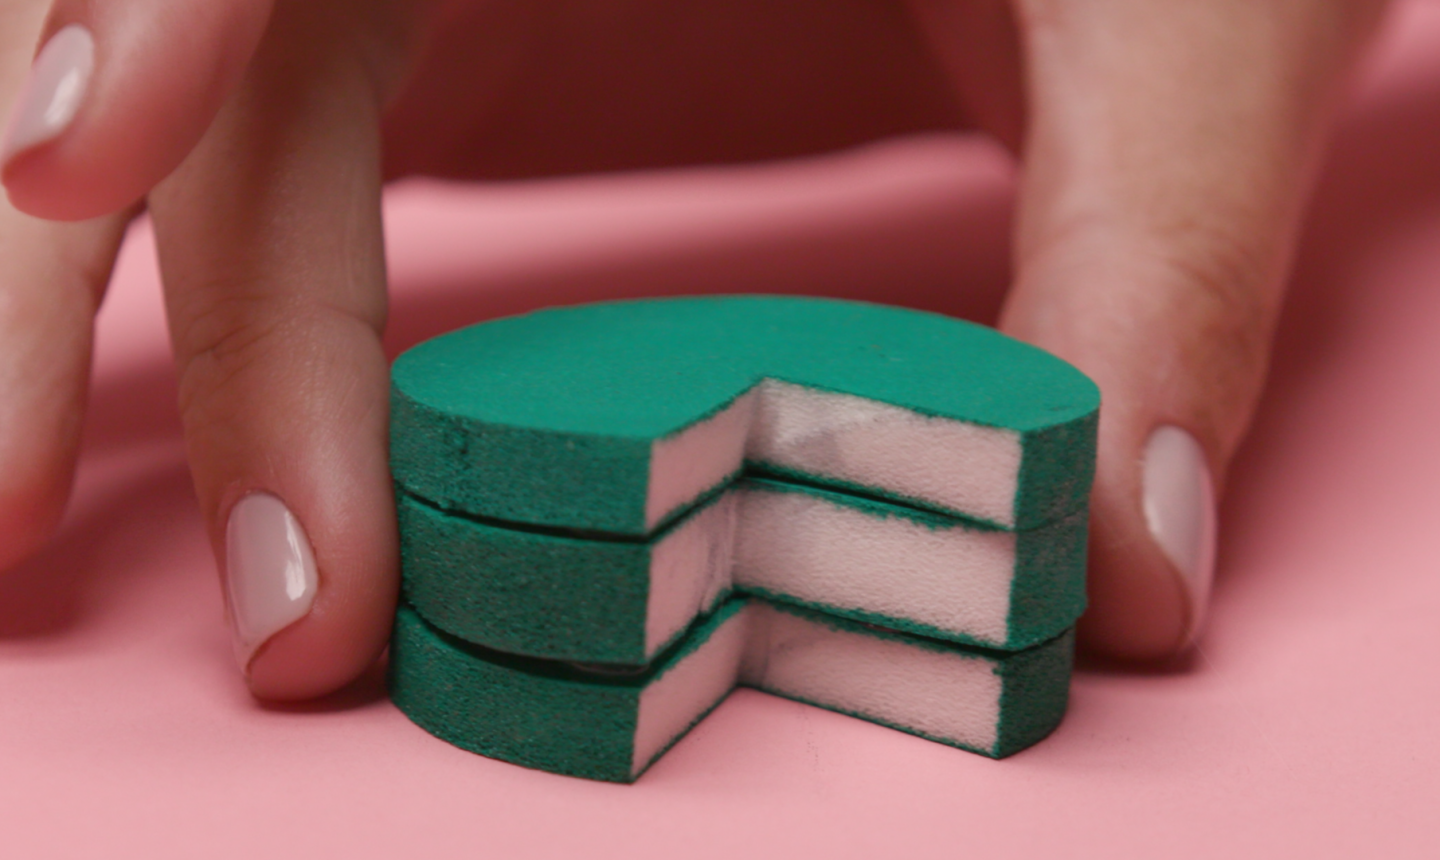 When the pieces are cut and the paint is dry, stack the sponges and secure them with hot glue.
3. Paint With Puff
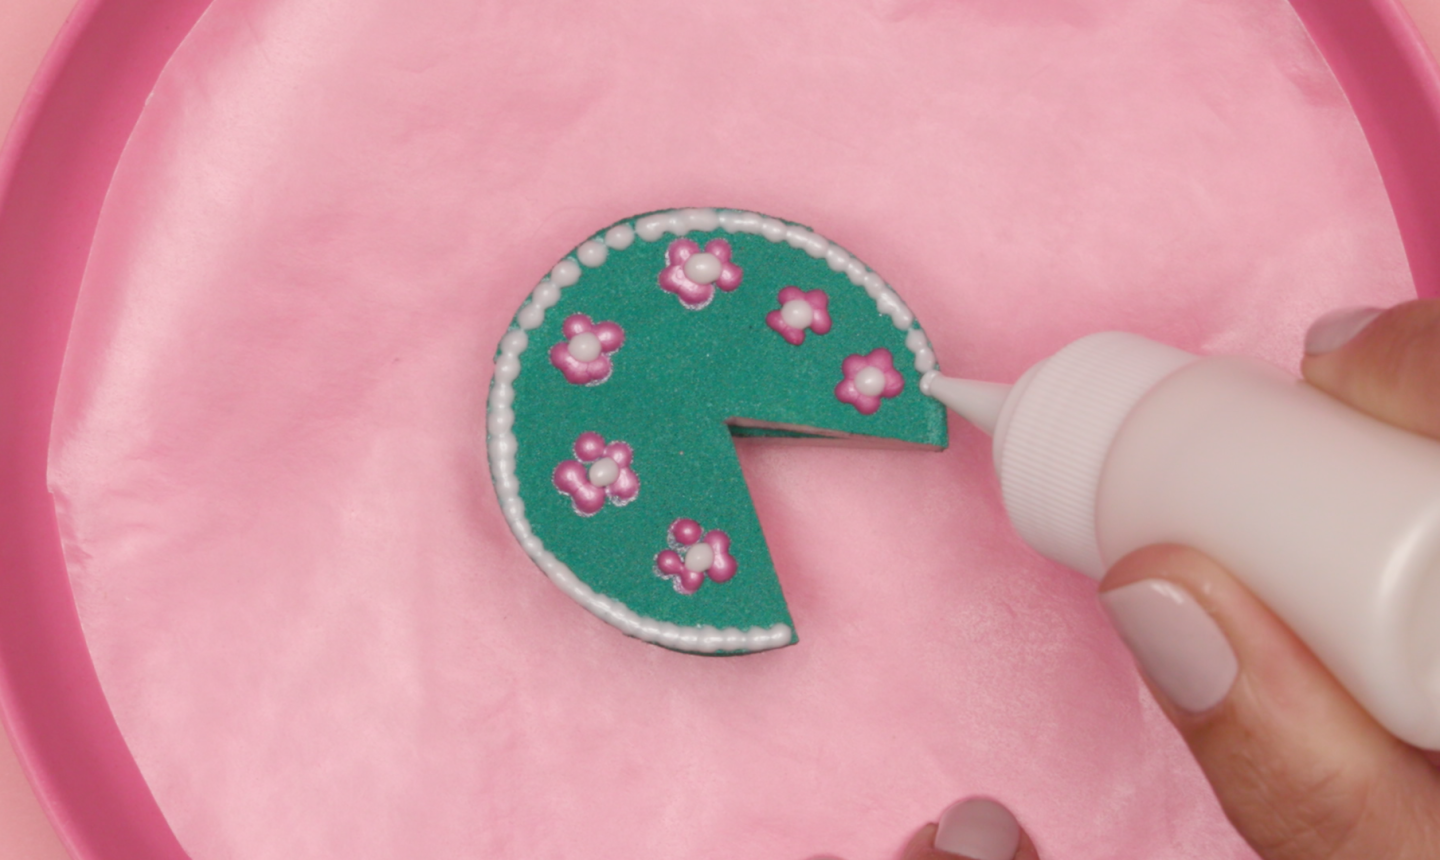 This is where you have all the freedom to deck out your cake however you want. We made cute flowers, but you can make whatever you want. Once it’s painted, let it dry.
4. Glue and Wear
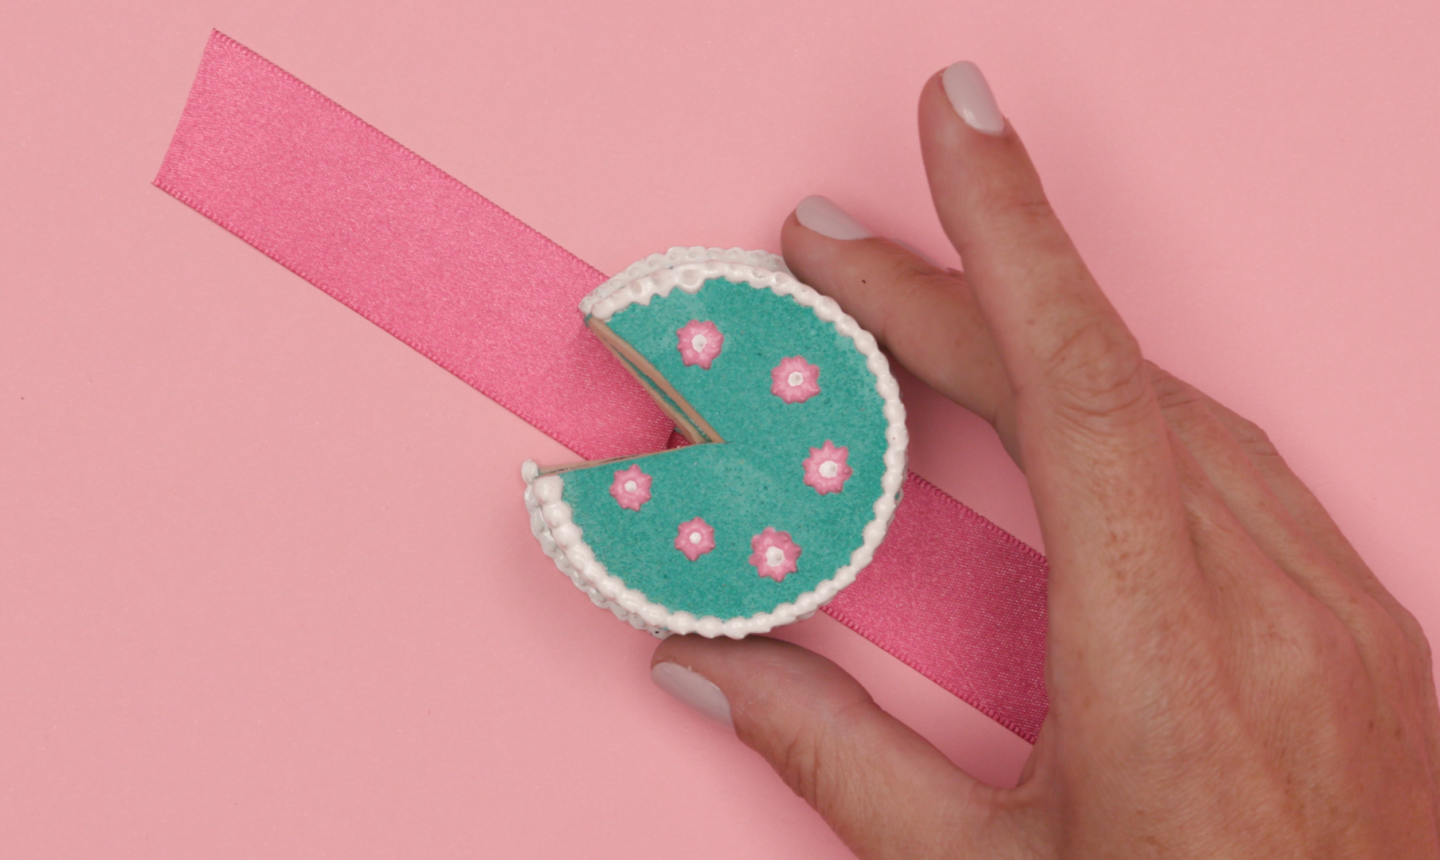 Cut a length of ribbon that fits comfortably, but securely, around your wrist. Glue the cake cushion to the center of the ribbon, so it’ll rest on the back of your wrist.
 Now glue the velcro dots on either end of the ribbon. This might seem super obvious, but it’s easy to make a mistake here: Make sure the velcro lines up so you can wear the ribbon, and be sure to stick one dot on the side facing up, and the other on the side facing down.
 When the glue is dry, just strap the ribbon around your wrist and get to work on your next project.

Will the pins go into the painted sponge easily? </strong>
So cute cant wait to make one for me as well as for my youngest daughter who is a seamstress
I love it I will try to make it myself great idea
Too cute I going to try this!
This cake pin cushion is the cutest pin cushion I have ever seen!!!
Never would have thought of make up sponges!
I love this!!!!
Très joli
Adorable
This is super cute! Absolutely adorable, and it appears to be rather straightforward to construct it. It was a pleasure watching.