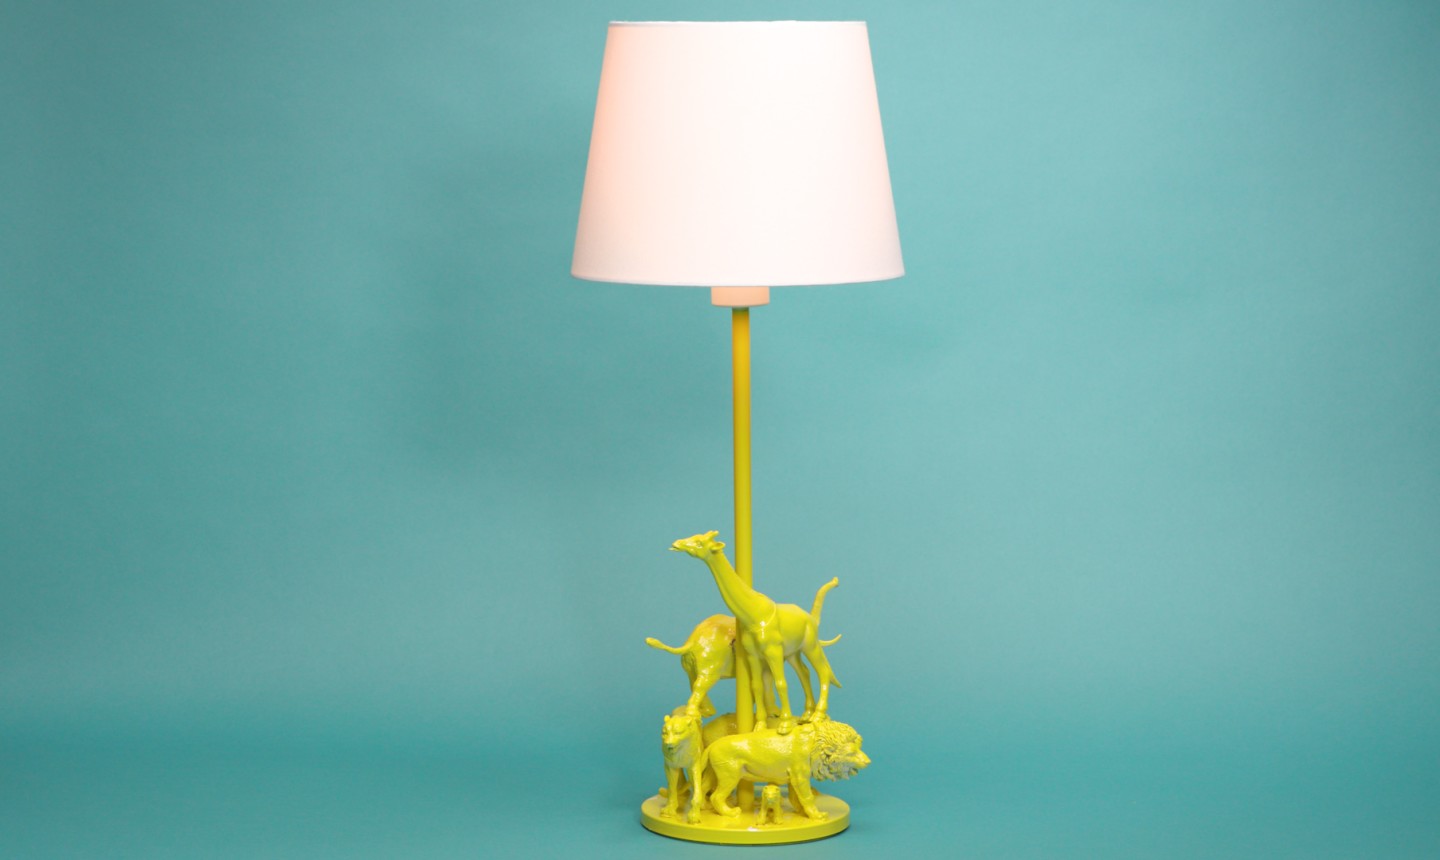
If your kiddos love animals, this is the perfect way to light up their creativity (and their room!) This DIY lamp is incredibly simple to make, and you can customize it with your child's favorite critters and color.
Animal Lamp
Level: Easy
What You Need
Instructions
1. Tape It Up
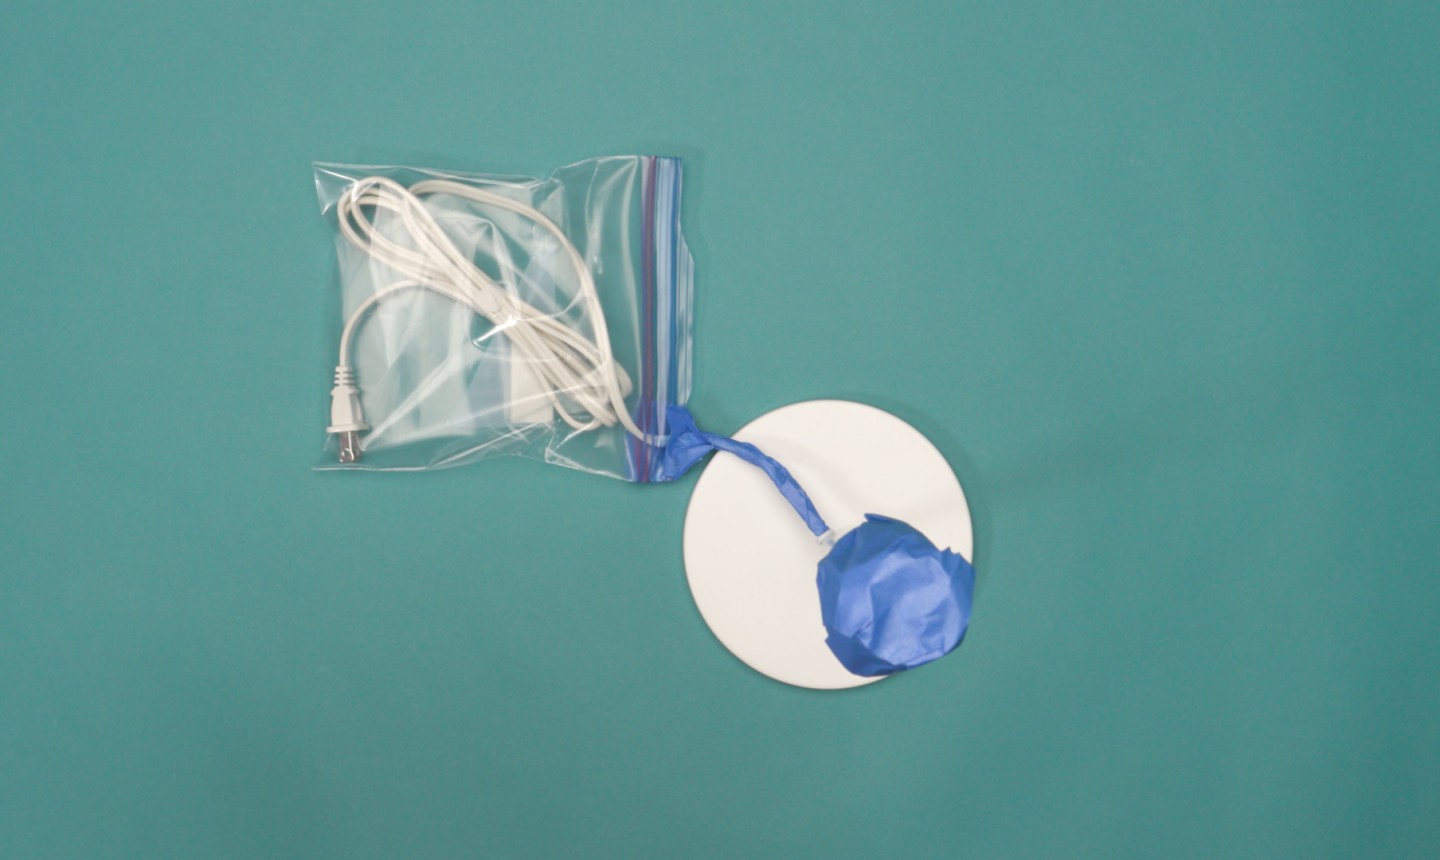
Remove the shade from your lamp. Before you spray paint, you’re going to want to protect the parts that you don’t want to stain — namely, the cord and the top where the light bulb screws in.
Stuff what you can of the cord into a plastic bag, and wind tape around the remaining length of cord. Then, cover the top of the lamp with tape as well.
2. Add the Animals
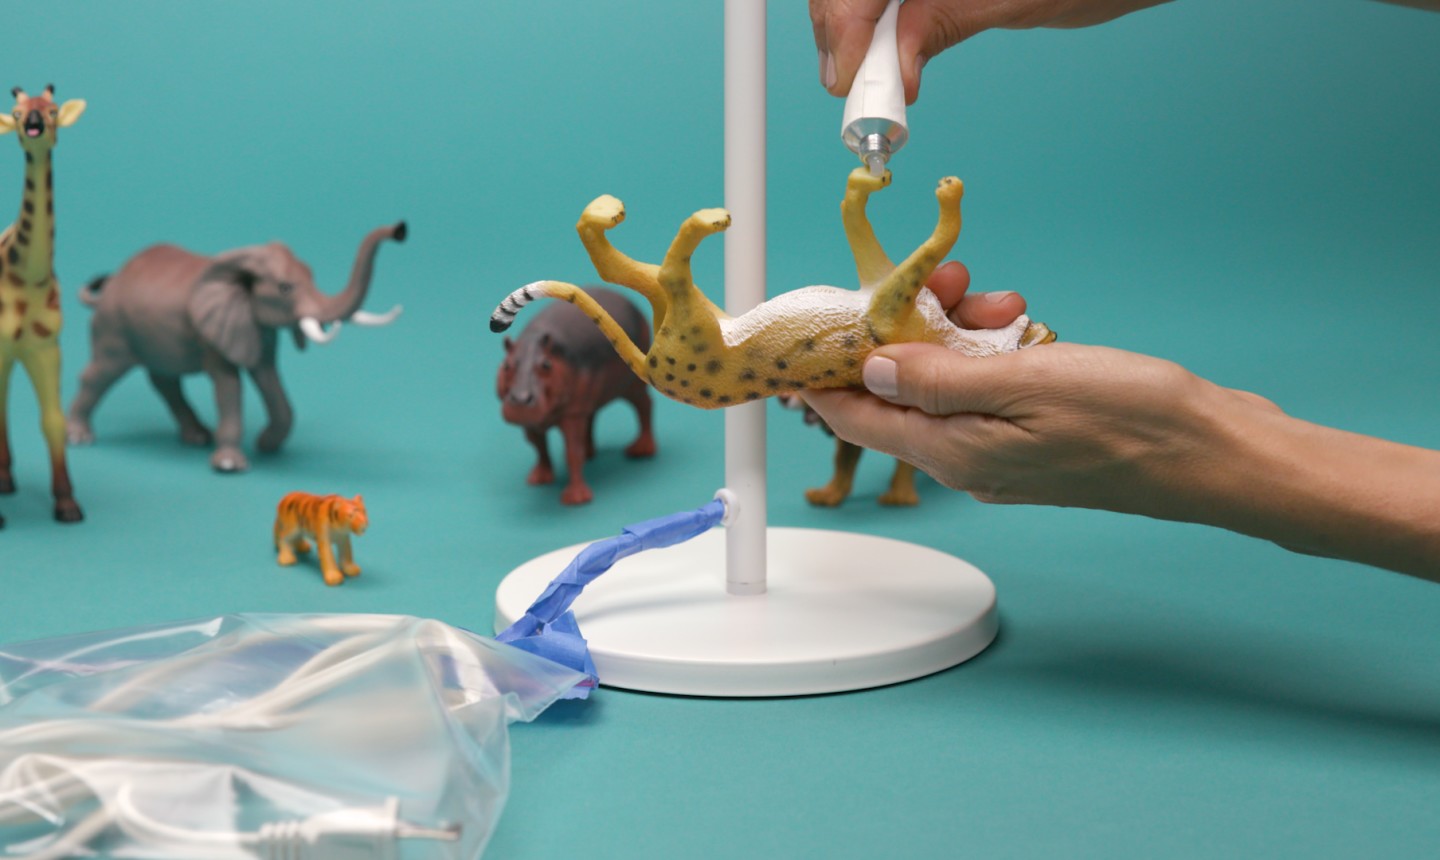
Grab a gaggle of your favorite animals, dab glue onto their paws and hooves, and glue them around the lamp base.
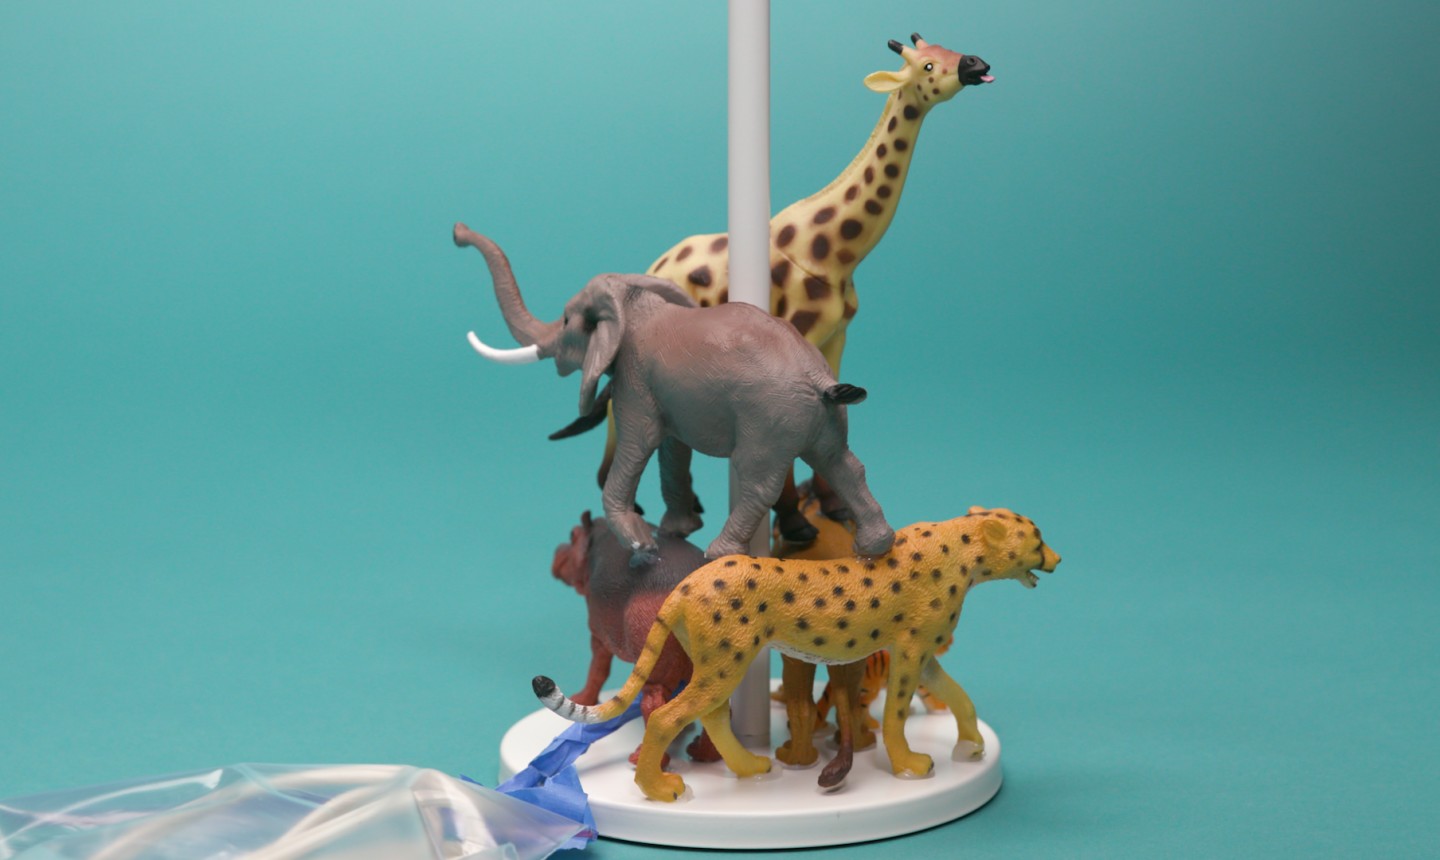
Once the base is covered, stack them one on top of the other until you’re satisfied with your design.
3. Prime
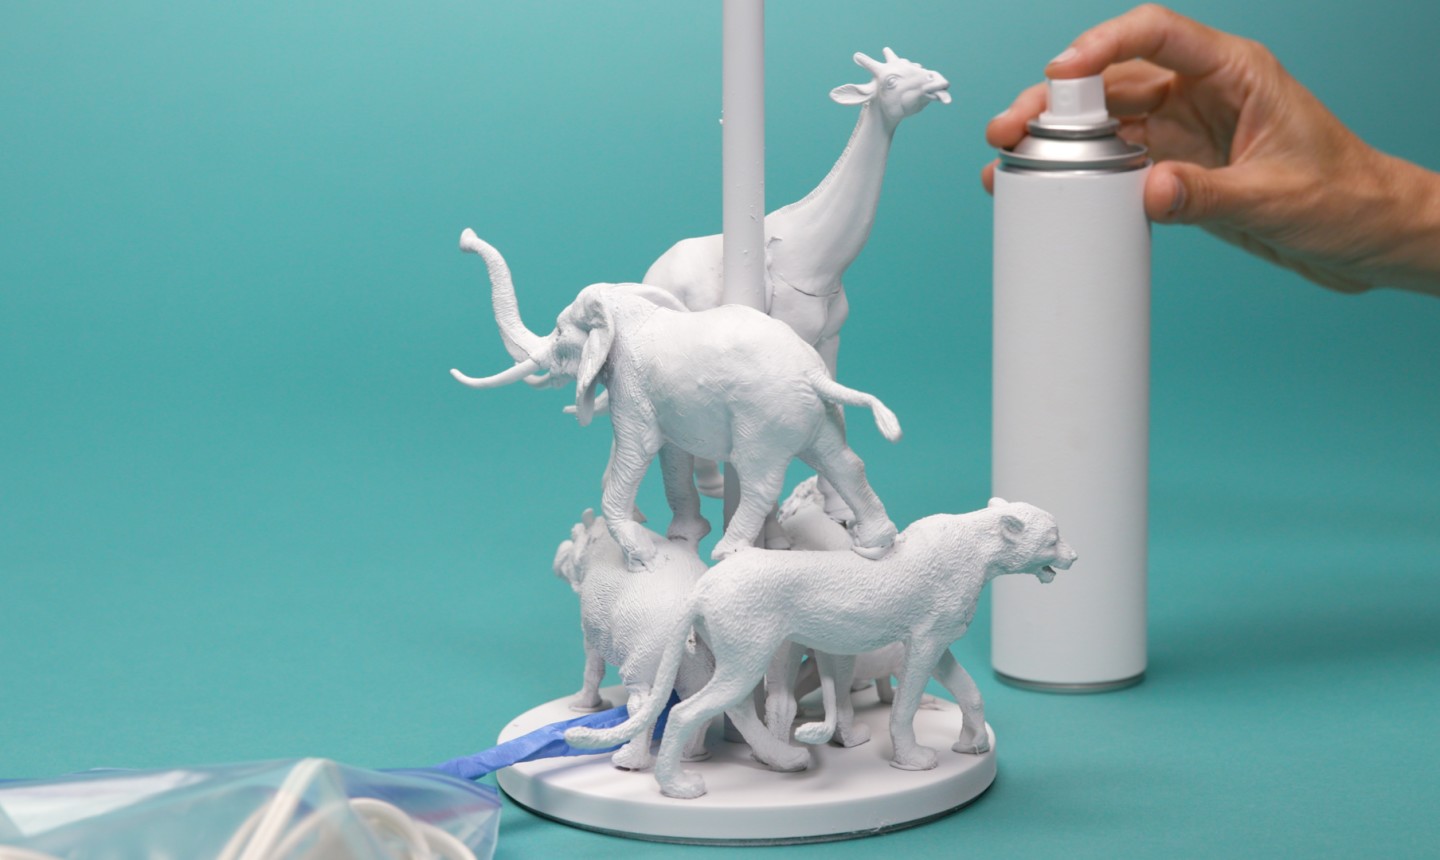
Spray a primer coat. Spray is a must here — trying to achieve a good coating with a brush would be nearly impossible for this design. As always, only spray paint outside or in a well-ventilated area.
Good to Know: It's important to add primer first so the paint you add later looks even.
4. Paint
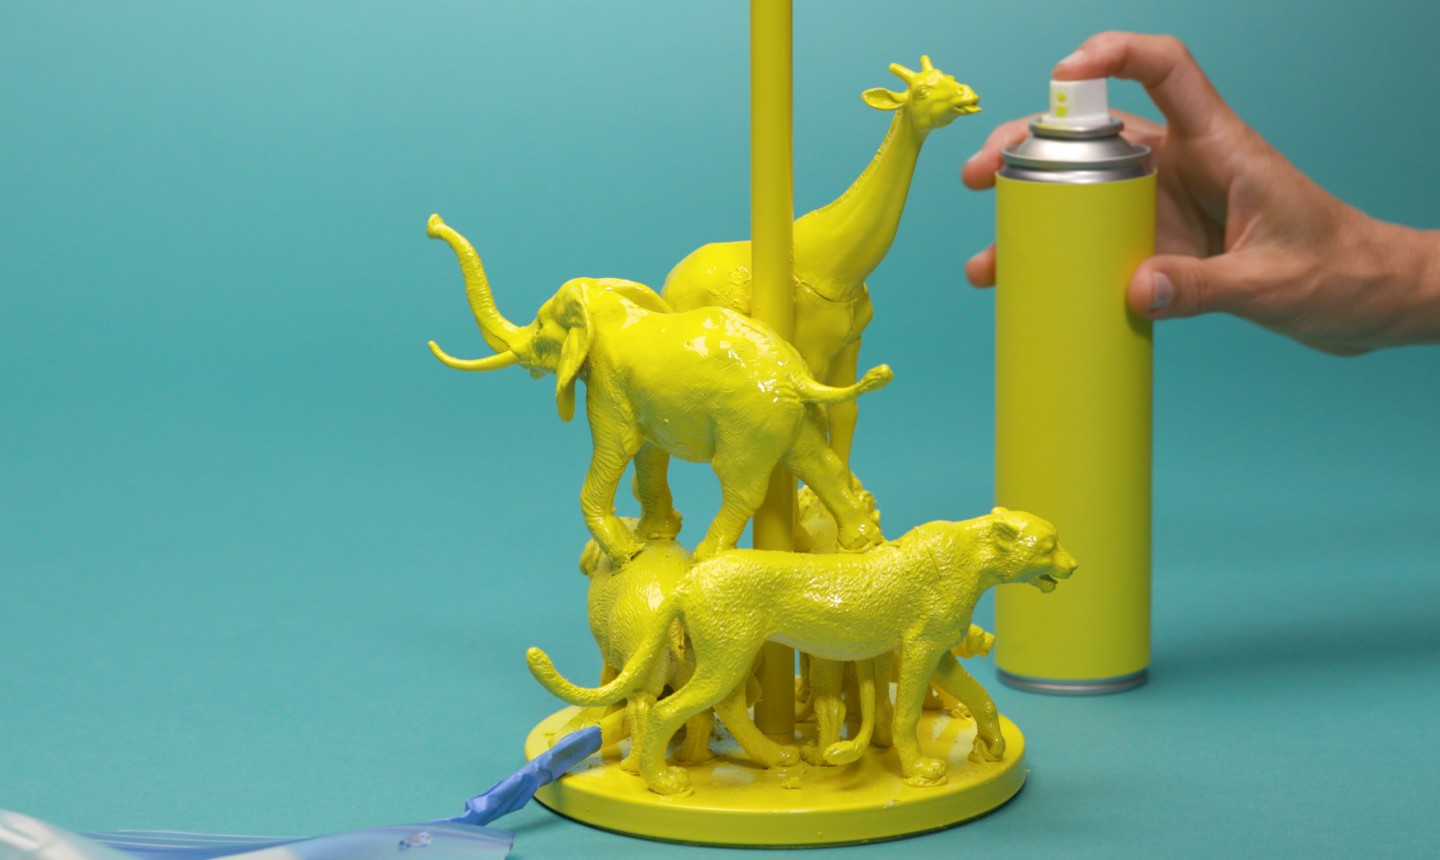
Apply your paint once the primer is dry. Let dry completely, remove the tape and you’re done!

Share tips, start a discussion or ask other students a question. If you have a question for an expert, please click here.
Already a member?
No Responses to “This DIY Animal Lamp Will Make Your Kid's Bedroom Roar”