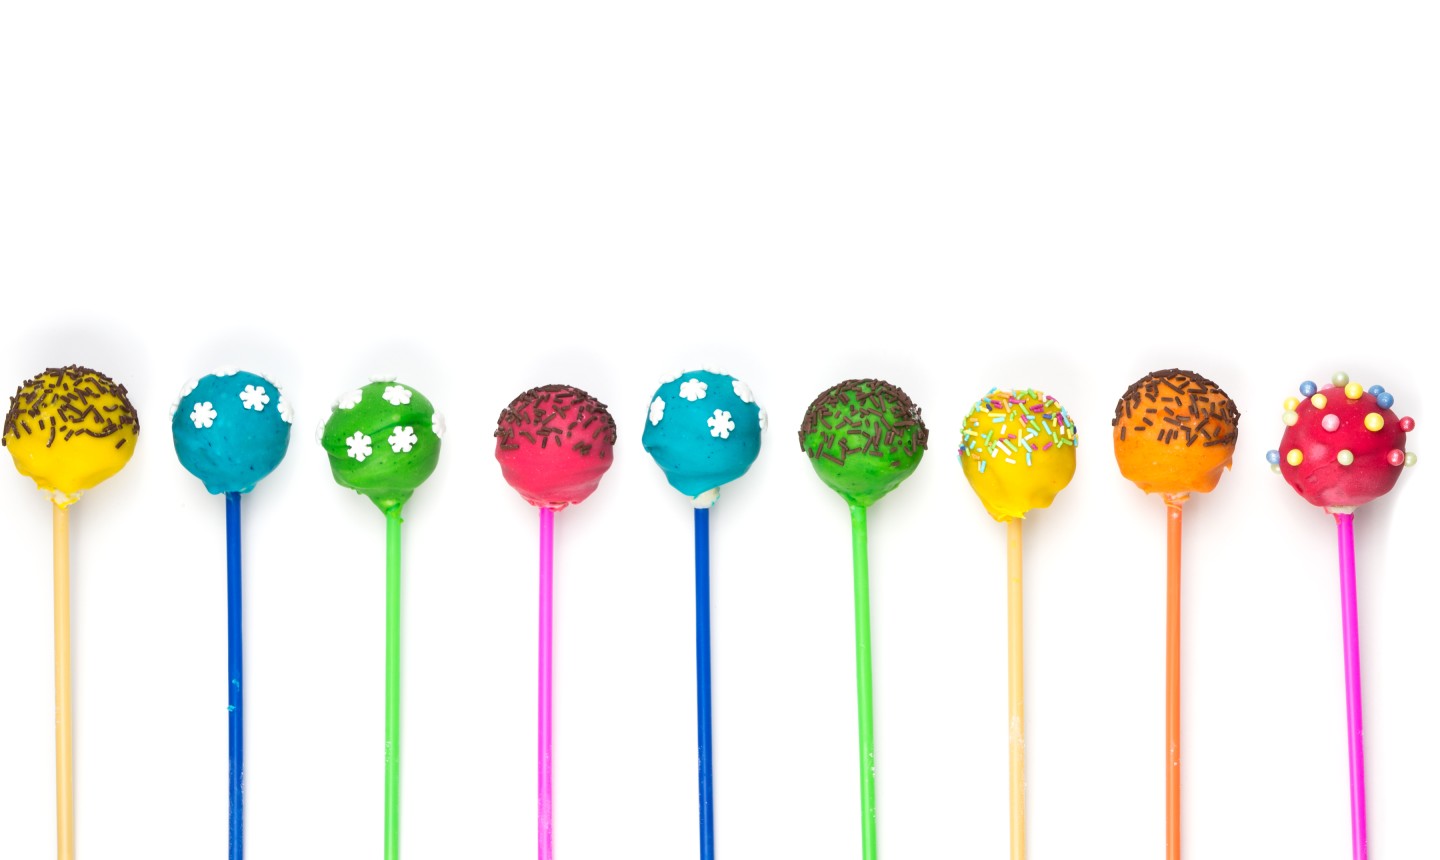
We never met a cake — any cake —we didn't love. But cake pops hold a special place in our hearts. From the kids' parties to fancy weddings, these little cuties are always the bite-size life of the party. And besides looking adorable, they're practical too, since they're so easy to display, serve and eat. Plus, with a sturdy candy coating, they're totally foolproof for making ahead and transporting. Keep reading for tips on how to dip your cake pops.
Candy Coating 101
Candy coating is similar to tempered chocolate but it melts at a higher temperature. Shopping for it can seem a little confusing since candy coating has a bunch of nicknames including "candy melts," "chocolate bark," or even just “chocolate." But it's actually pretty easy to recognize in the store; look for bags of bright-colored discs in a rainbow of hues, and you're on the right track.
Candy-Coated Cake Pops
Level: Easy
What You Need
- Candy melts
- Microwave-safe bowl
- Microwave
- Lollipop sticks
- Cake pop dough
- Cookie scoop
- Toothpicks
- Cake pop stand or styrofoam block
Instructions
1. Make the Cake Pop Dough
Mash up a baked cake (you can use any recipe you love) and combine it with buttercream.
Pro Tip: For every 2 cups of cake, use 1 tablespoon buttercream. Adjust this ratio until you have a doughy consistency you can roll into a ball.
When done, use a cookie scoop to create identical cake balls and place them in the fridge to chill for about 10 minutes.
2. Melt the Wafers
To melt, fill the bowl with candy wafers. Microwave for 1 minute at 50 percent power, then stir. Even if it doesn't look like anything has happened, stir to move the wafers around to avoid scorching them. Microwave again for 30 seconds at 50 percent power, and stir. Repeat at 30 second intervals at 50 percent power until the wafers have completely melted. Add more wafers to fill the bowl, if you wish, but don’t forget to stir at every 30 second interval.
3. Thin the Coating, if Needed
If the candy coating seems too thick, you can fix that by stirring in some paramount crystals, which are made from the same oils contained in candy wafers. Add a tablespoon of paramount crystals at a time to the warm candy coating and stir until the crystals melt completely. You want your melted candy melts to have a loose, fluid consistency , kind of like a can of paint. Since different colors and brands of candy wafers behave differently, this may take a bit of experimenting. Just keep fiddling until it feels right!
4. Pause
To avoid cracks in your finished pops, it's usually best to let the candy coating rest for about 5 minutes after heating and before dipping. The closer to room temperature the coating is, the better.
5. Insert the Stick
Dip about ⅓" of the lollipop stick in the melted candy coating, then insert the stick into a cake ball until it’s about halfway into the ball. Dipping the stick in candy coating first helps "glue" the cake ball and the stick together, and also helps prevent the ball from sliding down the stick later.
Insert sticks in all the cake balls before moving onto the next step. If it's warm in your kitchen, pop the "naked" cake pops in the fridge for a few minutes before proceeding.
6. Get Dippin'
OK, this is the legit fun part: dipping your cake pops! Hold the cake pop upside down. In one motion, dunk it into the candy coating until you see the coating cover the entire ball and meet the stick. Then lift up the pop and encourage the excess coating to flow back into the bowl by making an up-and-down motion with your arm. Now turn the pop right-side-up and give it a little twist, rotating the pop at an angle to help the coating settle evenly around the cake ball.
7. Tidy Up
Use a toothpick to help guide any excess coating off the cake pop near the stick if needed. You can also use a toothpick to puncture any noticeable air bubbles in the coating.
8. Let Them Dry
Stick your finished pop in a cake pop stand or styrofoam block, then repeat the process until all of your pops are coated. Now stand back and admire those beauties until the coating is completely dry and hard. This timing will vary depending on the brand of candy melts you use, but is usually between 10 and 30 minutes. You can always pop the pops in the fridge if you're in a hurry.

can you use coconut to thin coating?
Can’t wait to try!
Thank you for these instructions, I am helping my granddaughter who is interested in making lollipop cakes 😊
<strong>Ticket #44846</strong> Can you thin candy melts with oil or shortening? </strong>
Approximately how many cake pops will you get out of a cake box mix?
Interested in being a member
Send me crafts and recipes
I would like to make these and sell them for different fundraisers. I went to school to be a pastry chef. So I would live to try to make them.
Why do my cake pops fall off the stick when I dip them in the candy melts? I put them in the fridge to harden before dipping. Thank you.
Want to learn