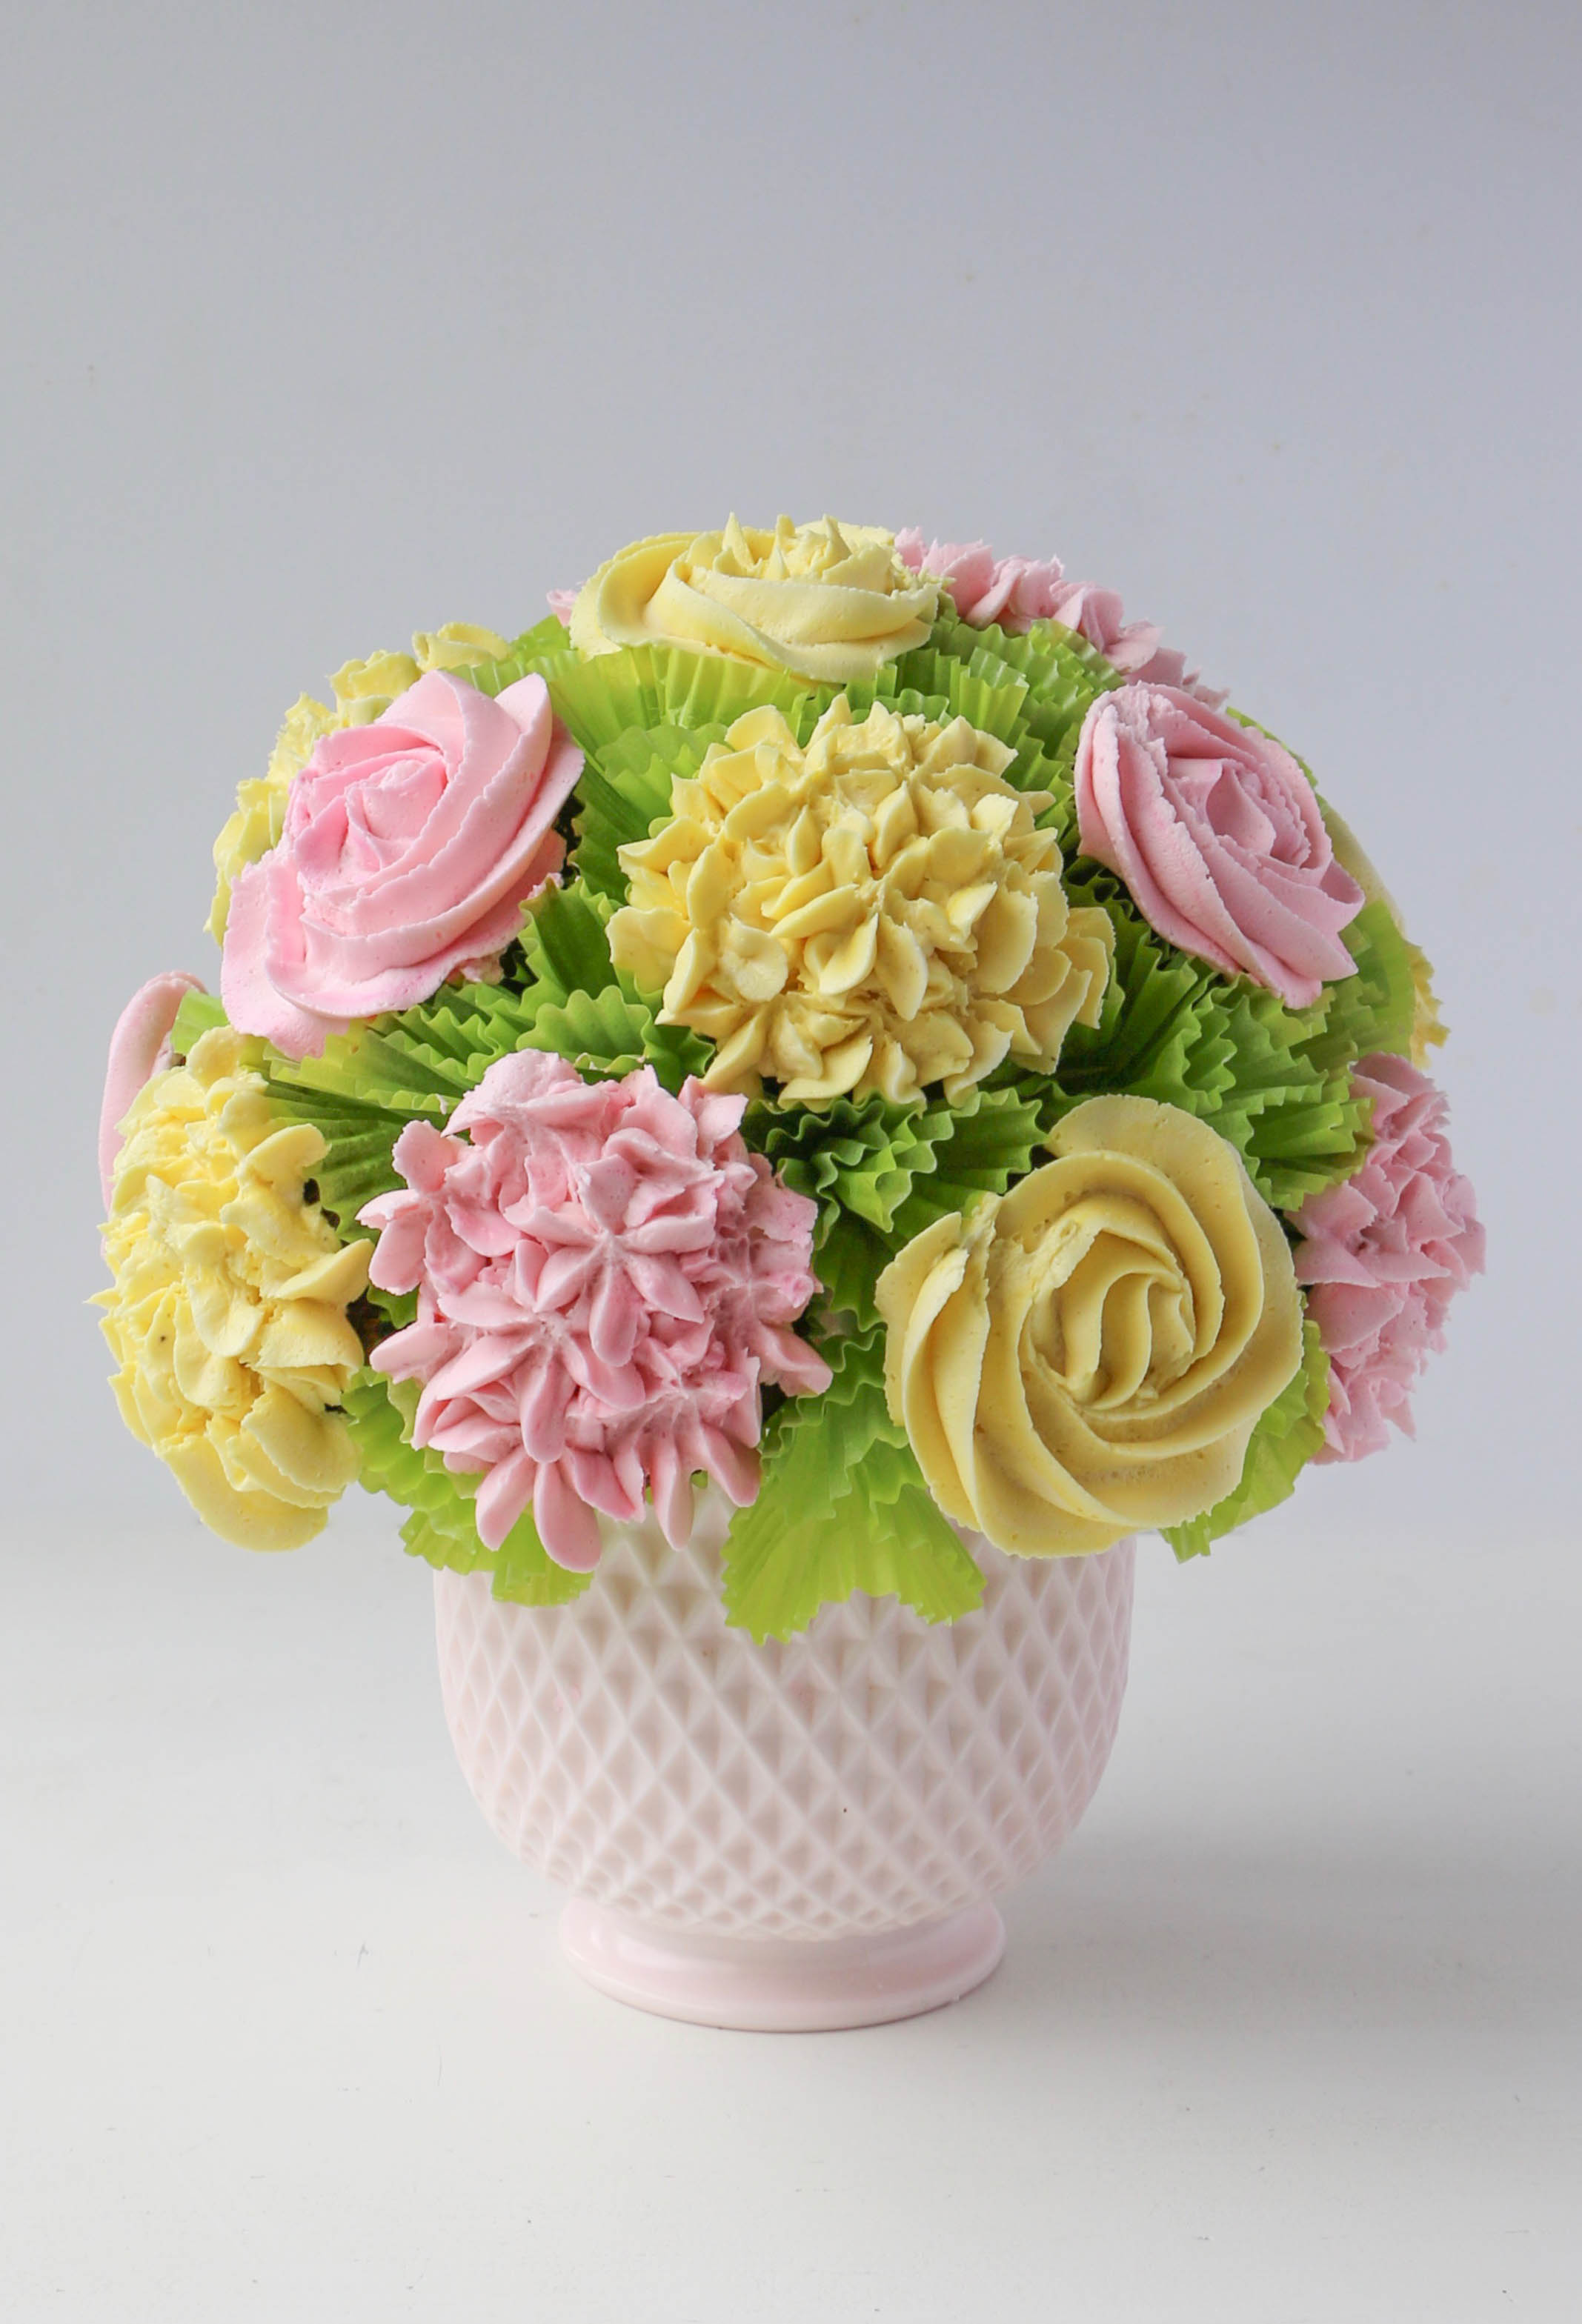
A cupcake bouquet is a sweet and stunning alternative to a traditional floral arrangement — doing double duty as centerpiece and dessert. Make the base in advance and customize the floral colors to match the theme of your next baby shower, bridal shower or birthday bash.
How to make a sweet & stunning cupcake bouquet:
What you need:
- Vase or flower pot
- Styrofoam ball
- Toothpicks
- Paper cups
- Scissors
- Sticky putty (poster putty)
- Hot glue gun (or other glue)
- Cupcakes baked in green liners
- Extra green cupcake liners
- American buttercream (tinted in whatever colors you'd like your flowers to be)
- Piping bags
- Large star tip
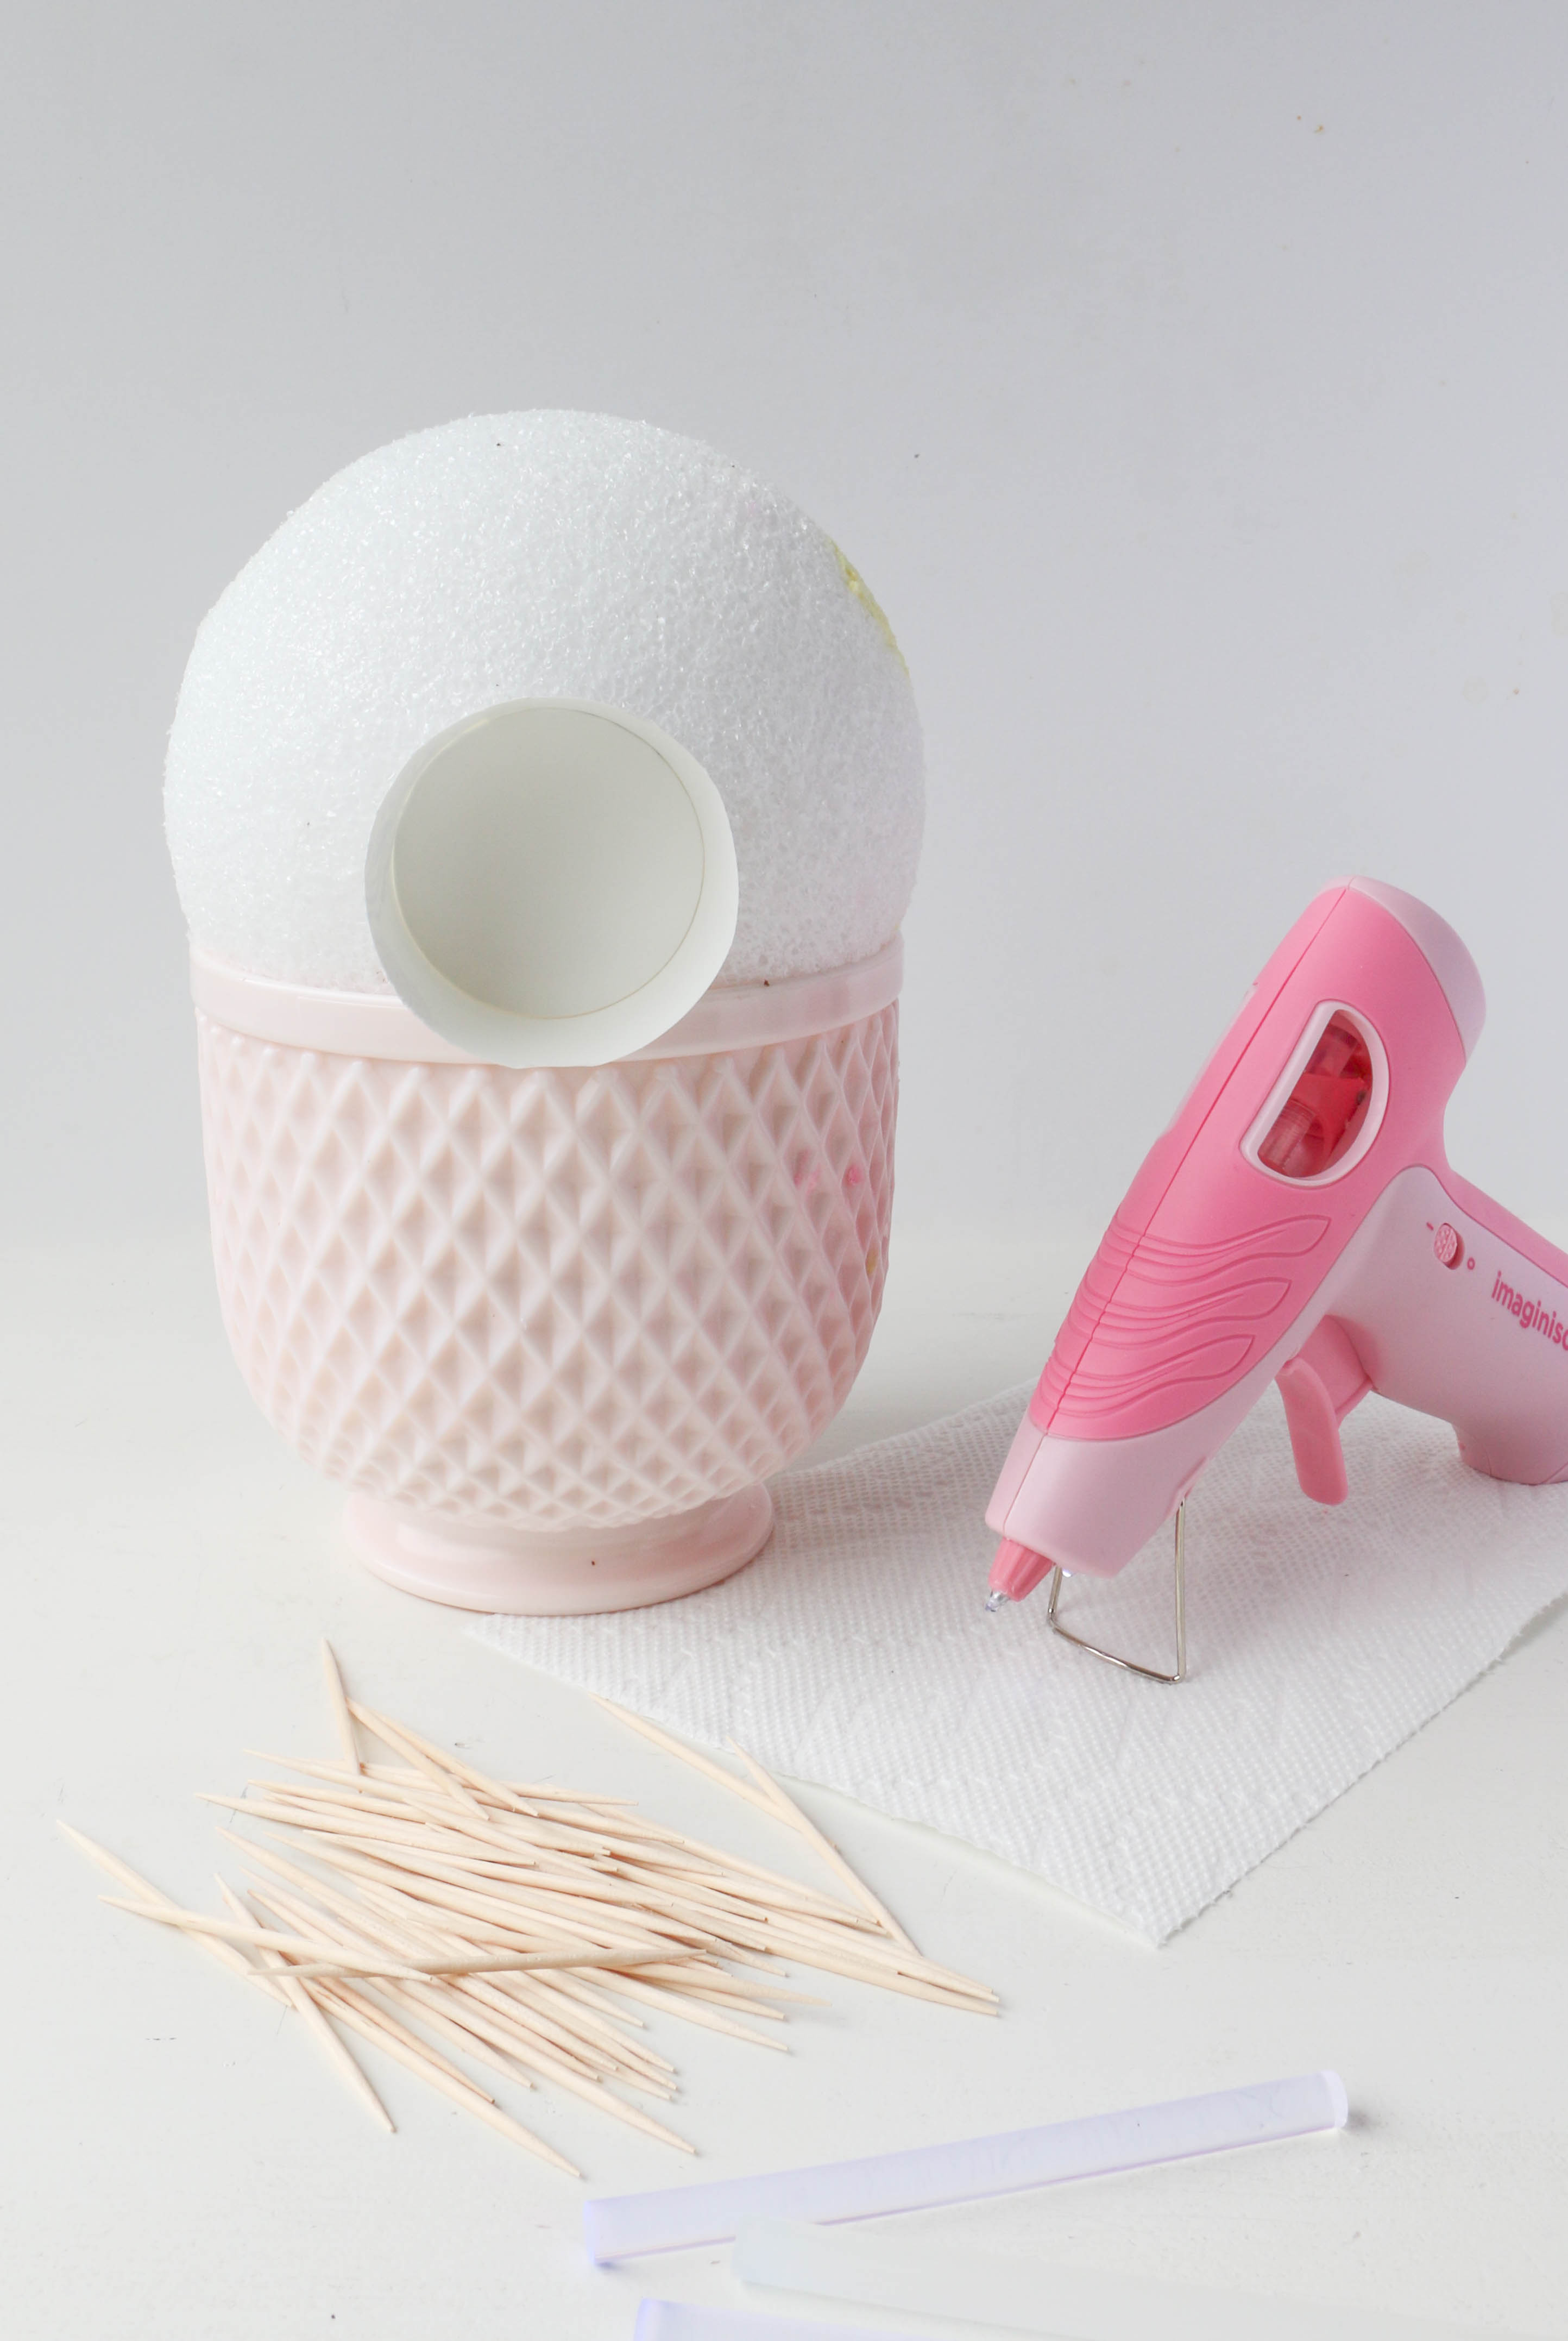
Step 1: Build the base
Taking the time to build a solid bouquet base will save you from frustration and heartbreak when transporting your cupcake bouquet.

Place a styrofoam ball into a flower pot or wide-mouth vase. The styrofoam ball should be the same diameter as the opening of the vase or a tiny bit smaller. Anchor the ball to the vase with a little bit of sticky putty or hot glue if you plan on reusing your cupcake bouquet base. I used a 6-inch round ball for my bouquet base.
Step 2: Attach the paper cups
The extra steps to cut and glue paper cups to the styrofoam ball may seem like a pain, but toothpicks alone will not do the job! The weight of the frosting will cause the toothpicks to tear through the cake base and cupcake wrapper.
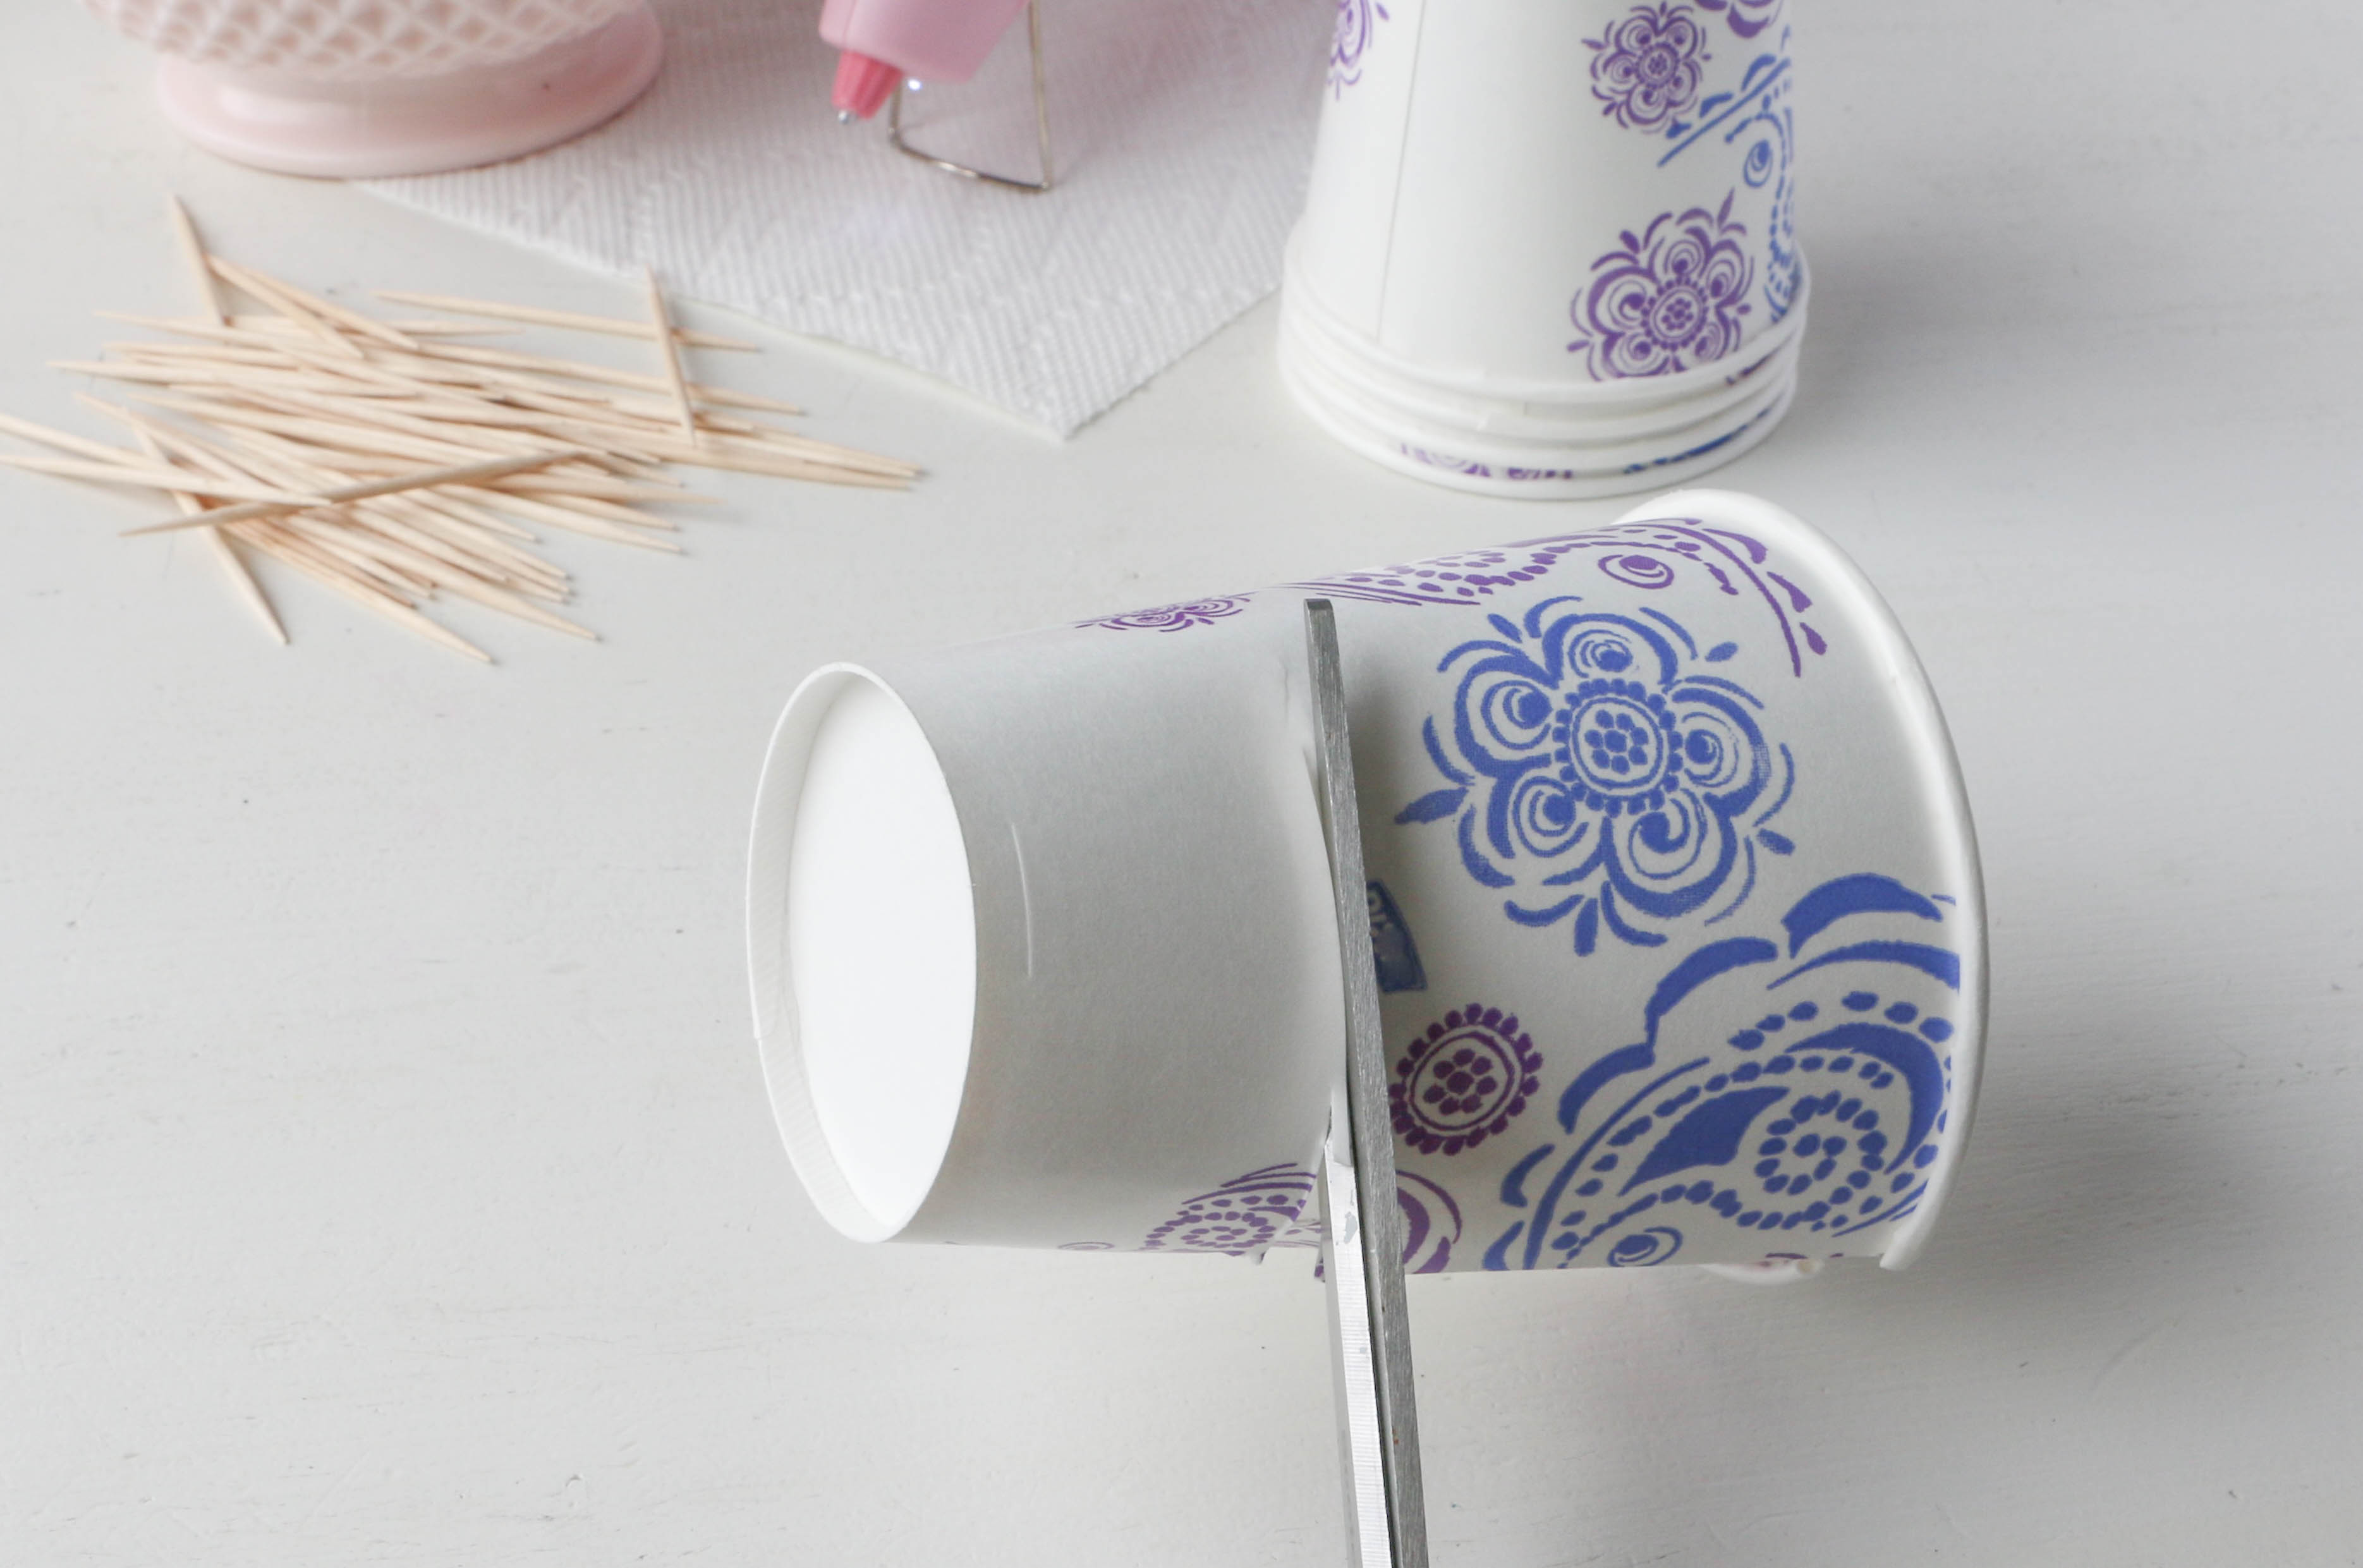 Cut off the bottom of a paper cup, leaving the sides about 1" tall. Repeat with enough cups for all of your cupcakes.
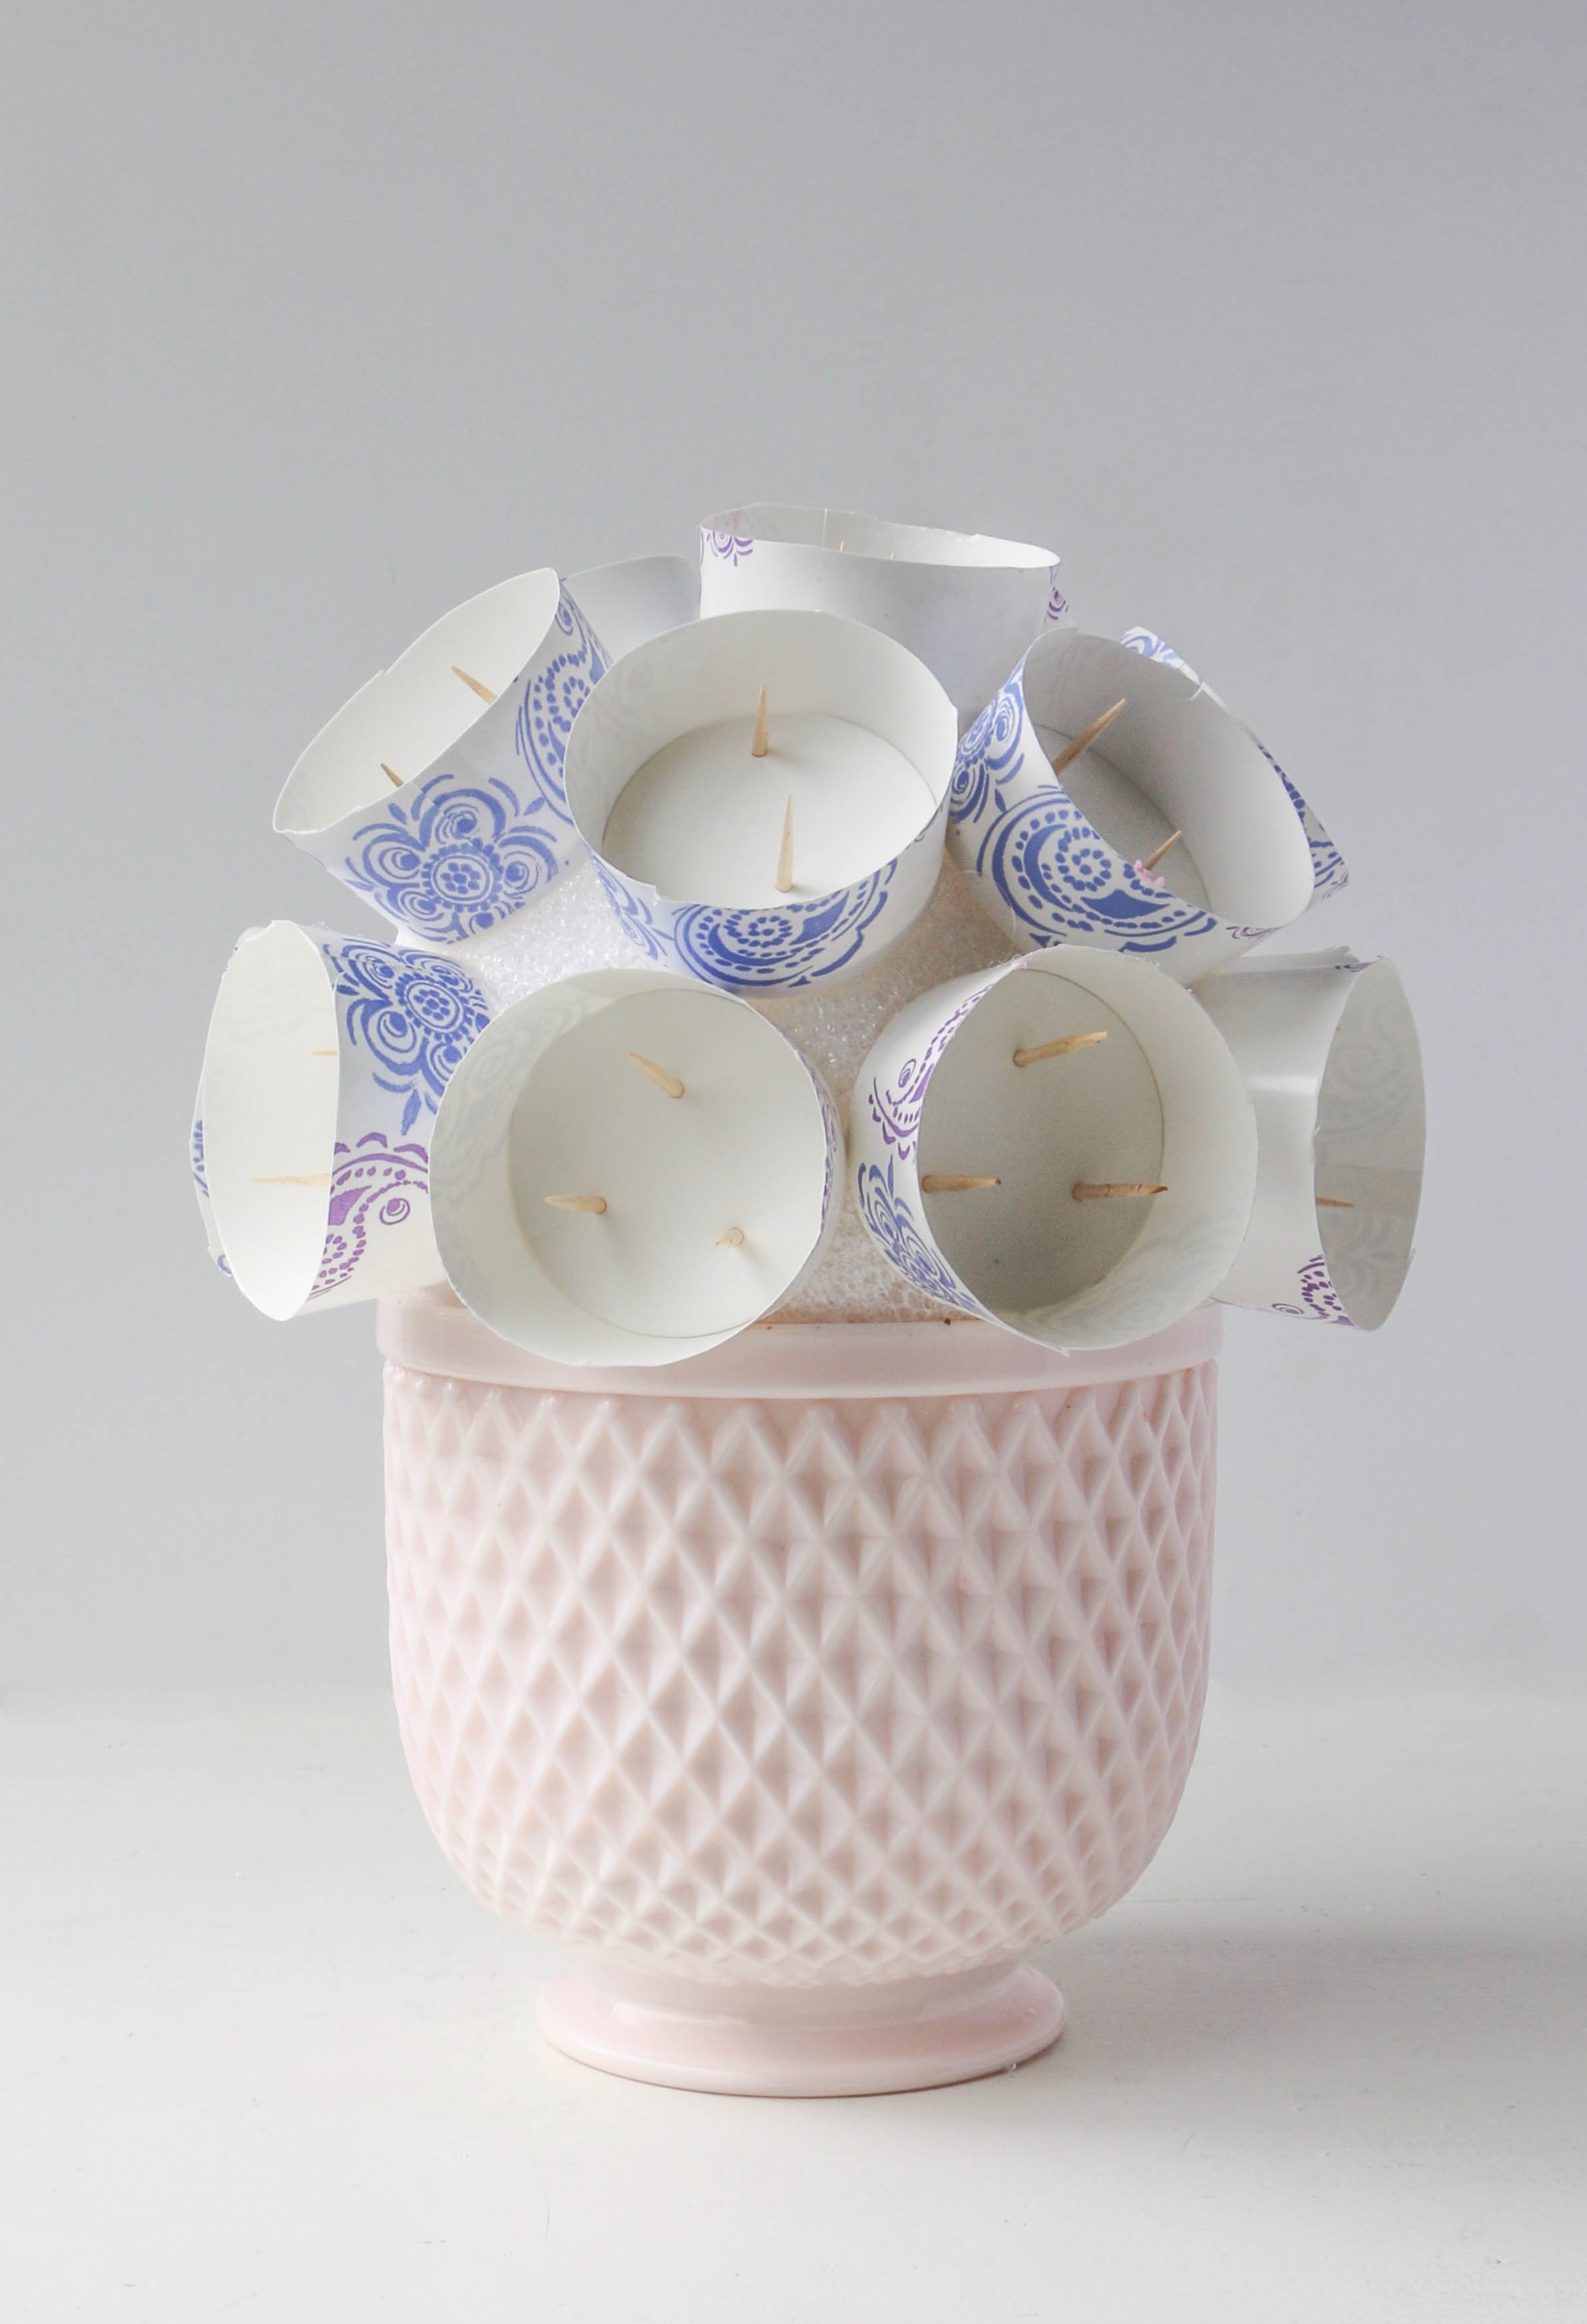
Add a drop of hot glue onto the bottom of one of the cut cups. Glue the cup to the styrofoam ball so that the edge sits on the edge of the vase.
Push a tooth pick through the bottom of the cup into the styrofoam ball. Leave about 1/2" of toothpick sticking up. Insert two more toothpicks to create a triangular shape.
Repeat with more cups and toothpicks all the way around the bottom edge. Then fill in the top of the ball. Use three toothpicks in the cups on the side of the ball and two toothpicks in the cups on top of the ball. Place the cups as close to each other as possible, but don't worry if there are some gaps. We'll fill them in later.
Step 3: Add the cupcakes
Place cupcakes into the cups. Make sure all of the toothpicks in the cup pierce through the cupcake paper.


Step 4: Fill in the empty spaces
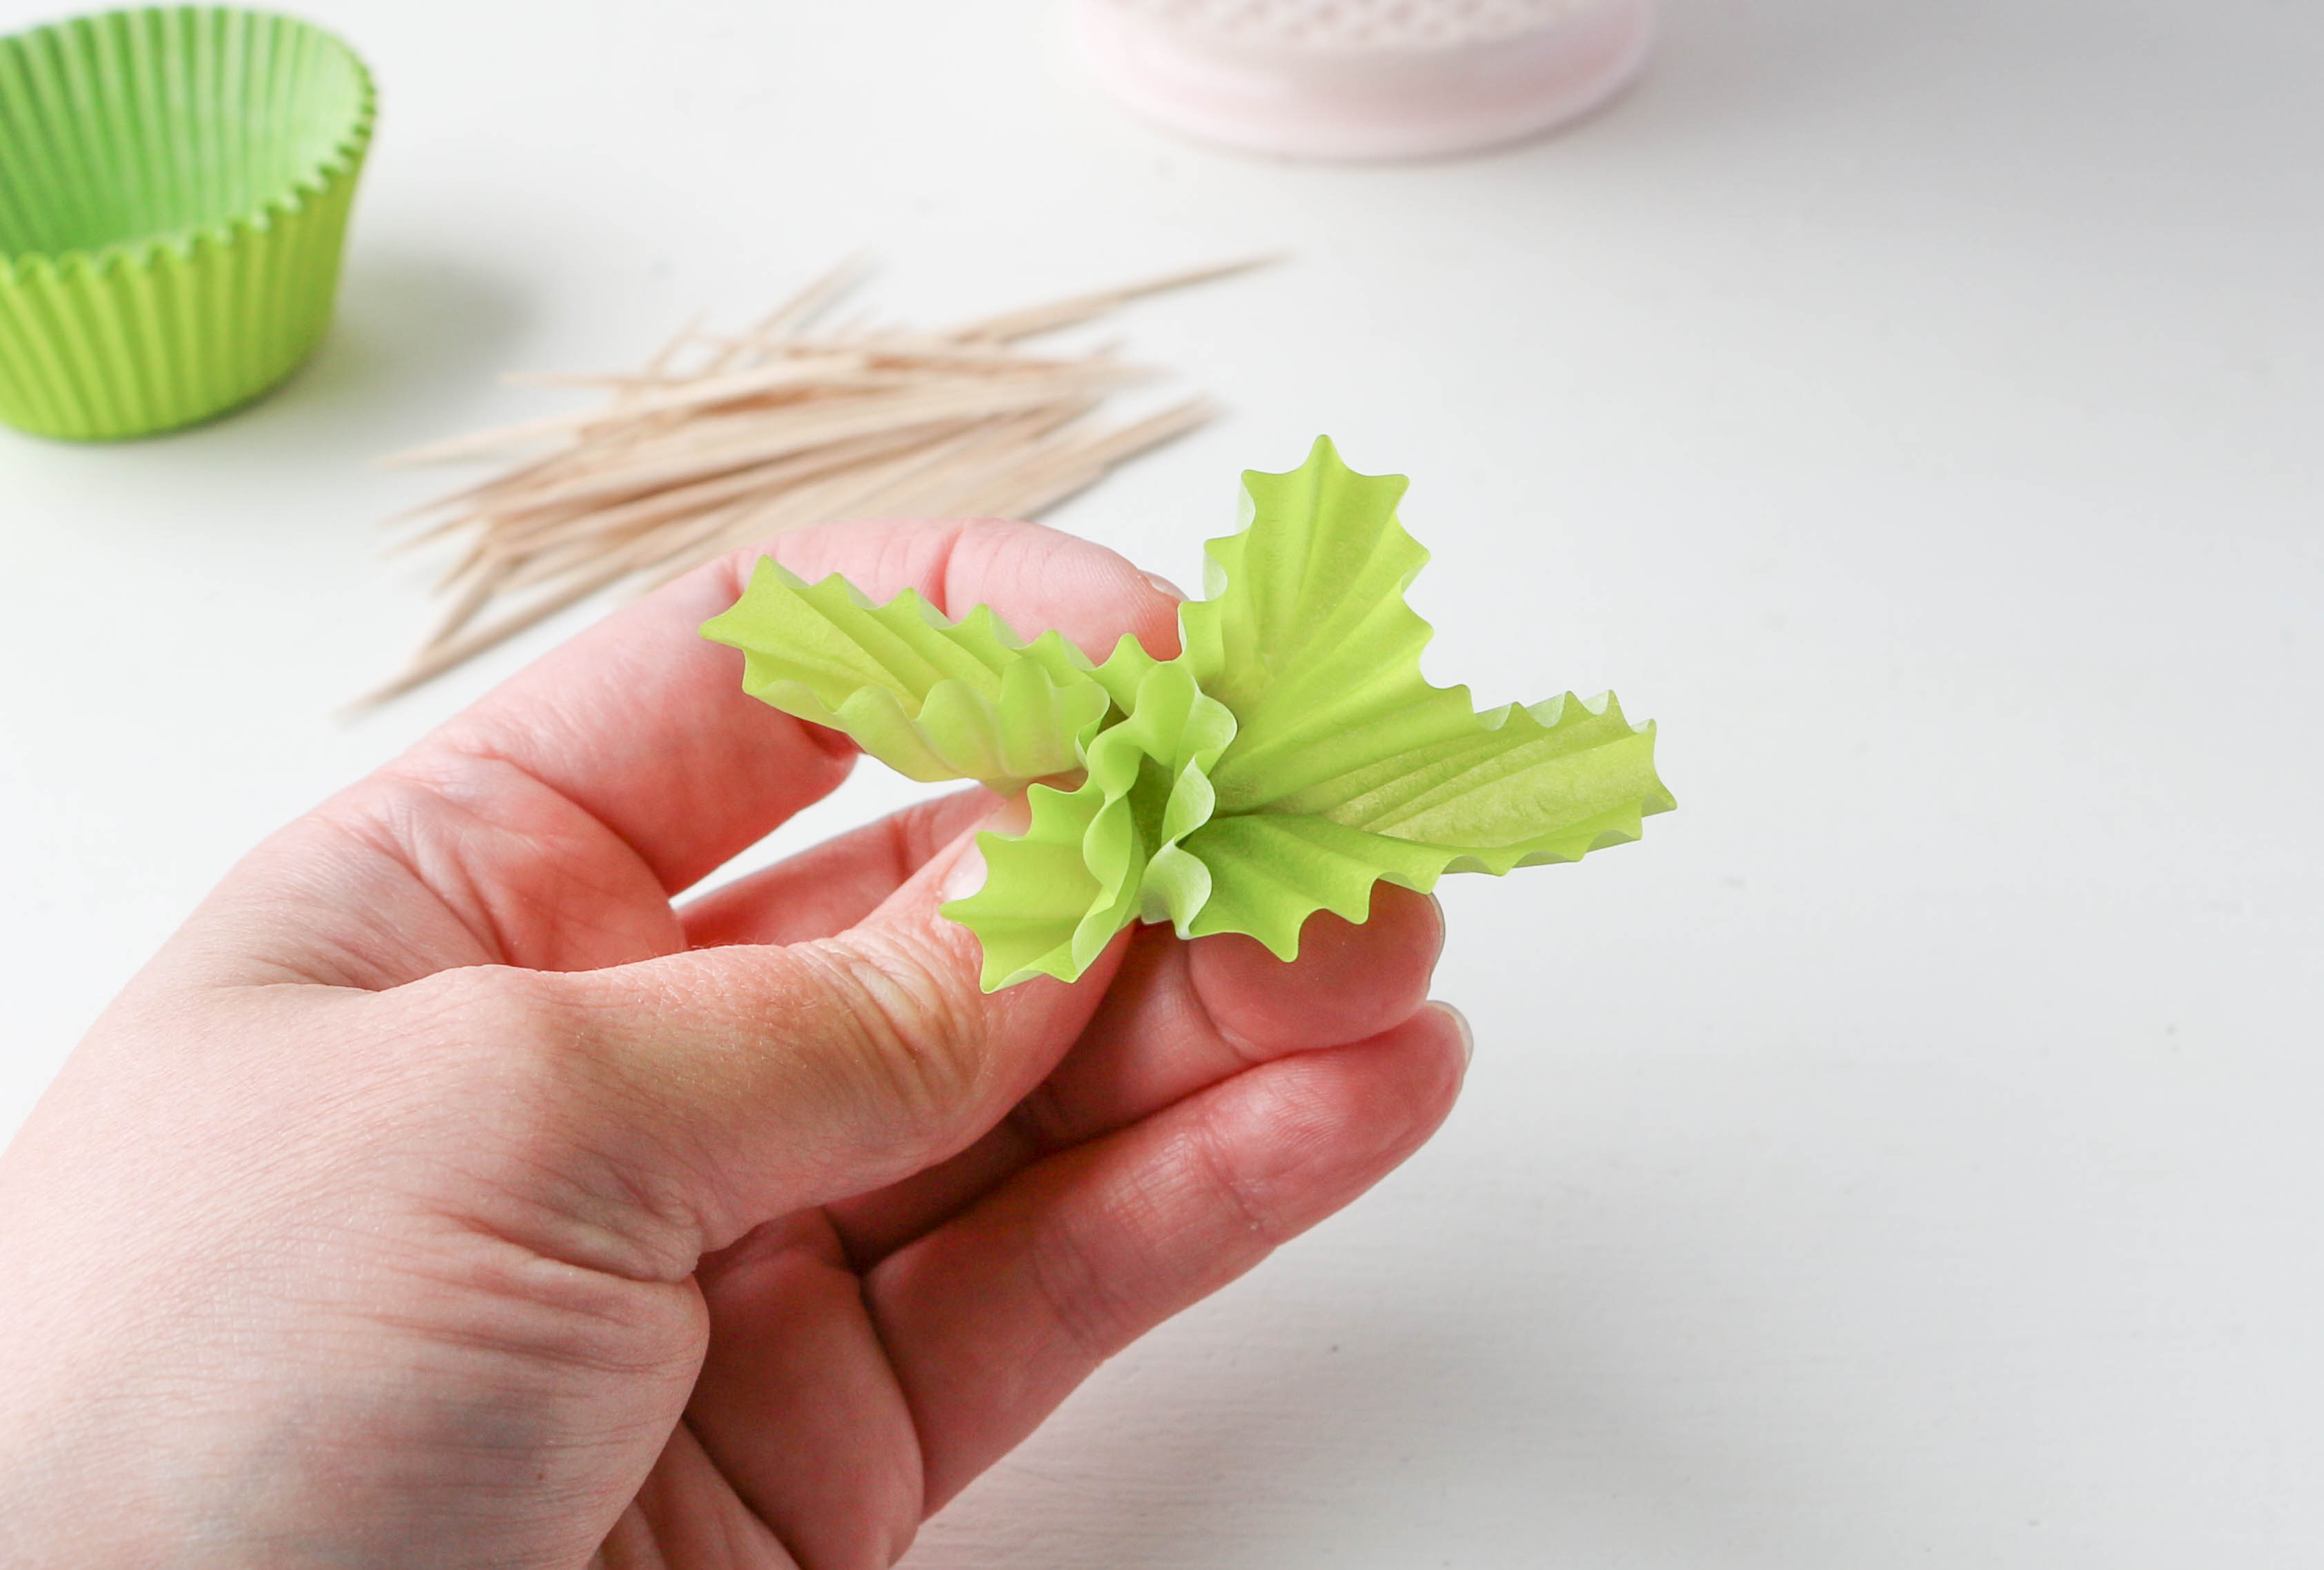
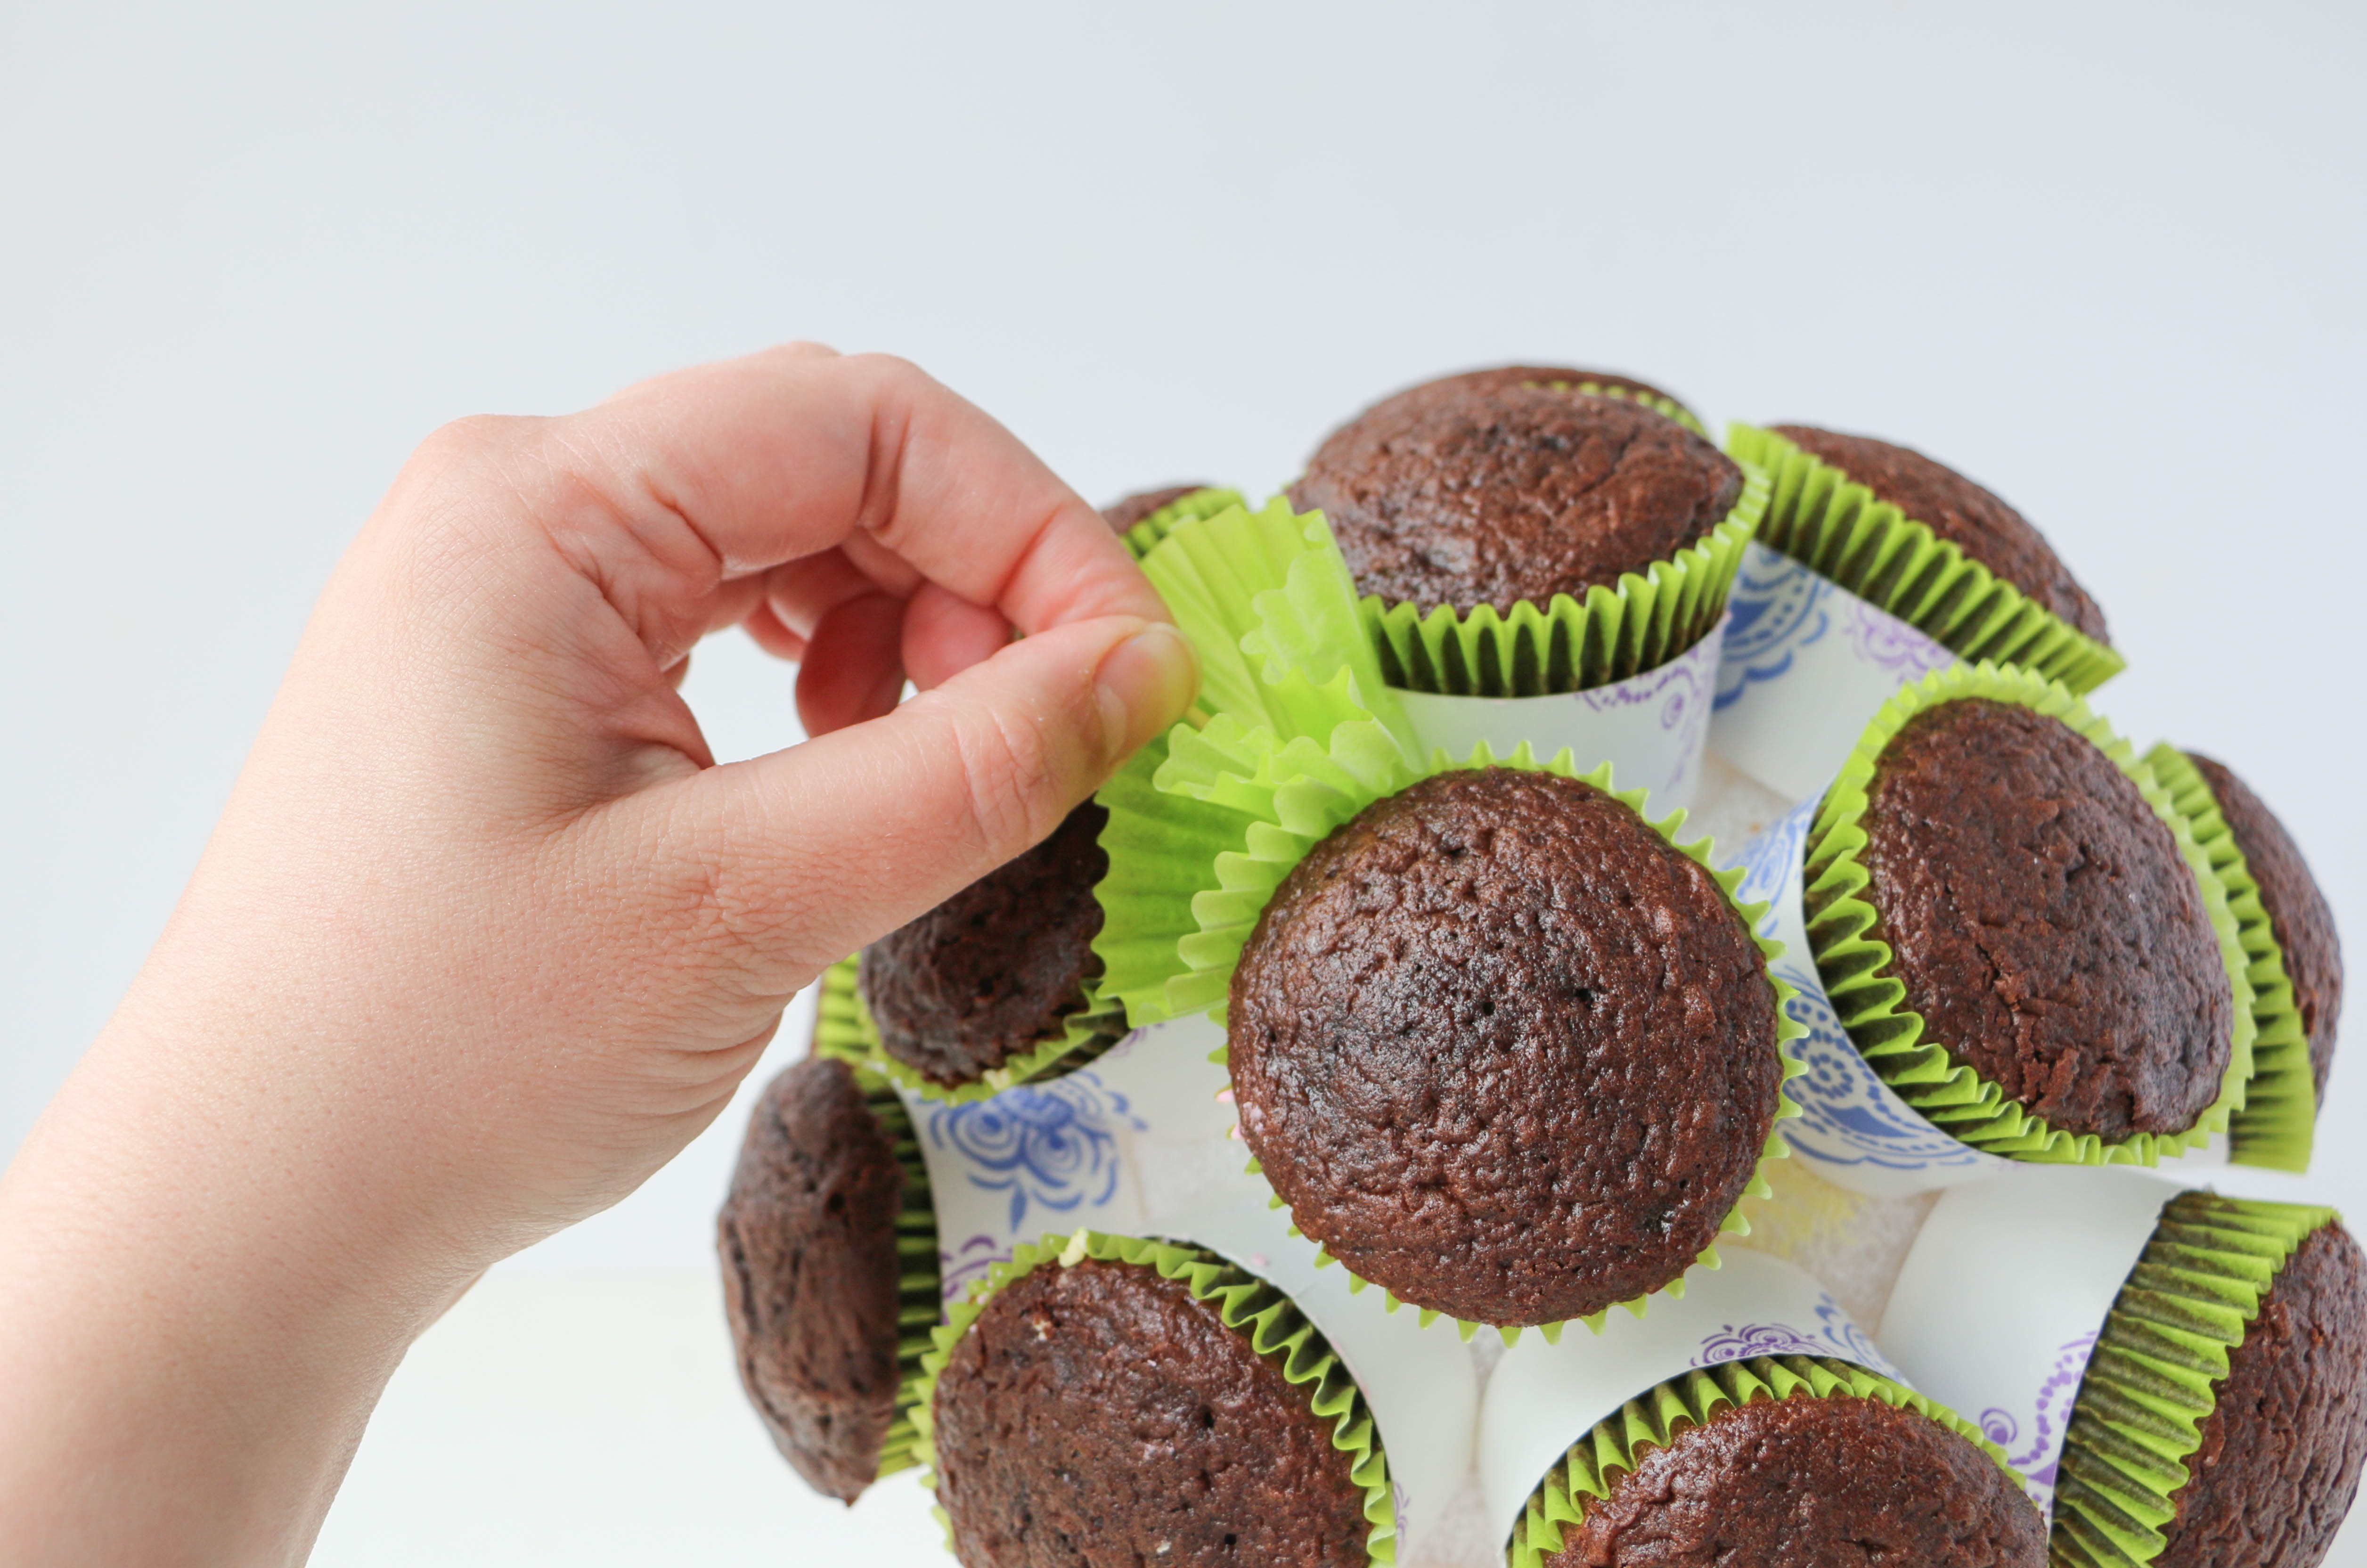
Turn a cupcake liner inside out. Gather the sides together, creating a little ruffle. Use the ruffle to fill in the gaps between the paper cups. Anchor the ruffle with a toothpick if needed. Repeat until all of the gaps are filled.

Step 5: Pipe the cupcakes
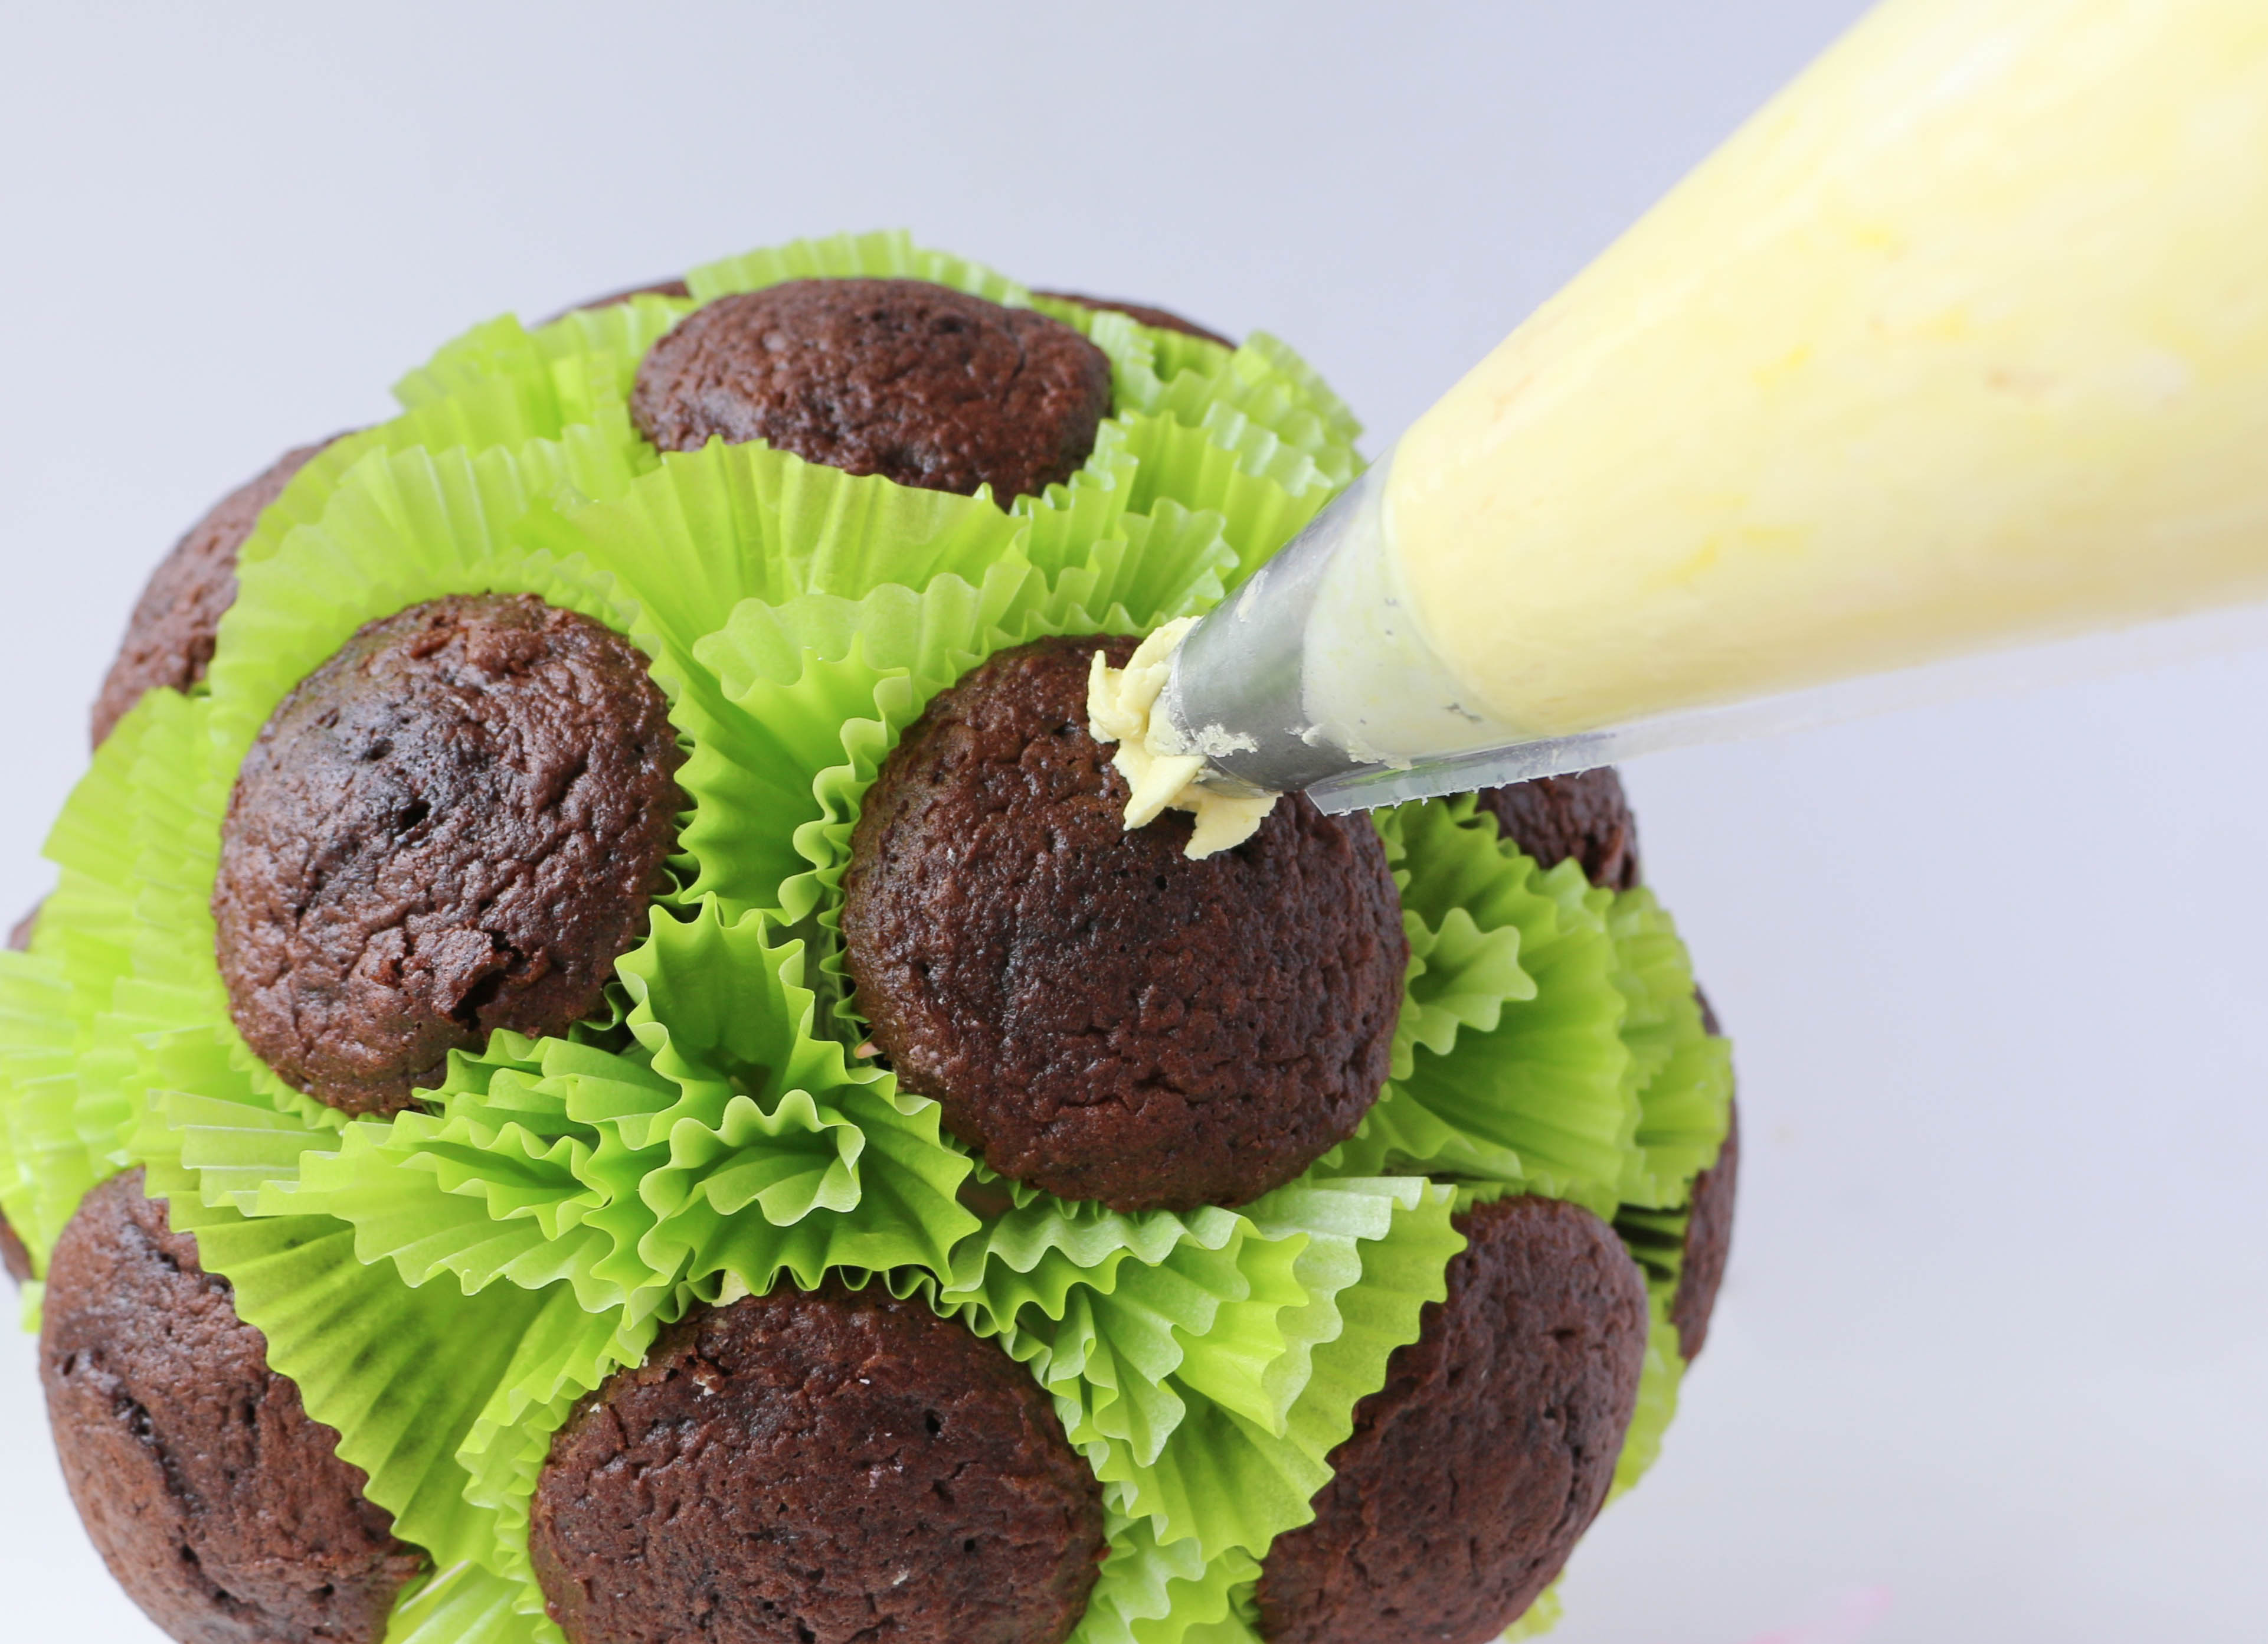
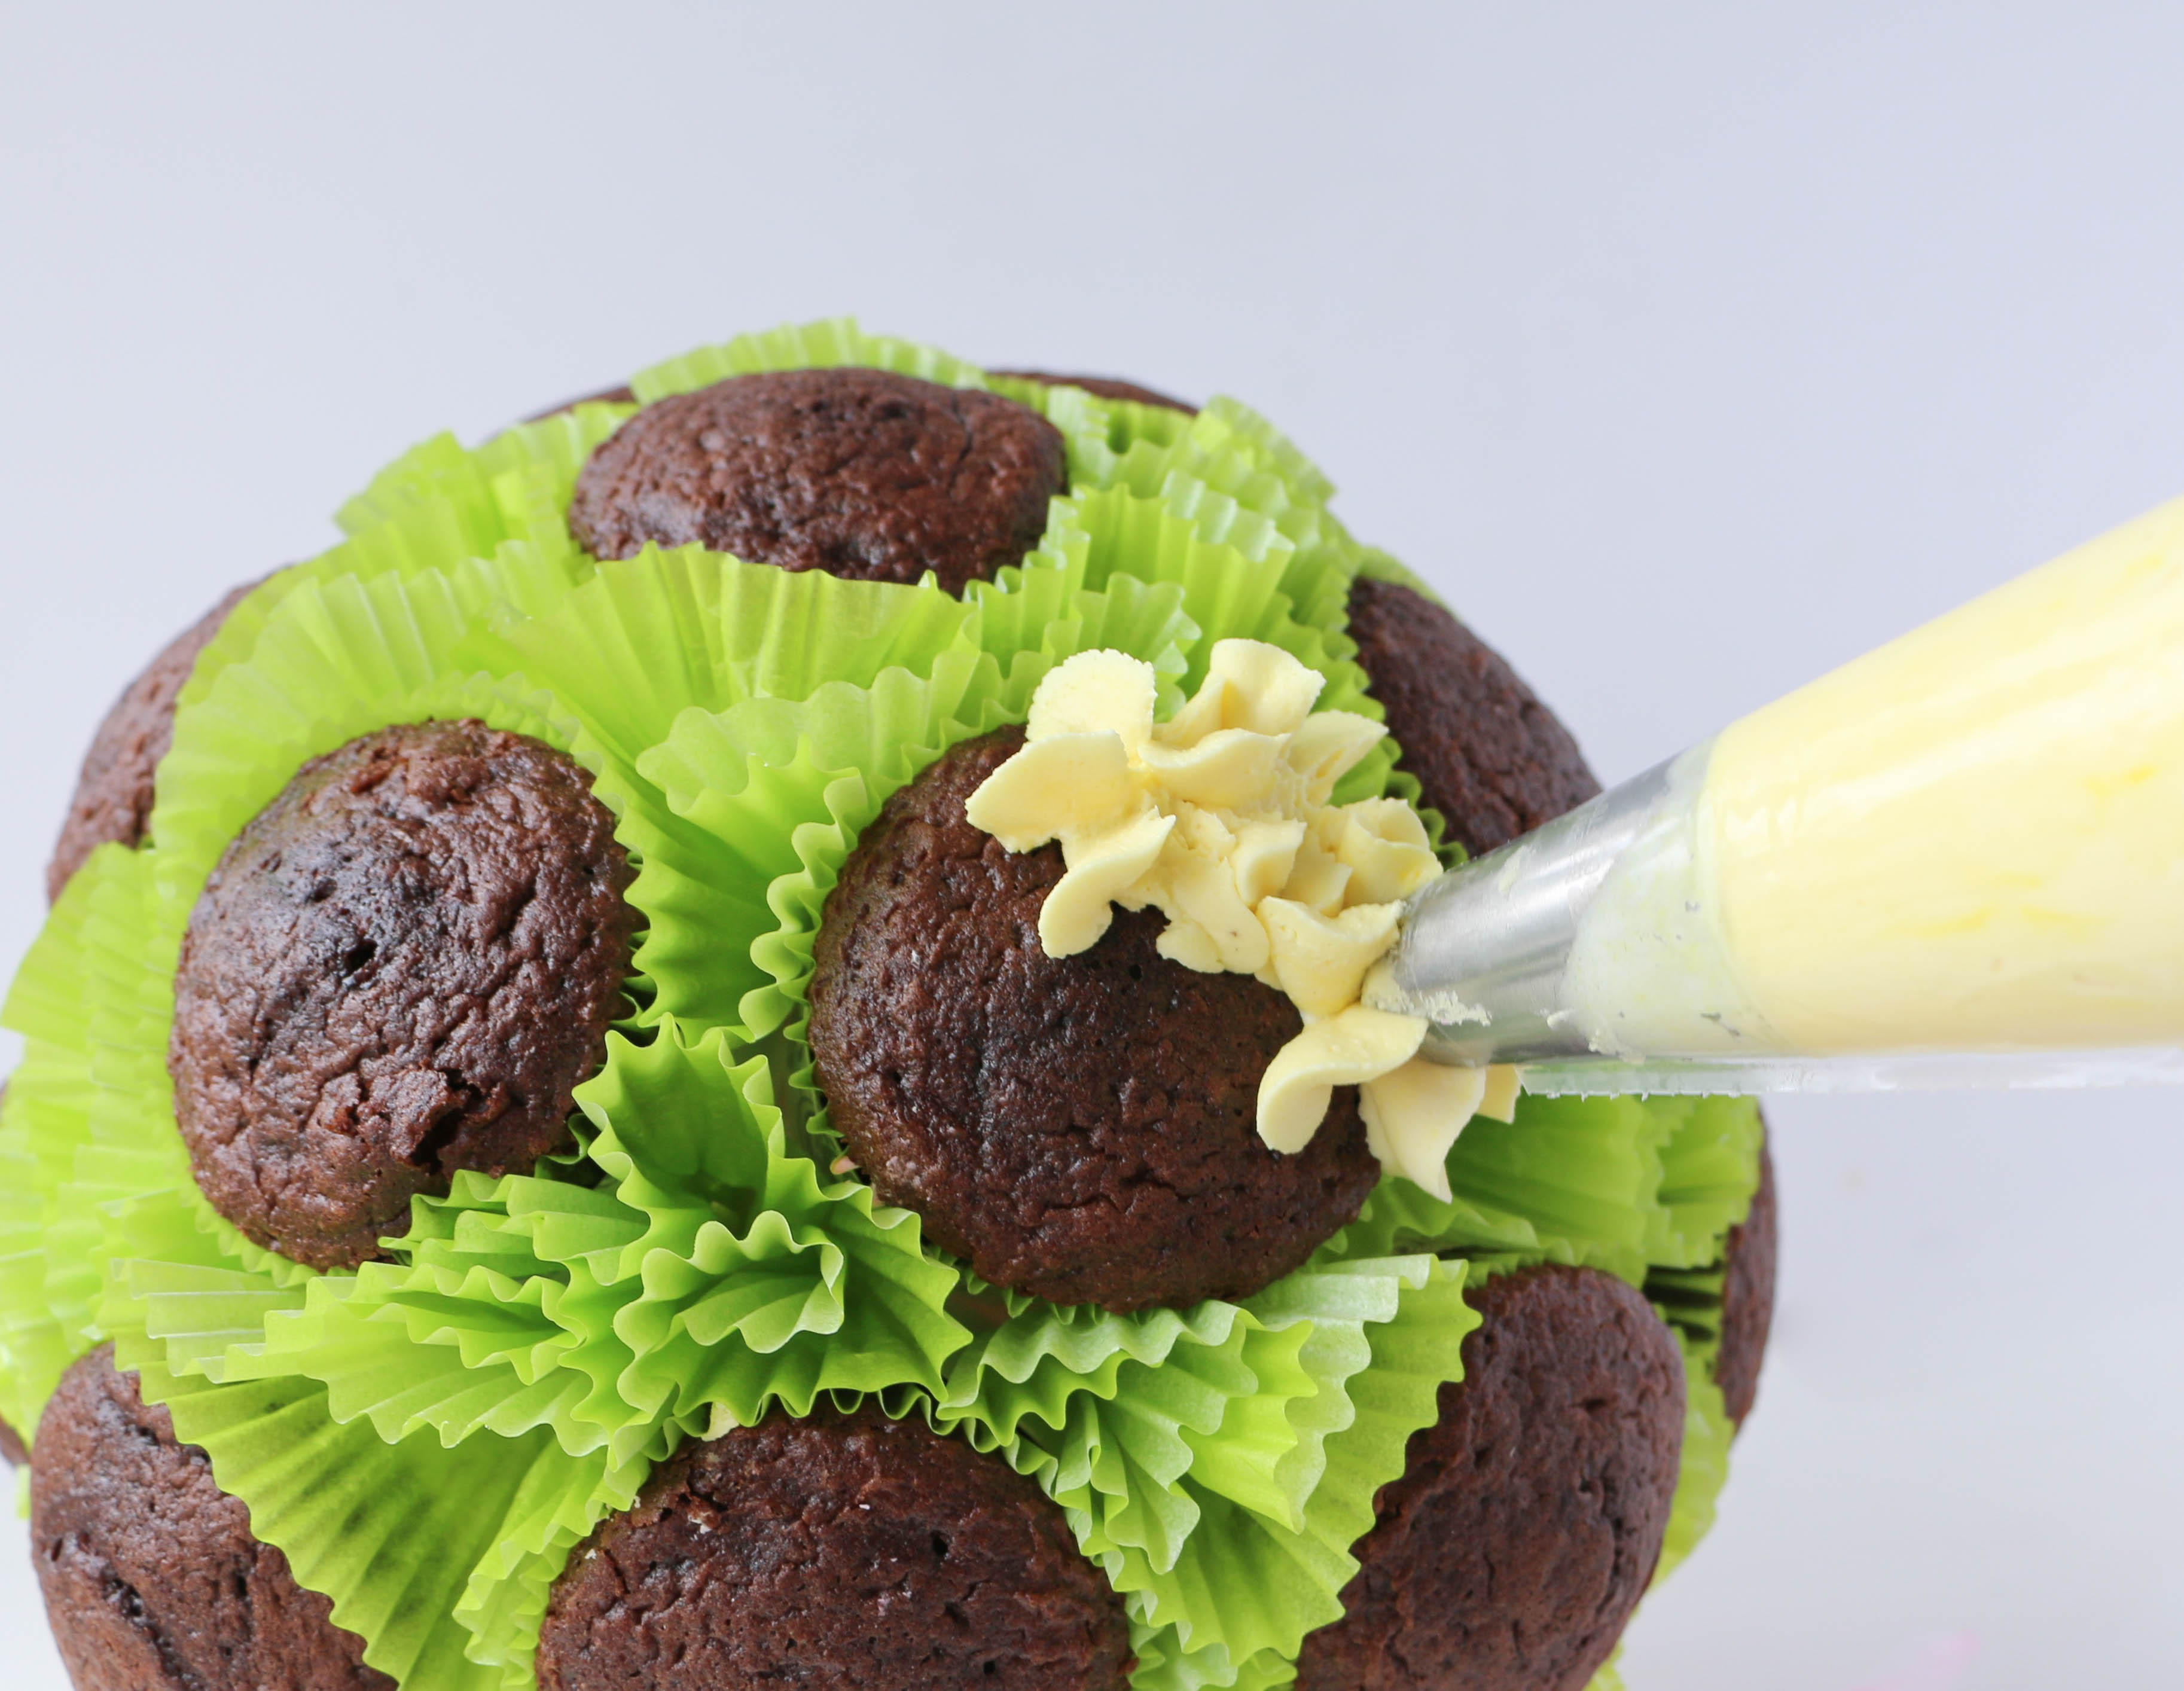
Fill pipings bag fitted with a large star tips with your tinted buttercreams. I used solid pink and yellow for my flowers, but this is where you can really get creative! Mix colors in your piping bag to create flowers with variegated petals, or create a monochromatic arrangement with flowers all done in the same shade.
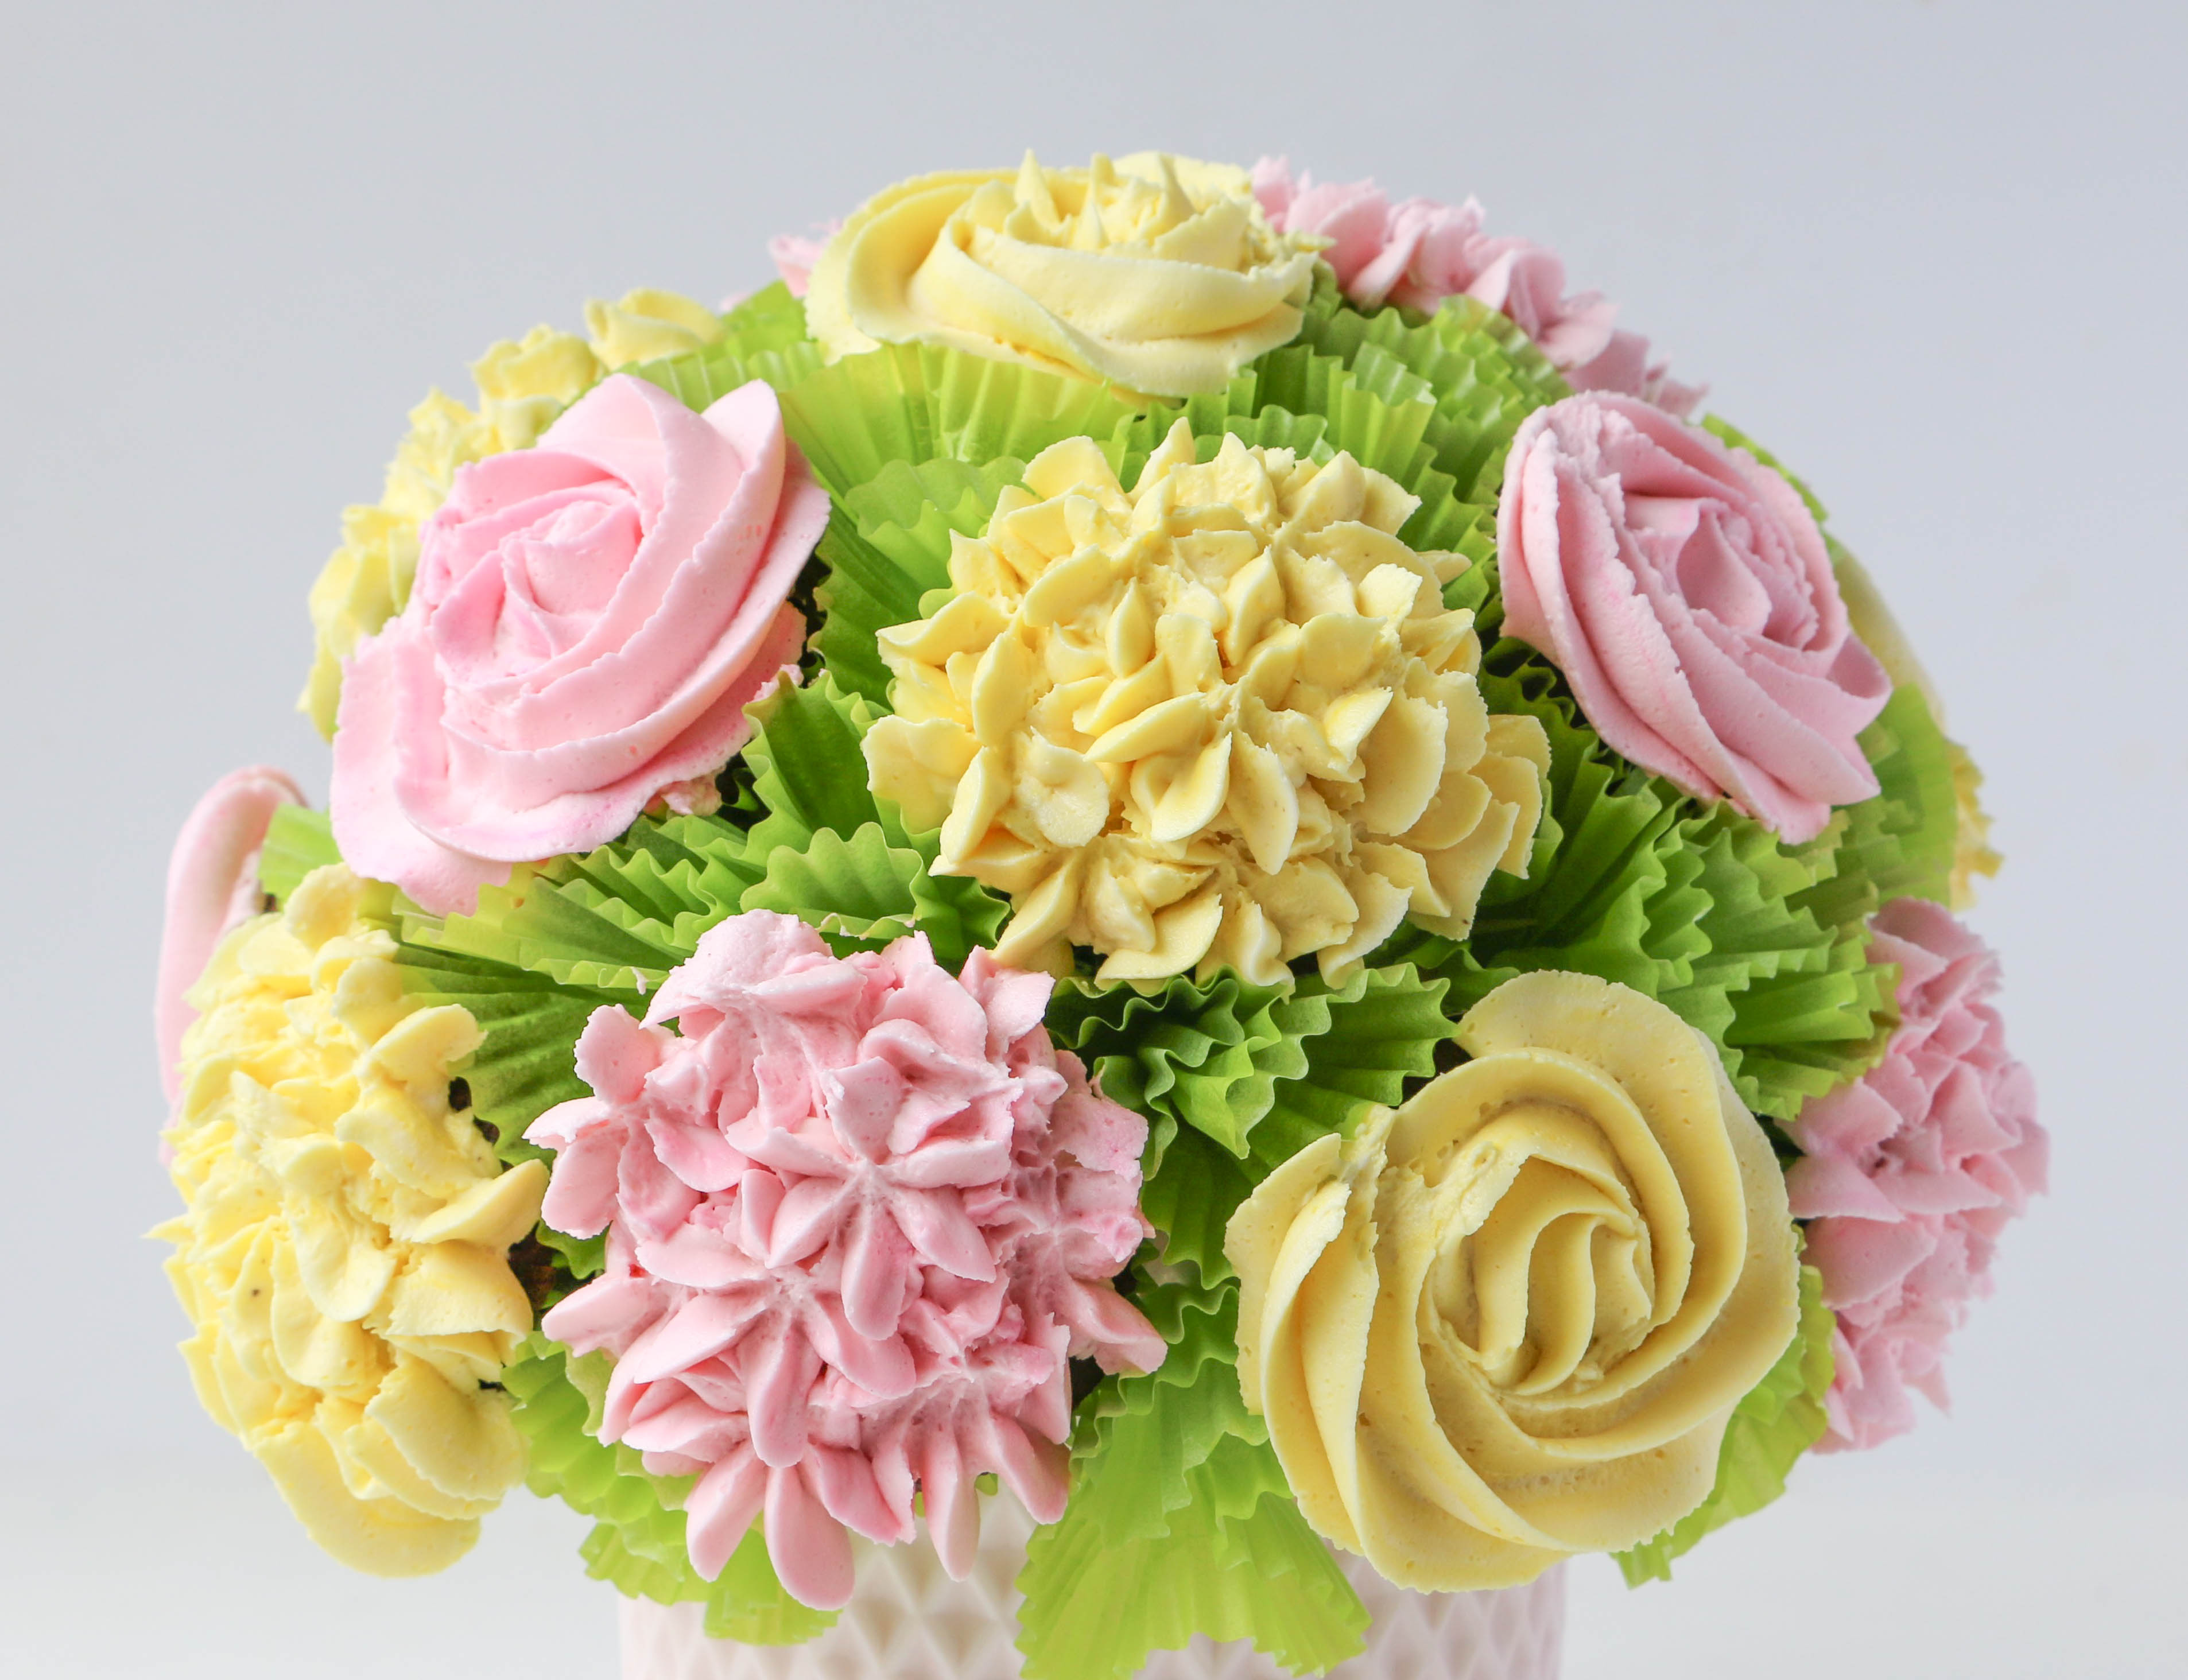
For my cupcake bouquet, I used a mix of hydrangeas and rosettes.
To pipe hydrangeas
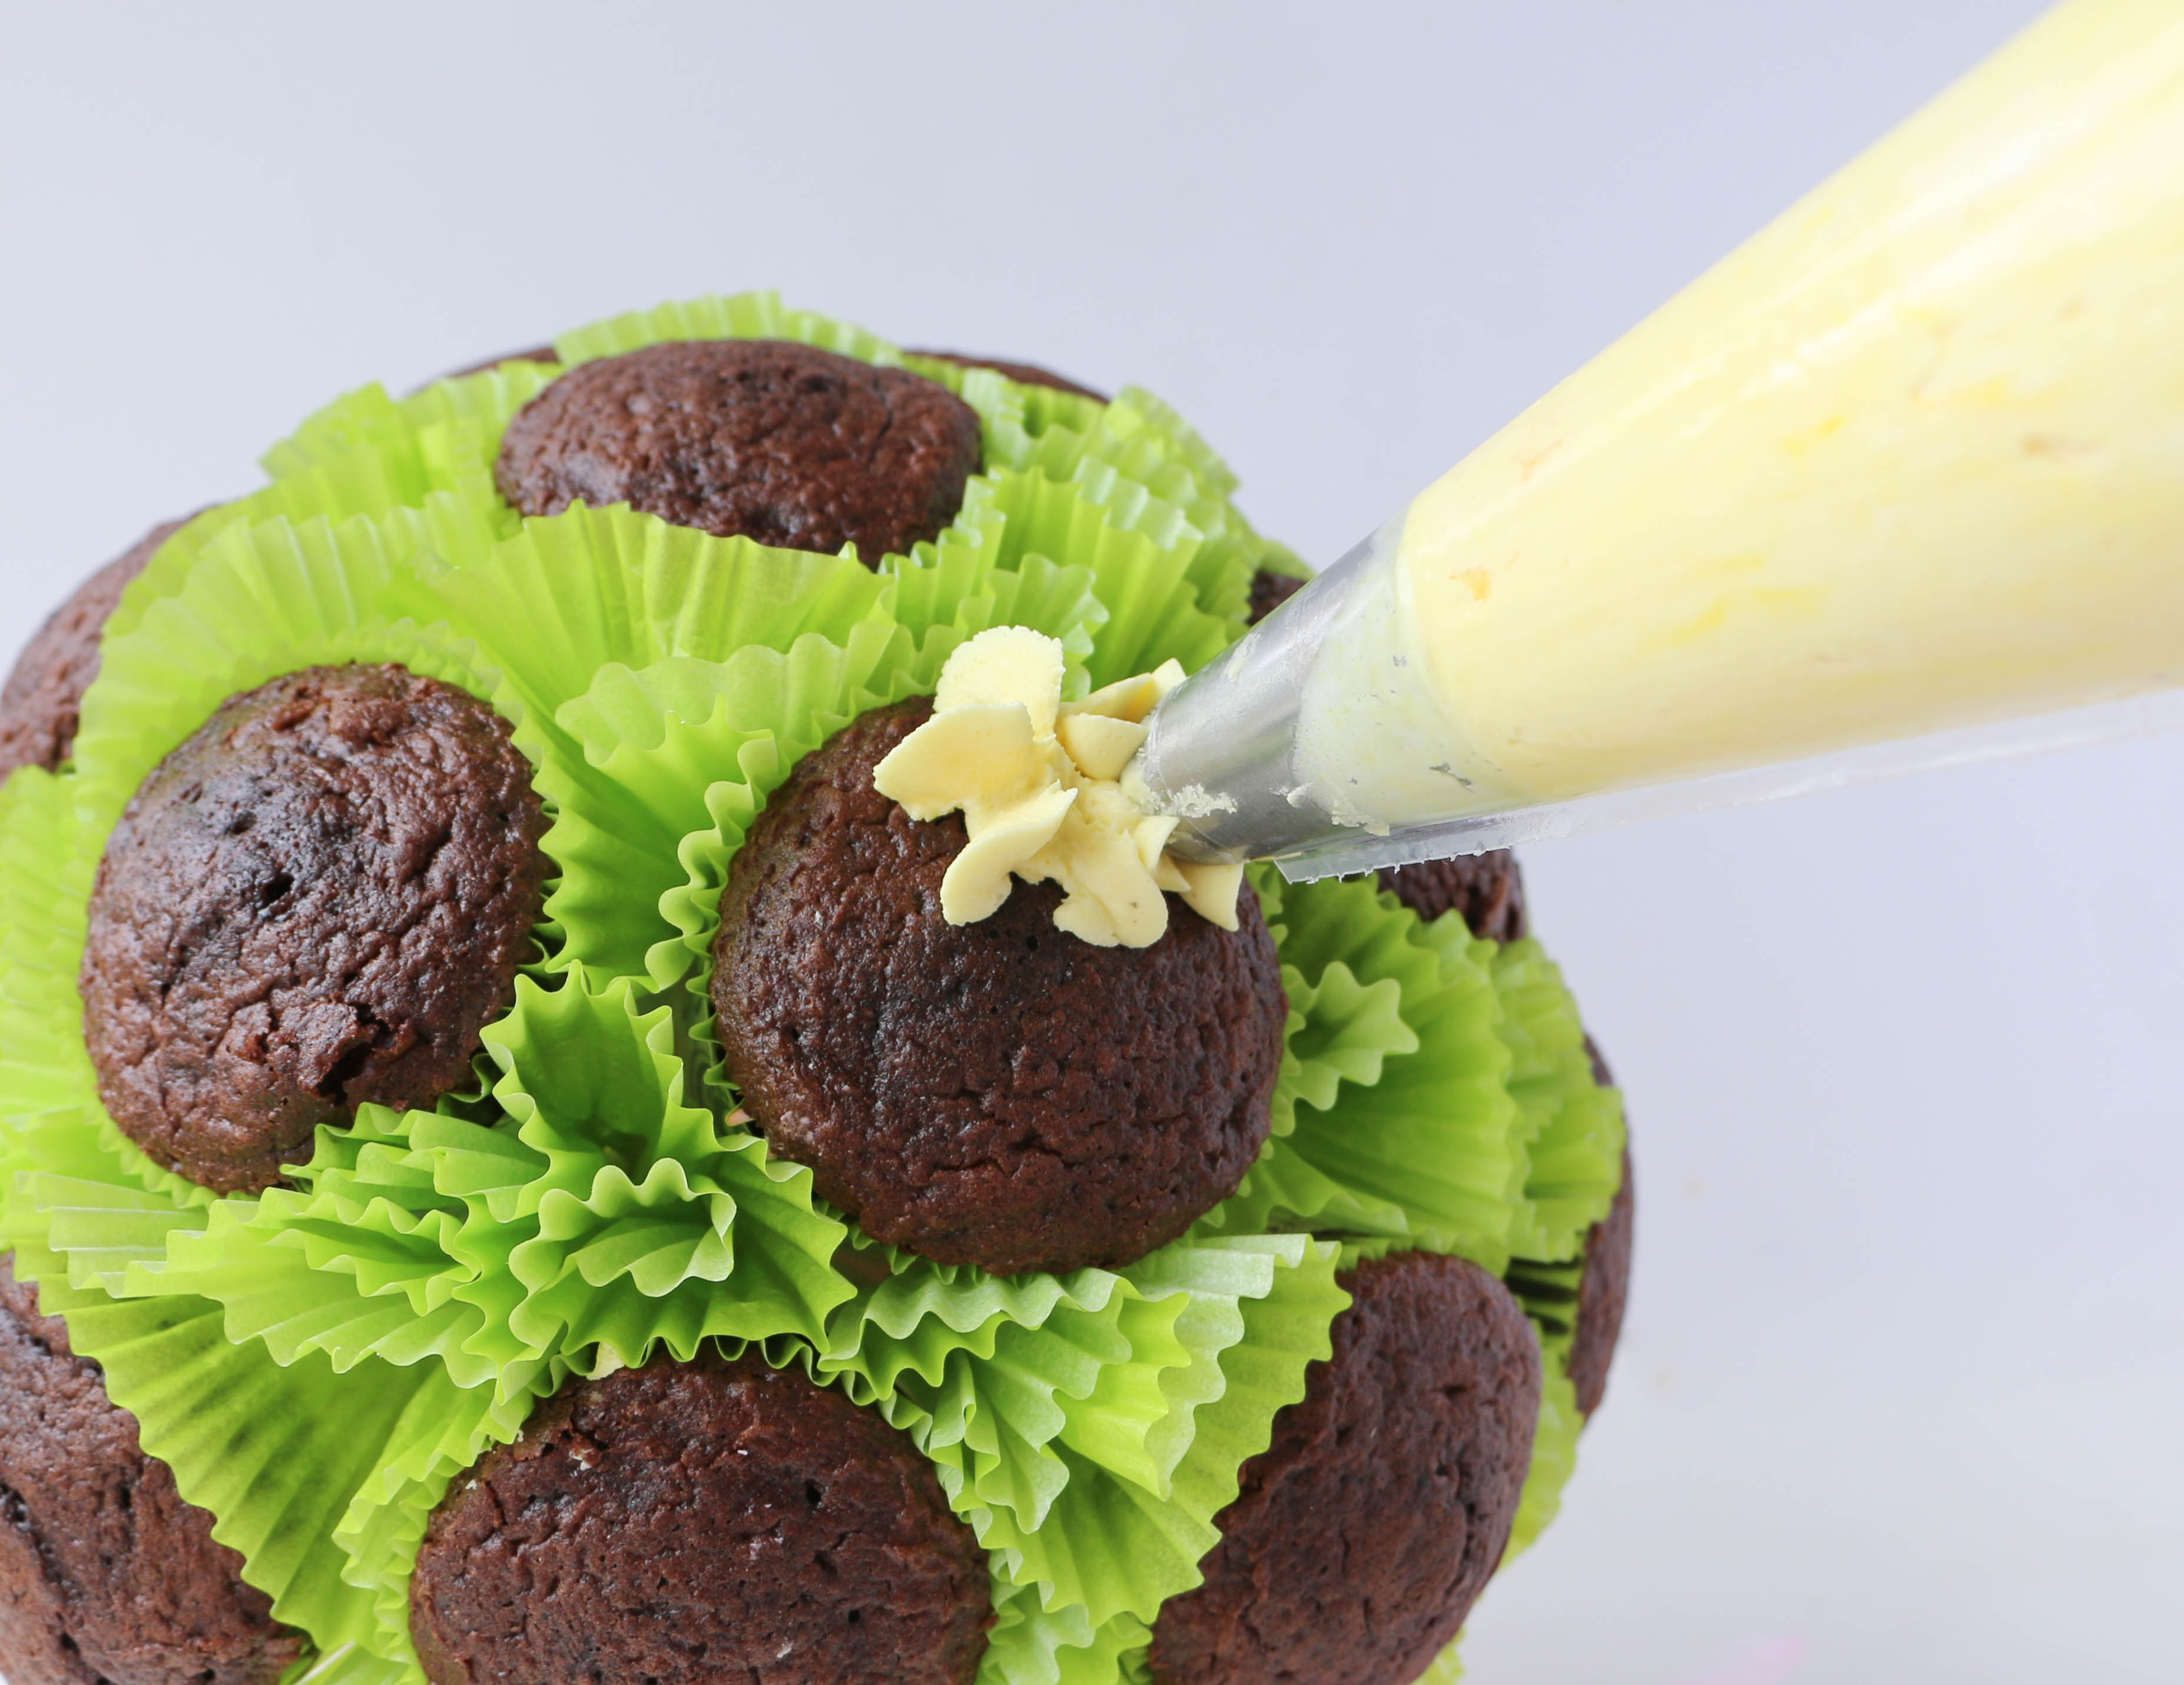
Hold the piping bag vertically about 1/4" from the surface of a cupcake. Apply pressure and allow the buttercream to billow out of the tip, creating a single, small blossom. Release pressure when all of the petals of the blossom are touching. Repeat and overlap blossoms until the entire surface of the cupcake is covered.
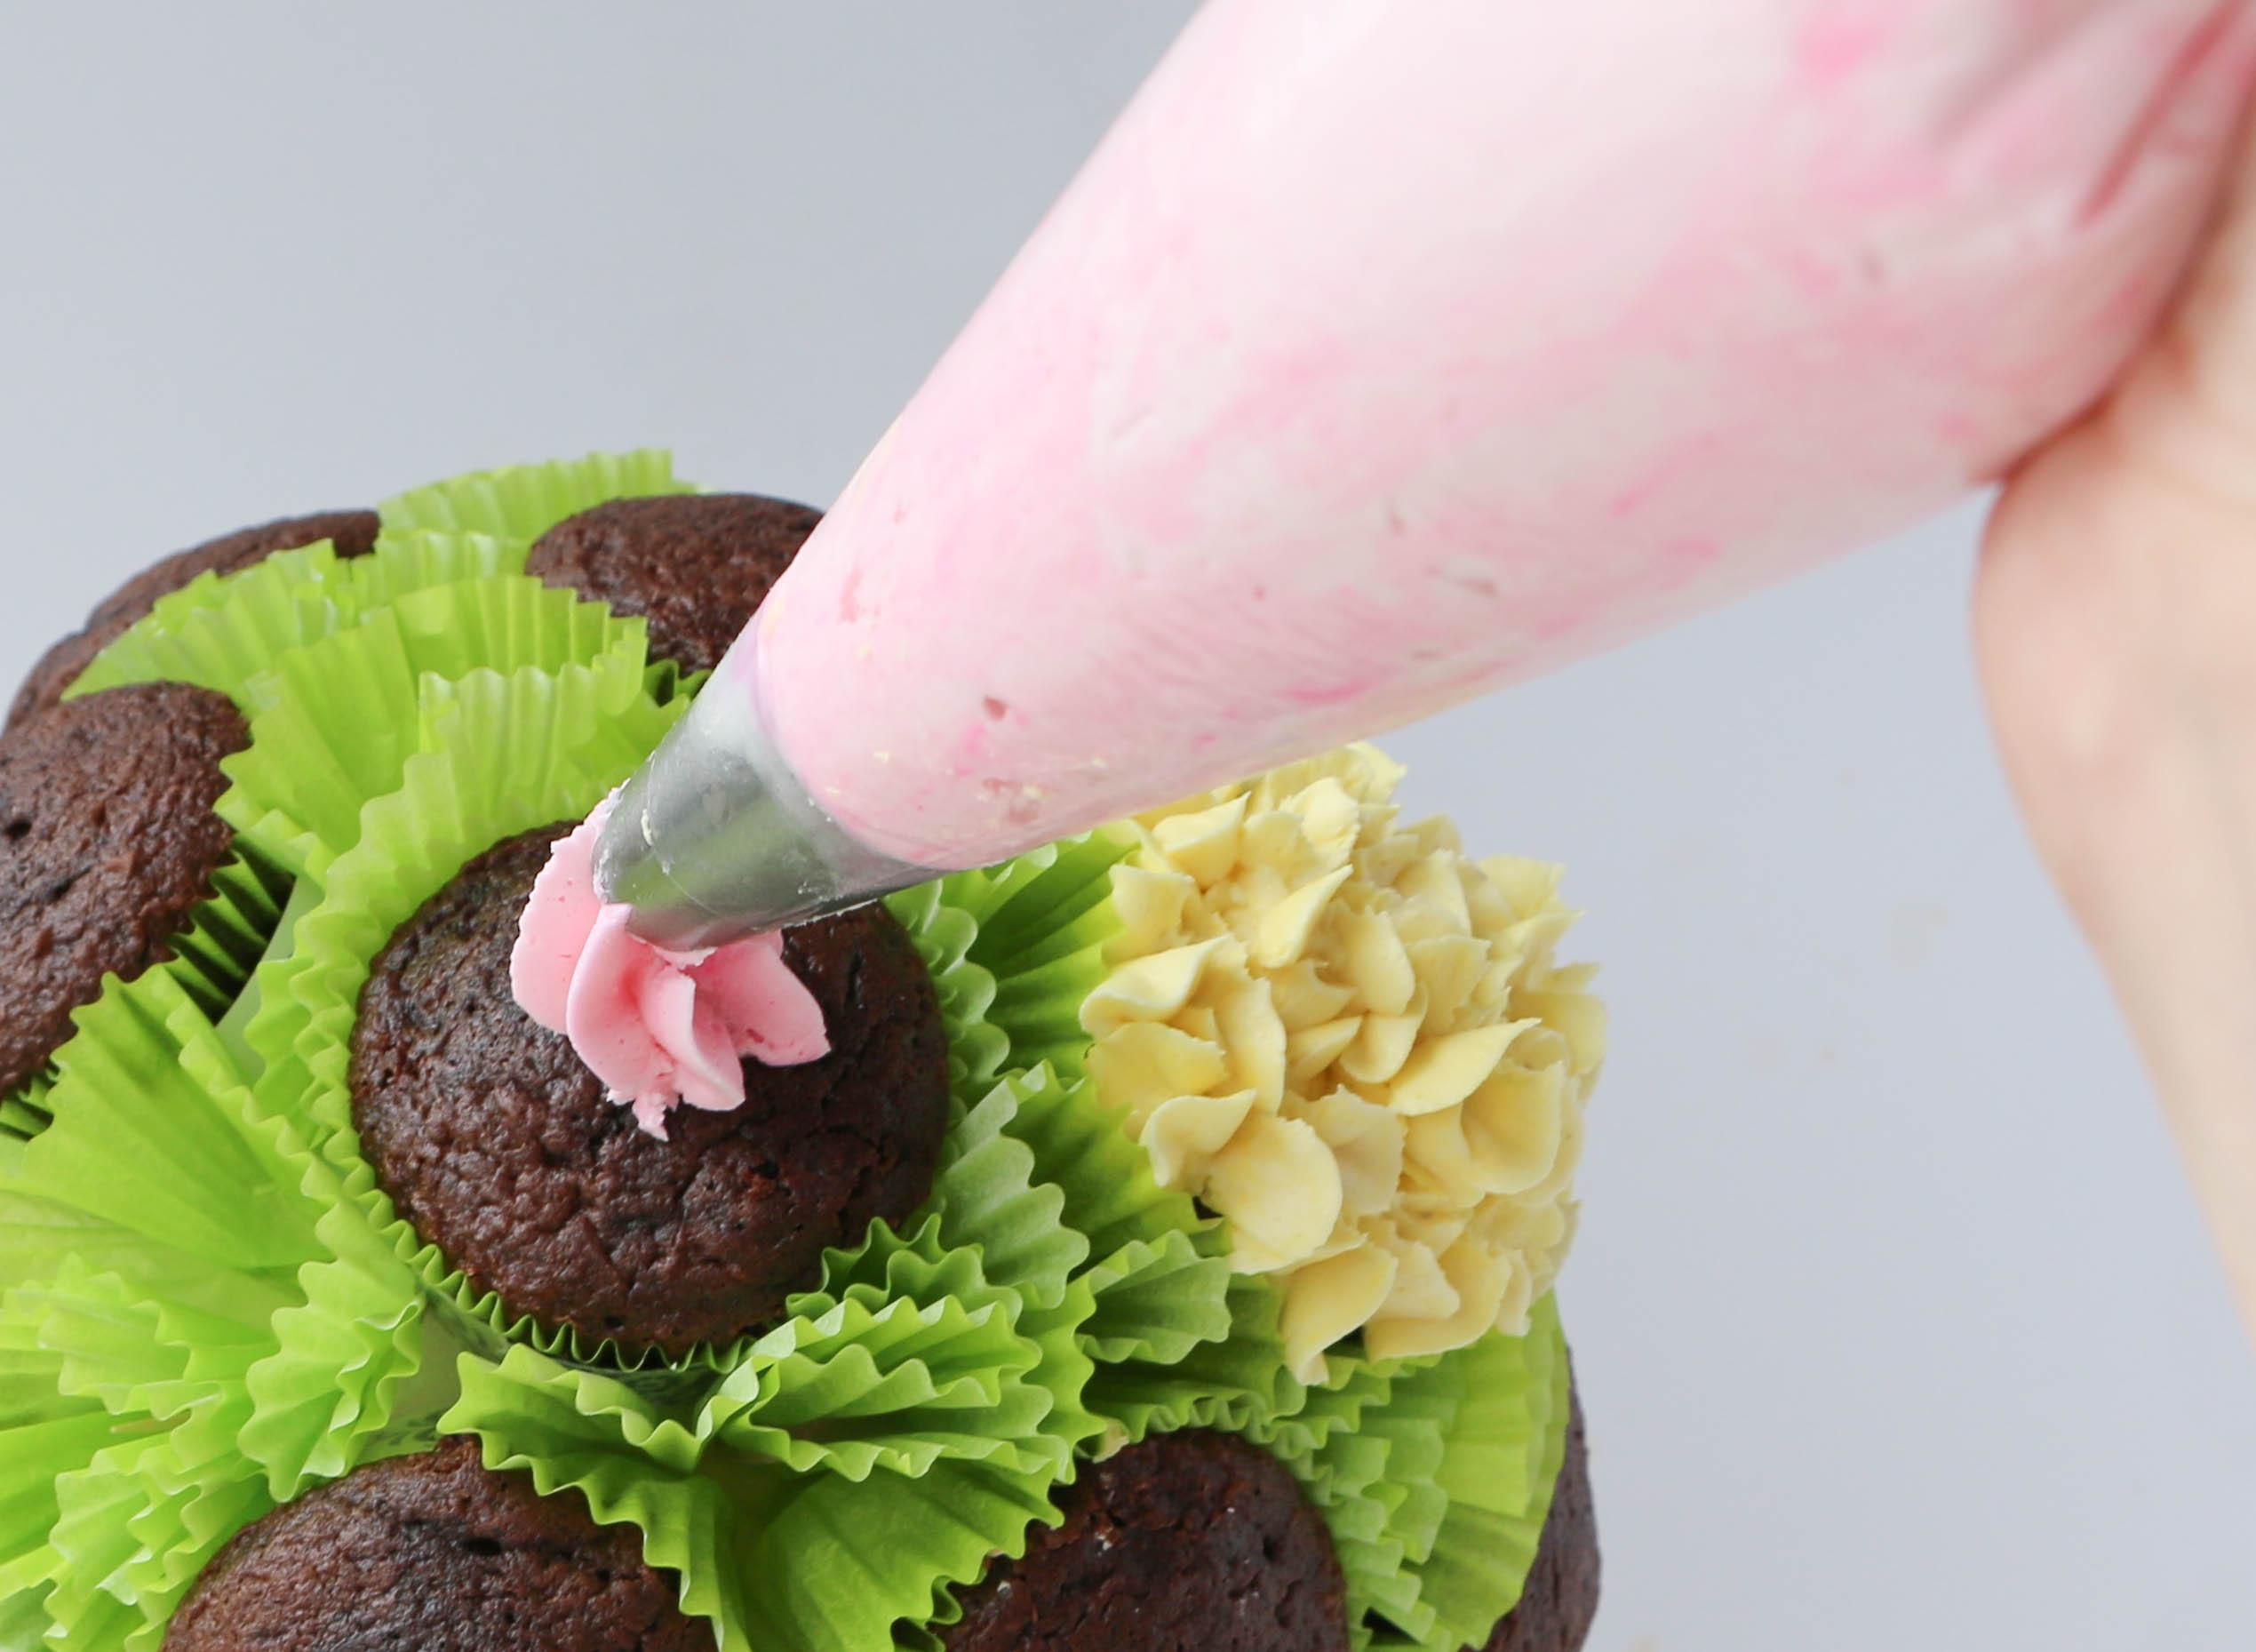
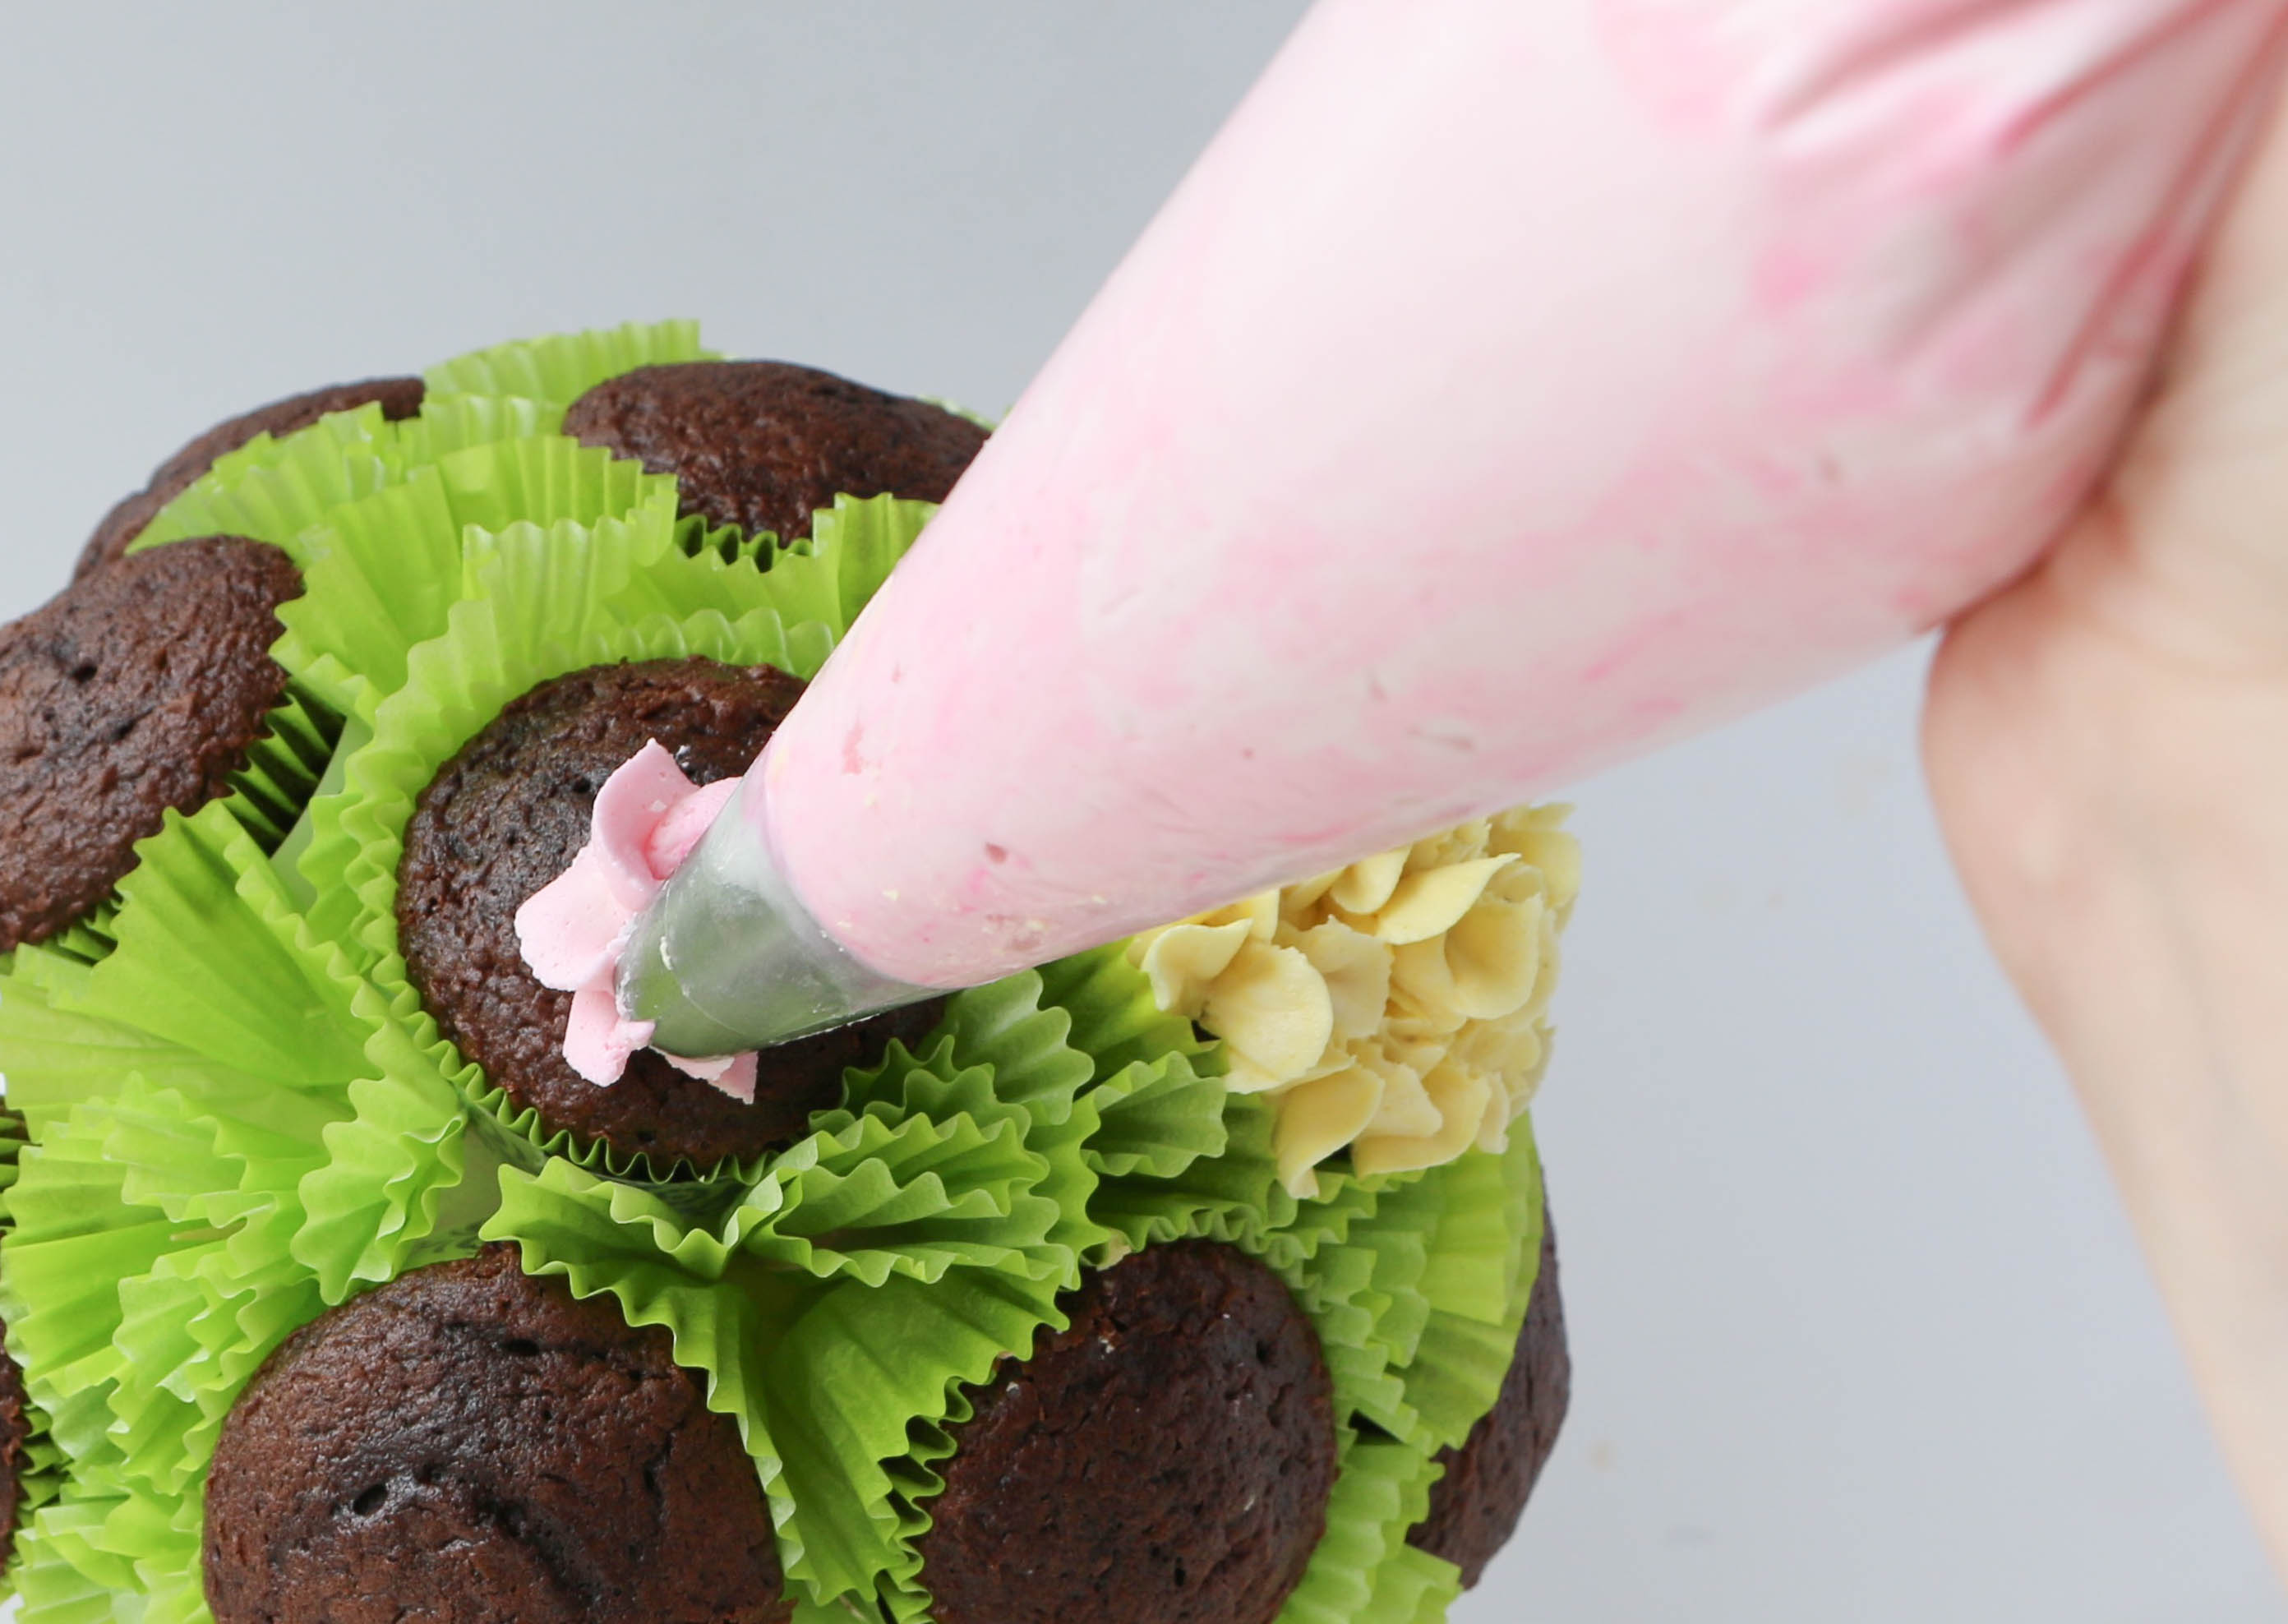
To pipe rosettes
Hold the piping bag vertically over the center of the cupcake less than 1/4" away from the surface. Apply pressure to the bag until the frosting makes contact with the cupcake. Continue applying pressure while moving the tip in a circular motion around the center. Begin to decrease pressure as the circle you're piping comes to a close. Release pressure entirely and pull the tip down and away from the swirl to finish.
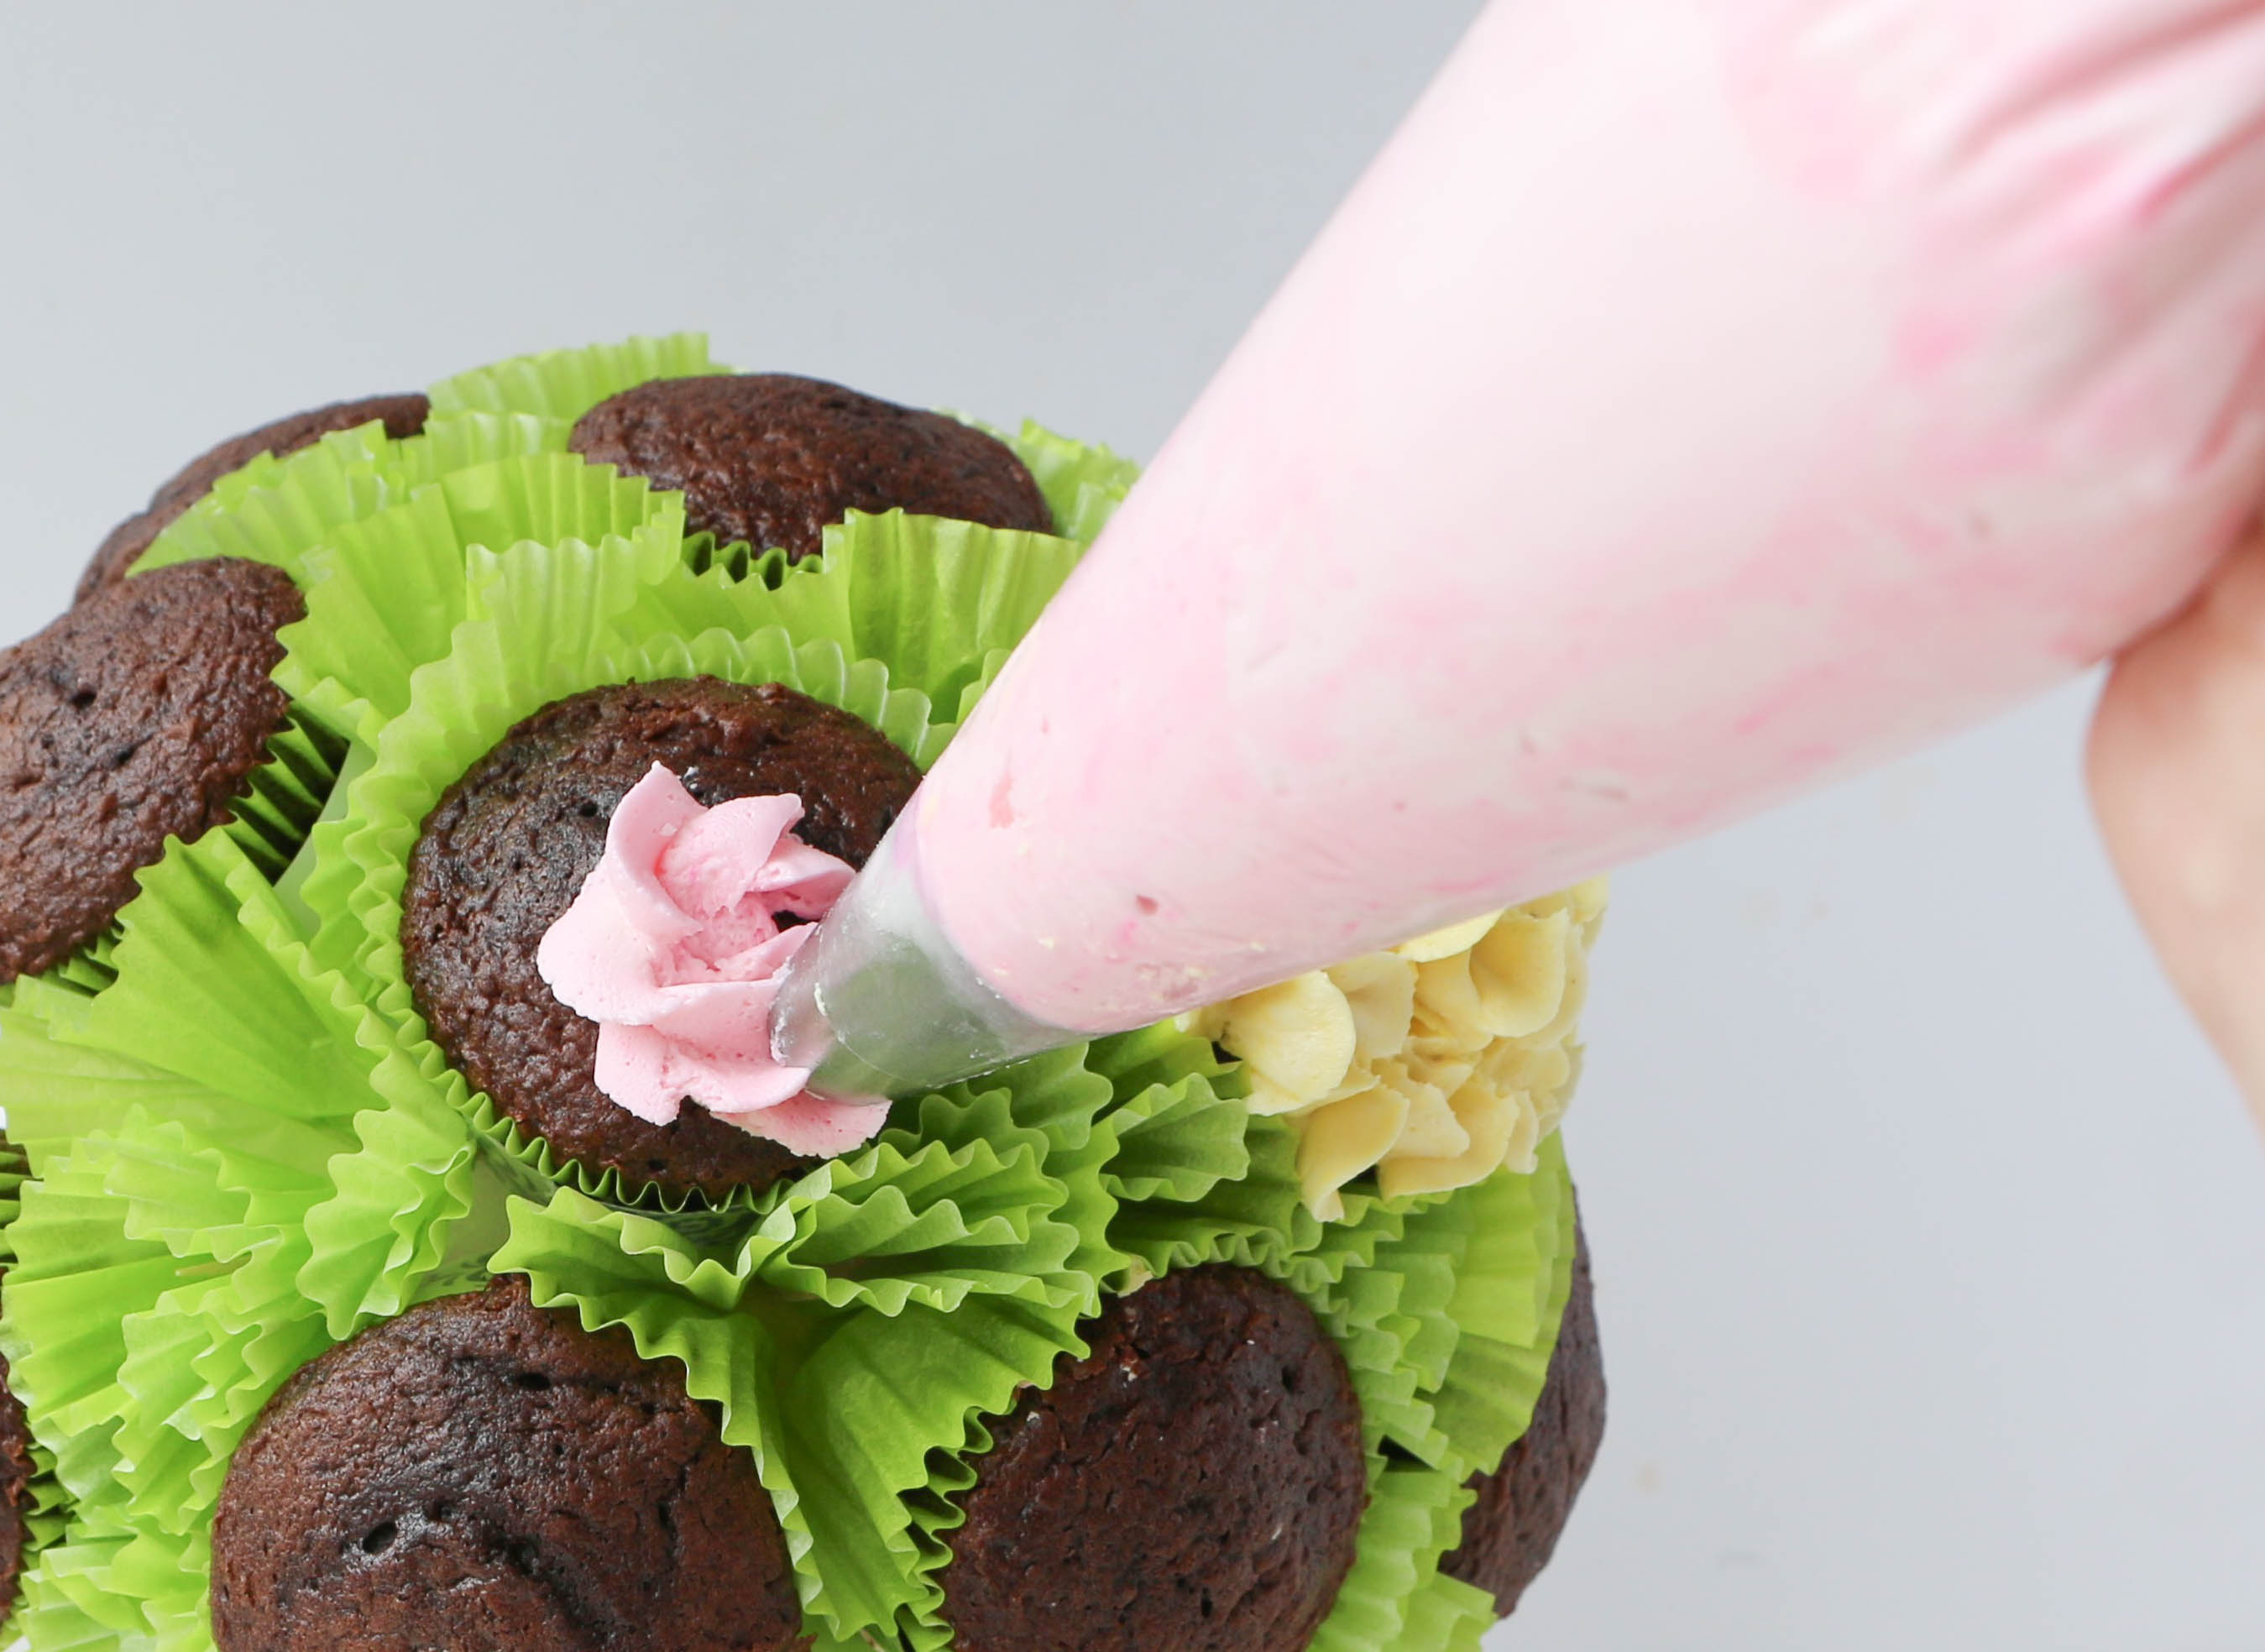
Include a mix of the two types of flowers in different colors for a varied, eye-catching bouquet.
All complete!
Once you're done piping, pop your bouquet into the fridge for at least 20 minutes, so that everything sets up firm. If you're bringing your bouquet to a friend or client, keep it in the fridge until it's time to transport it. This will ensure that everything stays put while you're moving it around.

I loved this info! It was very helpful and I can not wait to try! Thanks!
How do you transport this???
Beautiful, I would make an extra tray of cupcakes so the pretty centre piece would stay in tact. I would give the bouquet of cupcakes to someone to take home.
Is it easy for people to remove the cupcakes without getting their hands all messy?
Very pretty! Thank you!