 These crocheted ornaments are every kind of perfect: simple to make and soooooo cute. You can customize the pattern in endless ways (thick stripes, thin stripes, no stripes!), so you'll never get bored making them. Which is why every single person on your list might get one this year.
Crocheted Ornament Pattern
Level: Easy
What You Need
Abbreviations
Instructions
Crochet a Flat Circle
Crochet a flat circle by creating a magic ring.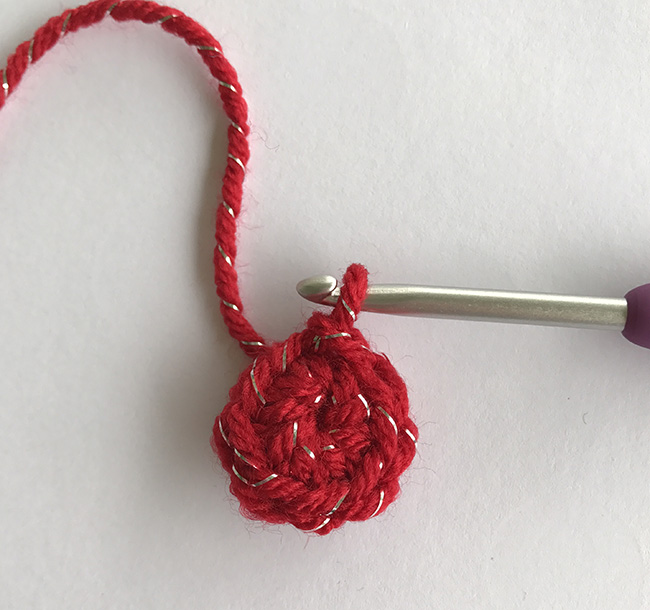
Round 1: Ch 1, 8 sc in magic circle, join to first sc.
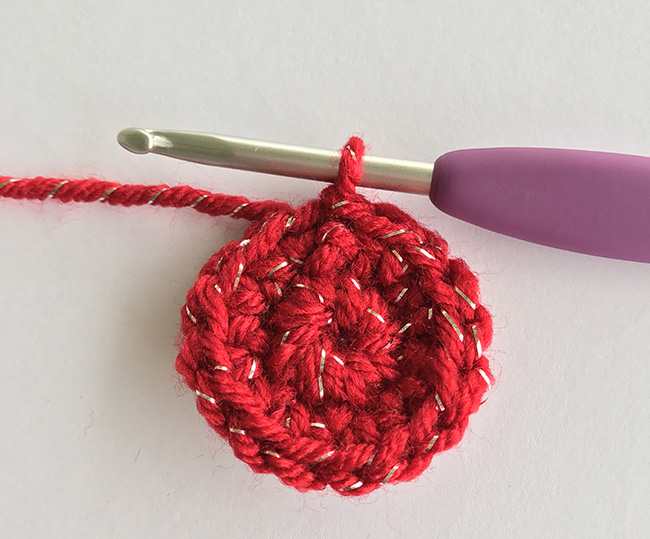
Round 2: Ch 1, 2 sc in each st around, join to first sc.
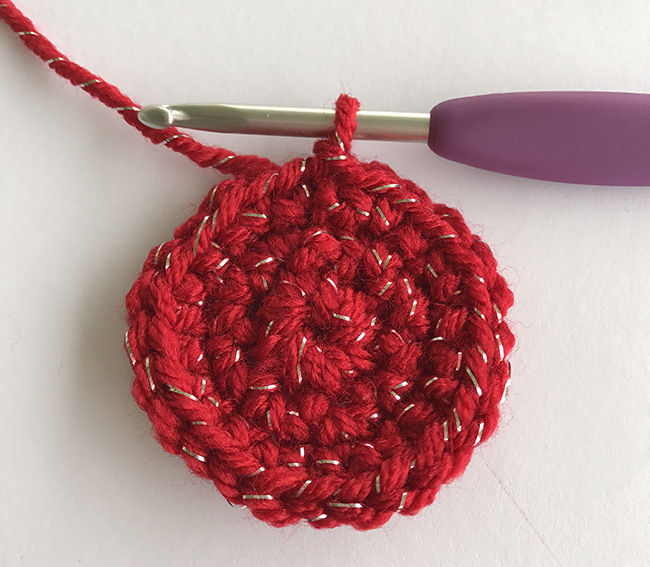
Round 3: Ch 1, *2sc in next st, sc in next st, repeat from * around, join to first sc.
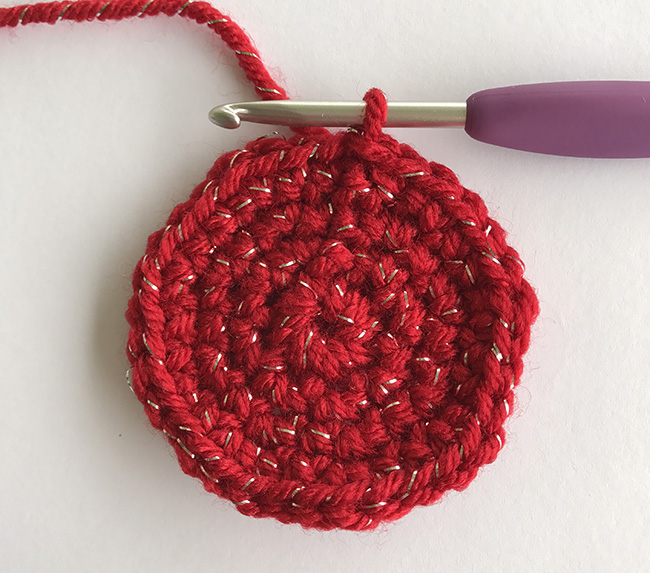
Round 4: Ch 1, *2sc in next st, sc in next 2 st, repeat from * around, join to first sc.
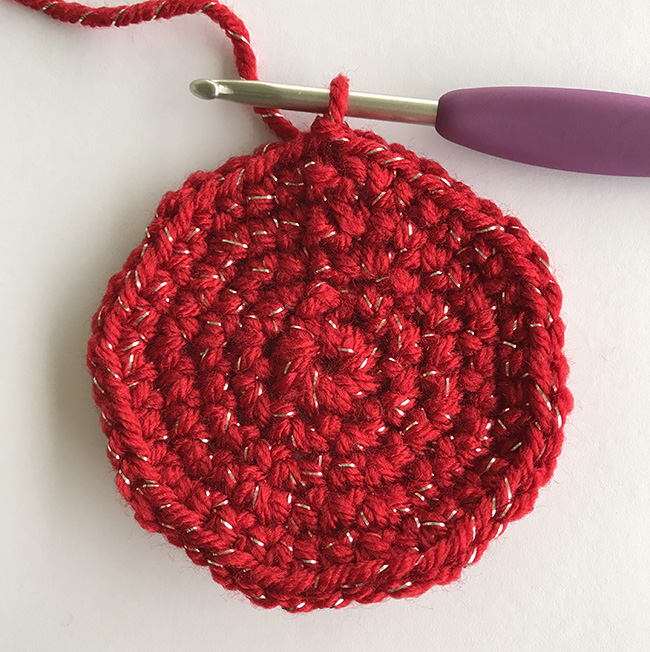
Round 5: Ch 1, *2sc in next st, sc in next 3 st, repeat from * around, join to first sc.
Form the Sides of the Sphere
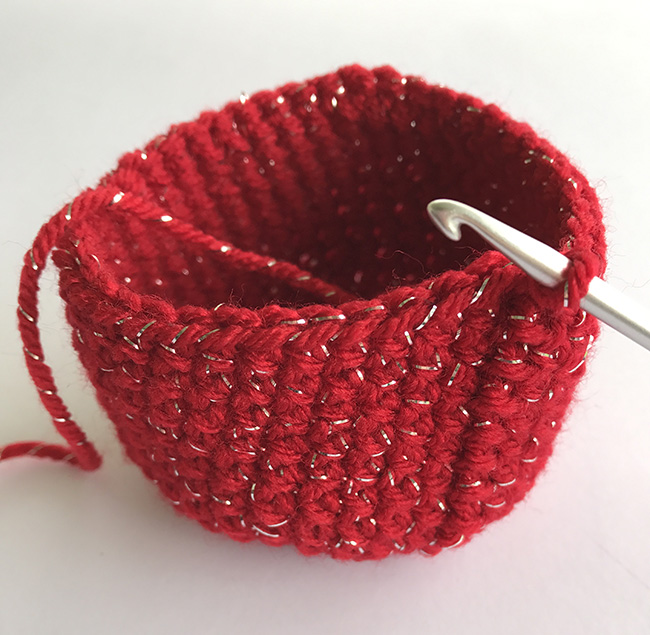
Continuing from the circle you just made…
Row 6-14: Ch 1, sc in each st around, join to first sc.
Start Decreasing to Close Up the Sphere
Rather than using a traditional single crochet decrease, we'll use an invisible single crochet decrease. This method of decreasing helps the decreases blend seamlessly with the other stitches.
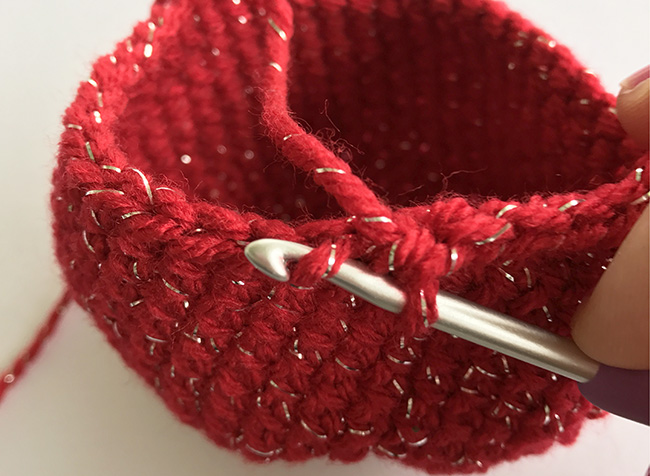
Invisible single crochet decrease: Insert hook into front loop only of first st, YO, pull up a loop, insert hook into front loop only of second st, YO, pull up a loop, YO pull through all 3 loops on hook.
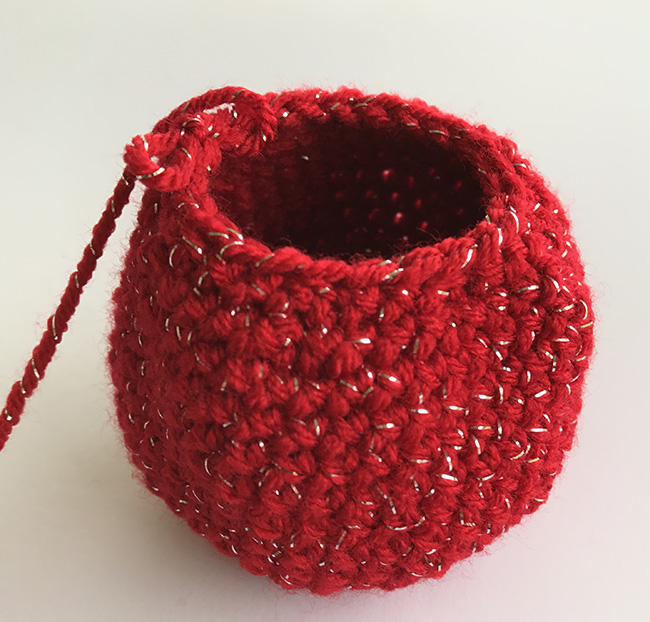
Row 15: Ch 1, *sc in next 3 st, invisible decrease, repeat from * around, join to first sc.
Row 16: Ch 1, *sc in next 2 st, invisible decrease, repeat from * around, join to first sc.
Row 17: Ch 1, *sc, invisible decrease, repeat from * around, join to first sc.
Stuff and Close Sphere
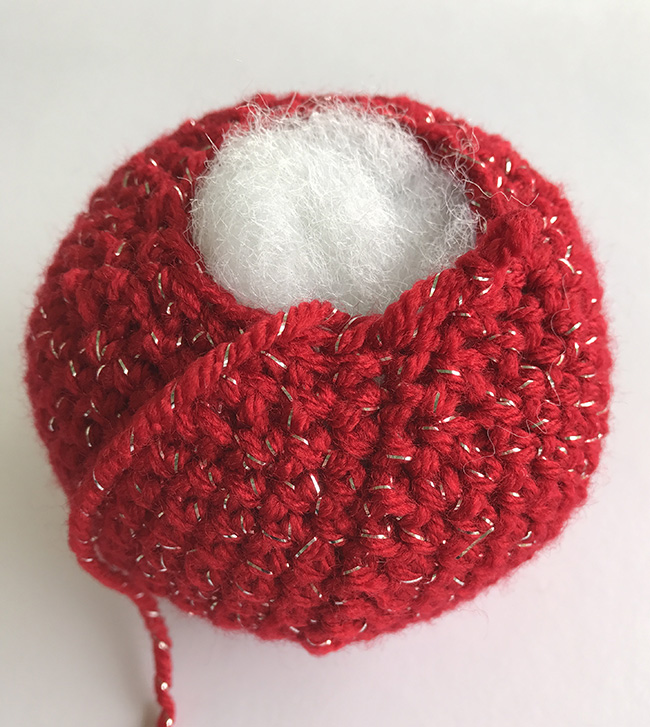
It's time to stuff! Trust us, if you wait much longer, it's going to be really hard to get the stuffing in there. Really make an effort to pack the ornament tightly with stuffing, because the stuffing will settle over time and your adorable ornament will go all droopy. So sad. Once you have stuffed firmly, continue on to Row 18.
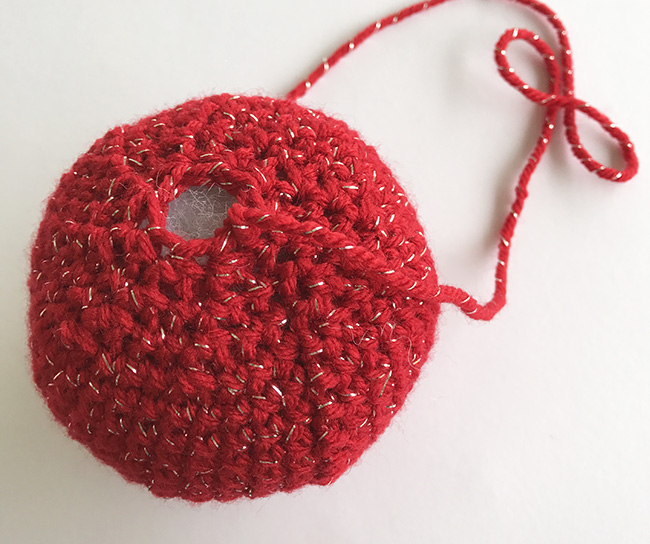
Row 18: Ch 1, invisible decrease around, join to first sc.
Fasten off and leave a tail for sewing up the hole.
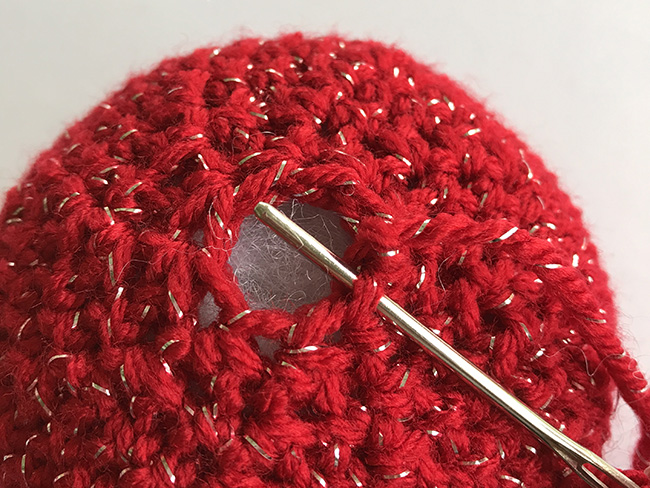
Using a tapestry needle, close up the hole by inserting the needle through the first loop of one stitch from the outside to the inside. Continue to do this for each stitch around.
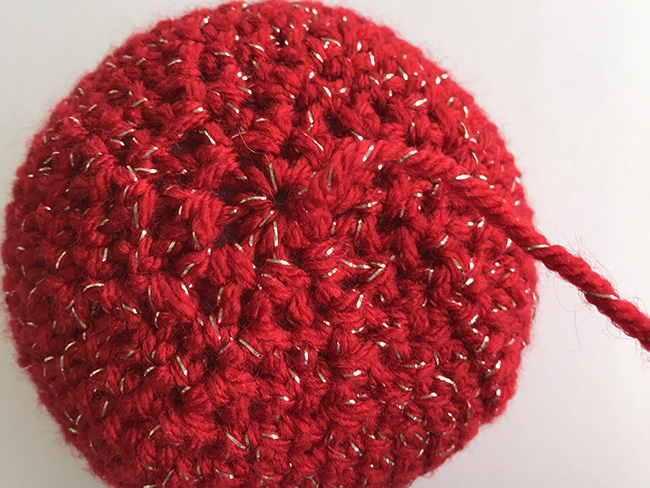
Pull the yarn tight to close up the hole and make a knot around one of the stitches to secure.
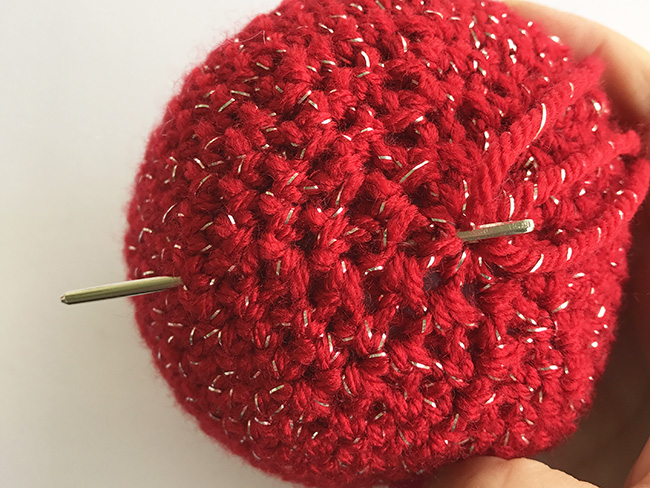
Insert tapestry needle through the top of the sphere and pull through to hide the tail end and cut excess yarn with scissors.
Create a String to Hang the Ornament
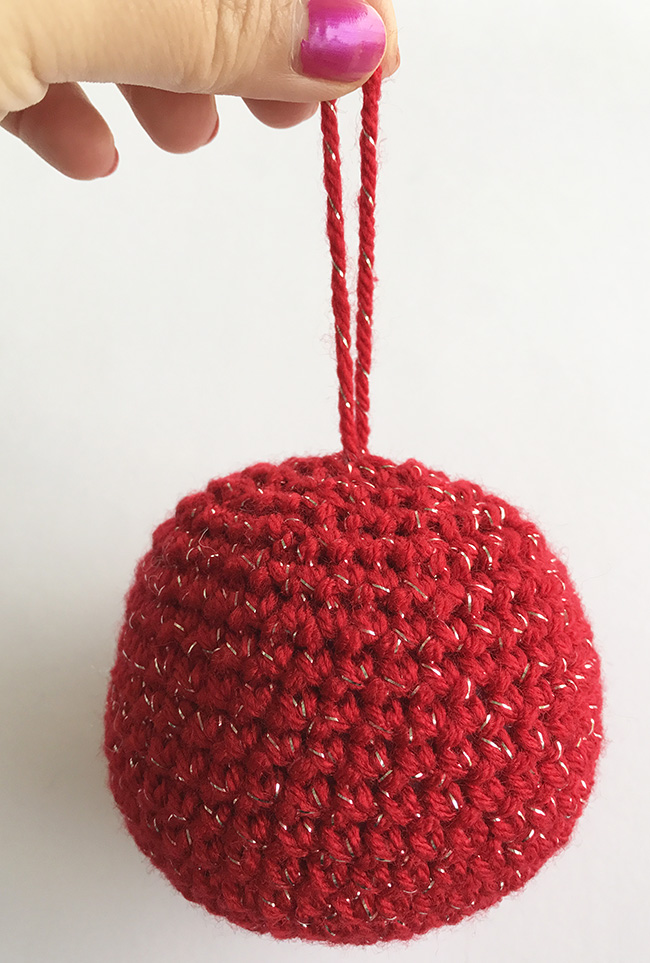
Cut a piece of yarn about 7" long. Use your crochet hook to pull that yarn through the top stitches of the ornament.
Next, tie a knot to form a loop and hide the knot inside the ornament.
Dress Up Your Ornament With Stripes
Now that you've got the basics under your belt, it's time to stripe it up!
Stately Stripes
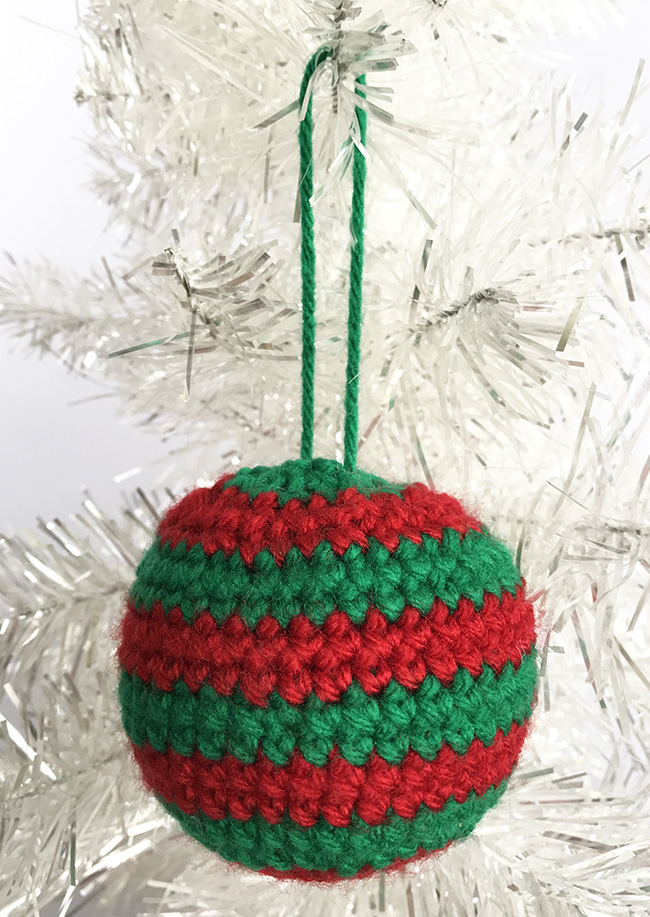
Alternate colors every two rounds for stately stripes.
The Skinny
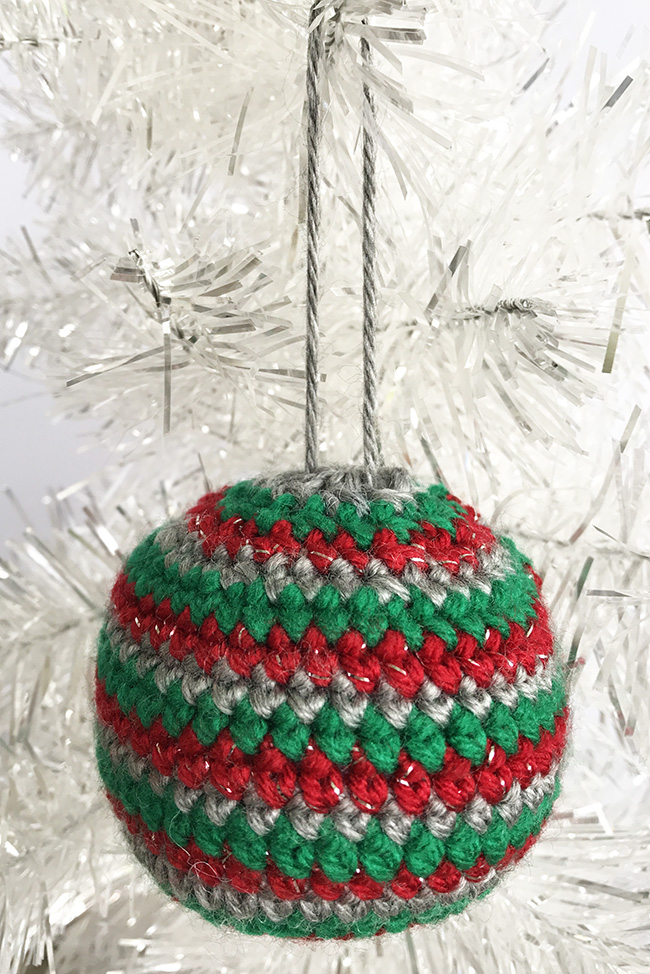
Use three colors and switch every round for cheery skinny stripes.
Go Bold
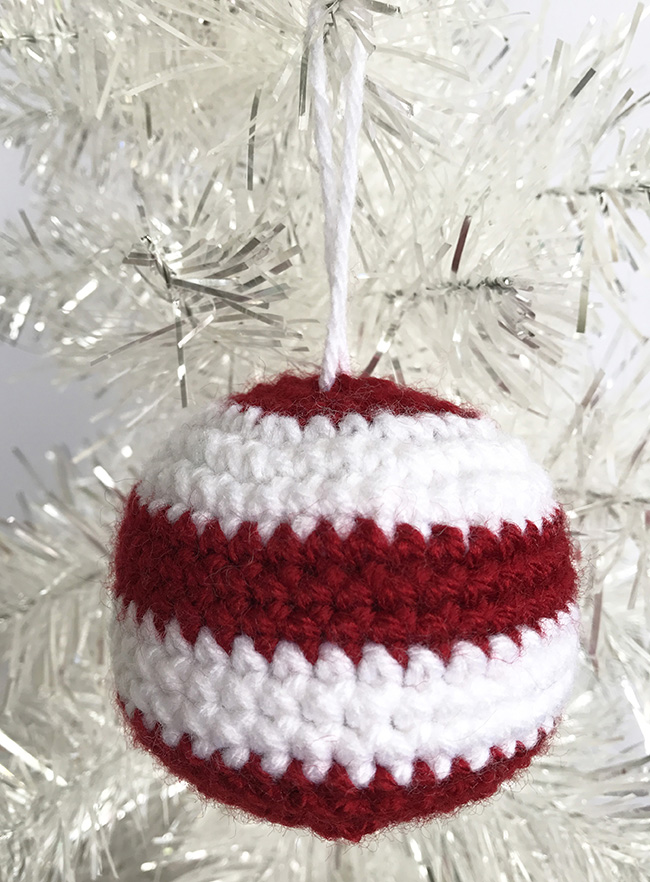
Bold stripes are created by changing colors every three rounds.
Whimsically Random
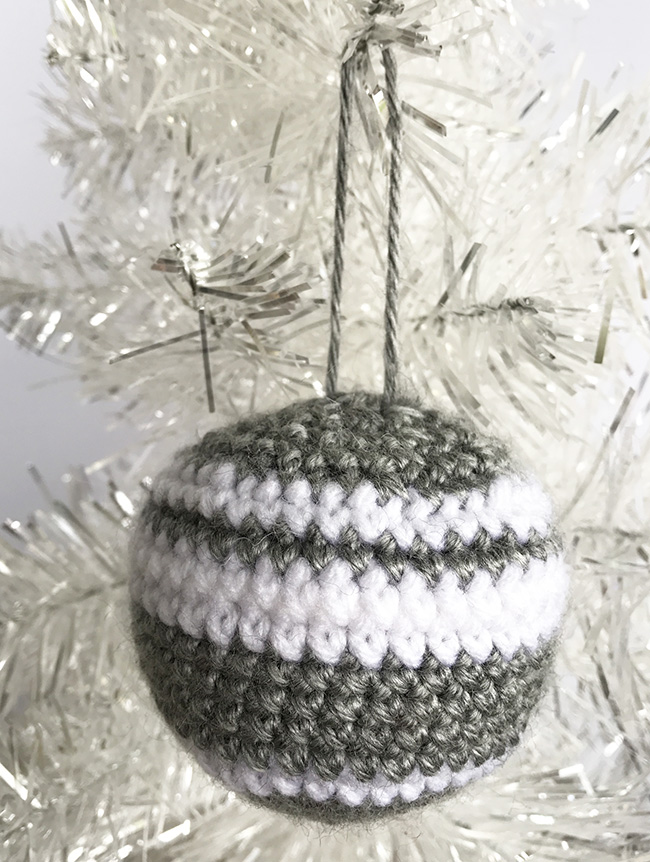
No rules here: just change colors when ever you feel like it!

This looks like a fun and easy craft. Would you please give me a craft to make with toilet paper tubes
These are gorgeous!!!