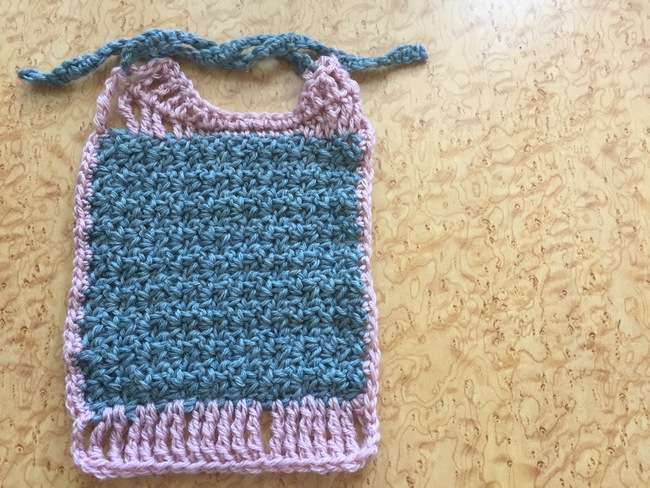
The crochet wattle stitch is a variation on the shell stitch. But in this technique, the shell is created by working 1 sc, ch 1, 1 dc all into the same stitch, and each shell is crocheted into the ch-1 spaces in the row below. The result? A gorgeous, textured pattern you can easily turn into a baby bib. Consider it the perfect project for first-time wattlers.
Wattle Stitch Baby Bib
Level: Easy
What You Need
Abbreviations
Instructions
Foundation Chain
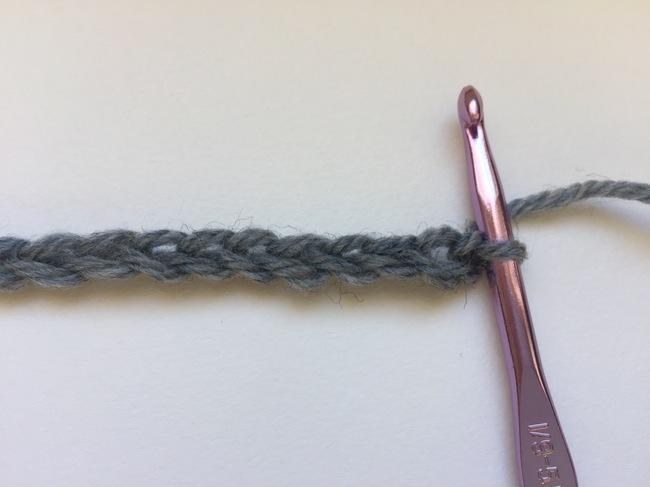
Chain a multiple of 3 with MC. We chained 30, but you can adjust to change the size of your bib.
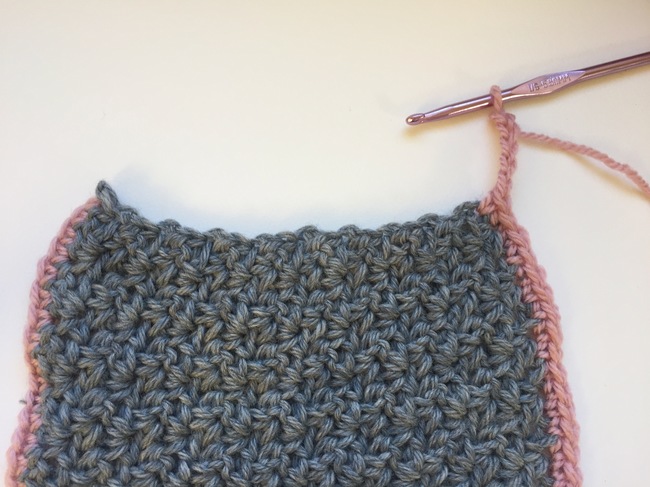
Row 1
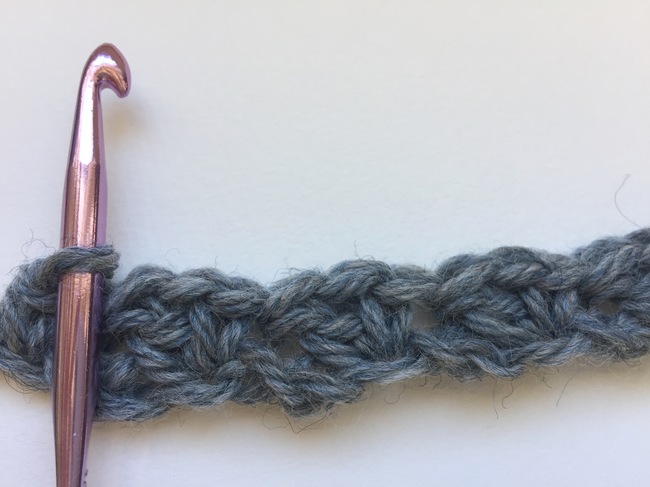
Working in the third chain from the hook: 1 sc, ch 1, 1 dc (all in the same stitch).
*Skip two. Work 1 sc, ch 1, 1 dc (all in the same stitch).
Repeat from * across row.
End with 1 sc in final stitch. You should have a total of 9 “shells.”
Rows 2-18
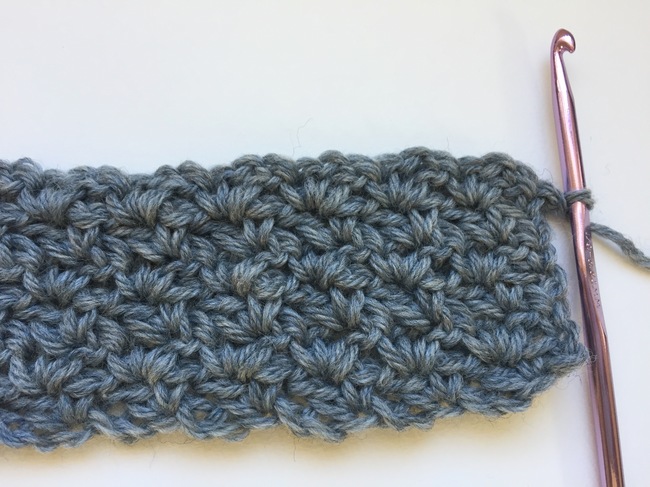
Ch 1 to turn. In the row below, you should see a dc, ch-1 space and then an sc. Work all of the following into the ch-1 space: 1 sc, ch 1, 1 dc.
Work 1 sc, ch 1, 1 dc (all in the same stitch) into each ch-1 space across the row. End with 1 sc in the final stitch of the row.
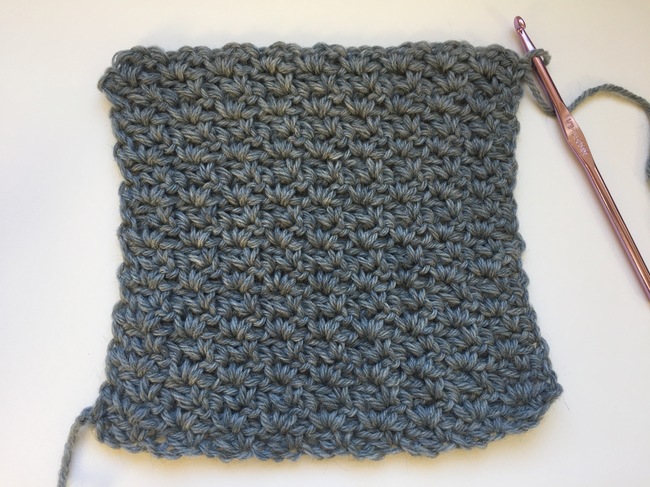
Turn and repeat. After row 18, bind off.
Add a Border
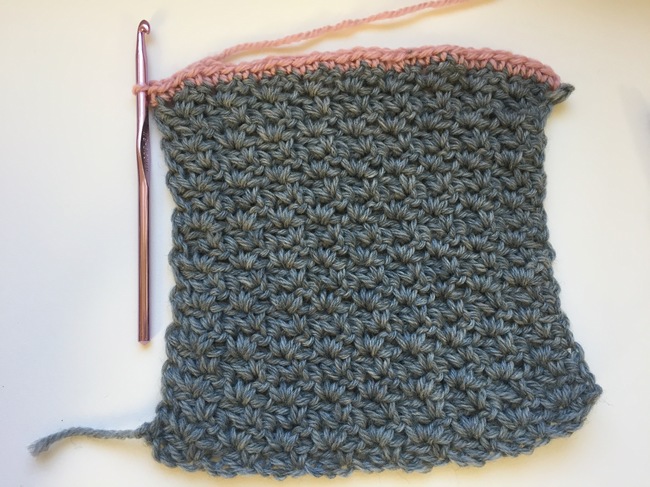
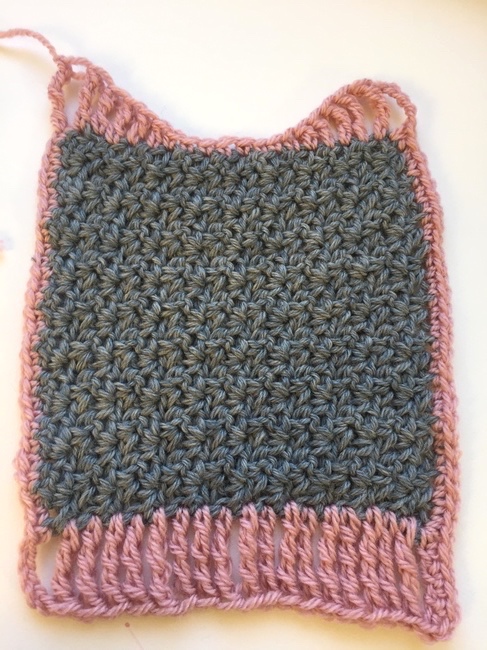
Join CC in the top right corner. Ch 1 and sc in each st across. When you get to the end, ch 5. This will be the first double treble crochet and will help you turn the corner.
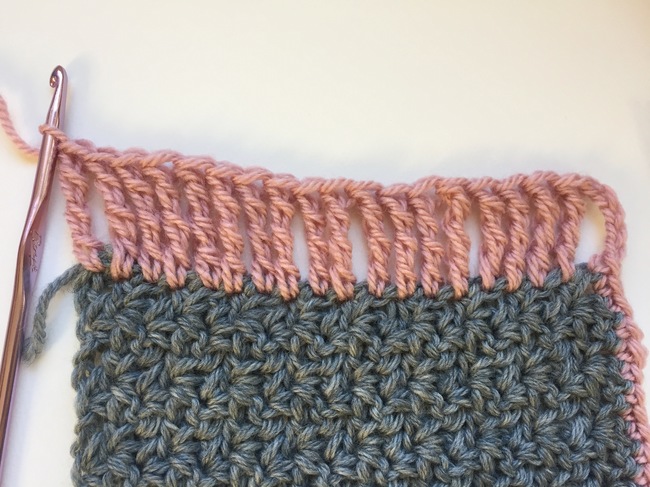
Work 19 more double treble crochet stitches evenly across this side of the crochet baby bib.
Good to Know: A double treble is worked the same as a treble, except that you begin with 3 yarn overs at the beginning for a slightly taller stitch.
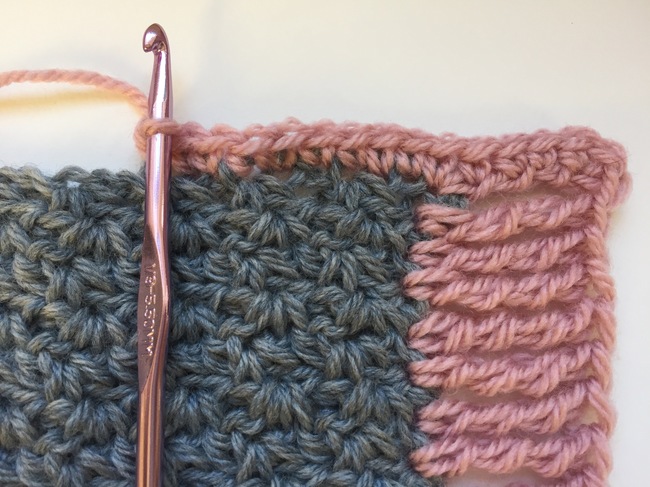
To turn the corner, single crochet evenly into the body of the final double treble crochet. Continue single crochet across the entire side.
When you get to the end of that side, chain 5. Again, this will help you turn the corner and will count as your first double treble stitch.
Working evenly across the row:
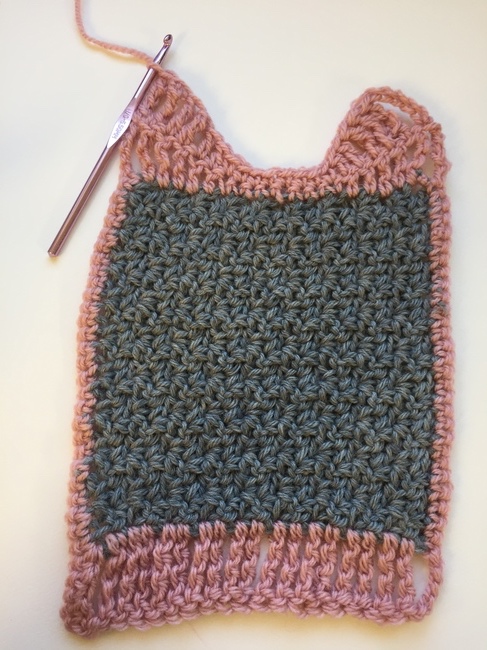
Add a second row to this top row. Ch 5 to turn (counts as first dtr). Working evenly across the row:
Pro Tip: Notice you’re always working a stitch into the same stitch from the row below (double crochet into double crochet, for example).
Bind off and weave in the ends.
Add the Ties
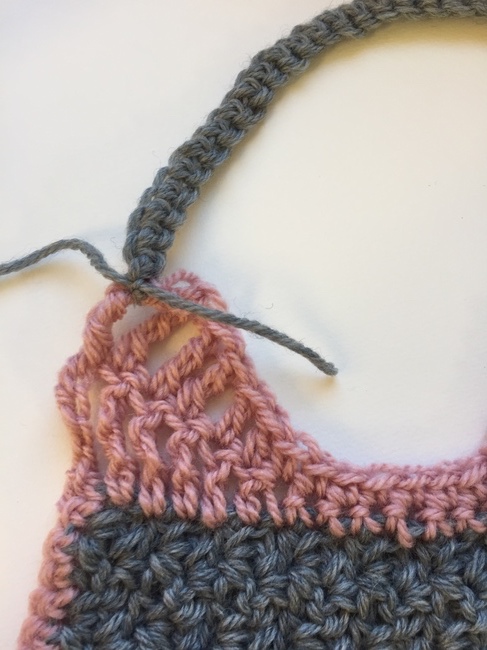
Ch 30, leaving a long tail at the start of the chain.
Sc in each stitch across.
Finish off, leaving a long tail at the end of the chain.
Repeat to make a second tie.
Attach the tie to the crochet baby bib by knotting the two long tails together at the corner around the double treble crochet stitch.
Weave in the ends, knot the ties together and you’re done!
Share tips, start a discussion or ask other students a question. If you have a question for an expert, please click here.
Already a member? Sign in
No Responses to “Crochet an Adorable Baby Bib Using the Simple Wattle Stitch”