When it comes to making crochet blankets, corner-to-corner is quickly becoming our new favorite. And really, what’s not to love? Worked in a solid color, it makes a deeply textured fabric. But work it in multiple colors, and the sky’s the limit. Seriously — you can work any grid-based color chart with the corner-to-corner technique.
This technique is worked a little differently than standard crochet: As the name implies, you start at one corner, creating a block of four double crochet stitches. For the next “row,” you’ll make a block on two adjacent sides of the block. Now you’ve got a triangle.
When you reach the halfway point, you’ll decrease one block at a time until you get back down to one block on the opposite corner.
Corner-to-Corner Crochet Tutorial
Level: Easy
What You Need
- Scrap yarn (we’re just practicing, you don’t need anything special here!)
- Crochet hook (pick one that works with your scrap yarn)
Abbreviations
- Ch – Chain
- C2C – Corner-to-corner
- Dc – Double crochet
- Sl st – Slip stitch
Instructions
Make the First Block
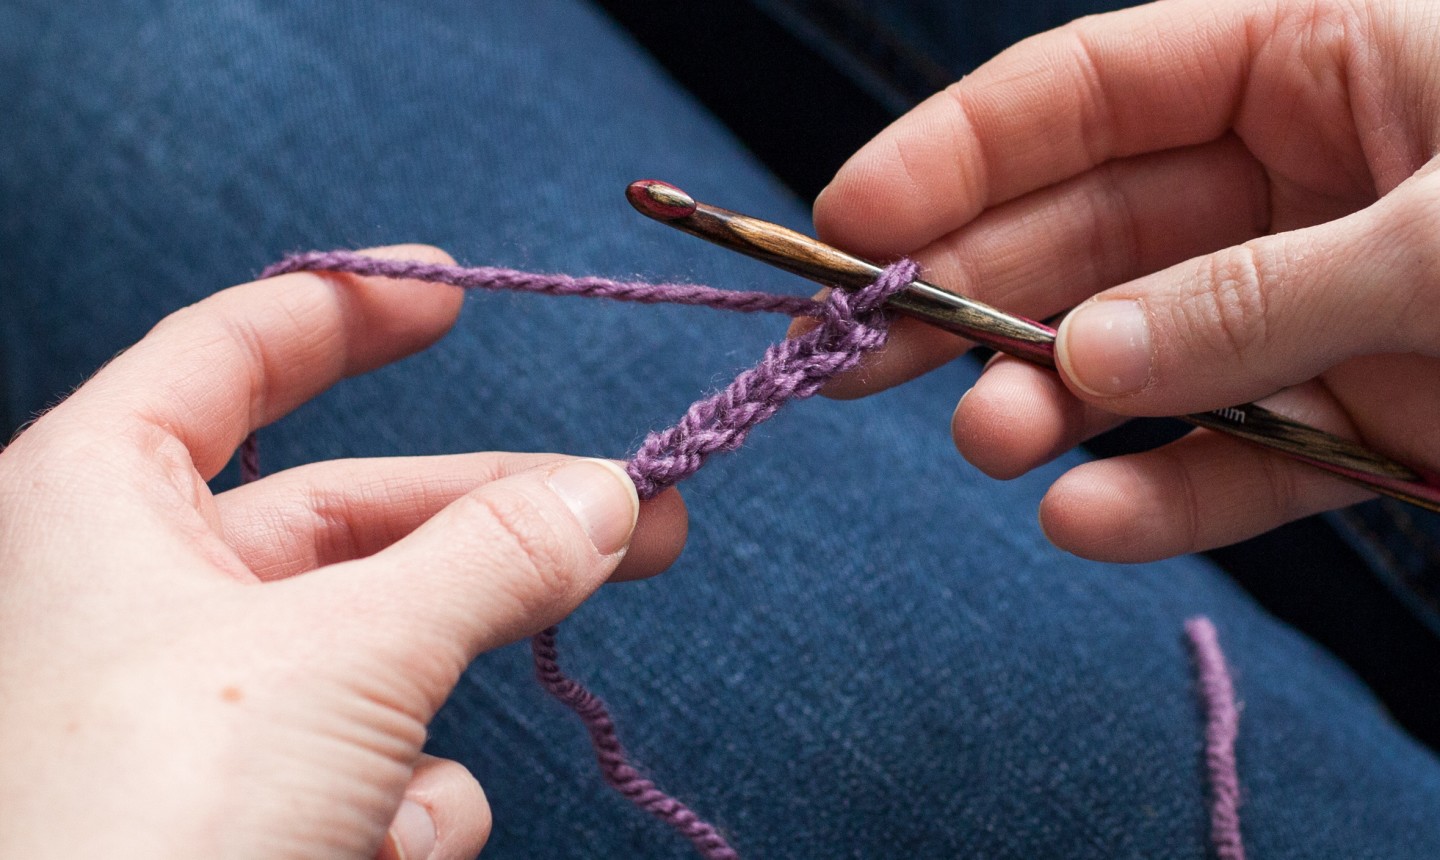
Start with a chain 6.
Dc in 4th ch from hook, then dc in each of next 2 stitches.
Work the Second Row
Turn and ch 6.
Dc in 4th ch from hook, then dc in each of next 2 stitches. You’ve just finished the first block of Row 2!
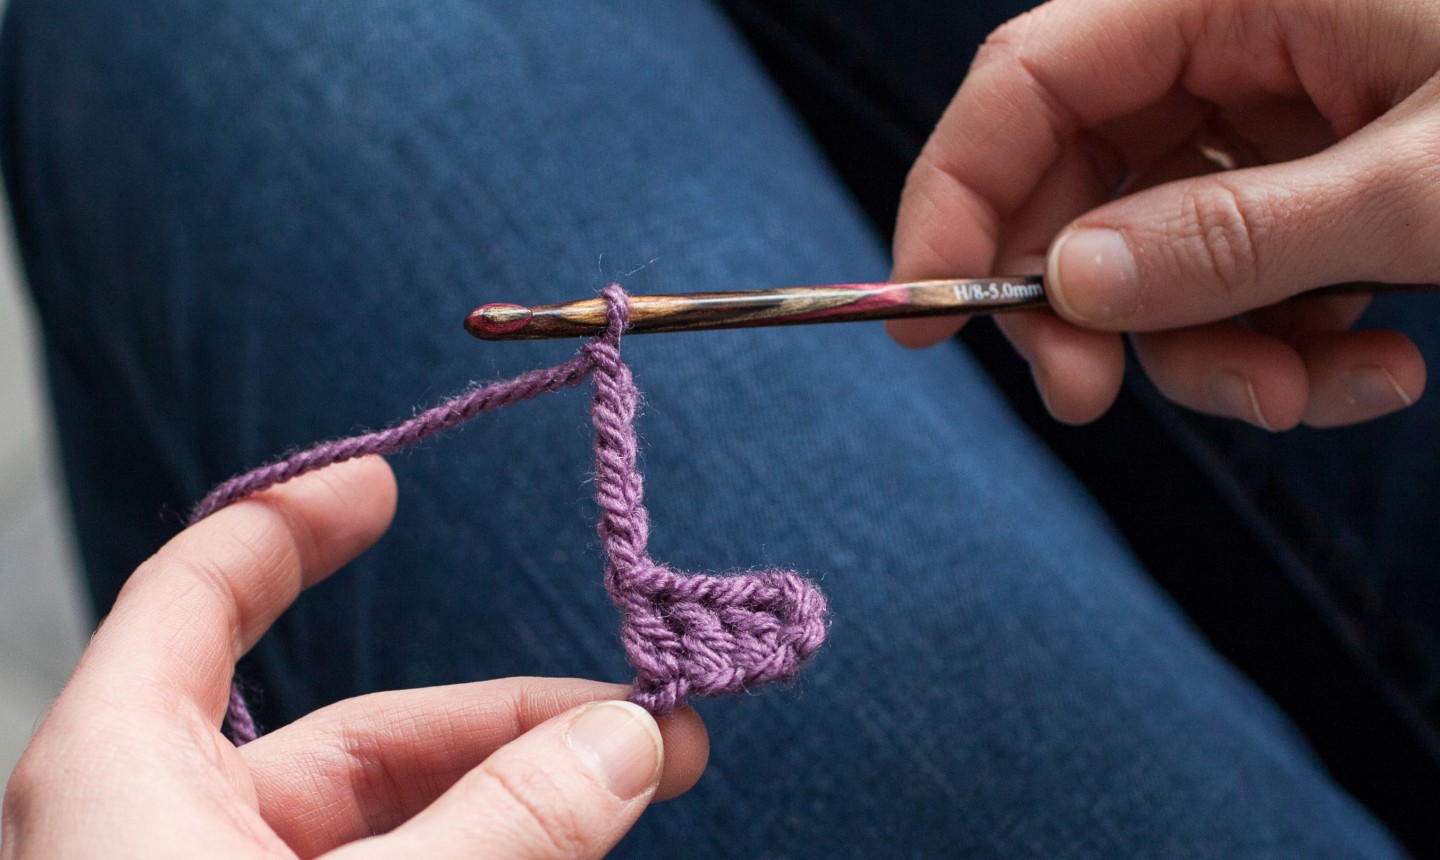
To create the second block of this row, work into the space between the third and fourth dc stitches on the left side of the first block (assuming that you are working right-handed crochet).
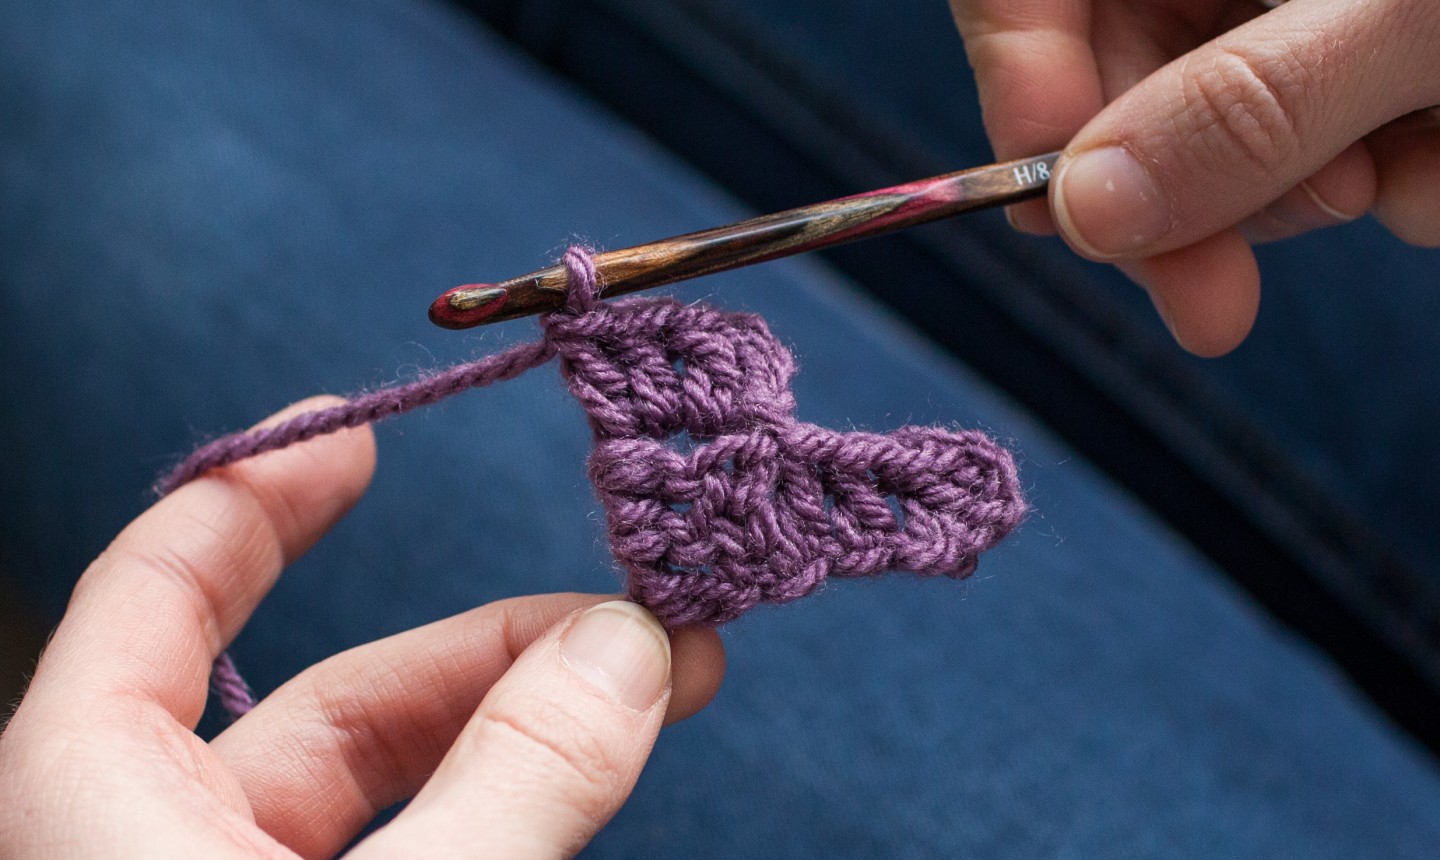
Into that space, sl st, ch 3 (counts as first dc), 3 dc.
Work Row 3
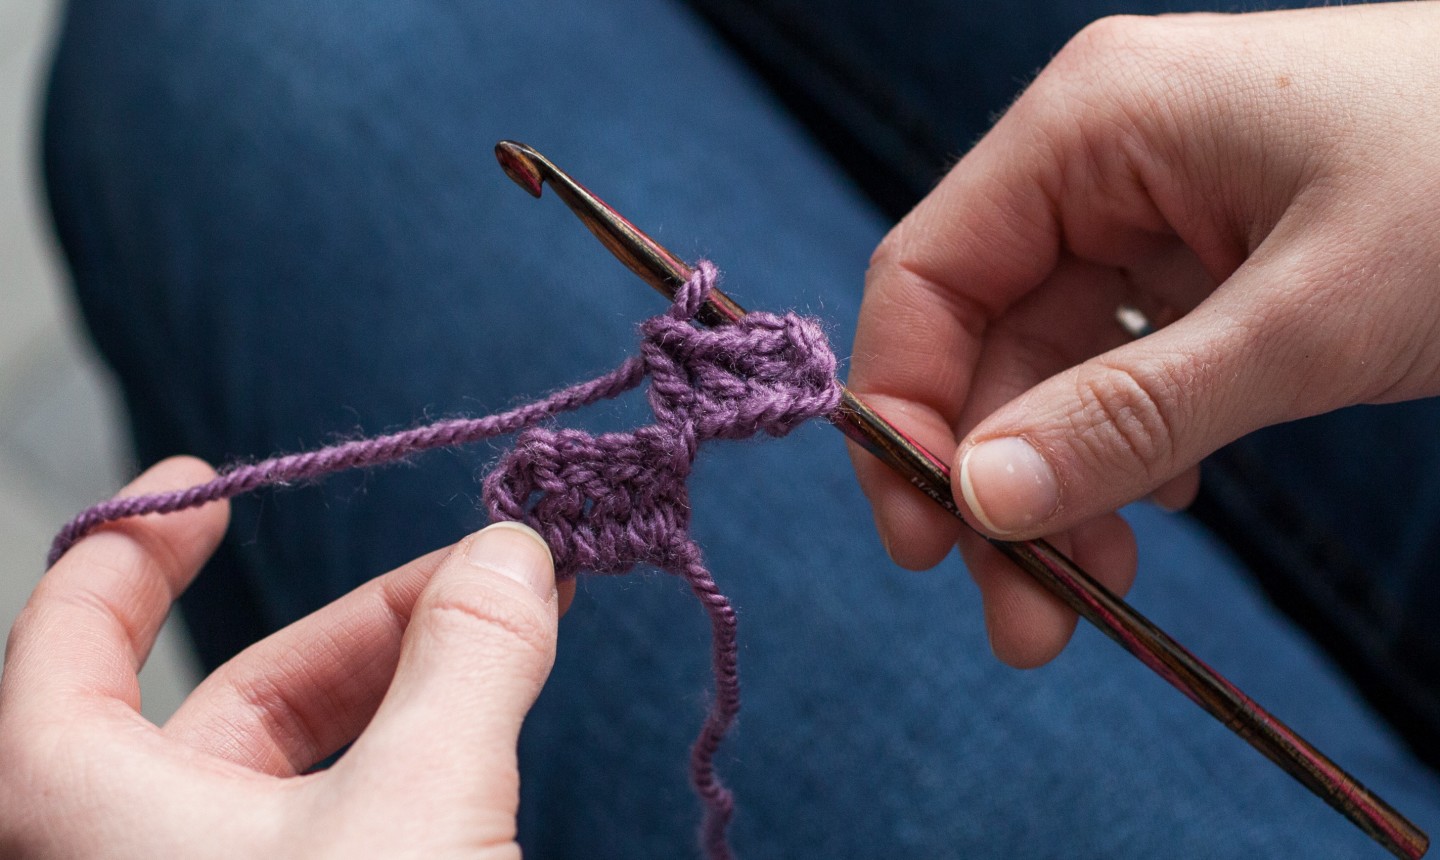
Turn and ch 6. Dc in 4th ch from hook, then dc in each of next 2 stitches. (This should look a bit familiar!)
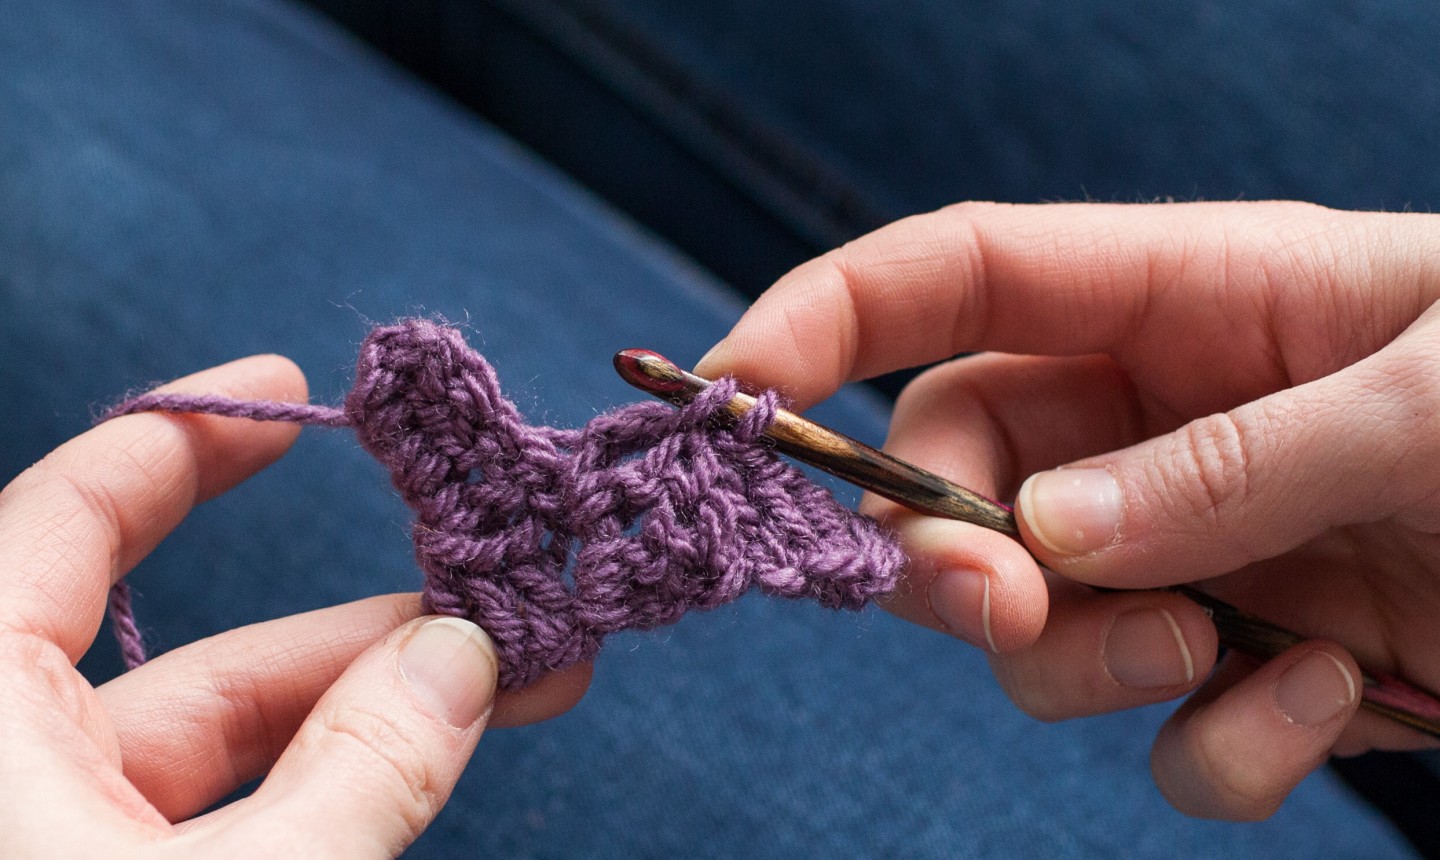
Then, (sl st, ch 3, 3 dc) once in each of the two blocks from Row 2.
Keep Growing That Square!
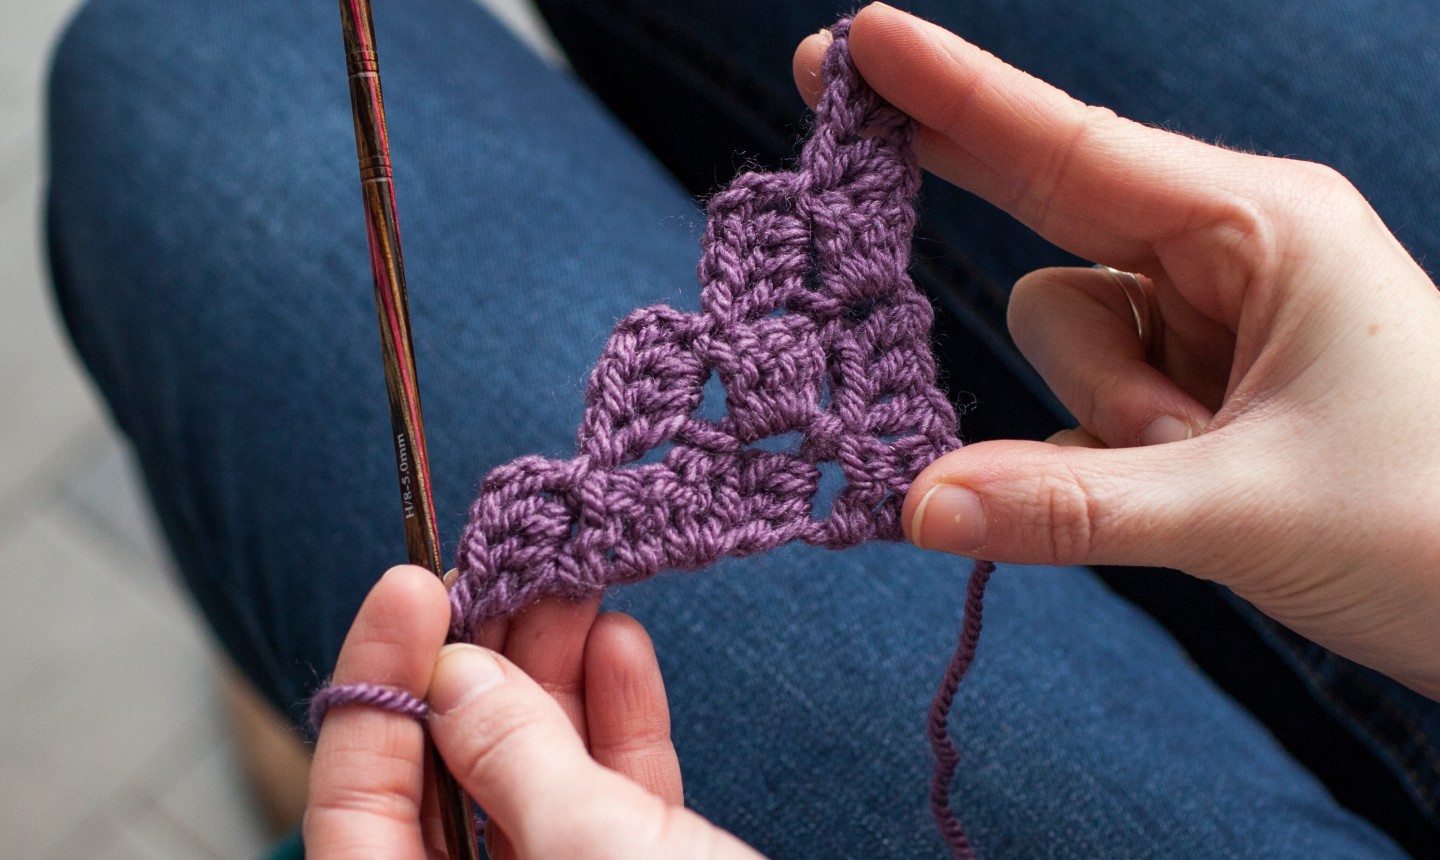
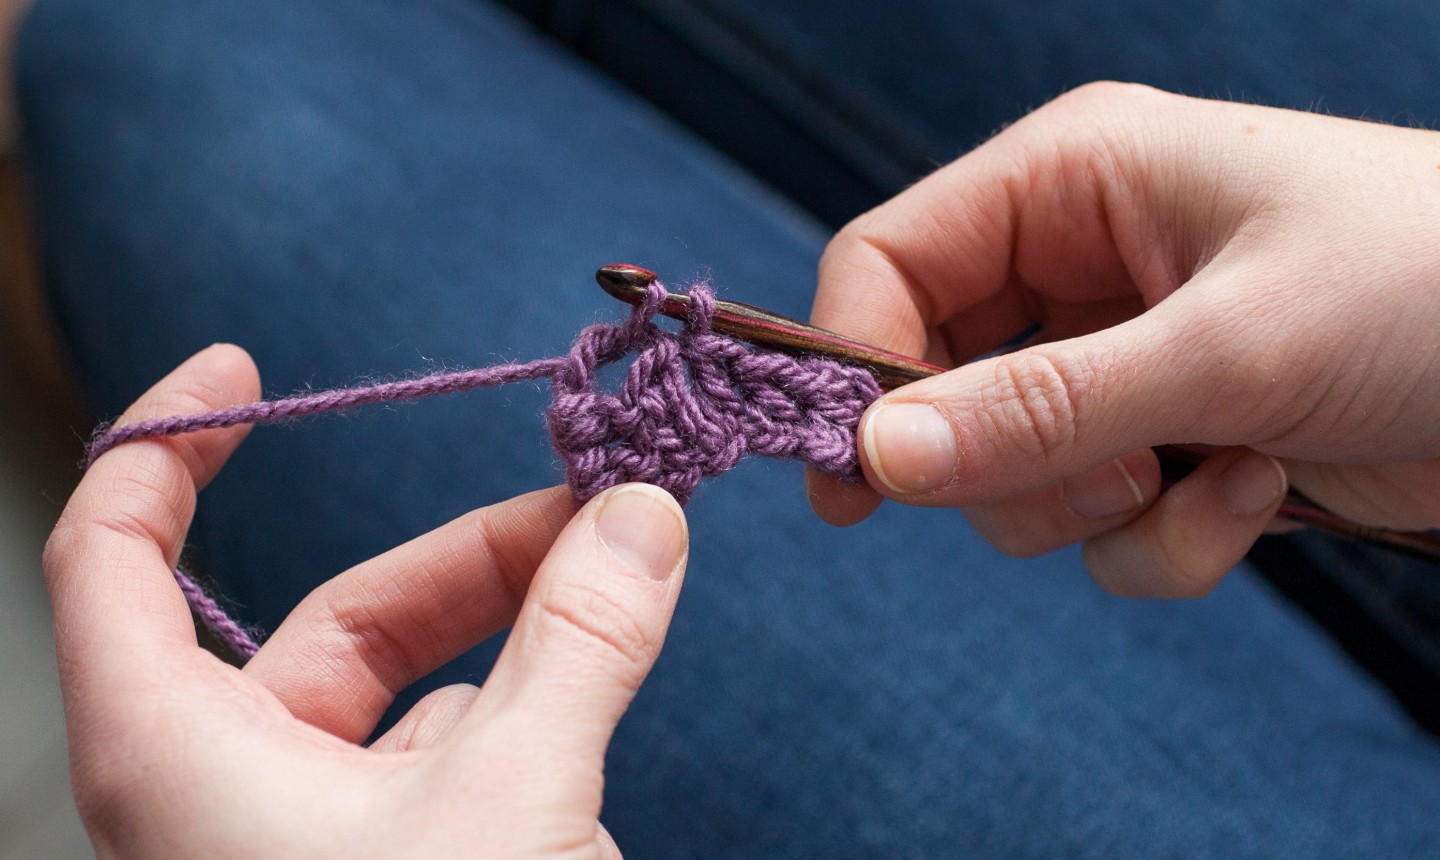
Keep growing your square by repeating the steps for Row 3, adding one more block each time. Do this until the row that you’re on is the length you want the finished square to be. You’ll have a triangle that’s the first half of your C2C square.
Time to Start Decreasing
When you’ve reached the right length, you can start decreasing each row. From here on out, each row will have one less block than the row before it.
Turn your work as normal to begin your next row, but don’t make a turning chain.
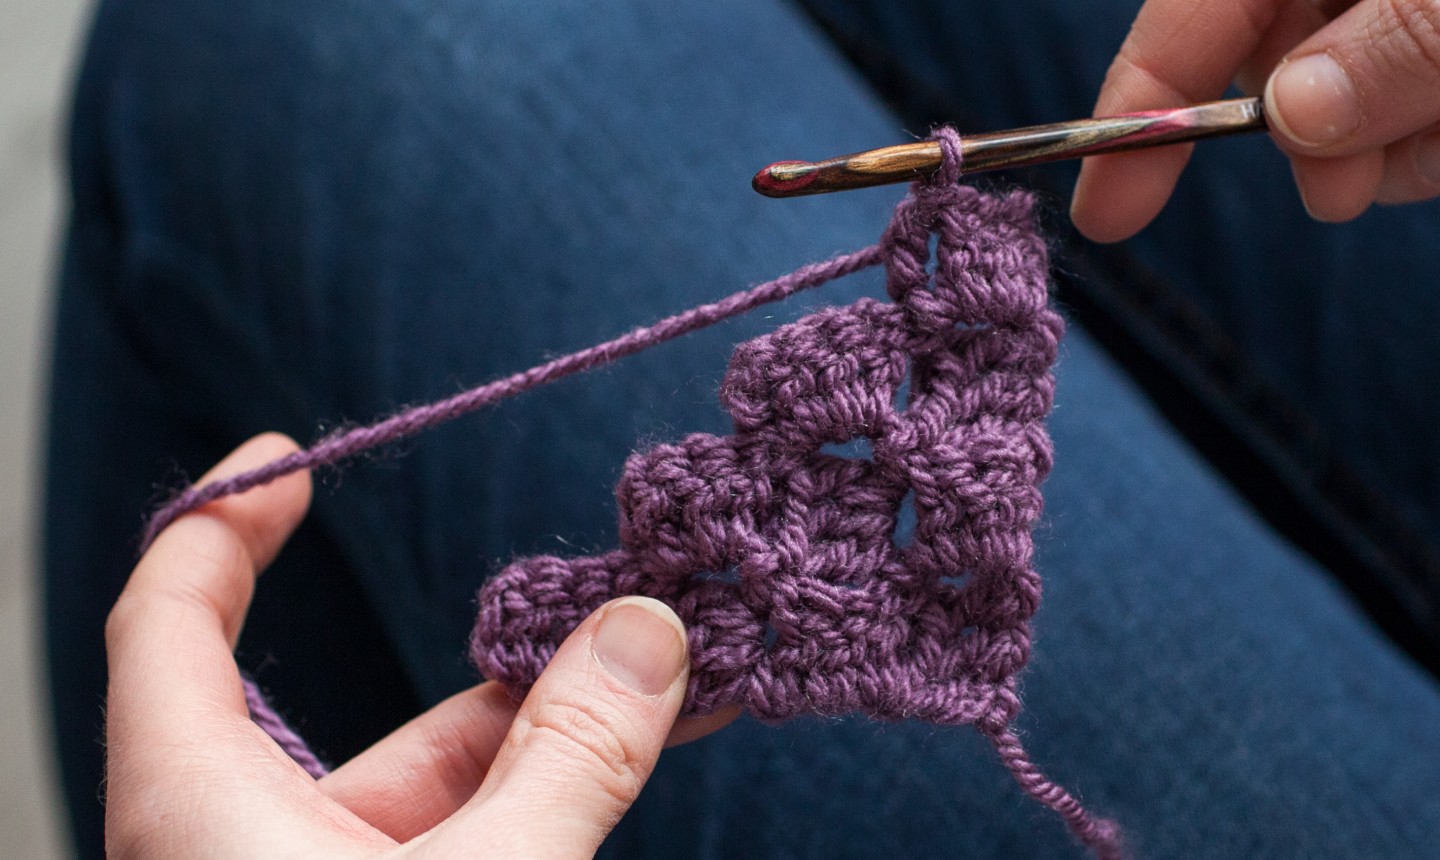
Sl st in each of the 3 dc stitches of the first block on the right. Then work your blocks as normal across the row (repeating the steps above) until you get to the last block.
Do not work a block in the last block on the left side of the work. Instead, simply sl st into that space.
Turn your work and repeat until you get down to one block at the corner opposite the beginning of your work. Finish off and weave in your ends.
You Don’t Have to Be Square!
Squares are great an all, but so are rectangles, especially when we’re talking blankets. Here’s how to make rectangles:
- Crochet your corner-to-corner square until one straight side is the same length that you want the shorter side of your rectangle to be.
- Continue crocheting, but alternate increases and decreases each row, always increasing in the same direction and decreasing in the same direction. This keeps the straight side the same length that it was while increasing the length of the other side.
- When your long side has reached the length that you want it to be, decrease as normal.

Would love to learn how to c2c crochet
Would love to learn how to c2c crochet
Ugh~ The pictures ARE HERE! I am so sorry and I THANK YOU as I can see it all now after refreshing and have this on my HD to help not only me but my future generations of crocheters~ OMIT the last one...so sorry <3 I thank you for a clear and concise tutorial and the first one I was able to finally understand~ Linda
Pictures would have helped. I was able to understand C2C finally and that is because this was written clearly and without a lot of extra words. If there had been pictures then I would not have to reread several parts over and over. I save what I learn on my HD and categorized- if this was done with pictures I would have grabbed this. Just so you know for the future <3 Thank you <3
The are not enough directions for decreasing and no pictures. This tutorial is incomplete.
What if you'd like to switch colors for each square?
I always need a refresher for c2c. This is perfect, simple instruction.
Thank you for teaching me c2c!
I would like to crochet an aran chunky blanket
I love to crochet and knit