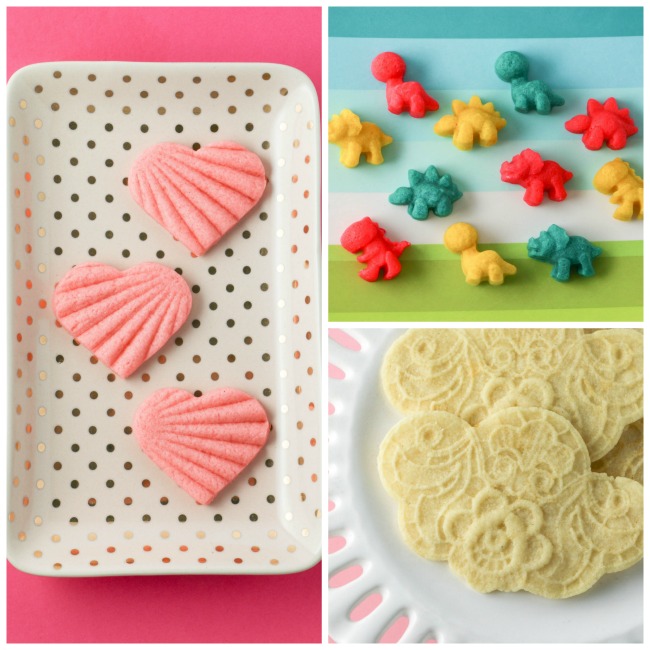
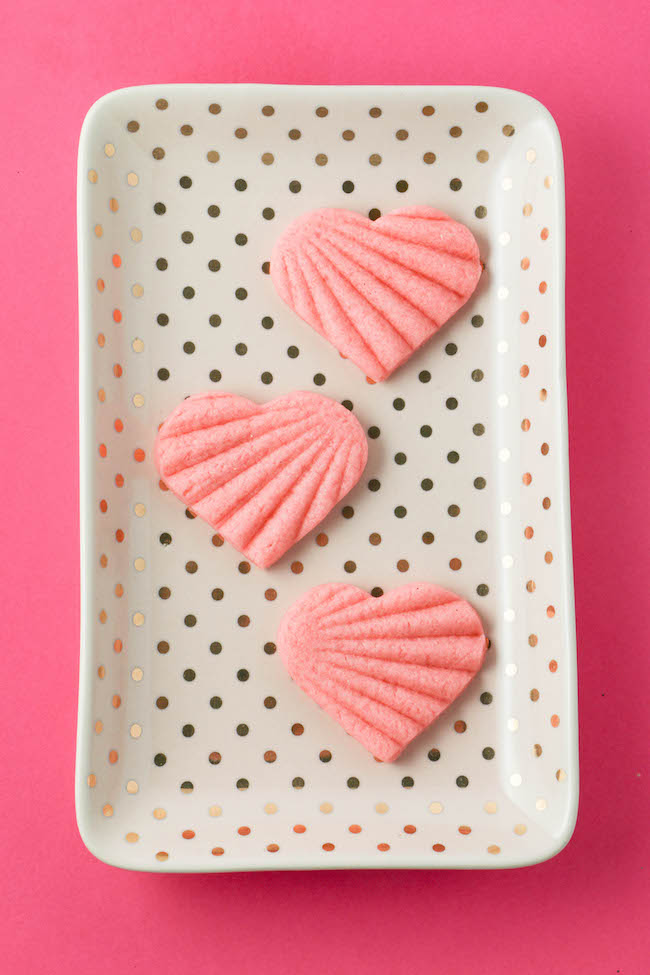
Making intricate cookies doesn't always require hours of tedious piping — you can get the same eye-catching results with silicone molds! These time-saving tools are typically reserved for making fondant or gum paste decorations, but they can also be used to add terrific detail to sugar cookies. Use cookie molds to shape cookies, add texture or even bake the cookies right in the mold.

Images via Erin Bakes
Top tips for successful molded sugar cookies
- Use a cookie recipe that holds its shape when baking.
- Baking molded sugar cookies straight from the fridge or freezer will help them to hold the details from the mold and prevent them from puffing up.
- Store cookies in an airtight container layered between parchment paper to prevent breakage.
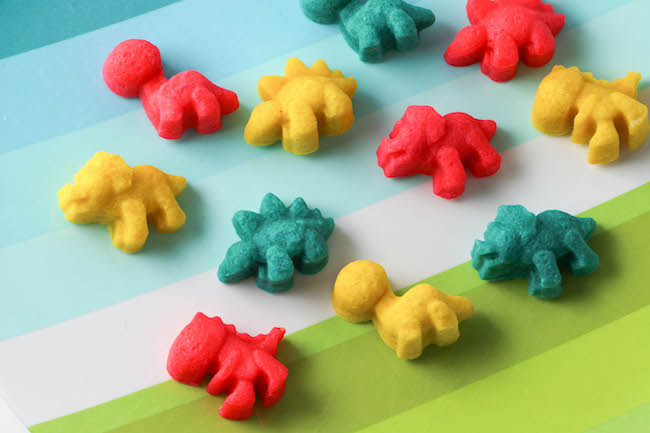
- Add color to your dough by kneading in gel food coloring the same way you would color fondant.
- Use cornstarch instead of flour when dusting molds or shaping cookies. Cornstarch is finer, dissolves more easily and won't leave a powdery residue on your finished cookies.
3 ways to make sugar cookies using silicone molds
1. Use a silicone mold to shape cookies and give them detail
Step 1:
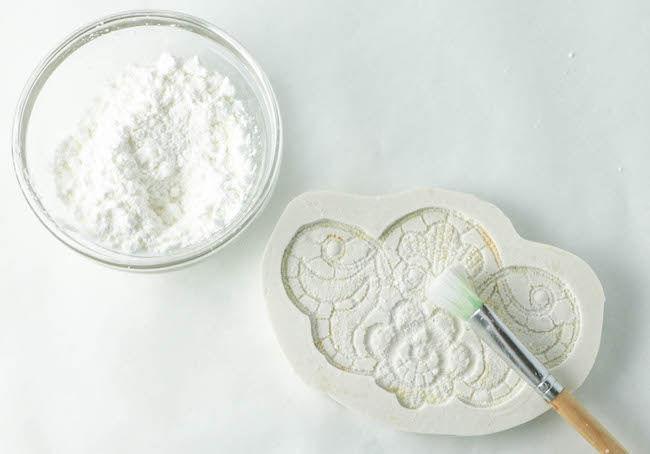
Dust your mold with cornstarch. Use a paintbrush to help push the corn starch into all of the nooks and crannies. Tap out the excess.
Step 2:
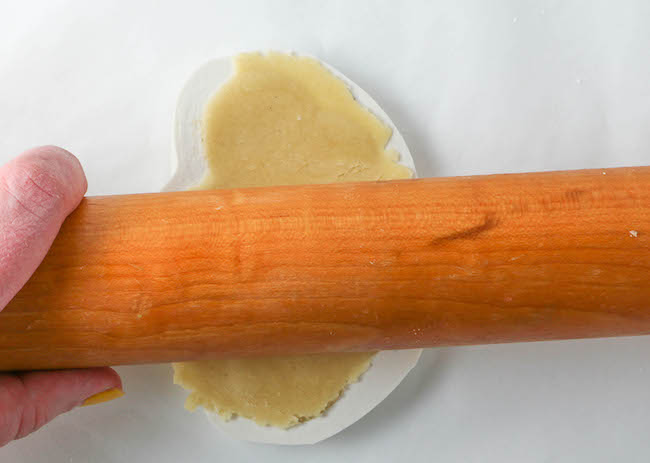
Place a ball of dough into the opening of the mold and smooth it out using a rolling pin.
Step 3:
Clean away any excess dough with an icing spatula or a small knife. Put the mold into the freezer until the dough is solid, about 10 minutes.
Remove the mold from the freezer and flip it over onto a lined cookie sheet. Carefully peel the mold away, leaving the detailed dough on the sheet. Repeat to make as many cookies as you need.
Step 4:
Bake the cookies straight from the freezer at 350 F for 7-10 minutes, depending on the thickness of your molded dough.
2. Bake cookies in a heatproof silicone mold.
(Make sure your silicone mold is oven-safe to at least 400 F before you try this method!)
Step 1:
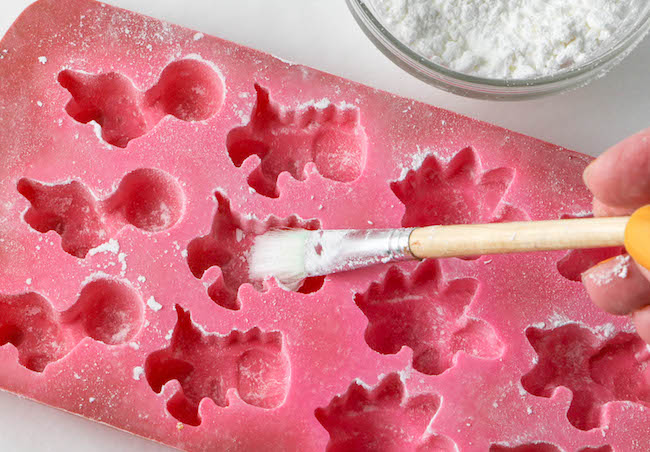
Dust the mold with cornstarch. Use a paintbrush to make sure all the fine details of the mold are dusted.
Step 2:
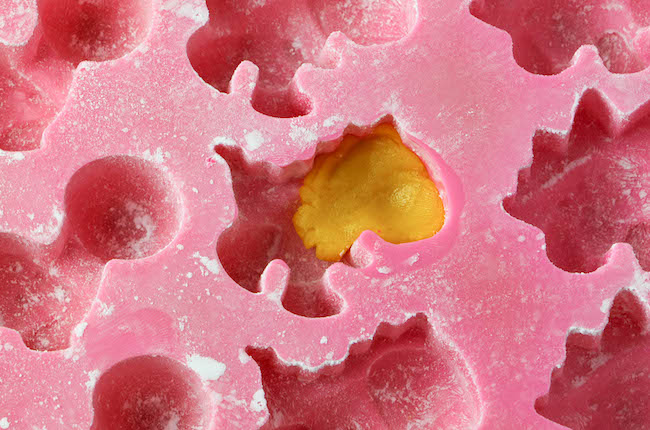
Roll a small ball of cookie dough between your fingertips. Push the ball into the most detailed part of the mold.
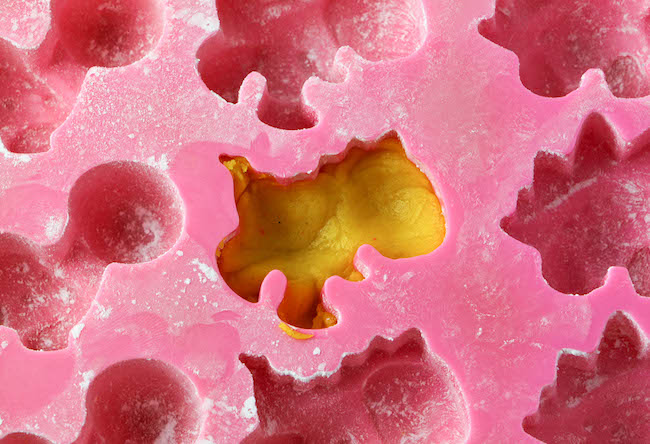

Add more pieces of dough until the mold is a little less than full. Adding the dough a little at a time ensures that your finished cookies will be properly shaped. Clean away any excess dough with an icing spatula or small knife.
Step 3:
Put the filled mold into the fridge or freezer until the cookies are firm all the way through.
Step 4:
Place the chilled mold onto a cookie sheet — this makes it easier to handle when taking it in and out of the oven. Bake at 350 F for 10-12 minutes, depending on the thickness of your mold.
Allow the cookies to cool completely before removing them from the mold. If the shape you're making is very delicate, allow the mold cool to room temperature, then place it in the freezer for a few minutes to firm up before un-molding.

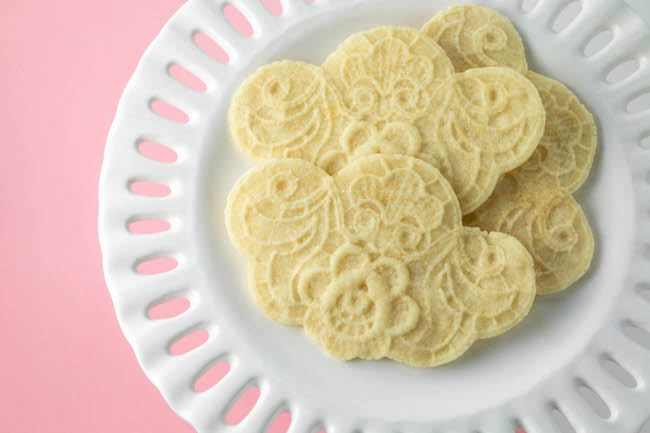
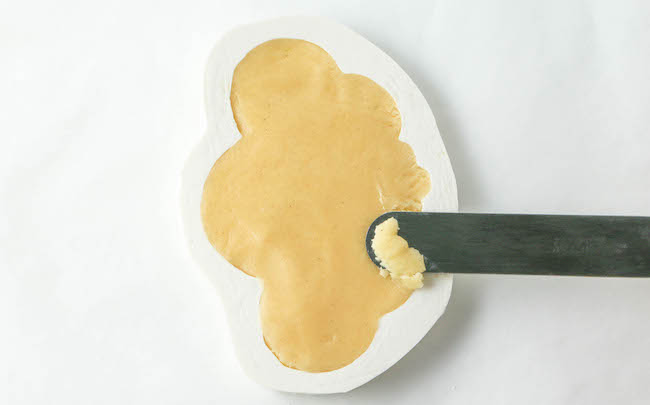
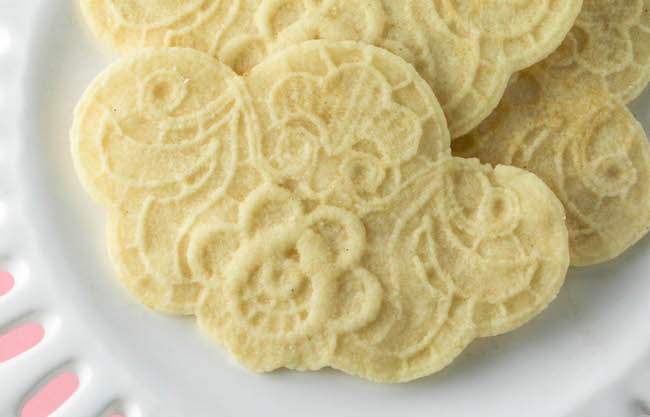
3. Use a silicone mold to add detail to sugar cookie dough and a cutter to shape it
Step 1:
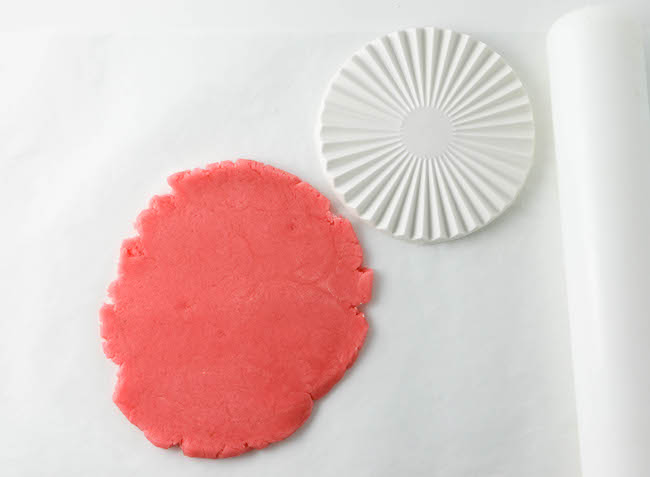
Roll the sugar cookie dough to about ¼" thick.
Step 2:
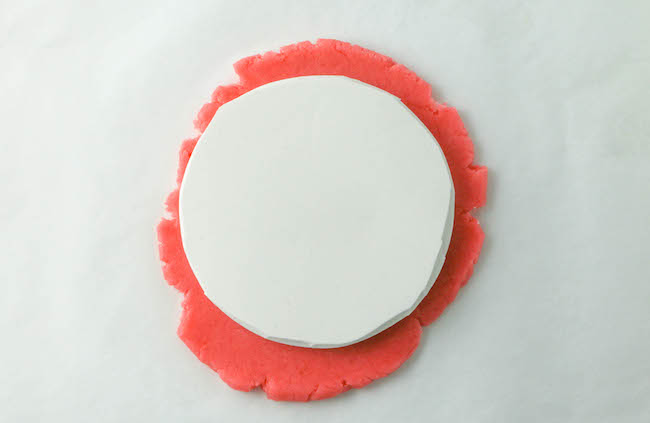
Place the mold or form onto the dough, detailed side down. Press it into the dough with steady, even pressure. Carefully remove the mold, peeling away around the edges first.
Step 3:
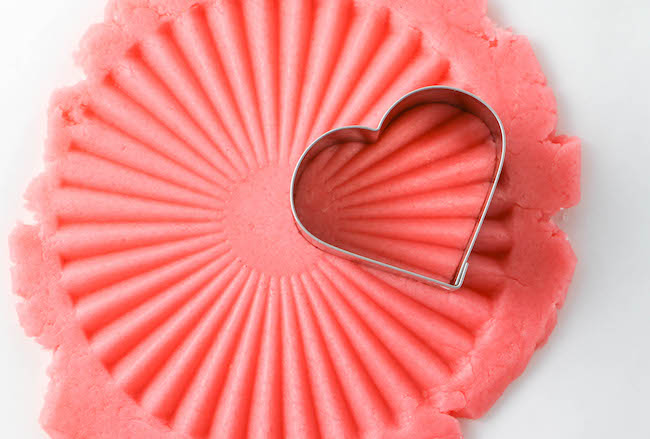
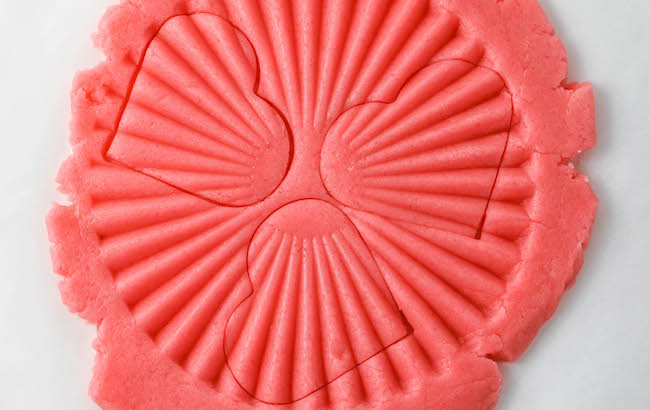
Cut shapes from the detailed part of the dough using a cookie cutter. Peel away the excess dough and re-roll as desired. Carefully move the cut shapes to a lined cookie sheet.
Step 4:
Place the sheet in the fridge or freezer until the cookies are thoroughly chilled, about 20 minutes.
Step 5:
Bake the chilled cookies at 350 F for 8-10 minutes. Allow the cookies to cool to room temperature before moving from the sheet.


Ana ideas!!! I'm definitely trying these for Christmas!!!
What is a good recipe for the little dinosaur mold?
When baking the cookie in the case of placing the mold itself in the oven, which side of the mold is up (or down)?