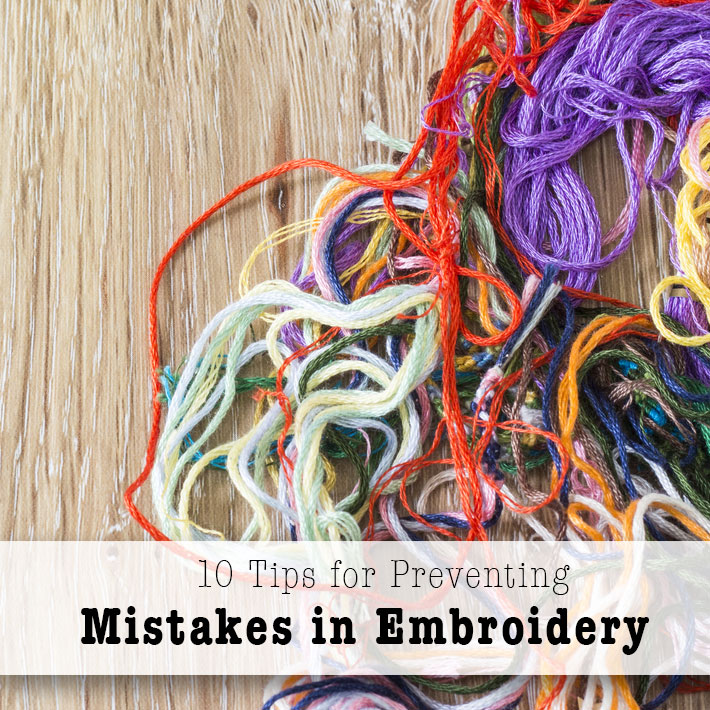
Have you heard the saying, “An ounce of prevention is worth a pound of cure”?
Even in the embroidery world, this adage holds true. It’s better to prevent or avoid embroidery mistakes before they happen, rather than to spend time, energy and money to fix them!
So, here’s a list of tips that will help you avoid common embroidery mistakes and ensure that your finished embroidery project is the best it can be!
1. Choose the right fabric for your project.
When setting out on any embroidery project, consider the type of embroidery you’re planning to do, and then determine which materials will help you achieve the best results with that type of stitching.
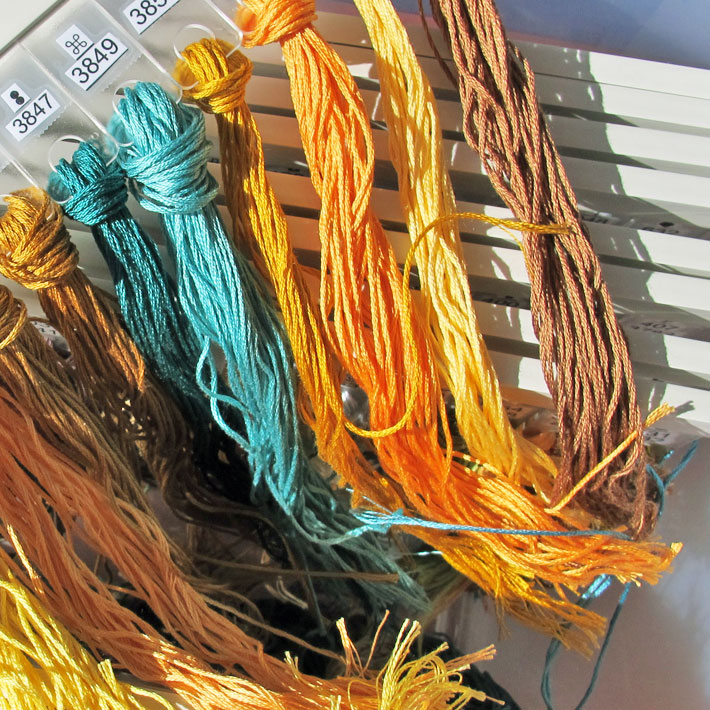
For example, if you are planning a very densely embroidered project — something a-splash with all kinds of threads of different weightsand colors all worked in close proximity — it’s important that your fabric can support the type of stitching and the threads you plan to use.
A fine, flimsy fabric would not be the best choice in this scenario. It wouldn’t support the stitching, and the embroidery would be prone to puckering and distortion. In this situation, a medium to heavy weight linen or a cotton twill would work great.
See also our post on choosing the right fabric for hand embroidery.
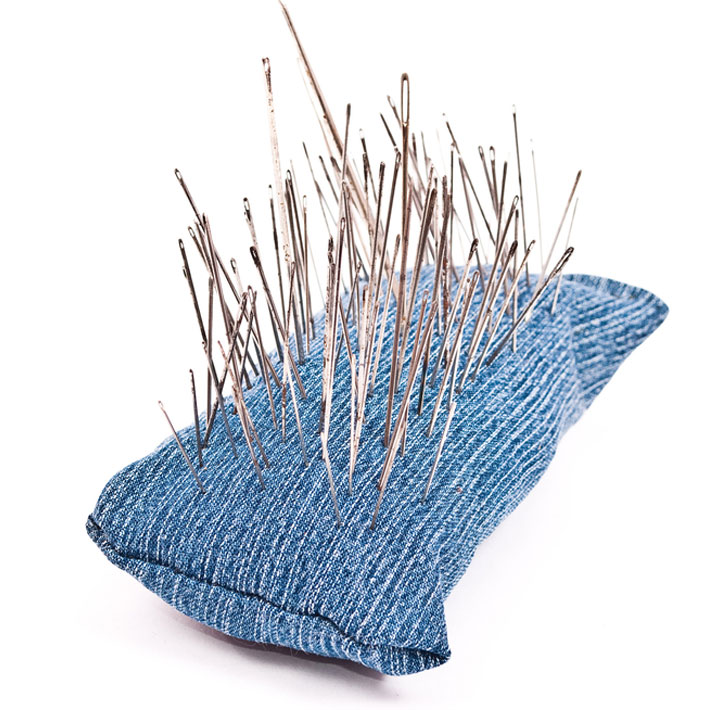
2. Choose the correct needle.
When considering embroidery needles, focus on two points: the type and the size.
Certain types of needles are meant for certain jobs. If, for example, you are planning a surface embroidery project that involves a lot of bullion knots on a closely woven silk fabric, using a tapestry needle to make your bullion knots would be a mistake. The blunt point of the tapestry would not pierce the fabric well, and the swollen, elongated eye would cause frustration with every bullion stitched.
Instead, there’s a perfect needle for bullion knots and similar stitches, called a milliner’s needle, or, in some countries, a straw needle. This needle is ideal for passing through wrapped stitches, and its sharp tip will pierce a closely woven fabric easily.
Another scenario: You want to work a counted cross-stitch piece, or some needlepoint on canvas. If you choose a crewel needle with a sharp tip, you risk splitting the ground fabric threads instead of gliding easily into the holes already in the fabric. This can cause crooked stitches and warped fabric. Instead, use a tapestry needle with a blunt point.
Sometimes, you might find that your embroidery thread is fraying or kinking up as you stitch. Every stitch is a chore, as you pull the thread through the fabric. Consider switching the size of your needle! Try a needle that’s slightly larger. It will open up the fabric and allow the thread to pass through more easily, avoiding fraying and even knotting and kinking.
If you educate yourself on the types of embroidery needles available and the jobs that they do, and then experiment with different sizes of needles, you’ll eventually get the hang of selecting just the right needle for the job.
Our post on choosing needles and floss will help you out!
3. Read those instructions through completely before you start stitching.
I do this all the time! I assume the next step in instructions when working kits, because it’s easier just to keep stitching than to go about consulting the instructions.
This often results in a bout of un-stitching, spending lots of time laboriously picking out areas of stitches simply because I didn’t read ahead.
The easy way to avoid this: always read the complete set of instructions for any project before beginning the project. Then, once you complete a small section of a project, read ahead to the next section before moving forward.
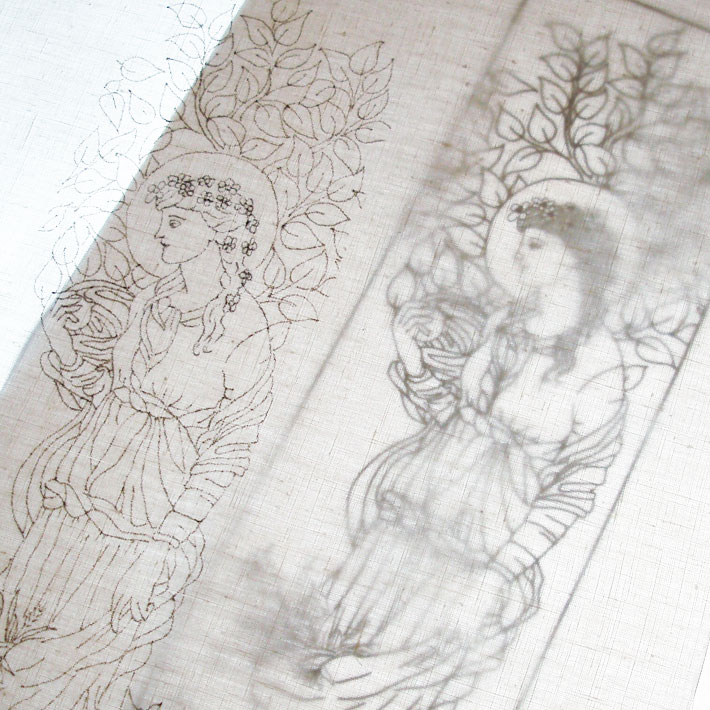
4. Choose an appropriate transfer method for the type of embroidery you’re doing.
Sometimes, it doesn’t matter if your embroidery design transfer is permanent, because the project you’re doing involves covering all the designs lines with stitches.
Other times, though, the design lines aren’t completely covered. For example, if you’re embroidering a leaf with an open, airy stitch and no outline on the edge of the leaf, you’ll definitely want the design line that marks out the shape of the leaf to go away when the project is finished.
Always consider what type of embroidery and what stitches you’ll be using, before you determine what type of transfer method to use for embroidery. If your design lines will not be completely covered, choose a transfer method that can be removed after the embroidery is complete. Ceramic chalk pencils, dressmaker’s carbon, water-soluble pens and the like are all suitable choices.
5. Don’t ignore the back of your work.
I’m not the type of stitcher who obsesses about the back of my embroidery. At the same time, ignoring the back of your embroidery altogether can lead to big disasters!
As you gain experience with stitching, you’ll notice that you automatically become more aware of what is going on on the backside of the hoop. But if you’re just starting out, you should check the back of your work now and then. Sometimes, large knots and clumps of thread can form back there, if you’re not careful. When you finish the work and try to frame it, these things show through.
I’ve even sewn up other pieces of fabric, the corner of my project, or cut threads from my work table to the back of my embroidery accidentally, only to catch the problem after significant stitching. So, check the back now and then! It doesn’t take that long, and it could save you a good chunk of time in the long run.
6. Cut your threads shorter than you think they should be.
Two reasons to avoid cutting your thread too long:
1. The thread wears down after all that passing in and out of the fabric. Even if you don’t notice it right away, if you’re stitching with very long lengths of thread, your stitches will often not look as bright and fresh as they could look, if you were stitching with shorter lengths and changing to fresh threads more often.
2. Long threads tend to tangle, leading to frustrating knots and to wasted time, trying to pick out knots.
The ideal length of thread for embroidery floss is about 18”, but even then, it’s important to pay attention to your thread as you stitch. If your stitches begin to look a little duller, if you notice any fraying or fuzziness on the thread or on your work, or if the thread begins to misbehave for no apparent reason, change out the thread to a fresh one.

7. Use a hoop correctly.
Finishing a project and taking it off the hoop to discover that it is full of puckering can be very disappointing.
To avoid puckering, use the hoop correctly. Unless you are working stitches that require you to manipulate the fabric while it’s in the hoop, your fabric should be drum-taut when hooped up.
8. Be aware of the tension on each stitch.
Stitches should sit comfortably on the fabric, without tugging the fabric. They shouldn’t be too loose, but they shouldn’t be too tight, either. If the holes formed by the needle are pulling open with the stitch, your stitches are pulled too tightly.
It’s easier to use just the right amount of tension on each stitch if your fabric is mounted correctly in a hoop.
9. Don’t underestimate lighting or magnification needs.
Sometimes, you might think you can see your fabric just fine, but stitching in poor lighting — like regular household lighting at night — is often the cause of crooked or messy stitches.
If you don’t have a dedicated lamp for crafting or stitching, consider investing in one. You’ll be amazed at the difference it makes in your embroidery.
If you have trouble with your eyesight, another option is investing in a magnifier, or a magnifier and light combination unit. For certain types of very detailed stitching (like fine needlepainting), a magnifier might be essential. You can always visit local needlework or craft shops and test lights and magnifiers to find one that will suit your needs.
10. It’s not a mistake — it’s an opportunity!
Never be afraid of a mistake! We all make mistakes. Turning a mistake into a success is often just a matter of attitude.
Sometimes, it’s best to view a mistake as an opportunity for learning. Sometimes, a mistake can be an opportunity for innovation. Don’t let a mistake in your stitching prevent you from going forward with your project!
If you’re not up to correcting a mistake, or if it’s become an insurmountable obstacle that keeps you from your project, try making it part of the project.
Remember, you’re usually the only one who will notice your mistakes, and you’re always your own worst critic.
Don’t let mistakes hold you back!
I don't understand the stitch length. Are the stitches per inch like on a sewing machine? None of my embroidery books show stitch length, and the pictures a of stitches are not uniform or actual size. Being a perfectionist, this particular problem is one I need to understand. Thank you.
I use the hoop correctly and my work still puckers.. Sigh... That's my main challenge with Embroidery..
Just found your site. So glad I did. I am a beginner, and loving it, even though I make lots of mistakes. Carol