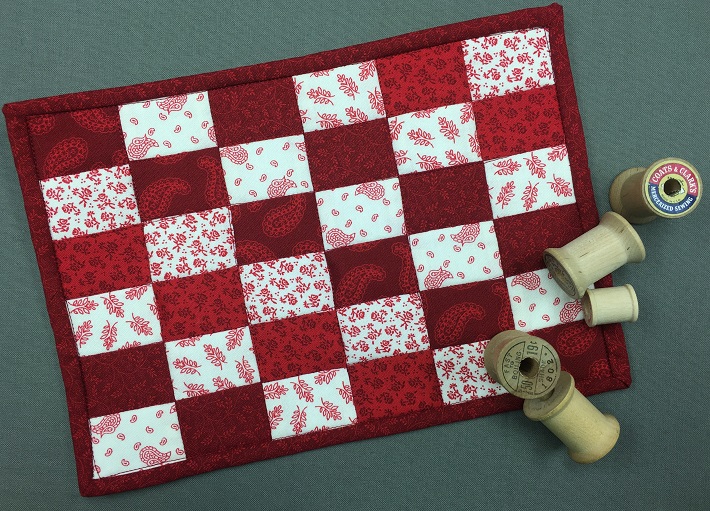
 This month’s FREE mug rug pattern looks like a bright summer checkerboard pattern and it uses and fun, fast strip piecing method! This project will be so easy that you’ll want to make one in every color.
Got enough mug rugs? Add a few extra layers of batting or some heat-resistant fabric and you’ve got a super cute hot pad or trivet for serving up some summer fun!
<!–[Want to save this tutorial for later? Click here for a free downloadable PDF file.]–>
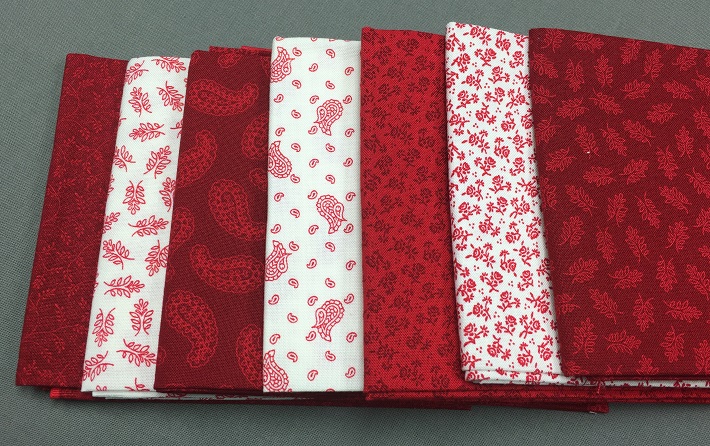
Fabrics needed:
- Four red printed fabrics
- Three white printed fabrics
- Batting (at least 7″ x 11″)
- Backing fabric (at least 7″ x 11″)
- Binding strip (2″ x 36″)
Cutting instructions:
- Choose one fabric to be your backing. Cut it to 7″ x 11″.
- From the same fabric, cut the binding strip (2″ x 36″).
- From the remaining six fabrics, cut one 1-1/2″ x 13″ strip from each.
Sewing instructions:
Step 1:
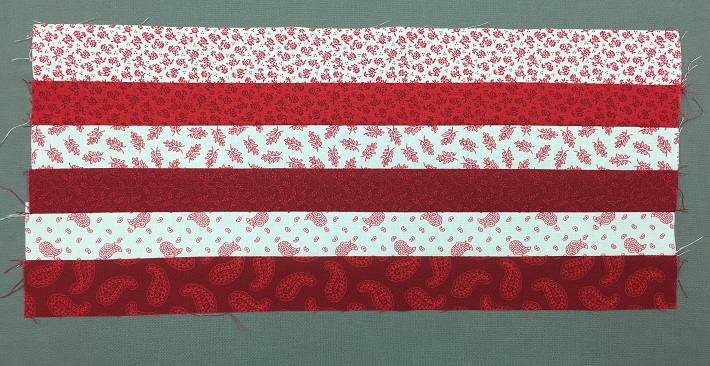 Sew the strips together lengthwise (always using a quarter-inch seam allowance), alternating the red and the white strips. Press the seams toward the red strips.
Step 2:
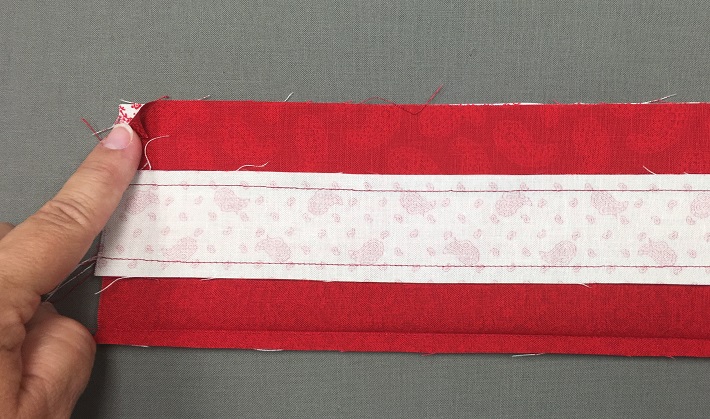 Fold the strip set in half lengthwise and sew the outside strips to each other to form a tube.
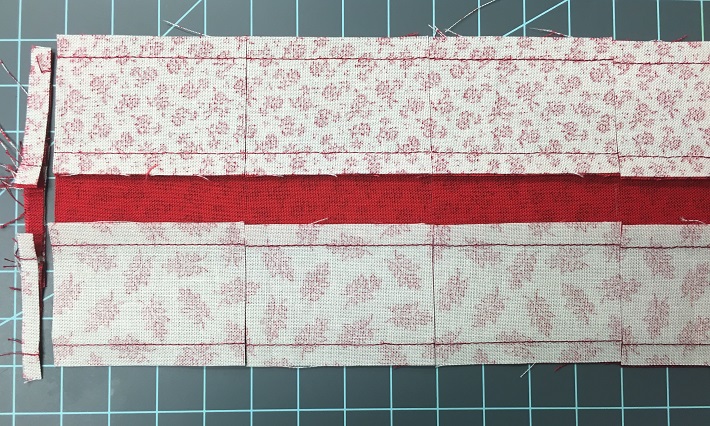 Trim the end of the tube and cross cut the tube into 2″-wide sections. Cut six sections.
Step 3:
Unsew the tube at one of the seams. Lay the section flat.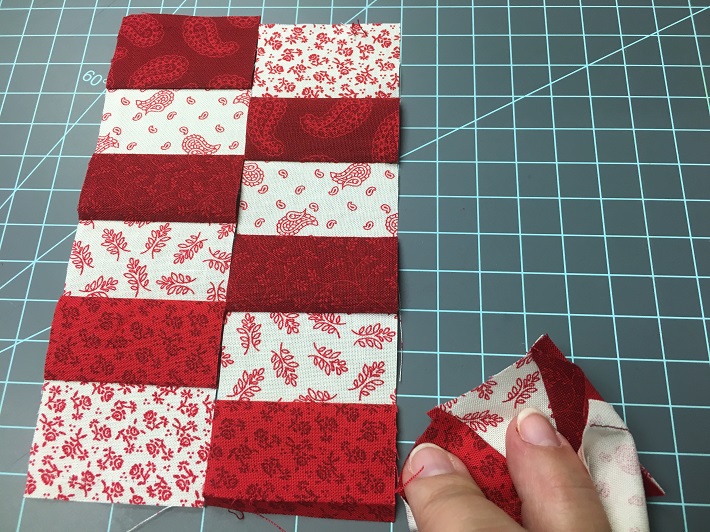 For the next section, undo the seam that’s in between the bottom two fabrics of the first strip set. This will create the staggered checkerboard effect.
Repeat unsewing each tube at the seam that connects the bottom two fabrics of the previous strip as show in the photo. Lay out the strip sets carefully to ensure that the fabrics squares create diagonal lines.
Step 4:
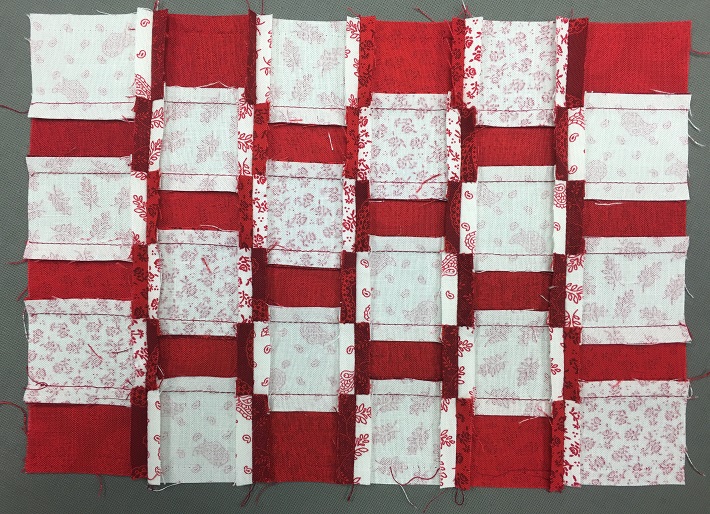 Sew the strip sets together and press the seams open on the back as shown above.
Step 5:
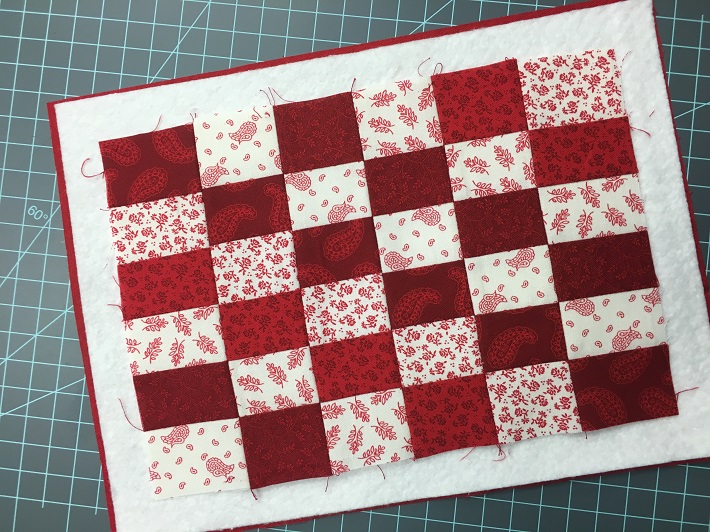 Layer the checkerboard fabric on top of the batting and backing, and quilt the layers together. Use a simple quilt-in-the-ditch as shown or get creative and quilt diagonal lines through each of the squares.
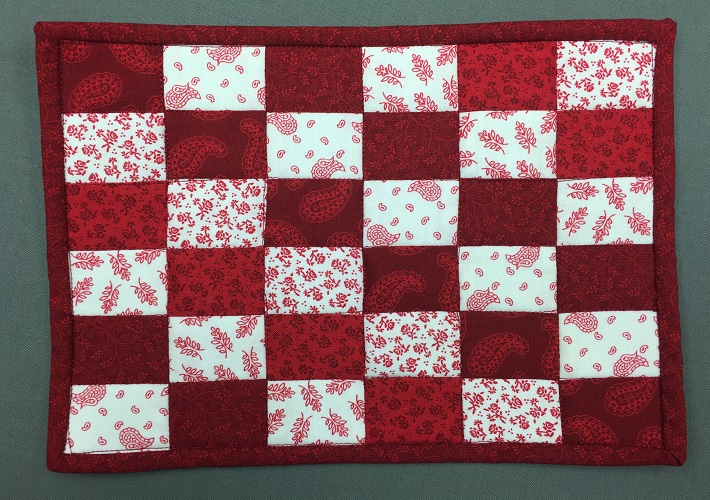 Bind the mug rug with the binding strip as you would any quilt. Finish the binding with a machine or hand stitch on the back. Enjoy your fun and cheerful mug rug!
This pattern is easily adaptable to making dinner placemats by using six 18” jelly roll strips then adding a border and binding all around.
Cute! It appears to be beginner friendly so I might give it a shot.
Thanks for the freebie! The instructions are much easier than I thought they’d be.
Please send the direction free mug rug pattern thank you Karen Weverka
It is so nice of you to share the pattern with your great tips . Thank you .
Can’t wait to start on the mug rug!
Thank you
I would love to have a copy of the mug rug
Could I please get a copy of the checkerboard mug rug pattern? Thank you!
Nice