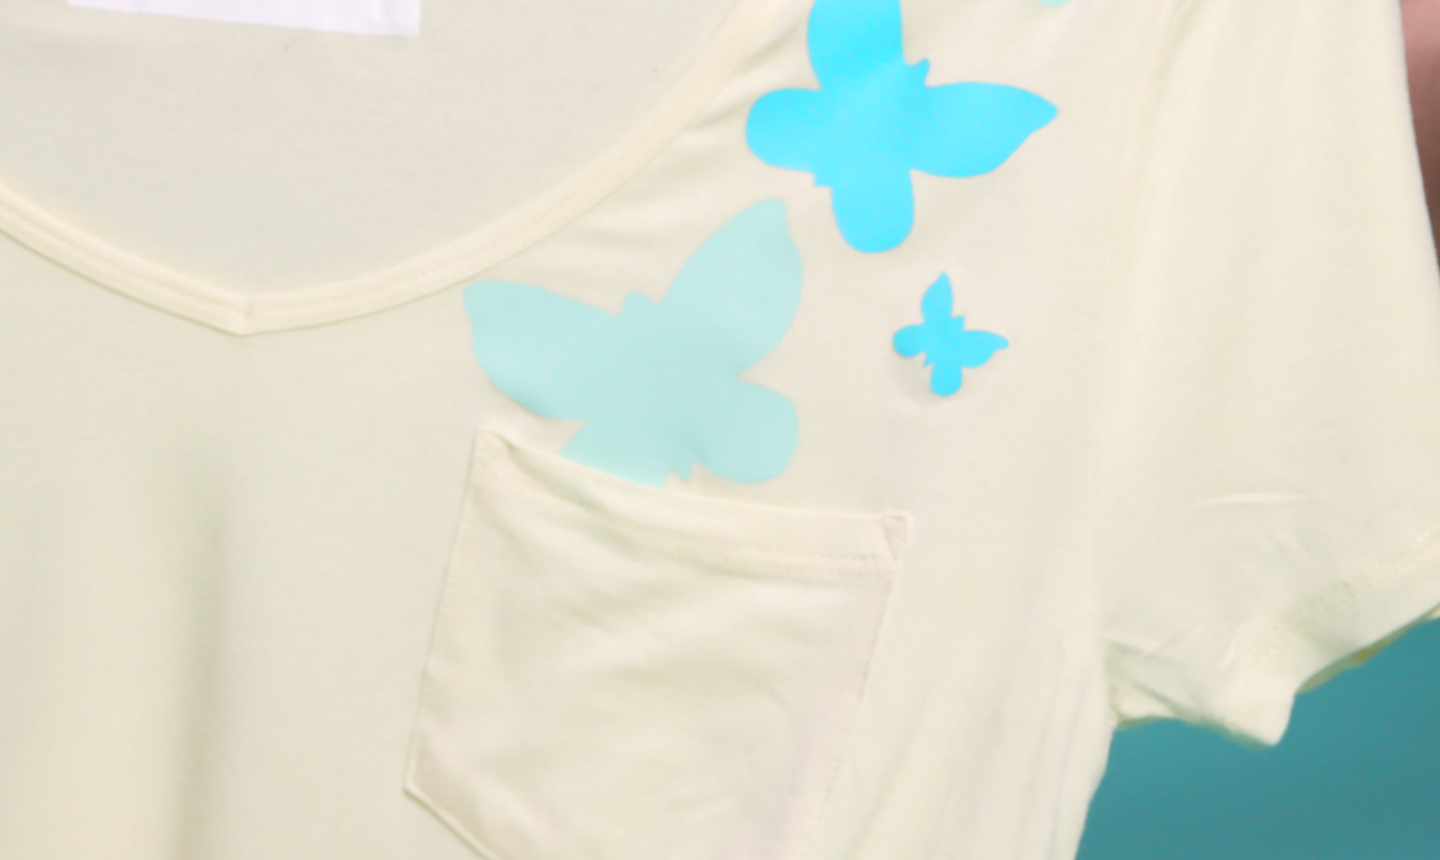
Grab those plain T-shirts lying around the house and give ’em a cute upgrade. These butterflies as super easy to make, so the kids can get in on the fun, too!
DIY Butterfly Shirt
Level: Easy
What You Need
Instructions
1. Pick Your Transfer Paper
There are two types of transfer paper — those for light fabrics and those for dark. Make sure the paper you’re using coordinates with the shirt you choose so the colors are vibrant.
2. Trace the Butterflies
Using your pen or marker, trace the butterfly stencils onto your transfer paper. To add depth to your design — and really make it look like butterflies are fluttering out of your pocket — use stencils in varying sizes.
3. Cut Out the Butterflies
Carefully cut out the butterflies. Place the cut-outs on your shirt, playing with the arrangement until you find a design you love.
4. Apply to the T-Shirt
Iron on your butterflies one-by-one. Once they’re cool enough to touch, gently peel off the backing paper to reveal the color left behind.
That’s it! What was once a plain ole T-shirt is now a super-fly addition to your wardrobe.
Tutorial offers a fun and creative way to transform a simple t-shirt into a unique and eye-catching fashion statement by adding colorful butterfly designs using fabric paint and stencils. The end result is a personalized and stylish garment that's perfect for any occasion. <a href="https://shopironons.com/" rel="nofollow ugc">Shopironons.com</a>