
Brush embroidery is a fundamental technique developed especially for cake decorating to resemble lace embroidery. Use soft to medium-firm royal icing, buttercream icing or softened ganache to pipe designs onto cookies. A paintbrush is used to pull the icing inward with brush strokes to emulate stitching in embroidery. This intimidating-looking technique is in actual fact incredibly easy to master and guaranteed not to fail.
In this step-by-step tutorial, you will learn a quick way to glam up any ordinary sugar cookie with elegant brush embroidery!
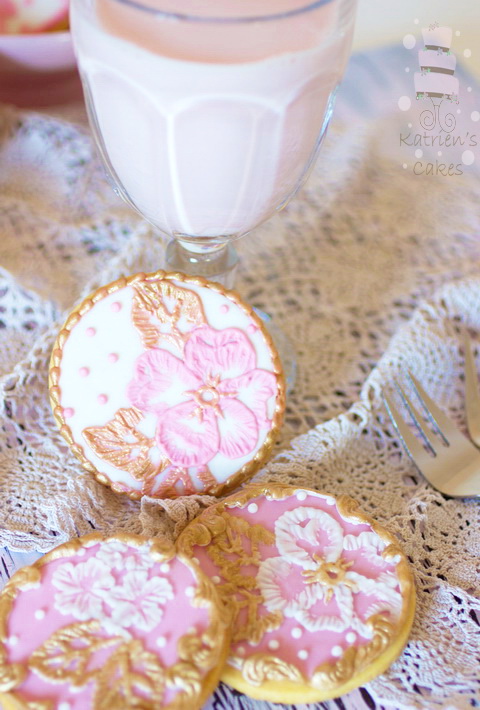
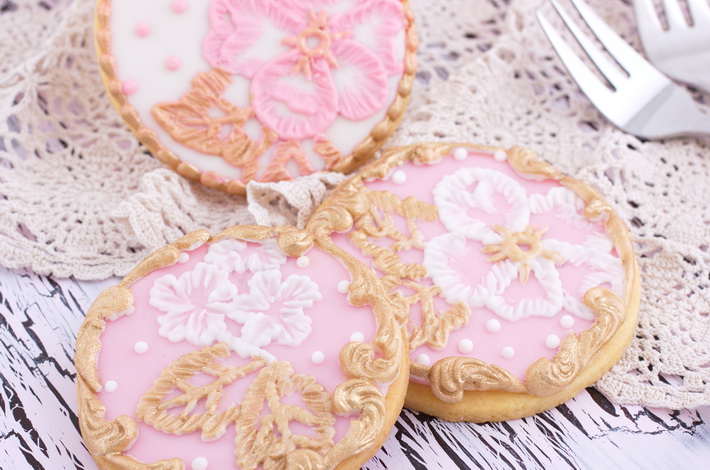
Photos via Katrien’s Cakes
Brush embroidery cookies tutorial:
Materials:
- Cookie cutters of your choice (I used round cutters)
- Baked sugar cookies
- Fondant in any color of your choice
- Apricot jam or piping gel
- Royal icing in any color of your choice
- Piping bag(s)
- Round piping tip (nozzle) no.2 or no.3
- Small non-stick roller
- Floral template of your choice
- See-through baking paper or tracing paper
- Soft pencil
- Small round or square tipped paintbrush
- Small bowl with water or a damp cloth
- Edible gold luster dust (optional)
- Vodka, lemon extract or piping gel (optional)
- Wilton mold (optional)
Step 1:
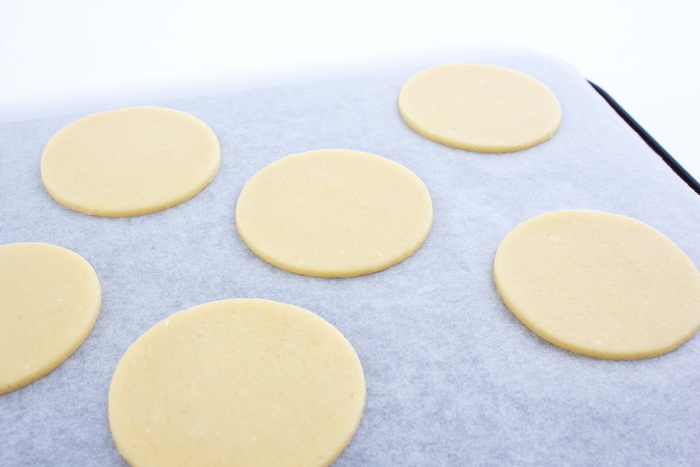
Roll out your cookie dough to 1/8 inches (3 mm) thick and cut out shapes using any cookie cutters of your choice. Bake the sugar cookies according to the recipe instructions.
Step 2:
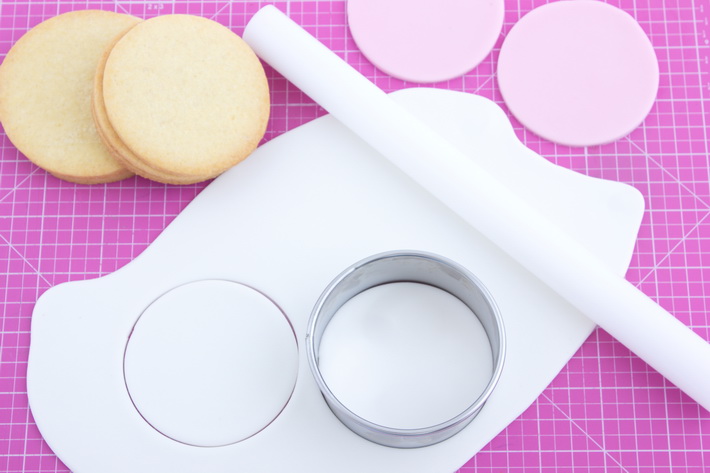
Roll out fondant (sugar paste) on a small amount of cornstarch (cornflour). Roll it to about 1/10 inches (2 mm) thick and cut out shapes with the same cookie cutter used for the cookies or a slightly smaller sized cutter.
Step 3:
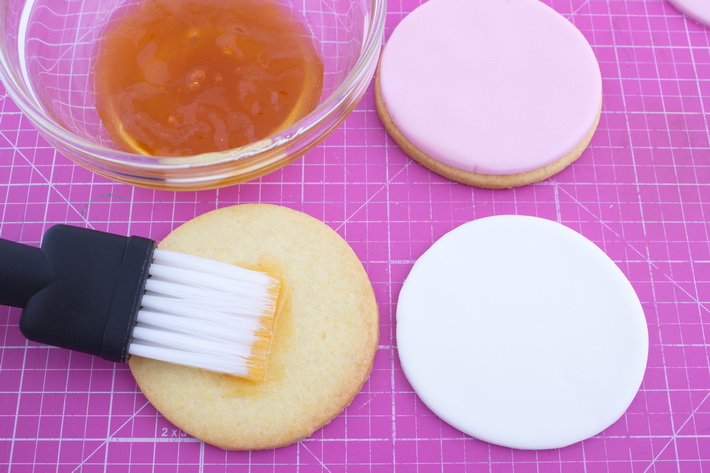
Spread each cookie with a small amount of apricot jam or piping gel and place the fondant (sugar paste) discs on the cookies.
Step 4:
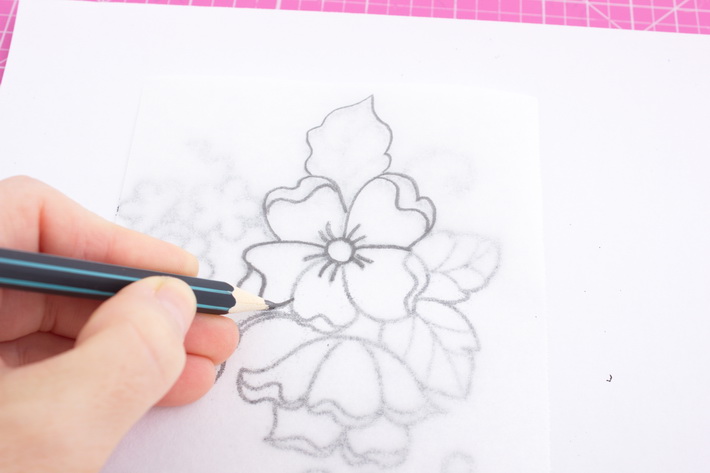
Print any flower template of your choice onto paper. The template can be slightly bigger than the cookie as it looks more attractive when the pattern runs off the cookie instead of fitting perfectly onto the shape of the cookie.
Trace the template using see-through baking paper or tracing paper and a pencil.
Step 5:
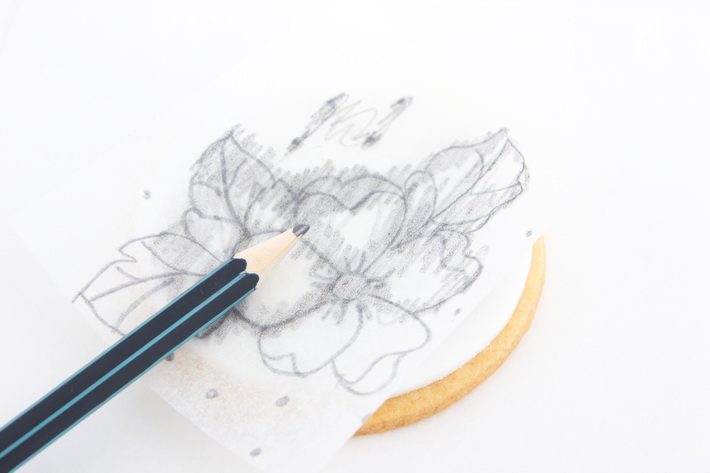
Transfer the template onto a cookie by turning the traced design over so that the pencil lines is on the surface of the fondant.
Scratch the back of the pencil drawing with the pencil so that the lines are transferred onto the cookie. Pencils are made out of graphite and are therefore non-toxic but if you prefer not to use a pencil, you can trace the design by placing it onto the cookie and sticking a pin through the template into the fondant (sugar paste). The pin marks will then guide you to pipe the icing.
Make more pencil templates to transfer onto the rest of the cookies. I can usually use one template on two cookies before having to draw a new one.
Step 6:
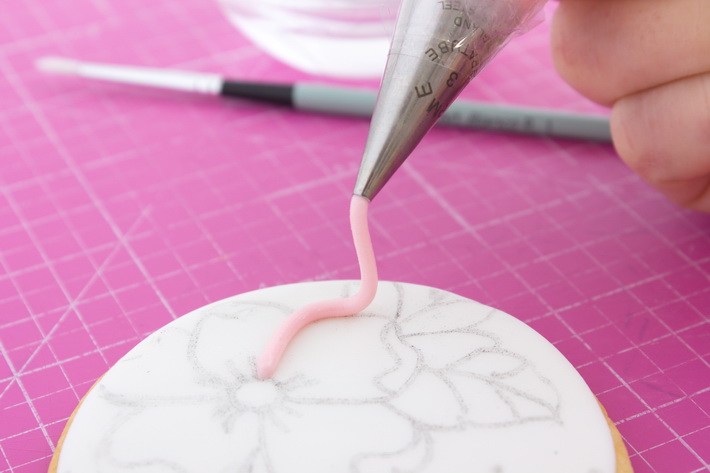
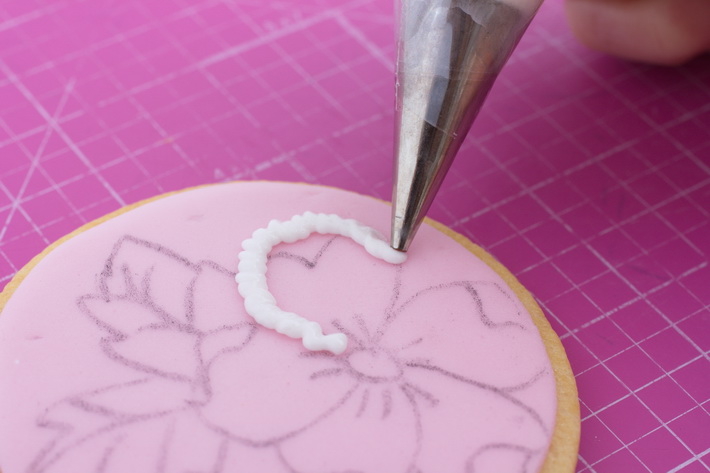
Place a no.2 or no.3 piping tip (nozzle) into a piping bag and spoon royal icing into the bag. Royal icing can be piped on the cookie in straight lines or wriggly lines. I prefer to use a no.3 tip for straight lines and a no.2 tip for wriggly lines.
To pipe a straight line, touch the tip of the bag onto the surface of the cookie to anchor the icing. Squeeze out a tiny bulb of icing and immediately while applying steady pressure on the bag with your fingers, lift the icing string that forms and pull the icing line to follow the lines of the pattern.
When nearing the end of the design, start to lower the line slightly and place the line onto the cookie by stopping the pressure and putting the bag against the cookie to end the line. Lift the bag away from the surface.
Tip: When piping a brushed embroidery design, always pipe one line at a time such as the outline of a petal or leaf and then brush the icing with a paintbrush before moving on to the next petal or inner designs on the flowers or leaves. This will prevent the icing from crusting before you are able to brush it.
Step 7:
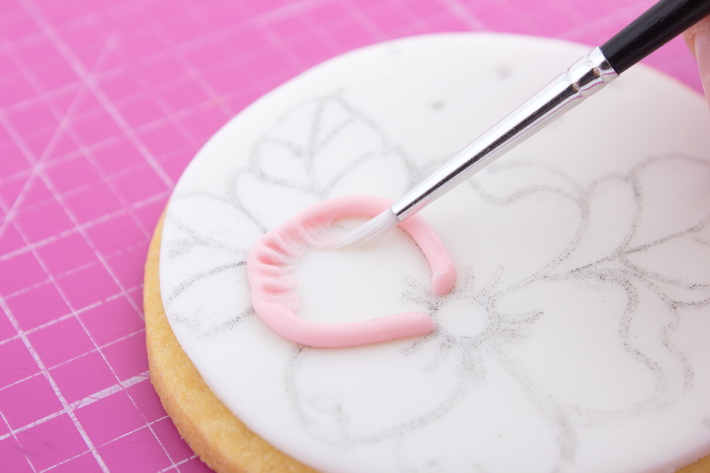
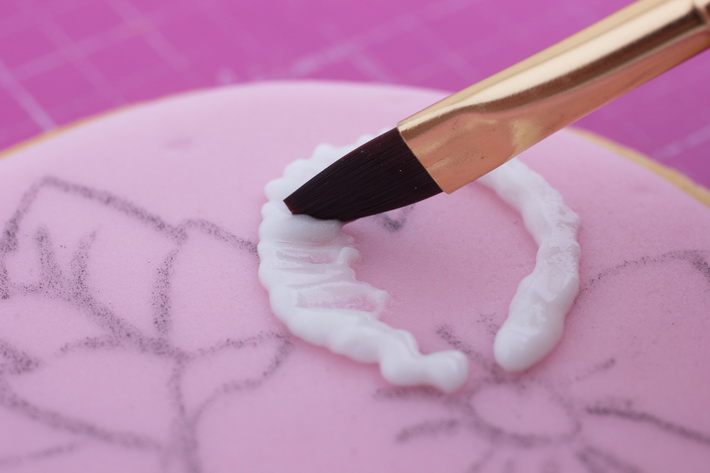
Dampen a small round or square-tipped paintbrush in a small bowl of water or on a damp cloth and dry off any excess moisture. Pull the icing inward with the paintbrush toward the center of the design, leaving the outside edges of the icing intact.
If you start to struggle with brushing the icing or it clogs up, just dampen your paintbrush again. Be careful not to wet the brush too much as water will liquefy the icing and it will look smudged rather than brushed.
Step 8:
If you are unsure about piping straight lines, rather pipe wriggly lines. Keep the piping tip (nozzle) on the surface of the fondant and then make tiny side-to-side movements with the bag while squeezing out icing.
Step 9:
Dampen a small round or square-tipped paintbrush on a damp cloth. If using a square-tipped brush turn the brush so that you brush the icing with one of the side edges of the brush. Pull the icing inwards with the paintbrush towards the center of the design, leaving the outside edges of the icing intact.
Tip: Add a small amount of piping gel to the royal icing to extend the working time of the icing before it crusts.
Step 10:
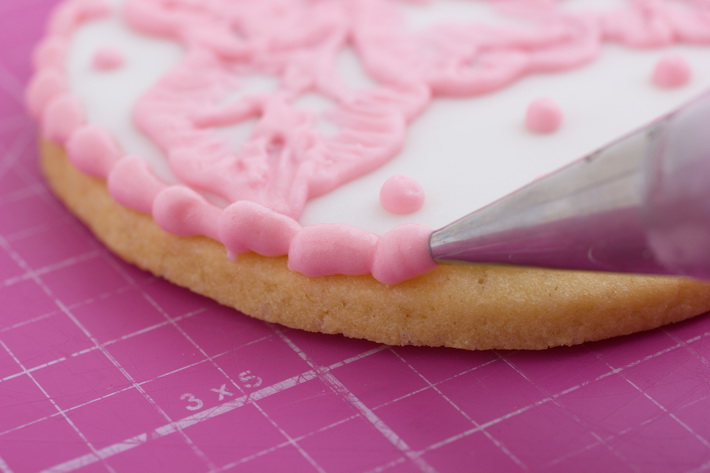
To frame the design, pipe a teardrop border around the edge of each cookie. To pipe teardrops, squeeze the icing until a bulb of icing has formed. Then, while releasing pressure, drag the icing to one side to create a point. Stop the pressure and lift the bag off the surface.
Step 11:

If you prefer not to pipe a border, you can use molded fondant piece to create a frame. Attach the fondant pieces to the edges of the cookie with a drop of water or piping gel. See our post on this using fondant molds for more information.
Step 12:
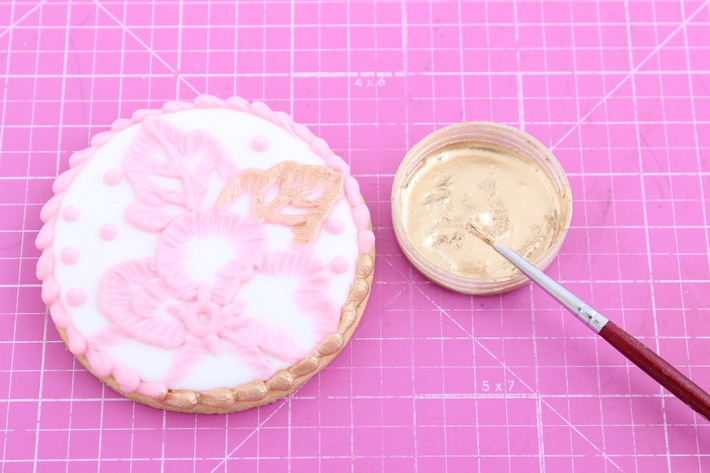
Wait at least an hour for the icing to dry before packaging or serving the cookies. As an optional extra, you can paint the borders and some of the brushed embroidery details with gold. Mix edible gold luster dust with vodka, lemon extract or piping gel to make paint and paint it on the design with a small paintbrush.
I find brushed embroidery is much easier to apply than it looks and can be used on cookies, cakes or cupcake toppers. How will you be using this technique?
Learn irresistible cookie-decorating techniques!!

Create antique brush embroidery effects, vibrant watercolor imagery, wet-on-wet roses, fabric-inspired looks & more.
Share tips, start a discussion or ask one of our experts or other students a question.
No Responses to “Easy, Elegant Treats: A Brush Embroidery Cookies Tutorial”