Lets celebrate! These cake pop cake slices would be perfect for birthdays celebrating any age, even a refreshing addition to a wedding reception as part of the dessert table, or in lieu of an actual cake! Customize the colors and sprinkles to coordinate with your next event. There are two ways to make these cakes, so try both and pick your fave.
Birthday Cake Cake Pops
Level: Easy
What You Need
- Cake pop dough ready for shaping
- Yellow, red or brown candy wafers for the "cake" color
- White candy coating for the “frosting” layer
- Rainbow sprinkles
- 2¼" or 2½" round fondant or cookie cutter
- Rolling pin
- Small, sharp, non-serrated knife
- Lollipop sticks
- Small wax candles
- Waxed paper
- Toothpicks
- Cake pop stand or styrofoam block
Instructions
1. Pack the Dough
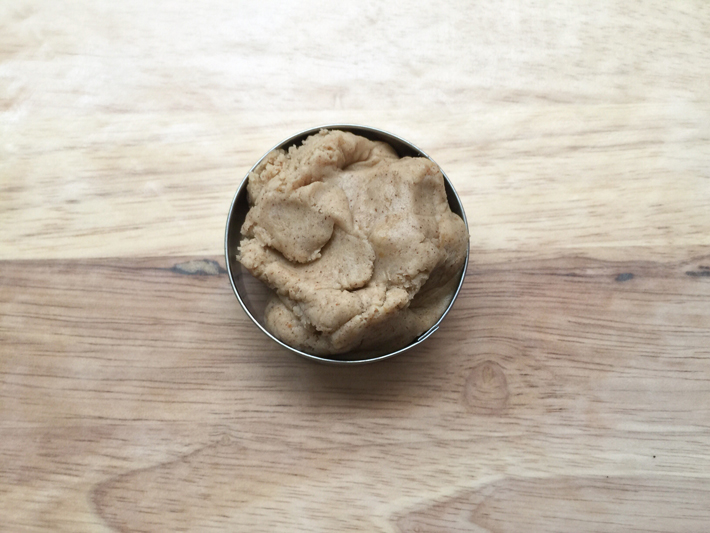
Line your work surface with wax paper. We’ll be using a 2¼" or 2½" fondant or cookie cutter (whichever size you have handy) to help create the shape of sliced cake. Pack cake pop dough into the round cutter.
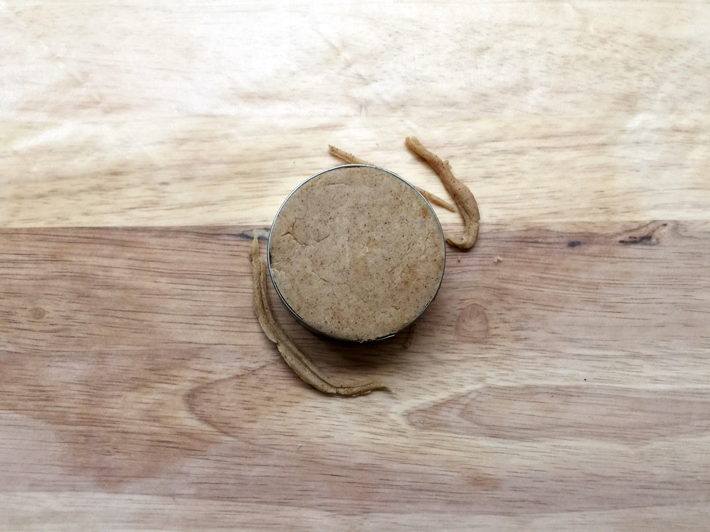
Use a rolling pin to flatten and even out the top, while pushing the excess dough over the sides. Repeat this step so you have two.
2. Stack
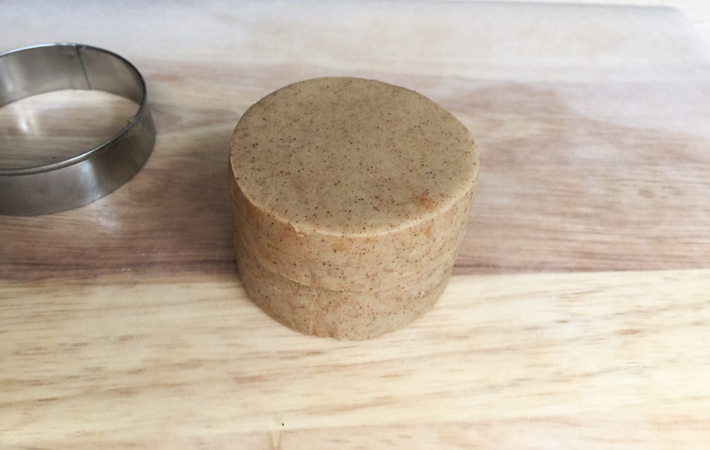
Stack the two cake pop dough rounds.
3. Cut and Shape
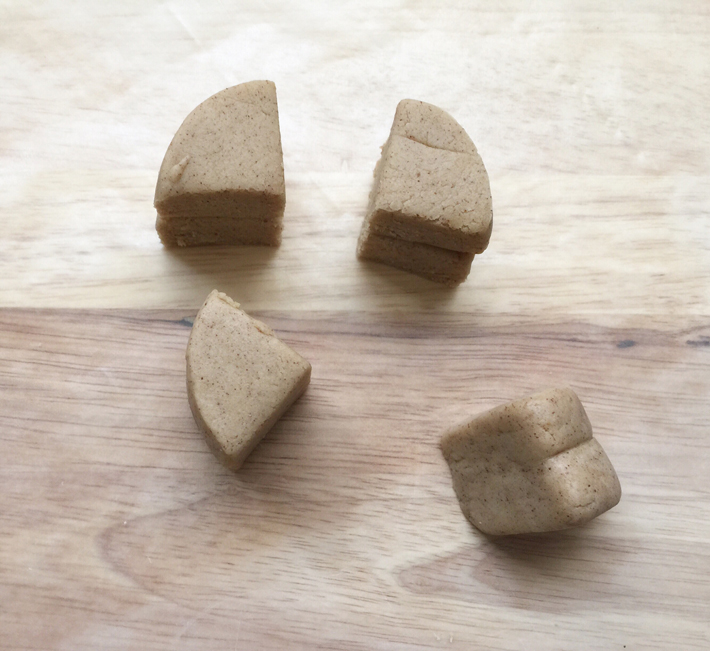
Gently press the stack with your palm to slightly bow out the outer sides. Cut it into fourths with a sharp non-serrated knife.
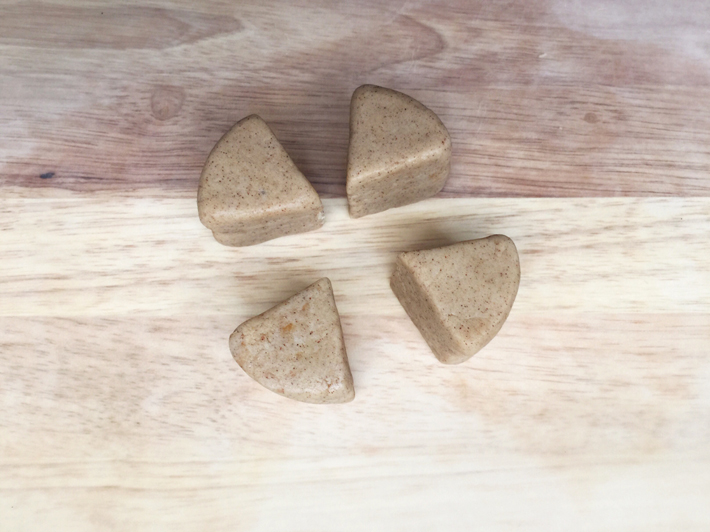
Use your flat work surface to even out and slightly elongate the cut sides. This will help the slices appear as slices, rather than part of a circle.
Once you have your desirable number of pieces, refrigerate them for the amount of time it takes to melt the candy coating.
4. Melt Candy Coating
Melt your chosen “cake” color in a small microwave-safe plastic bowl or cup. Melt white candy wafers in another small bowl.
Remove the cake pieces from fridge. Now we'll cover the two ways you can decorate.
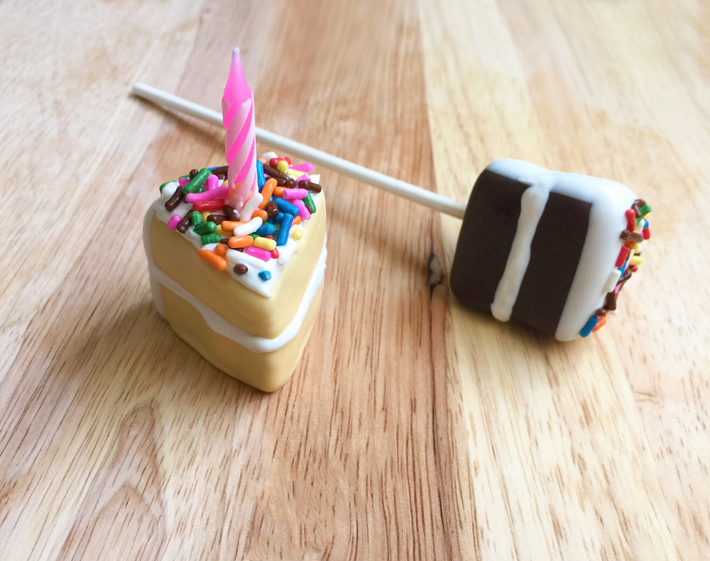
5. Make a Traditional Cake Pop
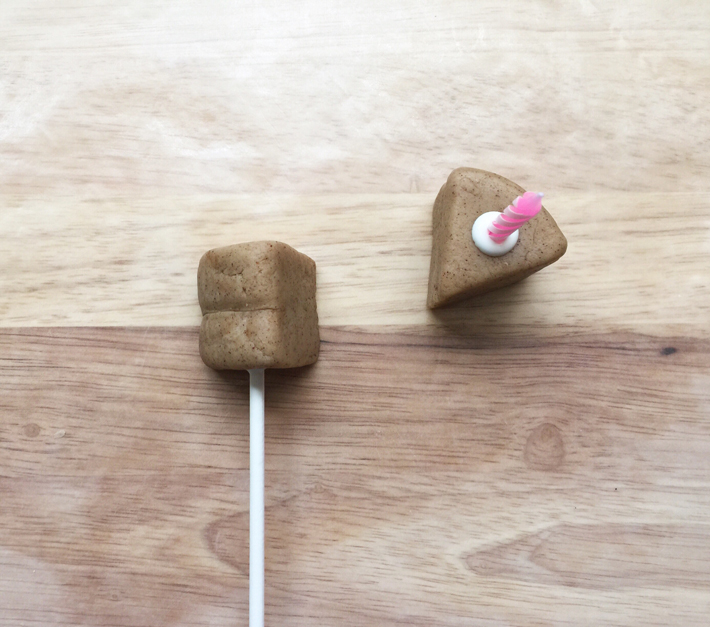
Dip ⅓" of a cake pop stick into candy coating and push it into the bottom of the sliced cake pieces until it's about halfway through. Do this for all the pieces.

Dip each cake pop in your "cake" color. Place on a cake pop stand to let dry completely.
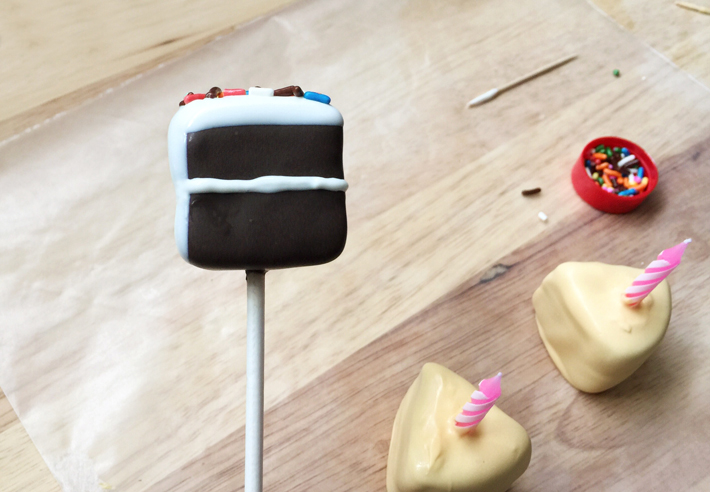
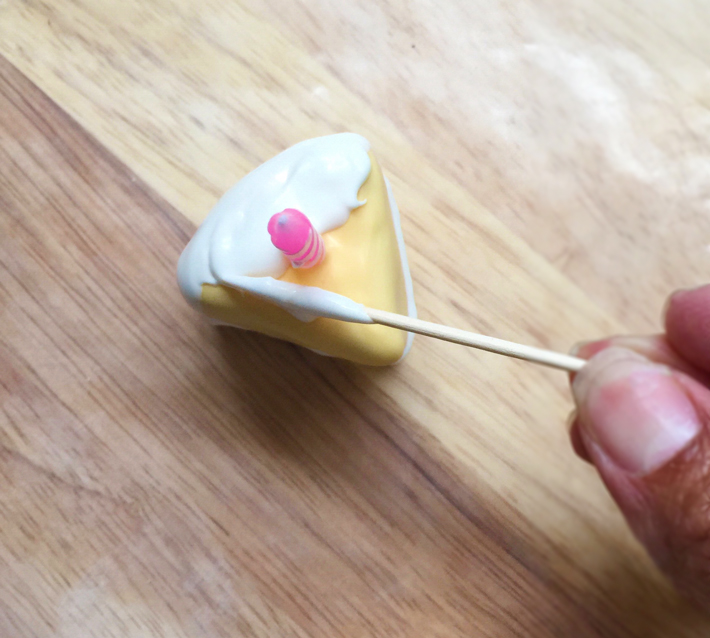
Carefully rock and dab the back portion of the cake into the white candy coating. Then, carefully dip the top. Don't forget to add sprinkles on the top! Use a toothpick dipped in coating to create the filling line in the center.
The beauty of this tutorial is that the cake pops are more realistic-looking the messier they are!
6. Make a Cake Slice With a Candle
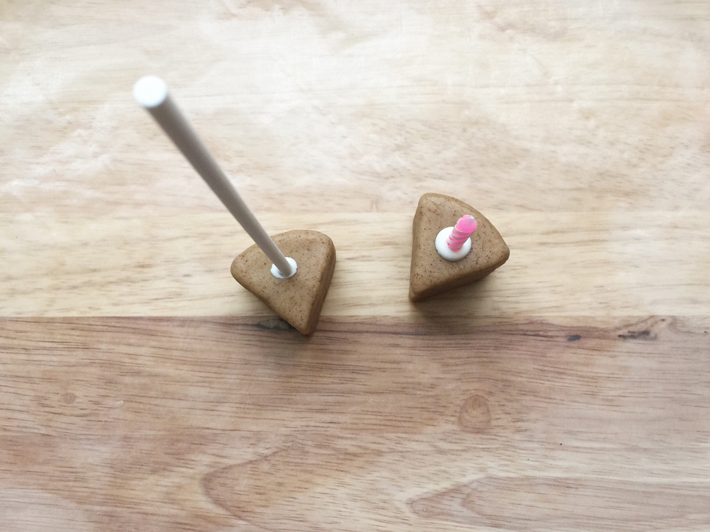
Dip ⅓" of a small birthday candle stick into the candy coating and push it into the top of the cake slice, until it's about halfway through. Do this for all the pieces.
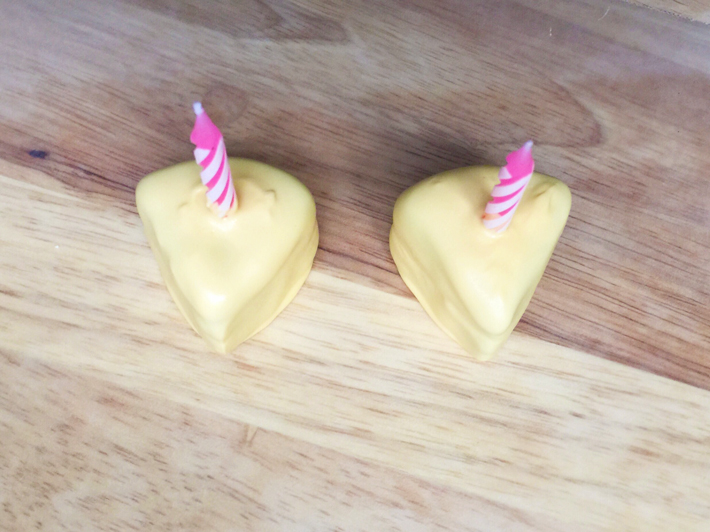
Dip each cake pop in your preferred "cake" color. Place on waxed paper to let dry completely.
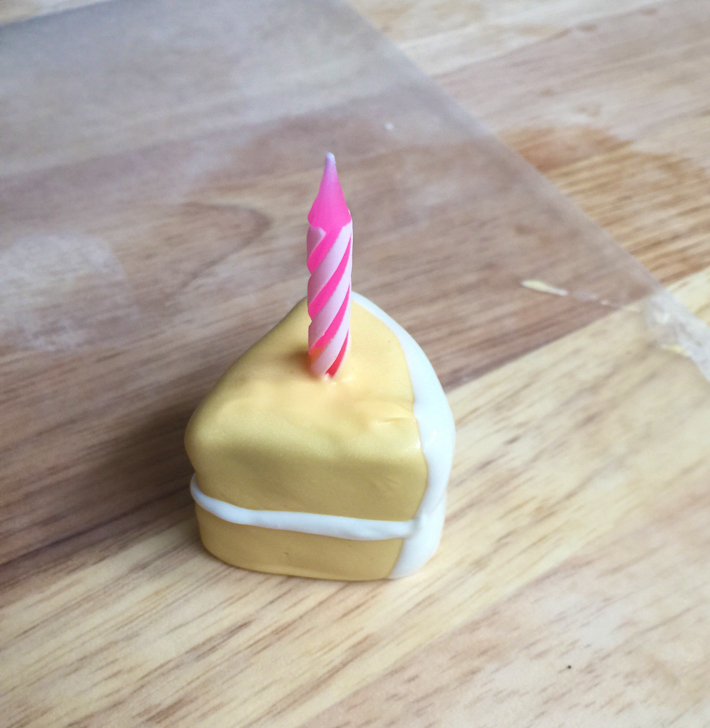
Using the candle, carefully rock and dab the back portion of the cake into the white candy coating. Then, use a toothpick dipped in coating to create the filling line in the center. place on wax paper and let dry completely.
Use a toothpick dipped in candy coating to spread "frosting" on top of the slice. Imperfections are desired with this tutorial! Decorate the top with sprinkles. Let dry completely.

Share tips, start a discussion or ask other students a question. If you have a question for an expert, please click here.
Already a member?
No Responses to “Celebrate With Sliced Birthday Cake ... Cake Pops!”