
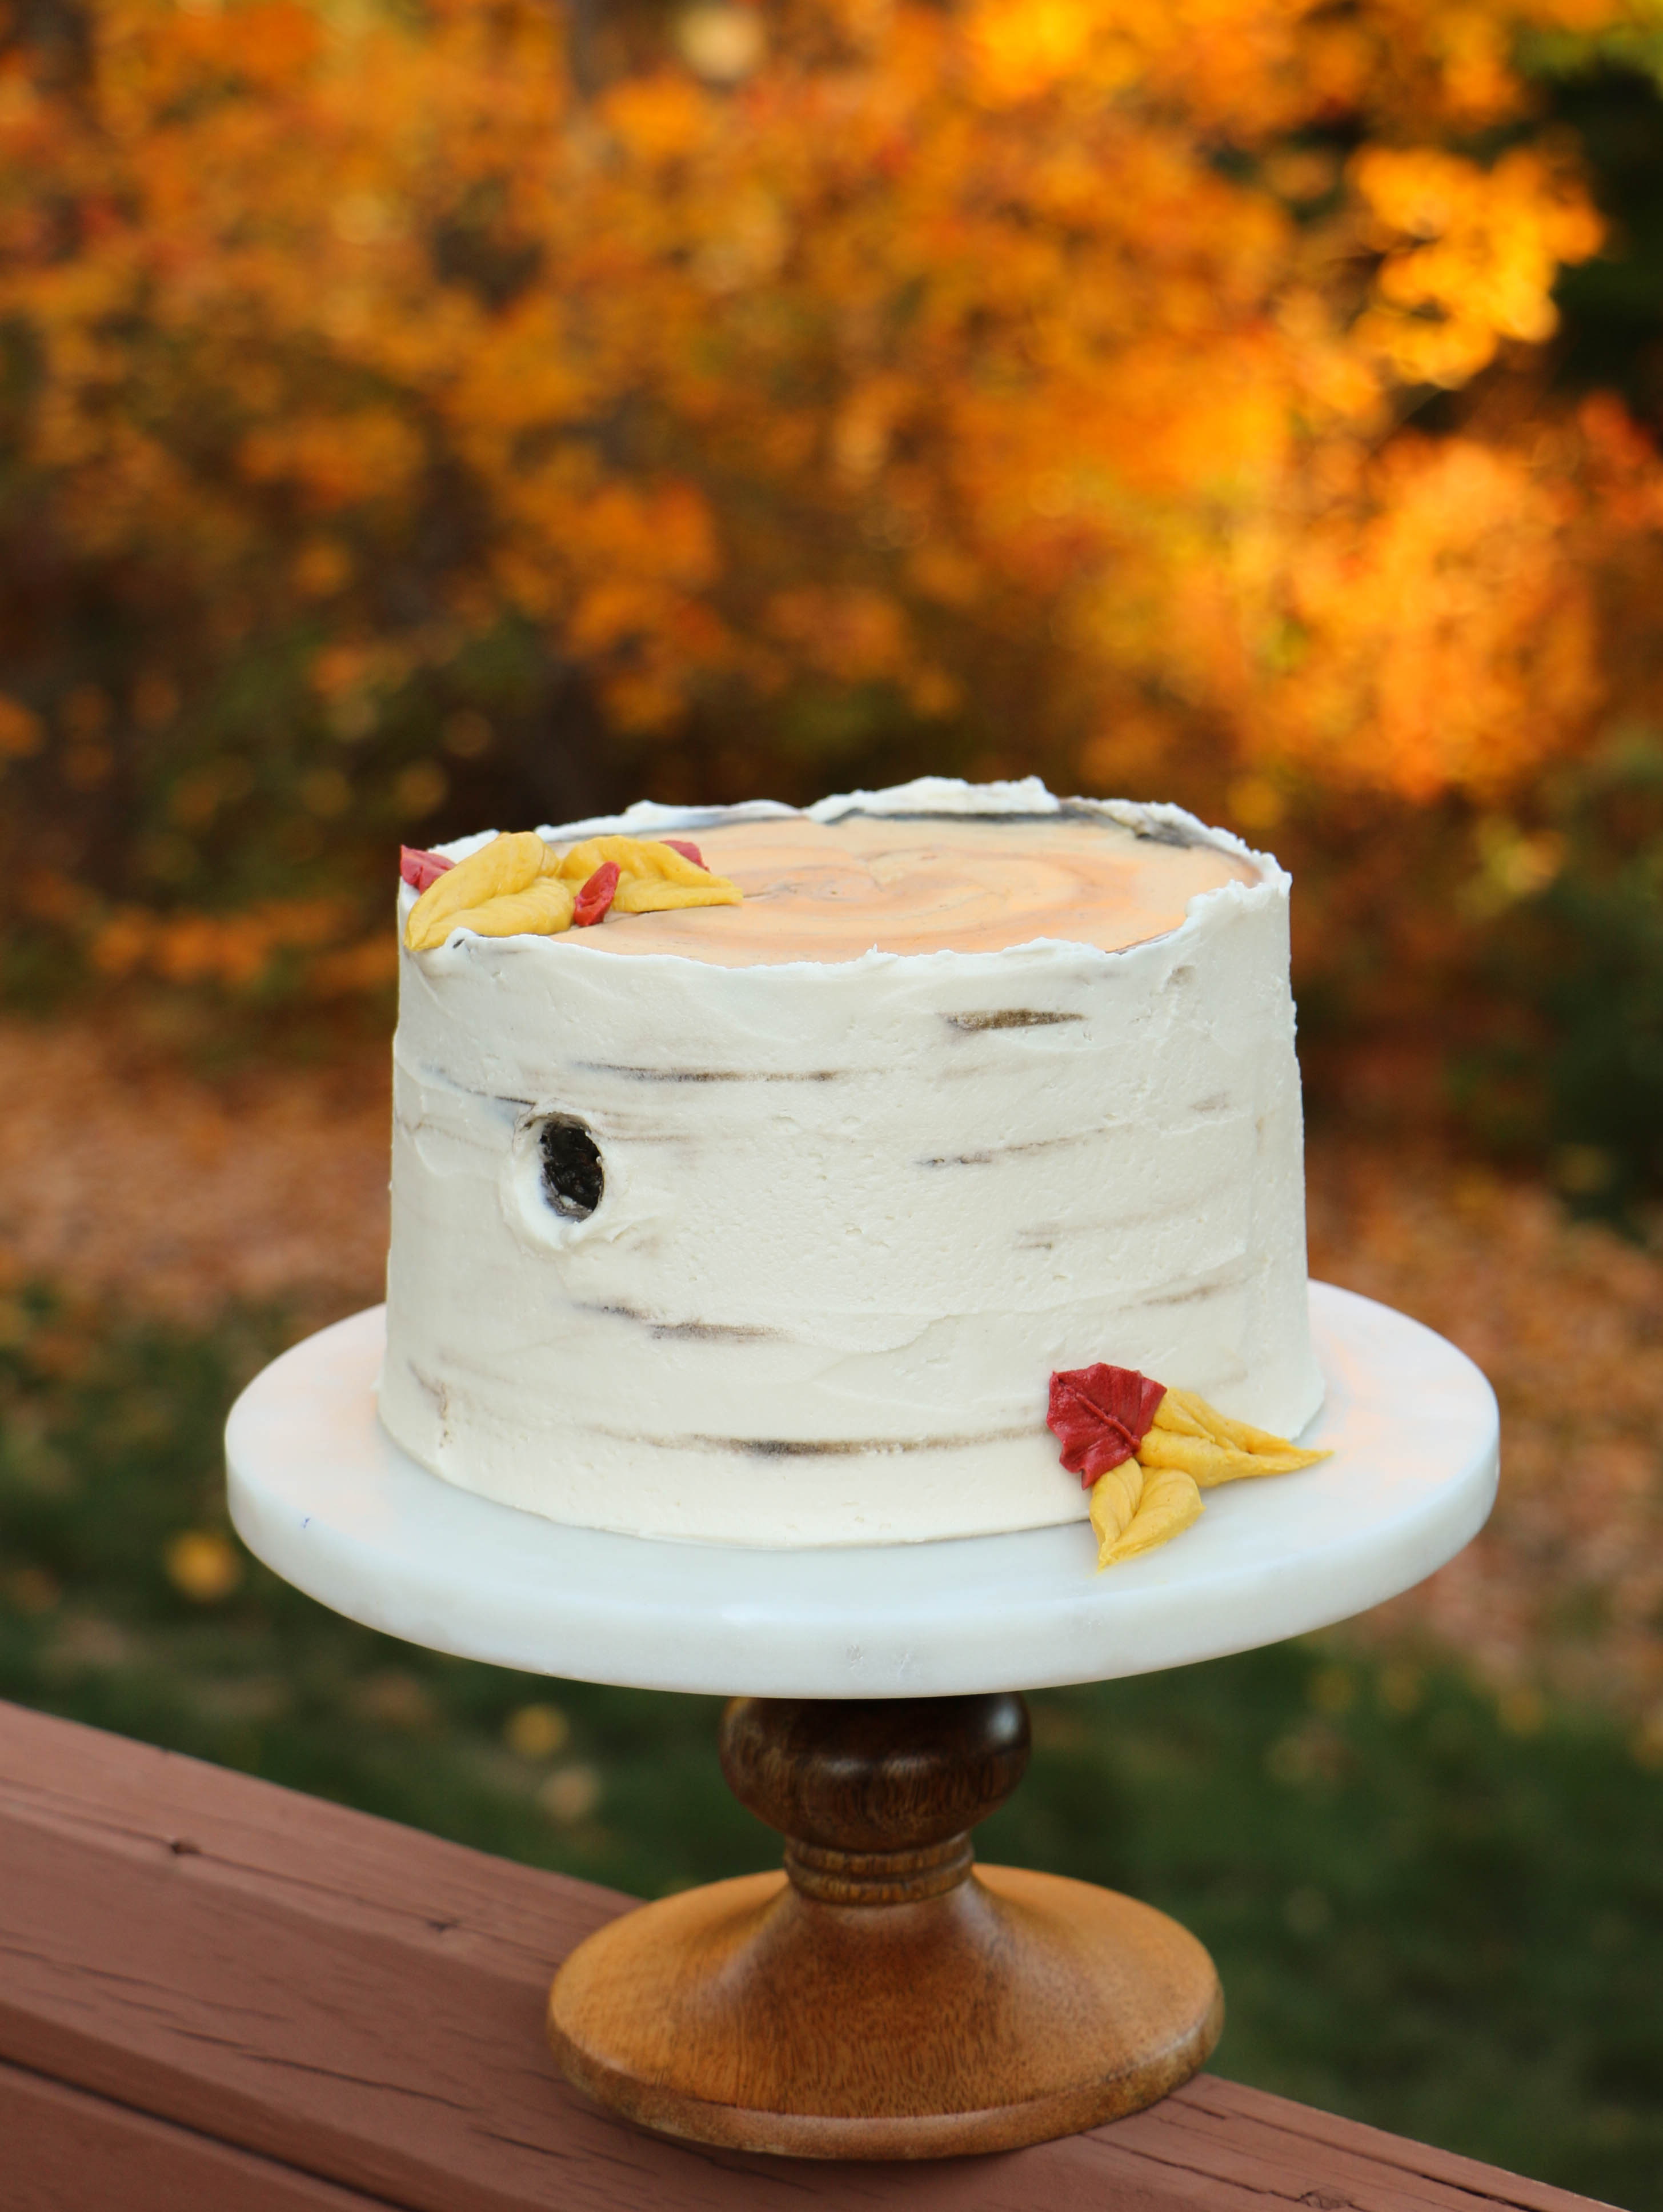
You’ll fall in love with these simple but effective techniques for creating a buttercream birch tree cake! Birch tree cake designs have gone from trendy to mainstay, especially for weddings cakes, with more and more couples opting for nature-inspired wedding details. Top your cake with jewel-toned fall leaves for an autumn affair or decorate your cake with pinecones and berries for a more wintery feel.
 All images via Erin Bakes.
How to make a buttercream birch tree cake
Supplies:
- Crumb coated cake (I used a 6″ round cake.)
- ½ cup light brown buttercream (I used American, but any kind will do)
- ½ cup medium brown buttercream
- 1 cup dark brown buttercream
- 2 cups white buttercream
- Straight icing spatula
- Paint brush (or ball tool)
- Piping bags
- Turntable
Step 1:
Place the crumb-coated cake on a turntable. Fill one piping bag with light brown buttercream and another with the medium brown buttercream.

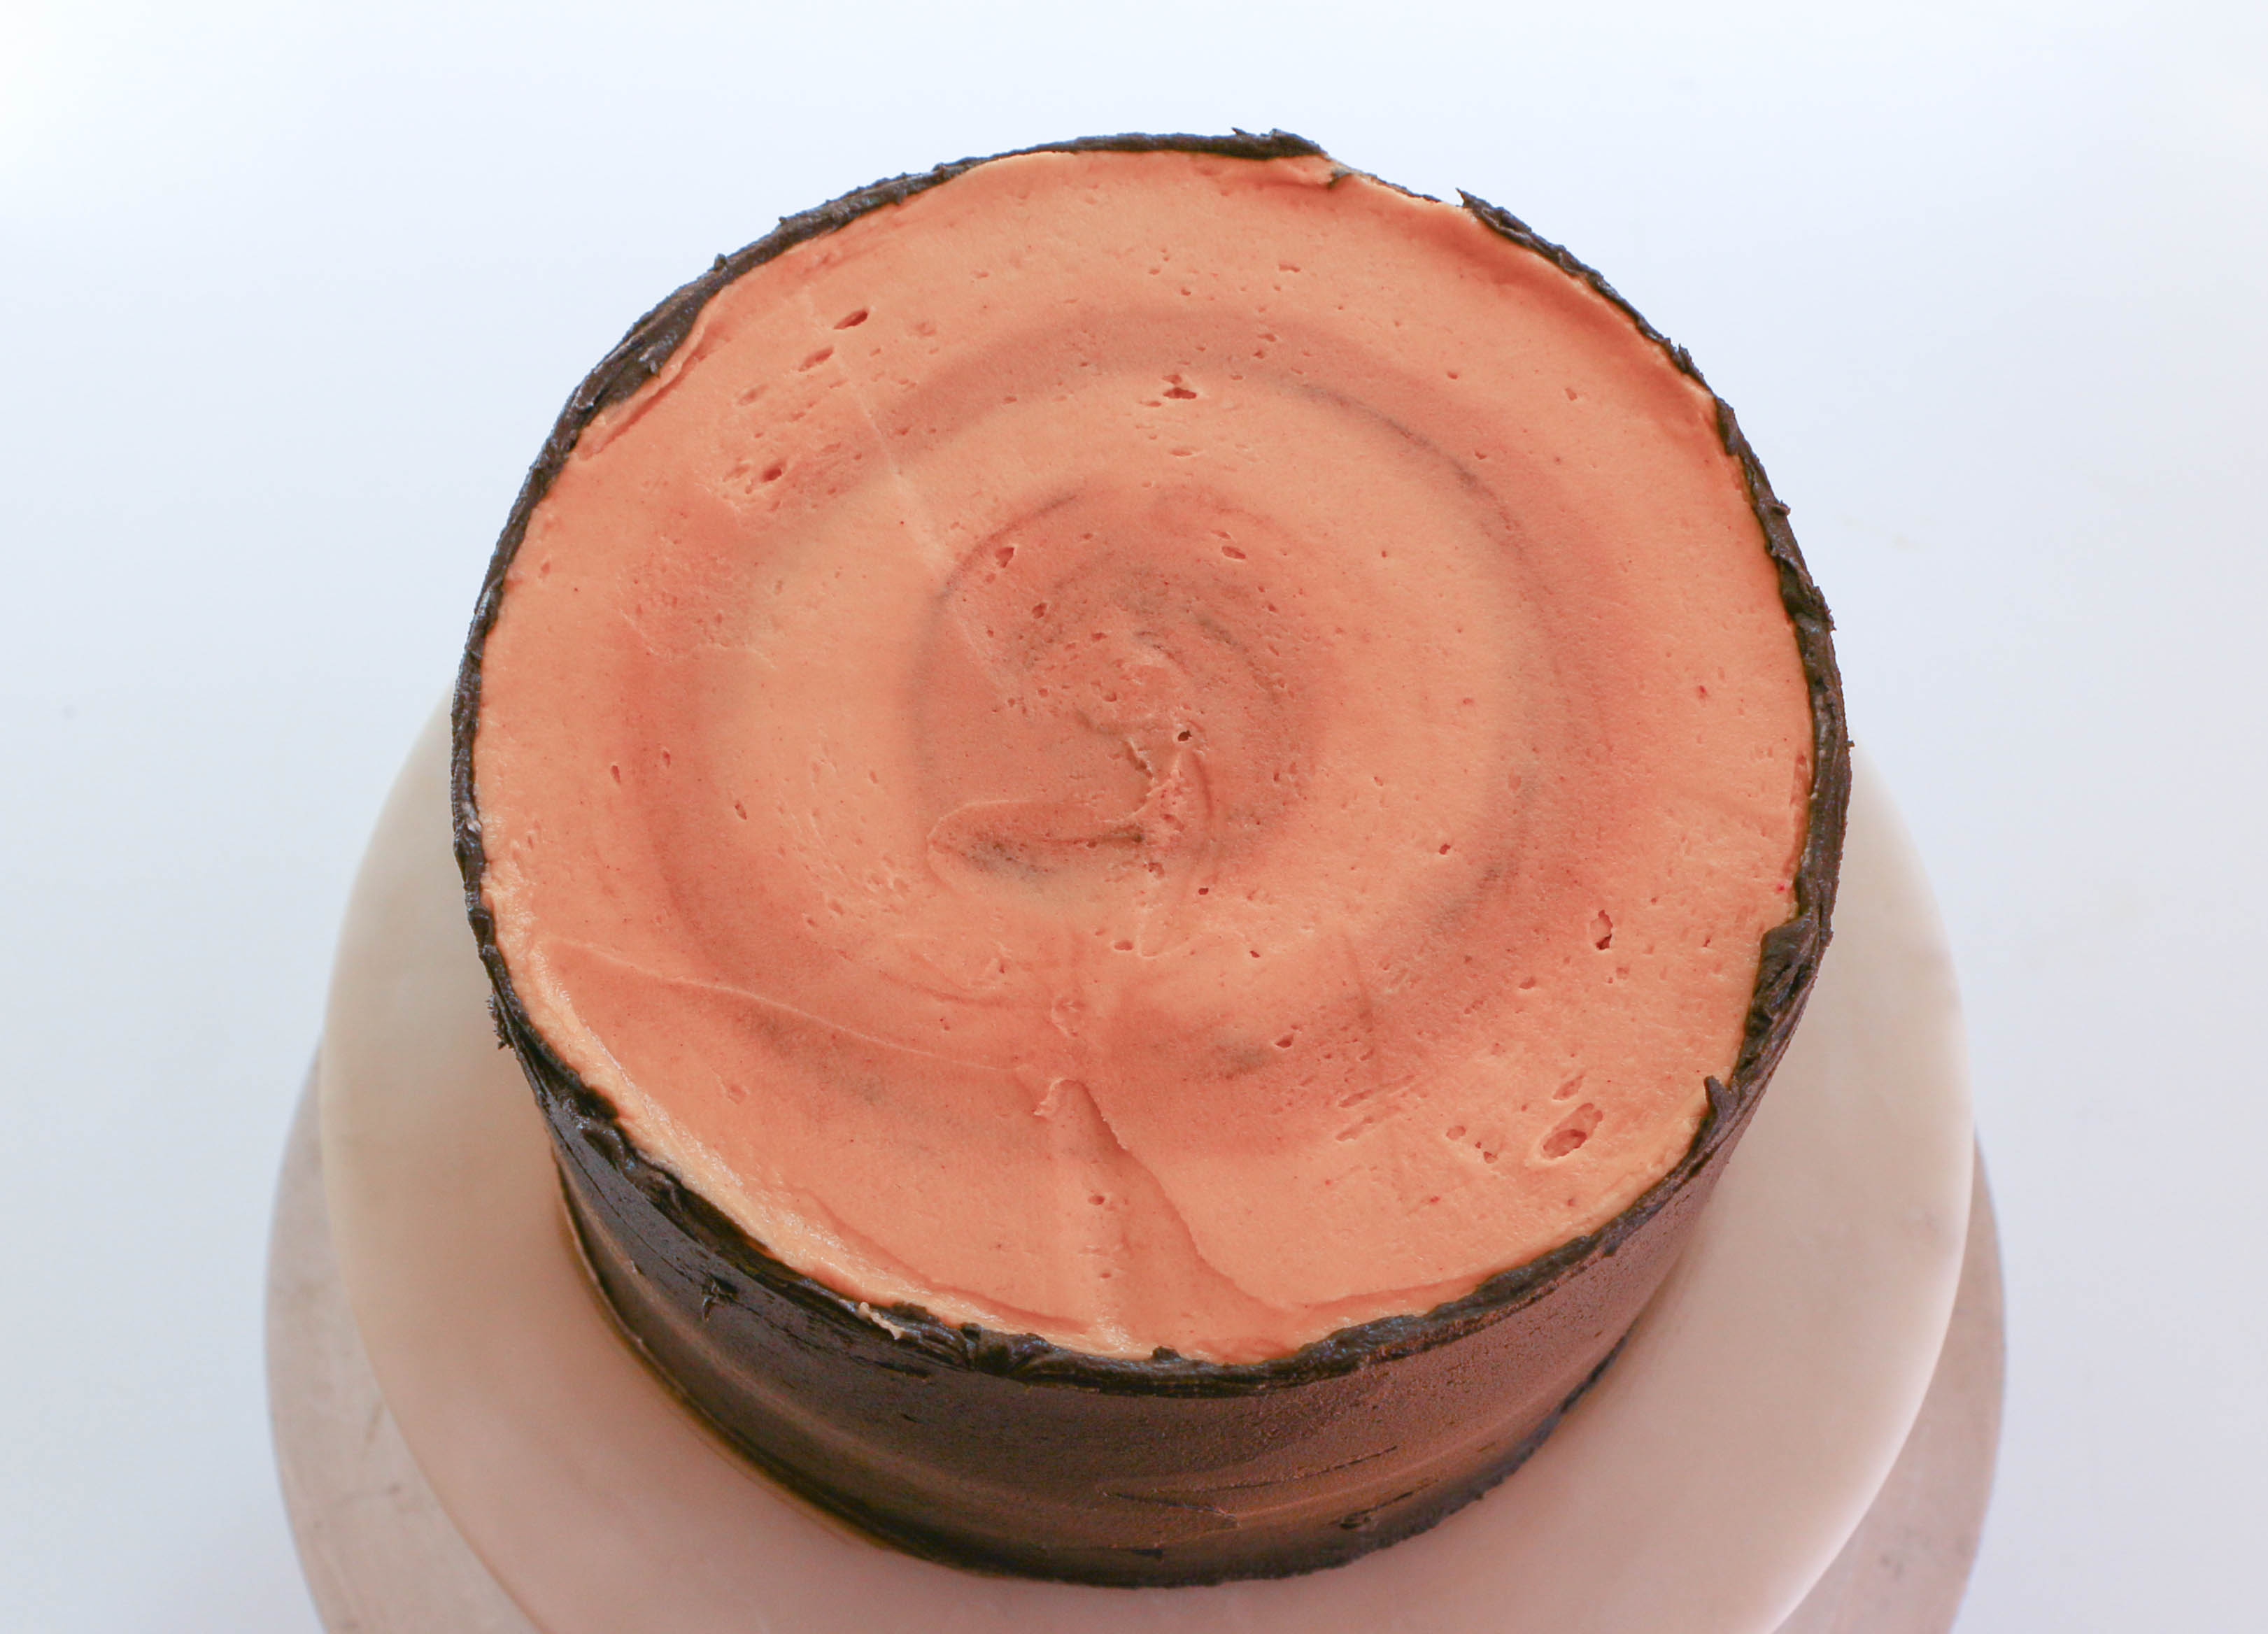
Pipe a circle of the medium brown buttercream on top of the cake in the center. Then pipe a few rings of light brown buttercream around the center. Pipe a single circle of medium brown buttercream, then fill the rest of the top of the cake with the light brown buttercream.
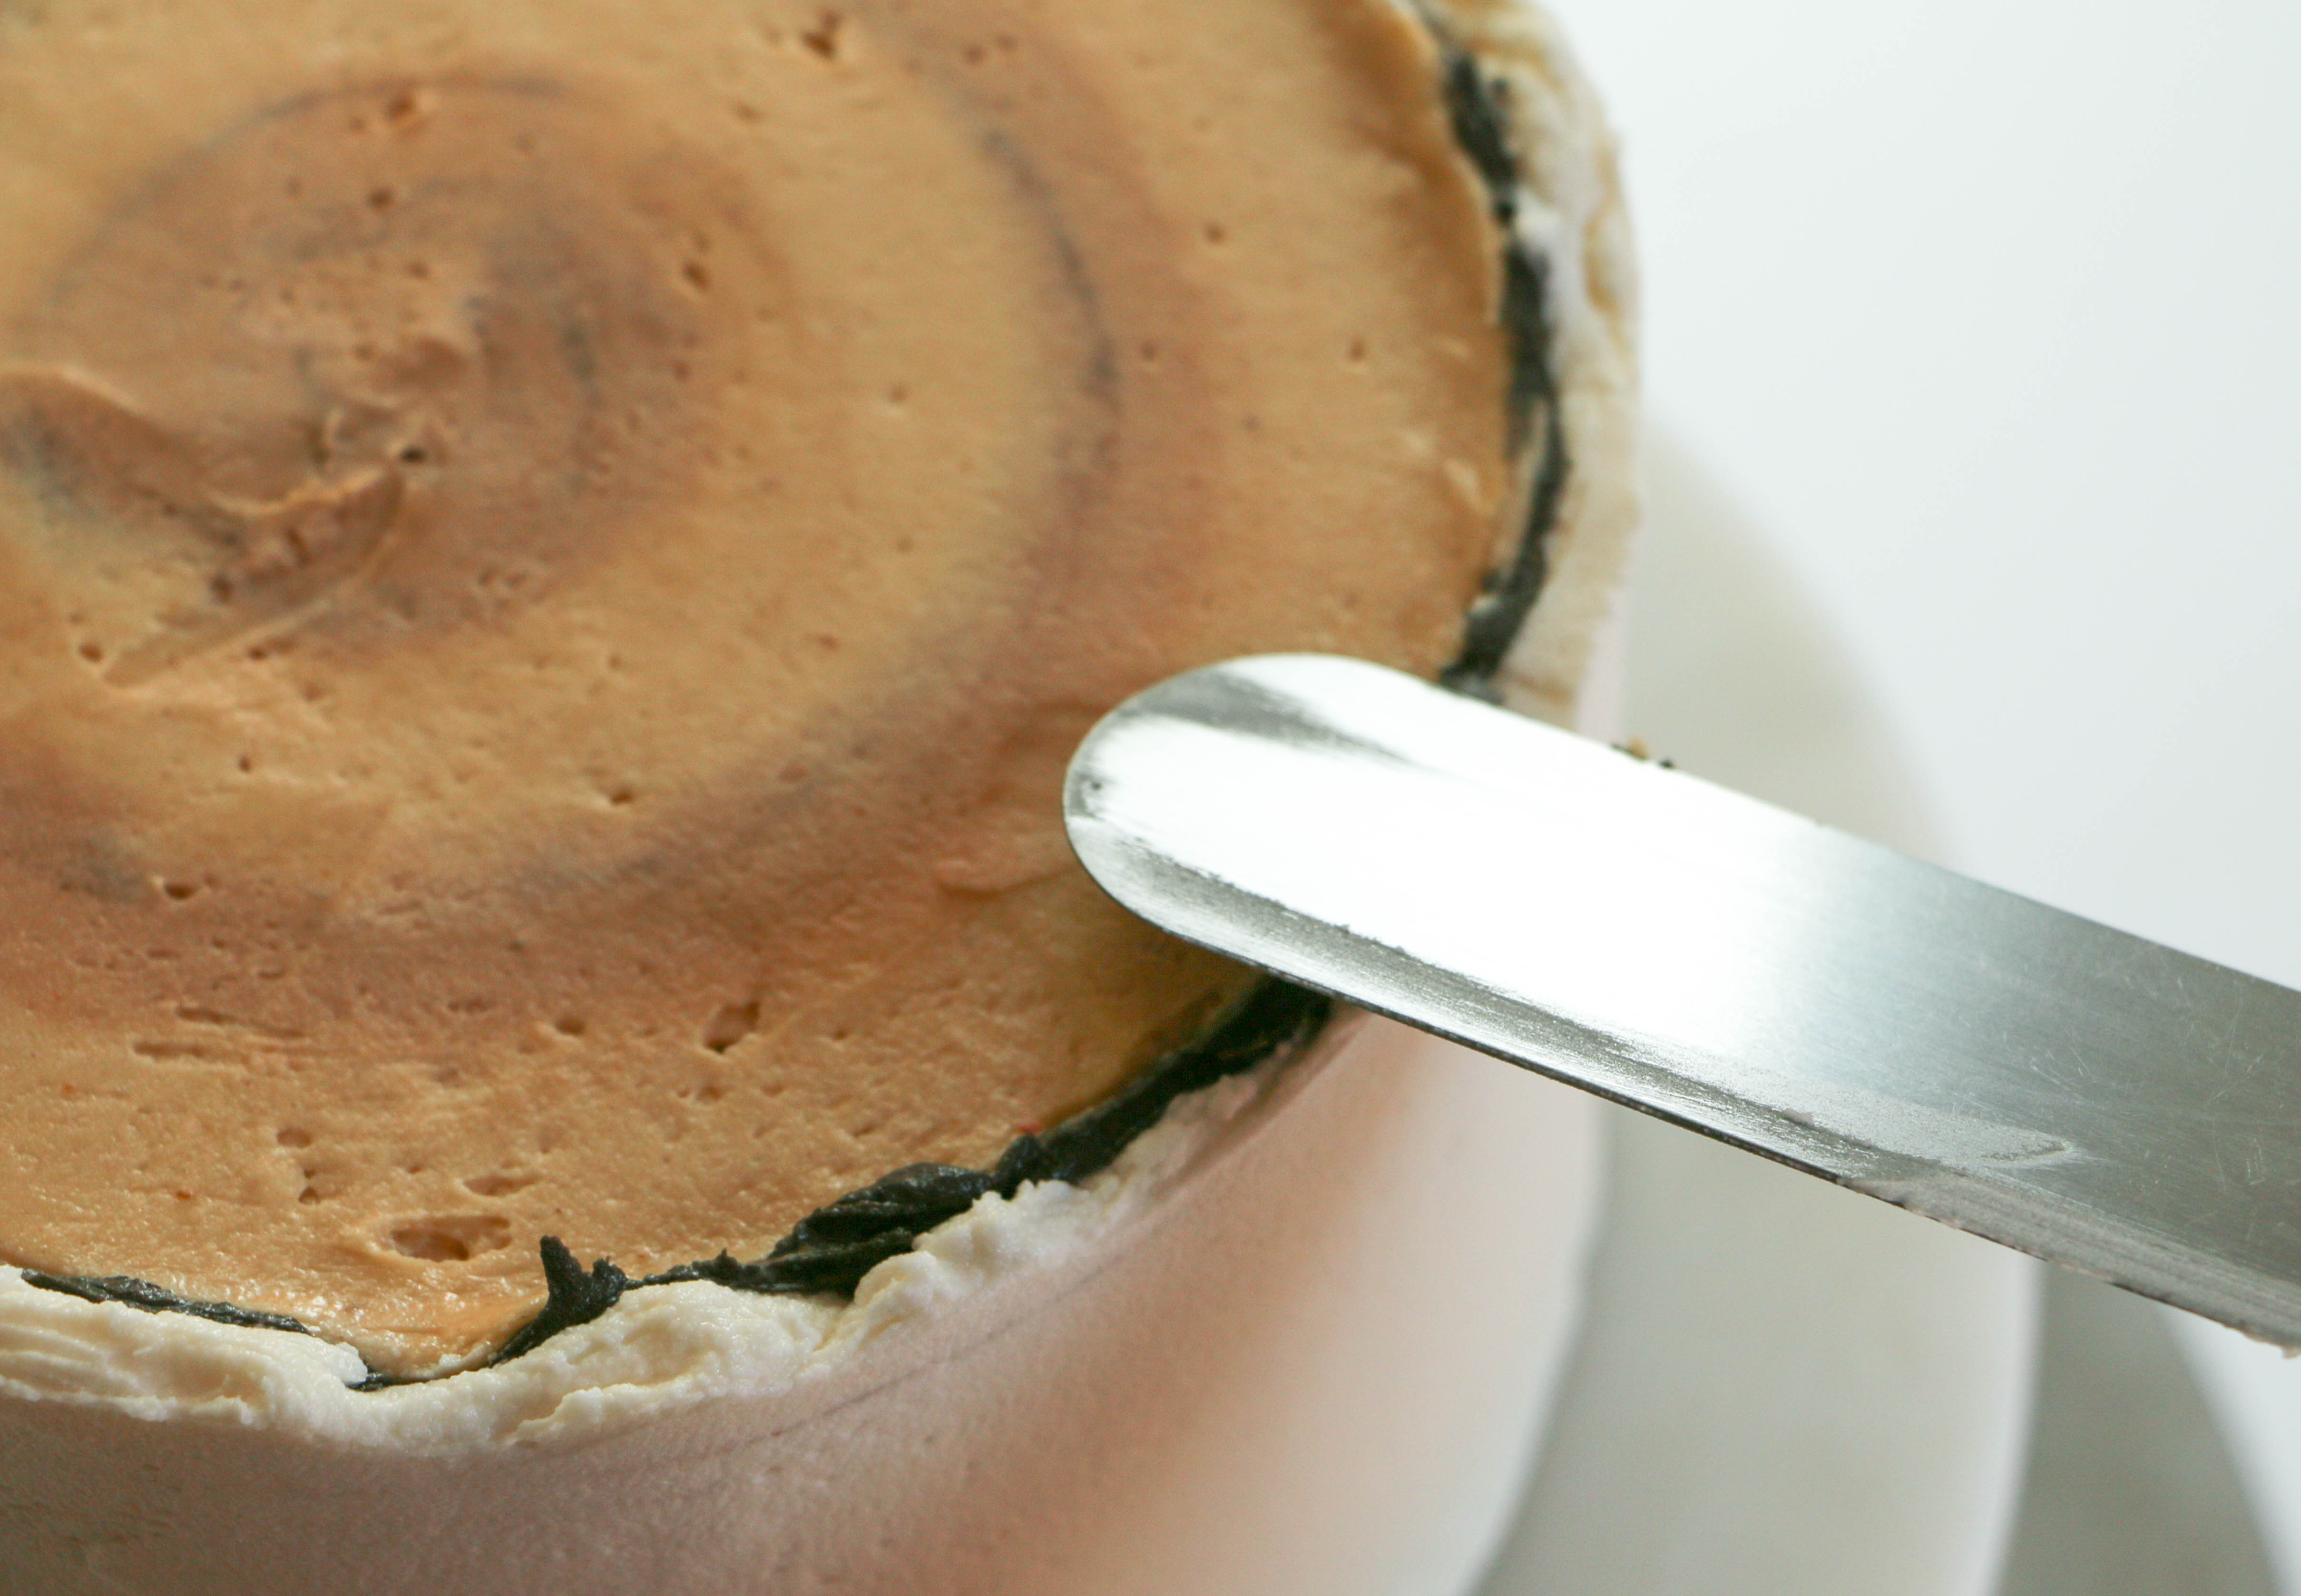
Step 2:

Position an icing spatula on the top of the cake so the the tip of the spatula is over the center. Tilt the blade of the spatula up and place the lower flat edge against the surface of the buttercream. Slowly spin the turntable, smoothing out the piped lines of buttercream in a circular motion.
Step 3:
Apply a thin coat of dark brown buttercream around the sides of the cake. Take your time around the top edge of the cake to keep the frosting as level as possible. Don’t worry if the crumb coat peeks through in spots. Pop the cake in the fridge to chill for 15-20 minutes.
Step 4:

Apply a thicker layer of white buttercream around the sides of the cake. Once again, try and keep the buttercream level with the cake around the top edge. It’s OK if the buttercream pokes up a little.
Step 5:
Smooth the outer edge of the top of the cake the same as in Step 2. Any white buttercream that was poking up will now be sticking straight out from the sides.
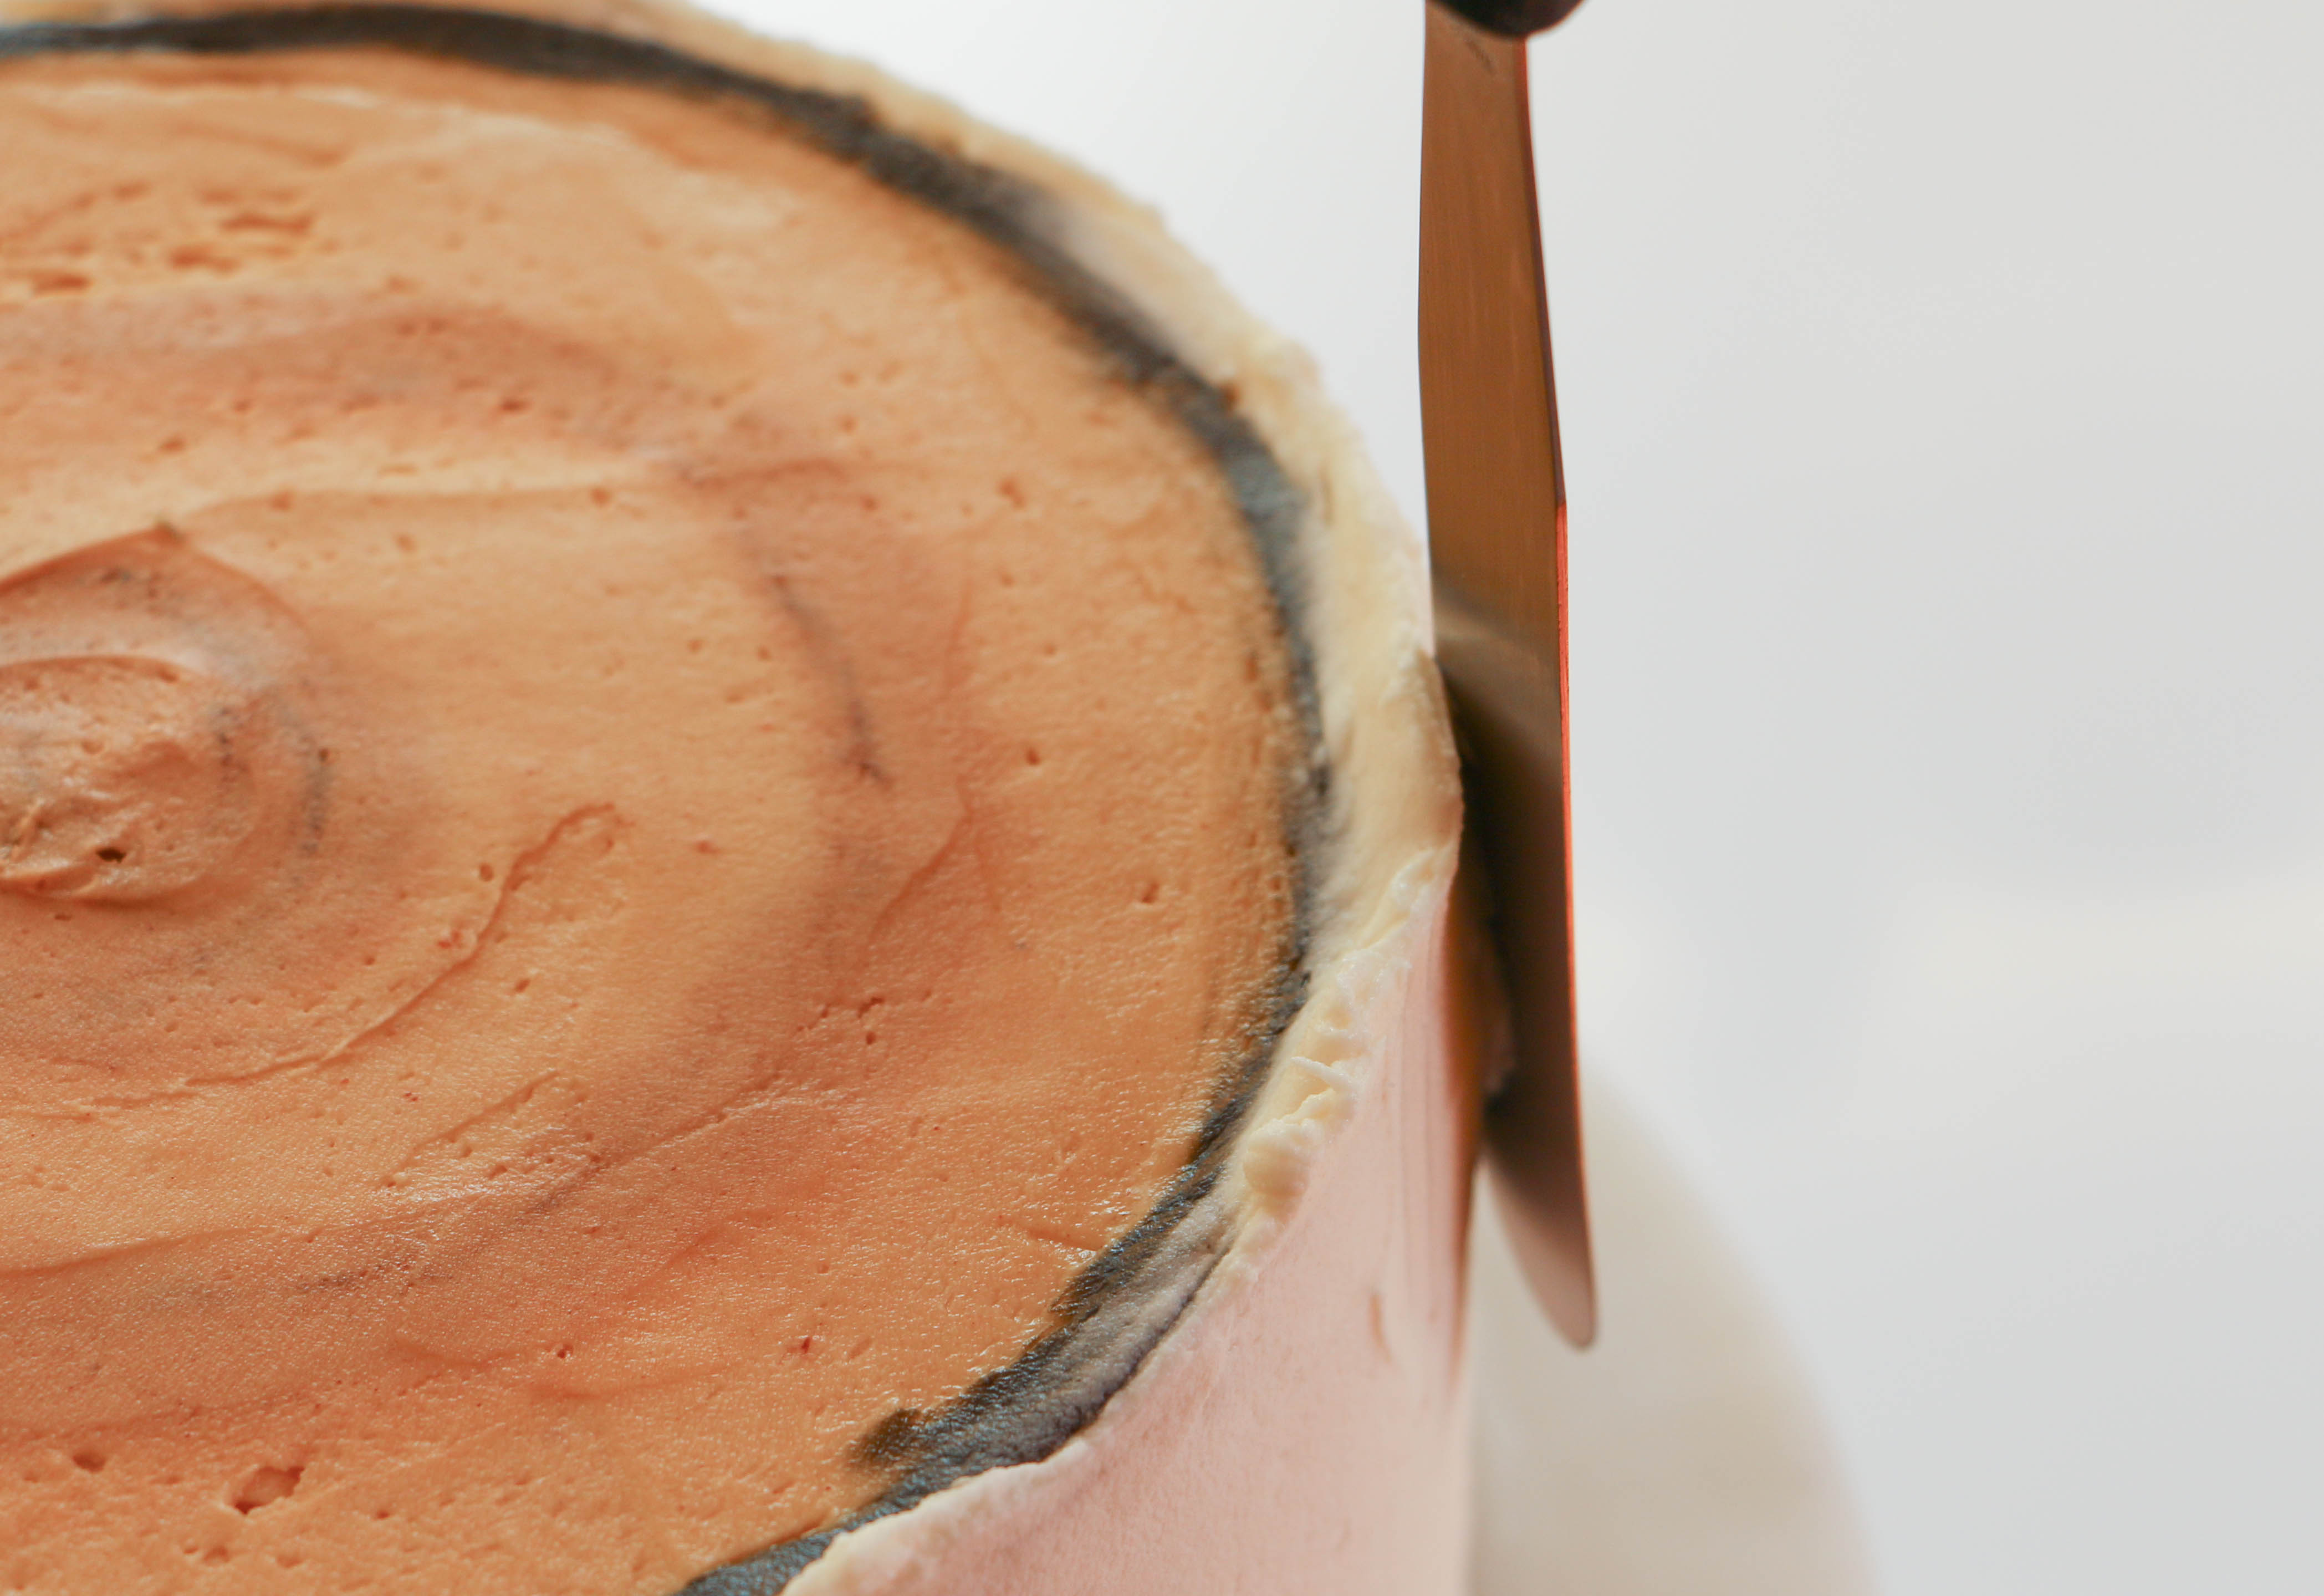
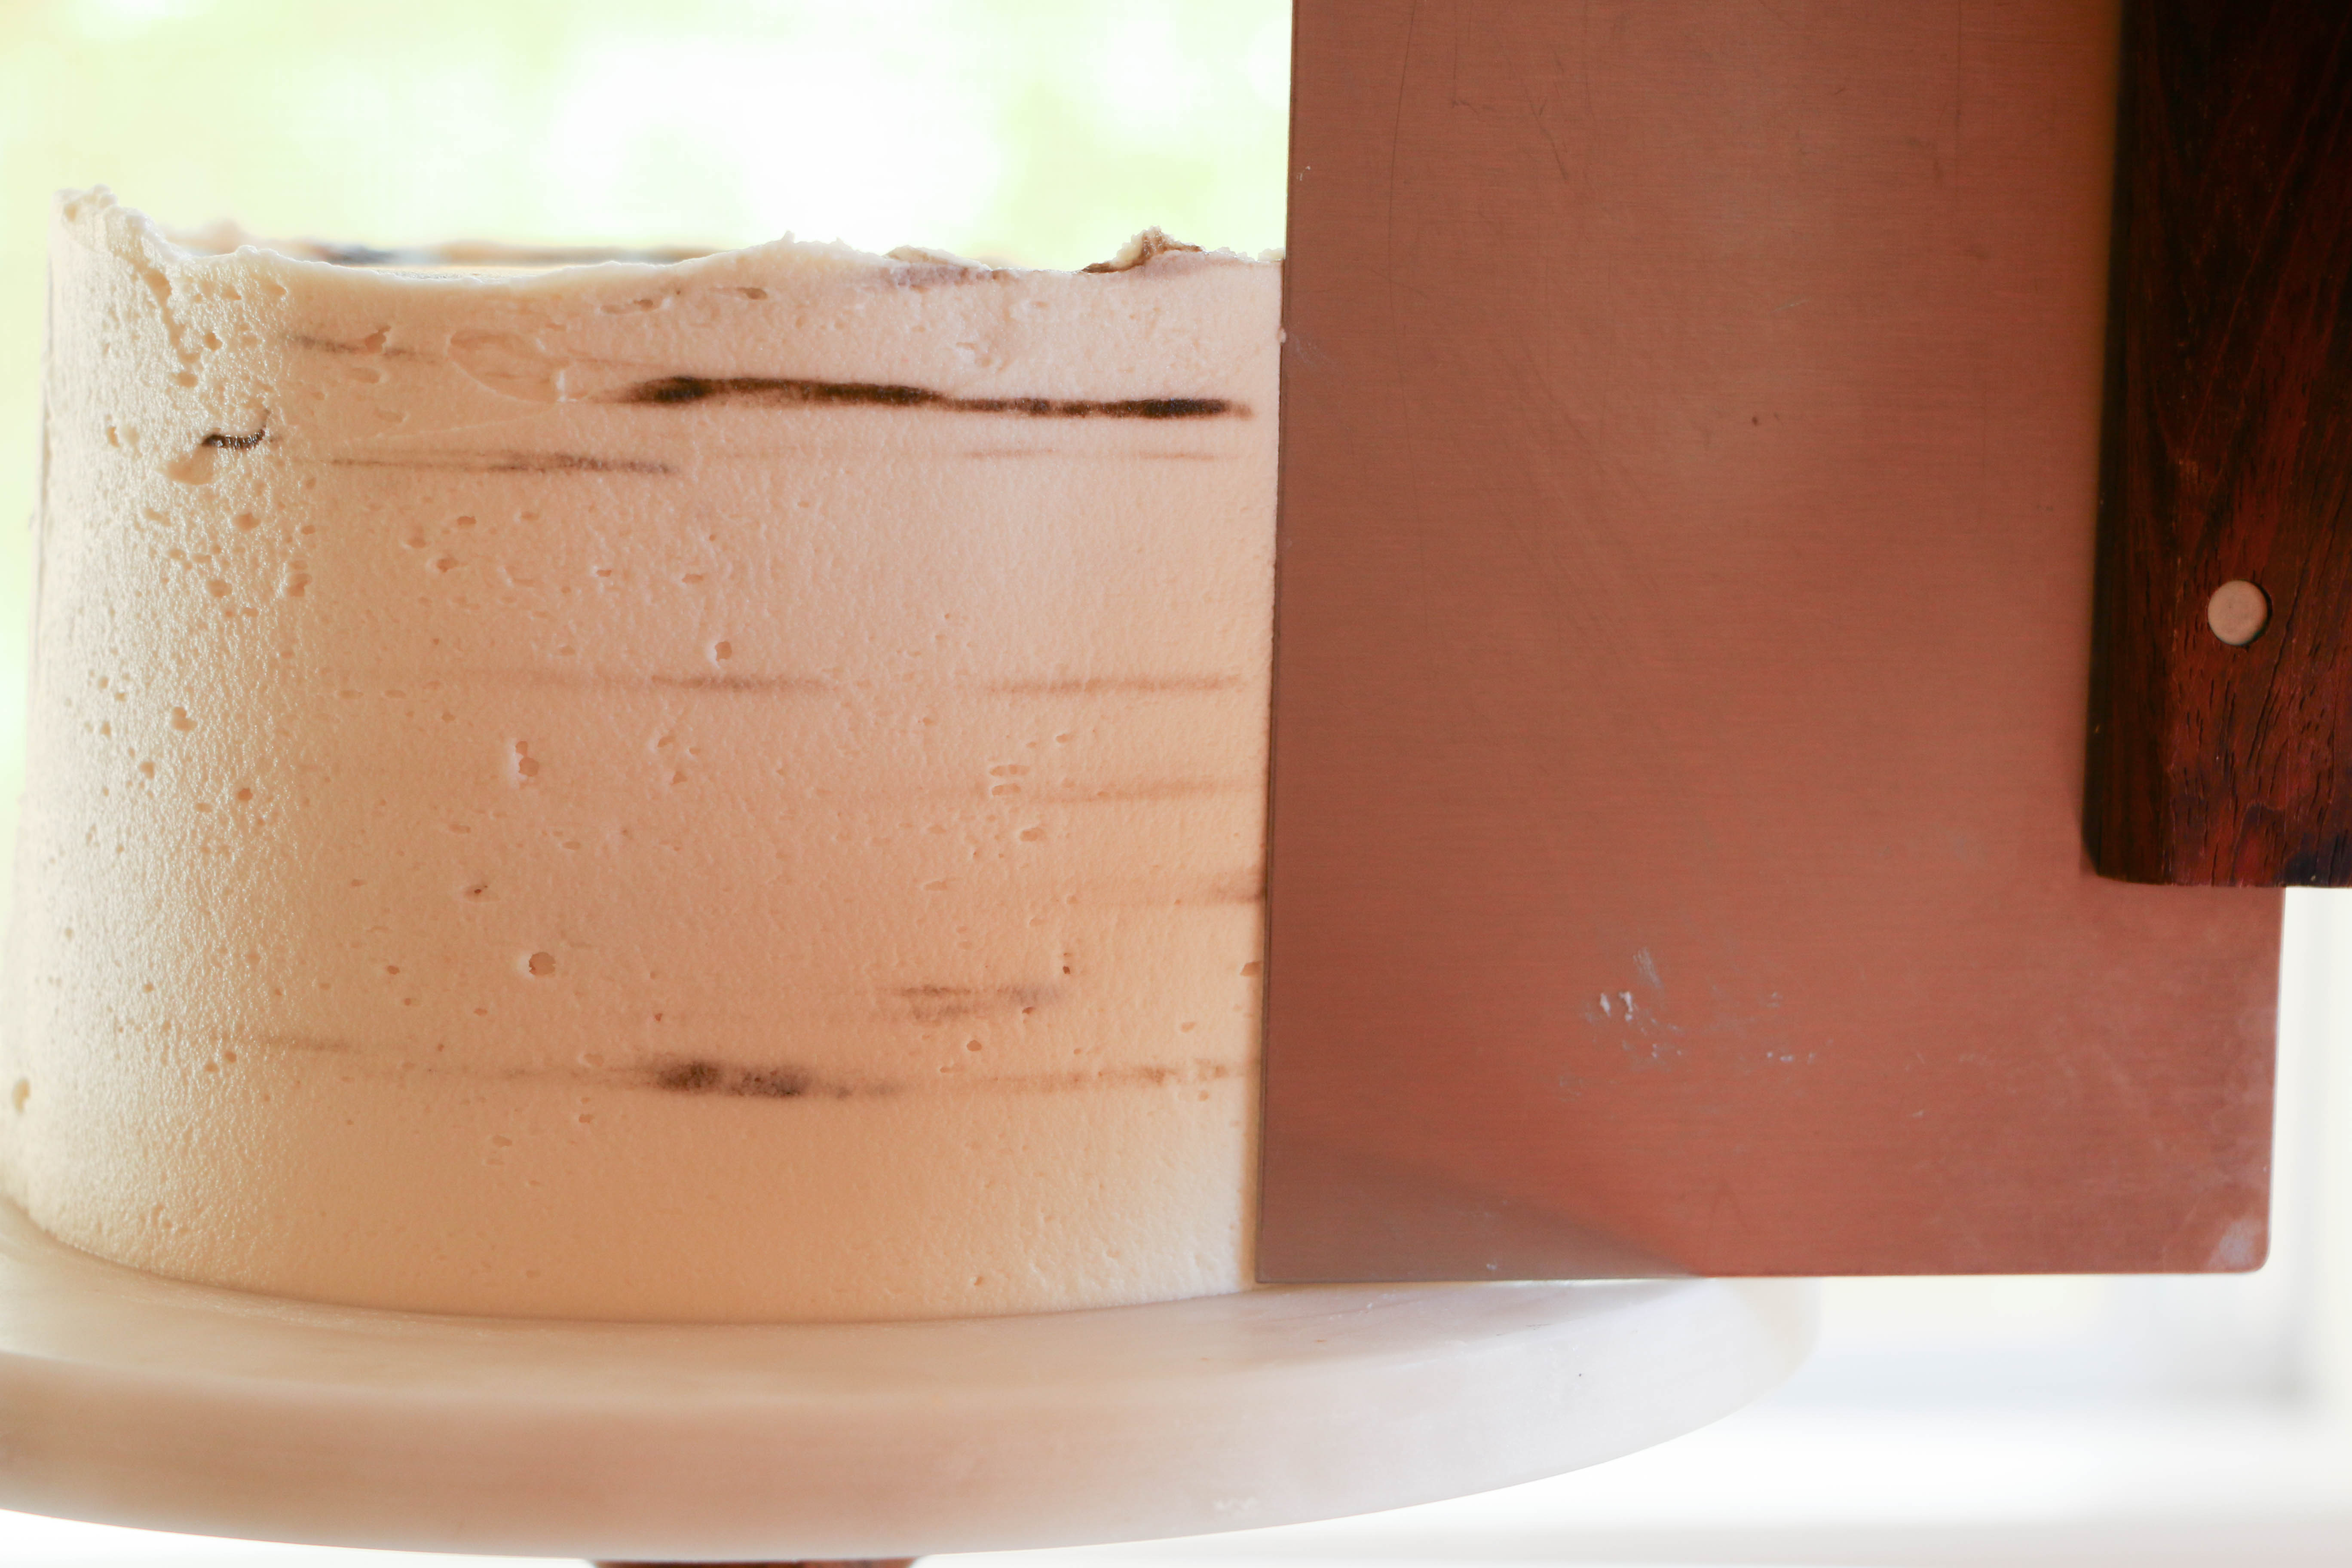
Use a bench scraper or the flat edge of the icing spatula to smooth the sides of the cake, sending the excess buttercream poking back up around the top edge of the cake. The jagged edge creates a more realistic look. Use the straight edge of the spatula to score the top of the cake, mimicking the lines left behind on a real log by the blade of an ax.
Step 6:
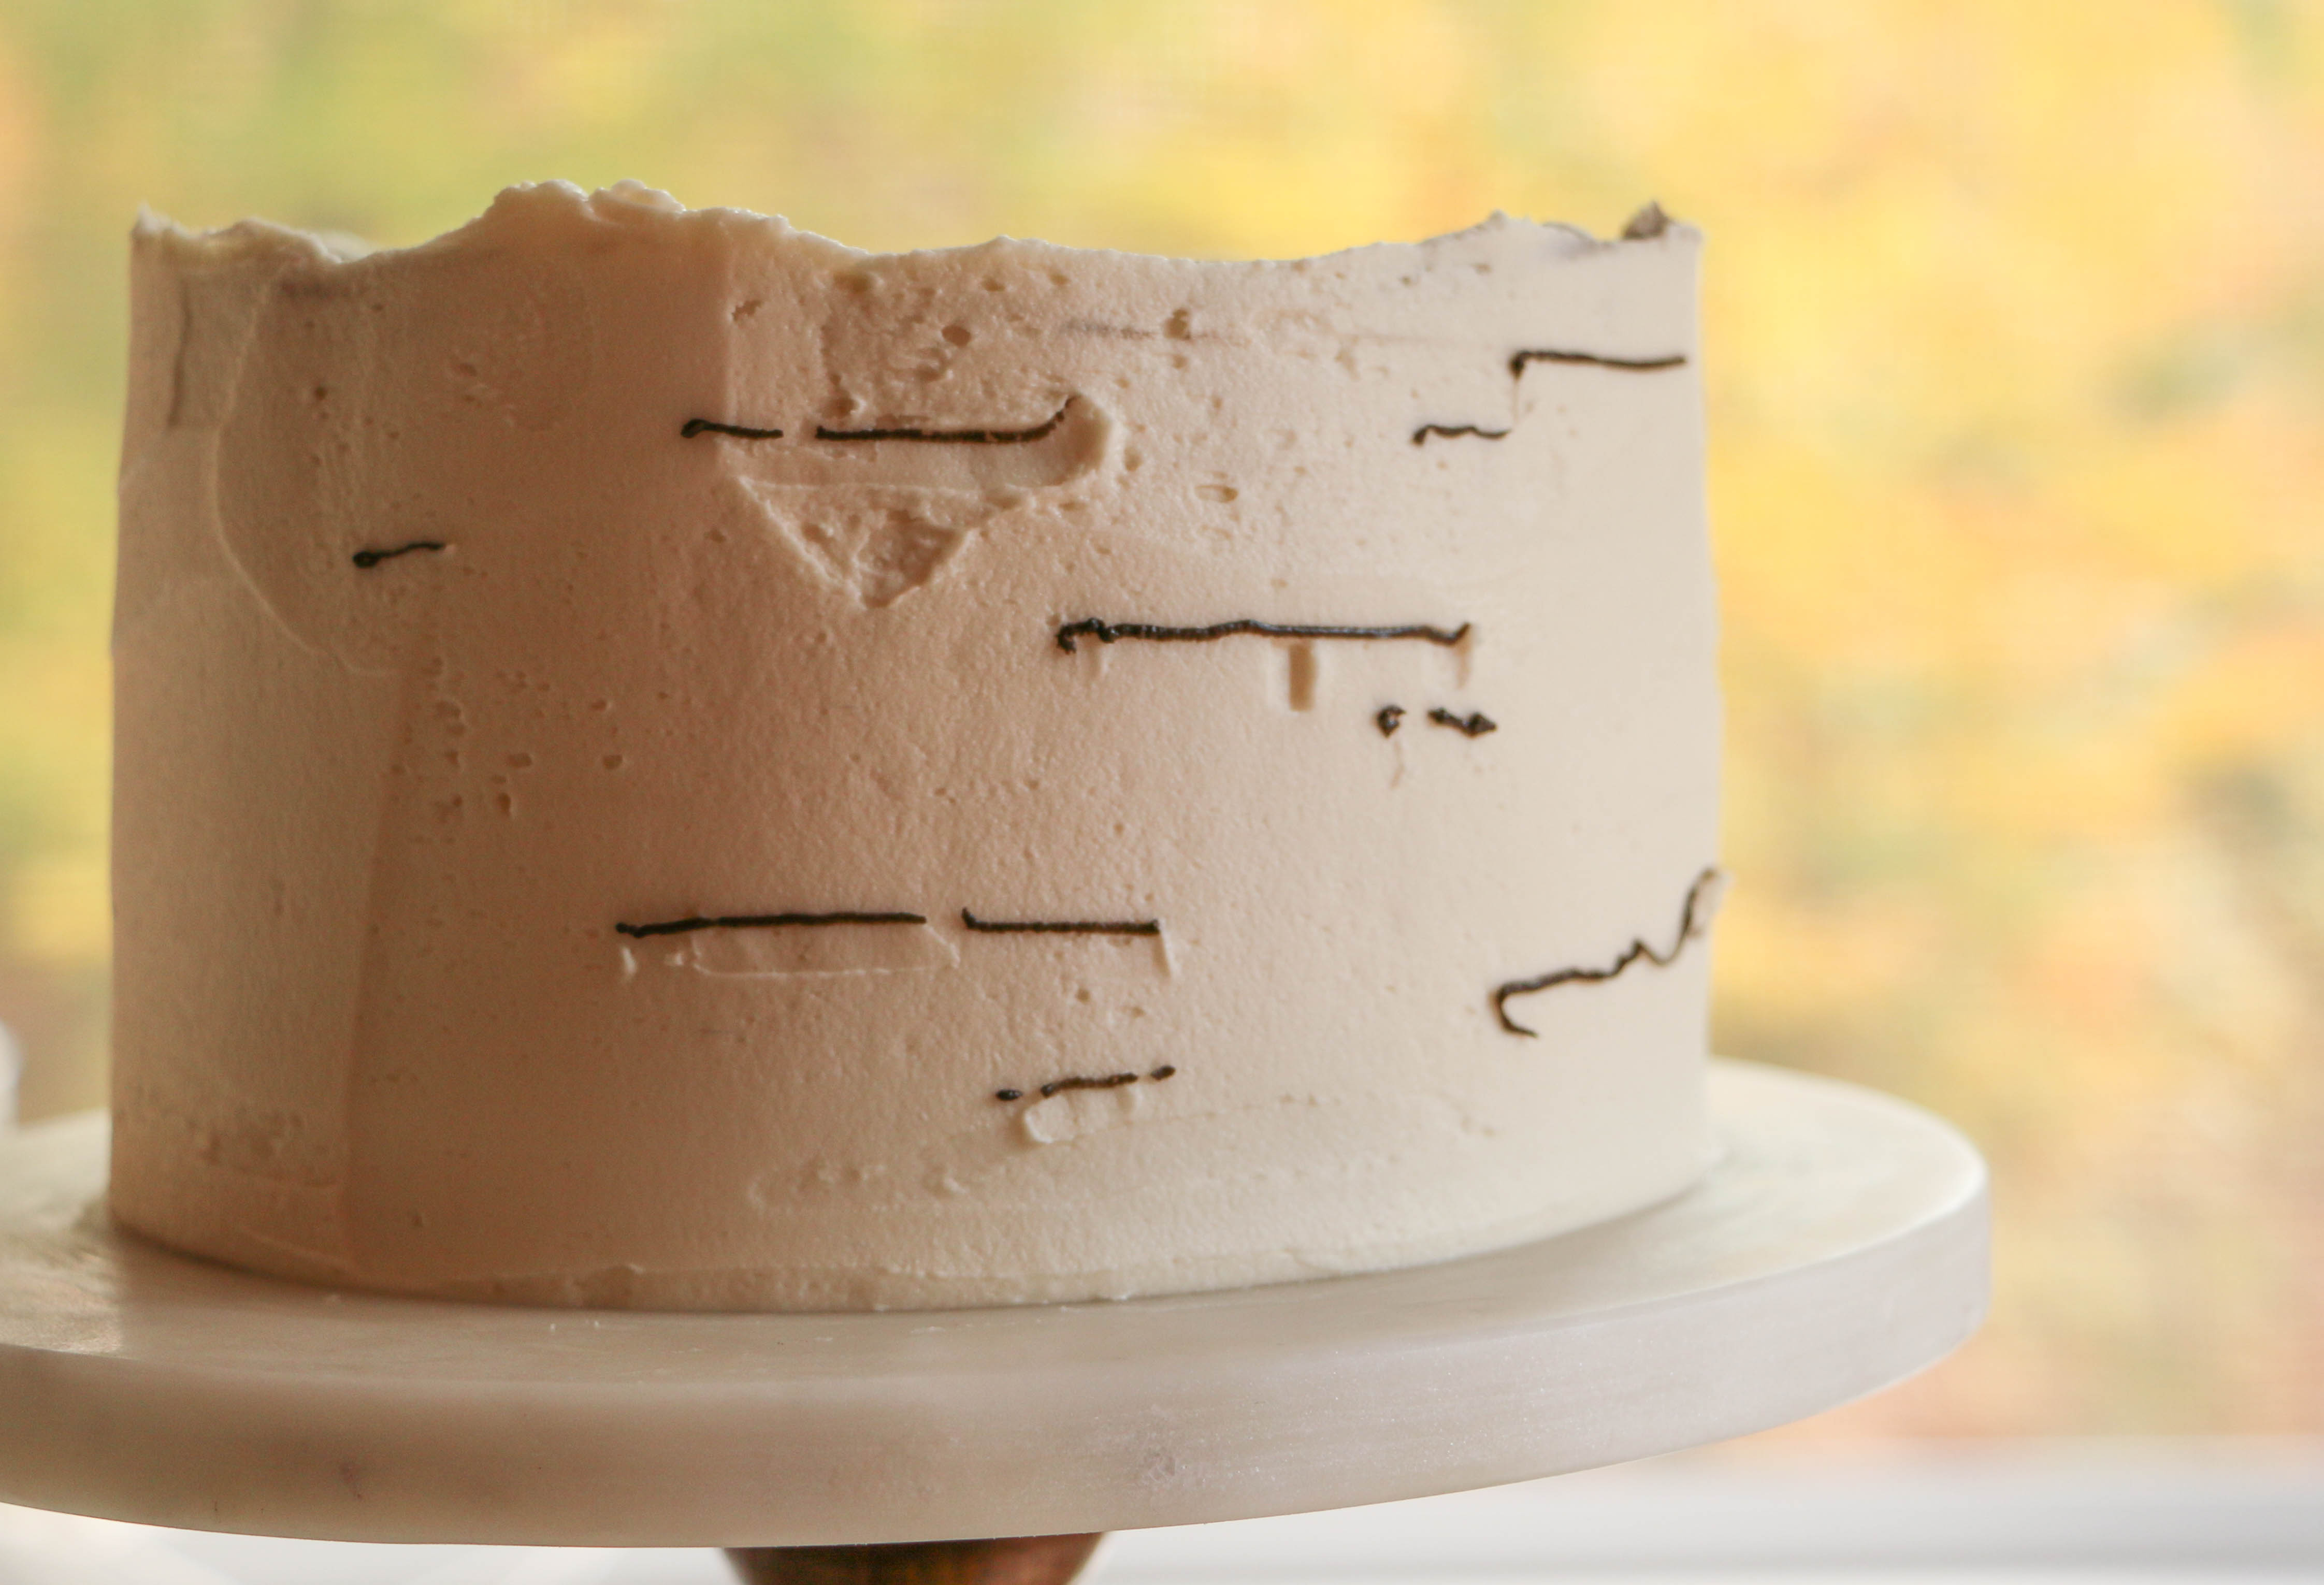
Fill a piping bag with the remaining dark brown buttercream. Pipe short, thin horizontal lines randomly around the edges of the cake.
Use a bench scraper or the flat edge of an icing spatula to smear the lines into the white buttercream finish. Repeat this step as needed to get the birch look you want.
Step 7:
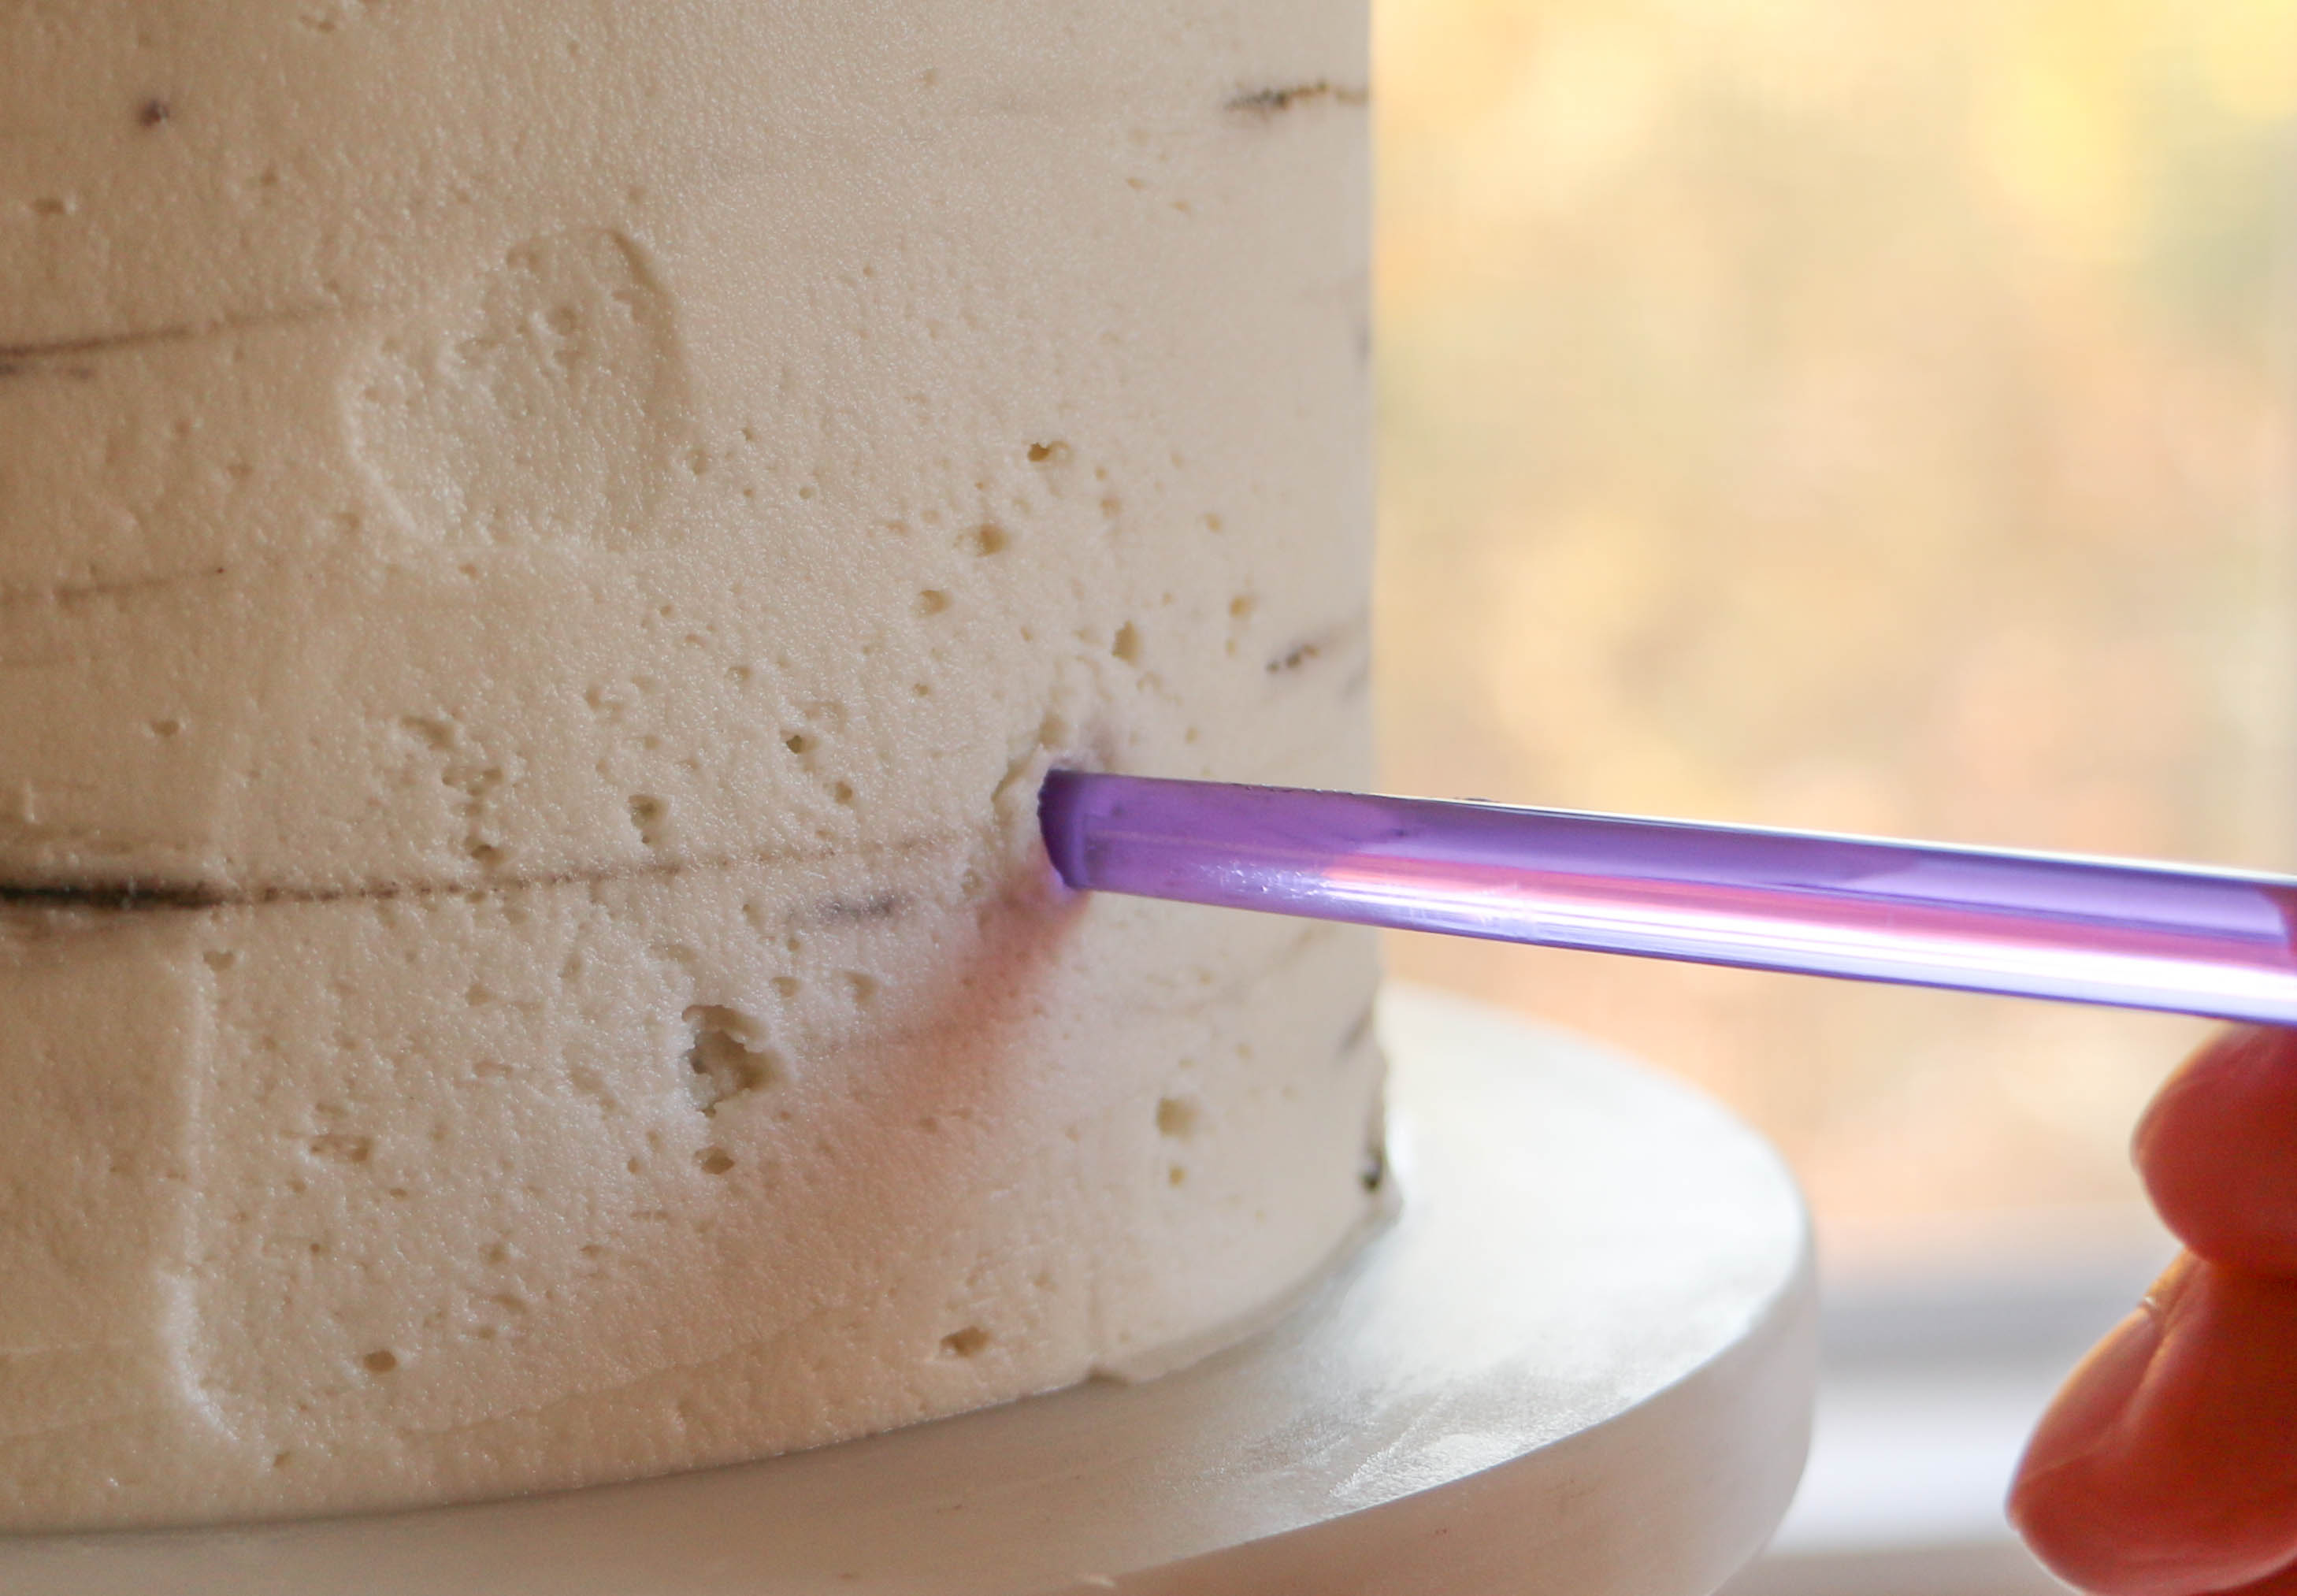
Poke the back end of a paint brush into the white buttercream, but don’t push far enough to go through the dark brown buttercream layer. Make small circles with the brush to clear away some of the white buttercream.
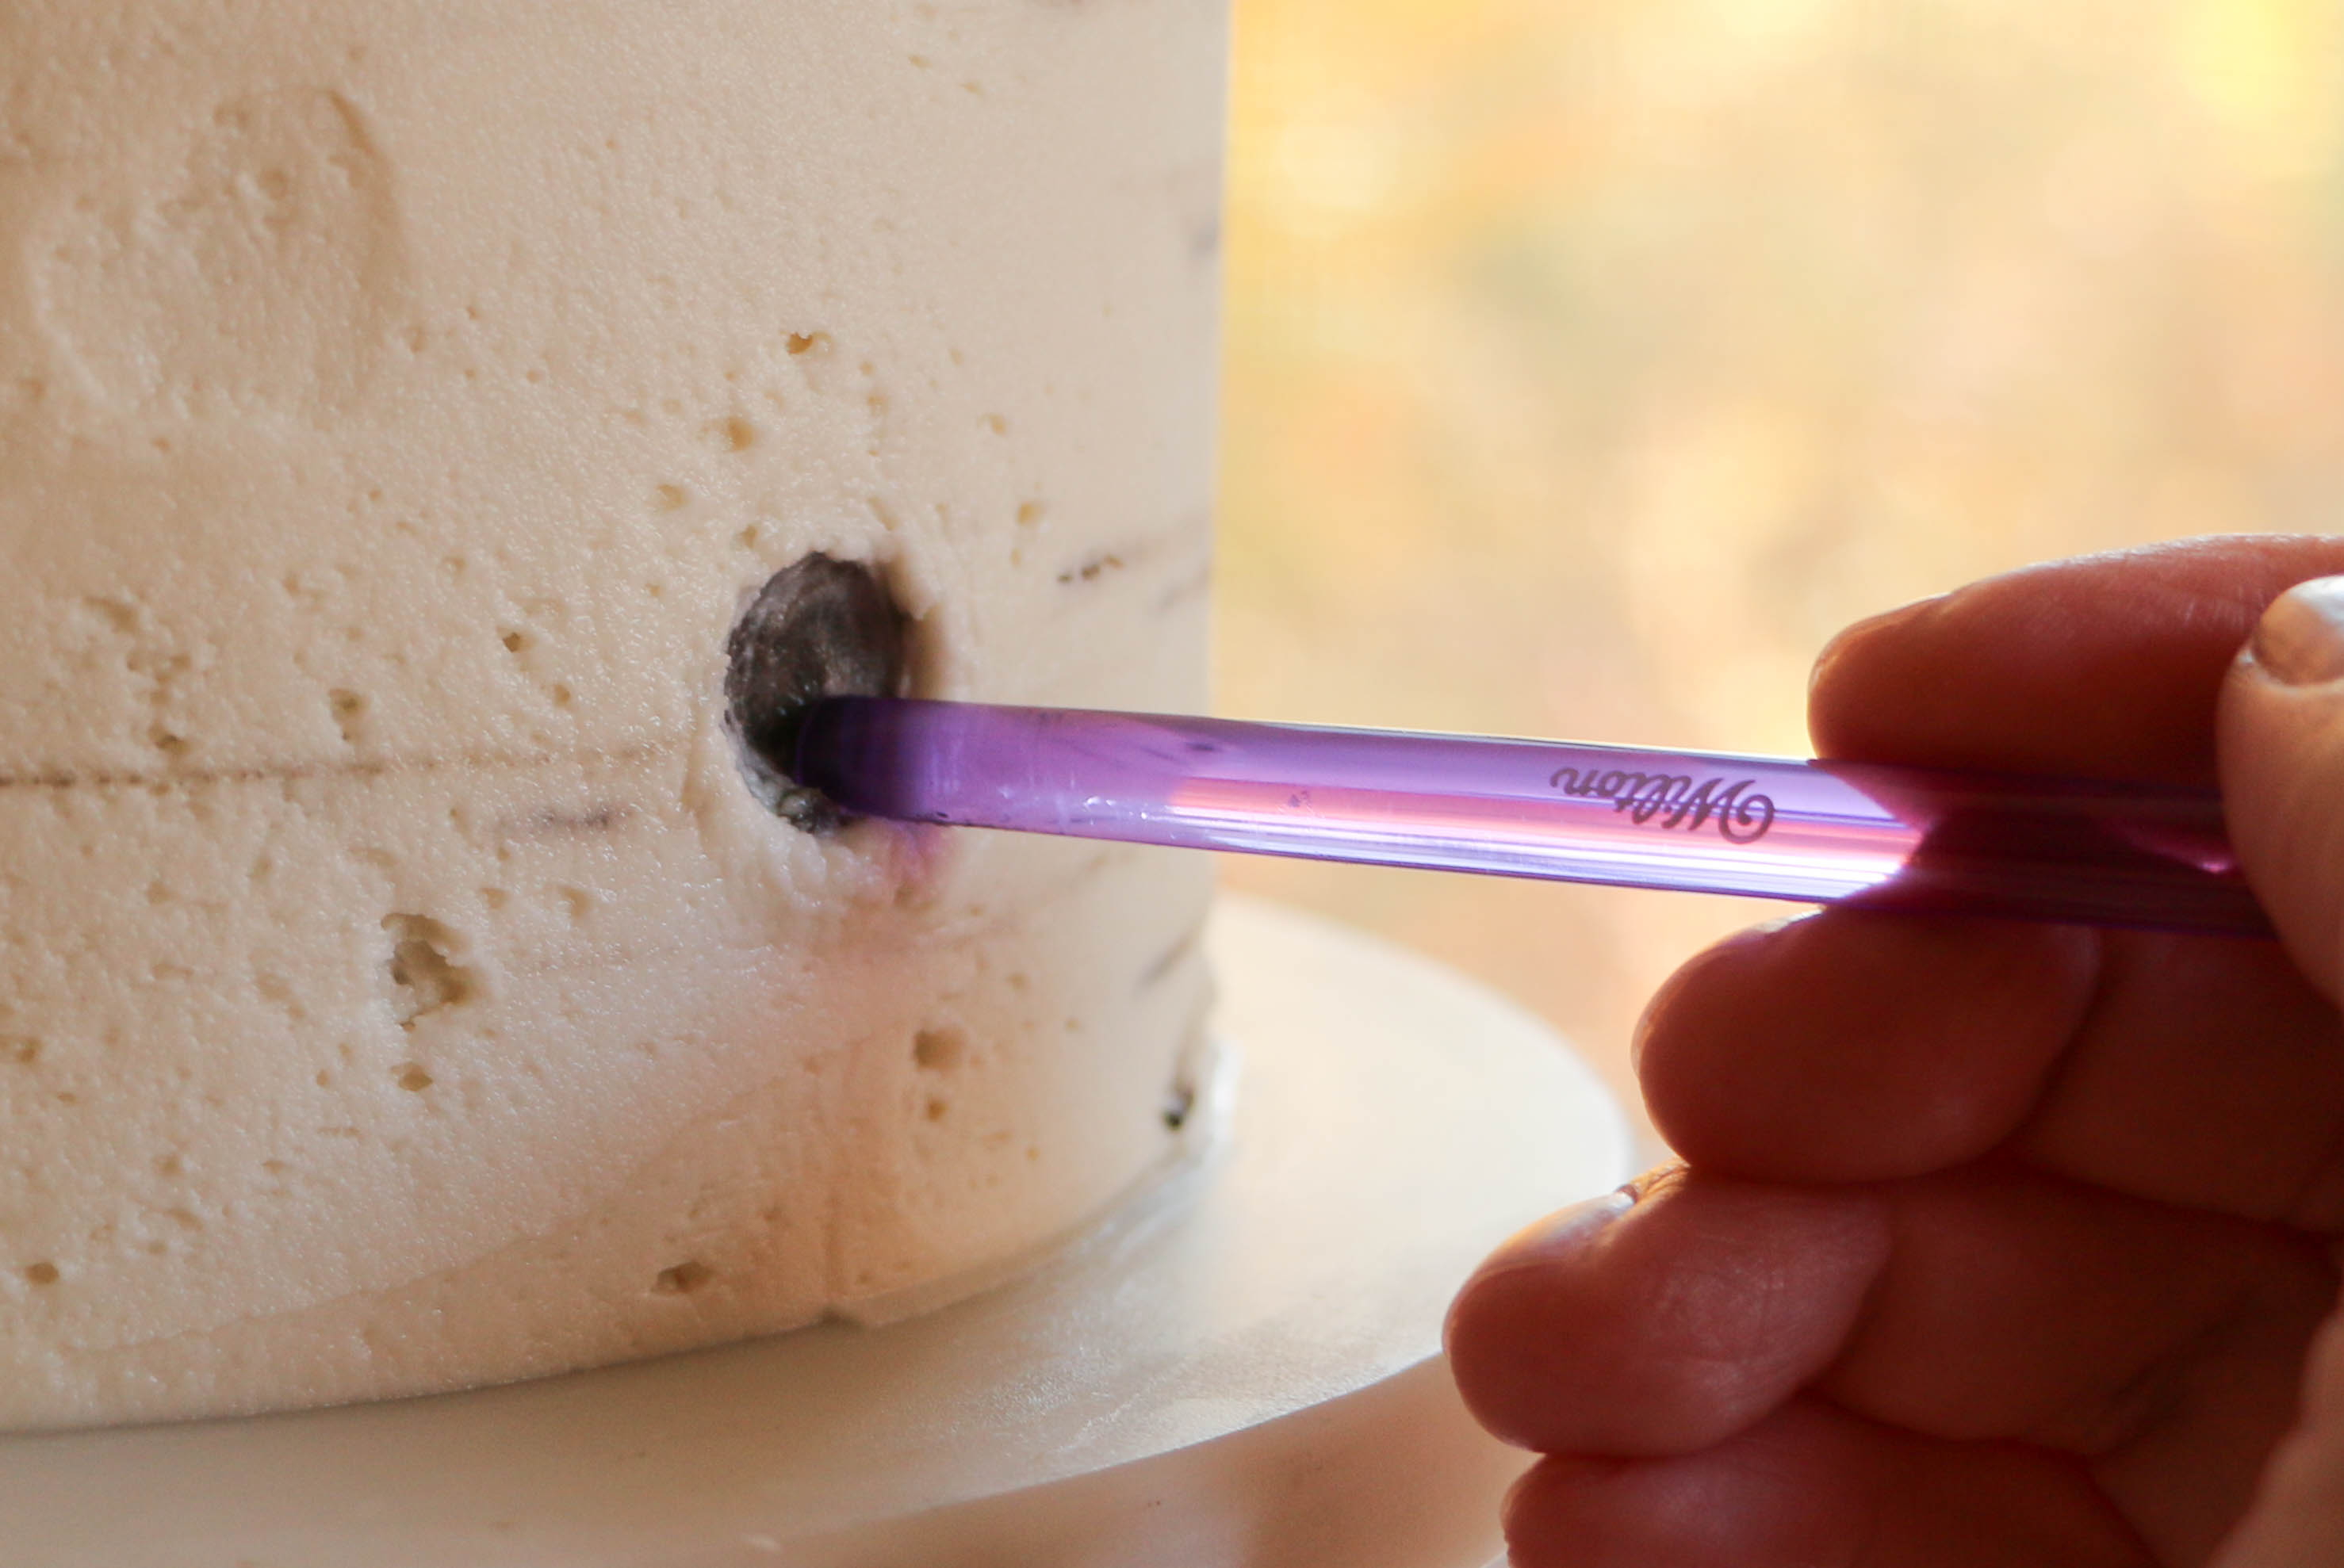
Slowly increase the size of the circle until the knot is as large as you’d like it to be. Dip the end of the paint brush into the brown buttercream if you feel more color is needed in the knot. Repeat in random spots around the sides of the cake.
Step 8:
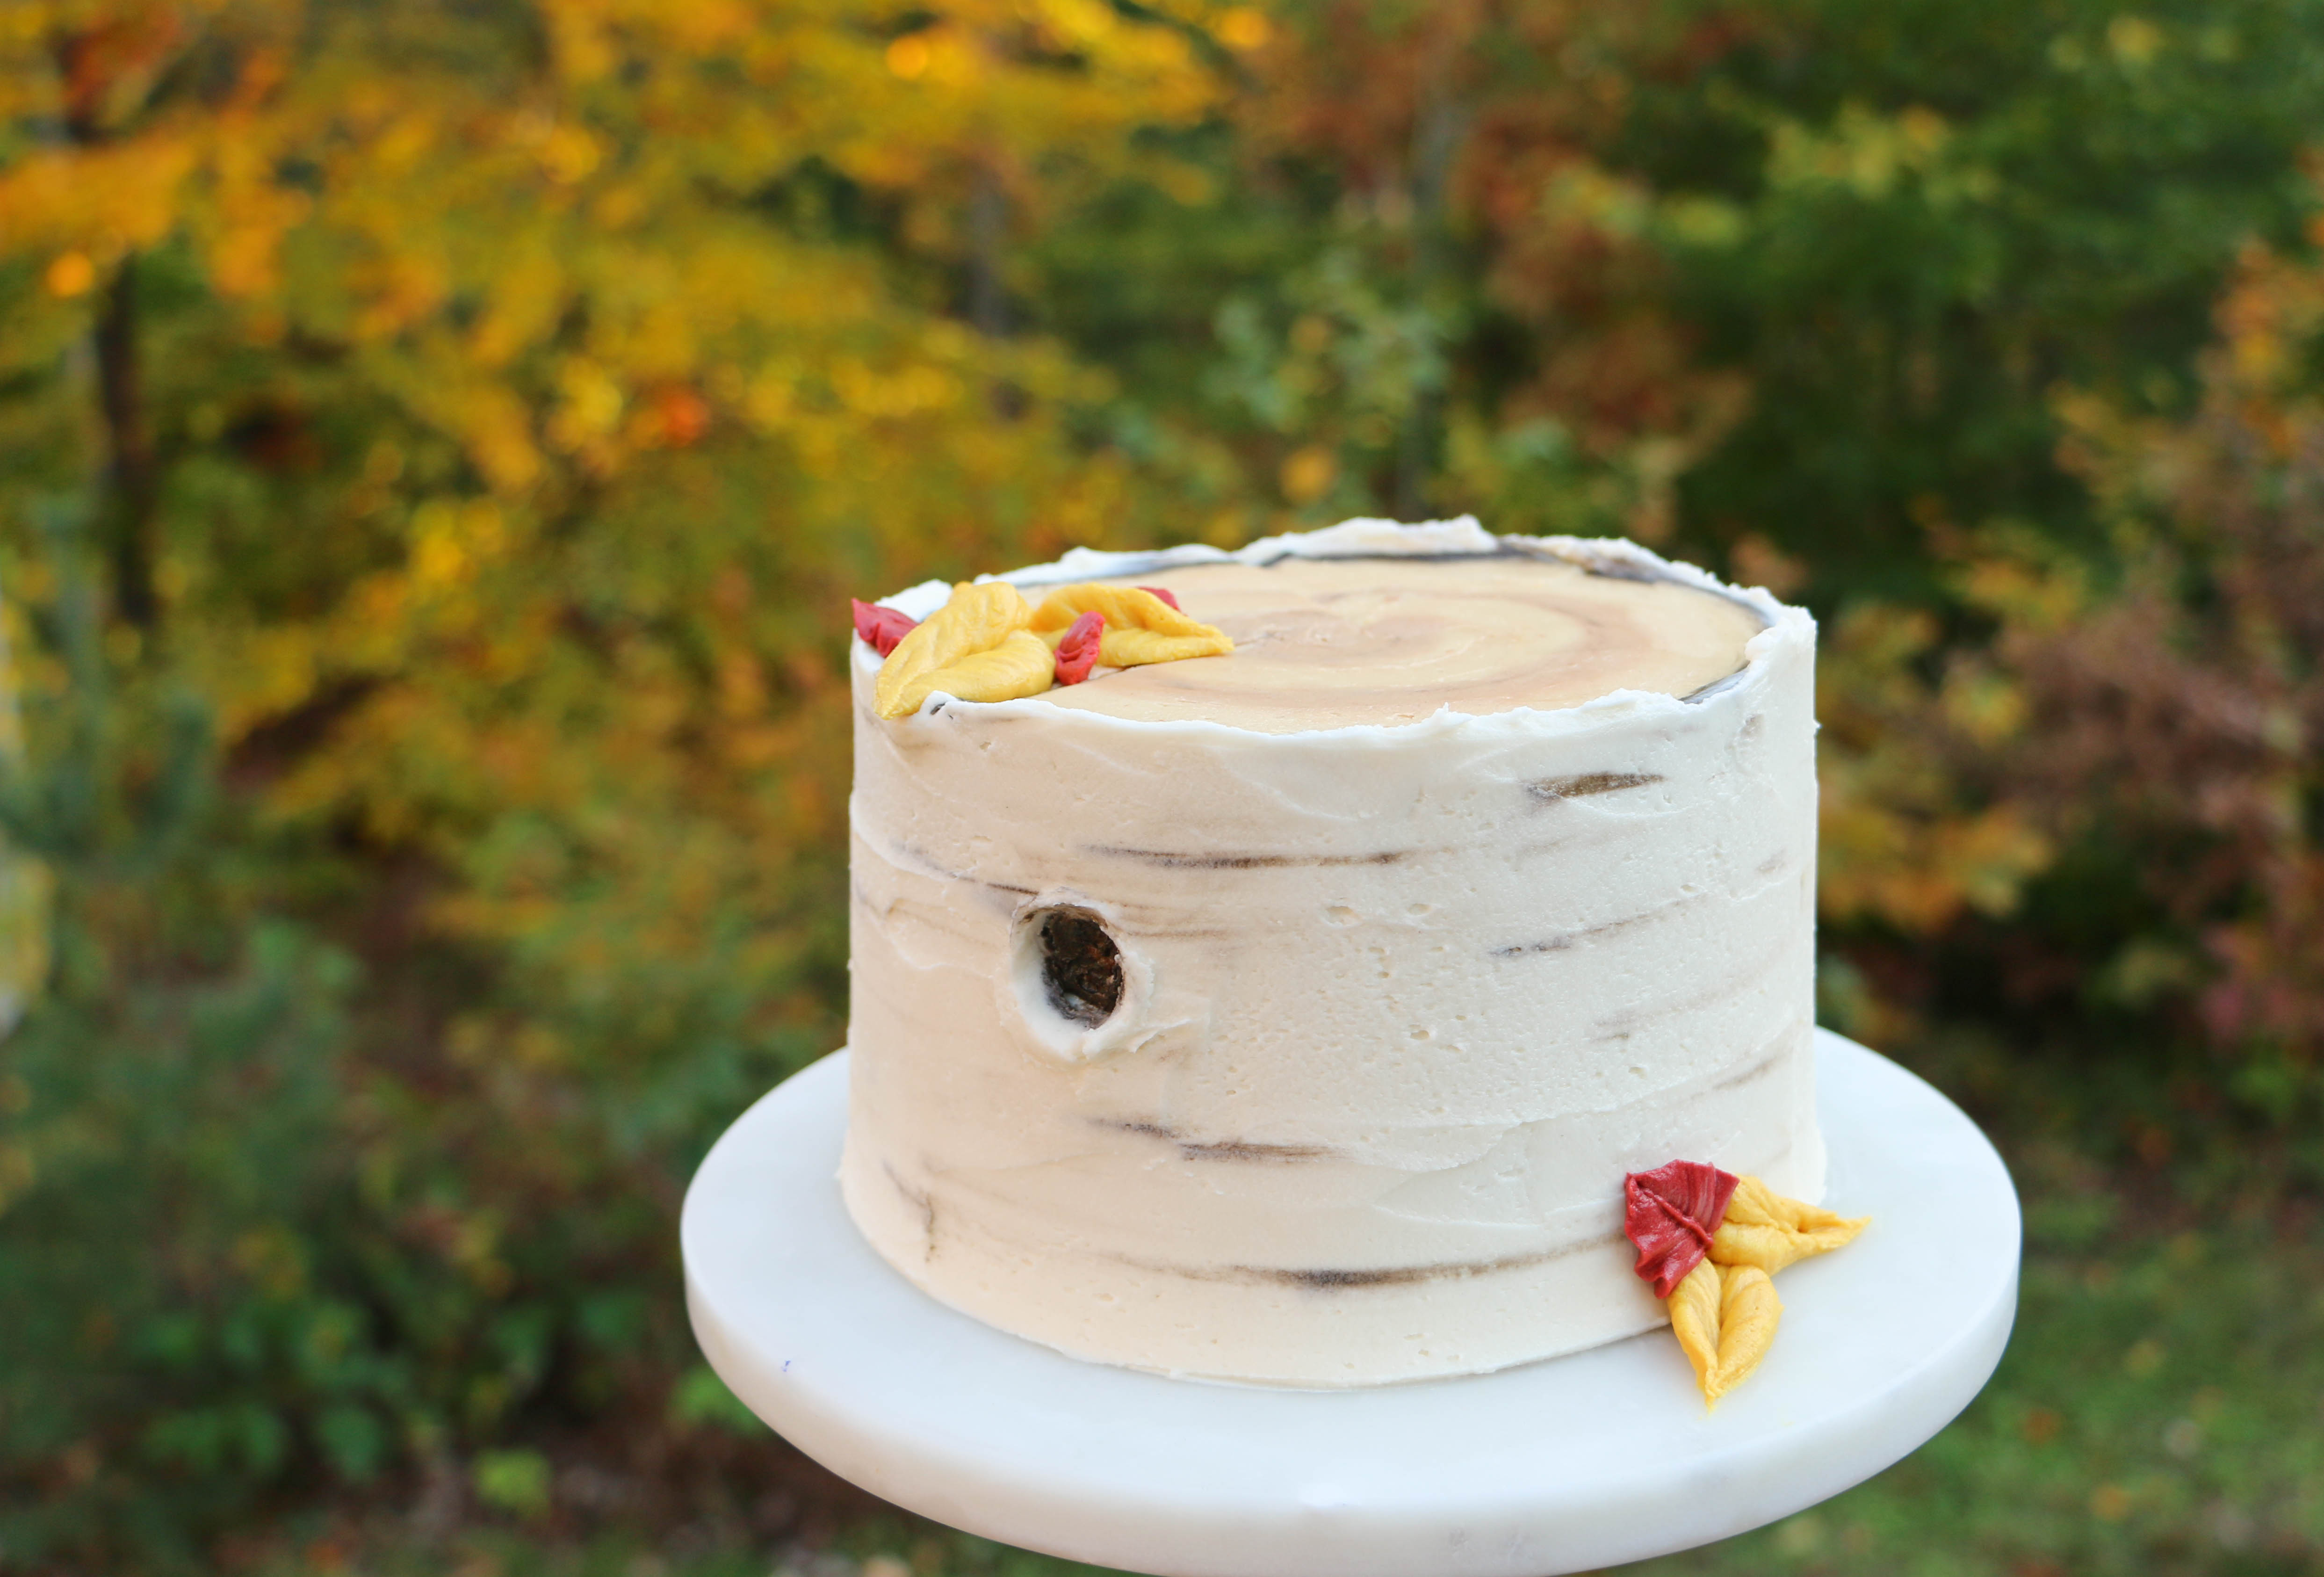
Add finishing touches like carved initials or piped buttercream fall leaves before slicing into your nature-inspired masterpiece!
Share tips, start a discussion or ask one of our experts or other students a question.
No Responses to “Inspired by Nature: A Lifelike Buttercream Birch Tree Cake”