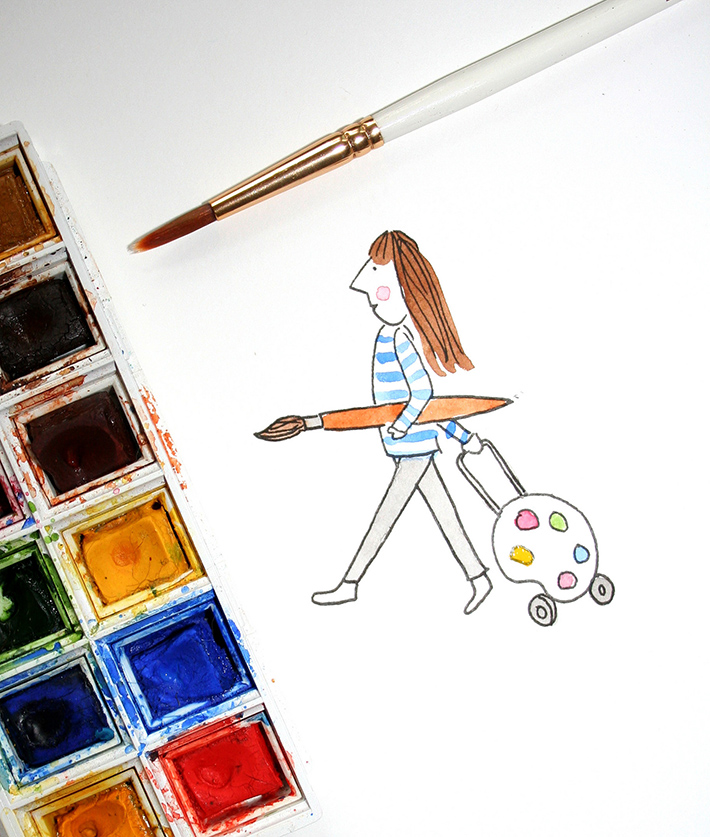
Watercolor can strike fear in beginners. Especially to those who are accustomed to opaque media such as acrylic, watercolor can seem a foreign and tricky medium to master. But as these beginning watercolor painting tips prove, working in watercolor can truly be a wonderful and enjoyable artistic adventure, accessible to artists at any level.
Watercolor is wonderful. It can be used to create dreamy washes, flowers with subtle gradients, gorgeous landscapes and so much more. It's also an inexpensive and simple medium to work with, requiring few supplies and little space.
These 10 tips are designed for the watercolor newbie. From stocking up on the right supplies to mixing colors and tackling mistakes, these tips will help beginners get their sea legs so that they will be wading in the wonderful world of watercolor in no time at all.
1. Invest in a good set of watercolor paints.
Don't worry: You don't need to break the bank or buy every single color to get a good starter set of watercolor paints. It just means that you want to stock yourself up with a few high-quality basics.
There are two key types of watercolor paint: tubes of paint and dried cakes of watercolor. In either case, water is added to the paint until it reaches your desired consistency; then it is applied on paper.
The type of paint you choose is totally your preference, but be sure that you have red, yellow, blue and black paint (white is not as vital, as you can lighten colors by adding more water). There are a lot of great starter kits out there; a travel watercolor kit is a compact, inexpensive, travel-friendly option, and will likely come with a limited palette including all of the basic colors you need.
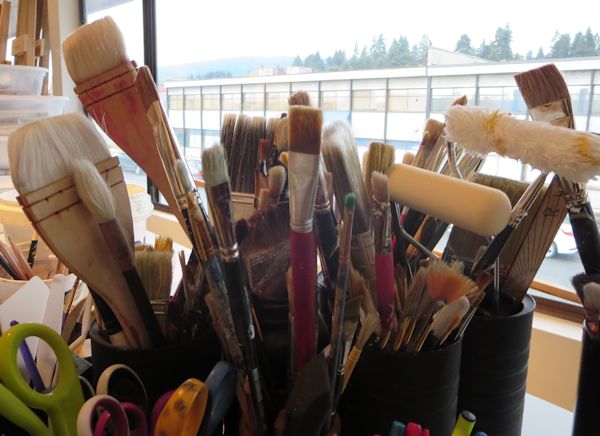
2. Get a few good brushes.
You don't need a lot of brushes — just a few good ones. At the most basic level, a single round brush is the most useful and versatile brush you can buy. However, to paint with ease, go with a starter set of brushes including one medium round brush, one small round brush (for details), one larger round brush, one smaller round brush, one medium flat brush and one "mop" type brush for washes. This infographic details the different types of watercolor brushes.
3. Use watercolor paper.
Paper is paper, right? Not when it comes to watercolor. If you try to learn watercolor by using the wrong type of paper, you'll be doing yourself a great disservice. Watercolor paper is absorbent and specifically designed to absorb the moisture of watercolors. If you try watercolor for the first time on drawing paper, for instance, you may find yourself frustrated with the results: the paper won't absorb the paint properly, and it can warp the paper or dry unevenly. This helpful guide to the different types of watercolor paper can help you choose the variety that is right for you.
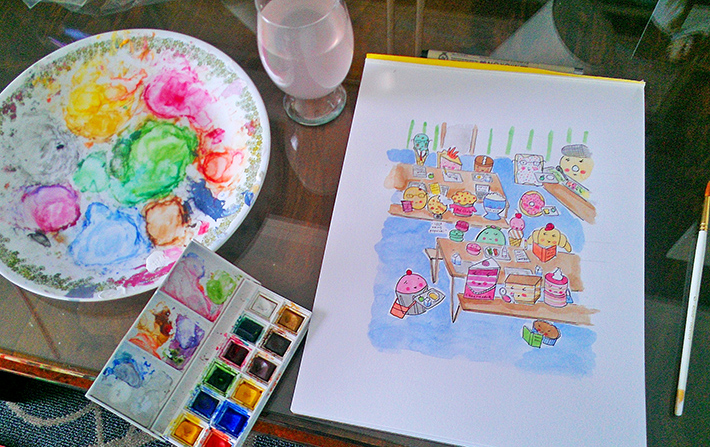
4. Have a good palette for mixing colors.
A palette is necessary tool for mixing watercolors. You can buy a watercolor palette, which has individual wells for mixing different colors, or you can use a flat, non-porous surface such as a ceramic plate or tile. Be sure that you have plenty of room to mix colors in separate areas of your palette, as you don't want them bleeding into one another.
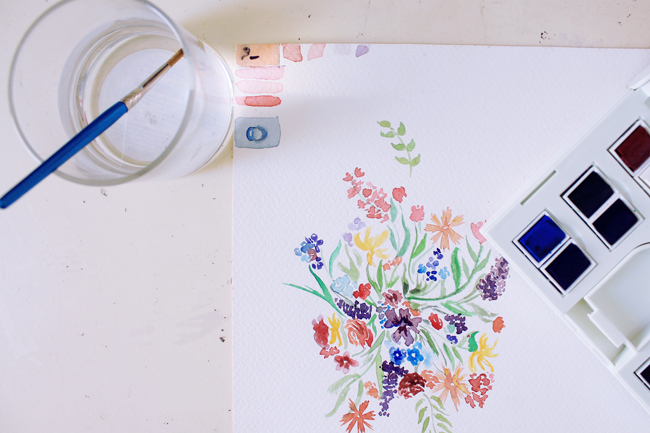
5. Secrets to success: clean water and scrap paper.
Clean water and scrap paper are the unsung heroes of watercolor painting. A container of clean water will help you thin paint colors and wash the brush between using different colors. Be sure to change the water out frequently, as it will begin become muddle and can impart unwanted colors in your painting.
A scrap of paper will help you test out colors and consistency before you add them to your watercolor paper. Ideally, you'd use a small piece of watercolor paper so that you can test on the actual surface you'll be painting on, but you could also use a drawing or even printer paper here in a pinch; just know it won't dry quite the same as it will on your finished surface.
6. Mise en place.
Before you paint, be sure that you have your tools assembled all around you, as you may have to work quickly at moments and won't have the freedom to get up and grab more supplies when you're in the middle of, say, a watercolor wash.
Have your work surface, brushes, paint, palette, water for mixing, a paper towel for drying brushes and a piece of scrap paper all at the ready. Make sure that everything is set up within easy reach, but that nothing is in the way of your dominant hand so that you won't be knocking anything over by accident as you work.
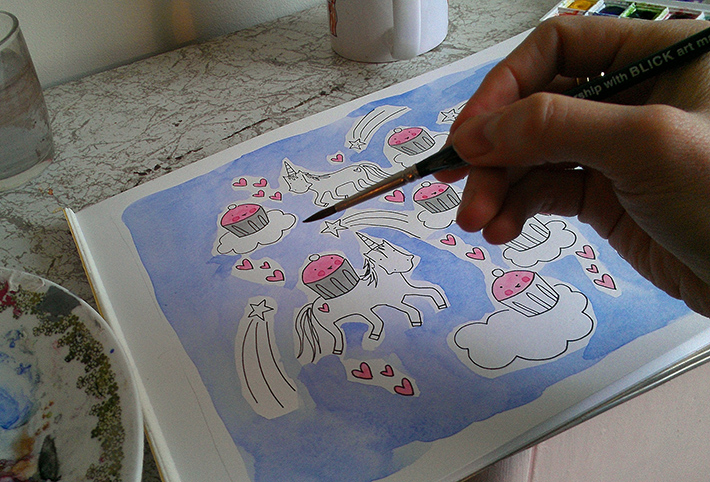
7. Work from a sketch first.
Before you start to paint, work out your composition as a sketch. This can help you solidify your composition before you even begin. You may work on sketches on a separate piece of paper and then use them as a visual guide for your painting, or you may choose to paint your watercolors directly on top of a very thin, almost ghostly pencil sketch so that you have a guideline. While watercolor is translucent, it will mask very thin pencil lines.
8. Always mix more paint than you think you need.
When mixing watercolors, always mix a little more of a color than you think you need. It's a huge bummer to realize that you've painted all but one petal of a beautiful flower and now you are out of the color. Plus, it's difficult to re-mix a watercolor color with accuracy, so it's always best to make sure you have a sufficient amount.
7. Embrace the bleed.
It is the nature of watercolor paint to bleed if wet paint is applied too close to another color. This can be a source of fear, but it can also be an opportunity to create beautiful visual effects such as gradients.
If you are scared of colors bleeding into one another, let each color of paint dry completely before applying the next. Or you can have a little fun with it, experimenting by letting colors blend at various stages of wetness. There will be some trial and error, but you will ultimately learn how to work with various paint consistencies and degrees of color bleeding to create the effects you desire.
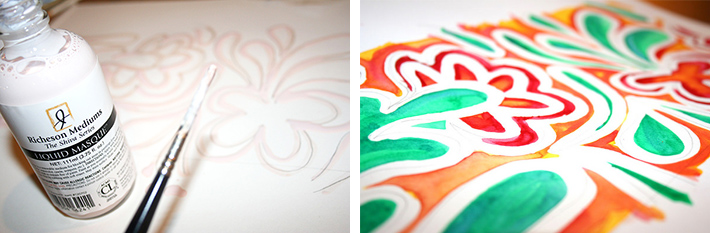
8. When it comes to washes, masking fluid is your friend.
Watercolor washes are a basic watercolor technique that can scare people, but really, they need not be frightening. Especially for beginners, masking fluid is a fantastic tool to ensure that the watercolor wash is only applied where you want it. Simply use masking fluid to block out any areas you don't want painted, then apply your wash. Let it dry and peel or rub off the masking fluid. Proceed with your painting and enjoy your perfect wash!

9. Don't let mistakes bum you out.
So, you painted the wrong color, or the paint bled in a way you didn't like, or you accidentally painted a blotch on the page. Don't panic. Often, these errors can either be fixed or incorporated into a painting. This blog post details some of the ways you can work with common watercolor errors rather than letting them ruin your day.
10. Have fun!
If you approach watercolor painting with a sense of fun and adventure, it will be a joyous journey instead of a fear-filled uphill trek. Experiment, enjoy and try to learn from your mistakes. There's only one real way to get good at watercolor painting: by doing it frequently! Enjoy the ride.

4 months after the last complaint, the like for Get Your FREE Guide is STILL not working. There is no error message - it just takes you to another page. This is so disappointing.
The links are not working on this page October 1st 2023. So over a year. When you pay for a program these things should be fixed. It is not because I need to clear my cache. it is a program error. Please fix this. It would be much appreciated.
The "Get My FREE Guide" link takes me back to a main page of class options.
Why does it take months to fix a link ? still not working
Link still isn't working.
Hi! The links in this document don't seem to be working. Am I doing something wrong???
The links in this do NOT work. Please fix.
Teen daughter & I are trying to learn together
Please fix the links!
As Cecil below said on November 20th, the links in this document are still not working. Any idea when this might be fixed?