Making your own jewelry is not only a fun and addictive hobby, but it also has the added benefit that you get to wear what you create! However, many people don't really know where to start.
Here are simple tips to get you started with beginner jewelry making!
1. Choose what type of jewelry interests you most
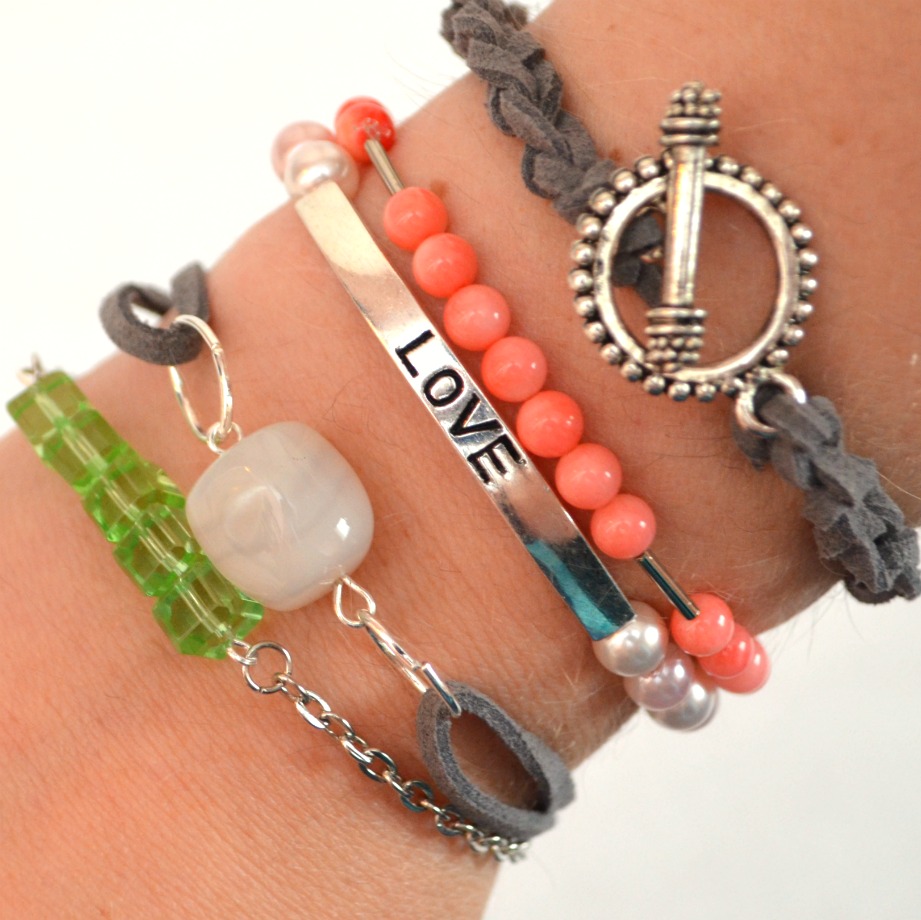
It can be really overwhelming when you first decide you want to try your hand at making jewelry because there's such a broad range of possibilities!
Just as you wouldn't expect to learn to crochet, knit, hand-sew, quilt, and embroider all at once, it's unrealistic to try to tackle every type of jewelry making when you're first starting out. Instead, choose one kind you'd like to make first and go from there.
Perhaps you like wearing beaded jewelry best, or maybe you prefer the simple look and personalization of metal stamped jewelry. Maybe you want to work with leather, clay, or glass.
Choose one medium to focus on first, knowing that you can always try something else later... and in fact, the skills may even build on each other and you'll have an easier time learning a new technique because of what you can already do!
2. Master a few basic skills
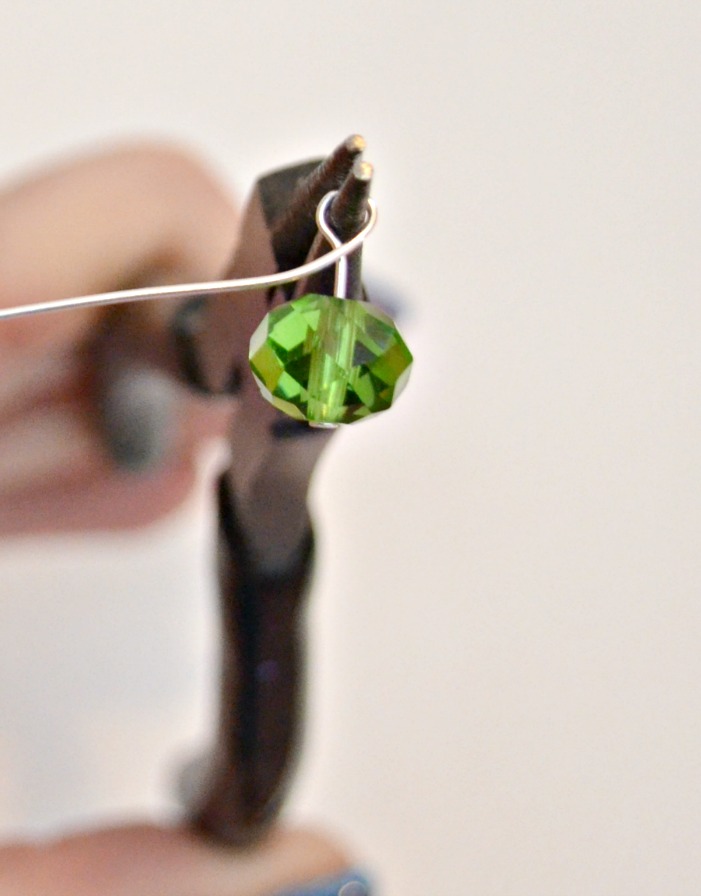
Whether you're planning on working with beads, clay metal, or another type of jewelry first, there are a few skills you're going to want to know for just about every project you make.
Most projects, for example, will require that you have a basic knowledge of how to open and close a jump ring properly and form a simple wire loop.
Once you master these skills, they transfer to whatever type of project you're creating!
3. Invest in good quality tools
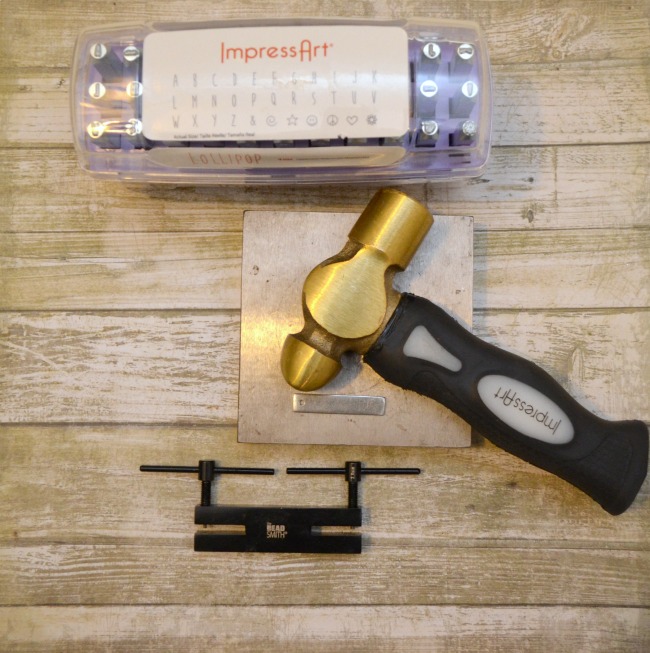
For your first attempt, it may work okay to just "borrow" the wire cutters and pliers from your household toolbox. But the reality is, the better the tools you have to work with, the easier the process will be and the better your project will turn out.
At first, it may seem like a bit of an investment, particularly when it comes to specialty tools like metal stamps, etc., but in the long run, they more than pay for themselves when you're able to create rather than buy your jewelry as well as make jewelry to give as gifts and/or sell to others.
Once you have the necessary tools in your stash, it's usually very inexpensive to make any particular piece.
4. Learn the terminology
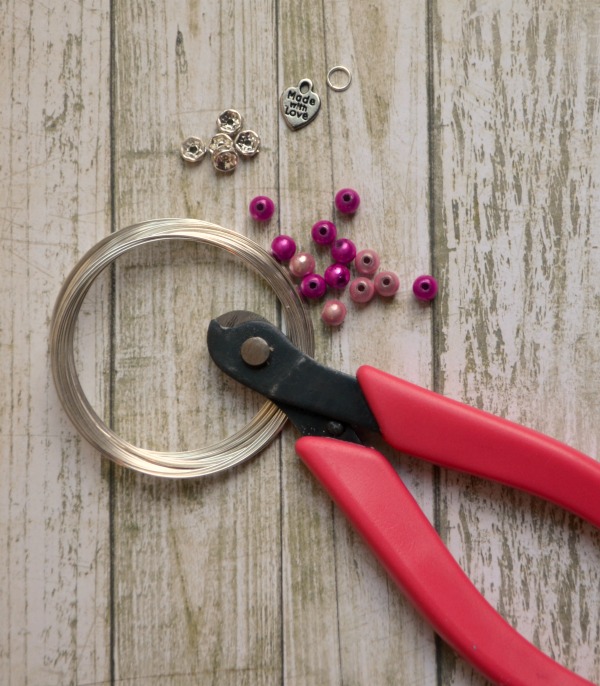
What's the difference between and head pin and an eye pin? Is 12-gauge wire thicker or thinner than 20-gauge wire? And what are "findings" anyway? You're going to need to know!
Before you purchase anything, make sure you know what it is that you need. It'll save you the time, expense, and frustration of having to return and exchange the wrong items.
There are lots of great resources to help you, like this basic intro to metal stamping.
5. Get your hands on some supplies, literally

There are countless options for where to purchase jewelry making supplies. Online shops like Goody Beads, Lima Beads, and P&J Tool Supply have wide inventories, and you can also always find just about anything you're looking for on Etsy.
Before you choose your favorite online vendors, though, I'd encourage you to find a local craft store and literally get your hands on some of these tools and supplies. Look at them, touch them and choose exactly what you want. I've ordered things before that ended up being not at all what I expected just because of my lack of experience.
For example, I didn't have a concept of what a 4 mm bead really looked like, so when I ordered a whole pack and they showed up, I was shocked at how tiny they were.
Go get your hands on some things and familiarize yourself with them. Later, once you get into a groove and know what you like working with, by all means, go for the ease of ordering online, but I still personally love the experience of seeing things for myself before I buy.
6. Have an organized, dedicated workspace
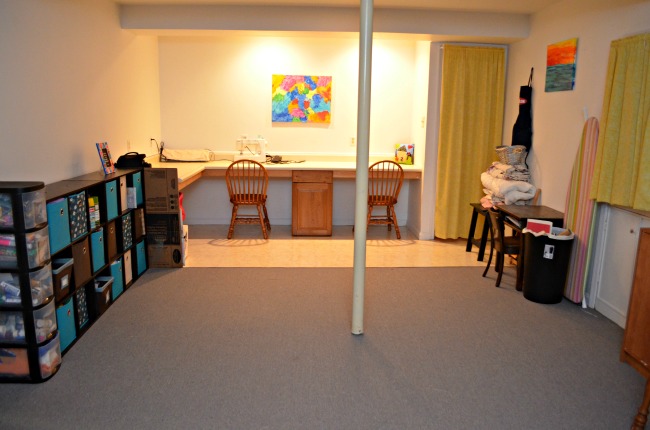
There's nothing more frustrating for a crafter (or their family!) than having random supplies strewn everywhere. If you can't find what you need, you waste precious time that you could use for creating.
Choose a room of the house or at least a certain table, desk, drawer, etc. that you can devote just to your hobby. Once you have it, sort your supplies and label, label, label. There are all kinds of jewelry making storage ideas like inexpensive bins and boxes you can get that already have dividers in them to easily store various beads, findings, and more.
Figure out a system that works for you and stick with it. That way you'll always know what you have and it'll be at arm's reach when inspiration strikes!
7. Check Pinterest, blogs, and of course Craftsy for inspiration
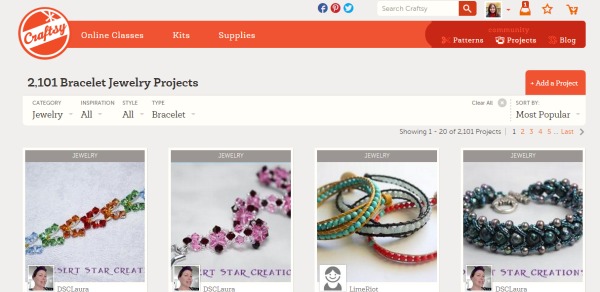
Sometimes a great idea for a new jewelry piece will just come into my mind. But more often than not, when it comes to making jewelry, I get inspired by what I see. Look all around you for inspiration.
Check out the jewelry for sale in your favorite clothing and accessory stores. Browse around on Pinterest. Find a few favorite bloggers whose style you like and check out their jewelry archives.
And, of course, search right here on Craftsy for ideas! There are over 2100 bracelet projects here alone, not to mention that there are over 11,000 total jewelry projects including necklaces, earrings, and more. Sometimes, you'll find a great tutorial that you want to follow step by step, or you may just find something that appeals to you and you want to tweak the colors, size, or style a bit to suit your own preferences.
8. Take a class
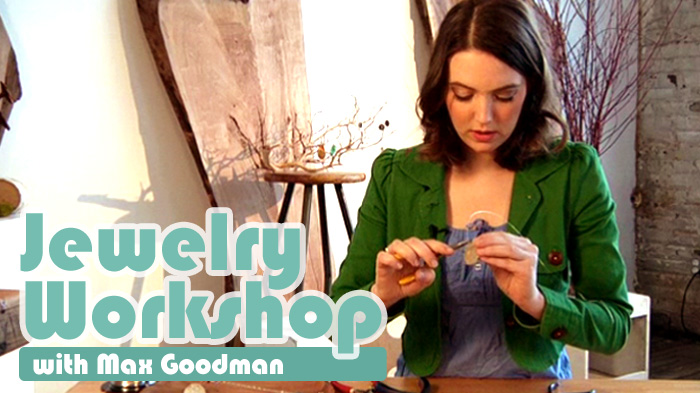
Is there something specific you want to learn? Take a class and let an experienced instructor walk you through the process! You're already in the right place.
Craftsy offers all kinds of classes, some of which are even free, where you can learn a variety of jewelry making skills.
You can take a basic beginner level class or choose a course about a specific technique like wire wrapping or working with resin.
You might also be able to find a class at your local craft or specialty bead store where you can learn in person.
9. Don't get discouraged
Like any other skill, making your own jewelry has a learning curve. The first wire loop you try to create is going to look like a hot mess. And that's ok! Because the second one will look better and by the tenth one you'll feel like a pro. Don't let one difficult or failed project ruin your enthusiasm. Just keep trying, keep practicing, and remember that all skills take time to develop.
10. Take risks!
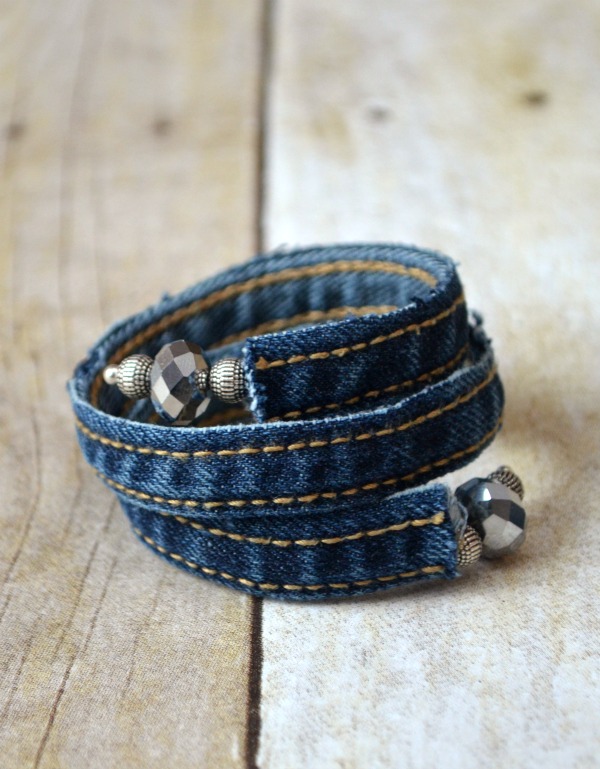
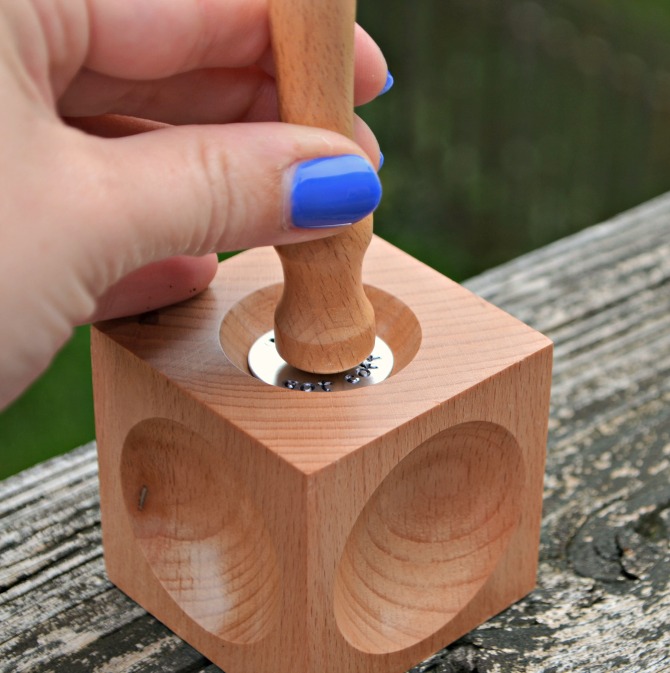
Don't be intimidated to try a particular skill because you think it looks or sounds difficult. I always love having the opportunity to let friends play around with my metal stamping tools and see just how easy it is to create their own personalized pieces. So many folks are intimidated by the idea, but with the right tools, they're amazed at what they can do!
Also, don't limit yourself to a certain style, color, or size of the jewelry. Play around with your supplies, try new things, and see how you like them!
Experiment with different materials and see what happens. Some of my favorite pieces are things I wasn't even sure I'd like when I started making them. The sky's the limit...reach for it!
Good luck as you embark on this fun new hobby. Once you start, you'll quickly see that it's totally addictive! Don't say I didn't warn ya! Be sure to submit your own jewelry creations right here on Bluprint too so we can see what you made!

Great tips for beginners for <a href='https://www.jewellery.pk/' target='_blank'>jewelry</a> making.
I know basic level in handmade jewellery now want to go ahead and do job
Thank you
thanks you
Thanks for sharing wonderful post. <a href="https://www.kitchencabinetideas.com" rel="nofollow ugc">Kitchen cabinets Dubai</a>
We are dedicated to giving you the very best content and resources of Jewellery with a focus on quality and real-world problem solutions. We are working to turn our passion into your dream design.
I want to make jewellery how to start
I m beginner in dis Jwellery Making World... It's my passion..... After going through dis article, nw all my doubts r clear....Many Many Thanks for dis Article.....Such a informative writing it is.... Thanks Again ✨✨✨✨✨
I think this will be a lot of fun
A beginner. Difficulty understanding sizes. Like sparkle. Live in small town.