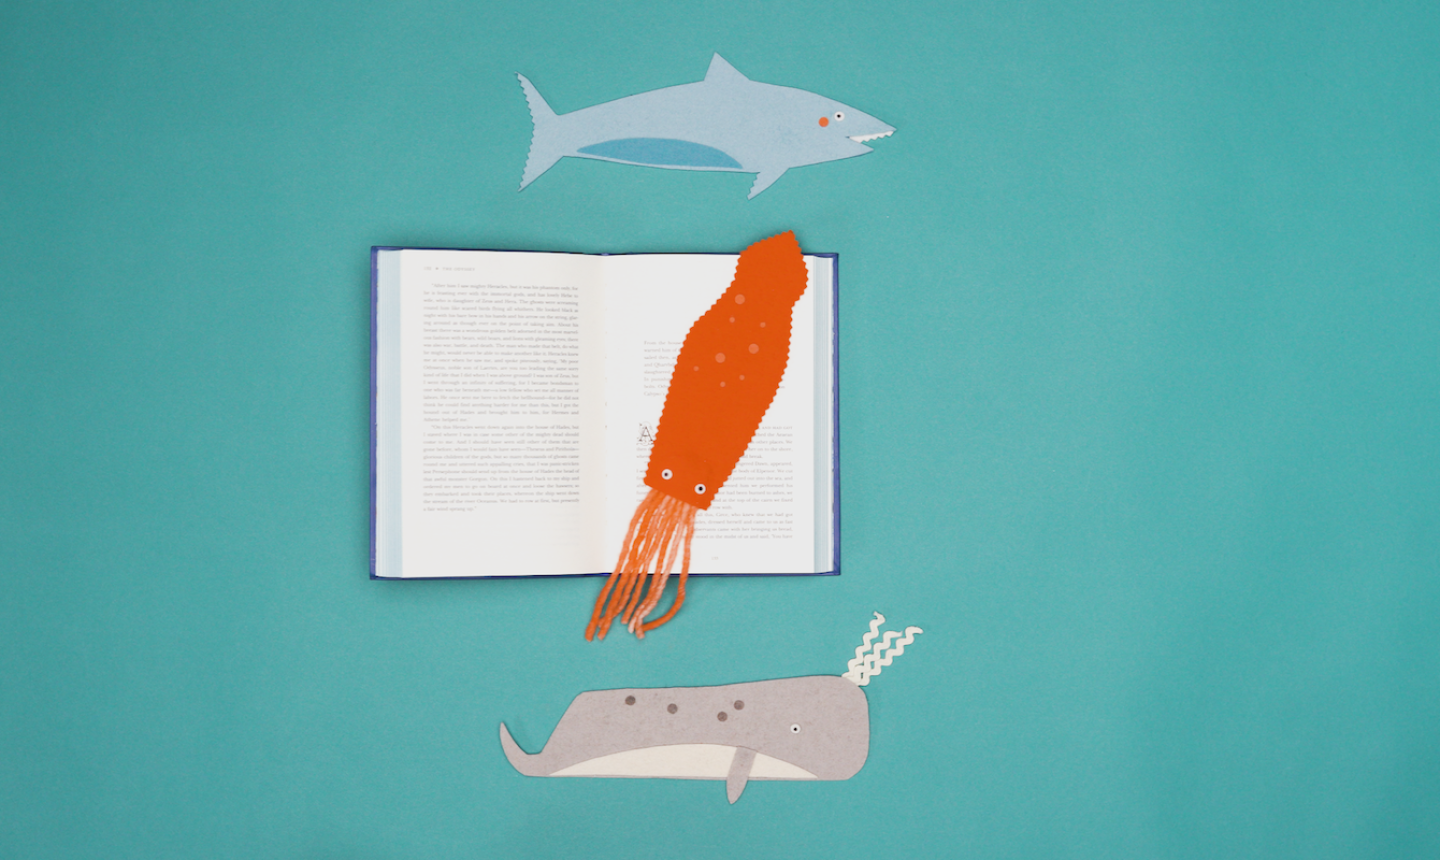
Just when you thought reading couldn’t get any more fun, these oceanic felt animals are here to swim right into your heart. The tutorial below dives into how to make a squid, but the same method can be used to make any animal you love.
Ocean Animal Bookmark
Level: Easy
What You Need
Instructions
1. Prep the Felt

Peel one side of your iron-on adhesive and place onto the wrong side of your felt. Peel the second side (facing you), but don’t iron yet.
Cut a few strands of yarn, all roughly the same length. Place them together on one side (right or left) of the felt. One end should be resting on the felt and the rest should dangle below.
2. Iron
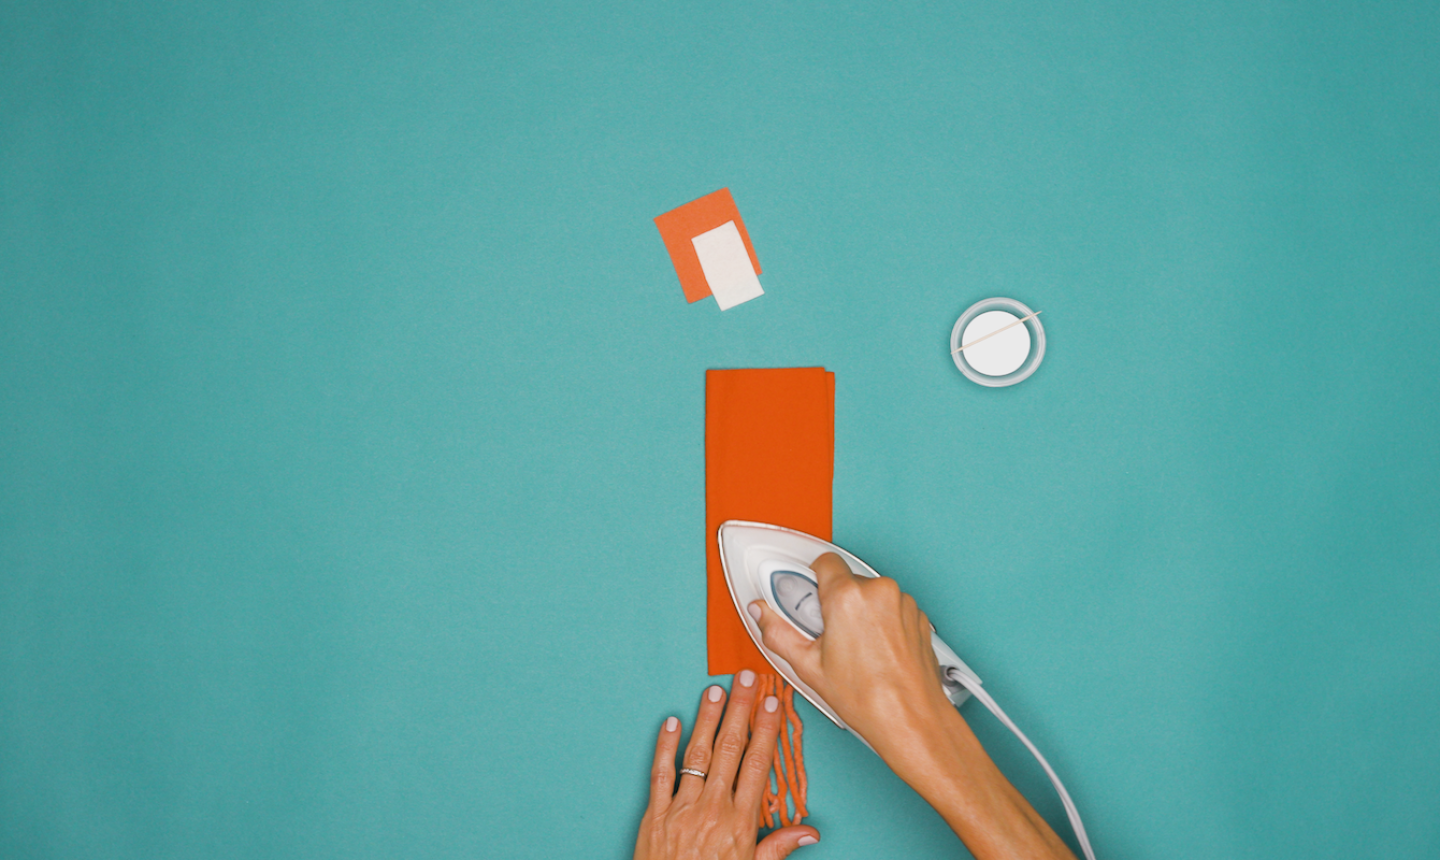 Fold the felt in half vertically and iron. The adhesive will fuse permanently, securing the yarn to the bookmark.
3. Make a Template
On a scrap piece of cardboard, draw the shape of your bookmark. (In this case, a squid.)Pro Tip: Make sure the template will fit within your felt rectangle. If it helps, you can trace the felt onto the cardboard and draw your animal outline within it.
4. Trace the Template
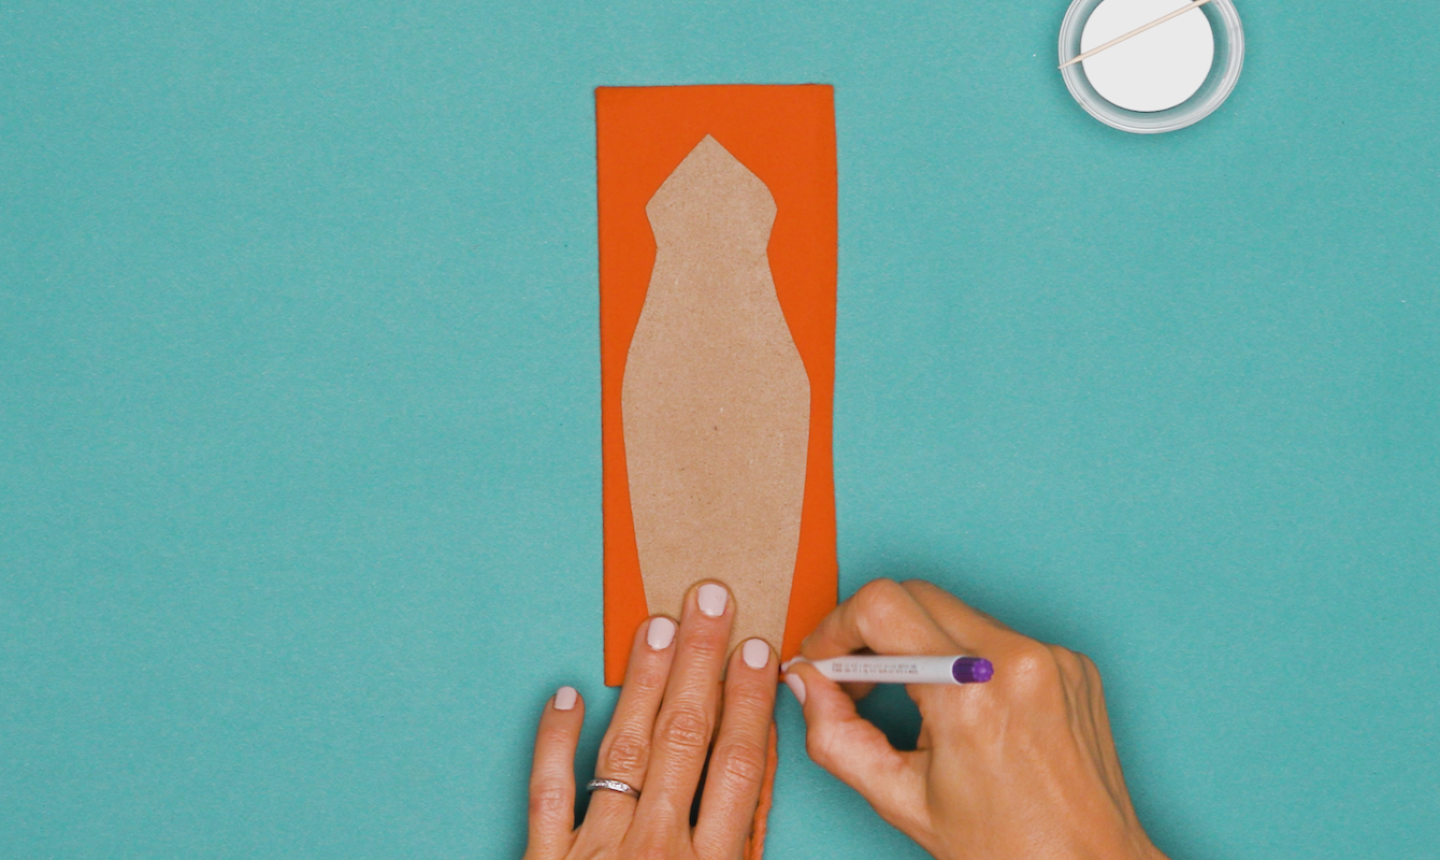 Cut out the cardboard template. Place on your felt and trace around it with a fabric marker.
5. Cut Your Shape
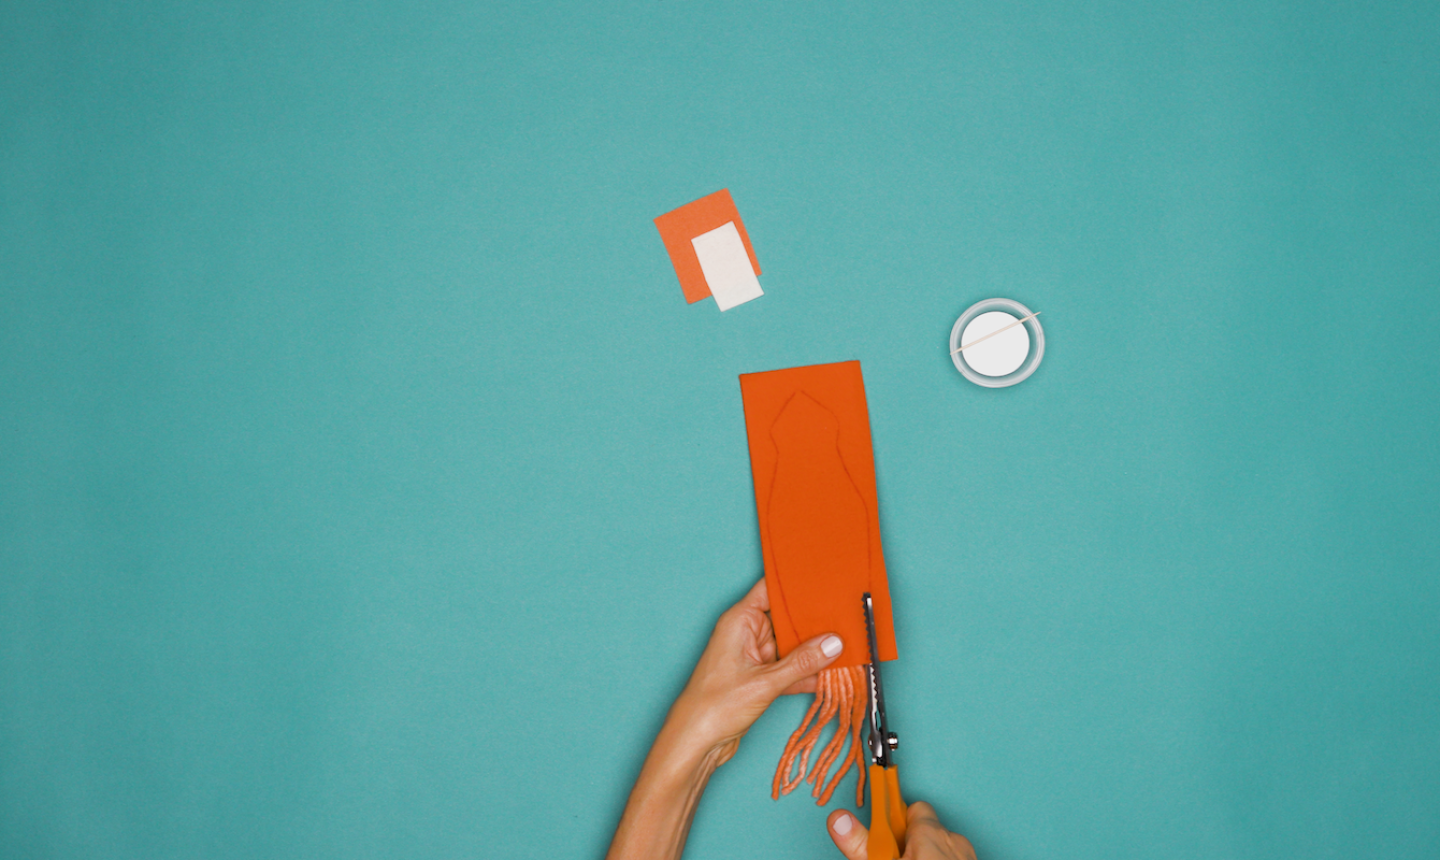 Use pinking shears (or regular scissors) to cut along the traced line.
6. Decorate
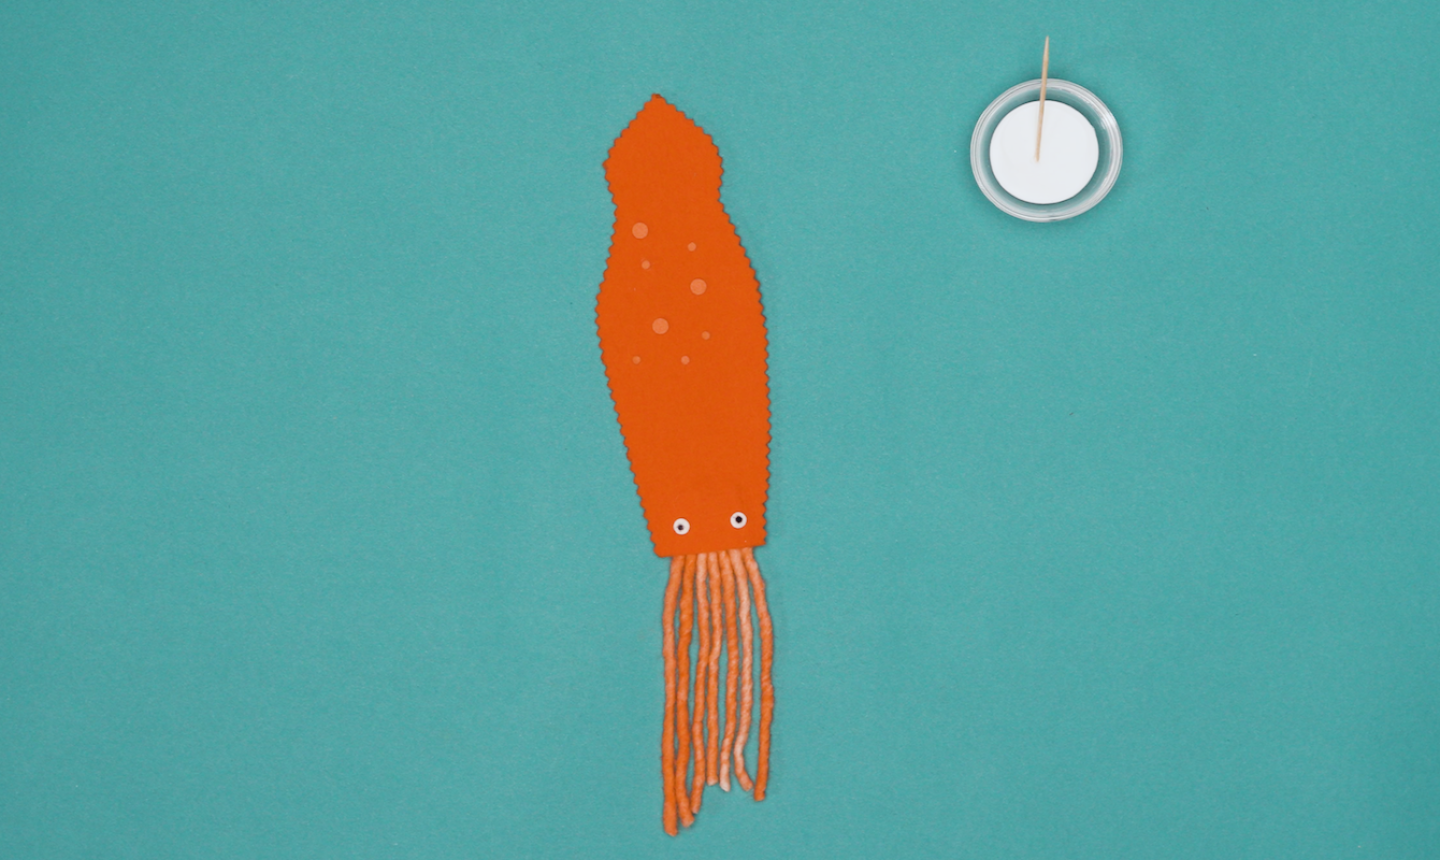
Use different-sized hole punches to make circles in your second color of felt. Dab a tiny bit of craft glue to these with a toothpick, then place them all over the animal’s body.
Punch two small holes in your white scrap felt for the eyes. Dab craft glue on and attach to the bottom of the bookmark, near the tentacles. Use a black marker to add pupils.
Now you have the cutest little sea creature for your next book!
Share tips, start a discussion or ask other students a question. If you have a question for an expert, please click here.
Already a member? Sign in
No Responses to “Dive Into Your Next Book With Felt Sea Creature Bookmarks”