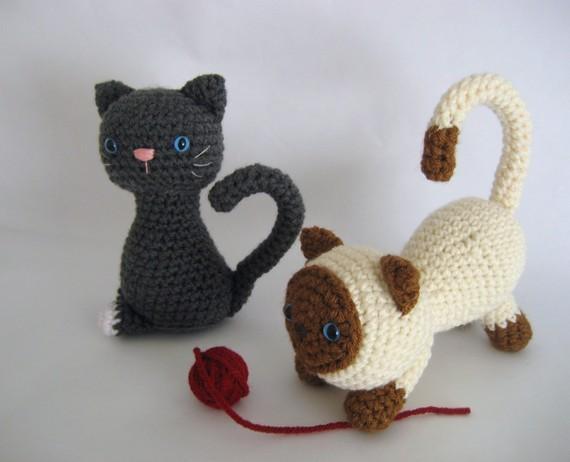
Working with amigurumi can be daunting, but it doesn’t have to be. With a few simple hacks, you’ll be well on your way to creating adorable amigurumi more easily and more professionally.
1. Keep a tight tension and use a small hook.
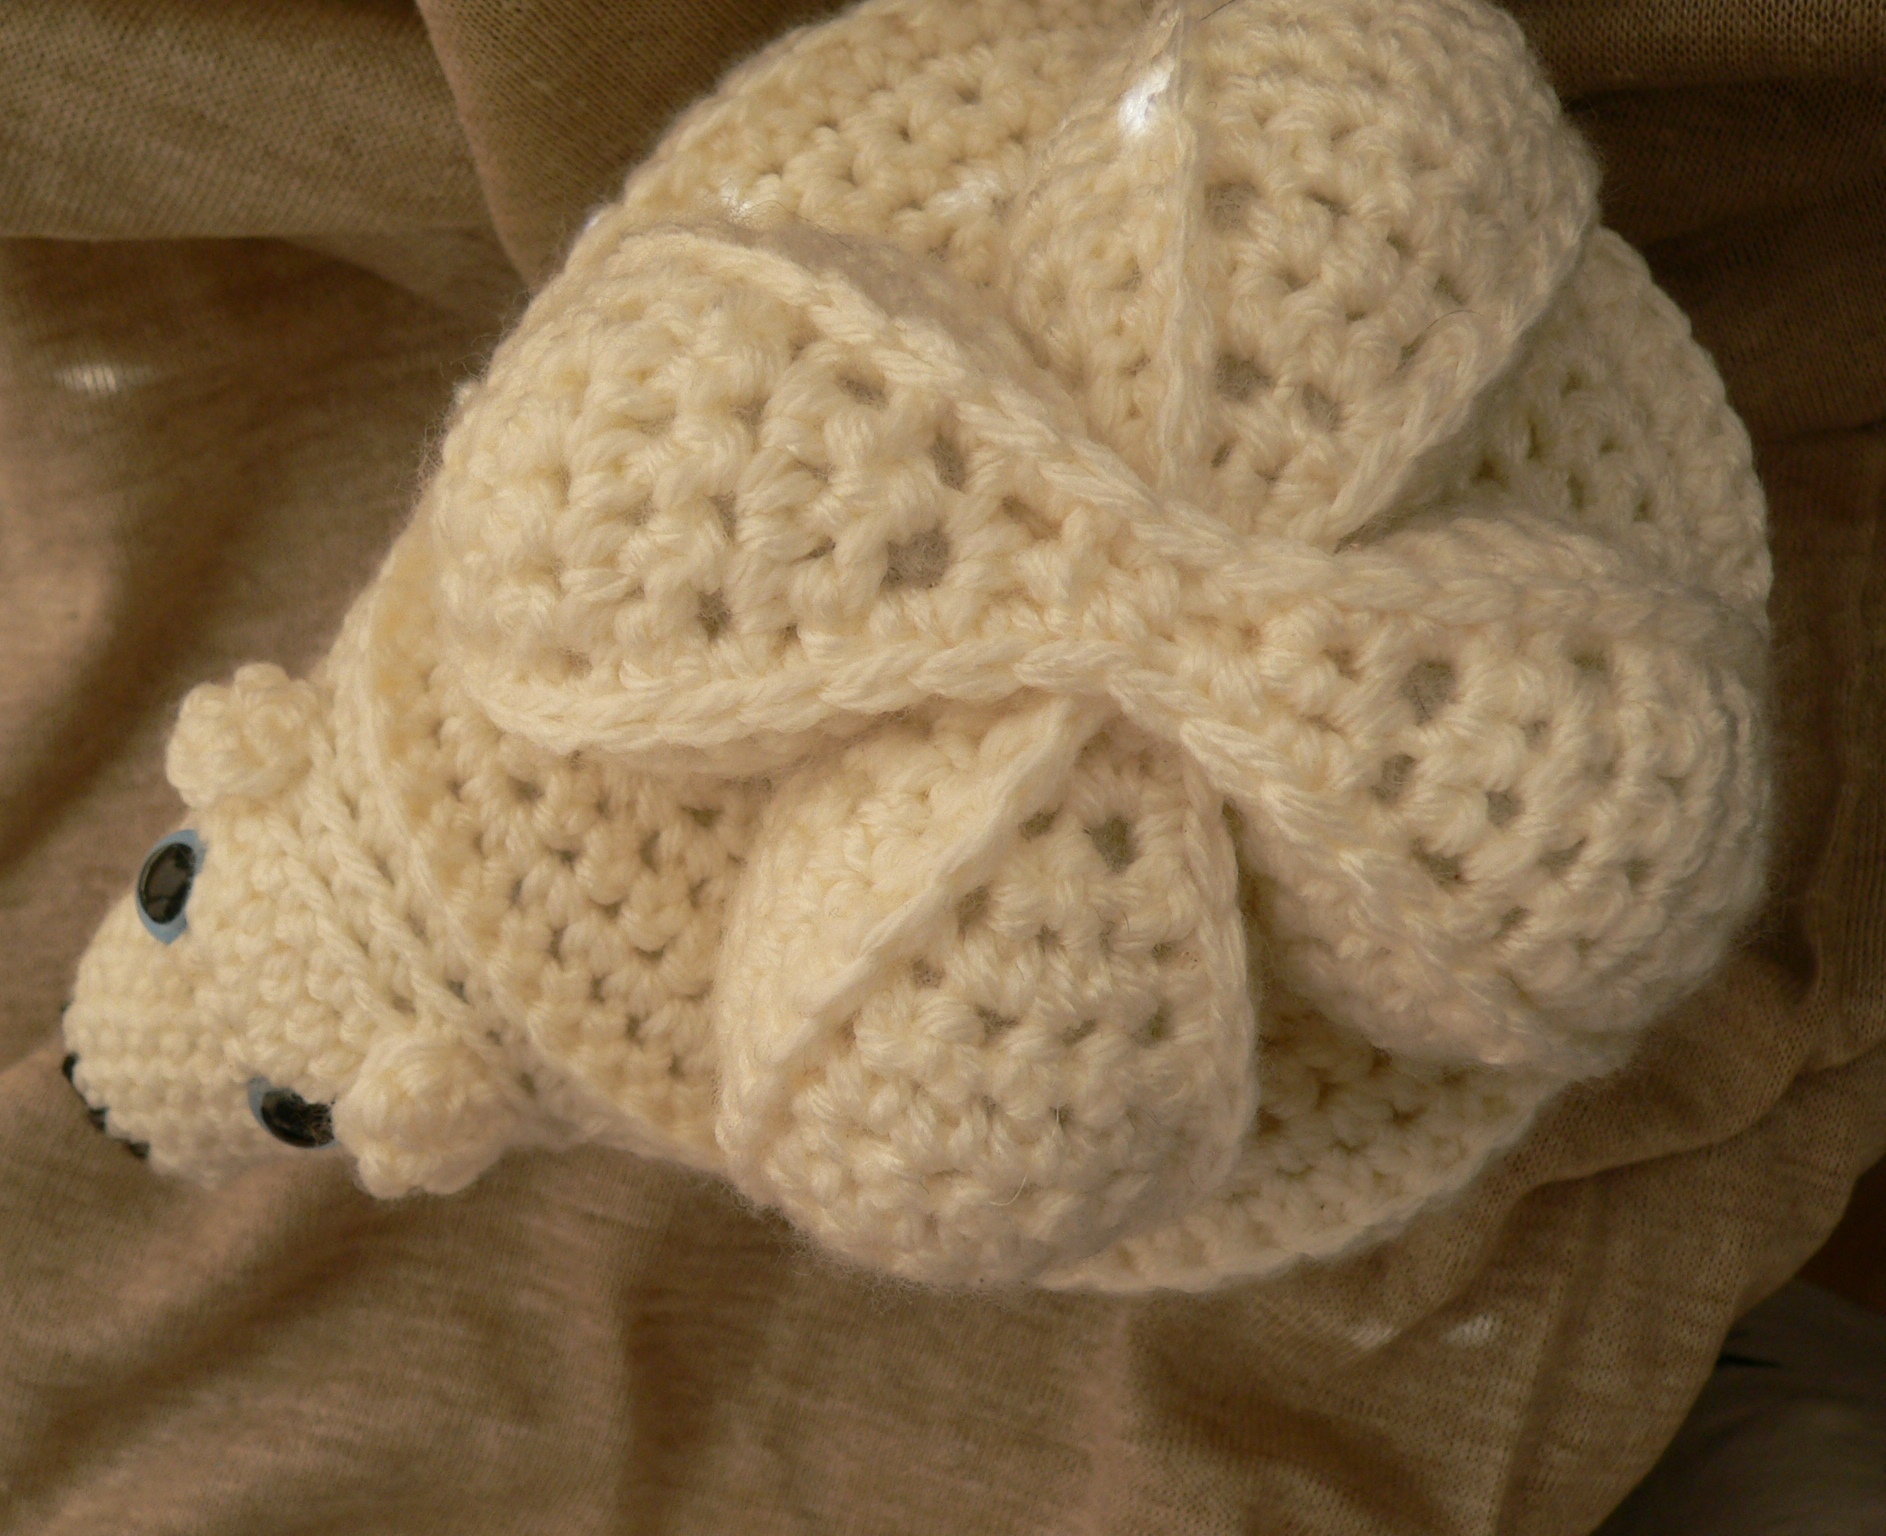
Photos via Lookatwhatimade
Don’t you just hate it when you can see stuffing poking through your work? This is usually a sign that your hook is too big or your tension is too loose, as in the photo above. Gauge is not important when making amigurumi. What is important is that your work is as tight as you can comfortably make it. If you see holes in your work, either try working with a tighter tension or go down a hook size so that your stitches are nice and tight.
2. Use invisible decreases.
Even after you have adjusted your hook size and tension, you might still find that you get holes when decreasing. To avoid this, you can use the invisible decrease, which pulls the stitches together without stretching the like a standard decrease does. June Gilbank from PlanetJune has a brilliant tutorial for the invisible decrease.
3. Stitch markers and running stitch markers are your friend.
Stitch markers are vital when making amigurumi, because you are most often working in a spiral without any way to know where a round starts and ends. Marking the first stitch of every round with a stitch marker will help you double check that your stitch count is correct at the end of a round. You’ll need to move the stitch marker at the start of every round.
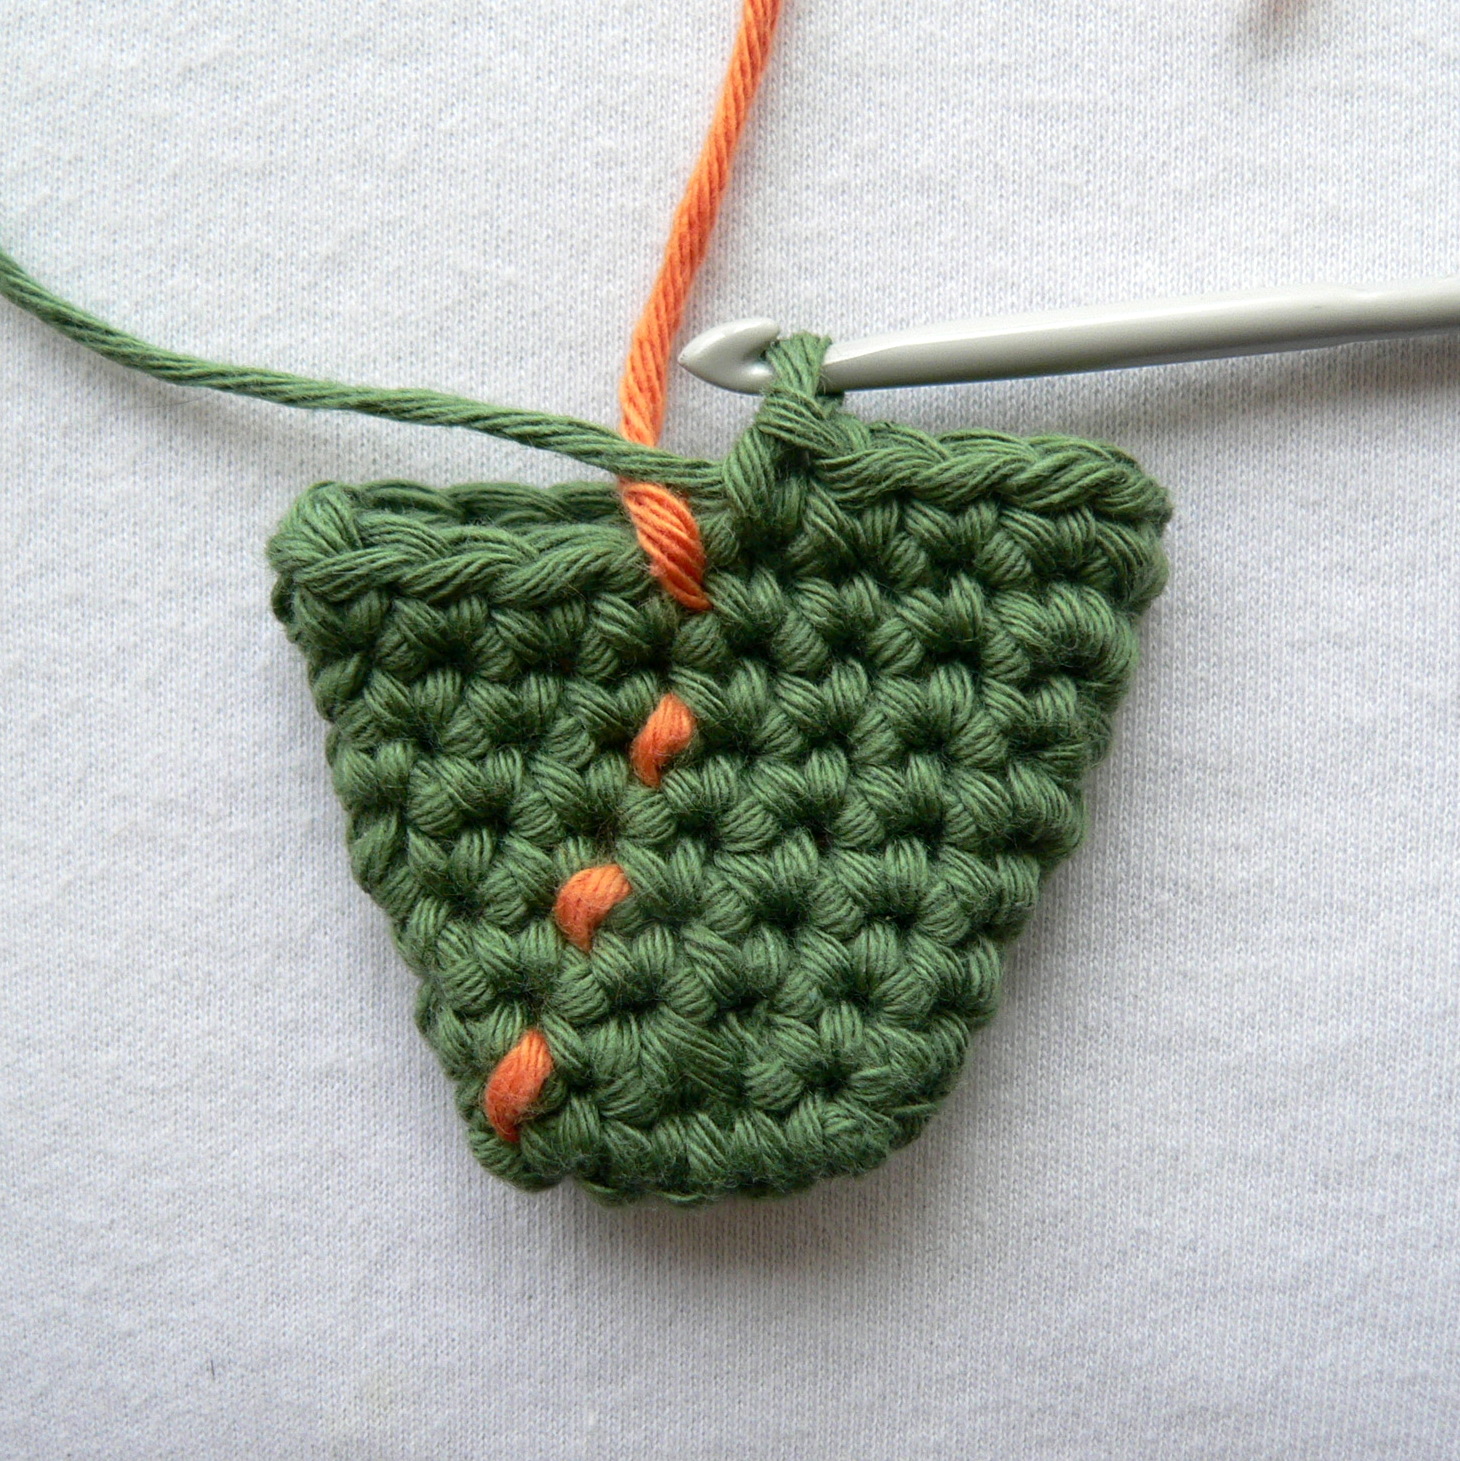
If you don’t have fancy stitch markers, a handy hack is to use a piece of scrap yarn as a running stitch marker, flicking it backward and forward over your work before making the first stitch of each round. This technique is easier than using stitch markers, and it creates a dotted line up the side of your work, which acts as a visual cue that each round started or stopped in the correct place. It is especially handy if you need to frog more than one round. When you are done, you can simply pull the scrap yarn out.
4. Make stuffing bombs.
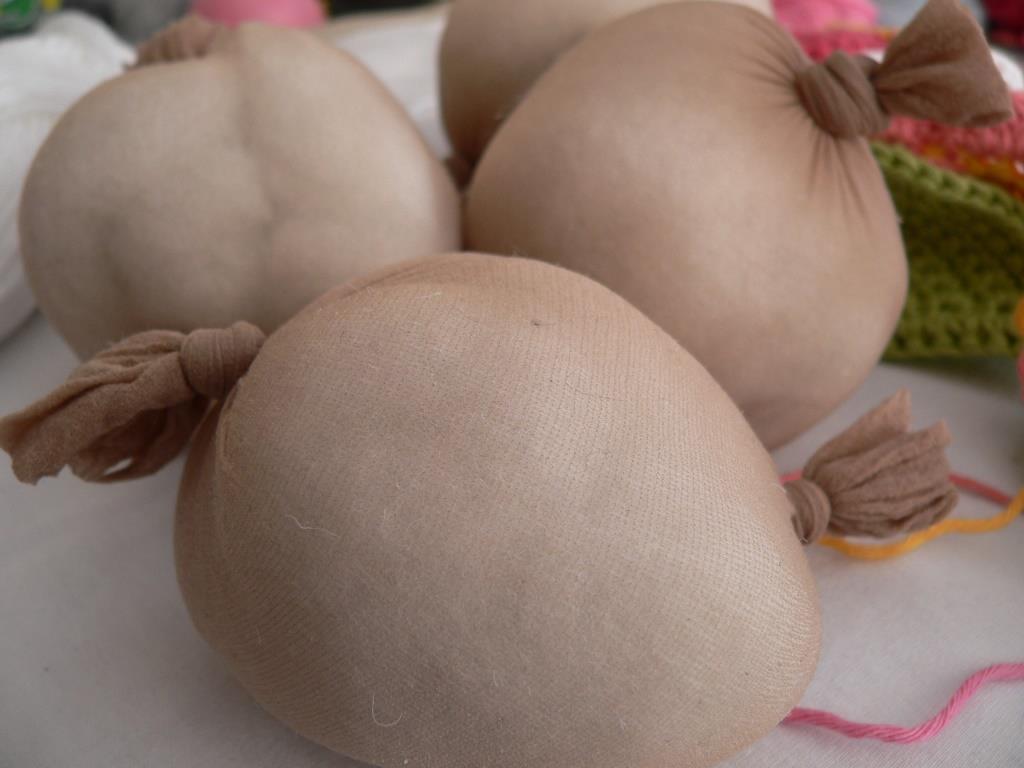 Occasionally you will still be able to see the stuffing through your stitches, even if your tension is perfect and you’re using the invisible decrease. A good example of this is when you are using black yarn to create your amigurumi. In these situations, stuffing bombs are the perfect solution. To create a stuffing bomb, simply cut a piece of pantyhose (preferably the same color as the yarn you are using or close to it), and knot it at one end. Stuff it with the amount of stuffing needed for your project and then knot the other end. Place this stuffing bomb into your amigurumi while you still have a large enough opening, and then continue to crochet around it to complete your ami.
Remember that you should never under-stuff an amigurumi as it will squish over time!
5. Add stuffing until the last second.
Getting stuffing into very small parts like arms and legs can be tough. Occasionally you’ll realize just before closing a part that you need to stuff it a little bit more. In these instances, use small bits of stuffing and push them into the part with the back of your crochet hook. If you are using an ergonomic crochet hook with a thick handle, use a cotton swab instead.
Thank you for the tips.
Thank you for the tip on the pantyhose! Just hate it when the polyfil shows through.
Really enjoy this article.