We can all (presumably) agree that pockets are a necessity for modern life! Have you ever dreamt about adding pockets to dresses in your closet? Well, we have good news for you: It’s easy! Follow the instructions below for a step-by-step guide for adding side-seam pockets to any dress.
For an invisible pocket in the seam of a dress or skirt, there is one caveat — the garment needs to have some seam allowance to attach the pocket pieces to. The minimum seam allowance is about 3/8″. If you have a very small seam allowance (less than 3/8″) but can afford to reduce the circumference of the garment a little bit (½” to 1″ in total), then you can add a pocket to whatever seam allowance is available.
How to add pockets to a dress
Step 1: Pick the pocket pattern and size
Many sewing patterns have an existing pocket piece, so feel free to use one from your collection if you desire. Otherwise, using garments with pockets you love, trace the pocket shape and size onto a piece of pattern paper. Later you’ll use that pattern to cut your fabric.
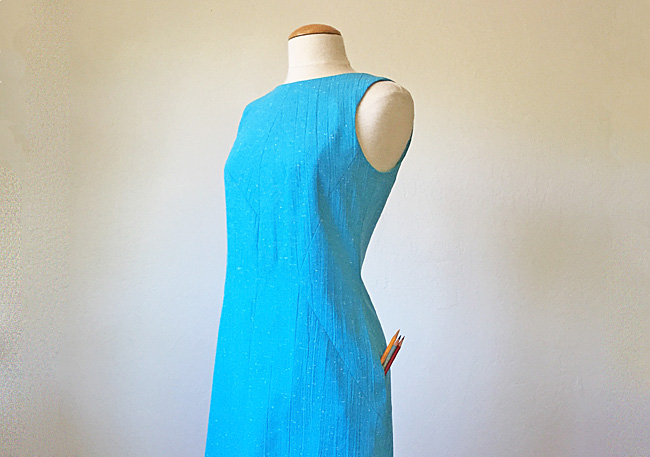
Step 2: Determine your pocket placement
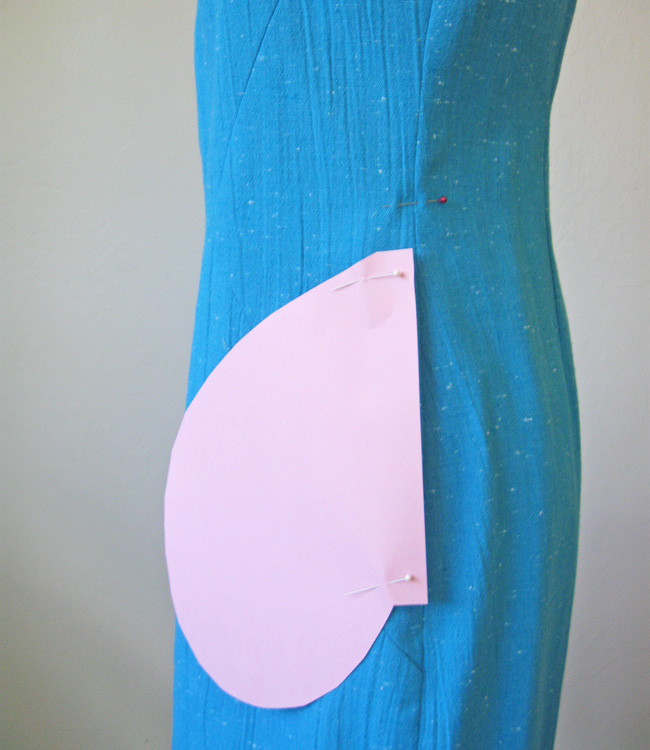
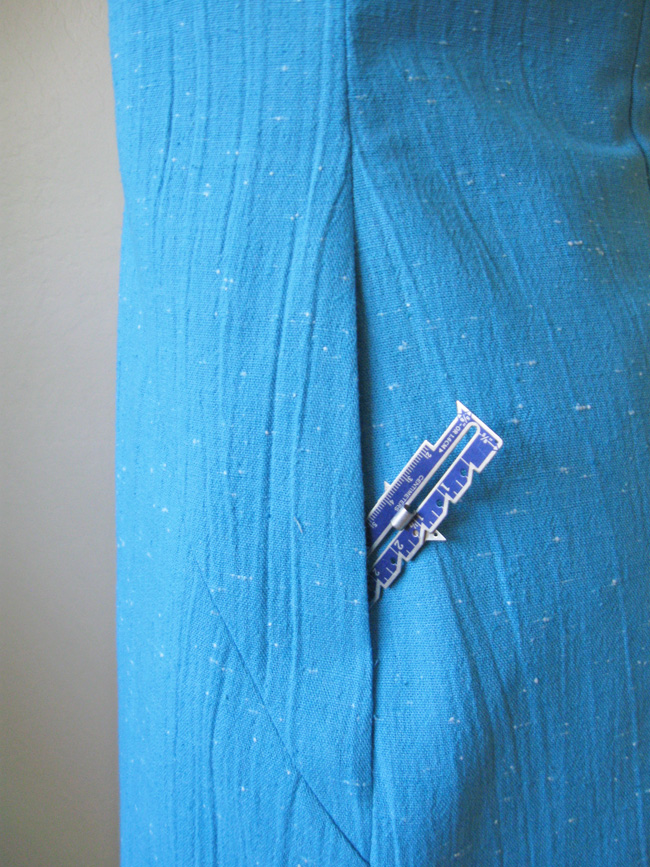
The pocket opening should be right over your hipbones. Try on your garment, place your hands where you would normally reach for a pocket and mark the spot with pins. I like the top of the pocket bag to extend up to the waist. I always attach my pockets to the side seam securely so they don’t pull too much with weight of items in the pocket.
Step 3: Mark your pocket placement
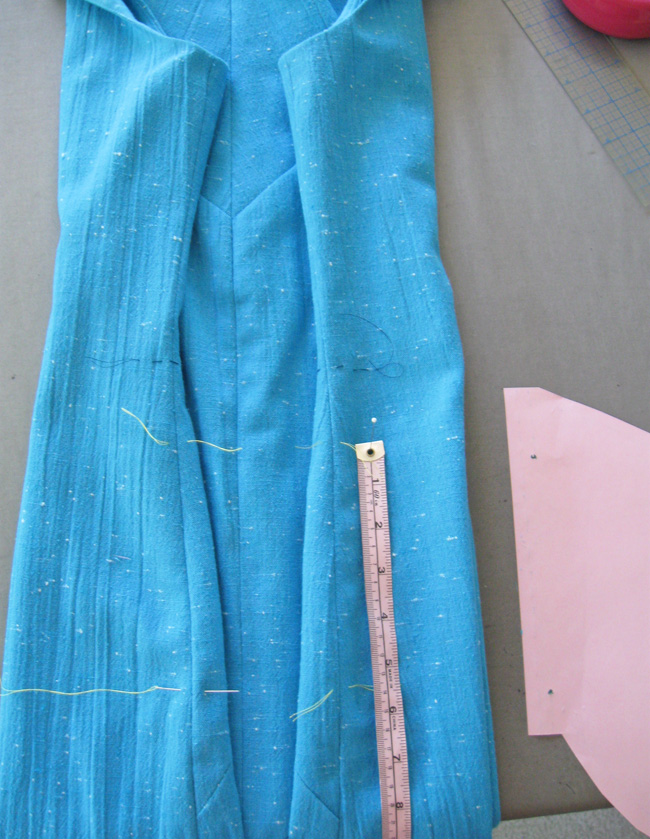
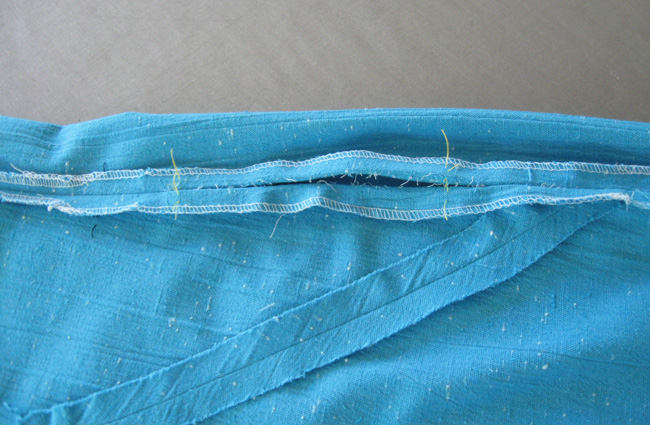
Once you’ve determined where you want your pockets, mark both sides seams with tailor’s tacks. To make sure the pockets are symmetrical on both sides, place the garment on the table and fold the side seams toward the center, matching the armhole. Run a thread tract at the top of where the pocket opening will be, like pictured above, and ensure the placements on both sides of the dress are even.
For the actual pocket opening I find that about 5″ is a good length but you can adjust for your preference. Just be sure that it is large enough so that you can comfortably put your hand in without straining the stitching!
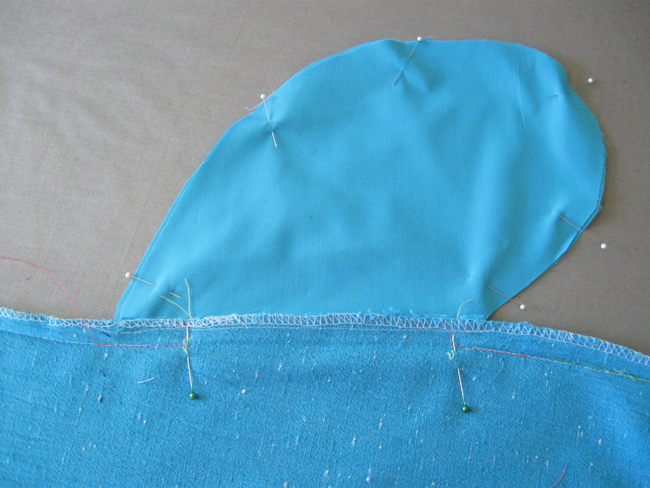
Step 4: Cut out the pockets
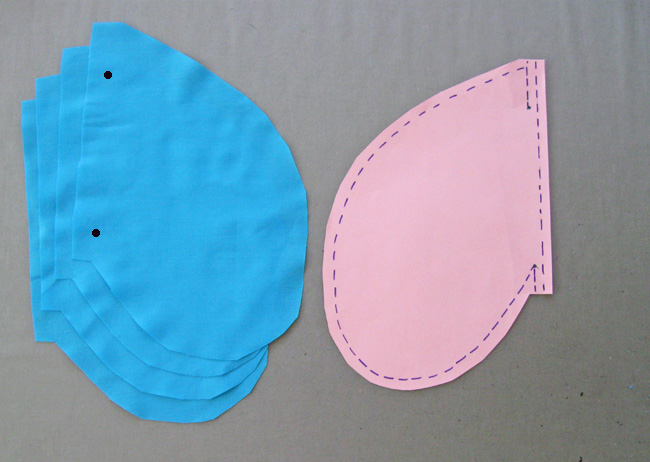
Using your pattern of choice, cut out four of the pocket patterns. (Try to use fabric that matches your garment in case the pockets decide to peek out here and there).
On the pink pattern piece above, I marked the stitching lines. Note that the pocket edge is stitched to the seam allowance at a very small width, approximately ¼”. Then the garment seam is sewn back up, starting and stopping at the dots to create the actual pocket opening. Mark the dots on the pocket pieces as shown.
Step 5: Open the side seam of your garment
Once the pocket opening is marked, unpick the side seam stitching between the pocket opening marks. You can go a bit past the marks on either end because you will be stitching it up securely in a later step.
Step 6: Stitch the pocket pieces on the side seam
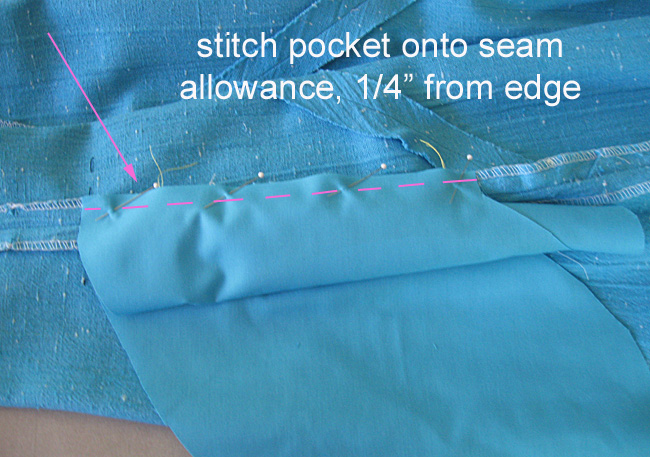
Stitch the pocket pieces onto the side seam, using a small seam allowance, around ¼”.

Match the dots on the pocket piece to the marks for the opening in the side seam.
Step 7: Press the pocket seams
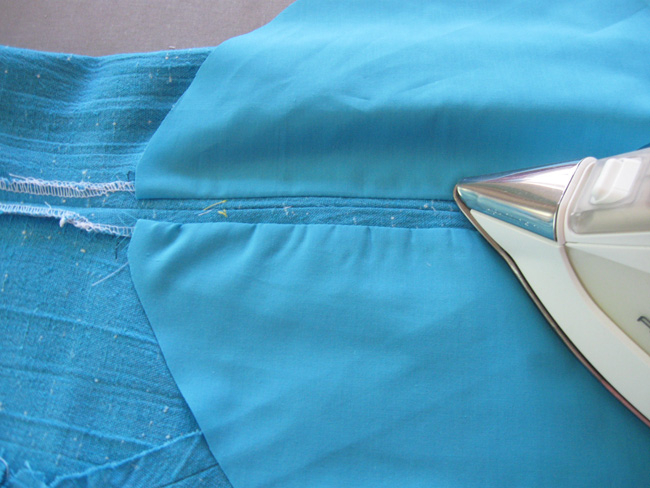
Press the seams flat with the pocket open as pictured above.
Step 8: Sew the side seam
Sew up the side seam again and sew around the actual pocket bag to enclose. You can do this in two steps: First stitch up the side seam, stopping at the pocket opening marks shown here with pins. Be sure to reinforce by backstitching (the bottom of a pocket opening is an area of strain where stitching can later break). Then stitch around the pocket bag to enclose the pocket.
Step 9: Press the side seam
Once you’re finished sewing, press the garment seam with the pocket toward the front of the garment. Try the dress on and rejoice in the convenience of your new pockets!
What types of dresses are you going to add pockets to?!

I want to put pockets in my wedding dress…well the dress I am getting married in but I will miss have pockets for that many hours. This sounds fairly simply after reading your instructions. My dress is lined with and inner skirt layer. Do I need to cut into both layers for my pockets?
Thank you .I haven’t done a pocket in years so finding directions was great.
Thank you! I have been looking for a long time how to do this. My school skirt does not have pockets, but I really need them. This is the first site where I found something similar to what I imagine.
Pajamas!
Thank you so much for this fabulous article. It drives me insane that so many manufacturers, and even dress patterns, have dropped this very important feature on most dresses nowadays. I will be putting this to use on preexisting dresses, as well as future hand sewn items. Excellent tutorial as well.
I am very impressed indeed. Clear and simple instructions with pictures. I am ready to start putting in pockets!
I want to be able to do my shirt. 👕. Is it possible for that. By just following the same guidelines or instructions?
Yes! But they will look like sweatpant pockets instead of nice slack pockets or jeans pockets. If you wanted to add pockets to slacks in a fancy way you could do it the way they do pockets on blazers but vertical. I've seen a tutorial for blazer pockets on youtube.
How do you keep the cut edges of the pockets from fraying, without leaving a thick lumpy hem? I want to try this on my wife's new stretch rayon sundress.
Excellent