How to Paint a Floral Still Life in Watercolor
Stuart Loughridge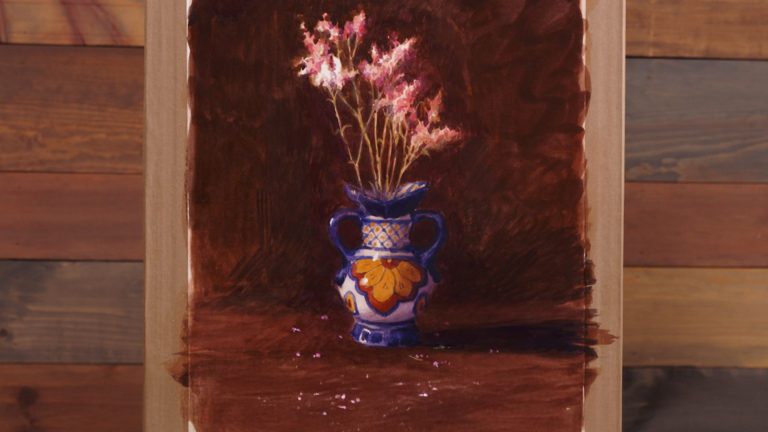
Class Preview
0:56
- In-depth Instruction; over 254 mins
- On-demand video access anytime
- Bonus downloadable PDF resources
- Access to class Q&A
Introduction And Supplies
11:58
Ever wanted to capture the beauty of a still life direct from nature—no photos, no filters, just pure observation and creativity? In this engaging class, artist Stuart Loughridge shows you how to do exactly that using a fun, splashy watercolor technique on a specialty paper that feels like painting on an ice rink. You’ll discover how the right surface can change the way paint flows, lifts, and glides—opening the door to playful washes and subtle corrections that cold press or hot press papers just can’t match.
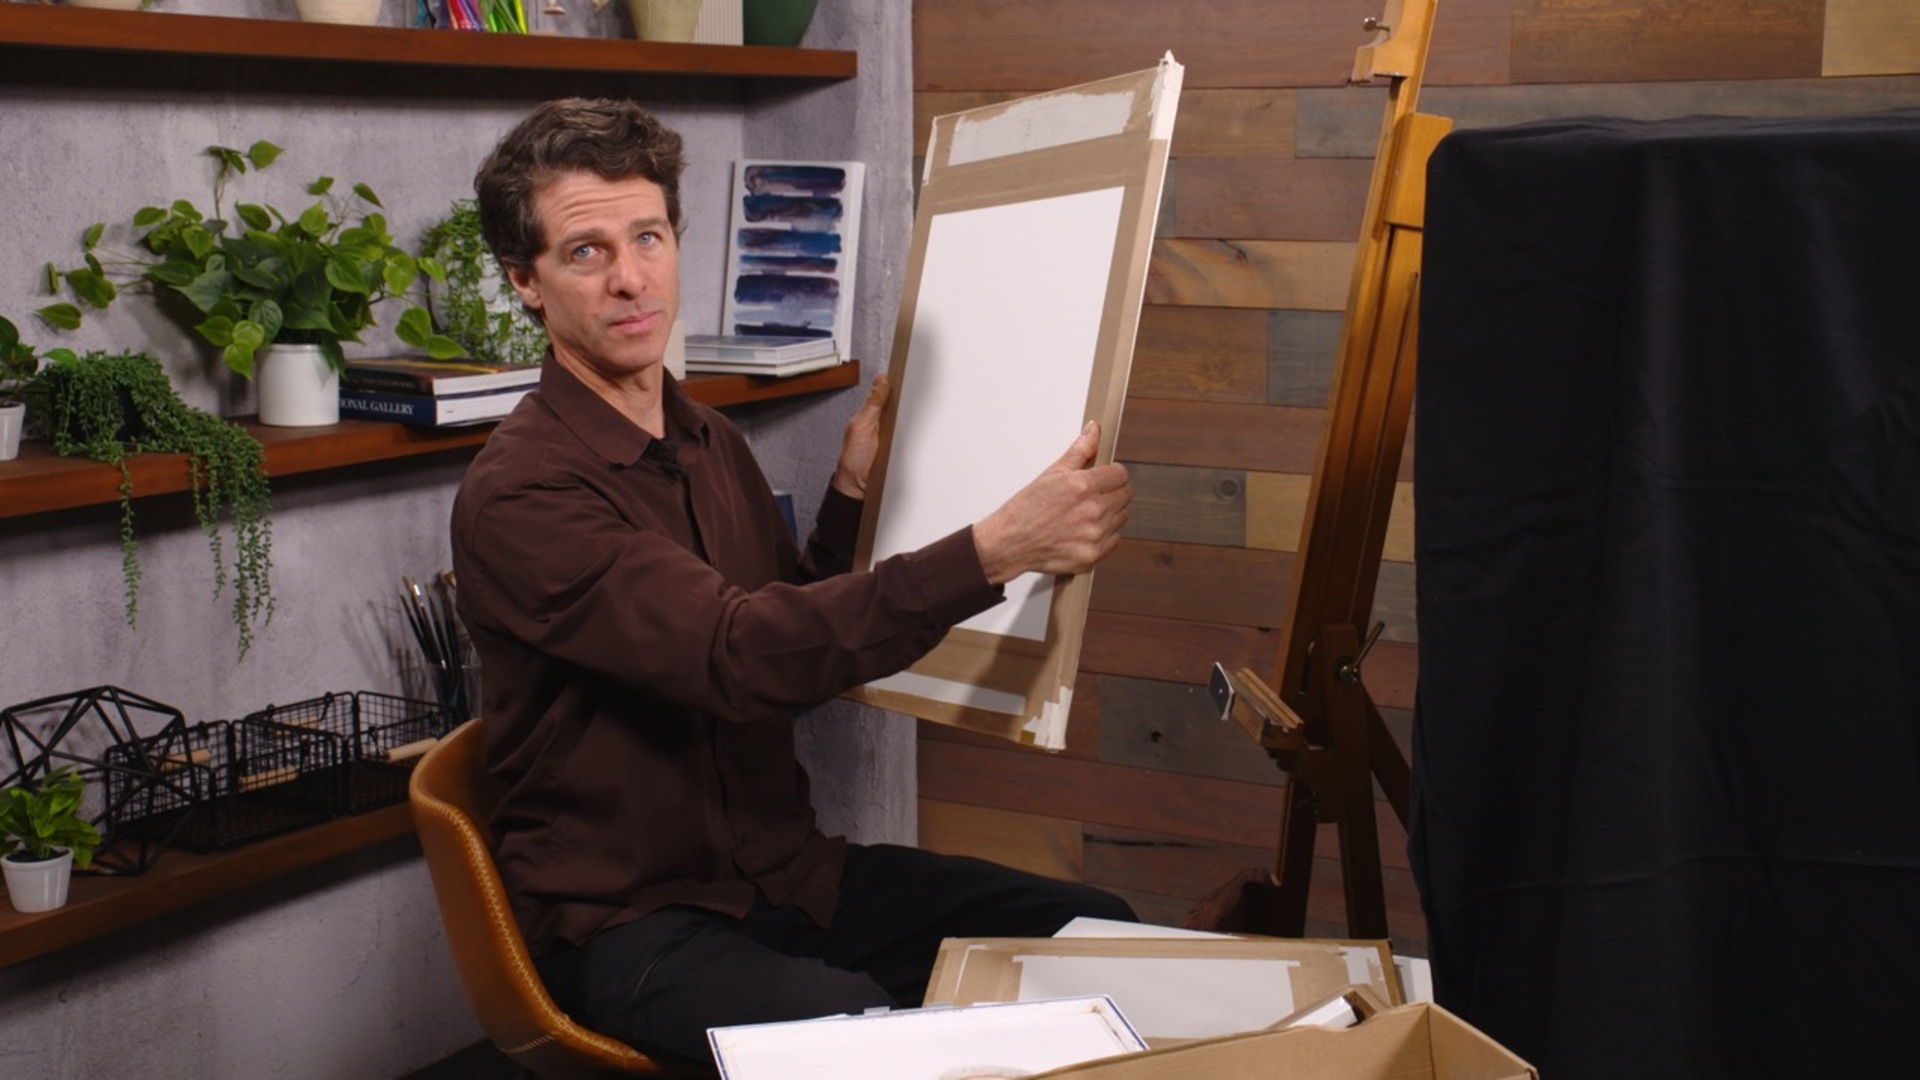
Stuart kicks things off with a deep dive into his setup, from an inexpensive but genius drywall board for mounting your paper, to tips on both dry-mounting with painter’s tape and wet-mounting with water-activated watercolor tape for a perfectly flat surface. You’ll learn how to position your work upright for accurate drawing, then transition to a flat surface for painting without unwanted drips.
He’ll also share practical studio hacks—like converting a thrifted stool into a multi-level workspace, reusing Viva paper towels as eco-friendly “shop rags,” and keeping tools organized for speed and efficiency. Once you’re prepped, Stuart walks you through the essential drawing stage with a 2HB pencil, clever symmetry-checking tricks using Mylar, and a streamlined watercolor palette perfect for quick yet vibrant results.
With mop brushes for lush washes, smaller mops for detail, and a few creative extras, you’ll be ready to dive in. Whether you’re brand new to still life or looking to loosen up your watercolor technique, this class will leave you inspired to work from life and see the ordinary in extraordinary ways.
Explanation Of Paper
10:50
Ever wish you could hit the “undo” button while painting in watercolor? In this lesson, Stuart Loughridge shows you exactly how to get as close as possible—thanks to one very special paper: Strathmore Bristol Plate 500 3-ply. This heavyweight, ultra-smooth surface is a game-changer for artists who want freedom to make adjustments, lift paint, and push their work in new directions without fear.
From the moment Stuart introduces this paper, you’ll see why he loves it for still life painting. It’s strong, stiff, and surprisingly forgiving—perfect for energetic mark-making and experimental washes. Unlike traditional cold press or hot press papers, this one can take a lot of scrubbing, erasing, and lifting, all while holding together beautifully. That means if you make a compositional change, lift out a highlight, or adjust a color passage, the surface won’t give up on you.
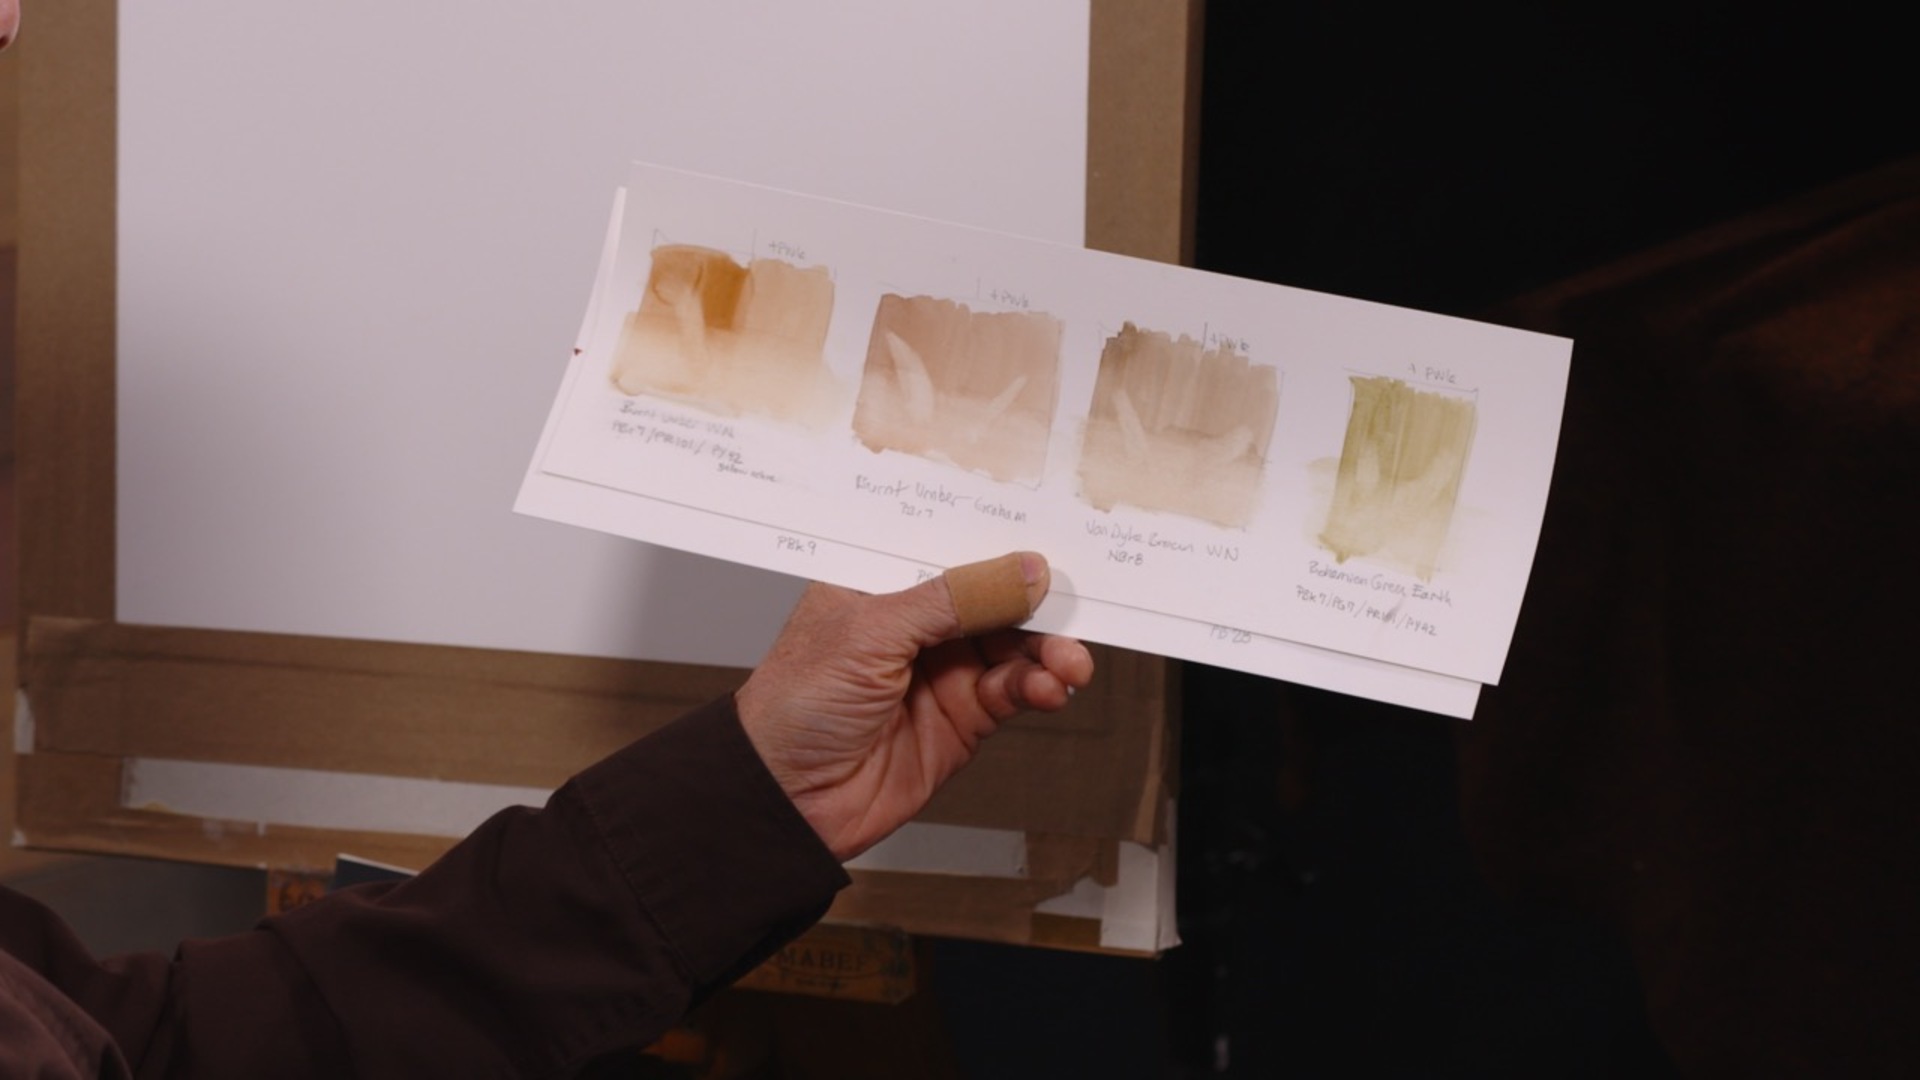
You’ll learn why pigment choice matters just as much as paper choice, especially when you want to wipe out paint effectively. Stuart walks you through real-world comparisons, showing how a pure single-pigment Burnt Umber (like Graham’s PB7) lifts cleanly, while multi-pigment mixes or high-staining colors cling stubbornly to the page. He even shares a clever trick—mixing in a little Titanium White gouache—to keep pigments sitting closer to the surface for easier highlights later.
Whether you’re a careful planner or a bold improviser, this lesson gives you a roadmap for working confidently with a wipe-friendly base layer. You’ll understand not only what to use, but why it works—setting you up for more successful, flexible watercolor paintings.
If you’ve ever been frustrated by stubborn stains or felt locked into early decisions, this video is your invitation to loosen up, experiment, and paint without hesitation. With the right paper, you might just find yourself saying, “Why didn’t I try this sooner?”
Still Life Set Up
8:41
Ever wonder why some still life paintings seem to glow while others fall flat? In this video, Stuart Loughridge takes you behind the scenes to show how your setup—and especially your lighting—can make or break the final piece.
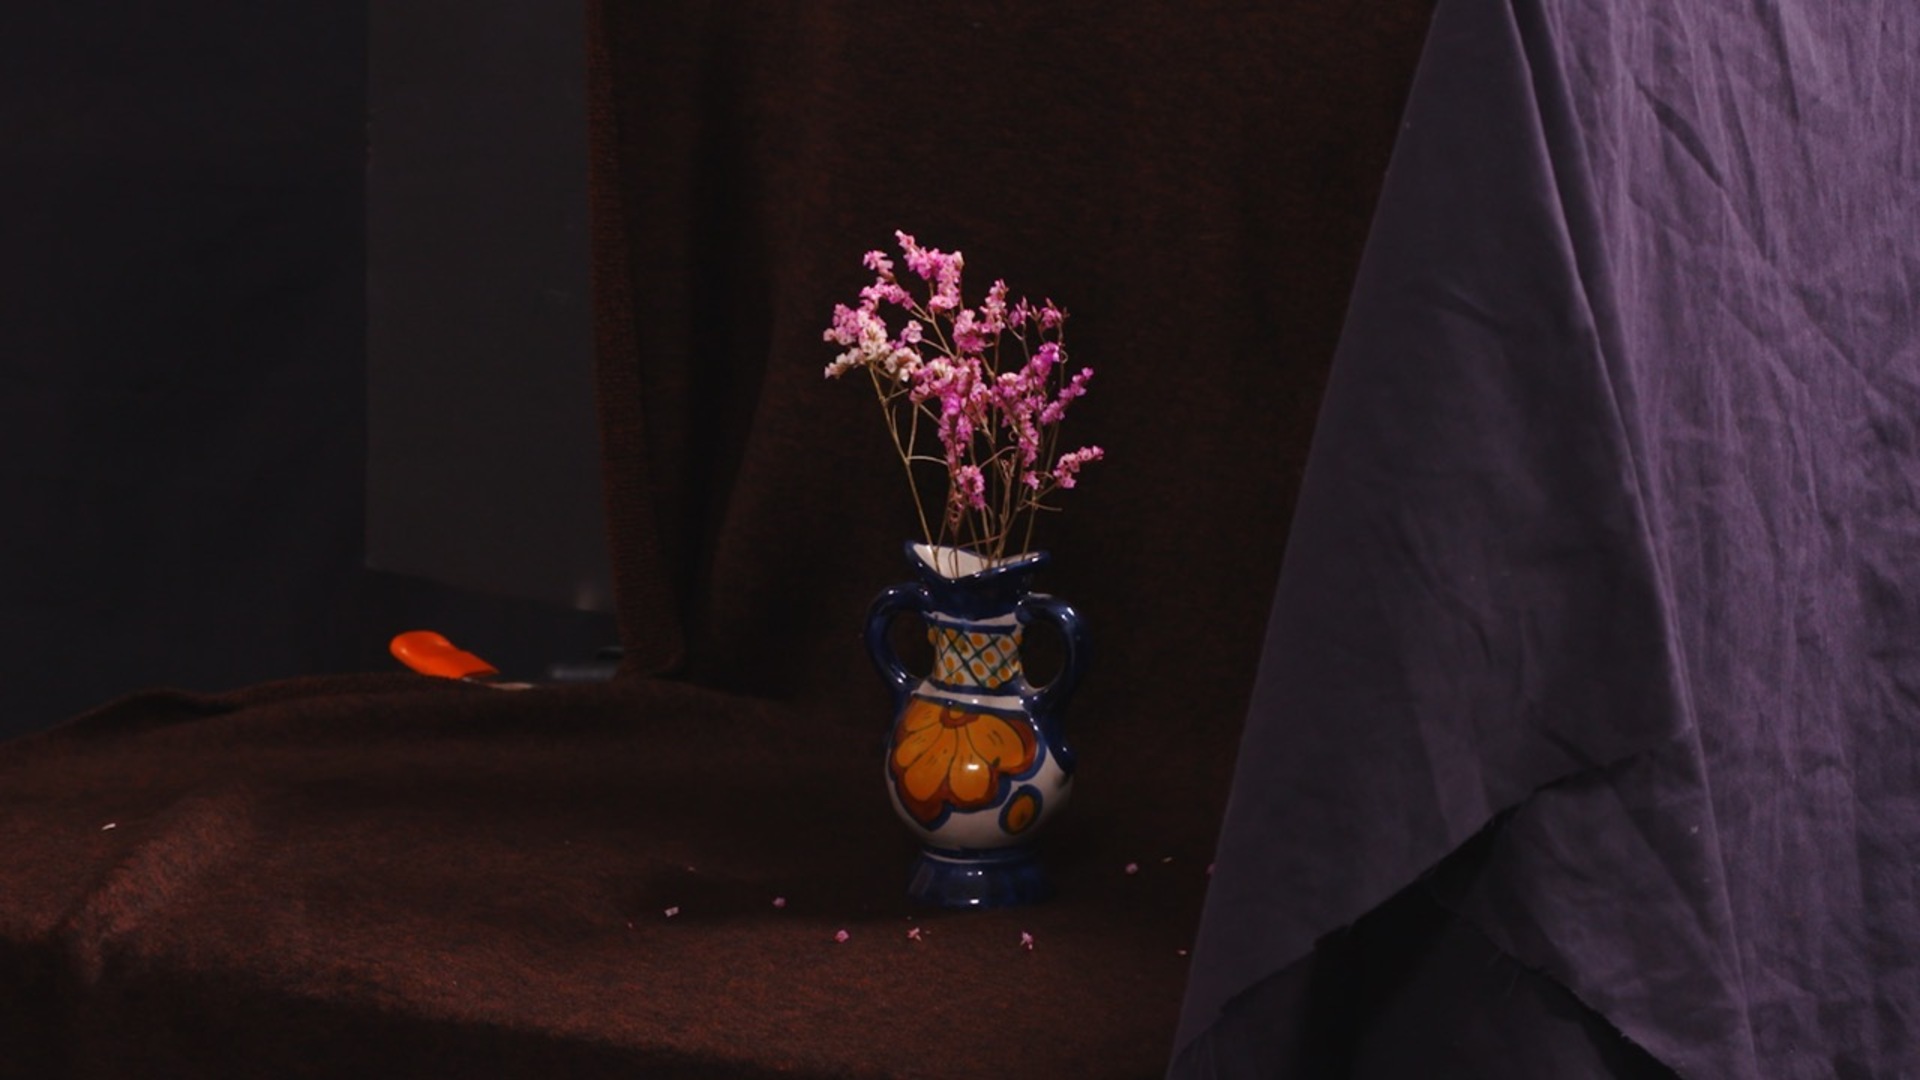
Stuart’s approach begins with one of the most important (yet often overlooked) principles of still life painting: a single, isolating light source. He explains why minimizing competing light sources creates stronger shadows, richer contrasts, and a more dramatic, unified composition. Whether you’re working in a professional studio or at your kitchen table, his advice will help you gain control over your lighting environment.
You’ll get a close-up look at Stuart’s own setup, built on a sculpture stand and modified with cleverly placed boards, cardboard walls, and clips. By enclosing the space with dark fabric and blocking reflected light—even behind him—Stuart ensures his subject remains lit only where he wants it. He shares practical alternatives for artists with different spaces or budgets, from using stacks of books for elevation to swapping in reflective surfaces for brighter atmospheres.
Positioning is another key focus. Stuart discusses how viewing angle affects what you see—like catching a glimpse of the vase’s rim versus missing it entirely—and why keeping your chair and easel locked in place preserves your perspective. He even offers small but powerful tips, like marking your chair position with tape, using a hat to block stray light, and maintaining the perfect distance between your easel and subject to avoid accidents.
By the end of this lesson, you’ll have the know-how to create your own stage-lit still life “theater,” giving you maximum control over light, shadow, and mood. It’s a masterclass in setting the scene so that when you start painting, your composition is already set up for success.
Drawing the Still Life
41:11
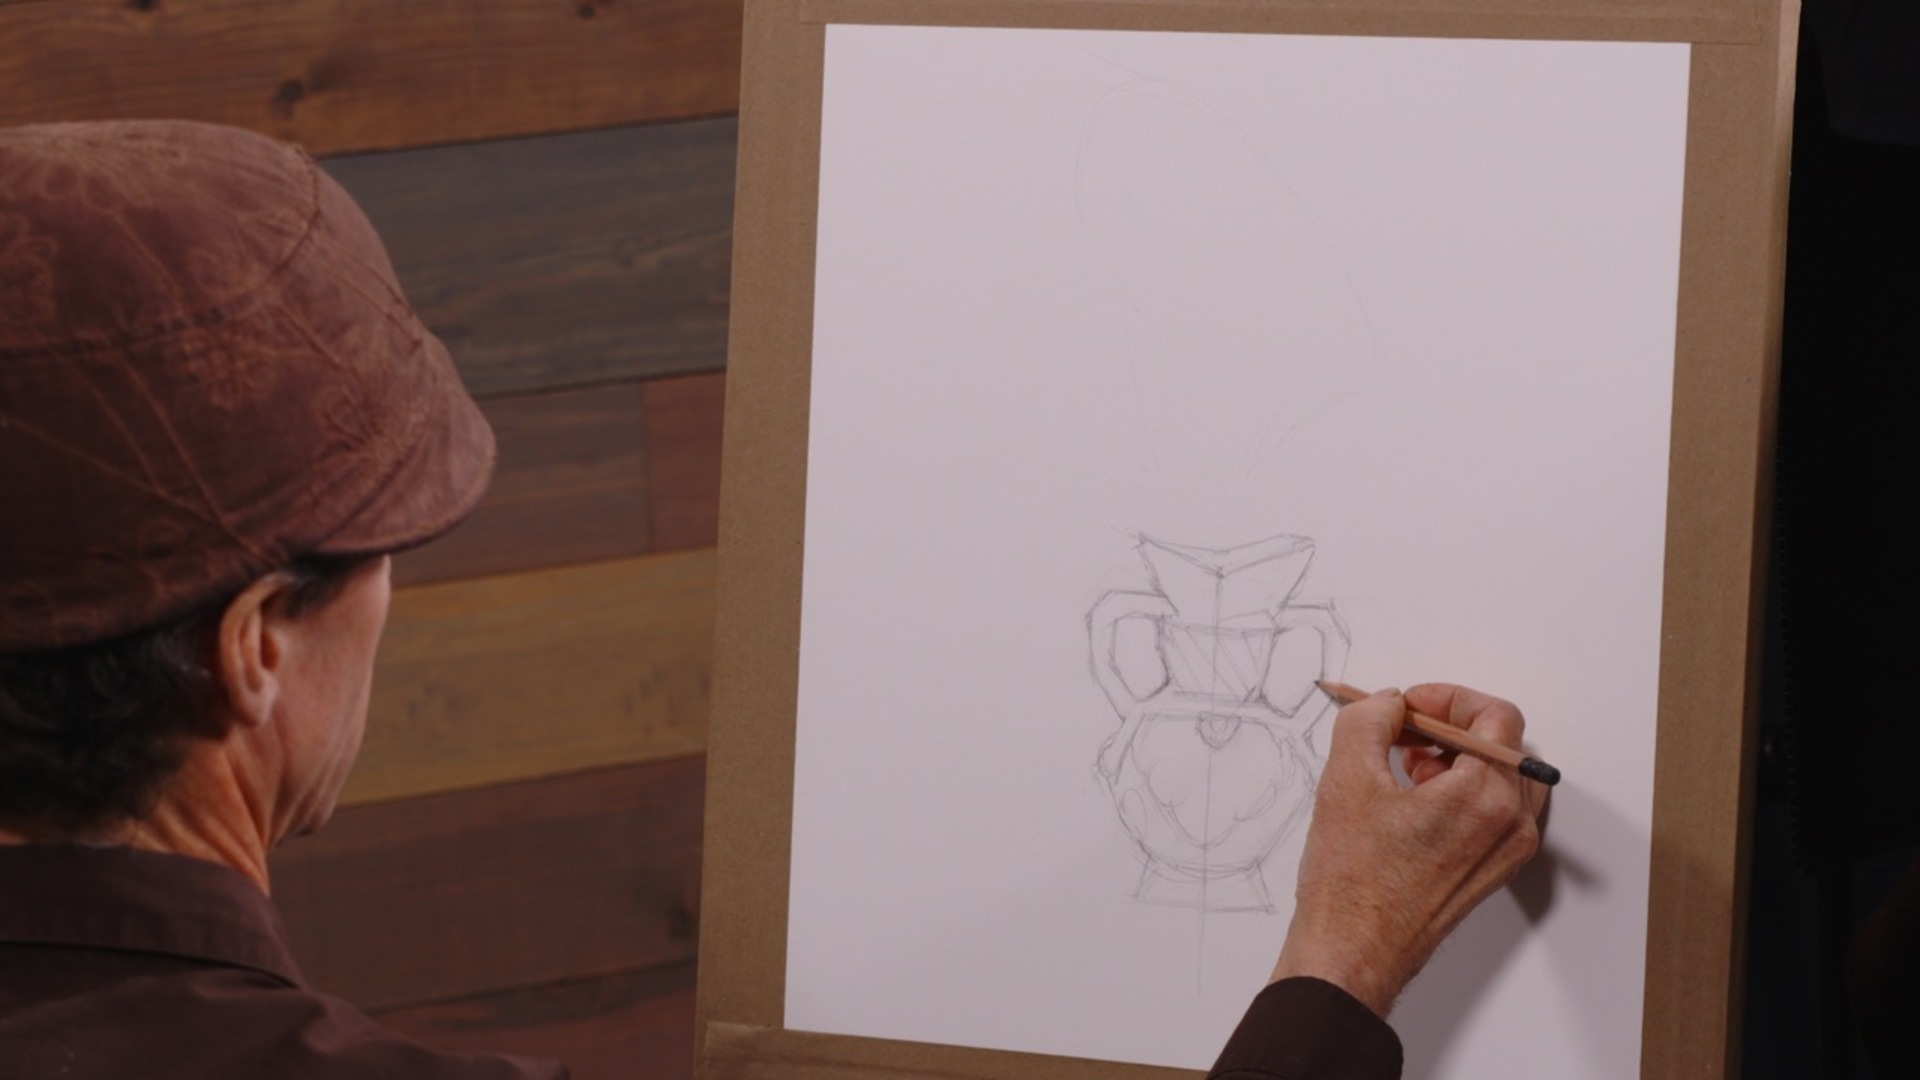
How do you go from a blank page to a confident, well-proportioned still life drawing? In this lesson, Stuart Loughridge walks you through the early, exploratory stages of laying in a vase and floral arrangement—showing exactly how to balance looseness with accuracy.
Instead of sight-size measuring, Stuart uses a comparative approach, establishing proportions and relationships through observation and light comparative measurements. He begins with loose, circular strokes, holding the pencil further back to encourage broad, sweeping lines and keep the drawing flexible. Nothing is “set in stone” early on—this stage is all about searching, adjusting, and refining.
You’ll see how Stuart sets his initial height and width, places a centerline, and works symmetrically from side to side. He explains when to use circles, when to introduce angles, and why you should delay committing to curves until you have “evidence” from supporting lines and shapes. Along the way, he shares practical corrections—like lowering the vase for better breathing room—and strategies for building a reliable “scaffolding” before adding subtle characteristics and decorative details.
Symmetry is a recurring theme but so is knowing when to break it for artistic interest. Stuart covers how to make proportional adjustments without losing your foundation, and how to incorporate comparative measurements to check your accuracy. He also demonstrates mapping key highlights, thinking in terms of negative space, and preparing the drawing for the painting stage without over-refining it.
Throughout, his emphasis is on staying relaxed, keeping your marks light, and allowing for happy accidents—so the painting stage retains energy and freshness. By the end of this session, you’ll understand not just what to draw first, but how to think like an artist as you develop your still life from broad shapes to refined structure, ready for paint.
Painting 1st Round
1:19:47
Ready to bring your still life to life with paint? In this lively session, Stuart moves from the careful planning of the drawing stage into the expressive world of watercolor painting—showing how to keep your work fresh, luminous, and full of energy.
He begins with a quick symmetry check using a transparent overlay and marker, a clever trick for spotting proportion issues before committing to paint. A few final pencil adjustments ensure the drawing is solid, and then it’s time to start building the painting from the ground up.
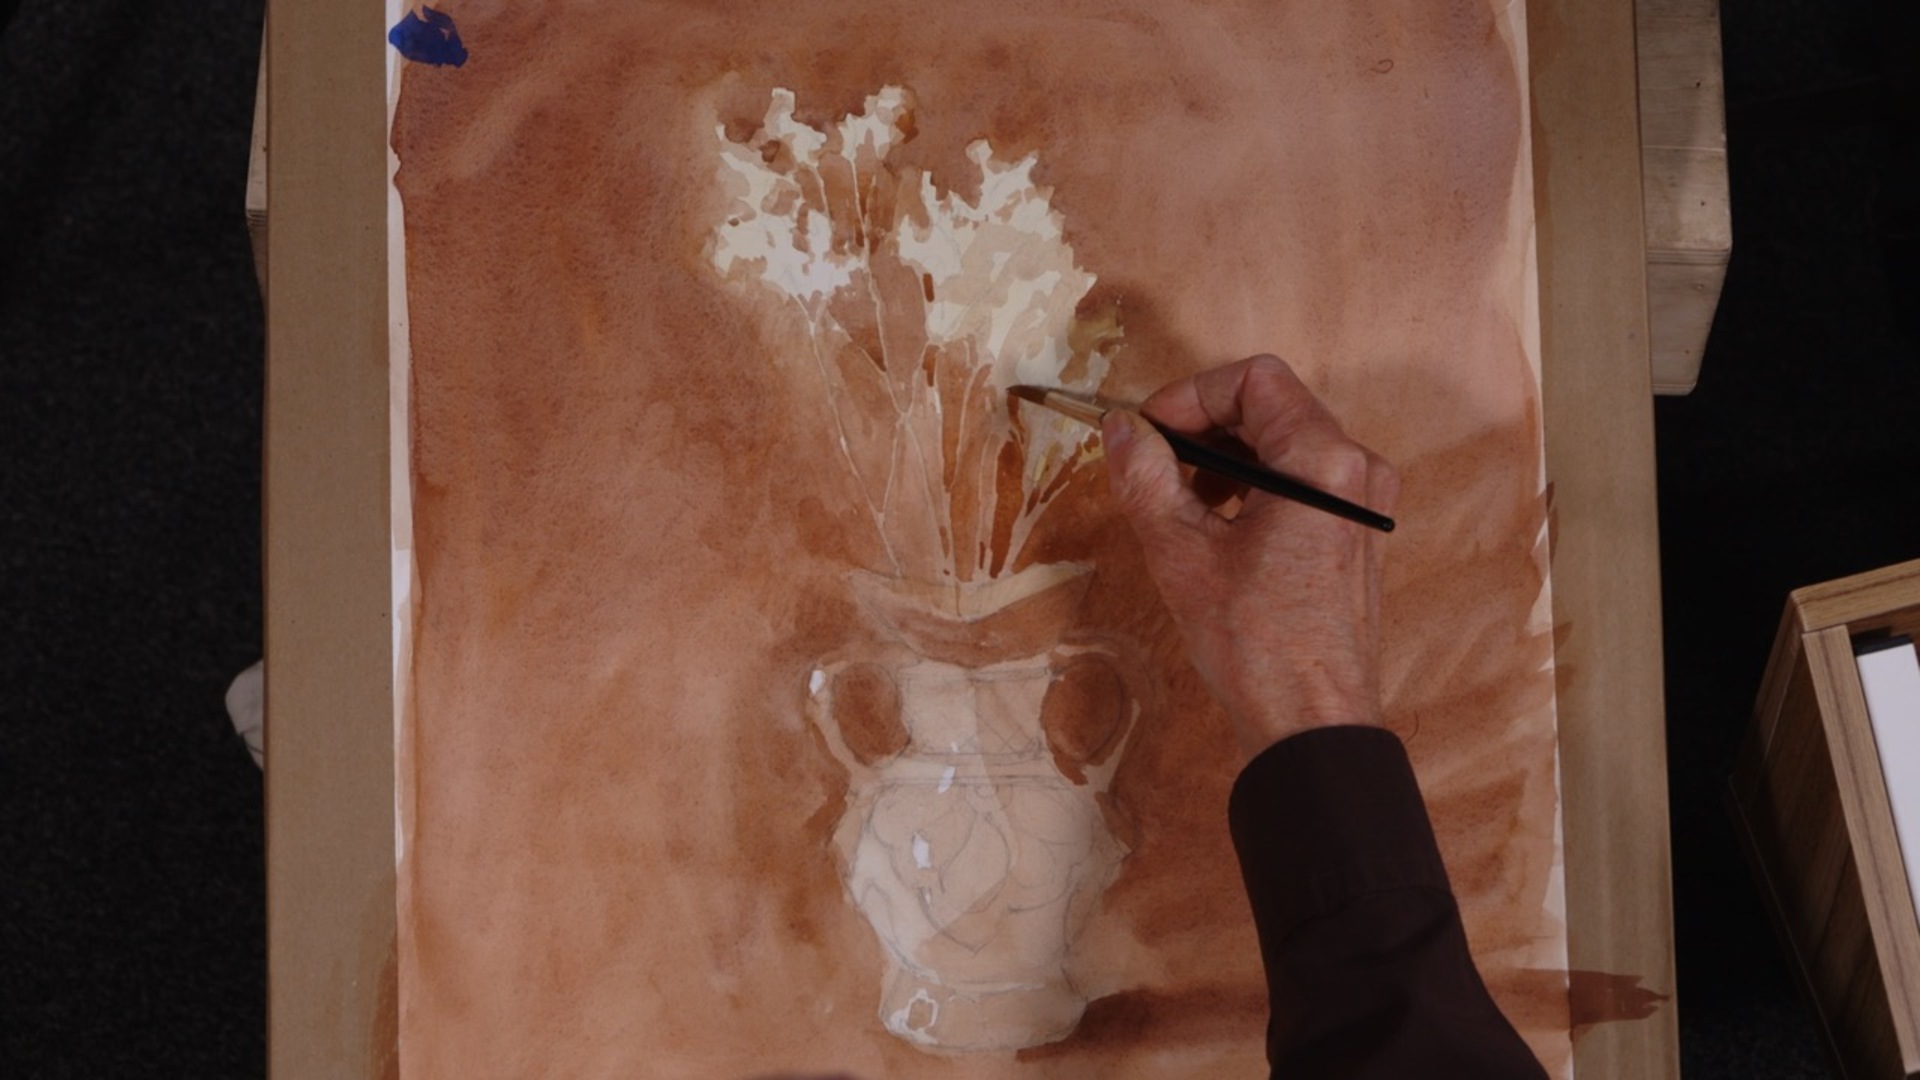
Stuart explains how to approach an underpainting, laying down warm or cool tones that will support later layers. He demonstrates how to load the brush for large, confident washes, control the flow of water on the paper, and work in a way that keeps edges soft where needed while preserving important highlights.
Throughout the process, he emphasizes the importance of thinking ahead—placing colors in a way that unifies the whole painting, avoiding overworking areas too early, and keeping a sense of atmosphere. You’ll see how early washes establish the mood, how mid-tones build depth, and how background shapes can be used to carve and define the subject.
Stuart also shares practical tips for testing colors, lifting paint to recover light areas, and softening edges to create subtle transitions. His method encourages flexibility and spontaneity—welcoming the happy accidents watercolor can bring, while still maintaining control over the major shapes and values.
By the end of this stage, you’ll have a strong, vibrant underpainting that’s ready for details and finishing touches. More importantly, you’ll understand how to approach watercolor with confidence, balancing boldness with careful observation so your painting feels alive from the very first strokes.
Painting 2nd Round
56:13
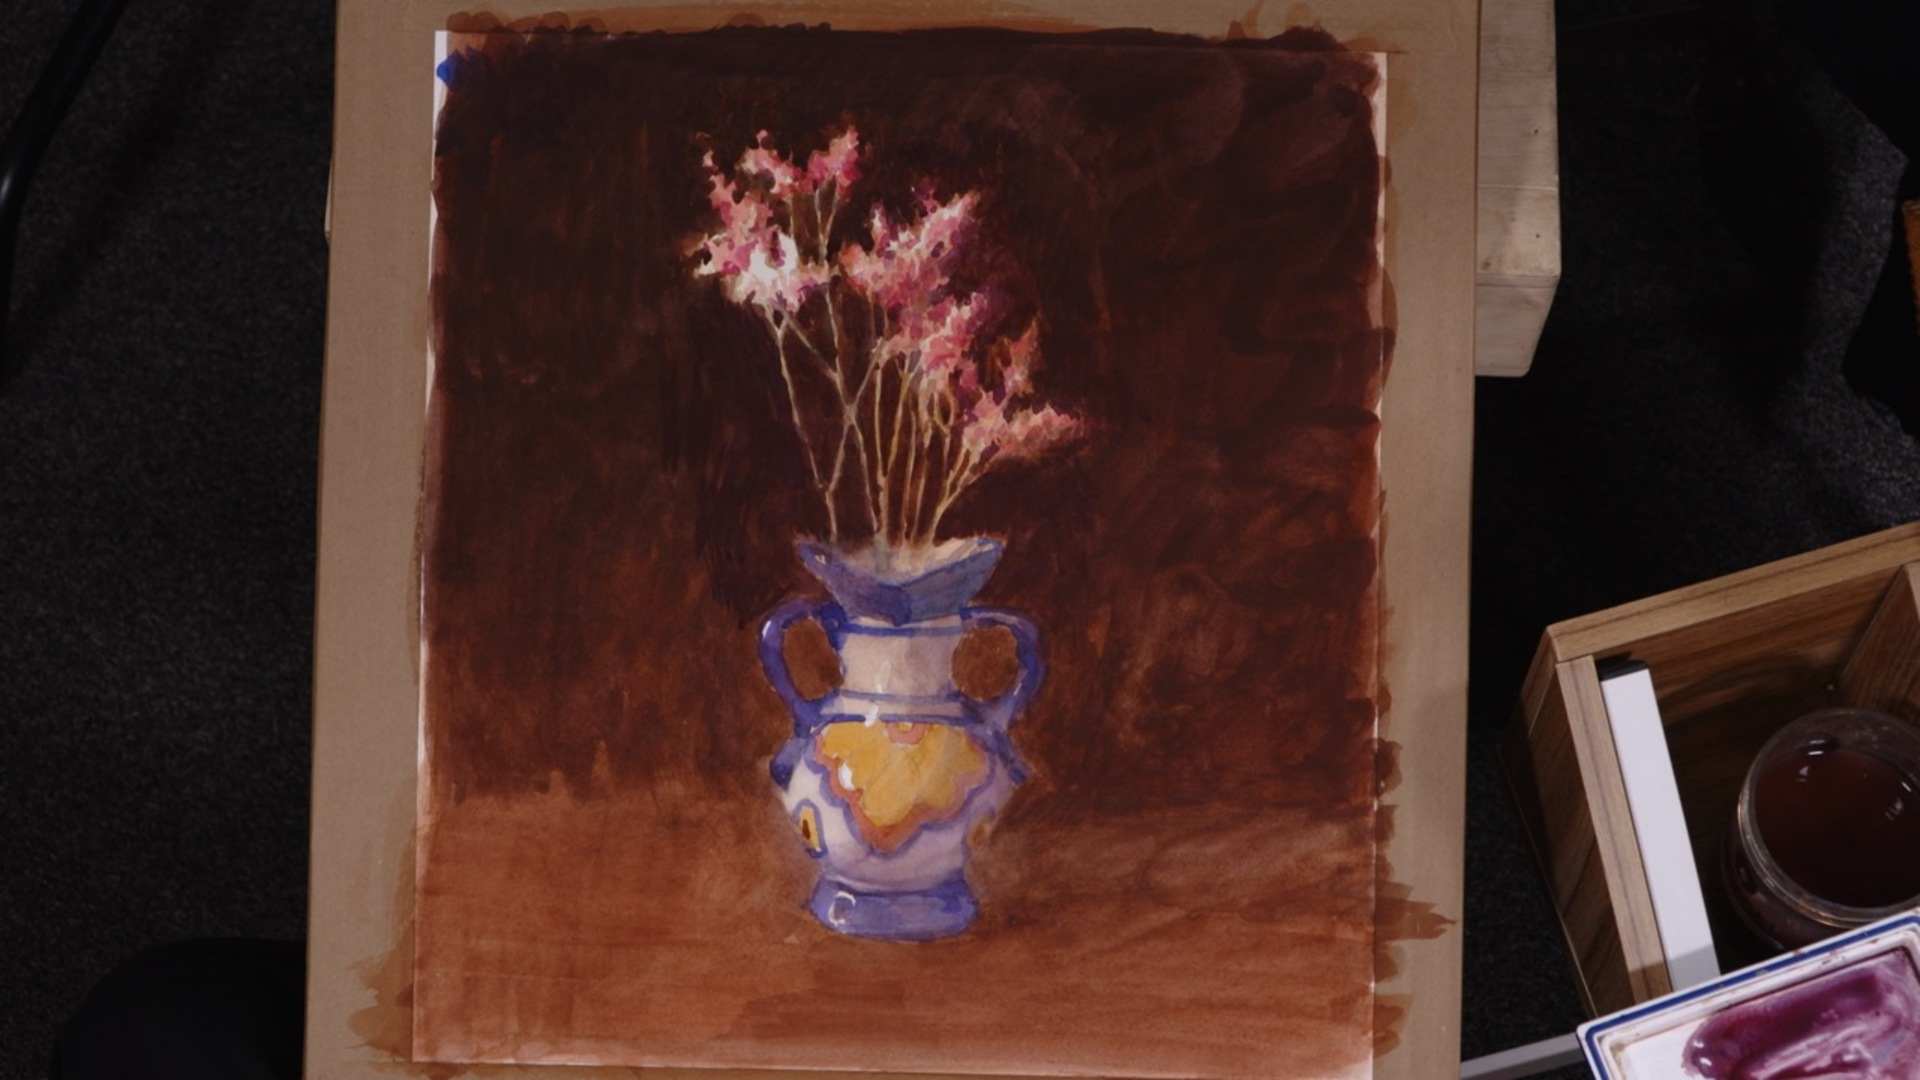
In this pivotal stage of the painting, Stuart shifts his focus to refining complex areas and balancing values so the whole composition starts to sing. Rather than diving into the easy sections first, he tackles the more intricate floral ornaments at the top—knowing that the paint handling decisions made here will guide how he approaches the vase and other elements later.
You’ll watch him develop layers of detail without overworking, using smaller, deliberate strokes to define forms while keeping edges fresh and lively. He demonstrates how to push certain shapes forward with richer color, let others recede with softened edges, and maintain an overall value structure that supports the focal point.
Stuart shares insights on mixing and managing background colors so they stay harmonious with the rest of the palette. He discusses the benefits and pitfalls of certain pigments—like how Payne’s Gray can mute colors if overused, and why pure reds or blues can restore vibrancy when needed. You’ll see how he uses glazes to subtly shift values, introduce warmth or coolness, and integrate background and subject for a seamless look.
This lesson is full of practical watercolor wisdom: controlling water so strokes remain clean, planning lost and found edges to enhance depth, and keeping pigment mixtures consistent for harmony. He also explains how to build intensity without sacrificing luminosity, and why it’s important to let colors “settle” before making final adjustments.
By the end, the painting has deepened in atmosphere, with the vase emerging from the shadows just as Stuart envisioned. The groundwork is set for the final details and finishing touches—those satisfying last flourishes that will bring the entire still life to life. This session is all about refinement, decision-making, and learning to trust the process as the painting moves toward completion.
Painting Finish
44:58
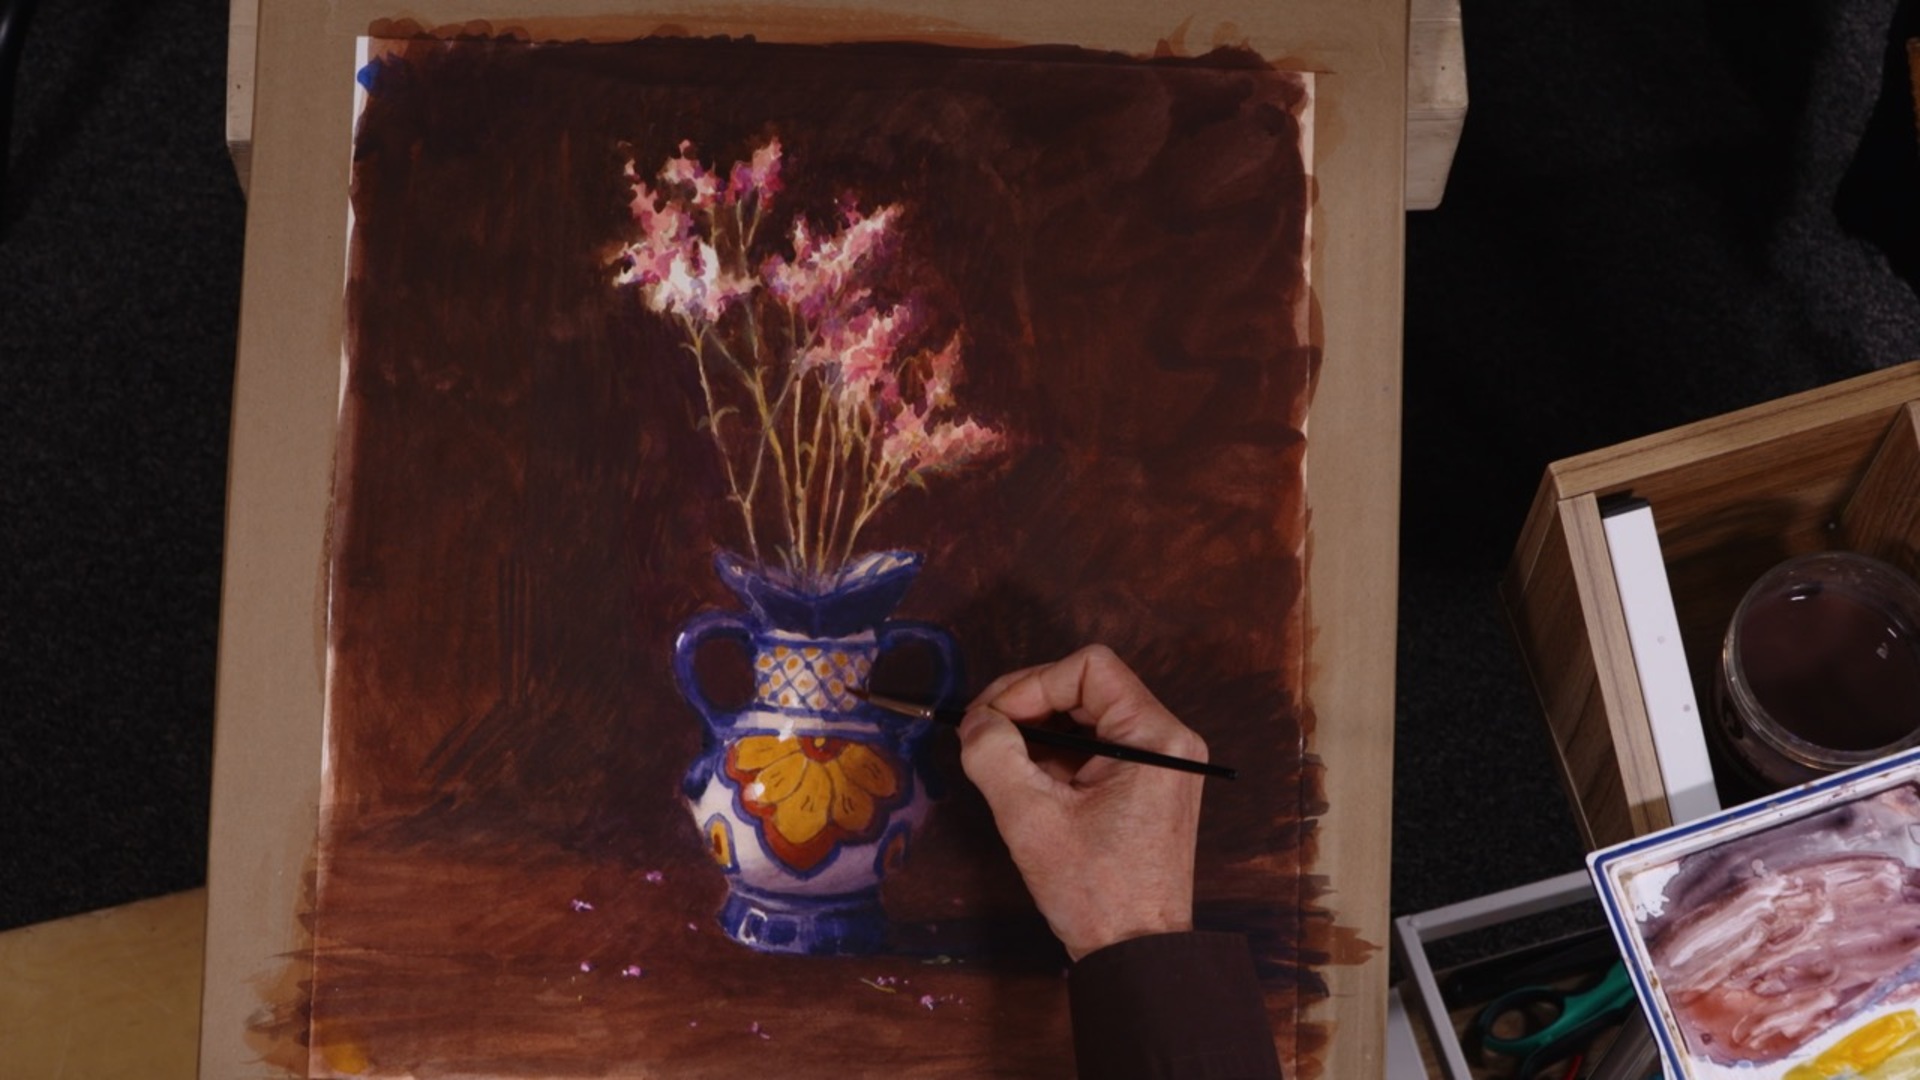
In this concluding stage, the painting truly comes into its own. Stuart begins with a fresh perspective—literally—after stepping away to rest his eyes and view the piece in different lighting. This reset allows him to spot subtle opportunities for improvement, whether it’s refining edges, enhancing depth, or balancing passages of color.
Working from top to bottom, Stuart demonstrates how small, intentional tweaks can make a big impact. He clarifies depth by ensuring foreground elements read cleanly against those behind them and uses glazing to gently push areas forward or back. Throughout, he keeps the process painterly—aiming for a balance of observed accuracy and lively, accidental marks that give the work character.
The video is filled with insights on handling stems, leaves, and delicate details without overworking them. Stuart shows how to manipulate edges, adjust value relationships, and introduce pure color accents that make the composition sing. Cobalt blues, Naples yellow, and other carefully chosen hues are floated in to enrich atmosphere and bring vibrancy to shadowed areas. He also demonstrates how to use tools like Dr. Ph. Martin’s Bleed Proof White for crisp highlights and explains why it’s important to consider how colors sit in their natural value ranges. These moments of pure color become visual “treats” for the viewer’s eye.
Finally, Stuart shares his philosophy on stepping away from the still life to evaluate the painting on its own terms—ensuring it has internal logic and aesthetic harmony, even apart from the reference. It’s a thoughtful, encouraging end to the journey, inspiring viewers to not just finish a painting, but to elevate it into something cohesive, confident, and uniquely their own.
In this empowering class, Stuart Loughridge takes you on a complete still life painting journey—guiding you step-by-step from the very first stages of setup to the satisfying final touches that make a piece sing. With his approachable teaching style and wealth of experience, Stuart demystifies the process, showing that a successful painting isn’t about rushing to the finish, but about building it thoughtfully, layer by layer.
You’ll begin with the foundations: selecting and arranging your objects, crafting a simple but effective still life diorama, and understanding how light direction shapes mood and depth. Stuart shows how even modest materials—like cardboard side walls or dark fabric backdrops—can transform your setup into a stage for your subject.
From there, you’ll dive into drawing and composition, learning how to position yourself in relation to the subject for comfort, accuracy, and the best visual impact. As the painting unfolds, Stuart demonstrates techniques for establishing value structure, balancing detail with broad shapes, and using both deliberate observation and happy accidents to bring character to your work.
Color handling is another highlight of the course—Stuart shares how to choose and layer hues for vibrancy and atmosphere, float in subtle glazes, and drop in pure color accents to energize your piece. You’ll also learn how to refine edges, adjust depth, and keep your brushwork fresh, even in the later stages.
By the end, you’ll not only have seen a still life painting come together from start to finish, but you’ll also have a deeper understanding of how to make your own creative decisions, work with flexibility, and trust your artistic instincts. Whether you’re just starting out or refining your skills, this class will leave you motivated, equipped, and ready to set up—and paint—your own still life masterpiece.
Stuart Loughridge
Stuart is an artist based in St. Paul, Minnesota. As a studio painter he works with oil paint and watercolors, primarily painting landscapes. In addition, he is a devoted printmaker and is well-known for his etchings.
Bonus materials available after purchase
