
Crochet a Made-to-Measure Granny Square Pullover
Brenda K.B. Anderson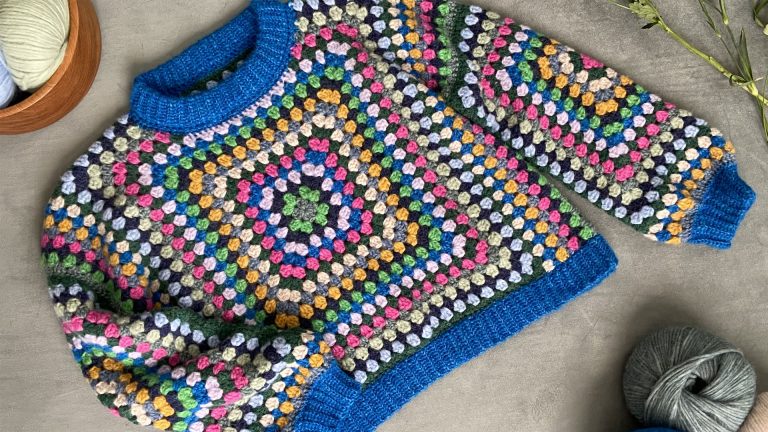
Class Preview
1:02
- In-depth Instruction; over 222 mins
- On-demand video access anytime
- Bonus downloadable PDF resources
- Access to class Q&A
Introduction
7:19
In this session Brenda introduces us to the garment we will be making, the Freestyle Granny Square Sweater. She explains that we will be making this sweater to fit any size or proportion and explains what can be found in the pdf download.
Materials
6:24
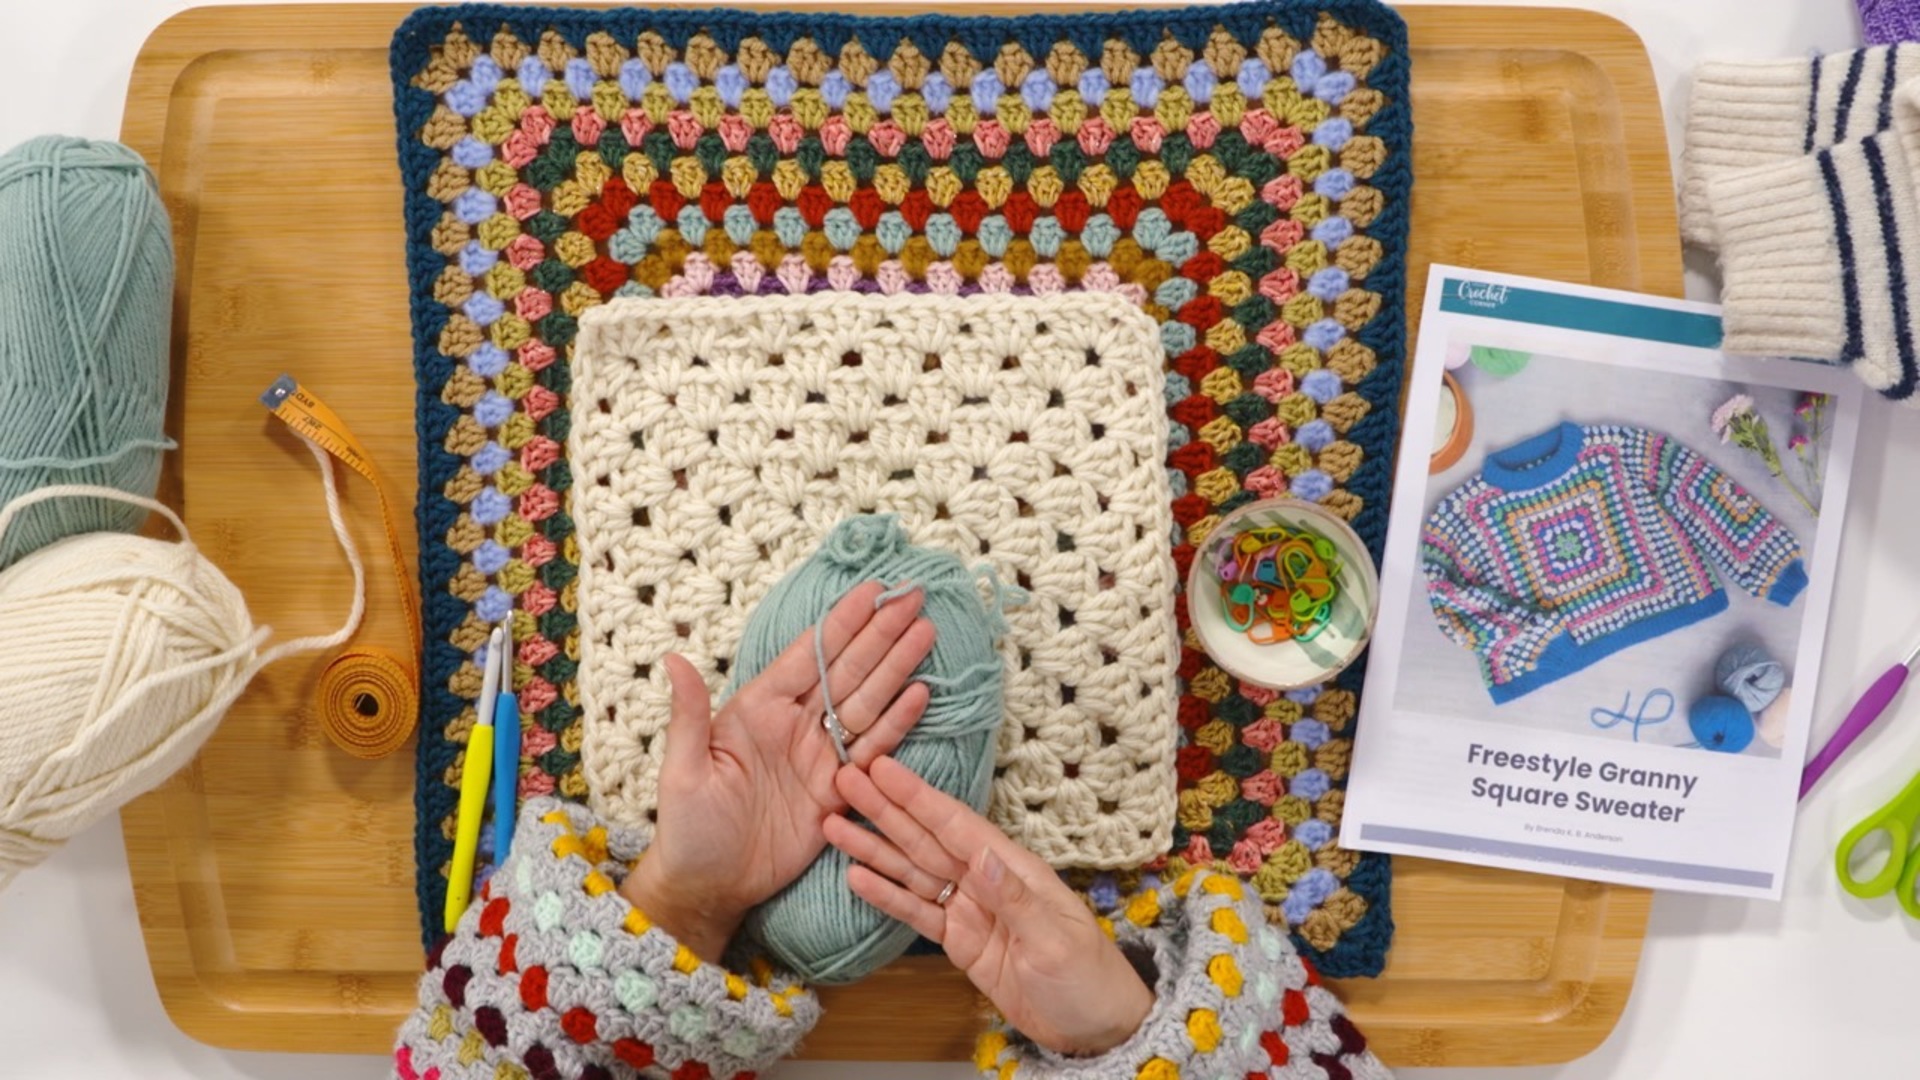
Brenda discusses the materials and tools that you will need for this project. Although you can use any yarn for this project, Brenda suggests a DK or worsted weight yarn for beginners. She shows us how the thickness of the yarn will affect the drape and appearance of the fabric. See download for estimated yarn amounts.
Back
47:34
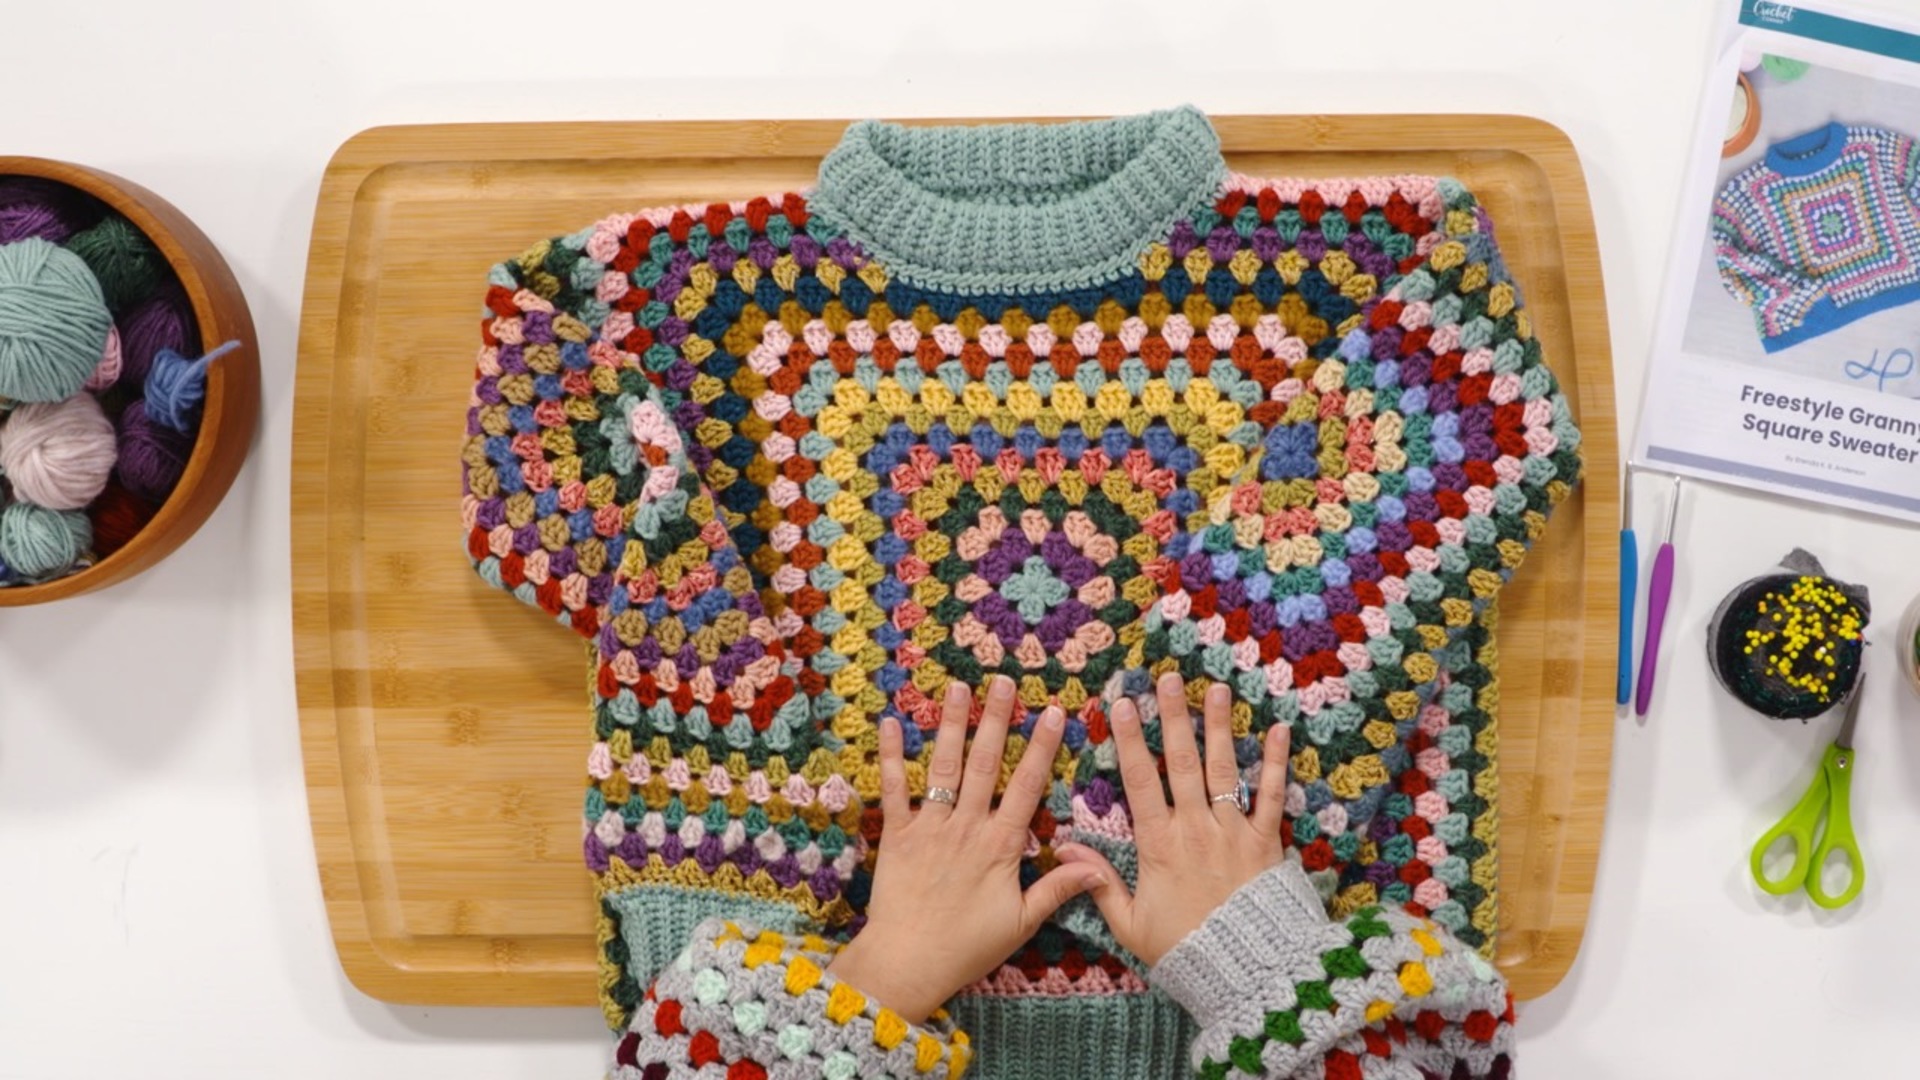
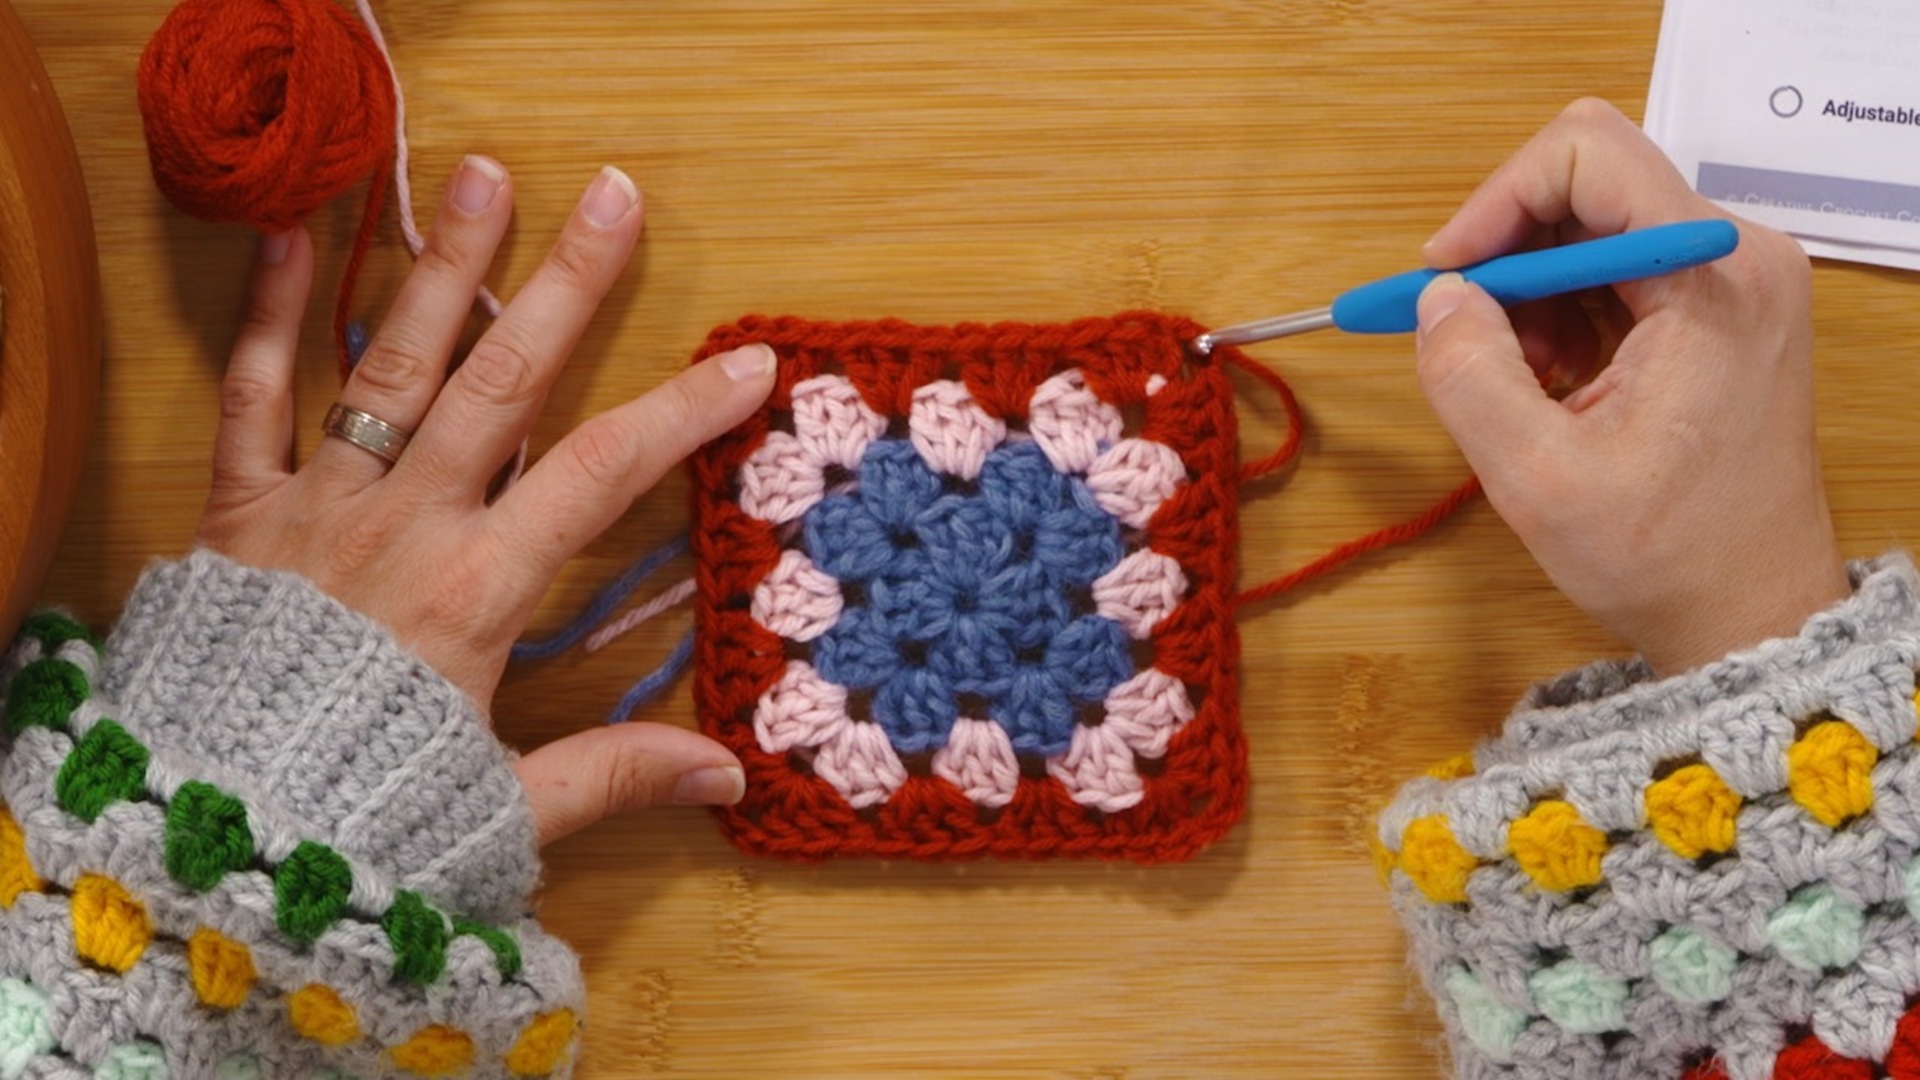
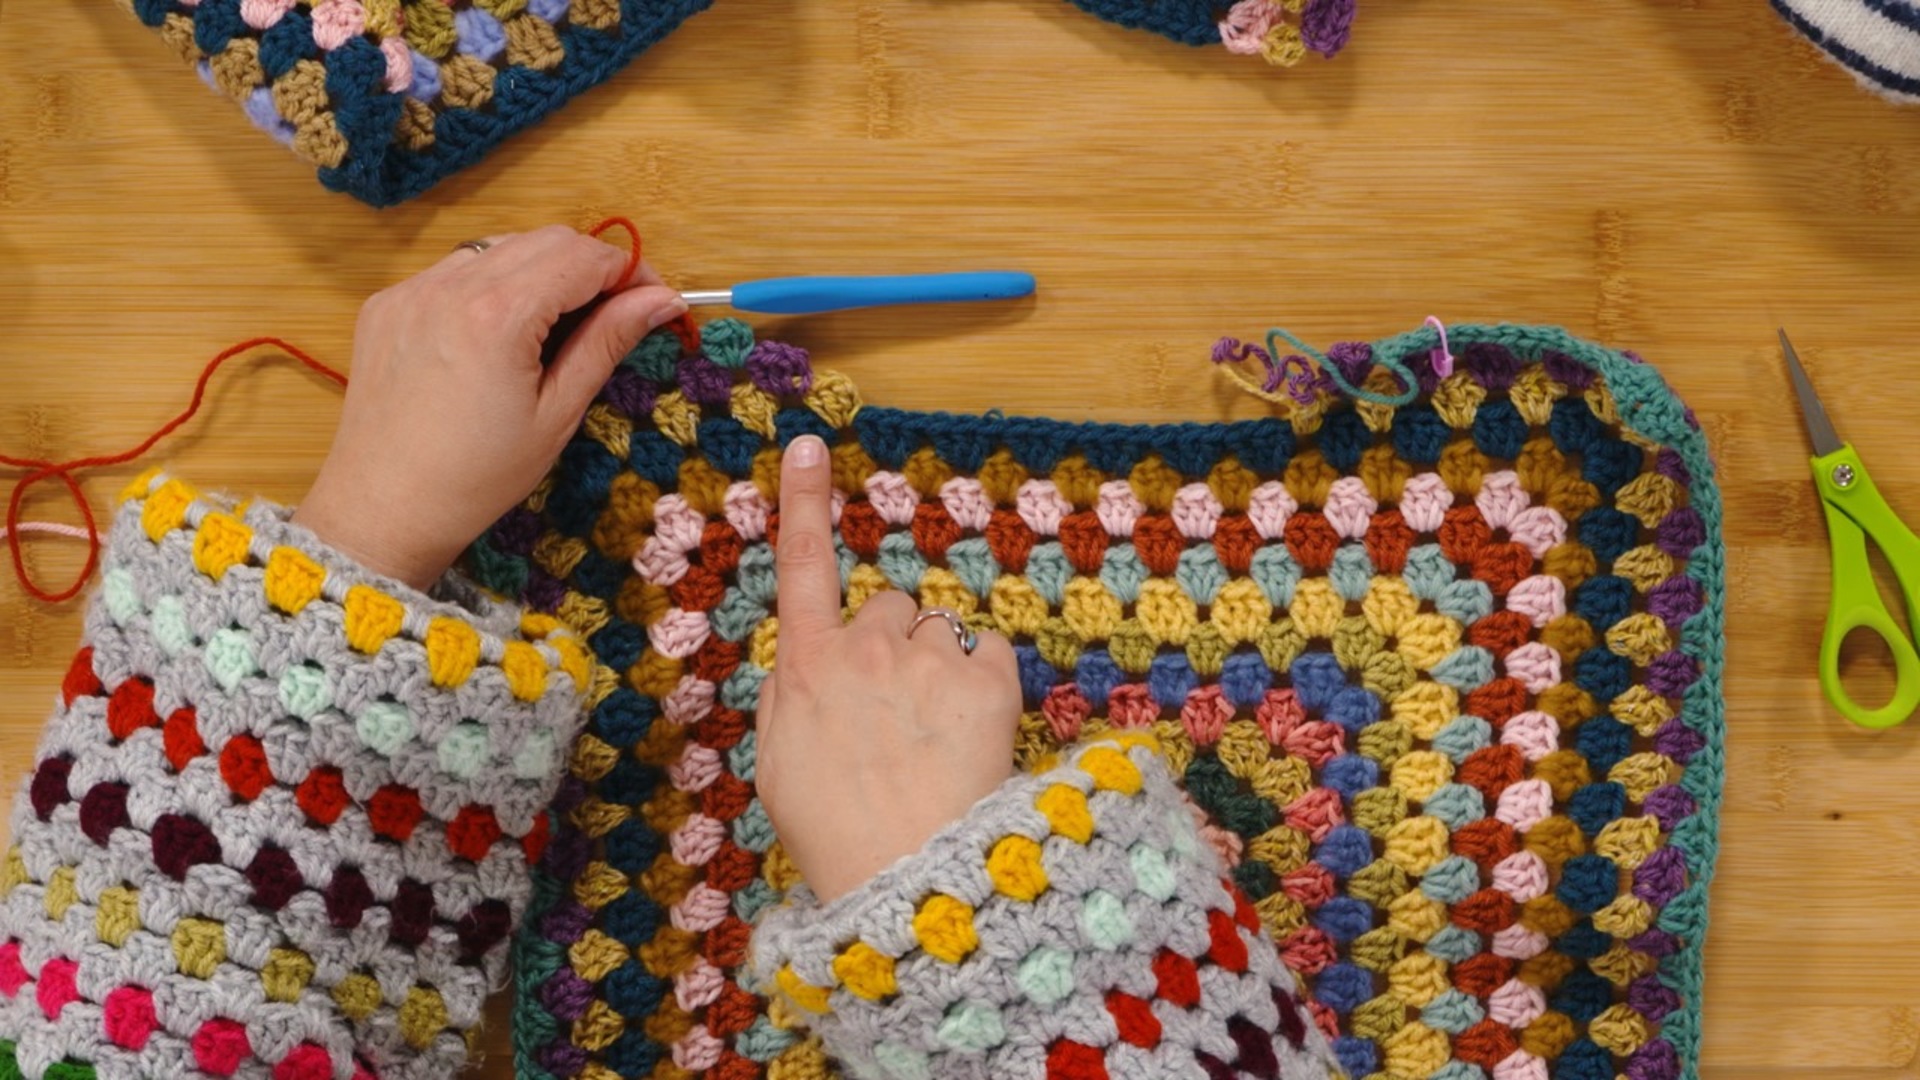
Brenda explains how to determine the desired length and width of our sweater, whether we are using a guide sweater or basing the size off of measurements. She demonstrates how to make the basic granny square both with color changes and without color changes and shows us how to create the desired length and width of the back piece.
Front
36:44
In this session Brenda shows us how to use the Back piece to help us map out where the neck shaping should be on the Front piece. We also learn how to create the partial rounds in the granny square that will create the neck shaping. Brenda finishes this session by showing us once again how to add extra width to our piece if needed.
Sleeves
25:26
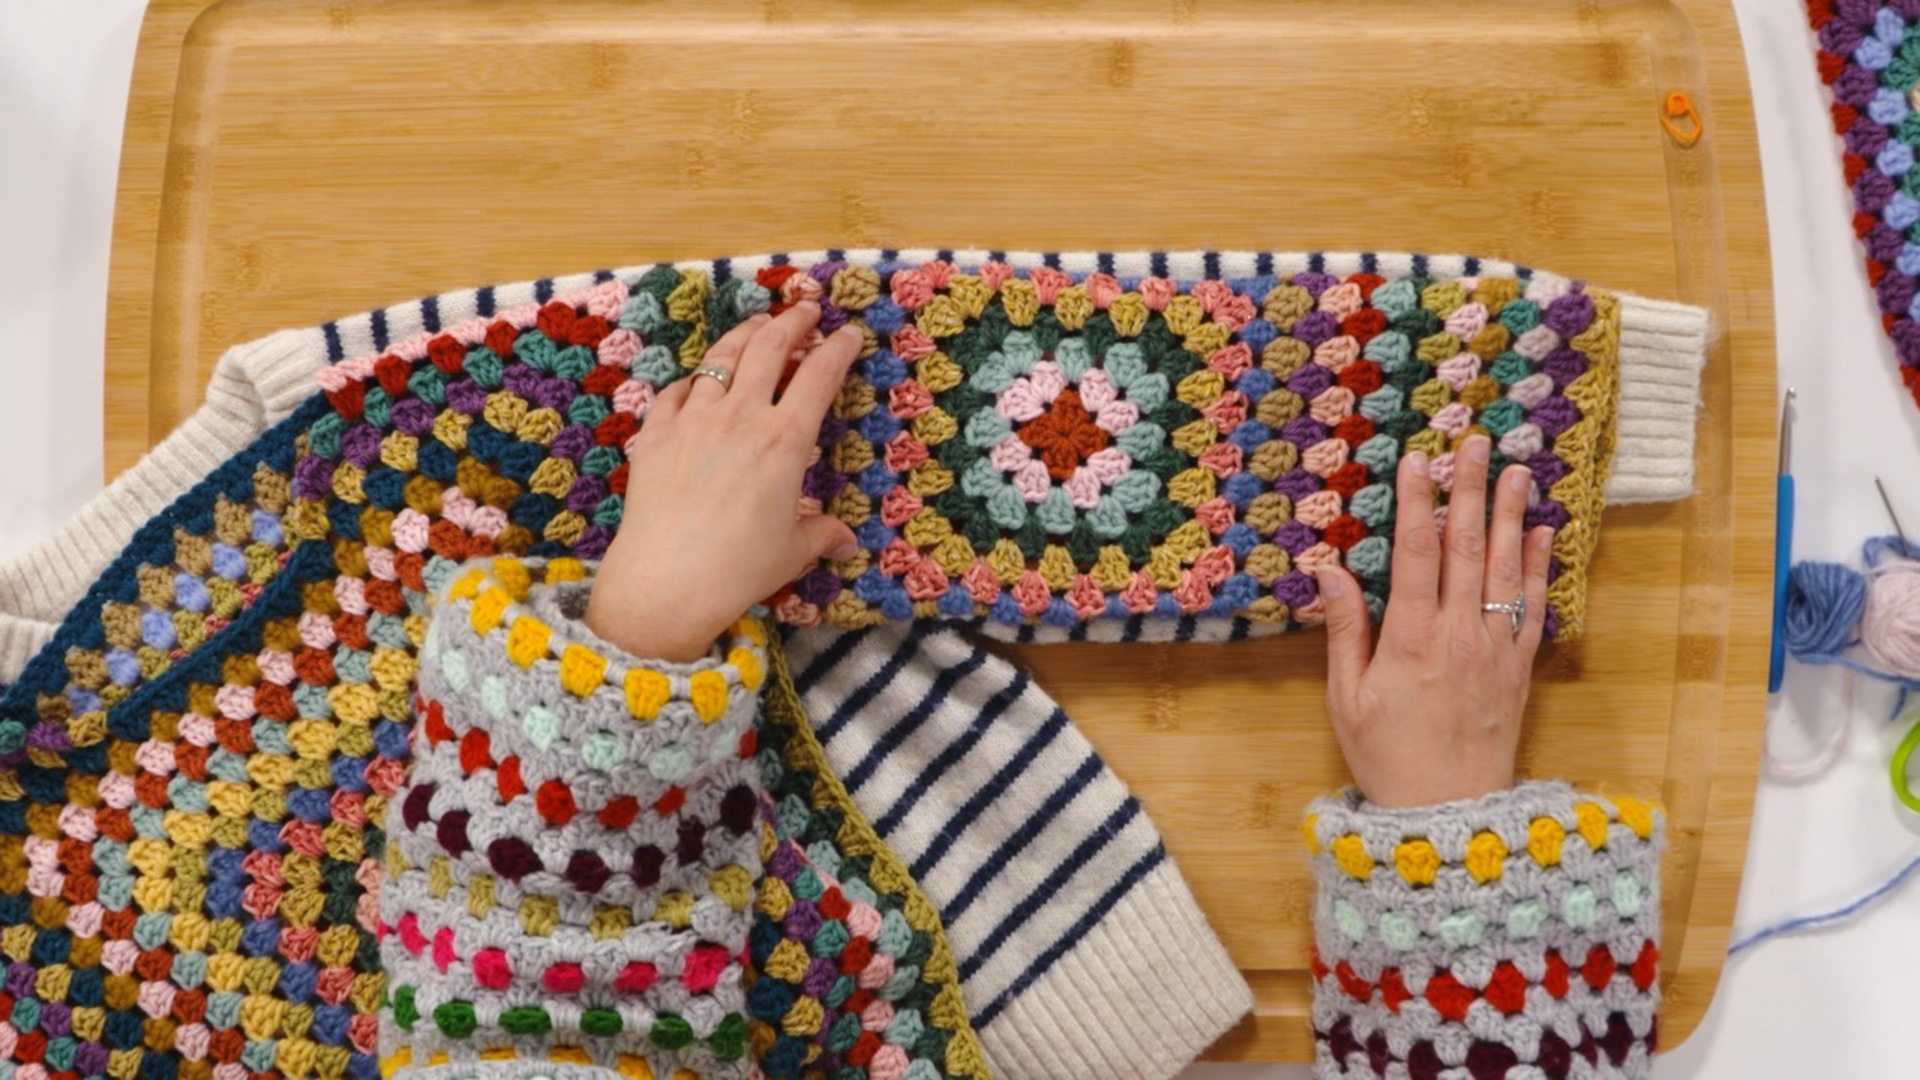
Brenda teaches us how to make custom-fit sleeves for our sweater, beginning with the basic granny square. Brenda explains what to do if the sweater reaches its desired length before reaching the desired width, and she also shows us how to add length to the sleeve if needed. This technique will also be used later, for adding length to the body of the sweater, if desired.
Seaming Pieces Together
10:22
Here, Brenda demonstrates how to sew the sleeves to the body of the sweater, and also how to sew the side seams. If you plan to add length to the body of the sweater, you must sew the side seams first.
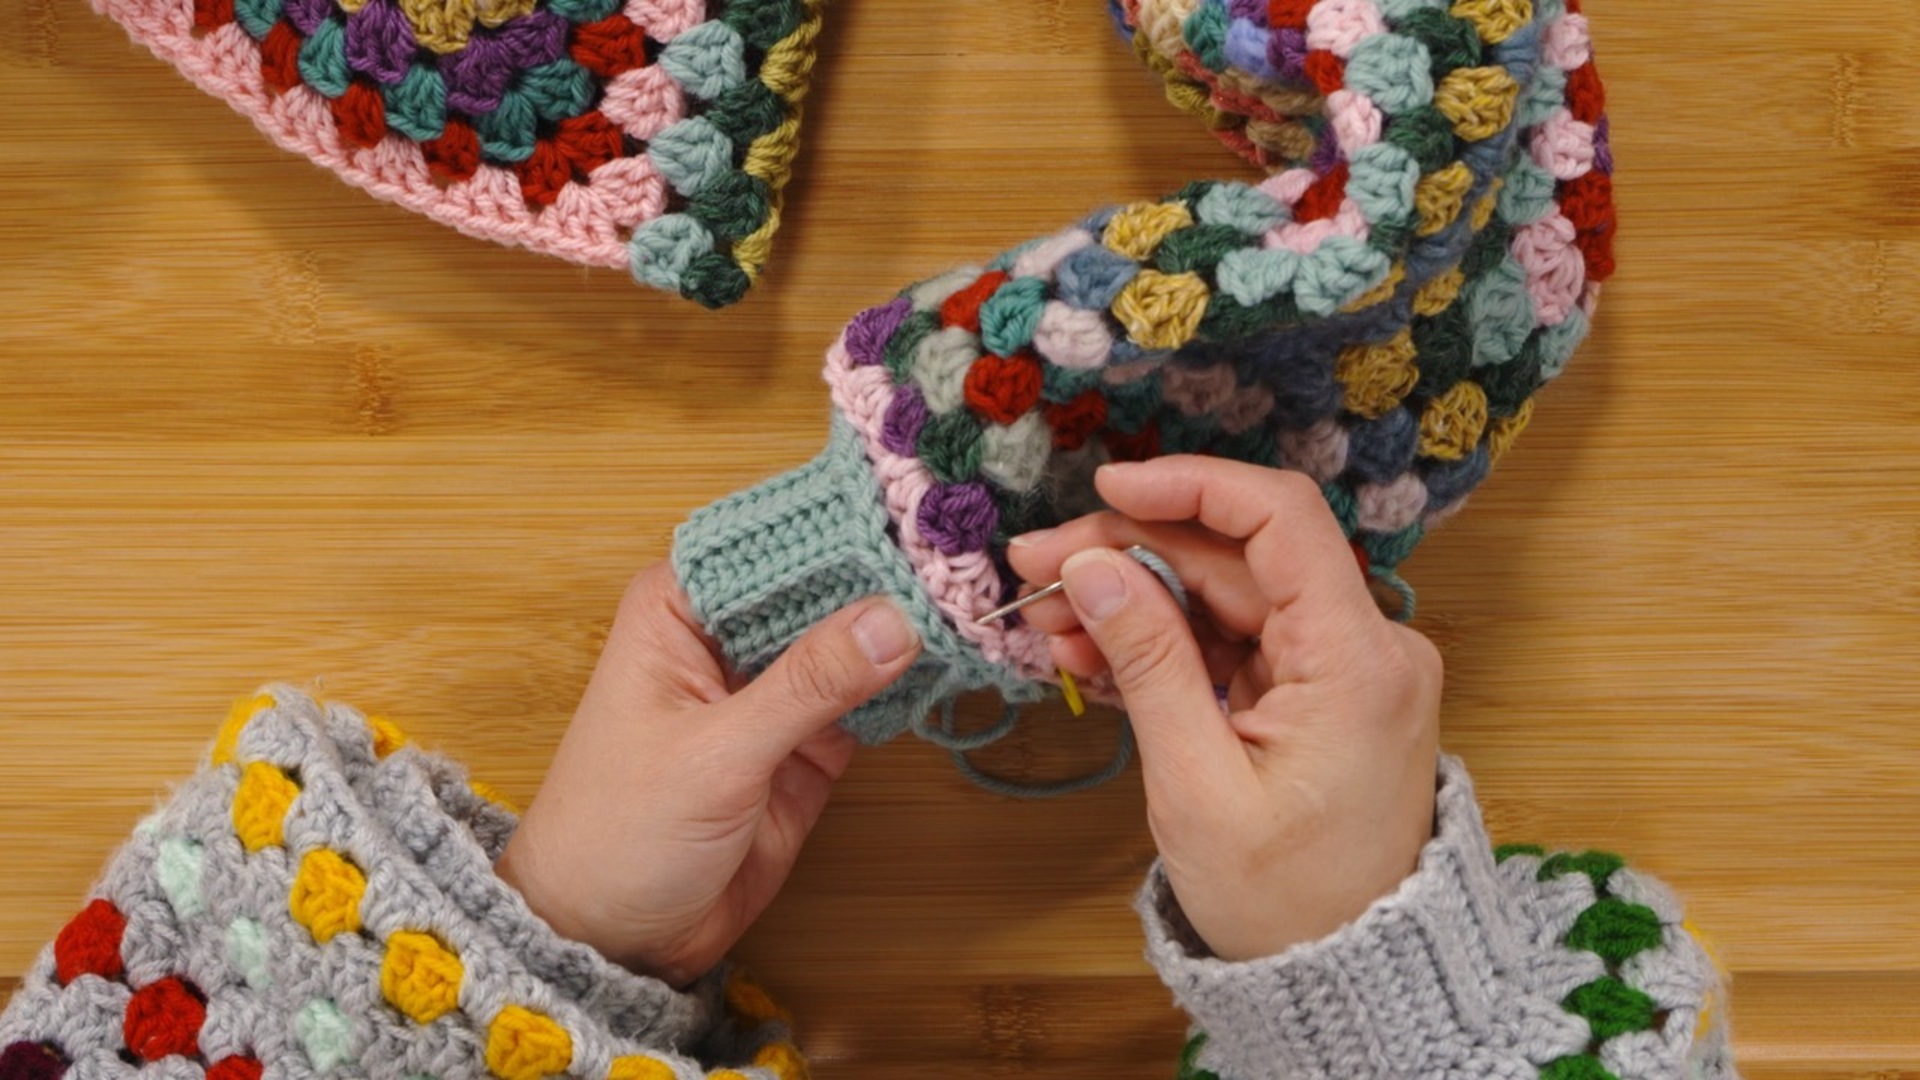
Neck Ribbing
41:58
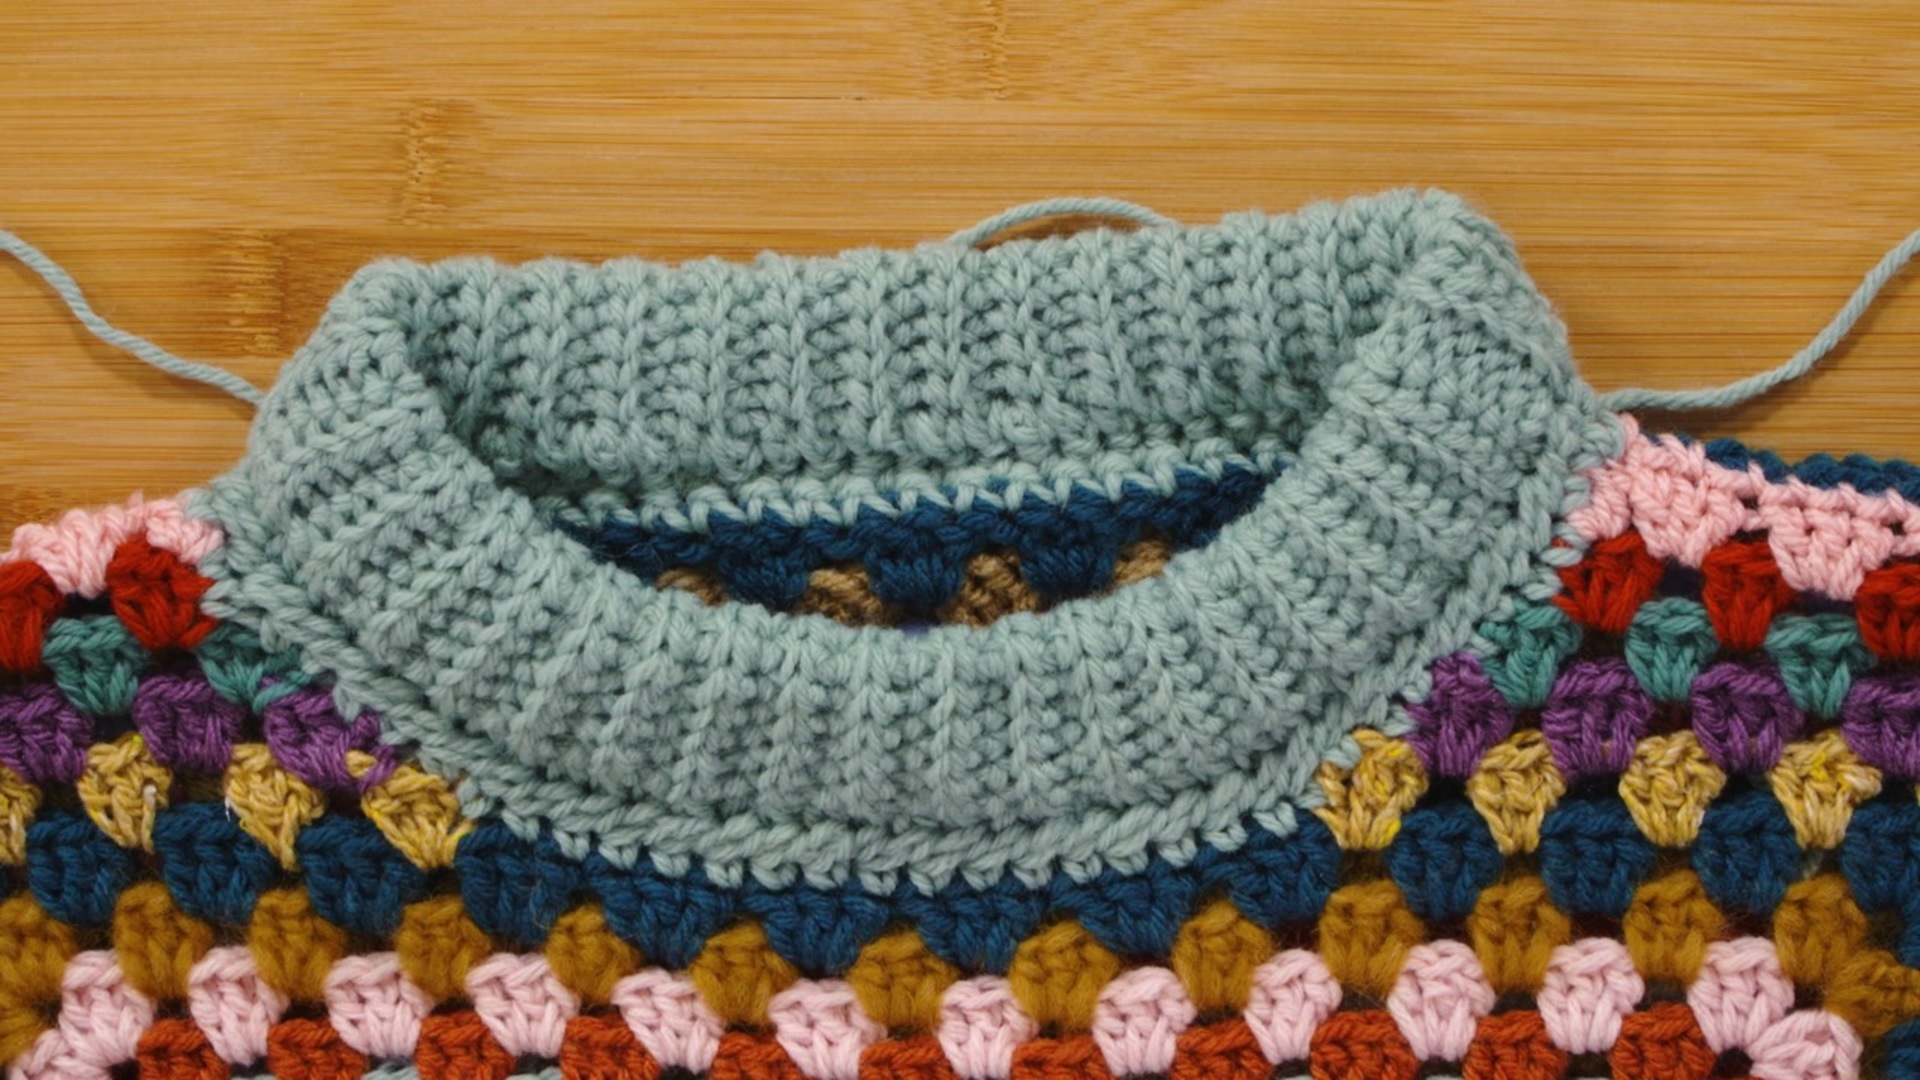
In this session Brenda teaches us how to create her favorite crochet ribbing. This is a very attractive ribbing that has great elasticity and really springs back after being stretched. She also teaches an alternate ribbing for those who prefer a quicker option. Brenda shows us her trick of preparing both the sweater neckline and the ribbed edge, in order to make inserting the neck ribbing a breeze.
Sleeve Ribbing
22:24
In this session we learn how to crochet the Ribbing for the sleeves. Brenda shows us how to determine the length and width of the ribbing and also teaches us a method for setting the ribbing evenly into the sleeve opening.
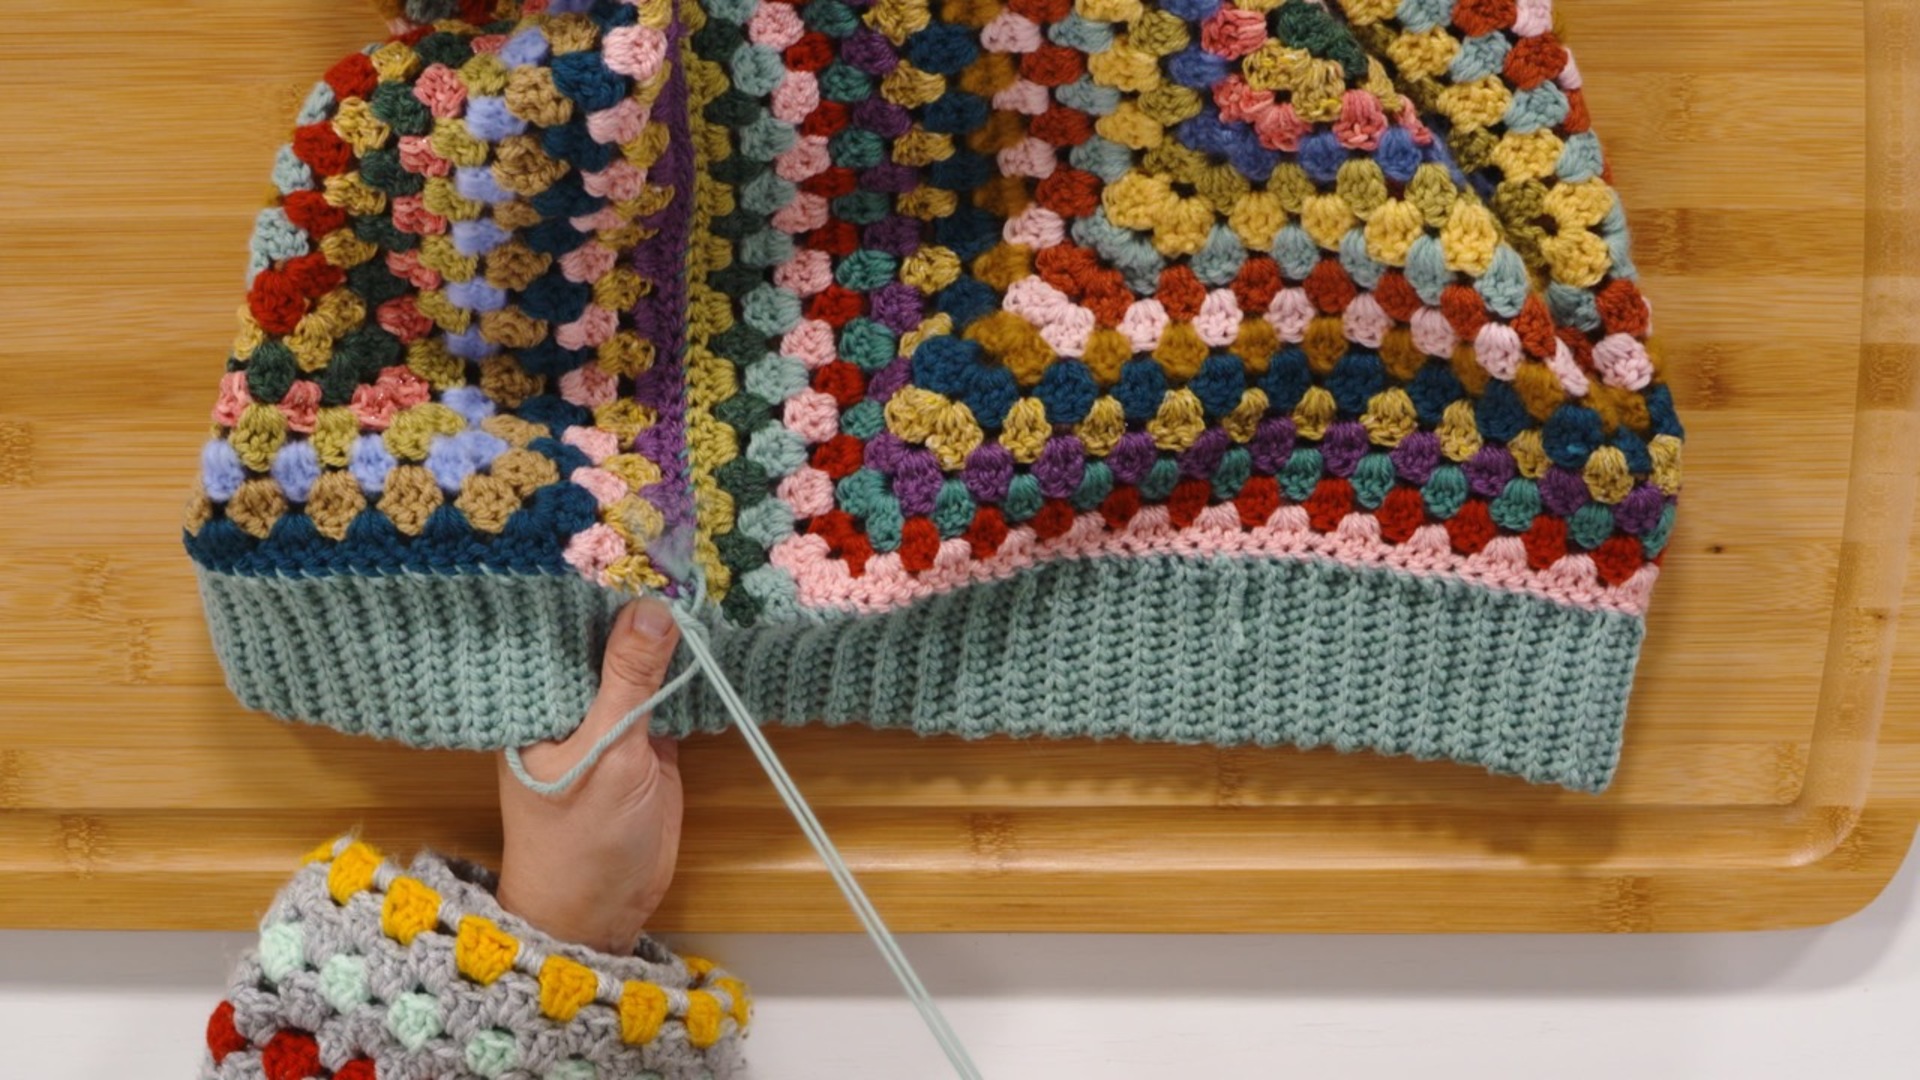
Body Hemline Ribbing
13:45
Brenda walks us through the process of creating the ribbing for the bottom edge of the sweater. She discusses how to determine the width and the length of the ribbed section so that it looks good at the bottom of our sweater. Brenda demonstrates how to sew the ribbing in place, giving us plenty of guidance to ensure an even fit.
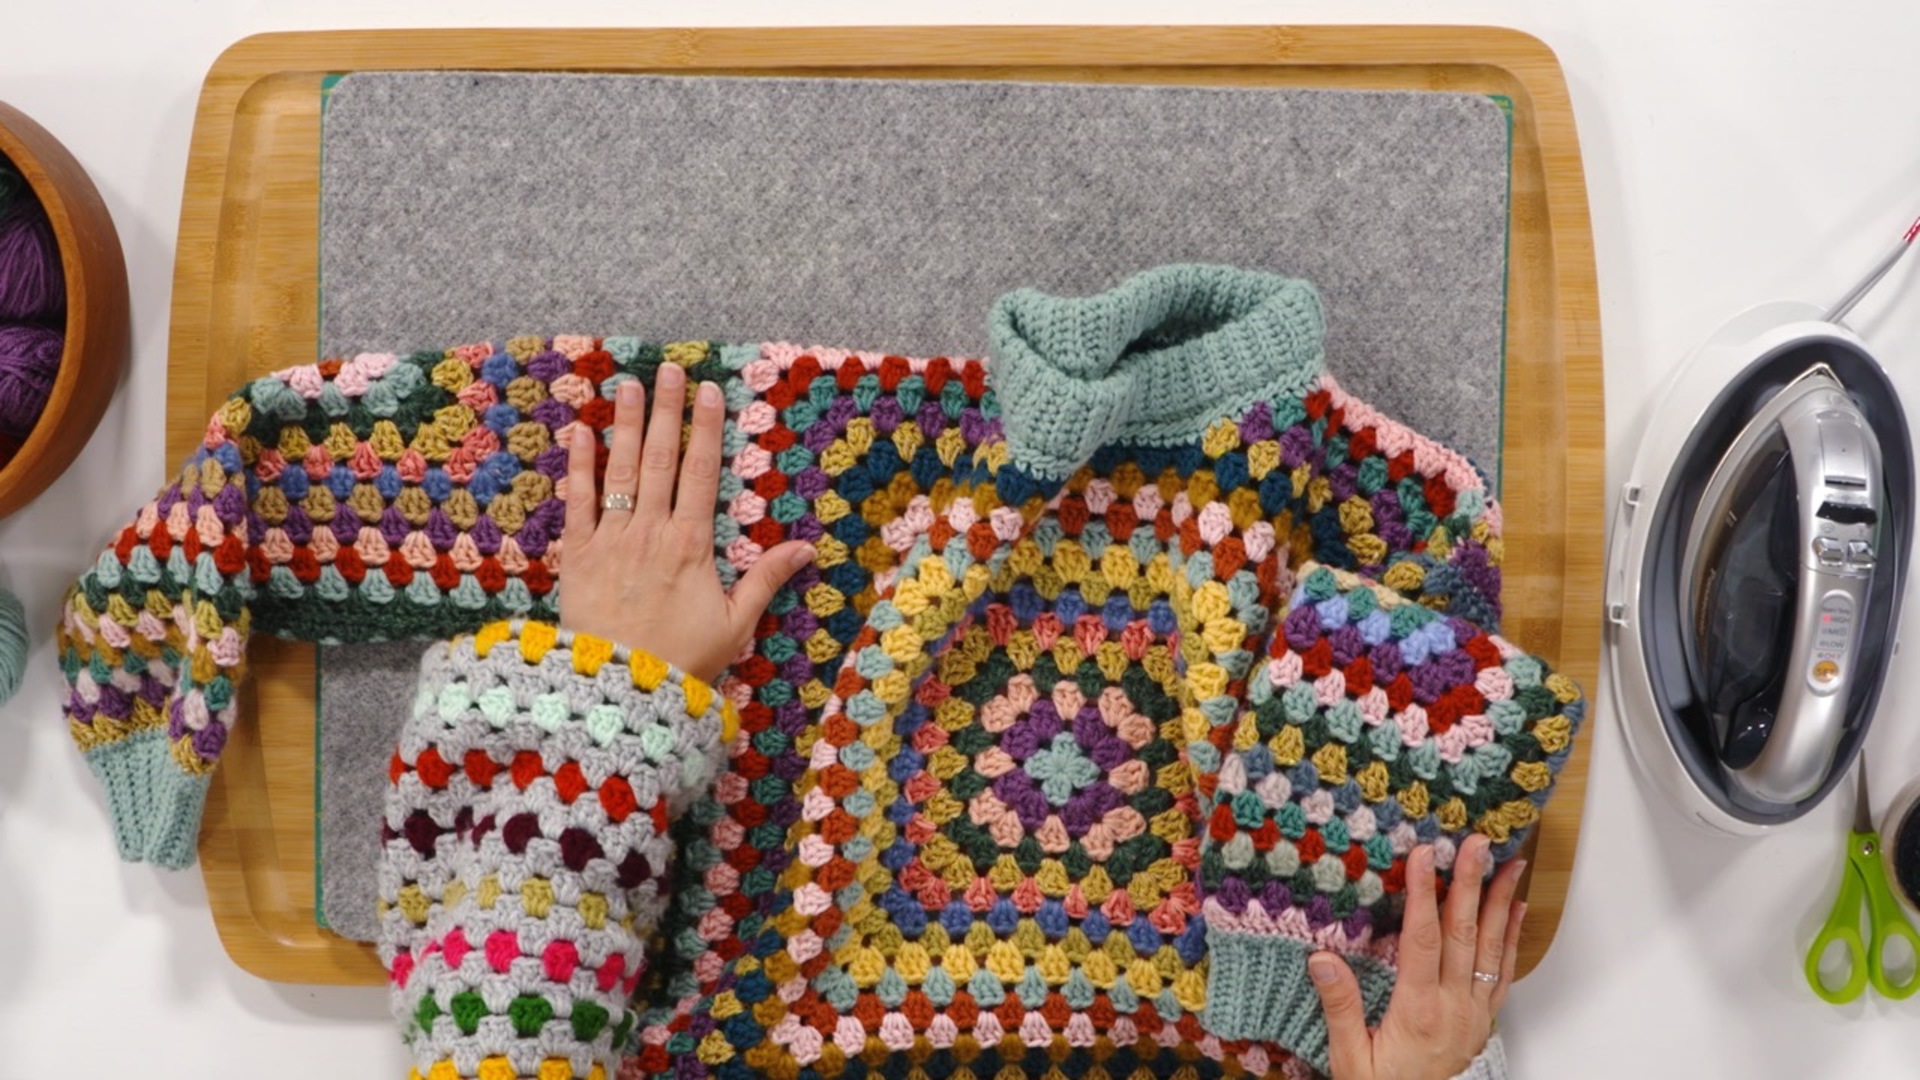
Finishing and Blocking
9:24
In this session we learn how to finish our sweater, giving it that professional touch with the help of blocking. Brenda shows us how we can improve the drape and appearance of our sweaters by steam blocking them into shape.
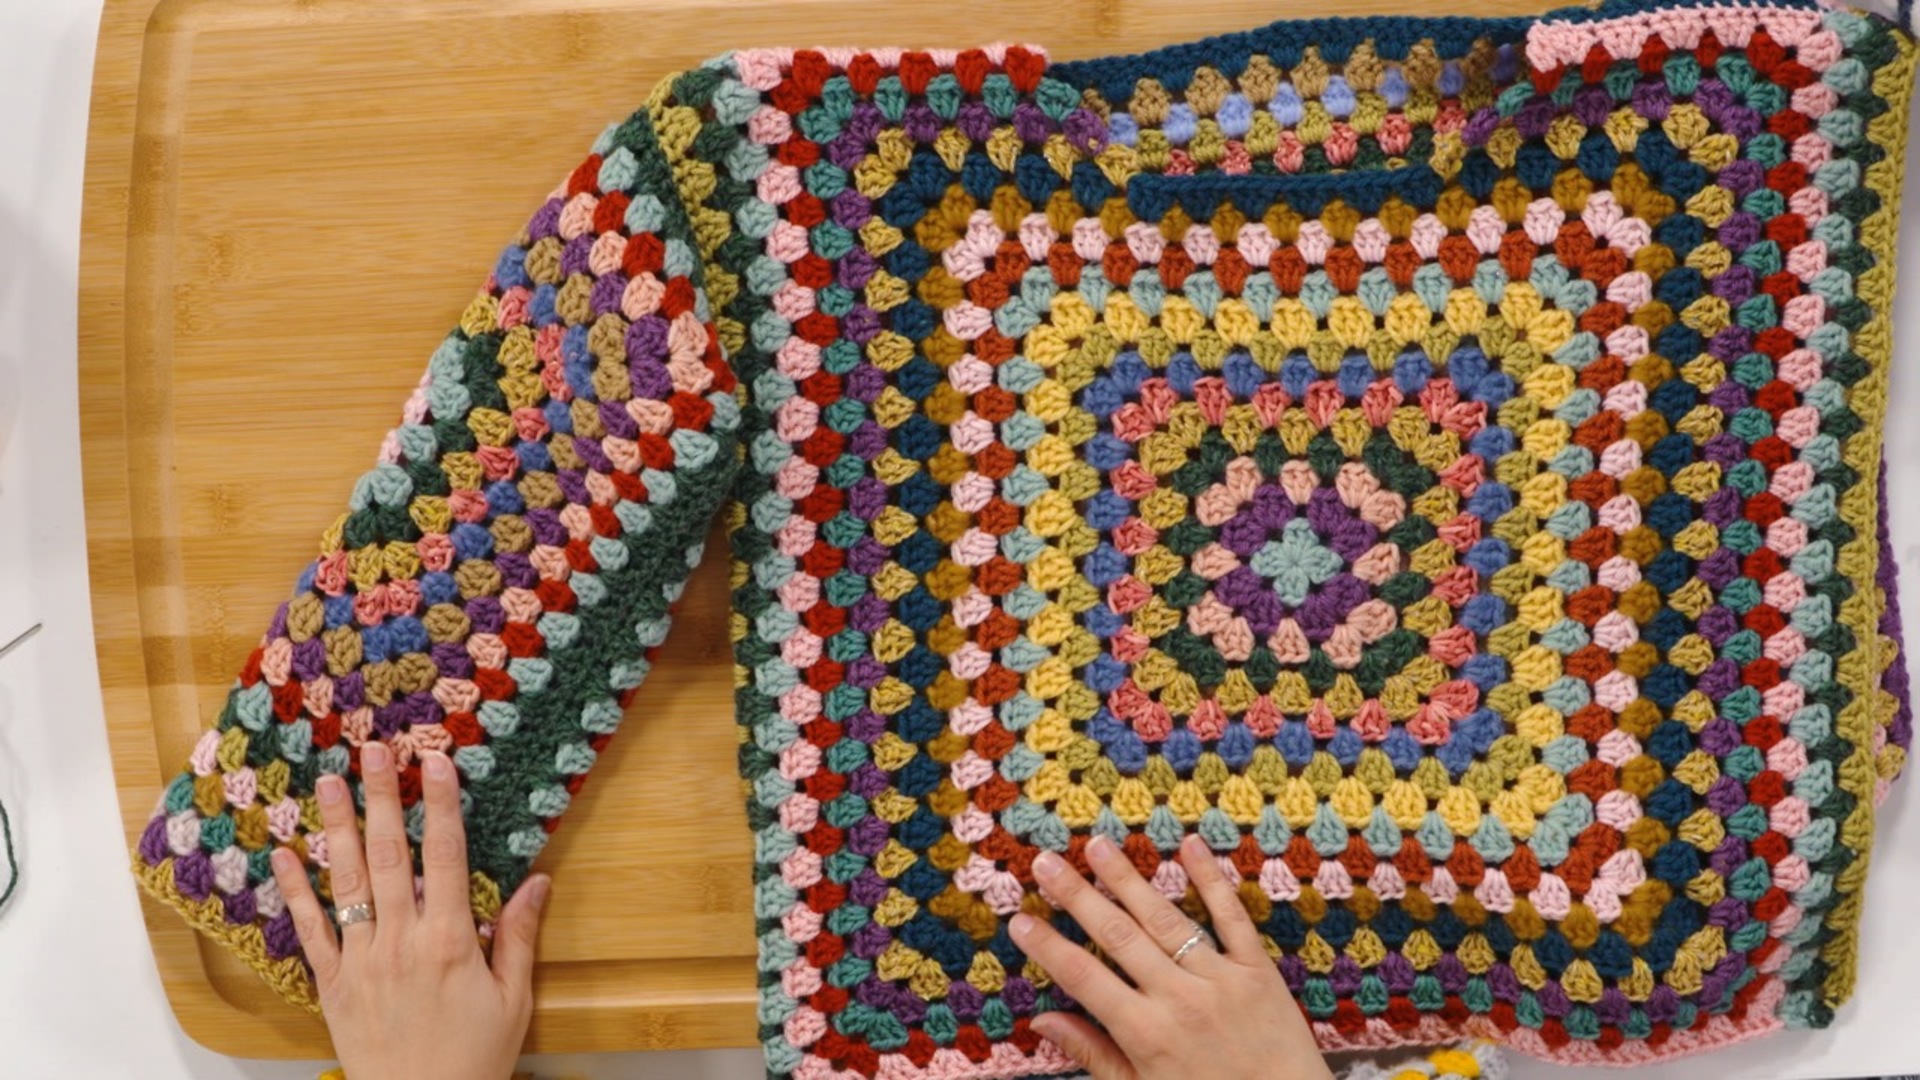
Have you ever wished you could crochet a sweater without following directions line-by-line from a pattern? And when you finish your sweater, it fits exactly how you wished it would? This is the class for you!
In this class, crochet designer Brenda K. B. Anderson shares her process for free-handing a granny square pullover. She teaches us how to crochet a granny square (with or without color changes) and walks us through the process of creating each piece of the sweater in such a way that it will fit when you are finished. She even shows us an easy method for shaping the front neck in a way that doesn’t require any math! You will also learn 2 different methods for creating a stretchy ribbing to fit the cuffs, hem and neckline of the sweater.
This style of construction works well for any body type, size, or proportions and you can choose whether you want a cropped, mid-length, or hip-length sweater. It can be boxy, fitted, or anything in between!
Included with this class is a pdf download with many photos to assist you as you learn how to create a sweater using this fun technique. You do not need to refer to the download in order to make the sweater, but it does have helpful reminders of the process as well as charts for those who prefer to work from them.
Brenda guides you through the entire process of making this sweater, from start to finish, so that you can make sure you end up with a sweater that you love! This class is perfect for those who are brand new to garment making but will also be appreciated by more experienced crocheters who prefer not to follow a pattern, and would rather make it up as they go! With well over 3 hours of quality video instruction, and a helpful supplemental download, you will be well on the way to making a one-of-a-kind, beautiful sweater that fits the way you want it to!
Brenda K.B. Anderson
Brenda K. B. Anderson crochets, knits, and sews into the wee hours after her kids have gone to bed. She loves designing stuffies that make her laugh, and accessories that beg to be worn over and over again by her friends and family. Brenda is the author of Beastly Crochet and Crochet Ever After and also teaches a Craftsy Class: Crochet Mittens and Fingerless gloves. She has contributed to several books and numerous magazines and is the managing editor of the Creative Crochet Corner. She lives in a little house in Saint Paul, MN where it is sweater weather nine months of the year and blogs about her crafty adventures at Craftsplosion.com.
Bonus materials available after purchase
