Build a Shave Horse
George Vondriska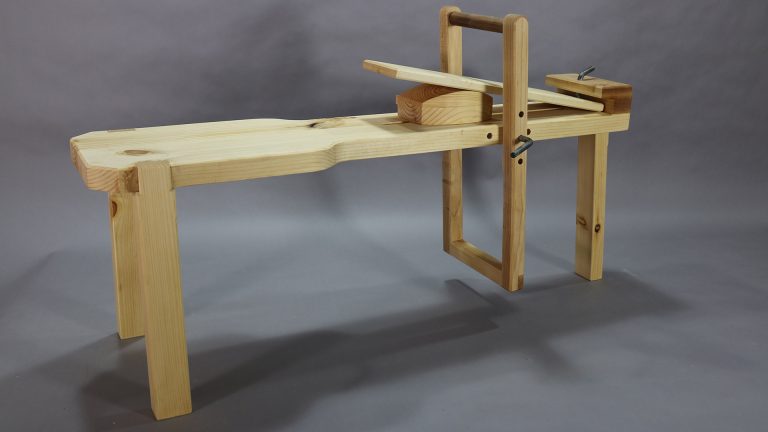
Class Preview
2:40
- In-depth Instruction; over 125 mins
- On-demand video access anytime
- Bonus downloadable PDF resources
- Access to class Q&A
Session 1: Project Overview
6:28
What is a shave horse (also called a shaving horse) and what is it used for? The shave horse has various parts, and you need to know the parts before starting the project. It’s also important to understand how the parts work together.
Session 2: Prep the Seat
20:55
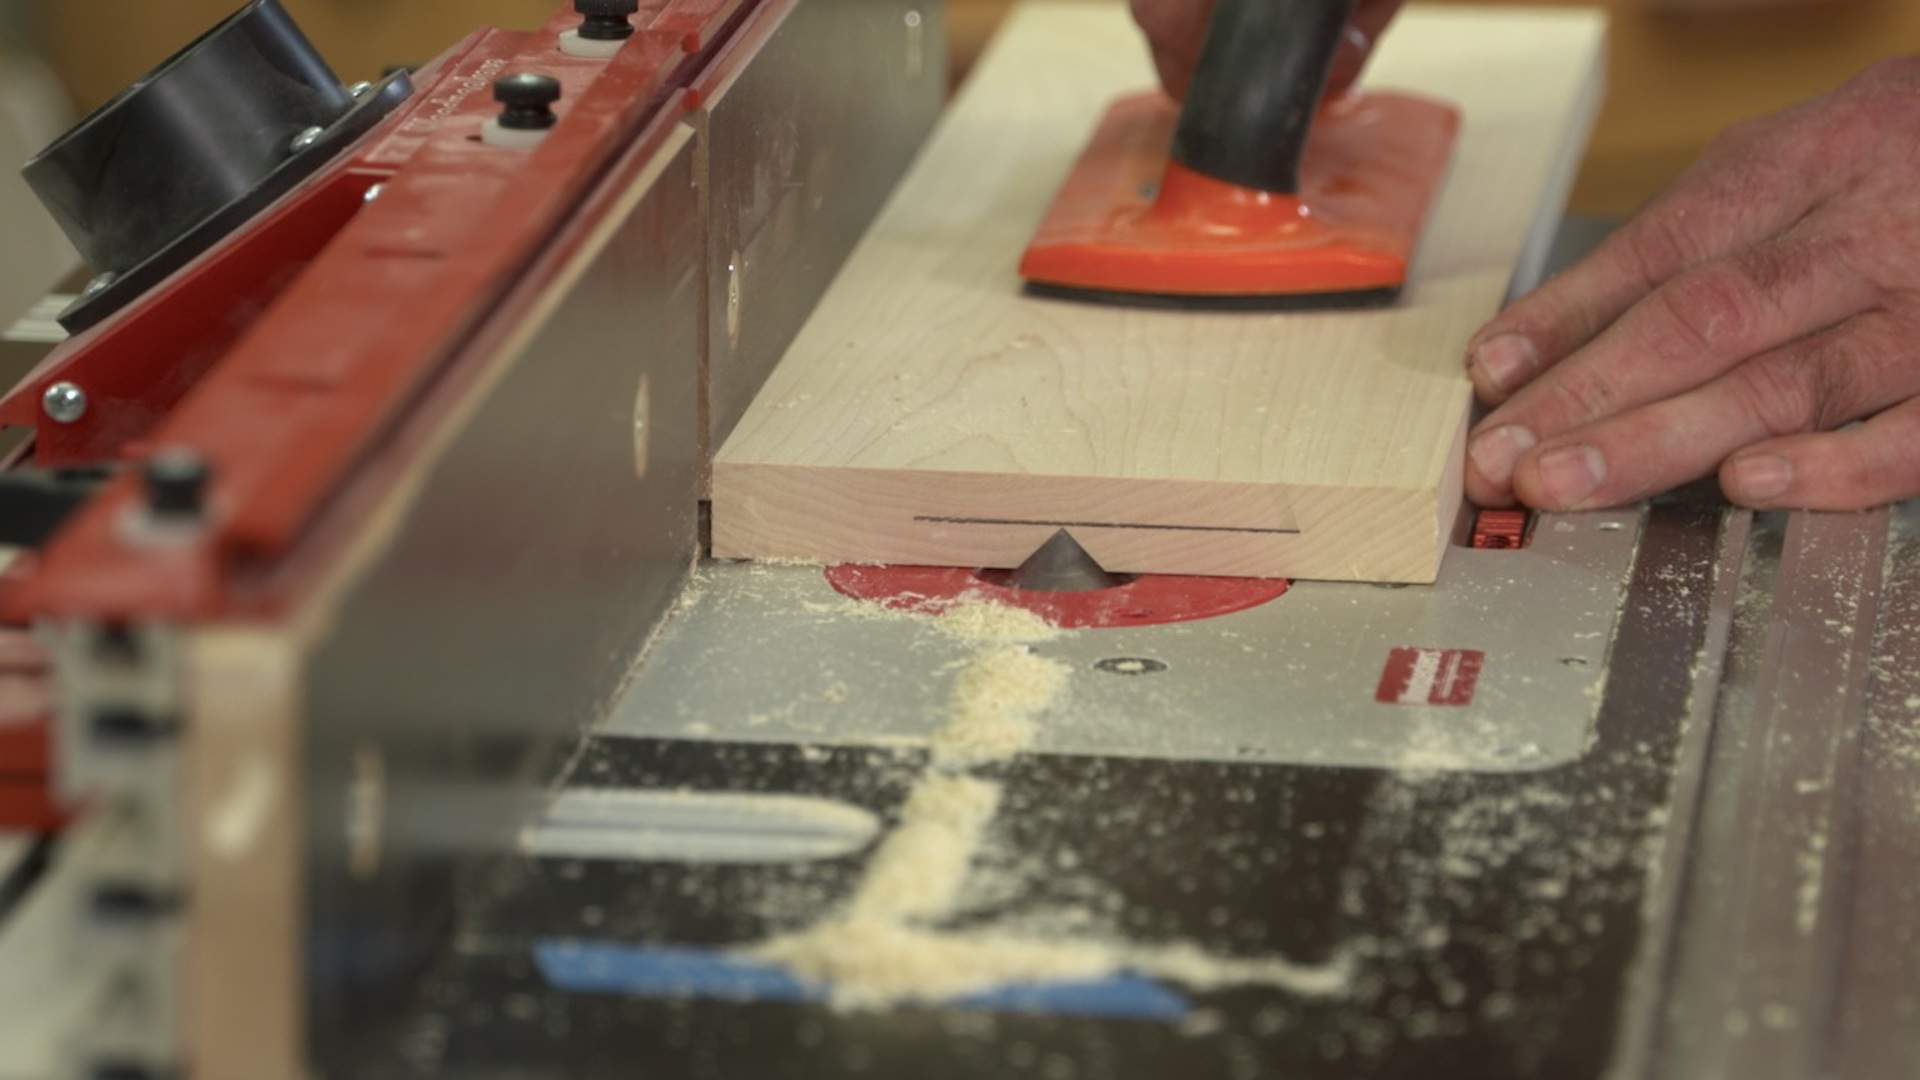
The seat includes a groove, and George provides a great tip for centering the groove on your seat, along with tips for safely using a router to make the groove. A long, stopped cut is done on the table saw to help create the final shape of the seat.
Session 3: Build the Notch Jig
8:11
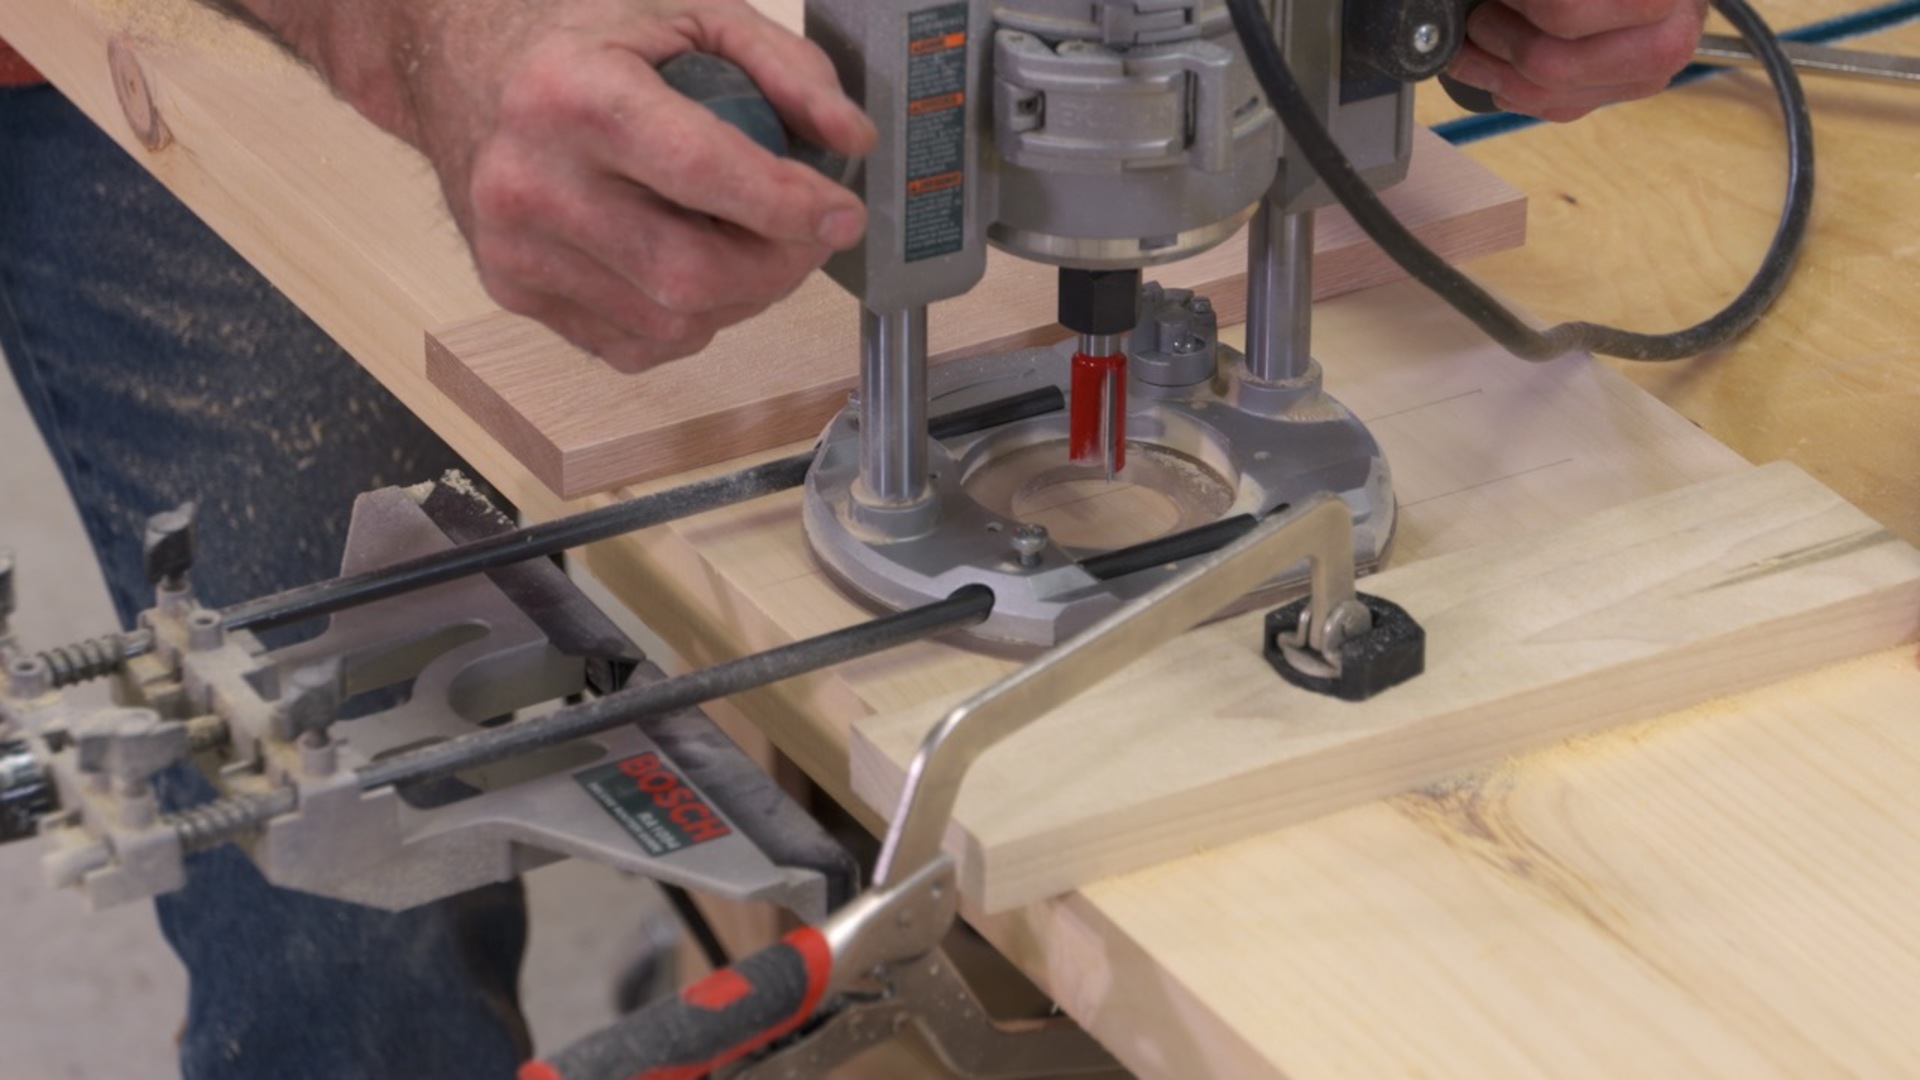
A robust joint is required to secure the legs to the seat. The joint consists of a notch in the seat and a tenon on the legs. The easiest way to make the notch is by using a router and guide bushing, which means a shop-made jig.

Session 4: Notch the Seat
3:38
With the notching jig clamped in place it’s easy to cut the three leg notches required in the seat. This is a great application of a hand-held router equipped with a guide bushing. The large notch is easy to cut, and the router and bit provide excellent joint quality.
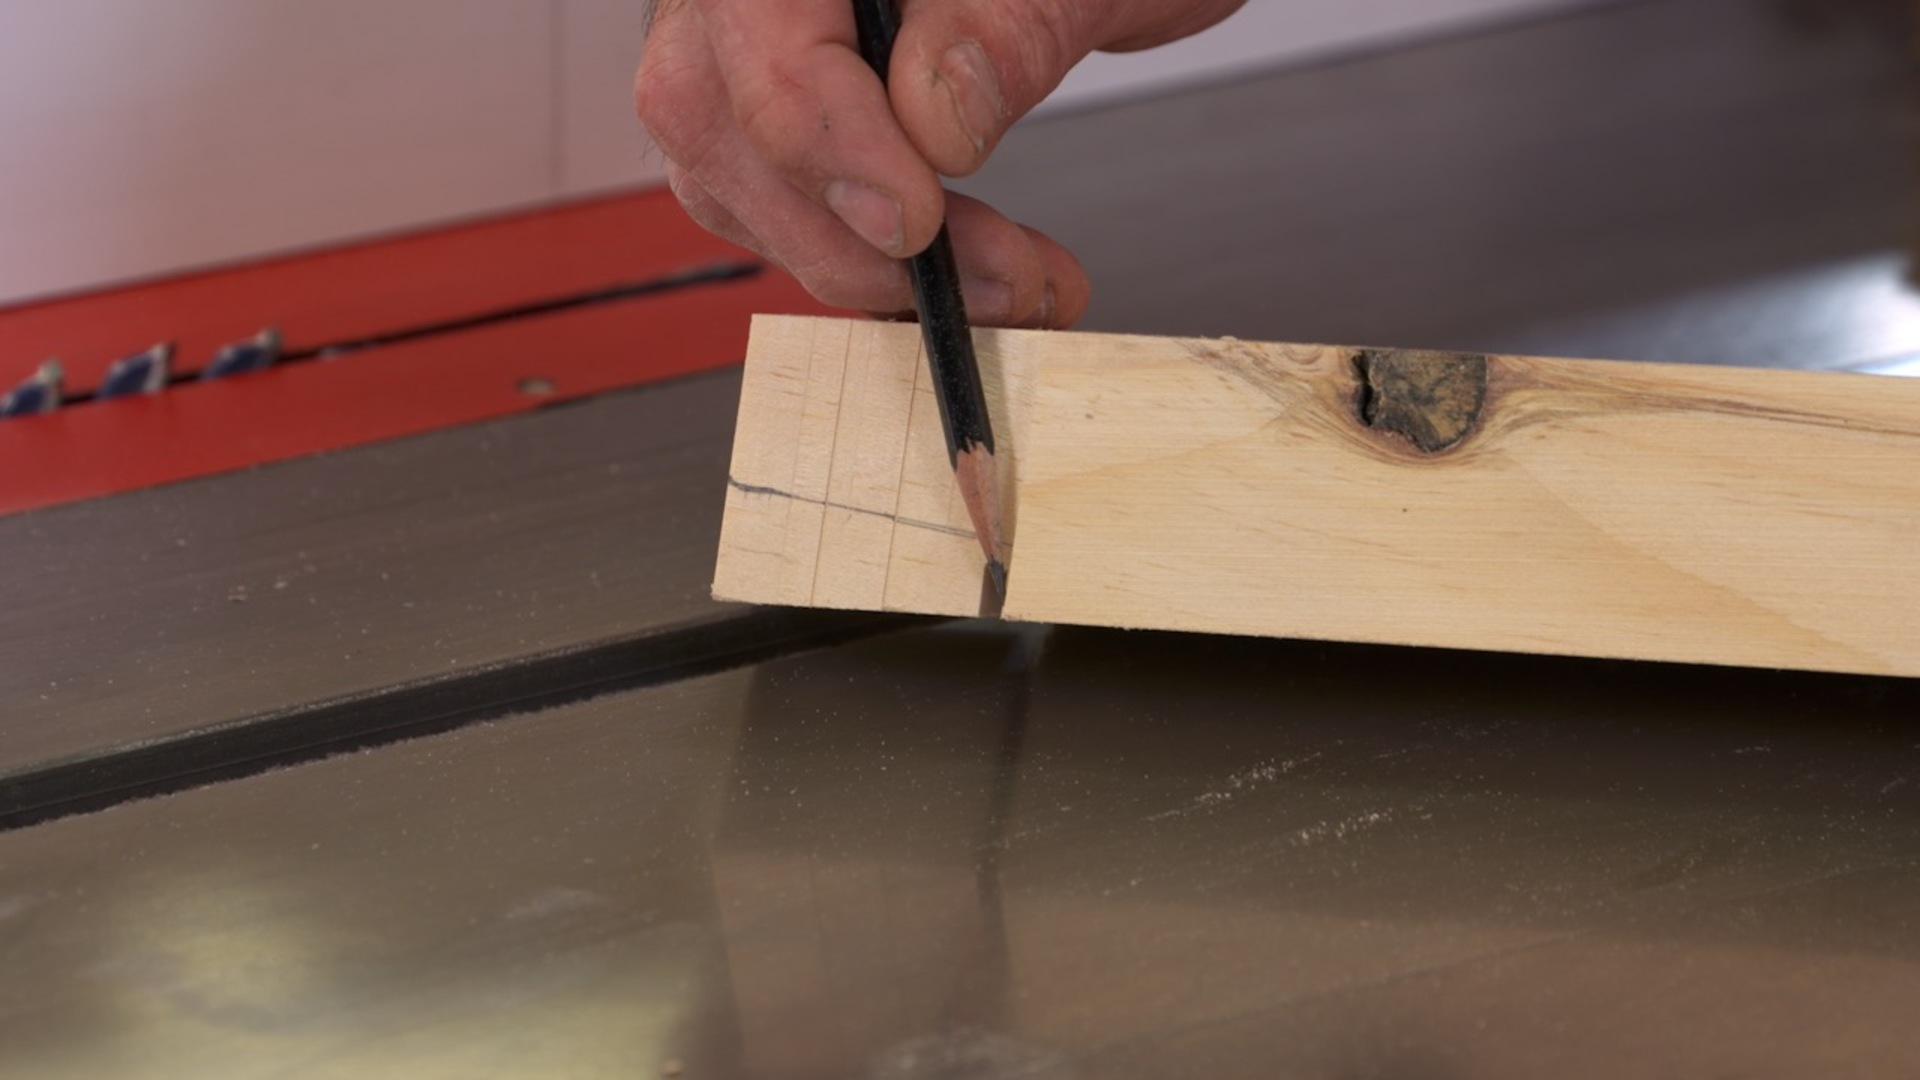
Session 5: Tenon the Legs
15:54
It’s hard to beat the strength that comes from the mortise and tenon joint on the shave horse, provided you craft a good fit between the tenon and mortise. Most of the tenon work is done with a stacked dado head. The angle on the tenon is created via a combination of work on the table saw and bandsaw.
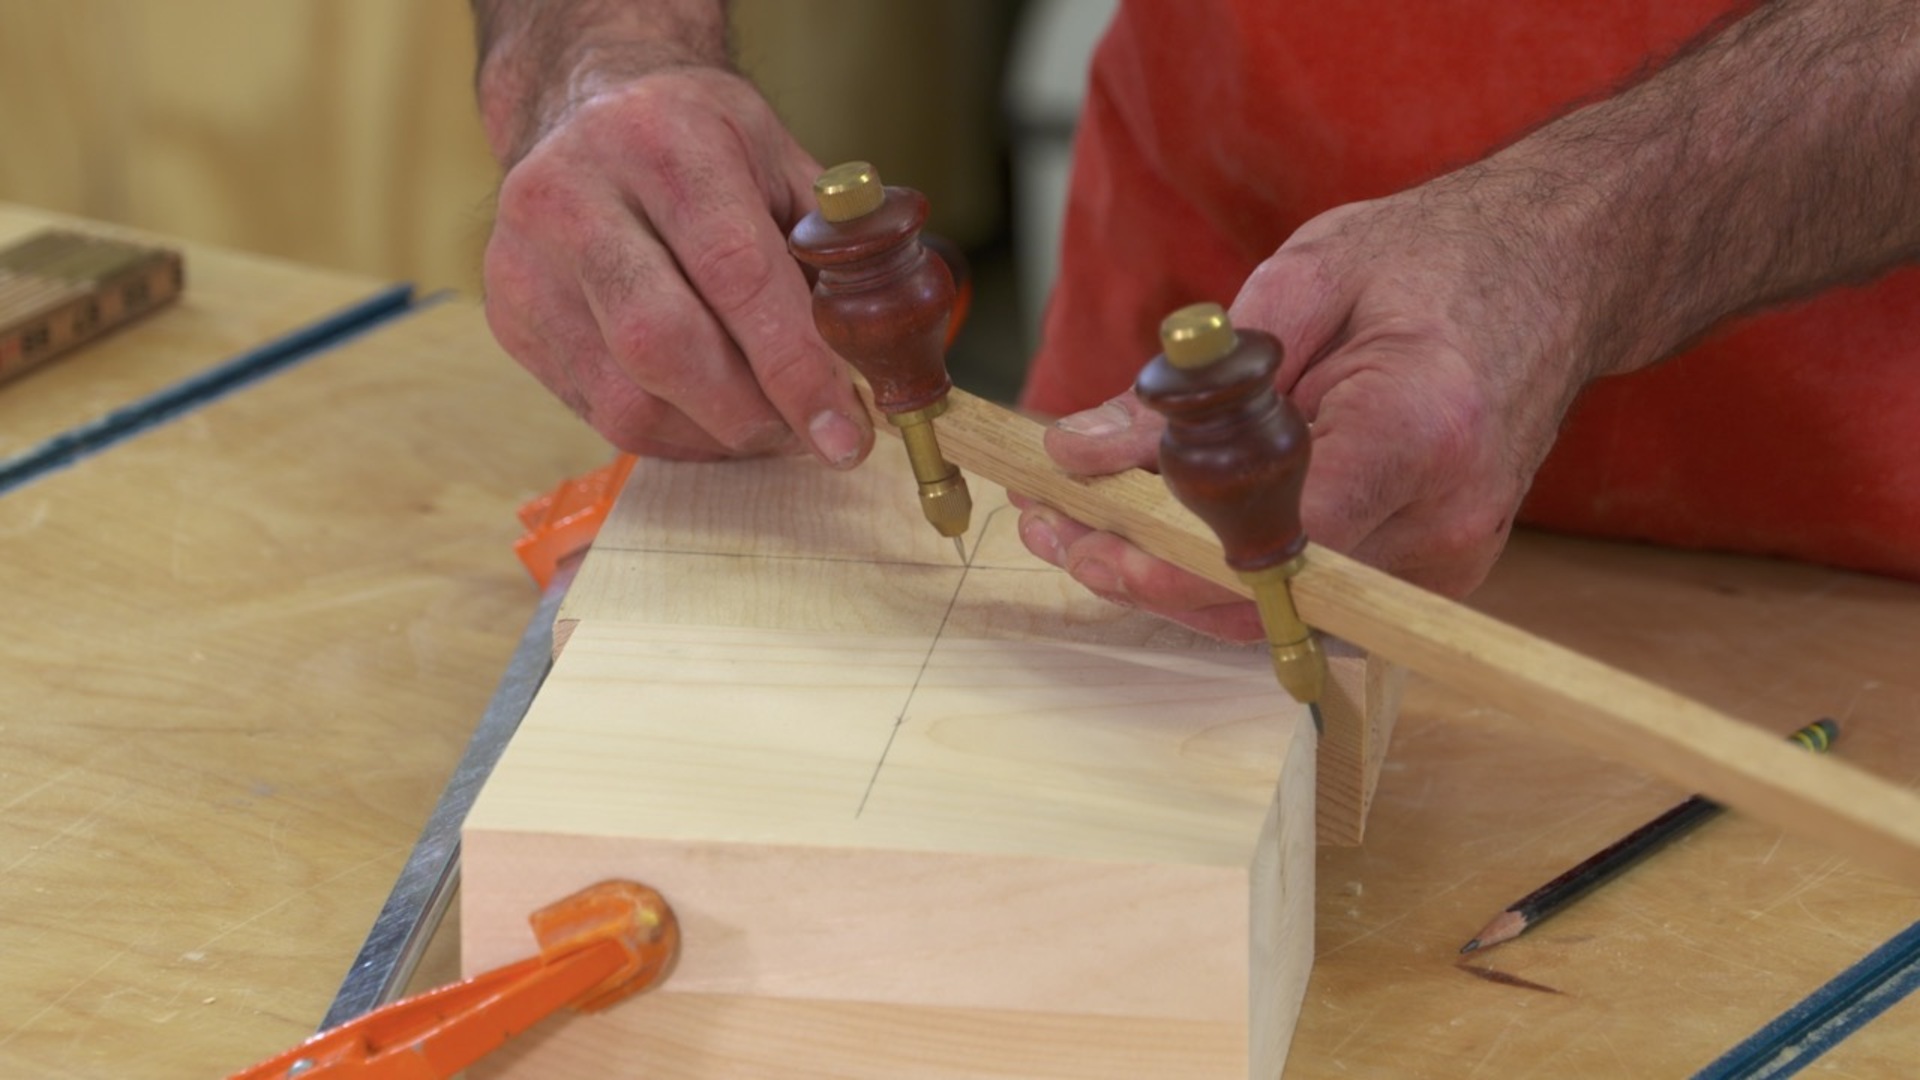
Session 6: Make the Quoin
6:56
I made the quoin using compound cuts on the bandsaw. The curves on the quoin are big, so you’ll need (and get) some layout tricks that allow you to use trammel points to create the curves. The bandsaw, followed by some sanding, gives you a perfect quoin.
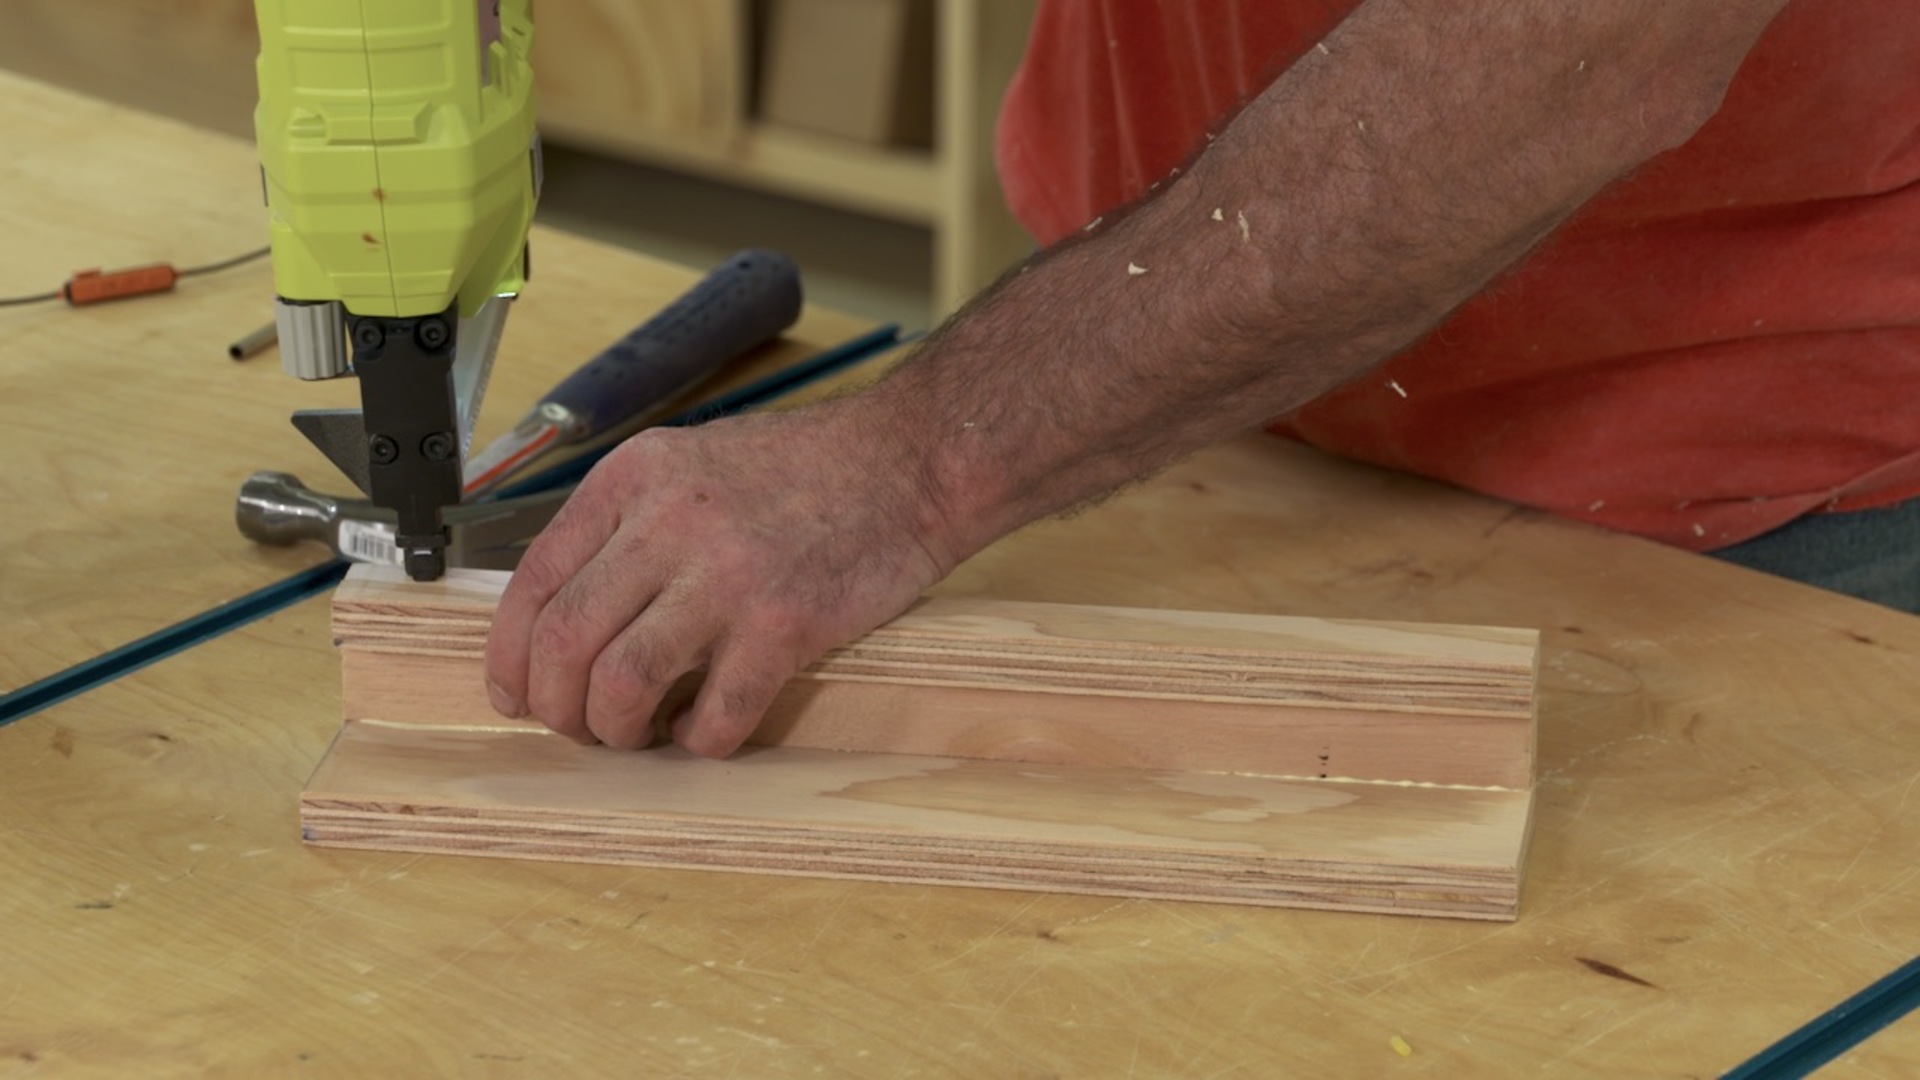
Session 7: Make the Kicker Frame
9:11
There’s lots of pressure on the kicker frame when you’re holding your work in place. To get that strength the frame is joined with half laps, an incredibly strong joint. You’ll learn how to make those on the table saw with a dado head.
Session 8: Assemble & Detail the Kicker Frame
7:01
With a little measuring so you can perfectly cut the large dowel you’re ready to assembly the kicker. Assembling the half laps is a little different from other joints, requiring slightly different clamping techniques. A chamfer details finishes the kicker.
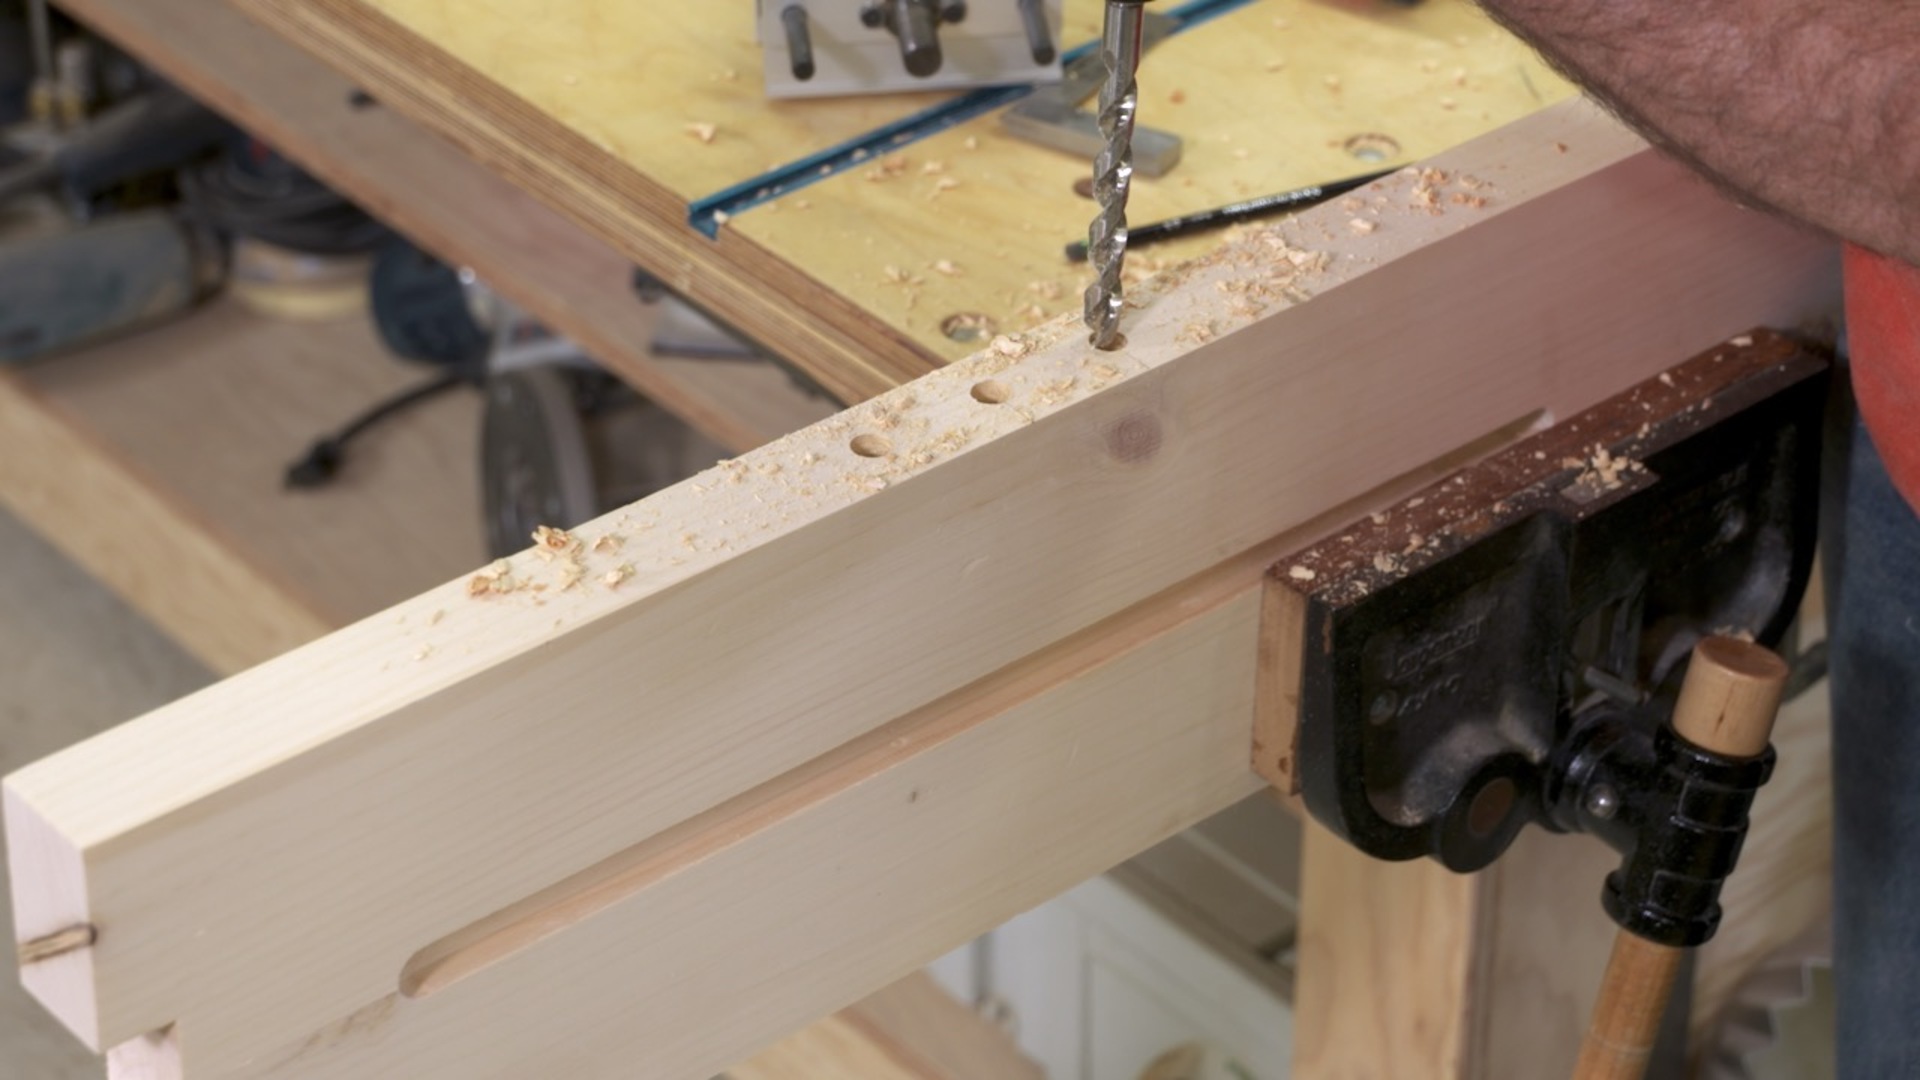
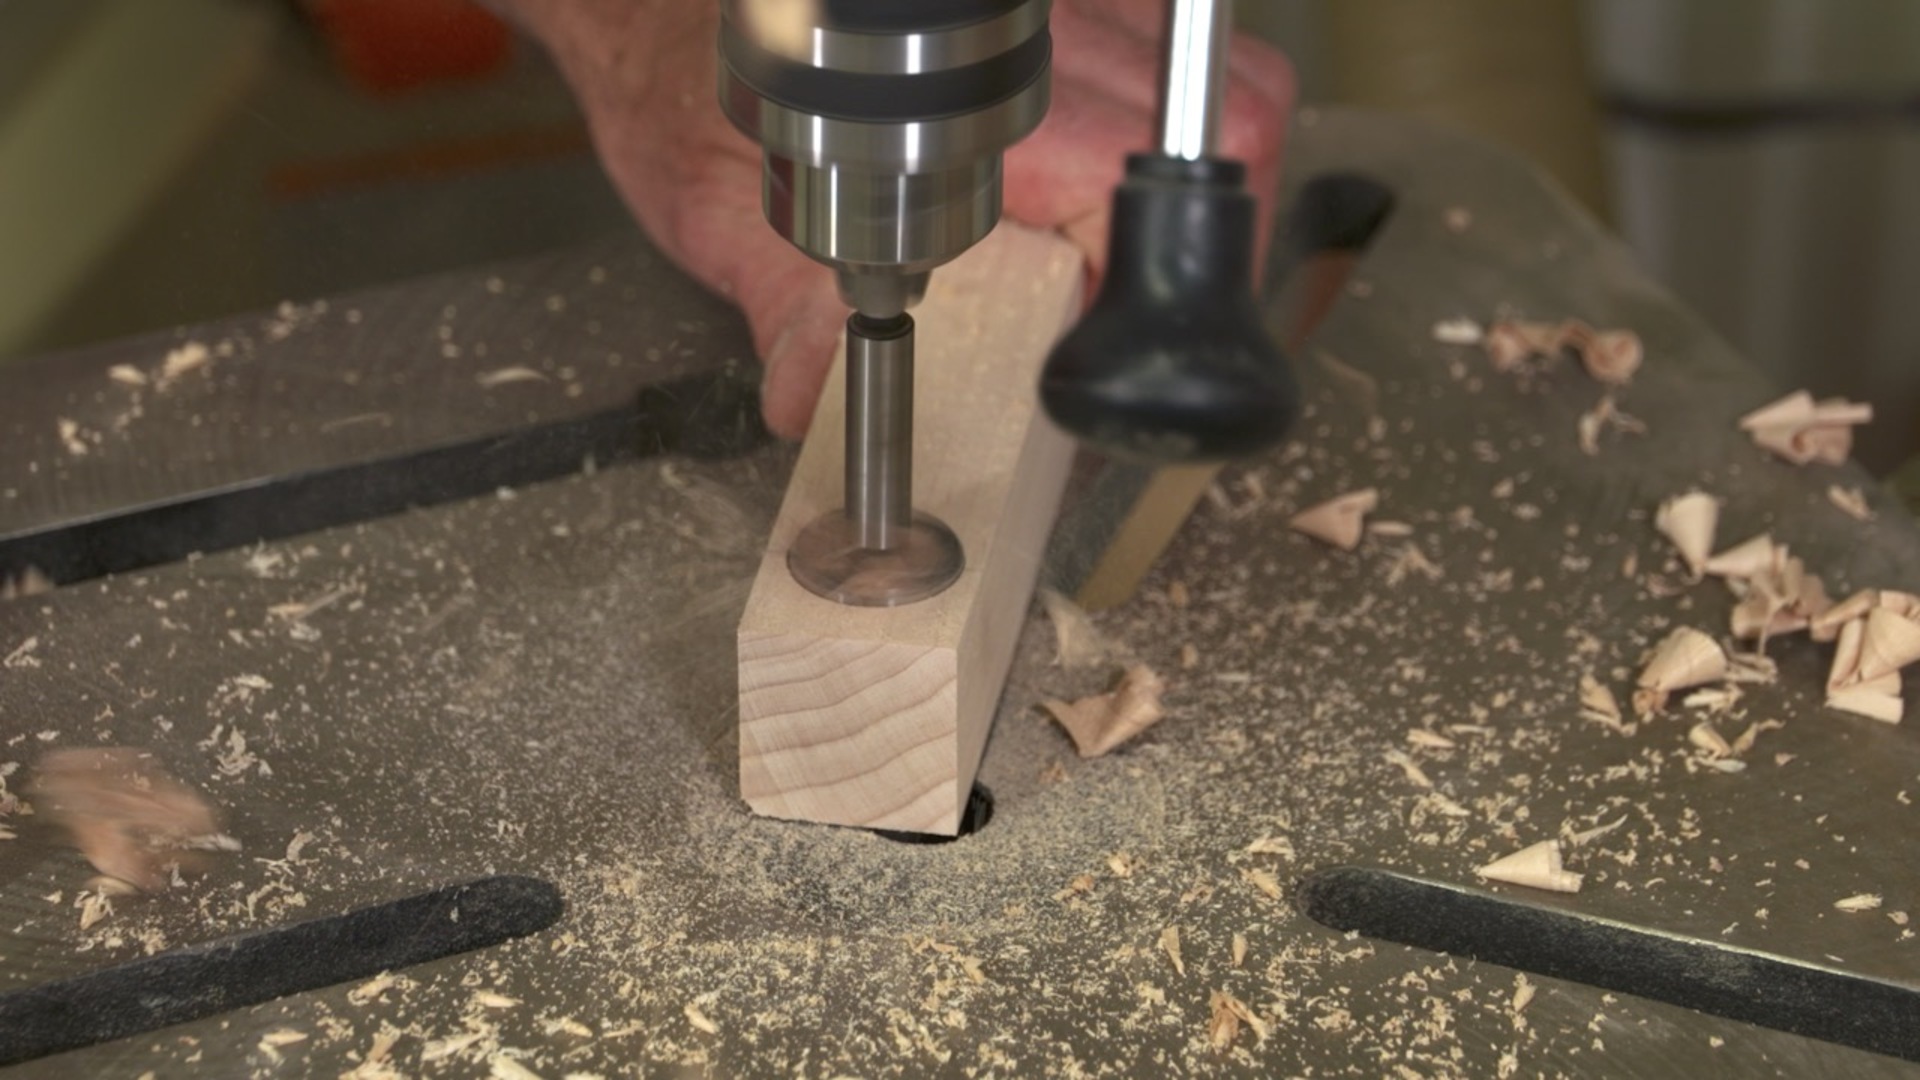
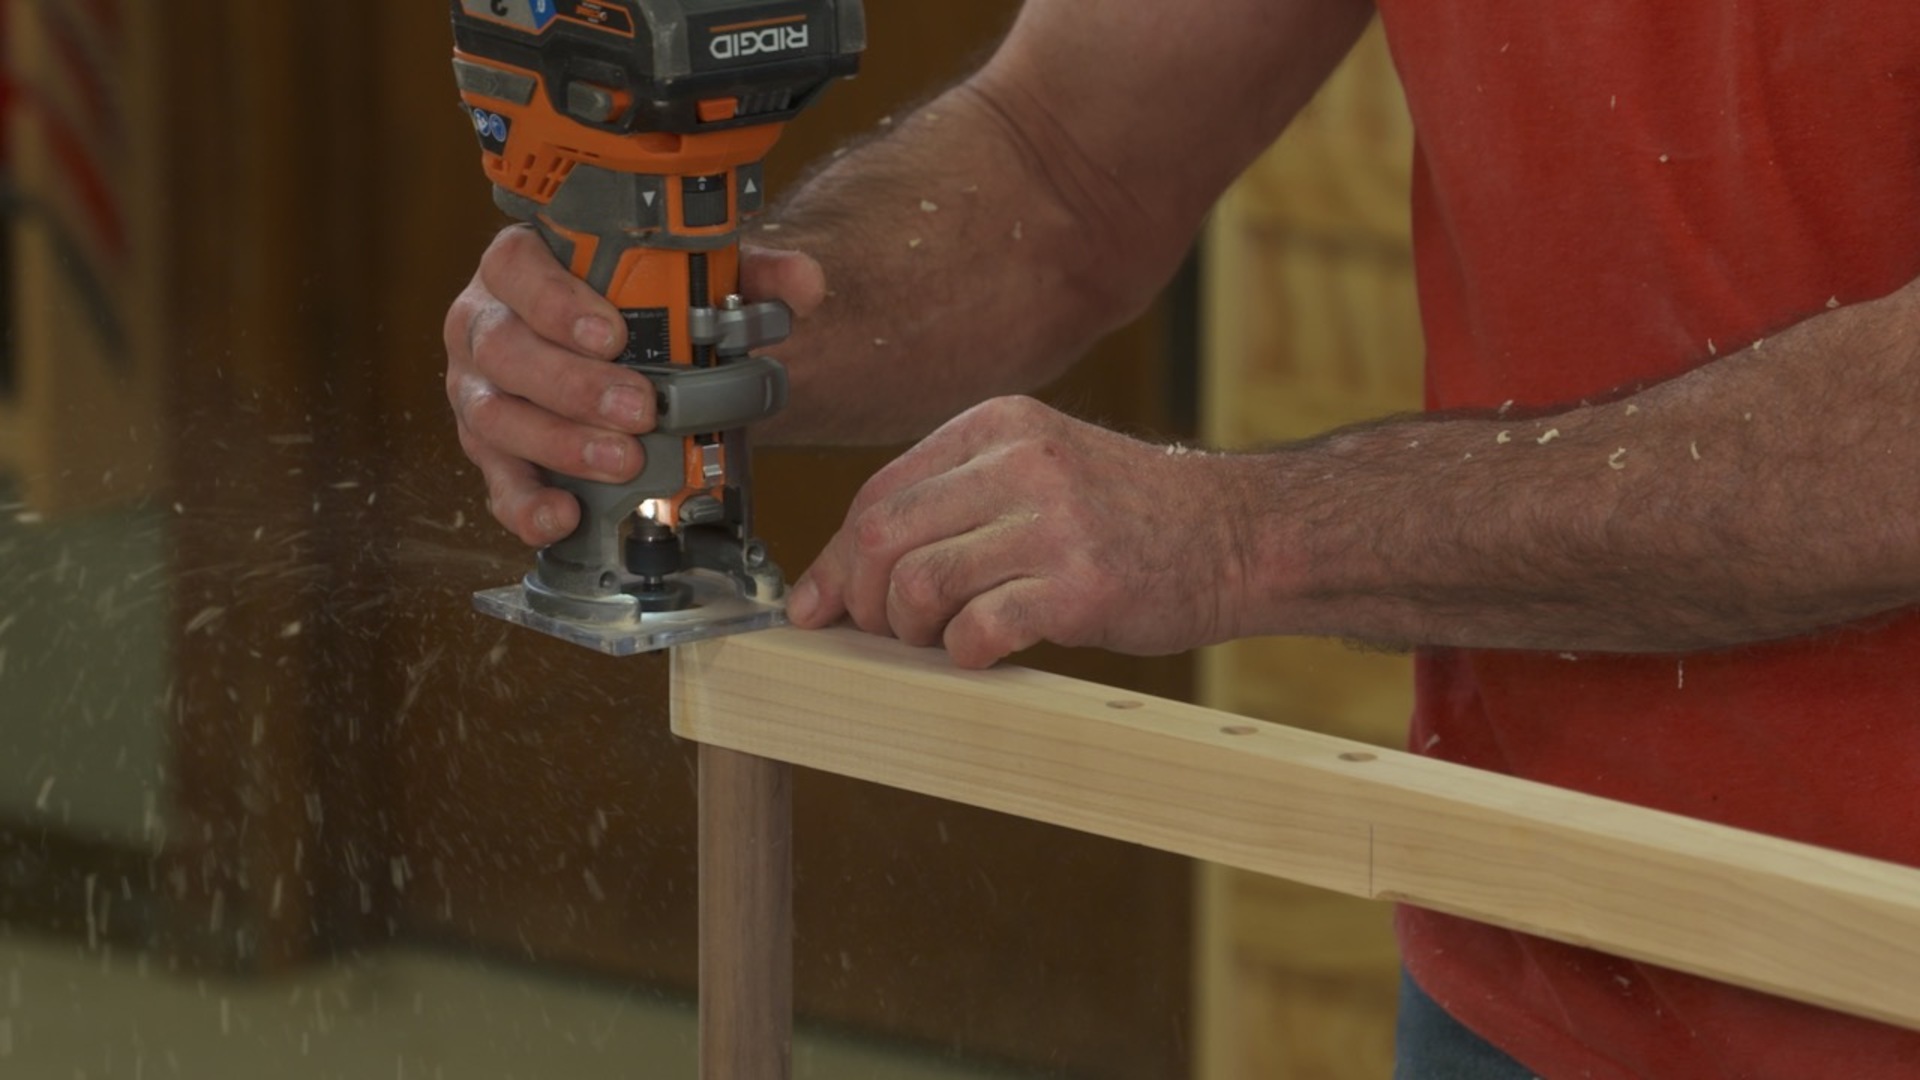
Session 9: Drill Seat and Glue the Legs On
8:16
Getting the kicker’s mounting holes drilled straight and true all the way across the width of the seat is a little tricky, but we’ve got tips that’ll help you. Then you’ll be ready to glue the legs on. Their 5-degree splay angle adds a bit of a challenge to assembly, but we’ll help you overcome that.
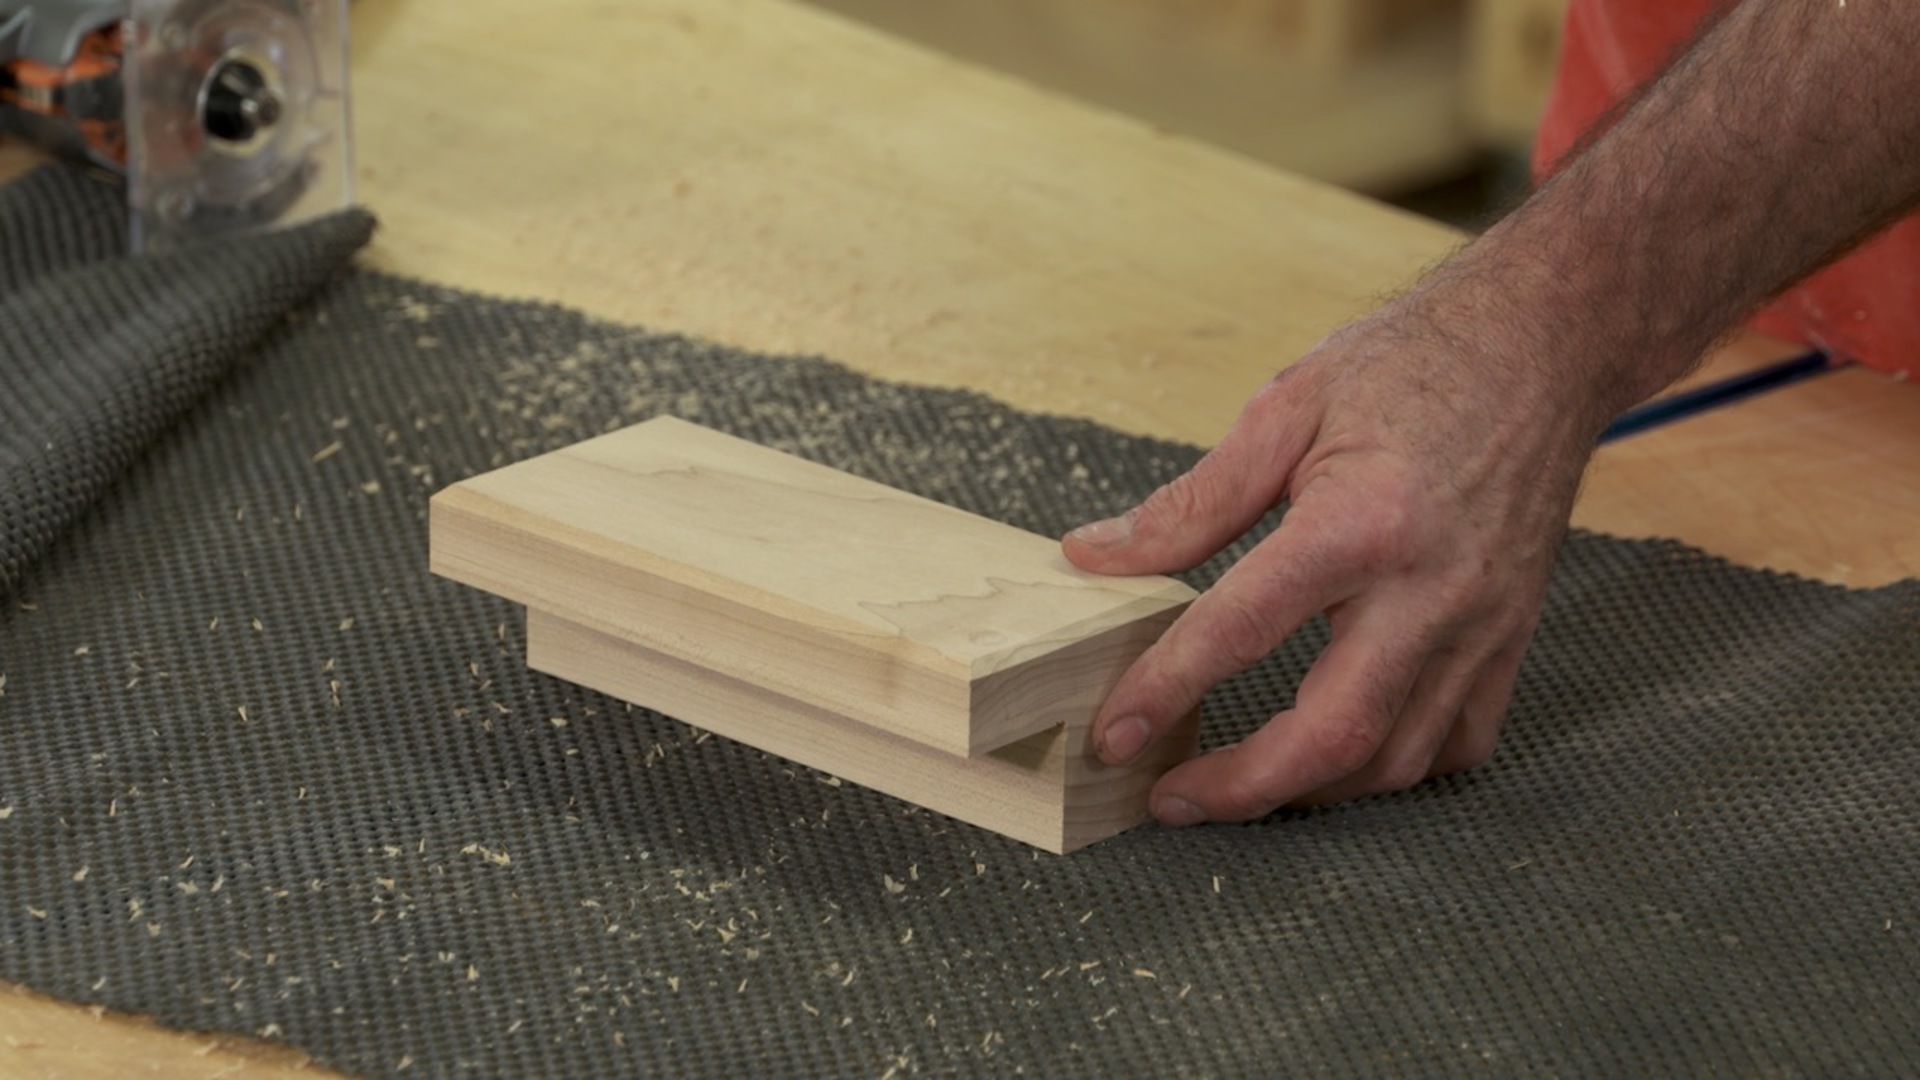
Session 10: Rout the Platform
3:34
Make the anchor block by doing two cuts on the table saw to create a really large rabbet. Cutting rabbets with a single table saw blade is a handy skill, often saving you from setting up a dado head or router bit. The hold down retainer is a simple hardwood block.
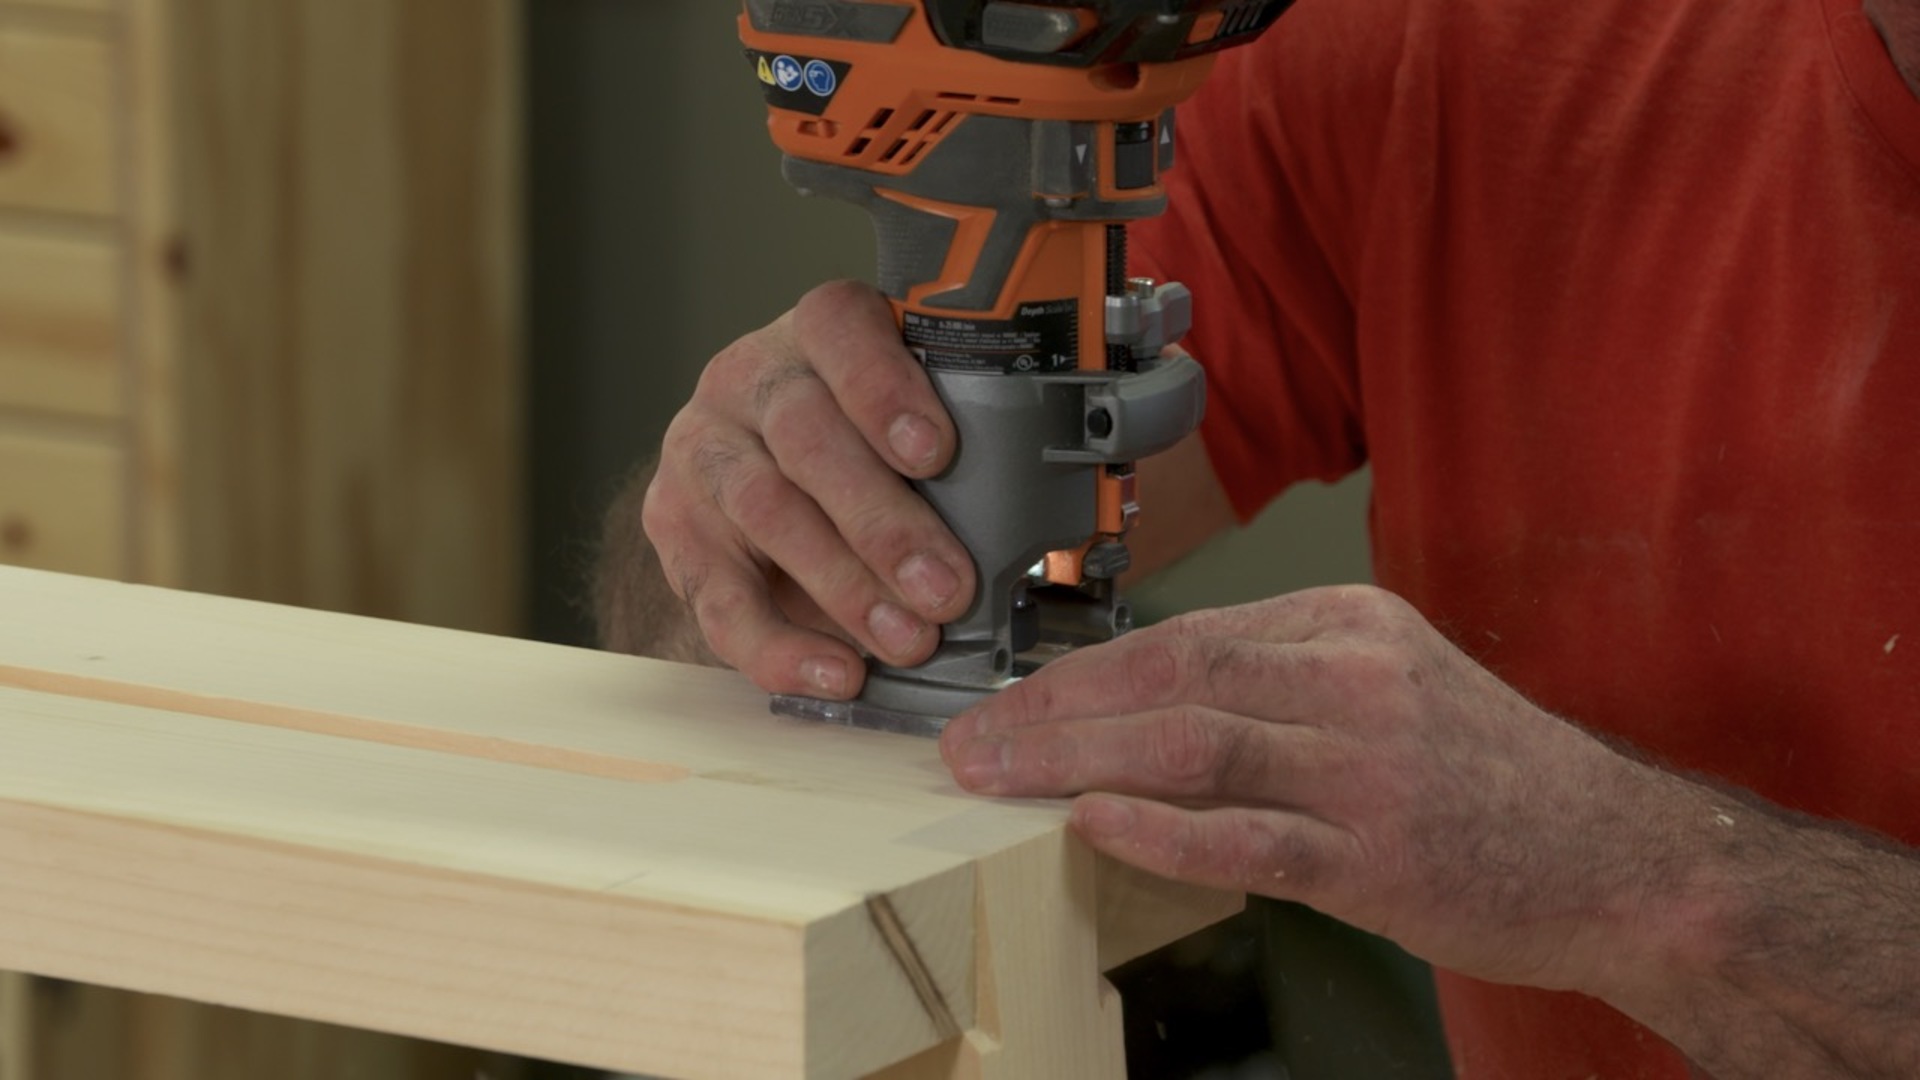
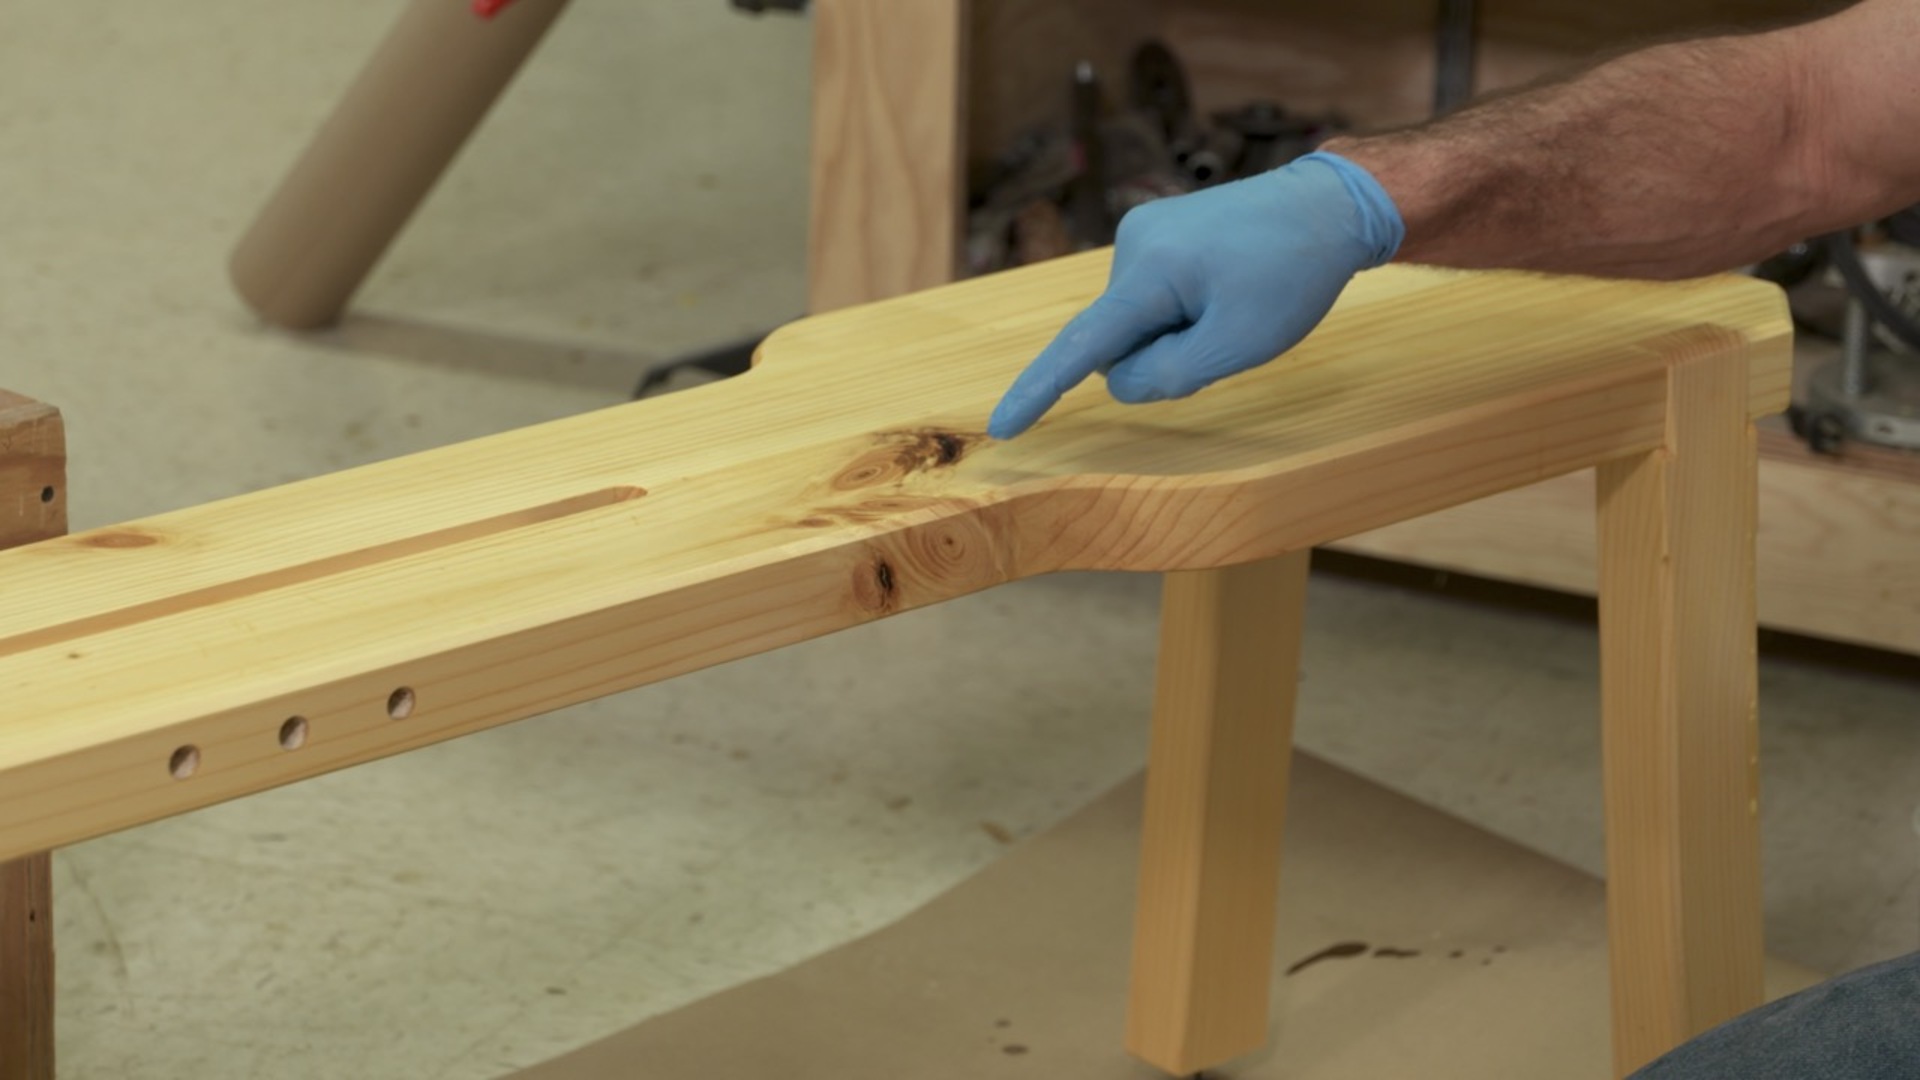
Session 11: Detail the Seat and the Legs
12:38
It’s very handy to have a V-groove in your platform that’ll help you handle round stock on your shave horse. The V-groove is cut with a 90-degree V-bit on a router table, making multiple passes and a consistent stop point. And, like other parts of this project, a chamfer finishes it.
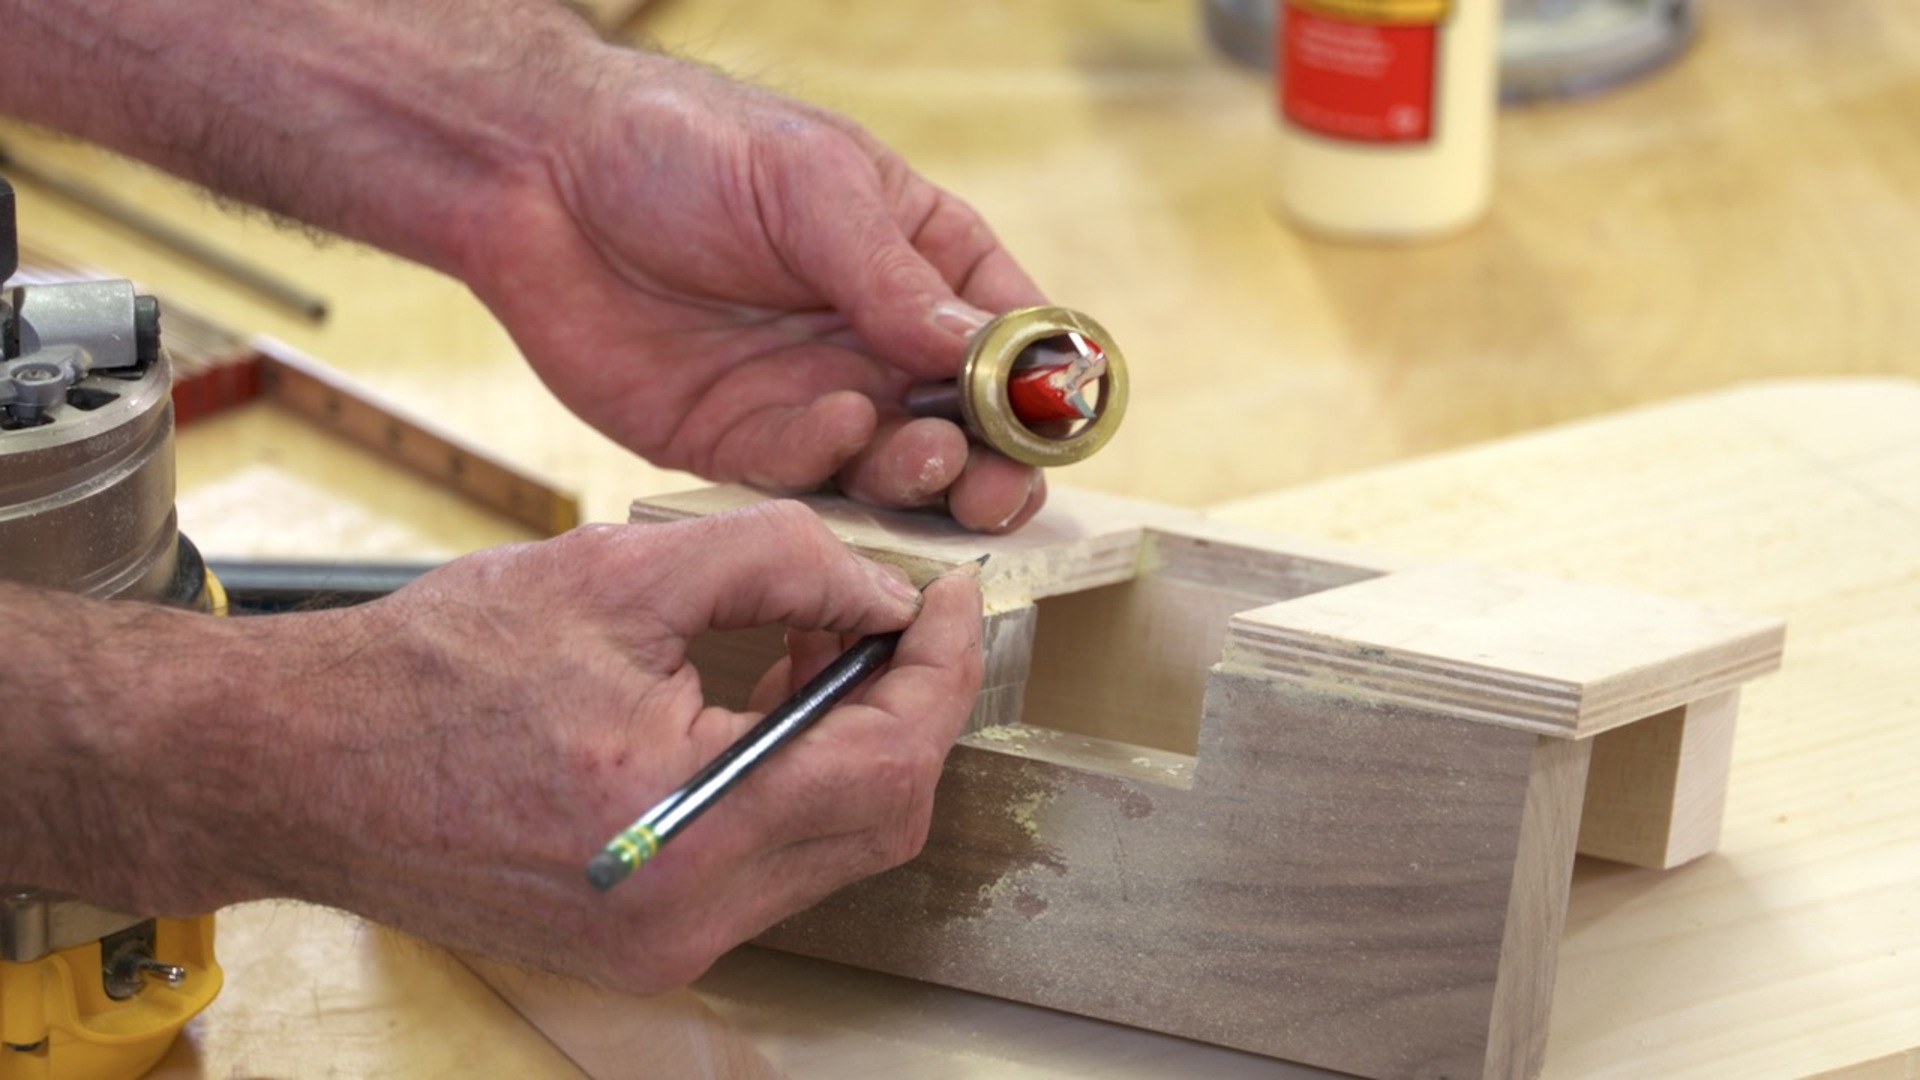
Session 12: Make the Pins
7:00
Hand tool work goes a long way toward detailing the seat and legs. The best way to level the end grain of the legs and face grain of the seat is with a low angle plane. And a compound chamfer on the leg’s tenon provides a great detail. A stopped chamfer on the seat wraps it all up.
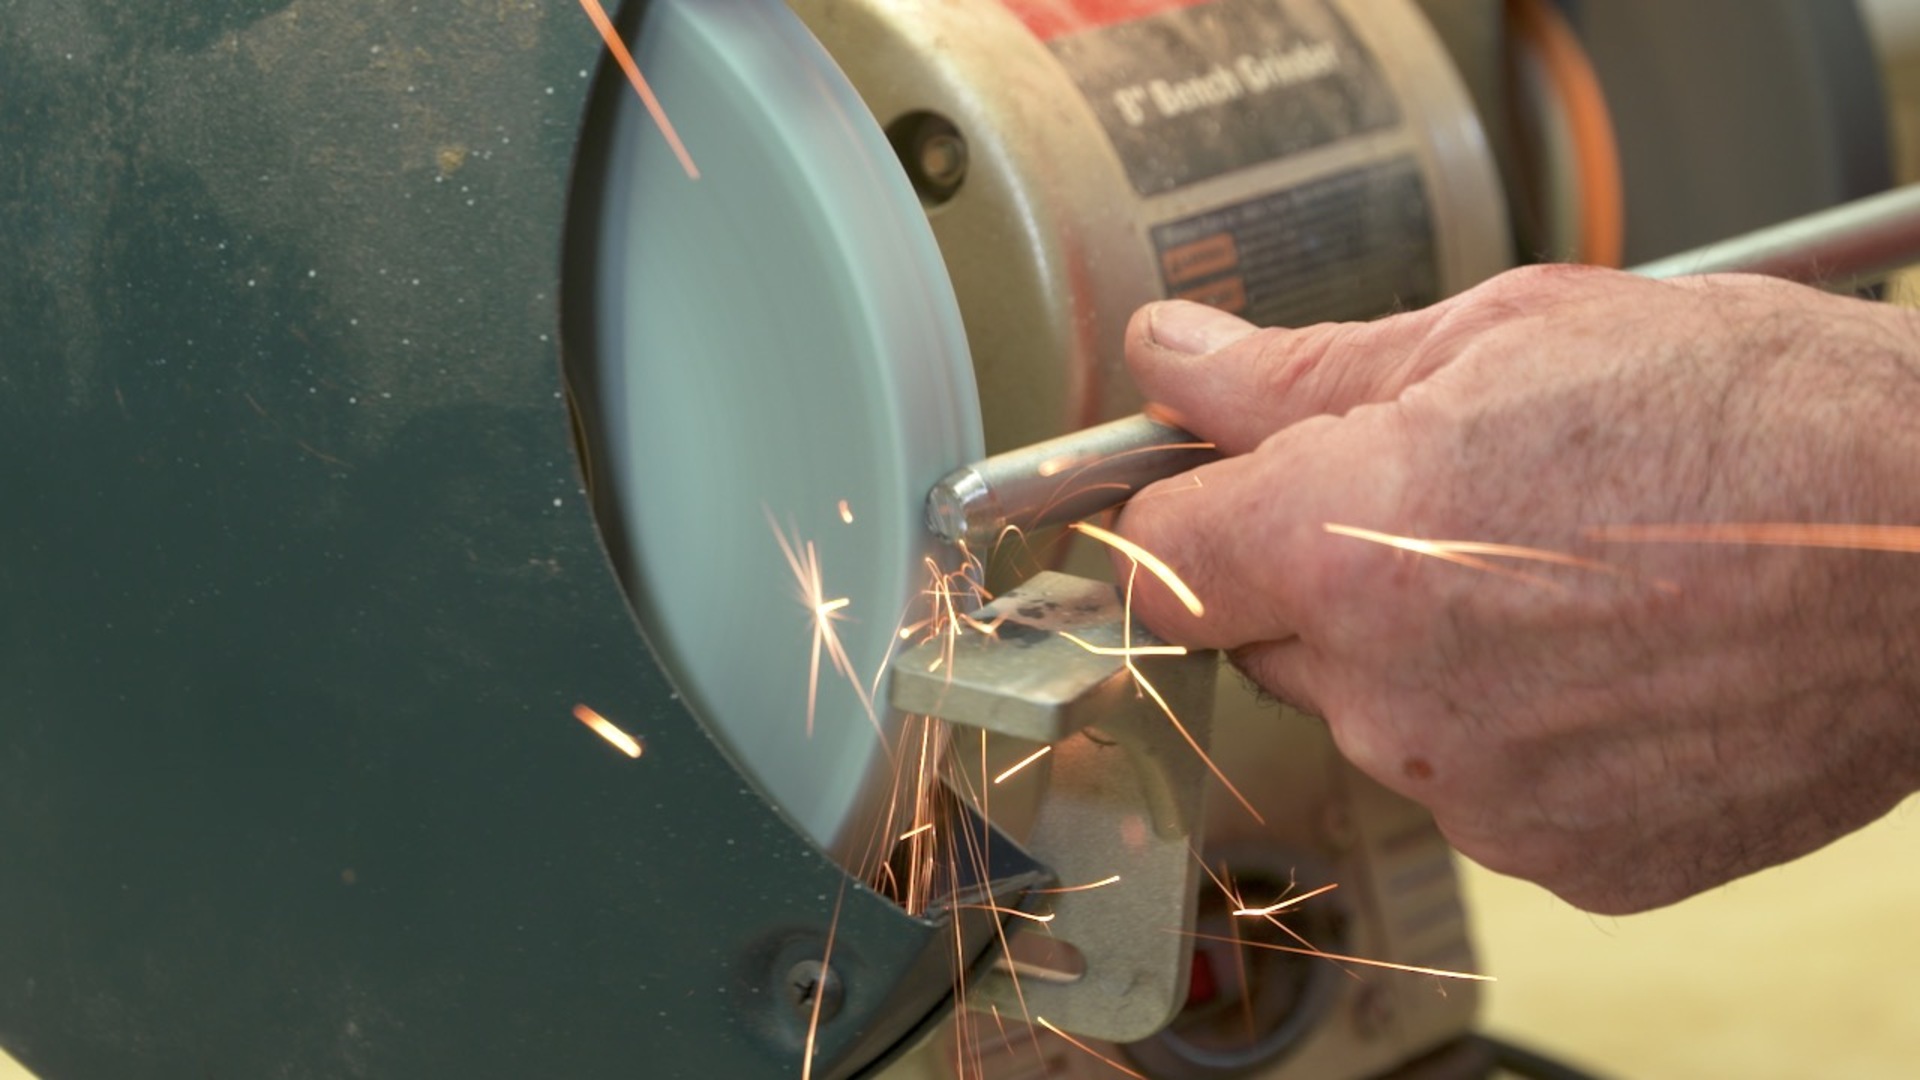
Session 13: Anchor Block and Hold-Down Retainer
5:13
A little grinding and work with a torch gets your pins ready to go. The grinder makes the ends of the steel rod easier to handle and, with heat, we can create a bend that adds a handle to the pins.
Session 14: Make the Hanger
3:12
If you won’t be using your shave horse every day, it’s nice to have a place to store the shave horse when you’re not using it. The hanger, mounted on a wall, engages with the anchor block so the horse will hang vertically, out of your way.
Session 15: Sand and Finish
6:27
Thoroughly sand your shave horse and it’ll be ready for finish. George uses boiled linseed oil on his, a great choice for shop items. There are some precautions about using oils in your shop that George provides. Once the finish is dry your shave horse is ready to use.
Cross a workbench with a vise, add in a few more features, and you end up with a shave horse. This is a workbench you sit on, and it includes a way to grip your material as you work on it.
Common shave horse projects
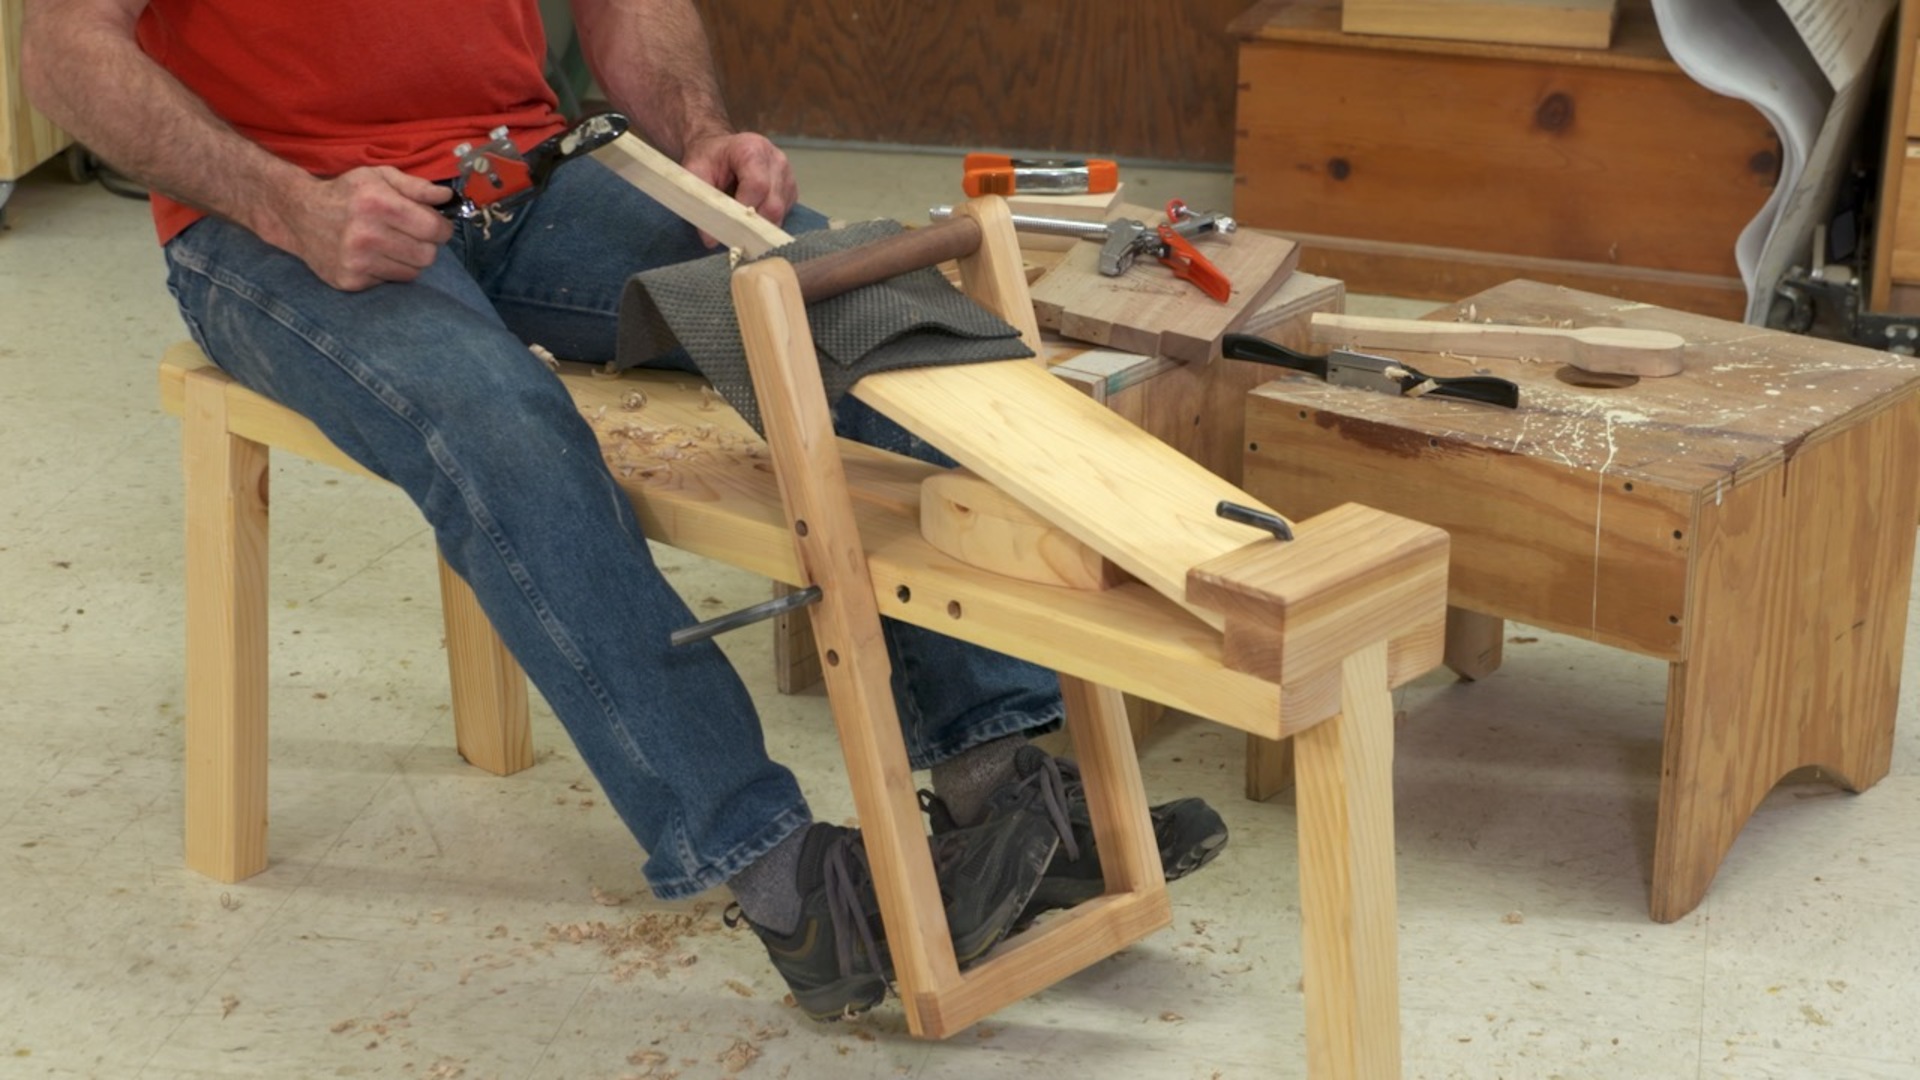
A shave horse is typically used by people who are carving or doing with a drawknife or spokeshave. Your workpiece is held in place by pressure from your foot so it’s very easy to carve, reposition, carve, reposition. And, because you’re sitting in front of your workpiece, the body mechanics of using a spokeshave or drawknife are great.
You’ll see a shave horse used for everything from traditional bows to spoons to tool handles to table legs, and more.
Features
In addition to the traditional characteristics found in a shave horse, this version includes another hold down that allows you to clamp work to the seat. This is very handy and allows you to use this shave horse for many more projects.
What you’ll learn
A unique woodworking task on this project is fitting the tenons on the legs to the mortises in the seat. The legs are splayed at an angle, so it takes finessing of the tenon to create a sound fit.
The seat transitions from wide to narrow through an S curve. You’ll create the flowing curve by drawing and cutting tangential circles.
The project includes a half lap joint. This is a great joint to learn because of its strength.
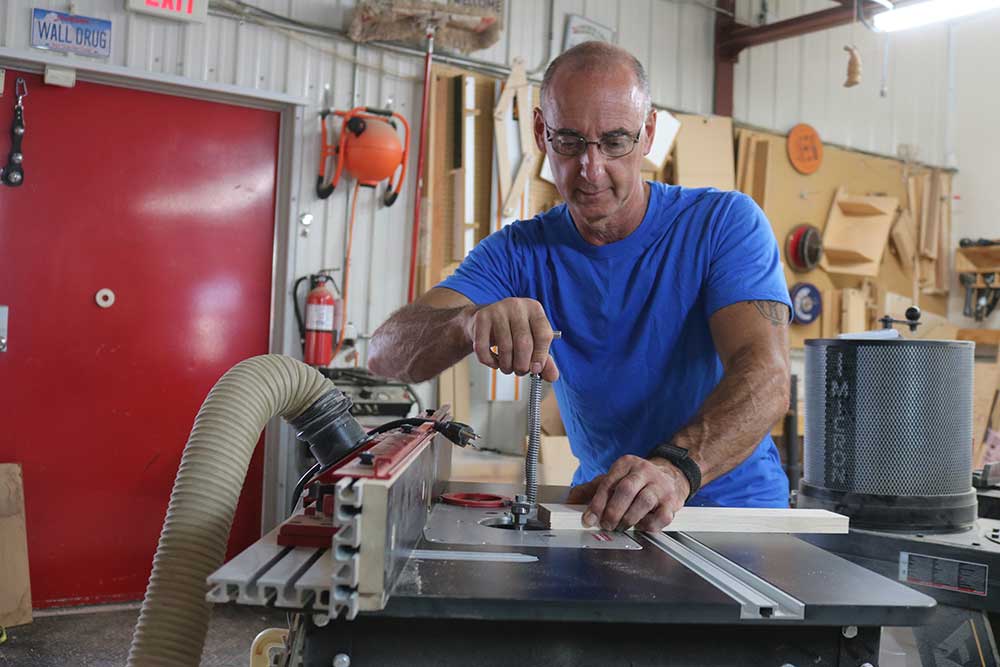
George Vondriska
Formally trained in technology education, George Vondriska has been teaching woodworking since 1986. He has been the managing editor of Woodworkers Guild of America since 2007. In addition to classes at his own Vondriska Woodworks School, George teaches at woodworking shows across the country and has taught woodworking for the Peace Corps, Andersen Window, Northwest Airlines and the Pentagon.
Bonus materials available after purchase
