Build a Modular Craft Table
George Vondriska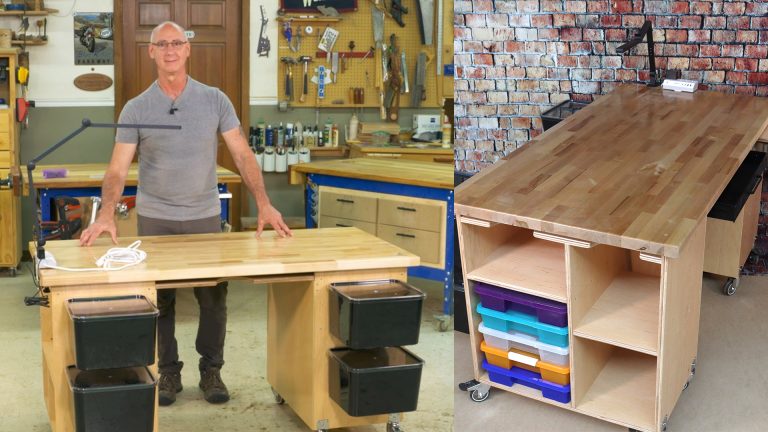
Class Preview
3:34
- In-depth Instruction; over 70 mins
- On-demand video access anytime
- Bonus downloadable PDF resources
- Access to class Q&A
Introduction
5:39
Before cutting any parts let’s get a feel for how this project comes together and its individual components. The base cabinets are simple and can be adapted as needed for your specific hobbies and crafts.

Material Choice
2:47
Many different materials can be used for the base cabinets; plywood, melamine, MDF, prefinished plywood…. Each of these choices has advantages and disadvantages. Let’s have a look at the options to help you choose what’s best for you.

Design Considerations
2:24
My design works great for me but may not work great for you. It’s easy to change the design to personalize this project. You can change the height by using different diameter casters, or by using the cut list I provided for a taller table.

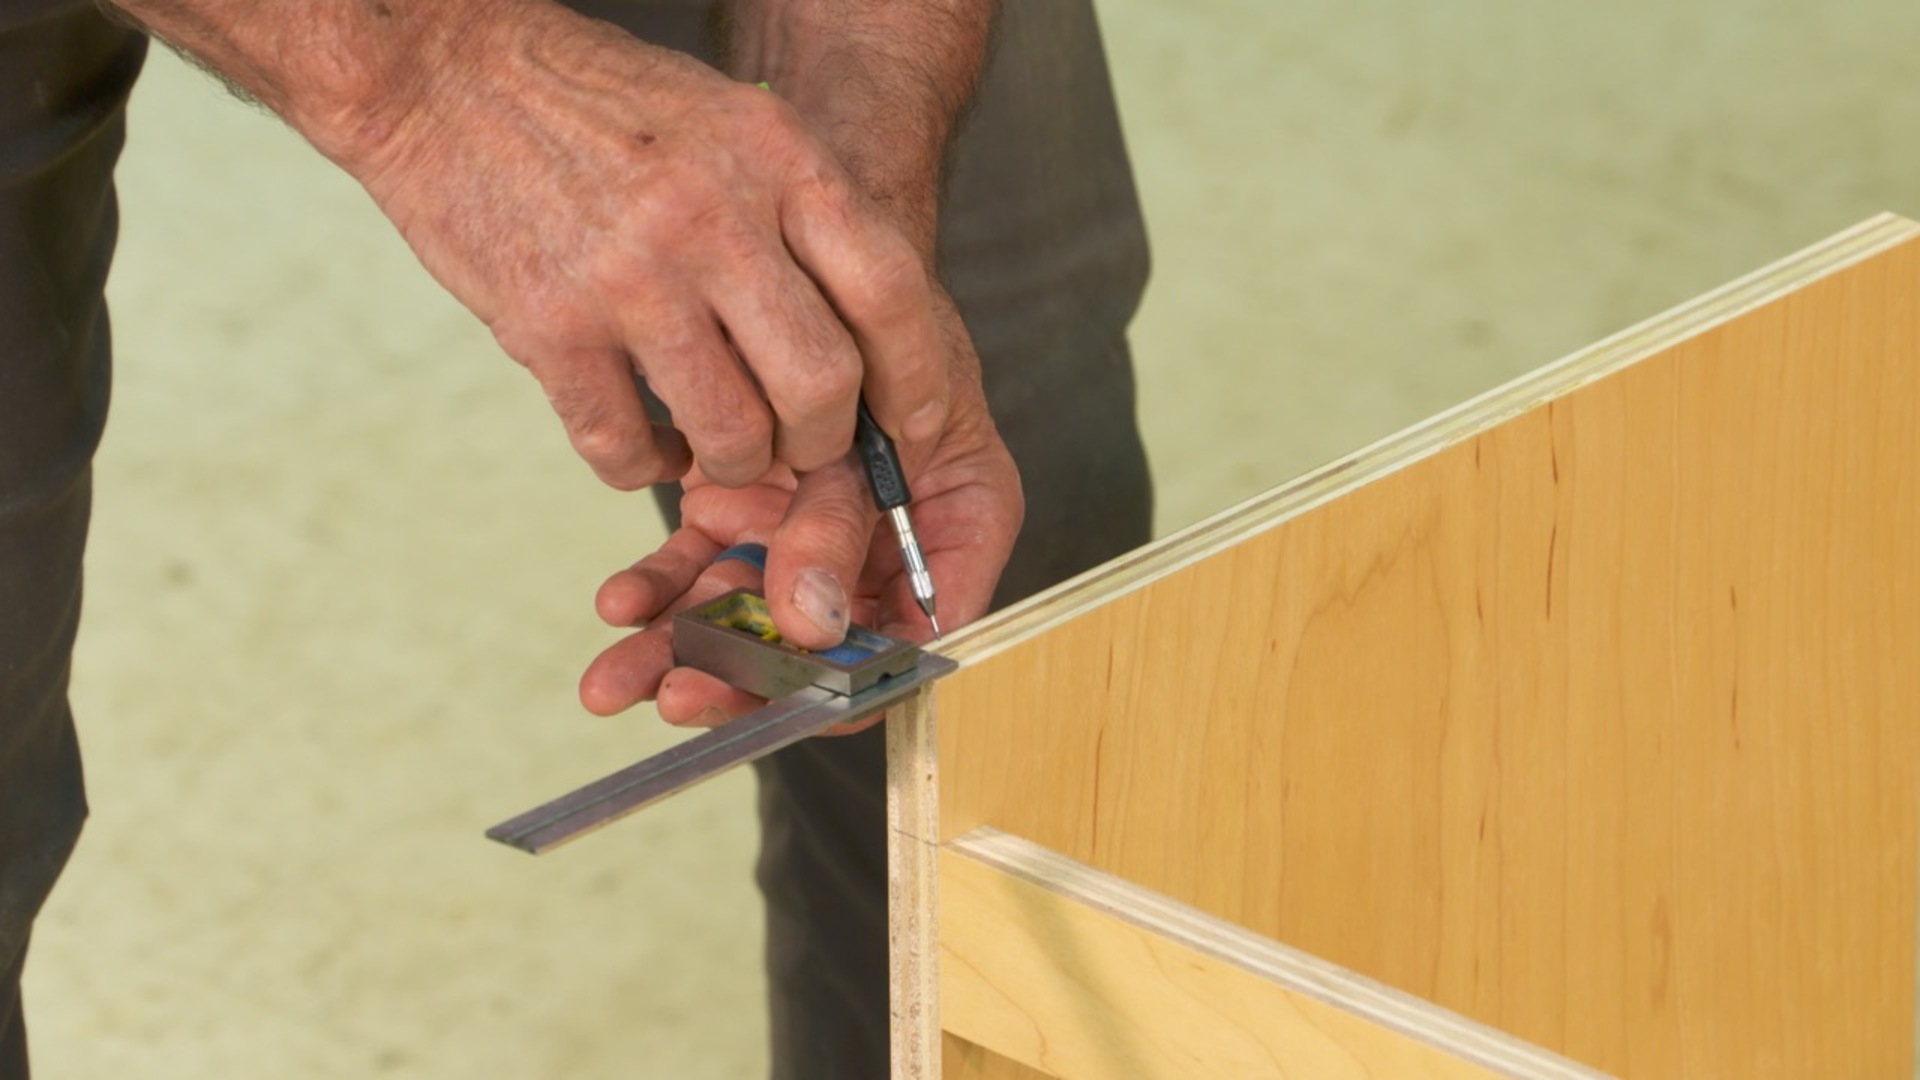
Make a Screw Template
3:24
All the cabinet components are screwed together. The easiest way to uniformly locate the screw holes is by making a template. The template will be used over and over on this project.

Assemble Case
11:11
Use the cut list to get your parts cut to size, and the screw template to locate the screws. Assembly, with butt joints throughout, is simple, but you’ll get great tips along with the way to help you get this right. A great trick is using the case parts to locate the case parts. This is much simpler than measuring and marking.
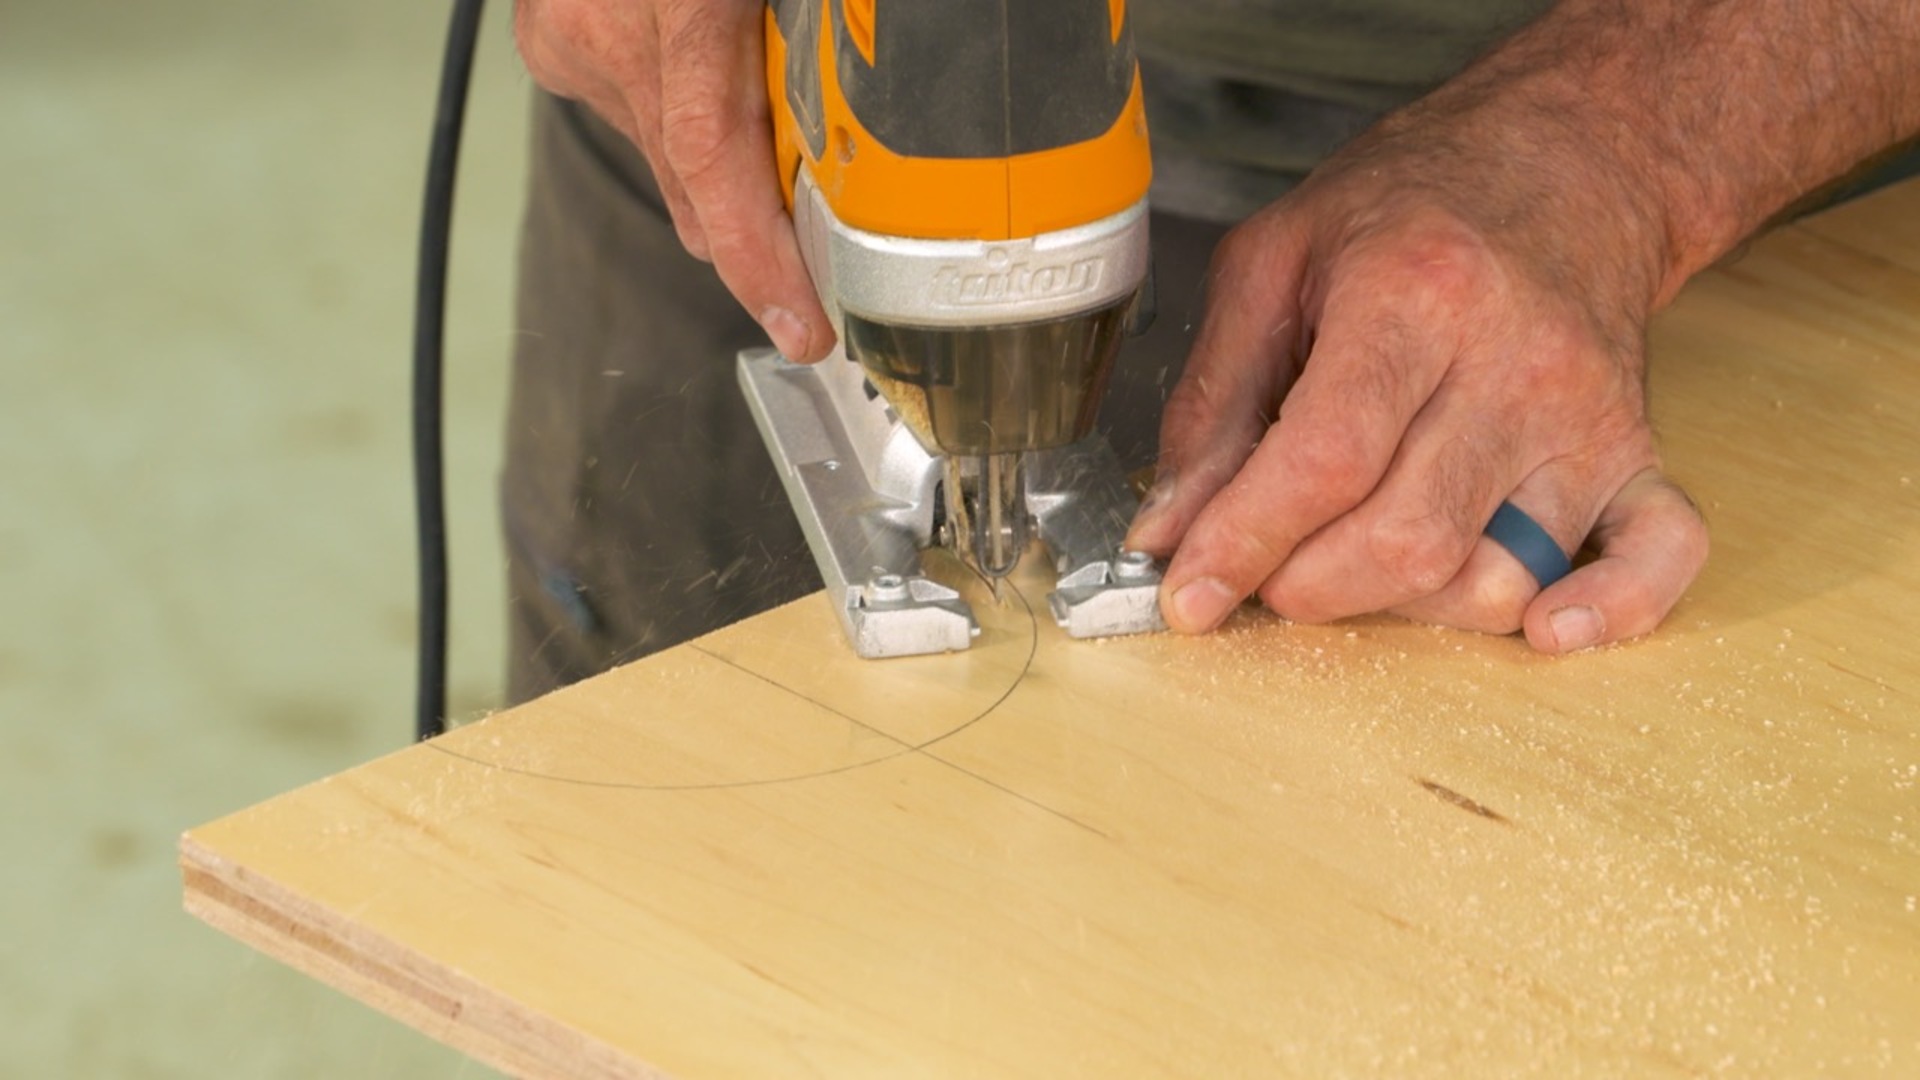
Cut the Half-Rounds
3:56
The half-rounds in the large shelf make it easier to access your cutting mat, poster board or anything you have stored on the shelf. A template and pattern bit make this very easy to do.
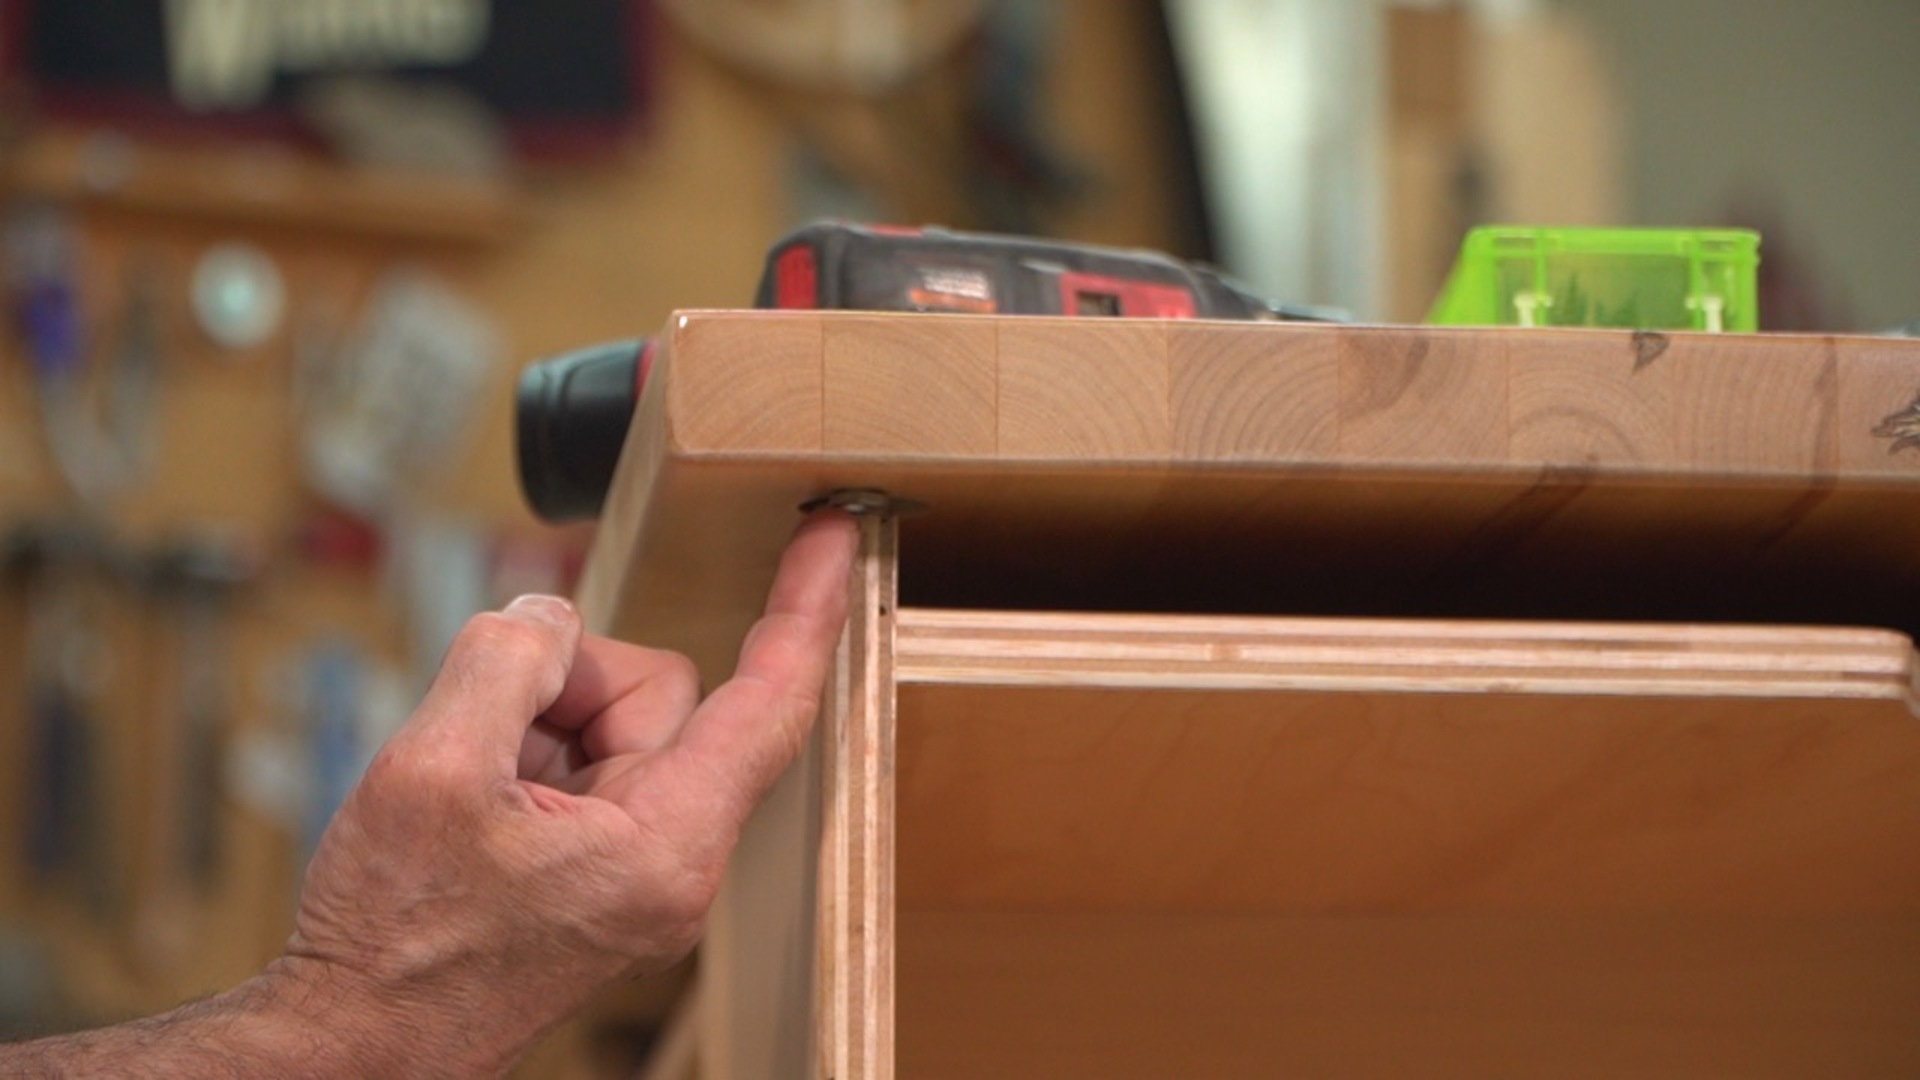
Prep for Table Top Fasteners
3:47
Figure eight fasteners secure the top to the cabinets. In addition to holding everything together they’ll allow for seasonal expansion and contraction. The fasteners are recessed into the cabinet.

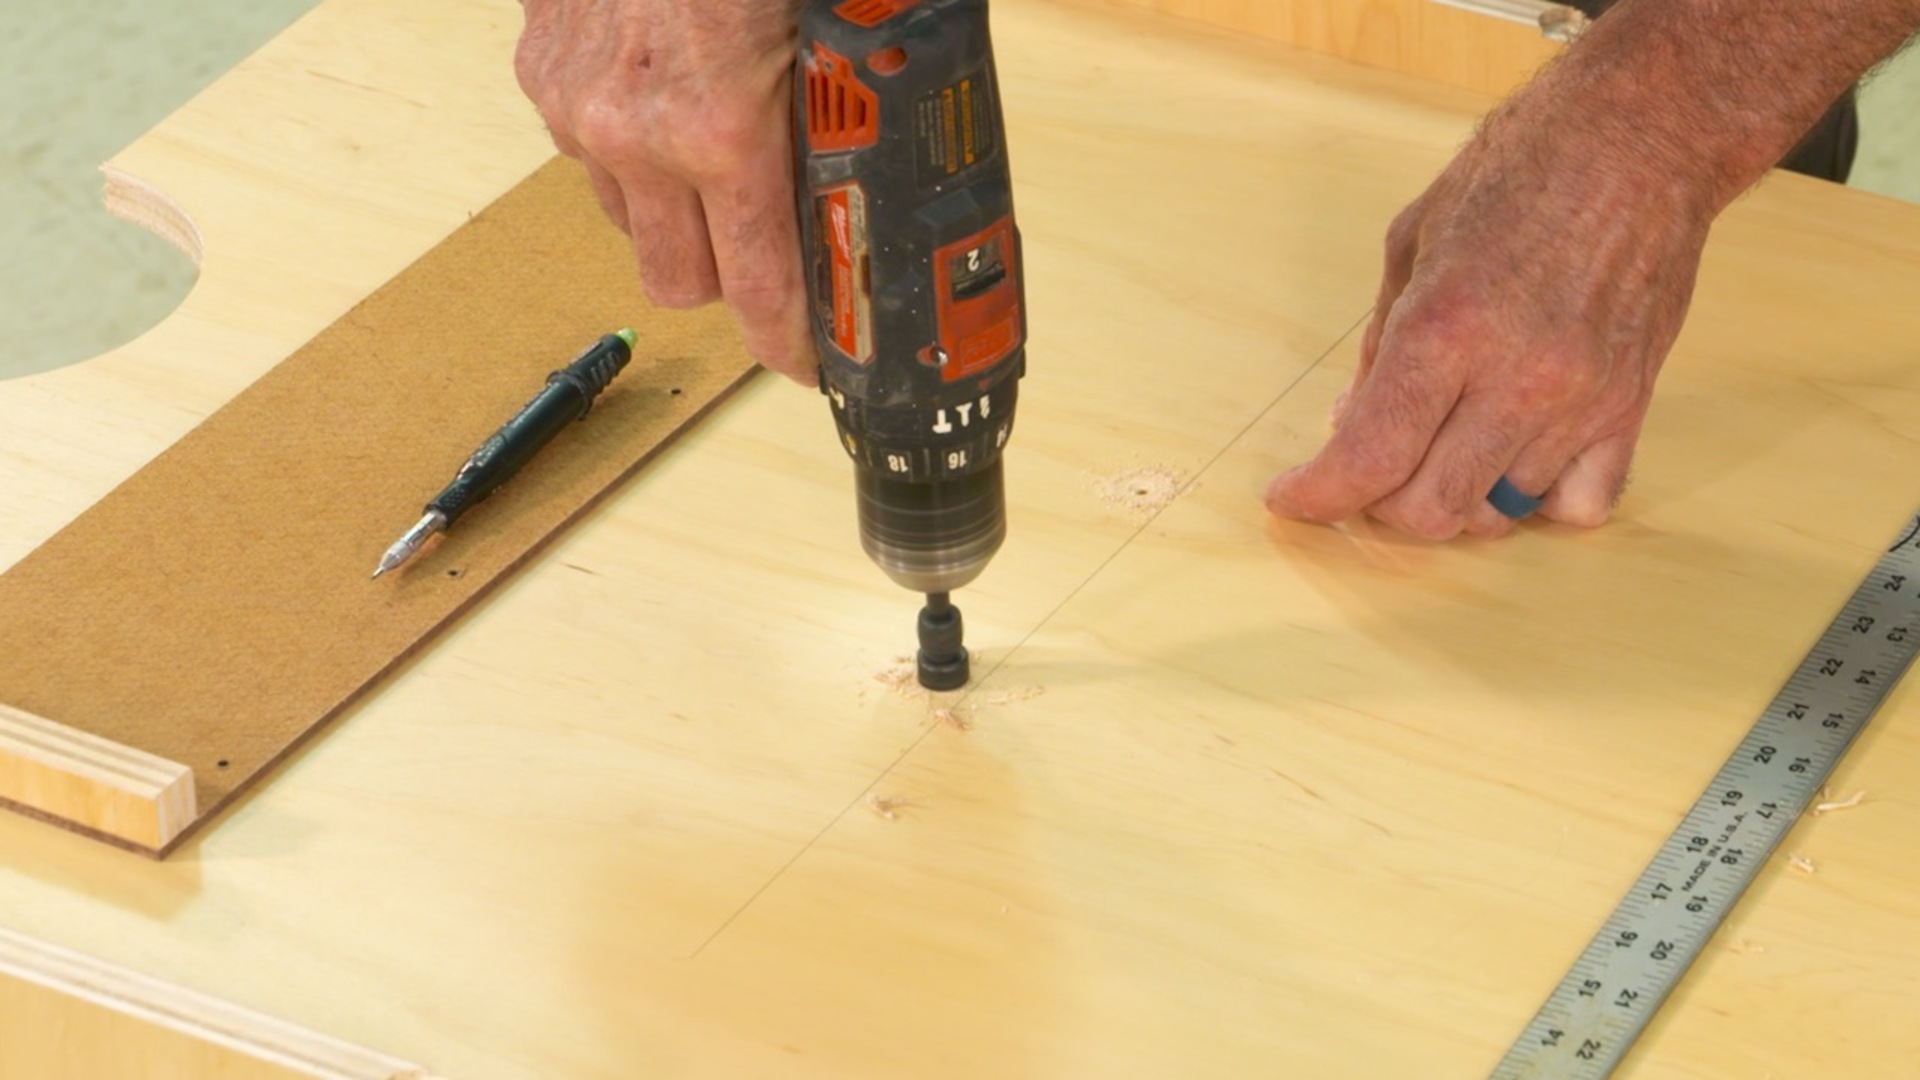
Drill the Top
7:59
It’s very convenient having magnets embedded in the top. They’ll grab brads, pins…anything metal. This is accomplished by drilling for and installing rare earth magnets on the back side of the top.
Install the Drawer Hardware
1:44
The knee hole of the craft table has a drawer. Installation is simple, and the drawer provides handy storage.
Install the Backs and Shelf
5:11
With the backs attached to each of the two base cabinets the shelf can be installed. In order to keep the project modular the shelf is screwed in place so it can easily be removed. We’ll use that screw template again.

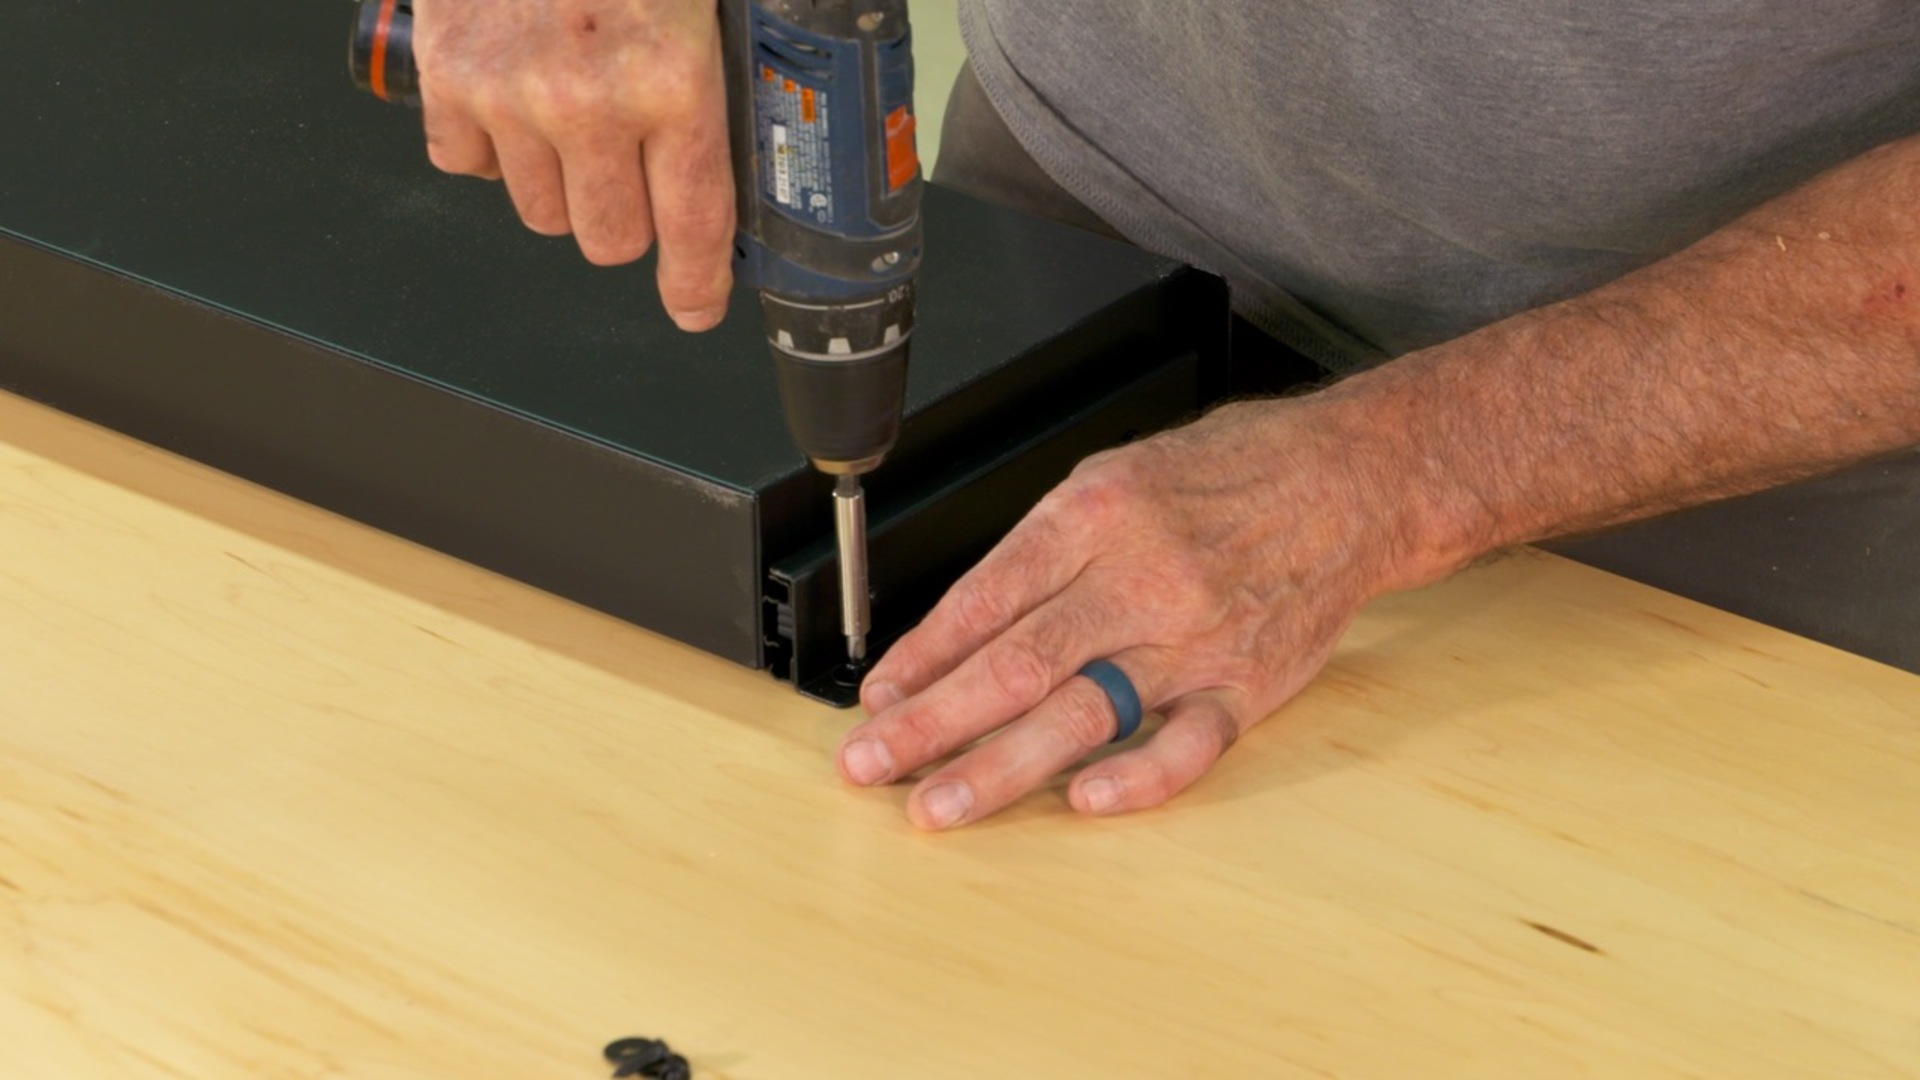
Dealing With Raw Edges and Installing the Casters
6:06
There are lots of options for the edges of the base cabinets; leave them raw, paint, clear sealer, edge banding… Treat the edges to get the effect and look that you like best. The casters are simply screwed in place. Changing the size of the casters provides an opportunity to change the height of the finished table.
Install the Top
2:47
Once the figure eight fasteners are secured to the cabinet the top can be installed. This is fun since it’s the first chance to see what the completed table looks like. Figure eight fasteners are a great problem solver for attaching the top.
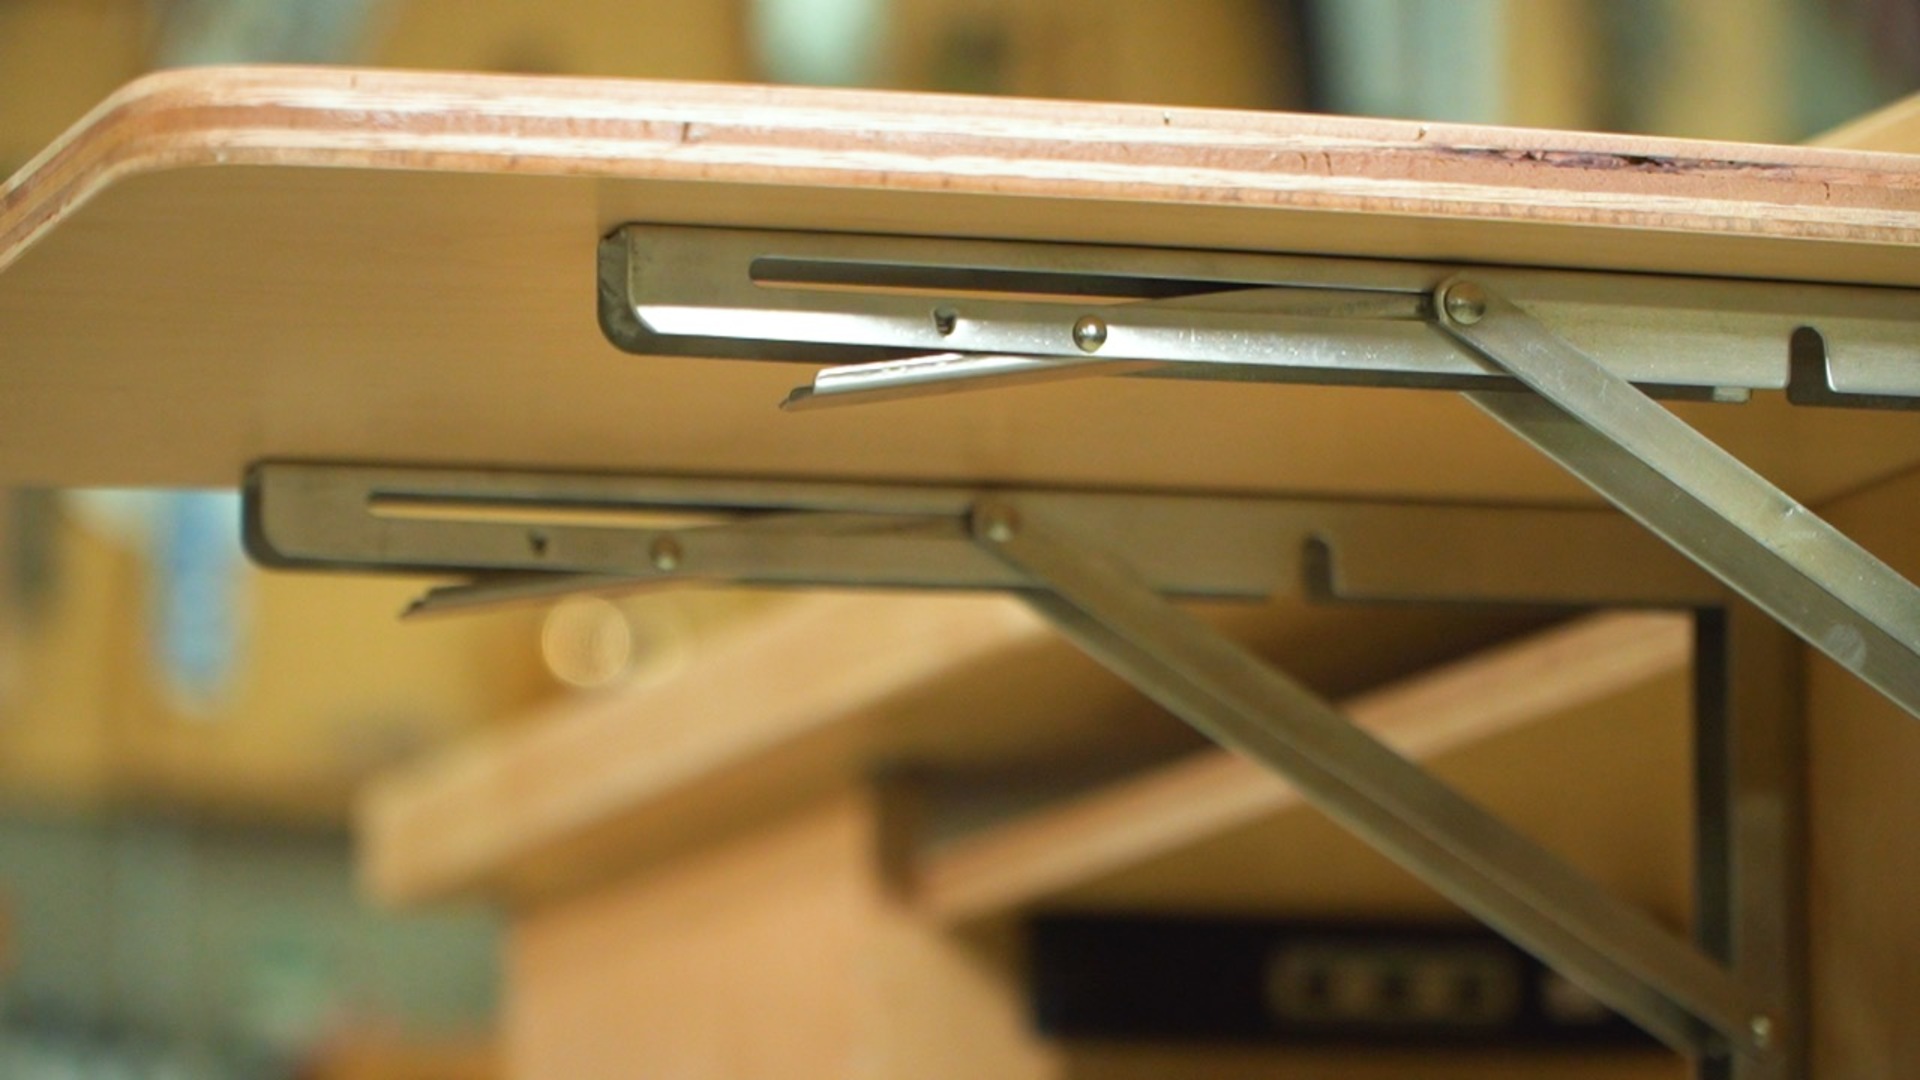
Add Details
12:46
In addition to the storage that comes from the built-in cubbies the craft table has commercially made bins, some on hangers and some in the cubbies. It also has a flip-up shelf. Add the multi-strip and light and you’re ready to craft!
I talked to a lot of people about their vision for the Ultimate Craft Table. Many of those ideas are incorporated into this project and that helps make this craft table universal, regardless of your hobby.
Construction of the base cabinets is very simple. The joinery is simply butt joints screwed together. That makes it easy to build the cabinets and makes it easy to change the design and cubby sizes if you want to. You’ll learn great tips about using spacers to make assembling the case very accurate and very simple.
The top of my craft table is a butcher block countertop from a home center, but you certainly could make your own top.
The table built in the class is desk height and that works great for sewing or other crafts you do while sitting. If you’d like your craft table to be taller, no problem, I’ll give you ideas about how to do that.
The craft table is large, 30” x 60”, but is completely modular. It’s easy to break it down to the shelf, base cabinets and top so you can move it wherever you want it, even up and down stairs, and reassemble it.
A huge aspect of this table is providing A LOT of storage. There’s a large cubby that’ll hold a sewing machine, smaller cubbies for smaller items, and a huge shelf that’s big enough to hold a 24” x 36” cutting mat. A place for everything…
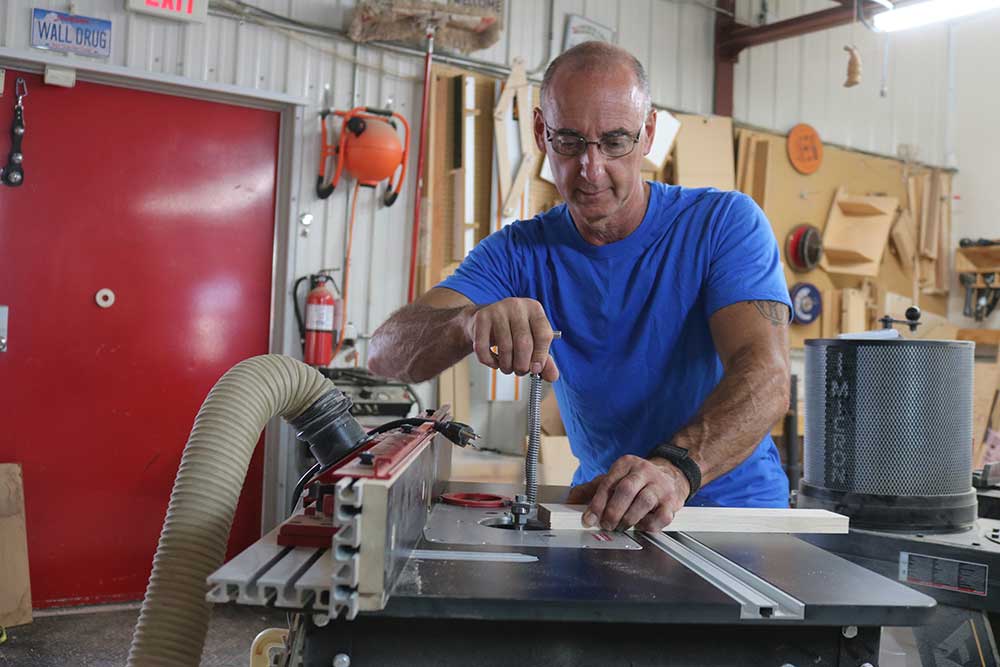
George Vondriska
Formally trained in technology education, George Vondriska has been teaching woodworking since 1986. He has been the managing editor of Woodworkers Guild of America since 2007. In addition to classes at his own Vondriska Woodworks School, George teaches at woodworking shows across the country and has taught woodworking for the Peace Corps, Andersen Window, Northwest Airlines and the Pentagon.
Bonus materials available after purchase
