Rich Gady

Artistic Marquetry Techniques

Rich Gady
Sign in or Become A Member to view full class!
  • In-depth Instruction; over 143 mins
  • On-demand video access anytime
  • Bonus downloadable PDF resources
  • Access to class Q&A
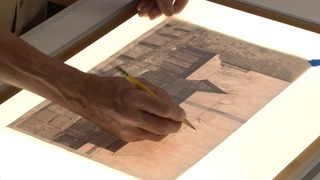
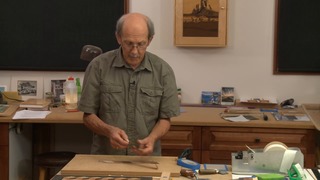
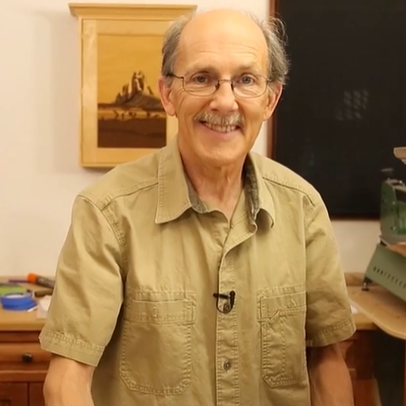
Meet your instructor, marquetry artist Rich Gady, and learn about the difference between marquetry and parquetry, then choose a photo that will be the basis for your design. You'll consider image qualities such tonal values and types of shapes that will translate well into marquetry. Rich also explains the order of assembly for marquetry pieces.
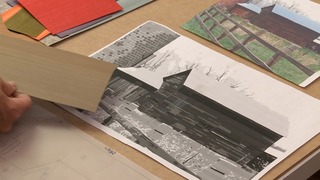
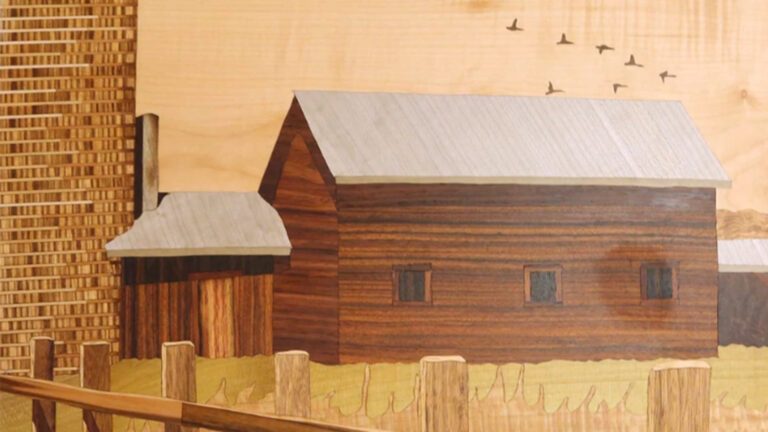
Rich walks you through choosing the right veneer for each part of your composition. You'll select veneers of a similar thickness, then consider color and grain type. See how Rich auditions a variety of wood types for the components of a farm scene -- sky, barn roof, brick silo, grass, fence posts -- before he begins transferring his design lines to the veneers he's chosen.
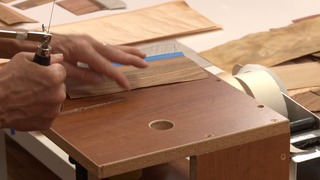
With your design lines transferred to the veneer, it's time to cut. Rich discusses the variety of hand tools you can use and demonstrates how to cut small veneer pieces to size. If you prefer power tools for the larger pieces, you'll get pointers for scroll-saw cutting. Rick also shares the sand-shading technique for slightly charring your veneer to define its edges.
The strict geometry of parquetry can be combined with marquetry for a dramatic effect. Rich explains how to create precise squares, diamonds and hexagons with both hand tools and a power saw. He then demonstrates how to achieve architectural effects and shadows with a highly-grained veneer.
Once you've got your marquetry picture assembled, you'll inspect it for gaps and swap out any veneer pieces that don't look the way you want, then sand the gluing surface. Rich shows you how.
The pressure is on when you attach your marquetry to a thicker substrate for stability. Rich discusses appropriate glues and substrate choices, then demonstrates two ways to apply even pressure across the piece, using clamps or a vacuum sealer.
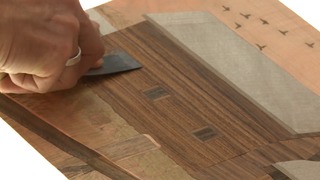
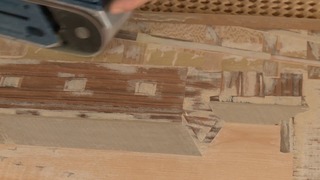
Rich walks you through a post-gluing inspection and shows you how to fix problems such as bubbles or excess glue. Then it's time to start removing the veneer tape that has been protecting the front of your composition. Use your choice of scrapers, then move on to sanding, either by hand or with power tools. It's your last chance to swap out veneers using the inlay technique and trim all your edges. Are you ready for the "Aha!" moment? Bring out the mineral oil and use it to reveal the beauty of your marquetry masterpiece.
 
 
7 Lessons
2  hrs 23  mins

Description

Advance your woodworking projects with beautiful detail and impressive marquetry techniques. Award-winning woodworker and professional instructor Rich Gady will share essential techniques for marquetry and parquetry as you learn to choose a design, select appropriate wood, and even use the right cutting tool for your project. Find out how to change the tone of your piece and achieve an alluring 3-D effect using sand shading. Then, learn how to cut stunning geometric shapes like diamonds, hexagons, and Louis cubes. Get helpful techniques for assembling, vacuum pressing, and gluing your pieces together. Finally, sand and oil your piece to make it ready for a finish of your choice. Plus, Rich will show you how to troubleshoot common marquetry, parquetry, and veneer problems for projects that are heavy on satisfaction – not frustration!

Rich Gady

Rich Gady is a lifelong woodworker and instructor who applies his knowledge of fine art to marquetry and parquetry to create woodworking projects that have won awards at the local, national and international level. When not in his shop, Rich teaches classes in marquetry, veneer, cabinetmaking and furniture making at ColoradoÂ’s Red Rocks Community College. He also leads workshops at Rockler, the Colorado Woodworkers Guild and the American Marquetry Society.

Rich Gady

Bonus materials available after purchase

Get exclusive premium content! Sign up for a membership now!