David Johnston

Advanced Lightroom Techniques for Outdoor Photography

David Johnston
Sign in or Become A Member to view full class!
  • In-depth Instruction; over 84 mins
  • On-demand video access anytime
  • Bonus downloadable PDF resources
  • Access to class Q&A
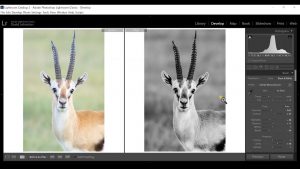
In this session, you’ll view a detailed step-by-step instruction on how to view black and white photography the right way by being able to visualize colors and gray tones together. After that, we’ll dive deep into black and white photography editing to show you how to create deeper contrasts and add color luminance to specific sections of your photos.
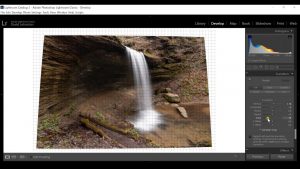
Did you know that every photograph you take has stored information that will tell you exactly what settings you were using? This is called metadata. Maybe the most important part of metadata is the lens profile. In this session, you’ll learn creative ways to use the lens profile correction tool in Lightroom for better image results.
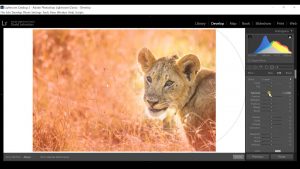
If there is one under-utilized tool in Lightroom for outdoor photography, it’s the radial filter. This very special tool helps you bring more attention to your subject matter. In this session, you’ll see three different ways you can use the radial filter for more dynamic subjects.
Did you know that you can use masking in Lightroom? This technique was once only available in Photoshop, but now there's a powerful version available in Lightroom. In this session, learn how to use range masking specifically for light and luminance.
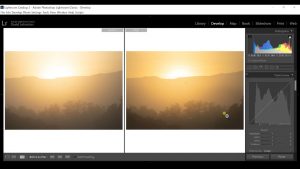
Just like in the previous session, we are going to be using range masking to make powerful adjustments to our photos. However, in this session, we are going to be using range masking to select very specific colors that we want to enhance. This is an especially powerful tool to use for sunrise and sunset photography!
Stylizing your photographs can be an effective way to create consistency in your images. The easiest way to be consistent with style is with split toning. In this session, we’ll show you how to use split toning in Lightroom to adjust your images with complimentary tones already present in the photo.
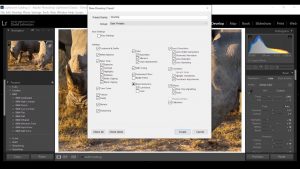
It seems like everyone is selling their own Lightroom presets. While they do speed up the editing process, they rarely match the light and situation of your photos. To fix this, you can actually create your own user presets for more consistent preset fits.
Learn more about your class instructor, David Johnston.
 
 
8 Lessons
1  hrs 24  mins

Description

Outdoor photographers like to say 50% of the work is done in the field taking the photograph and the other 50% is enhancing that image in the digital darkroom.

In this class, you’ll learn advanced techniques that you can apply in Lightroom to perfect your outdoor photography.

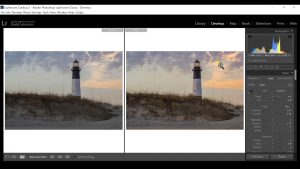
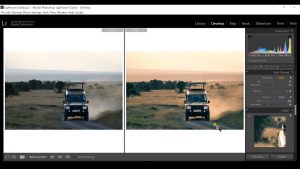
If you’ve mastered basic edits and tools of Lightroom, it’s time to up your game with dynamic and subtle edits you can use to take your images to the next level. In this class, instructor David Johnston will show you how to use these advanced Lightroom tools specifically for outdoor photography to address scenarios such as black and white photos, wildlife, and landscapes.

In addition to the detailed video instruction, this class includes a downloadable PDF guide on the key points of this class instruction, and a supplement to help you identify and understand tones and histograms for your photographs.

After watching this class, you’ll be able to take your outdoor photography to the next level with advanced tools in Lightroom.

David Johnston

David Johnston is a professional outdoor photographer located in Tennessee. He loves photographing the older mountain landscapes of the Appalachian Mountains and he ventures to other locations around the world to capture amazing outdoor scenes. Originally a fan of print photography, he switched to digital photography after college and began his business photographing the outdoors as well as teaching people how to improve their skills in outdoor photography.

David Johnston

Bonus materials available after purchase

Get exclusive premium content! Sign up for a membership now!