Class
Photoshop for Outdoor Photography
$39.99
$8.00
At a Glance:
- In-depth Instruction; over 109 mins
- On-demand video access anytime
- Bonus downloadable PDF resources
- Access to class Q&A
Item:
W0814E
Description
Photoshop can feel intimidating, especially when it’s built for designers, photographers, and digital artists alike. But as an outdoor photographer, you don’t need to know everything, just the right things. This course is designed to cut through the noise and teach you the essential tools and techniques that will elevate your outdoor photography.
From organizing your workflow with Lightroom and Photoshop, to mastering adjustment layers, object removal, masking, and advanced techniques like luminosity masking and creative blurs, you’ll gain the skills and confidence to transform your raw photos into stunning works of art. Whether you're just starting out or looking to sharpen your editing edge, this course walks you through a clear, focused path to Photoshop mastery, all tailored specifically for outdoor photographers.
Class Sessions
Introduction
3:37
Welcome to the Photoshop course for outdoor photography. I’m going to start with some bad news… Photoshop is overwhelming. You probably already know this, which is why you got this course. The reason that Photoshop is so overwhelming is because it is used by several different creative experts. There are plenty of graphic designers, photographers, and even videographers that use Photoshop. It’s because of this that Photoshop has to have many tools to support those fields. Now the good news. You don’t have to know every single one of those tools. In fact, there are really only a handful of tools you need to know to take your outdoor photography to the next level. In this course, we are going to dive deep into those techniques. When you finish, you are going to have a level of confidence in Photoshop that you never thought possible.
Using Lightroom and Photoshop Together
9:46
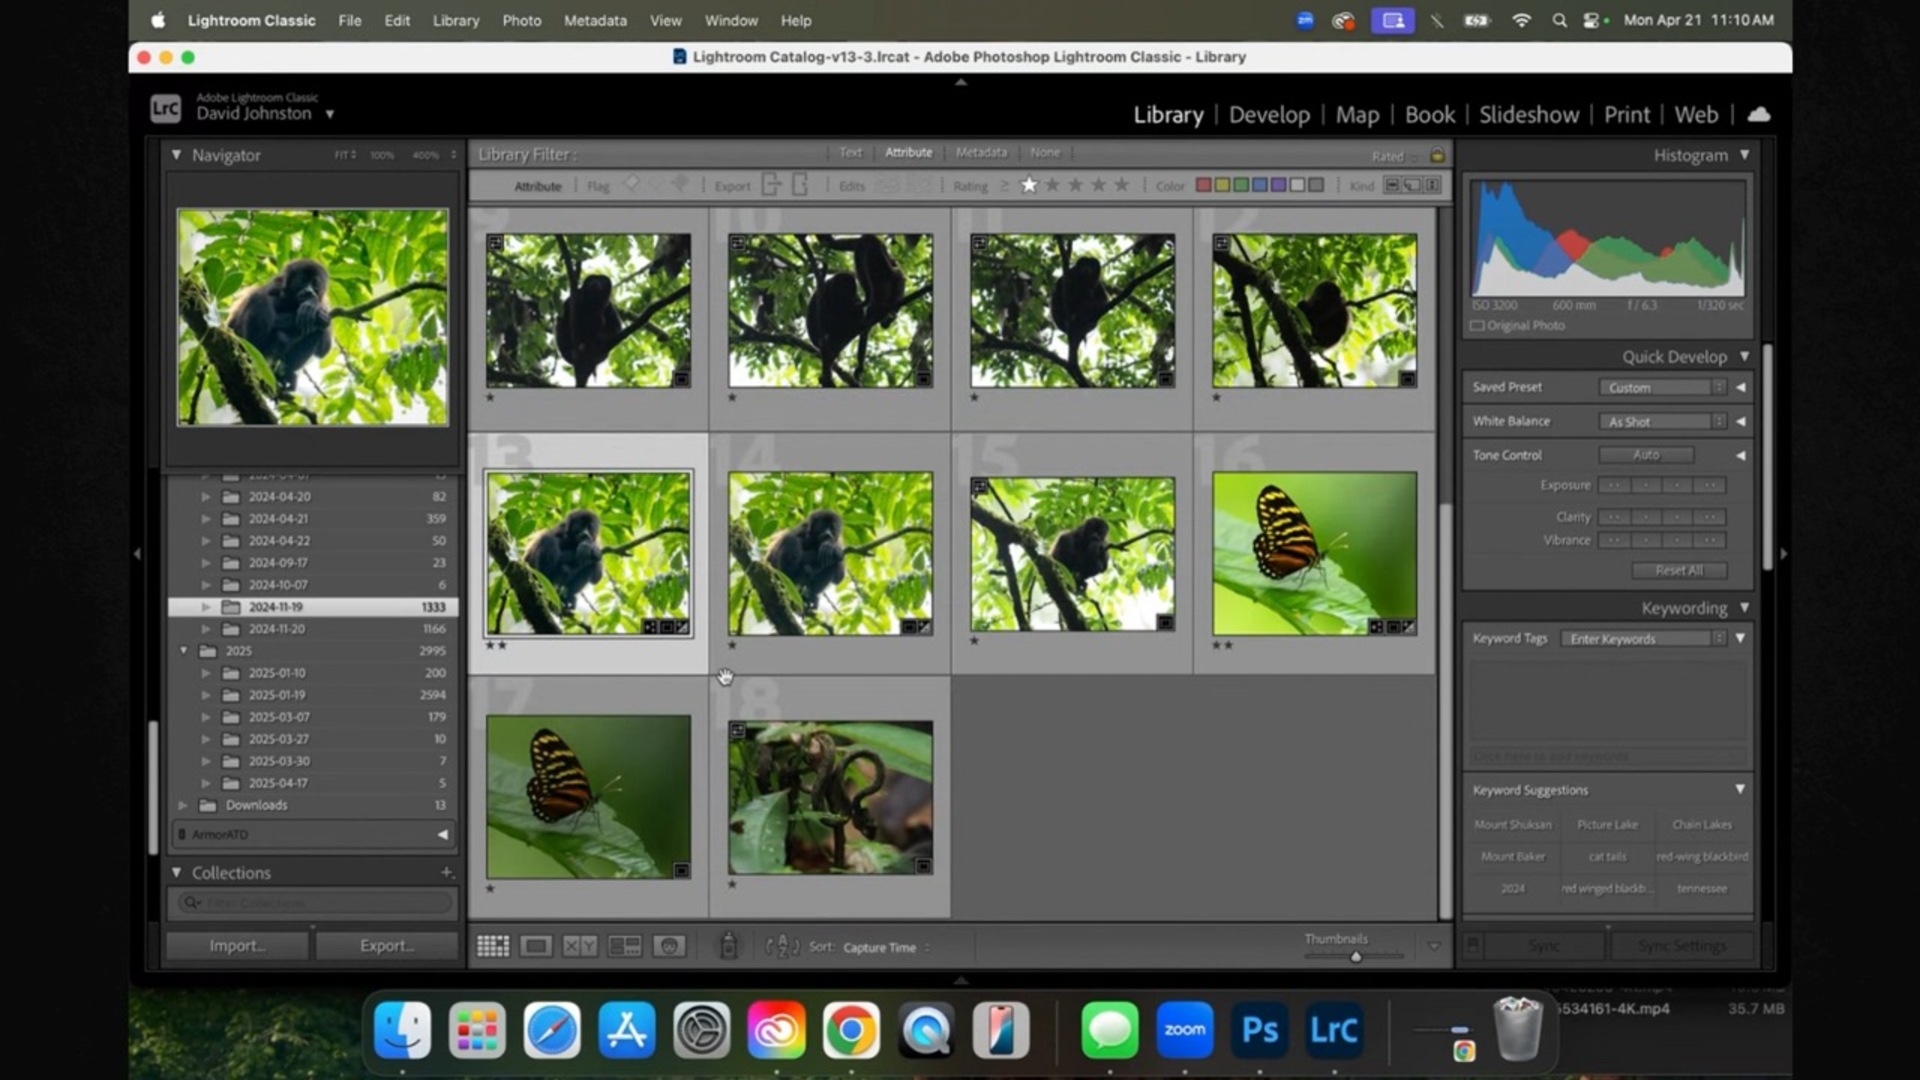
Adobe has done a great job at updating all their photography software over the years. Several years ago, one of the biggest updates was that Lightroom and Photoshop would communicate with one another. You see, one of the gripes of the past was that Photoshop didn’t have a good organization system. That’s where Lightroom comes in. Lightroom gives photographers the ability to manage, organize, and make basic edits to their photos and then send them to Photoshop for the final editing steps (which you’ll learn in this course.) It is this workflow that you will learn in this section of Photoshop for Outdoor Photography.
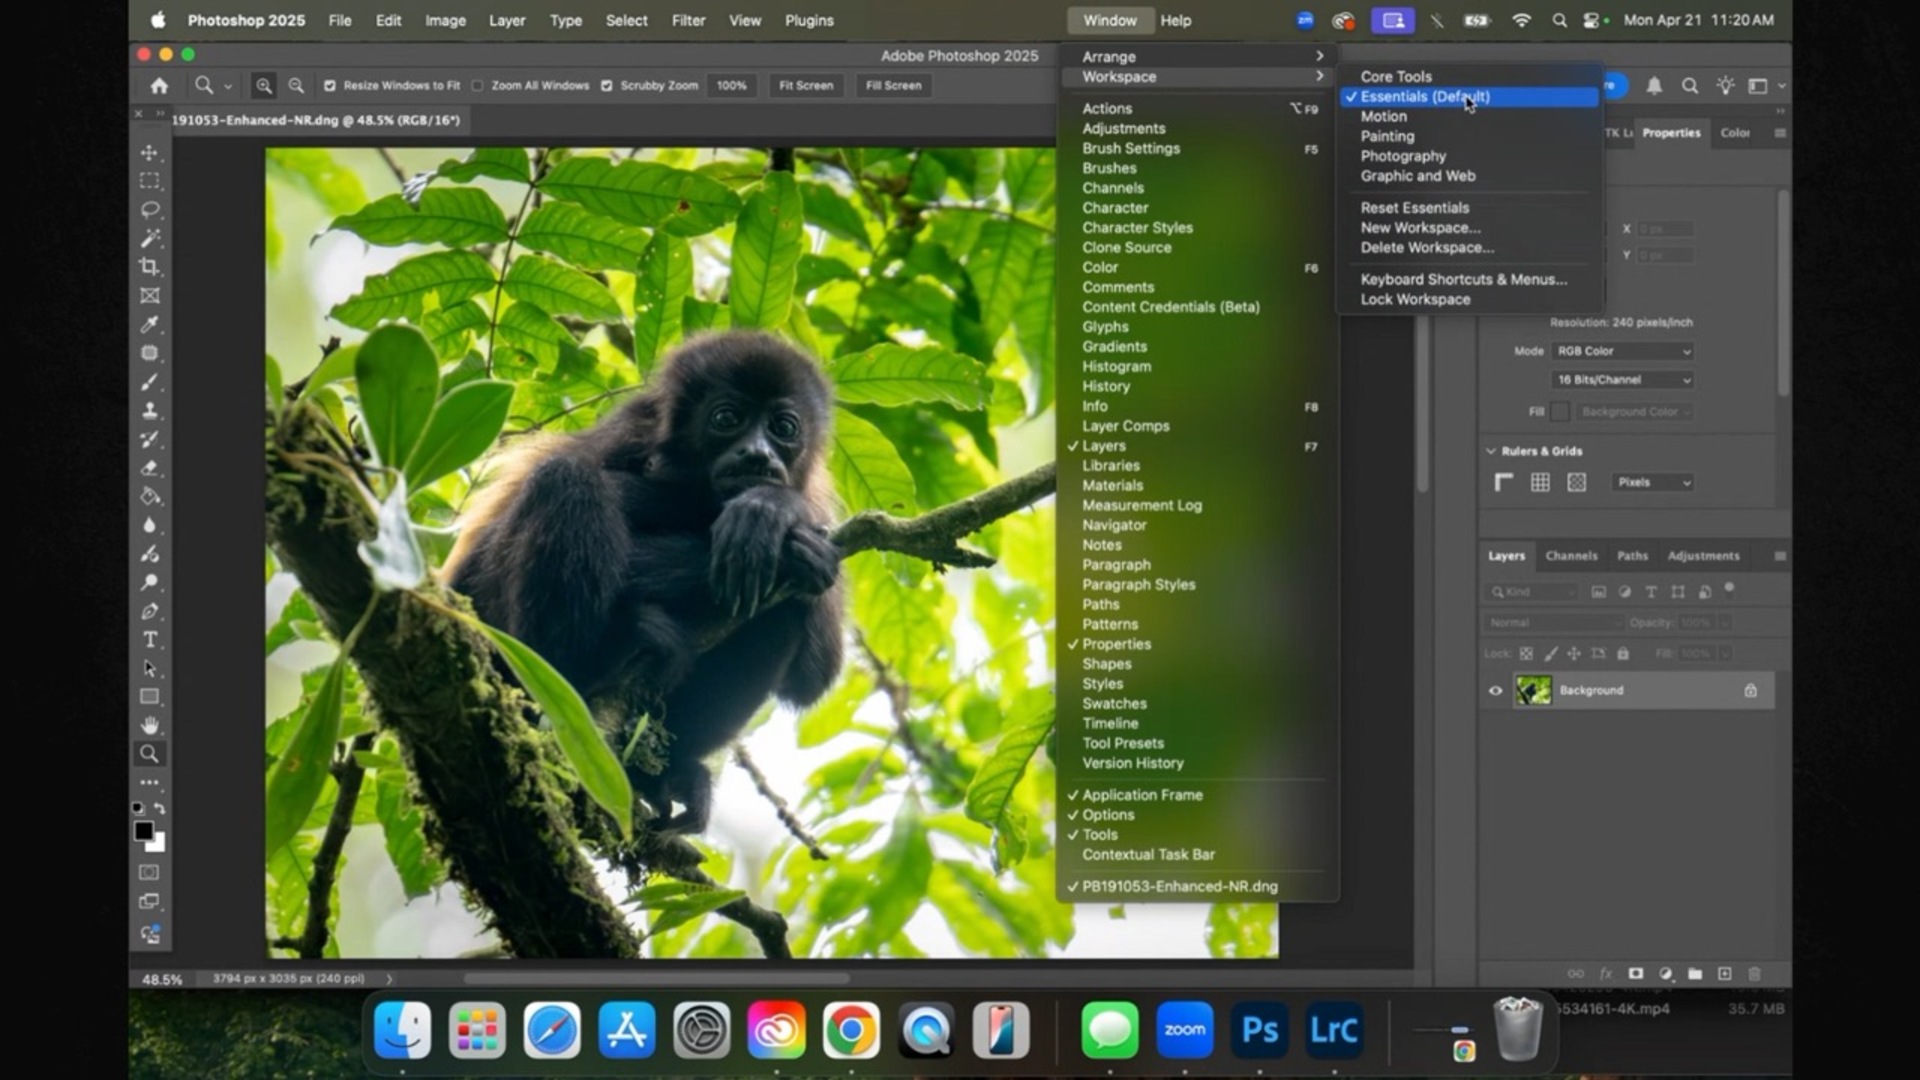
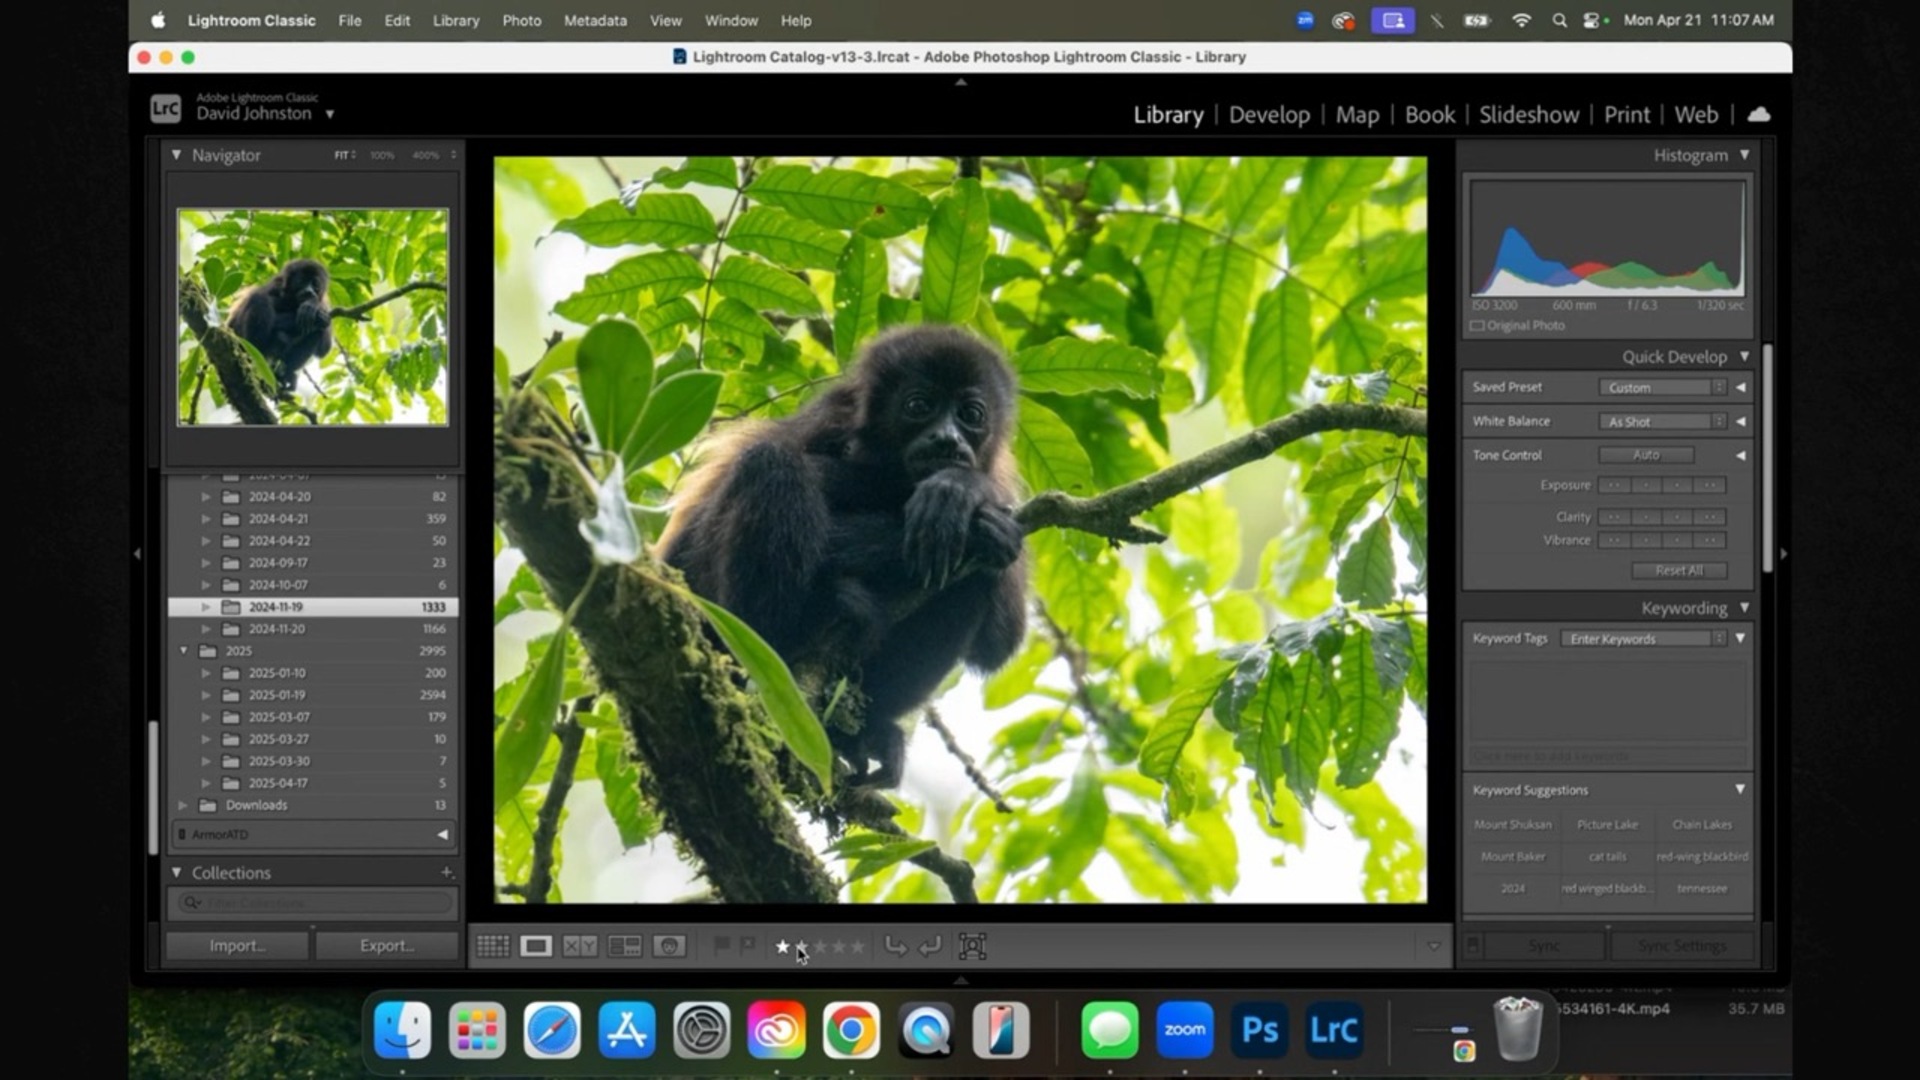
Organizing Your Photoshop Workspace
10:10
Have you ever done a puzzle before? It’s nearly impossible to start putting pieces together without organizing them first. You might flip all the pieces together and then arrange them in color groups. Once the puzzle piece organization is finished, you can start assembling the pieces. Why are we talking about puzzles? Because Photoshop is the same way. To know where all the tools are and the specific tools to use, you need to organize your Photoshop workspace. In this video, I’m going to show you the most effective layout I’ve found after fifteen long years of using Photoshop.
Using Camera RAW To Open Your Photoshop Files
9:25
Before Lightroom came onto the scene, photographers had to make basic photo adjustments in another Adobe program that was built into Photoshop. It is called Adobe Camera RAW. Maybe you aren’t using Lightroom, and that’s ok! You still have the option of using Camera RAW to edit your photos. In this video, I’m going to show you how you can maximize using Camera RAW to create fantastic initial adjustments. It kind of sounds too good to be true. Well, there is one drawback of using Camera RAW. You lose the ability to organize your images like you can in Lightroom. I’ll discuss the software and the uses in this video so you can tackle your photos like a pro!
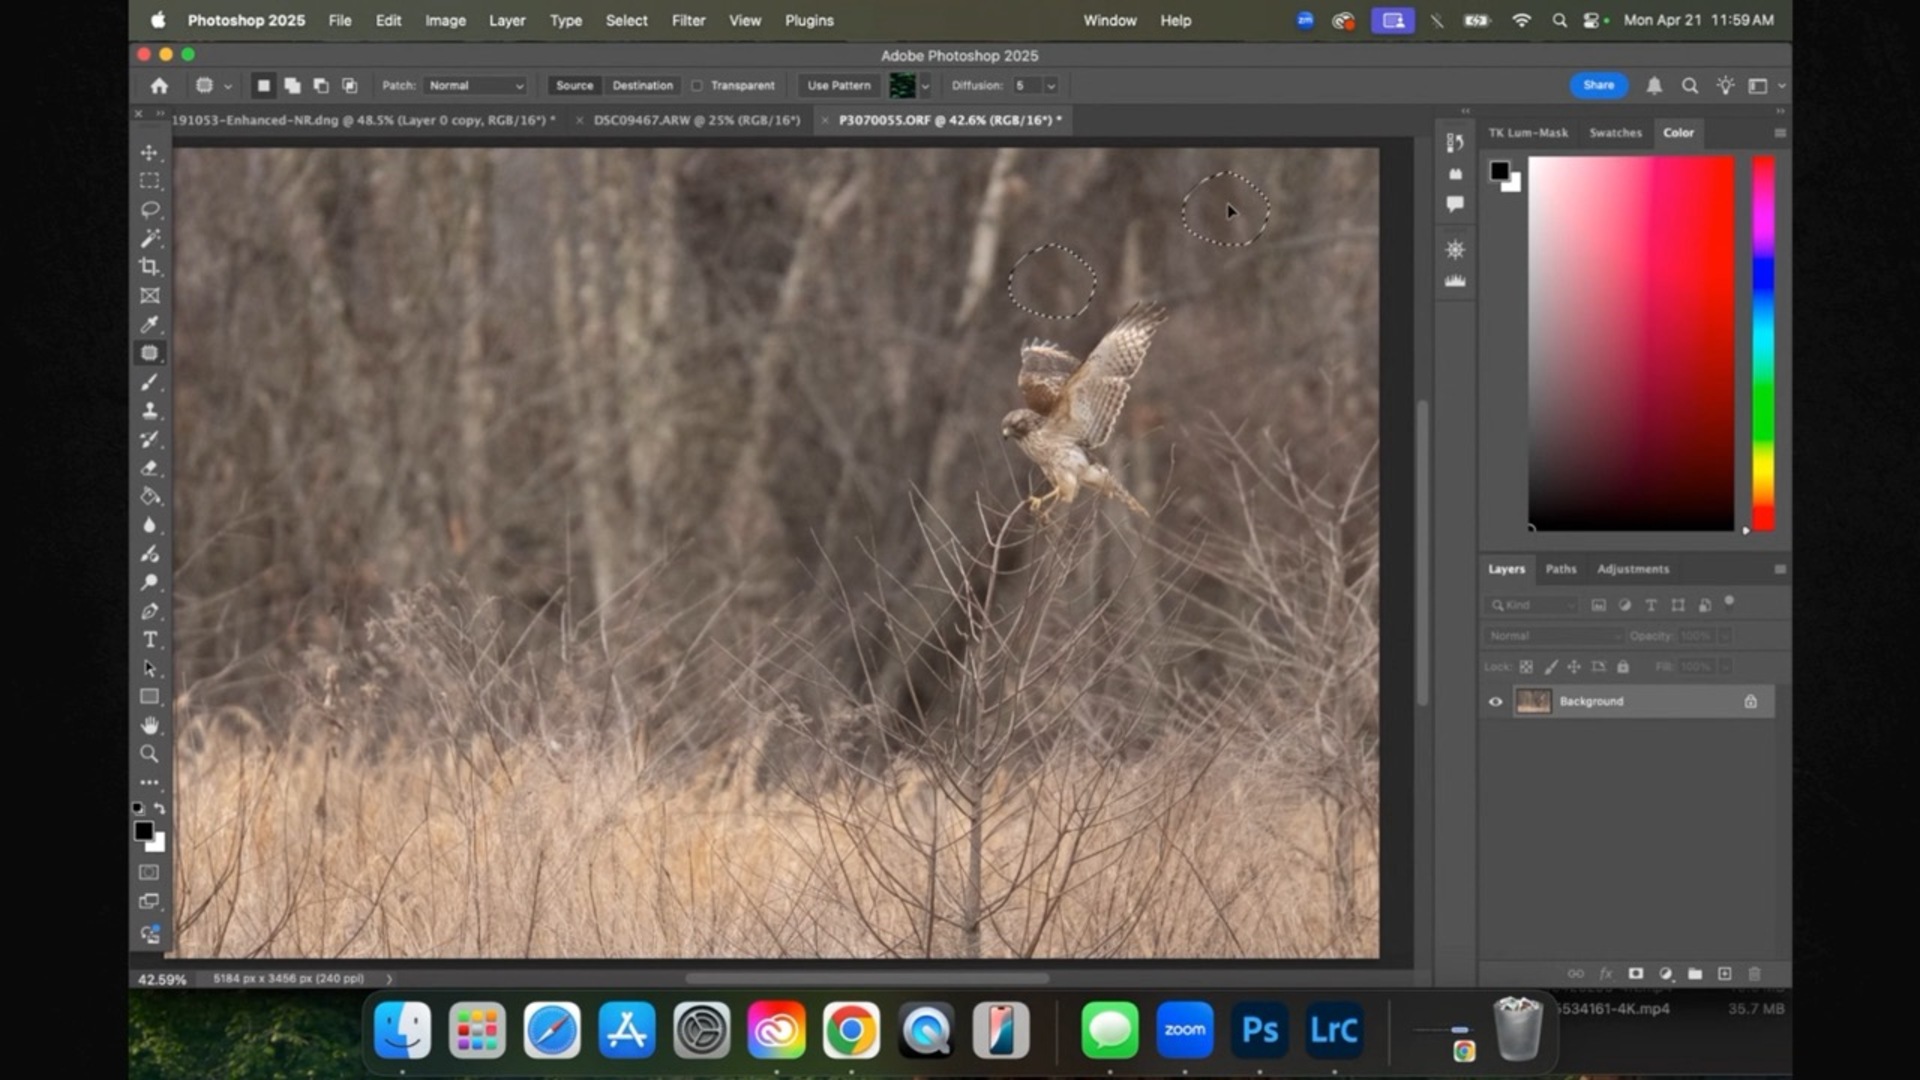
Seamlessly Remove Objects from Your Photos
7:18
The one thing people say about Photoshop is that it’s a great way to remove objects from photos. And they’re right! Kind of… You see, you need to understand that there are about a thousand ways to remove objects. However, there are just a handful of tools to use for outdoor photography. In this video, I’m going to be showing you how to use each one of those tools so that you can decide which one is the right one to use for each of your photo editing needs.
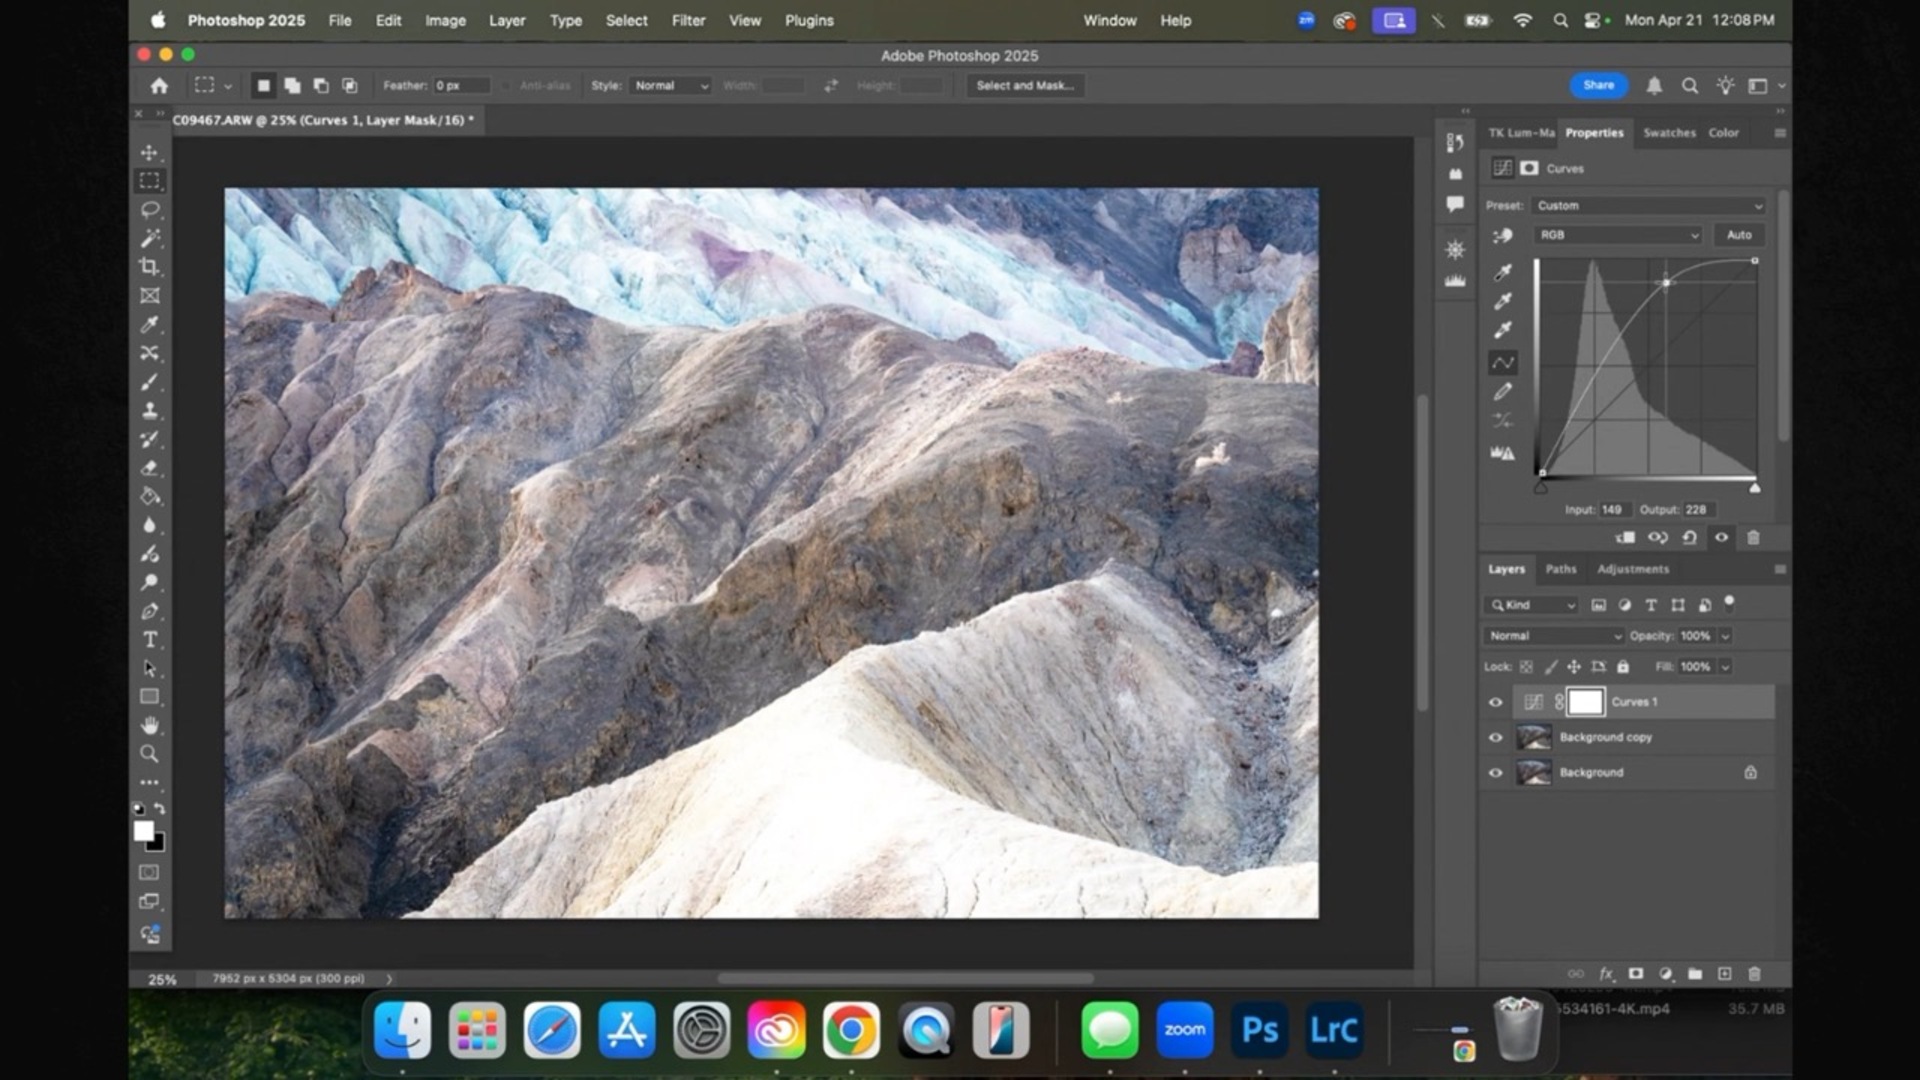
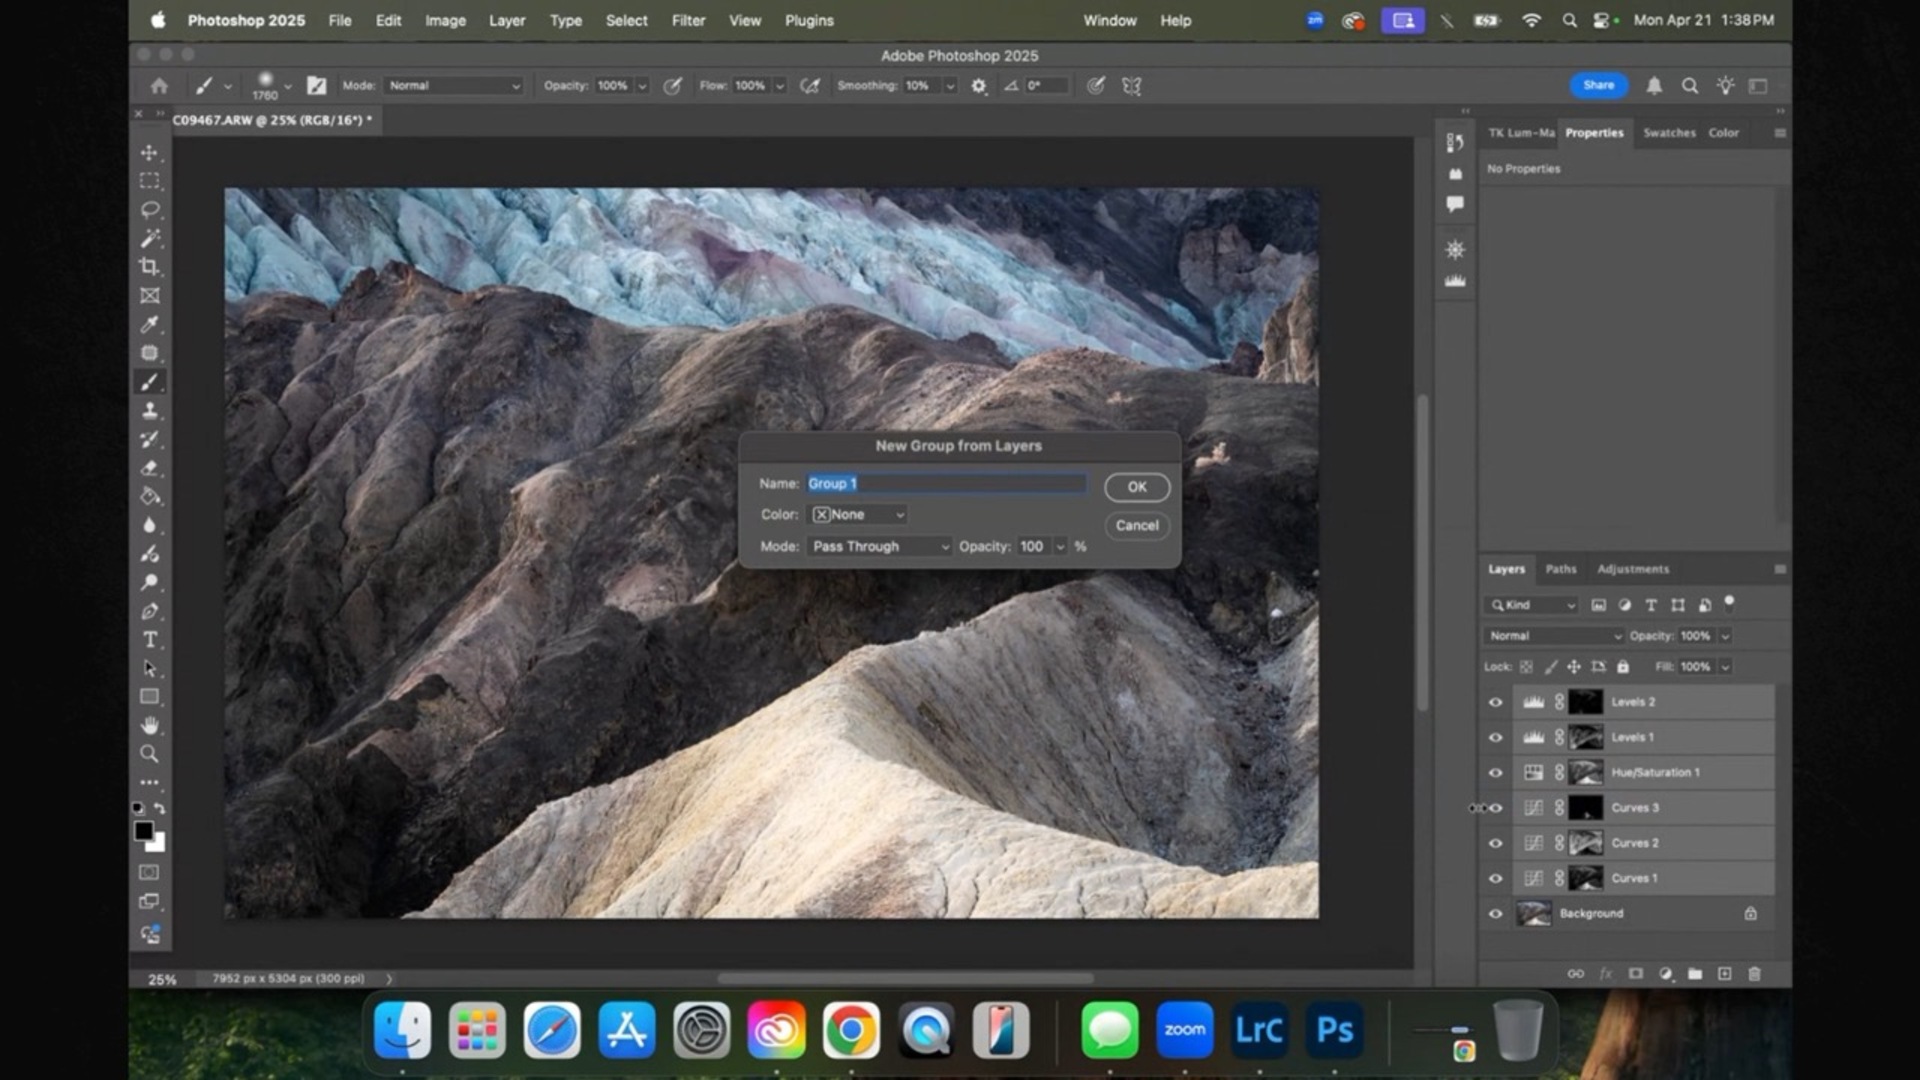
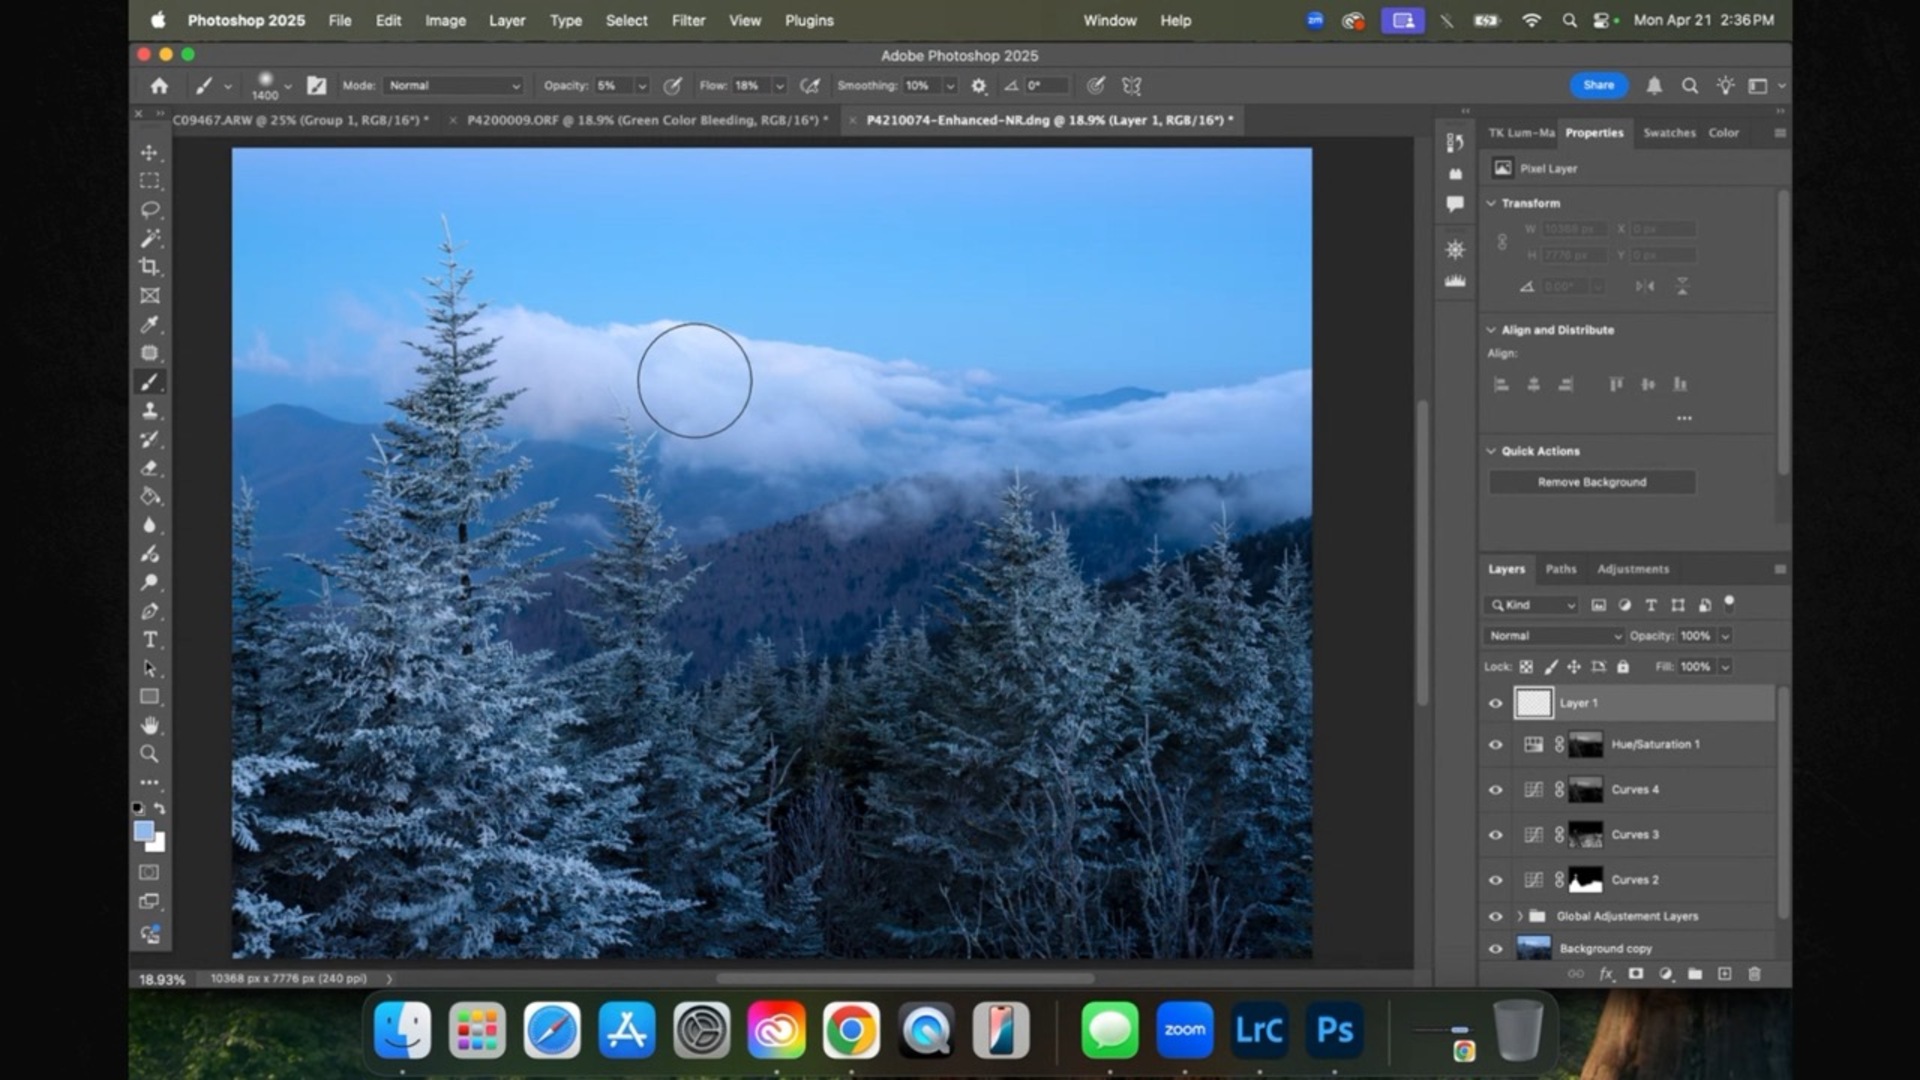
Understanding Adjustment Layers
9:14
This is where the fun part of Photoshop begins. Adjustment layers hold the key to unlocking limitless potential of creative editing. In my opinion, they aren’t talked about enough. Adjustment layers (and layers in general) allow you to stack multiple edits on top of one another to create depth in your photos, structure, and more energy to a flat image. I’ll explain layers and adjustment layers to you in great detail so you can have unwavering confidence when it comes to harnessing the power of adjustment layers in your photos.
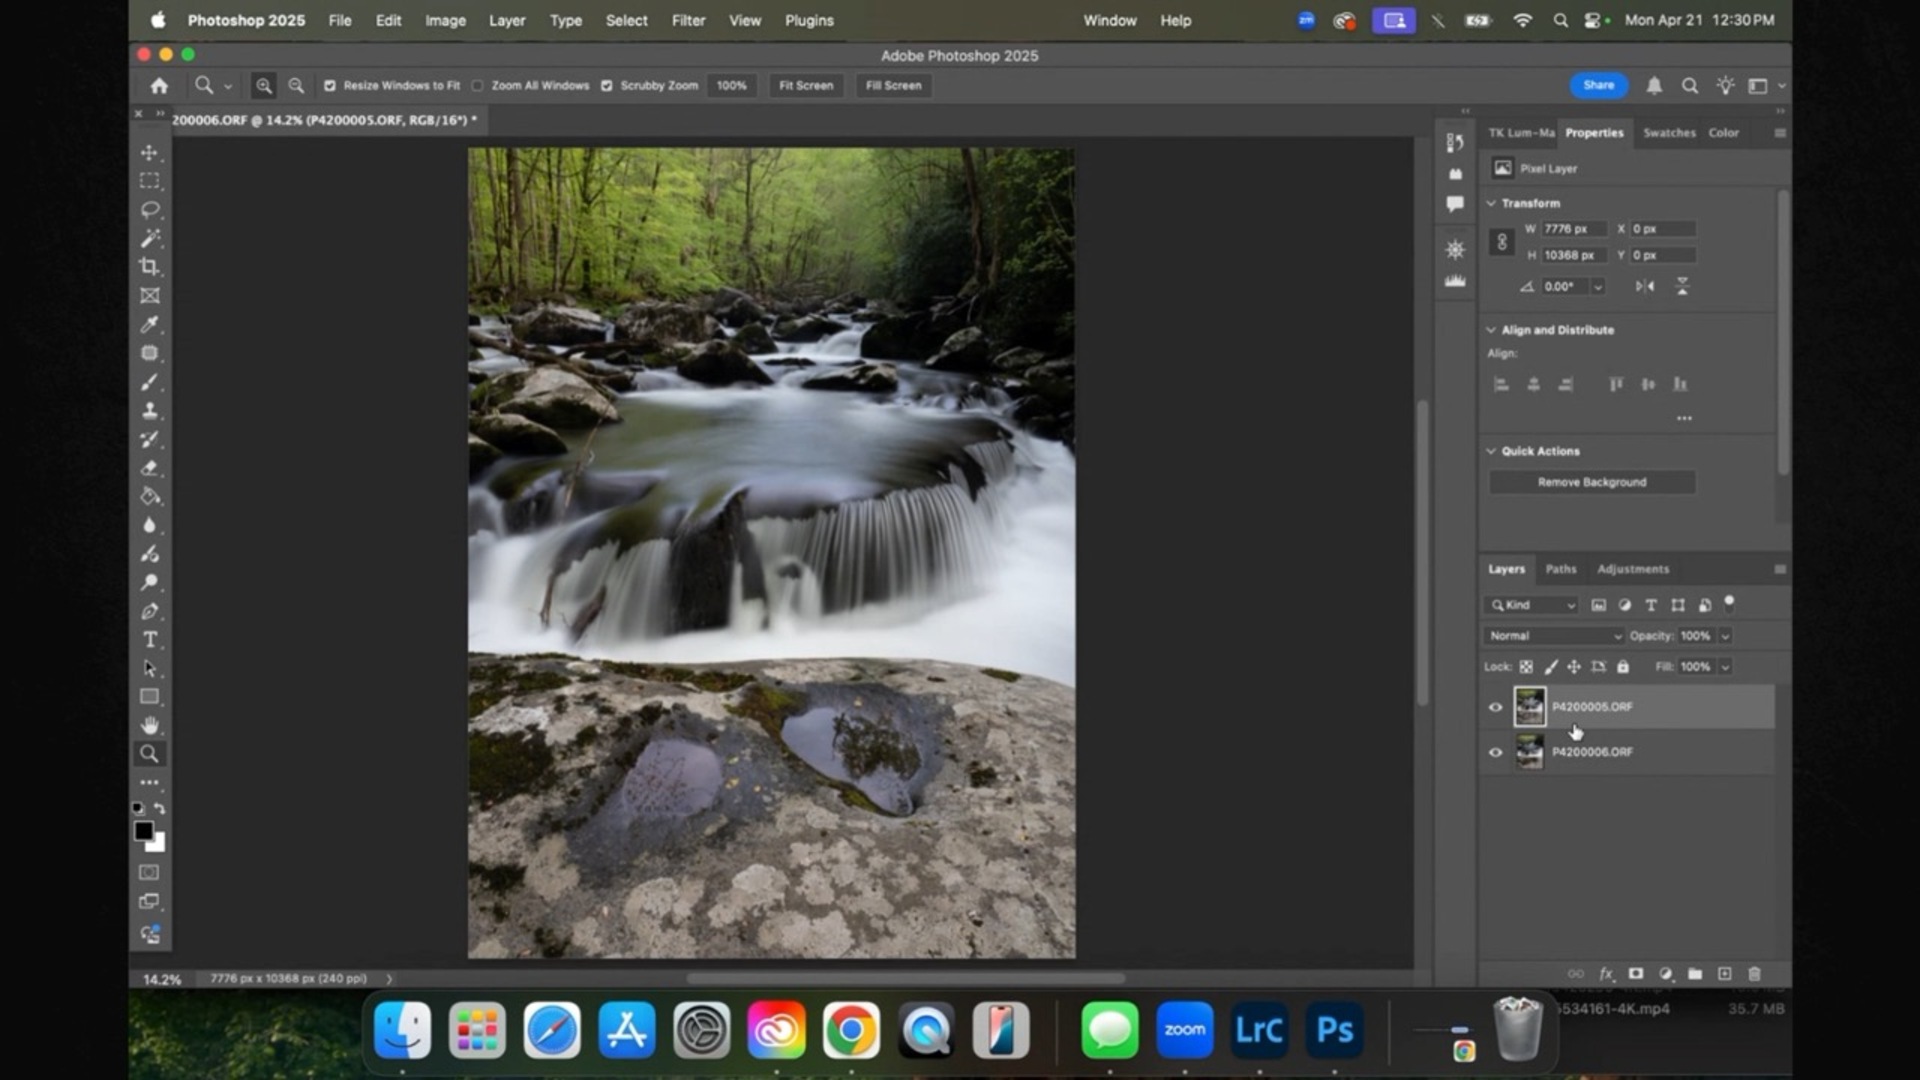
Mastering Masking
15:54
Do you ever wish that you could combine two photos together? Maybe you wish that you could take the best of this photo and the best of that photo and a little piece from another photo and stack them together. Well, you can. It’s called masking. Up until this point, we’ve been making global edits to a photo. These are edits that impact the entire photo. However, the real magic of Photoshop is when you can make local adjustments. These are edits that you can make in small parts of the photo, merge multiple exposures of an image, and even focus stack your photos. The best part? It’s surprisingly easy.
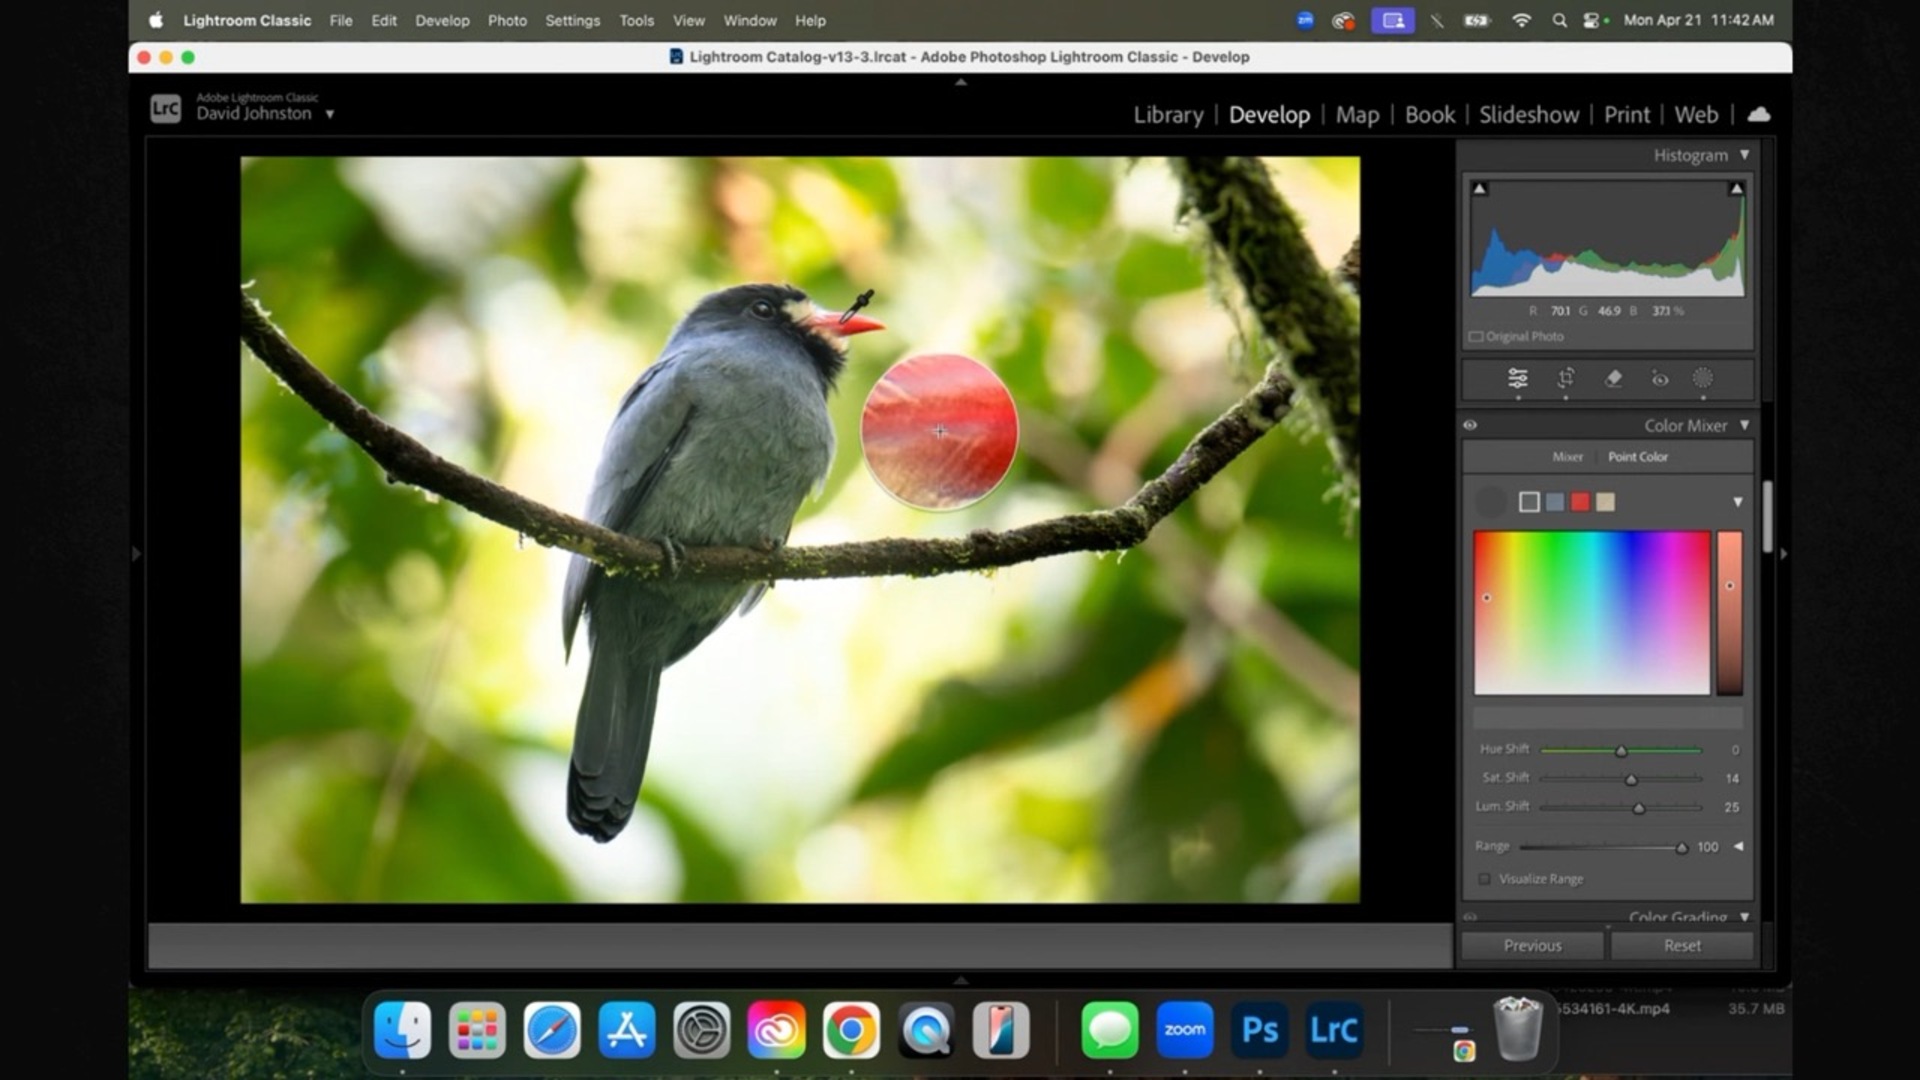
An Introduction to Luminosity Masking
11:08
Digital photography files are made up of pixels. In each pixel, there are three things: hue, saturation, and luminance. The computer understands these by applying a number or value to them. The luminance value is directly related to the photography grayscale (a scale that goes from solid black and solid white.) When you are using luminosity masking, you are only adjusting specific luminance values of pixels. It may sound confusing to read, however I’m going to show you the easiest tool to use to start luminosity masking. So, if you’ve ever said, “This photo looks flat.” Then luminosity masking is the unlock you’ve been waiting for.
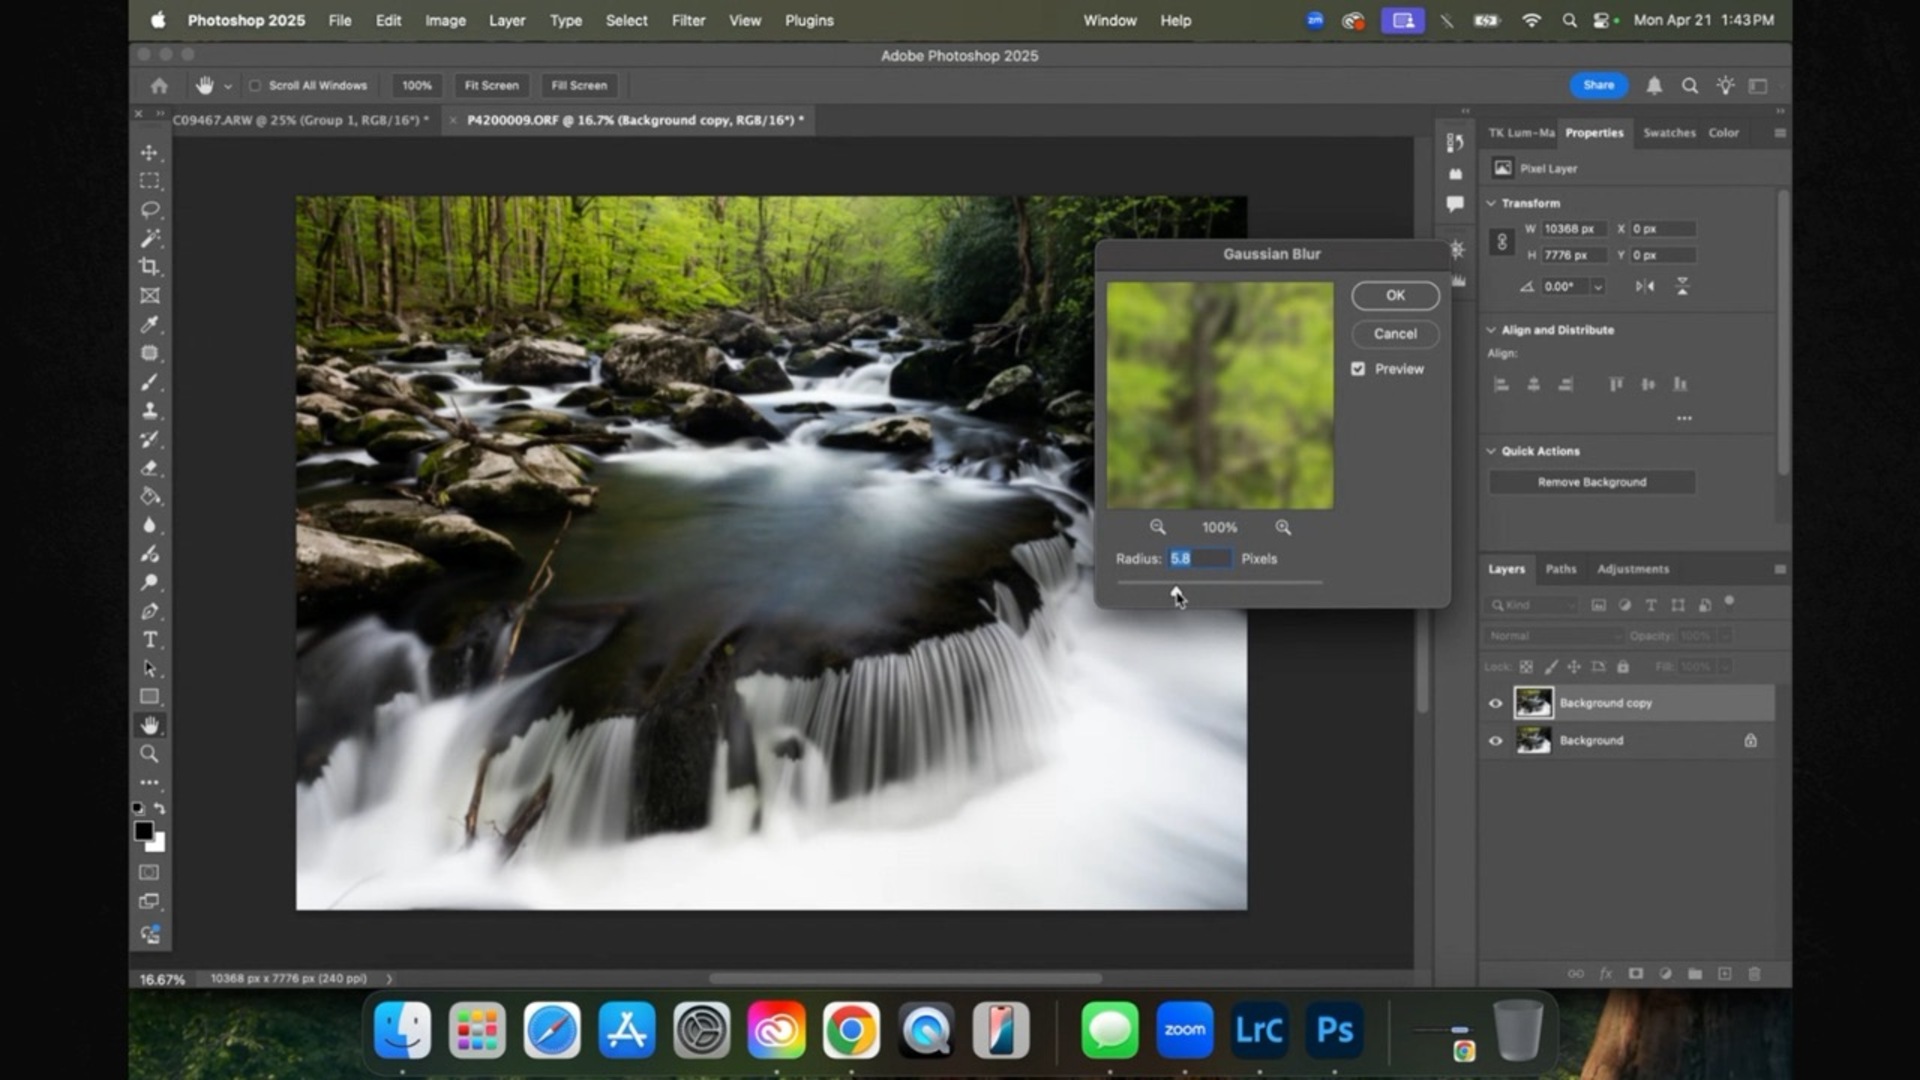
Filters and Blurs for Depth in Your Photos
6:08
One of the hardest things to do in photography is adding depth to a photo. This is because photography is the act of taking a photo of a three-dimensional space and putting it on a two-dimensional surface. One way to add depth to a photo is by adding blur to an image. This can also make parts of the photo appear to be glowing. In this video, I’ll show you the right way to use this effect, so your photos don’t look fake.
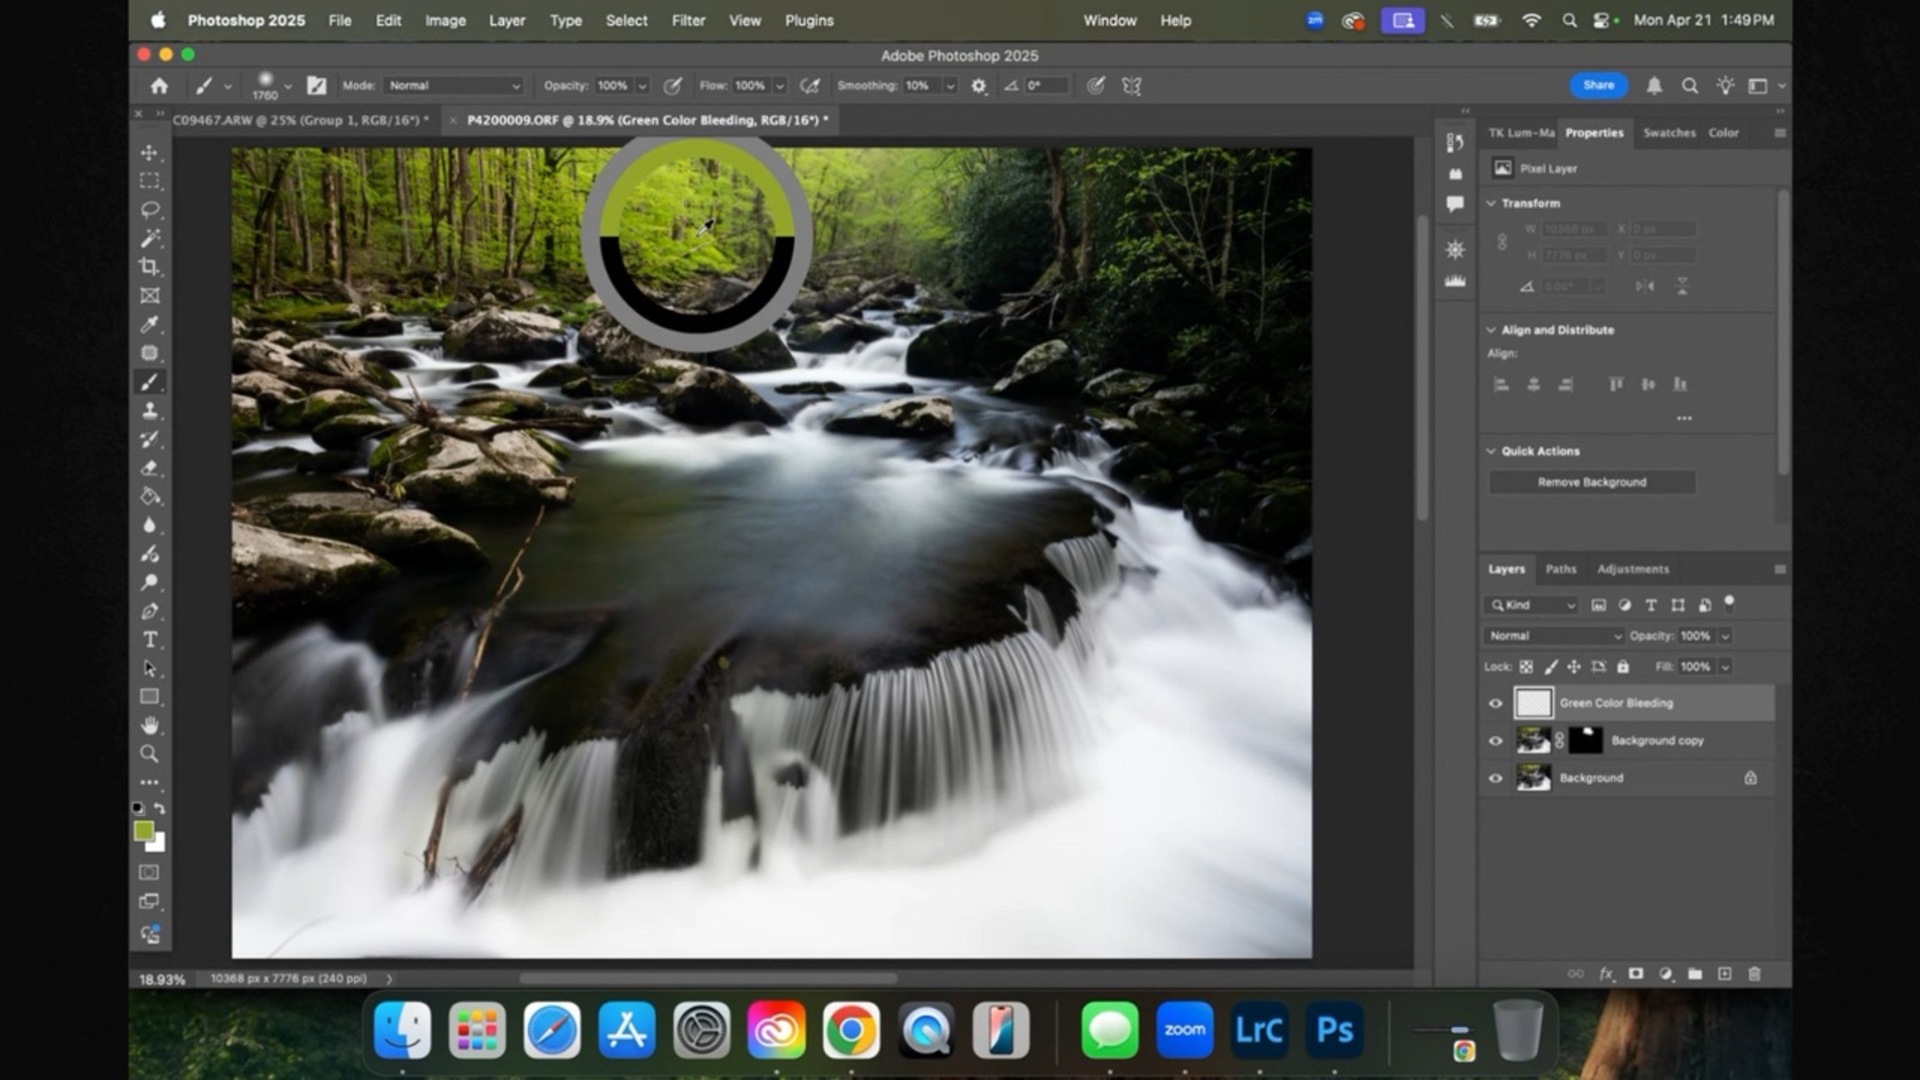
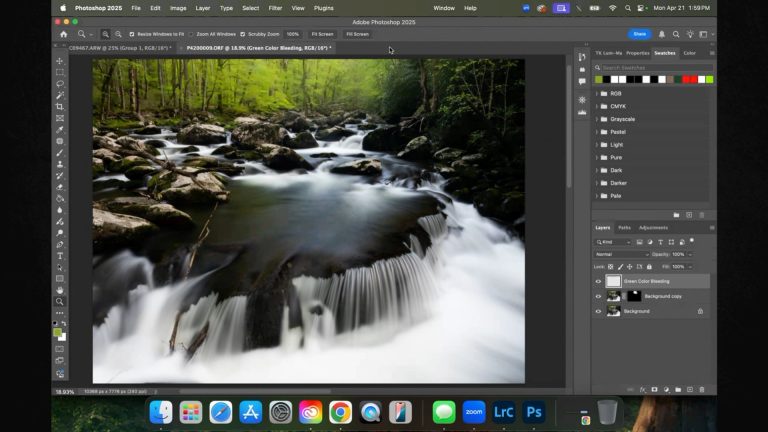
Enhancing Colors with Color Bleeding
5:15
Blurring photos usually works best when you also bleed a little bit of color into the effect. I like to think of this in regard to watercolor painting. The more water you add to something, the more blurred it’s going to look. The water is also going to grab onto surrounding colors and bleed those colors into the wet paper. When you add a little blur to your photography like we did in the last video, it needs a little bit of color to bleed into. In this video, you’ll learn how to do just that.
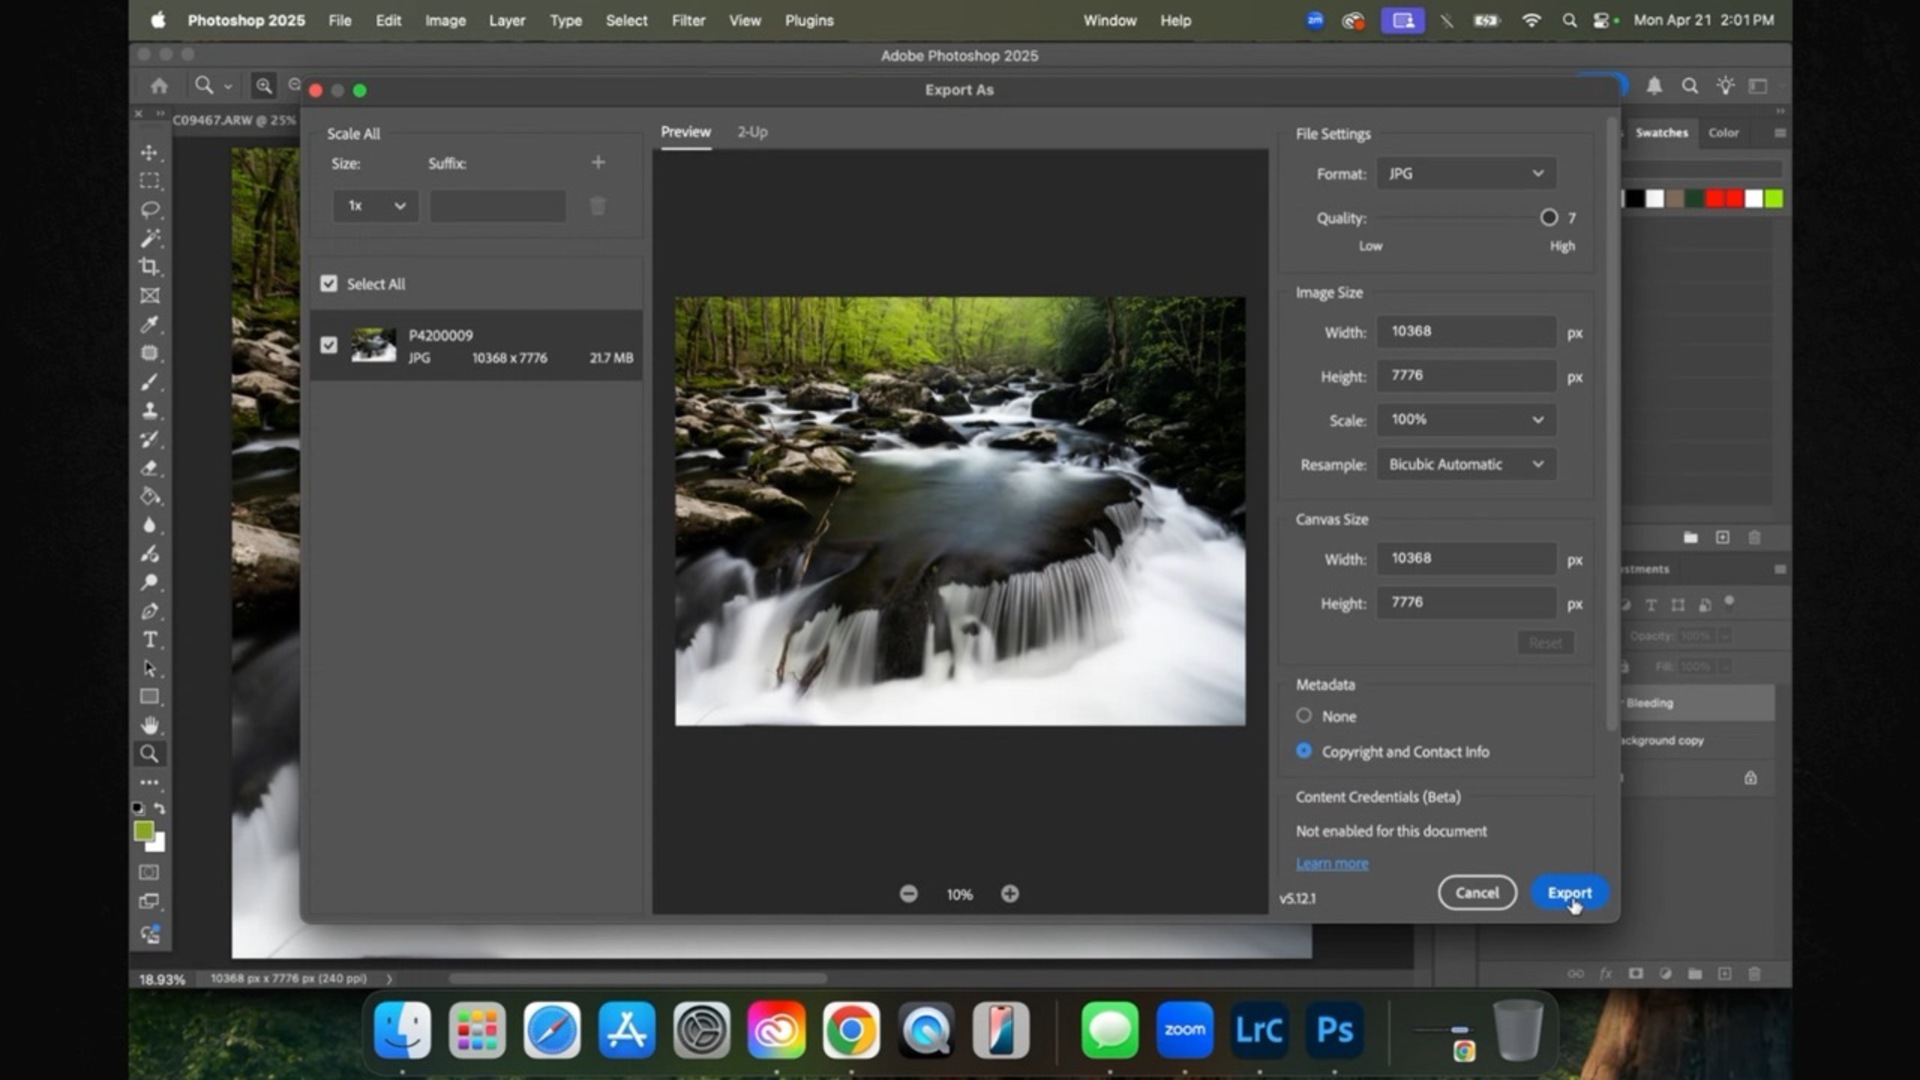
Exporting Your Photos
6:23
How do you export photos? What are all those file types in Photoshop? What image resolution should you use? These are all valid questions! In fact, using the wrong file type or resolution can actually ruin all of the hard work that you have put into your photo! This video will show you the best file types to use and explain image resolution for different kinds of exports.
The Full Photoshop Workflow
12:45
Learning in snippets of information has its advantages and drawbacks. It definitely helps to see all the tools you can use to enhance your photos separately so that you don’t get overwhelmed. However, when it comes to putting all the pieces together at once, you might need some guidance. That is why I wanted to show you all the tools together in a complete workflow. I’ll show you why you don’t necessarily need to use all the tools every time and how to be judicious with your choices of editing.
Course Conclusion
1:44
Now that you have moved your way through the entire Photoshop for Outdoor Photography course, you have the knowledge necessary to tackle Photoshop head on! You also have the confidence to take your photography to the next level and create photos that you never thought possible before.
Your Instructor
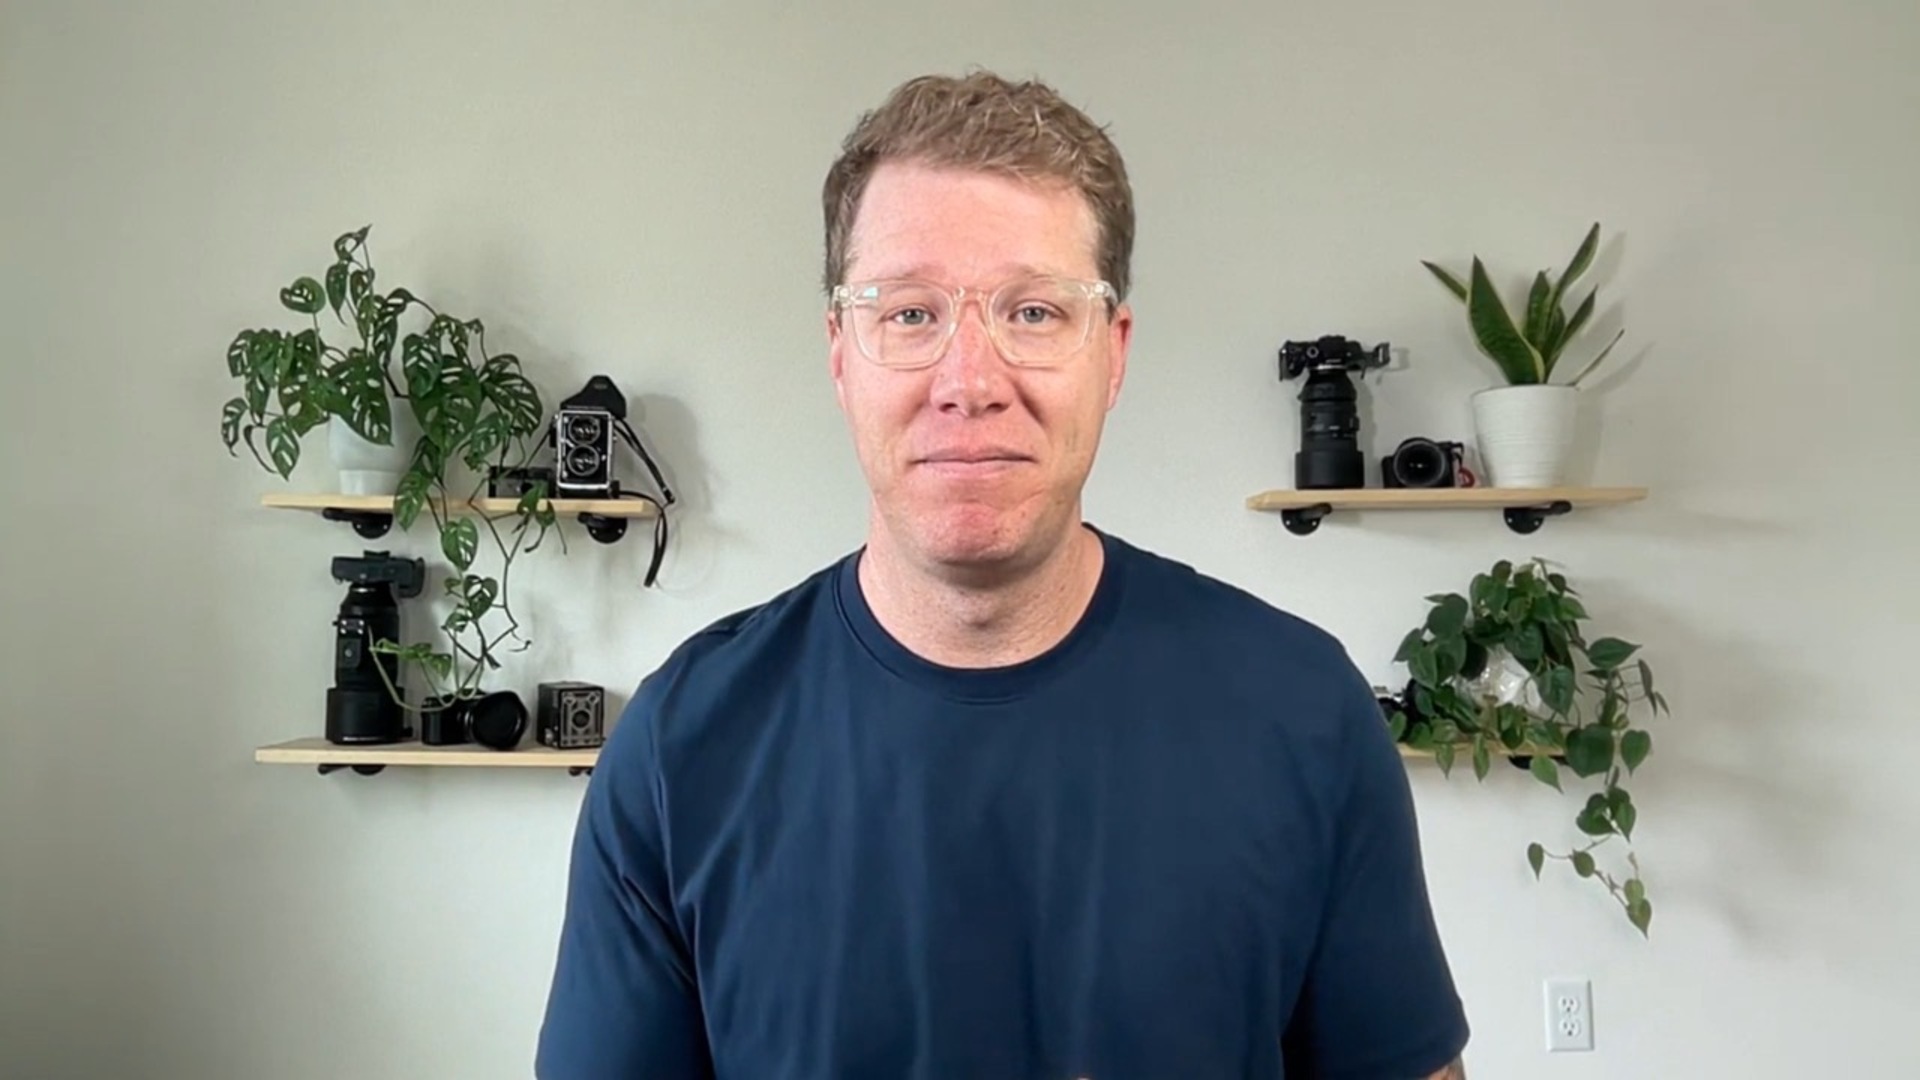
David Johnston
David Johnston is a professional outdoor photographer located in Tennessee. He loves photographing the older mountain landscapes of the Appalachian Mountains and he ventures to other locations around the world to capture amazing outdoor scenes. Originally a fan of print photography, he switched to digital photography after college and began his business photographing the outdoors as well as teaching people how to improve their skills in outdoor photography.

Bonus Material
Photoshop for Outdoor Photography
Bonus Materials available for download after purchase.
