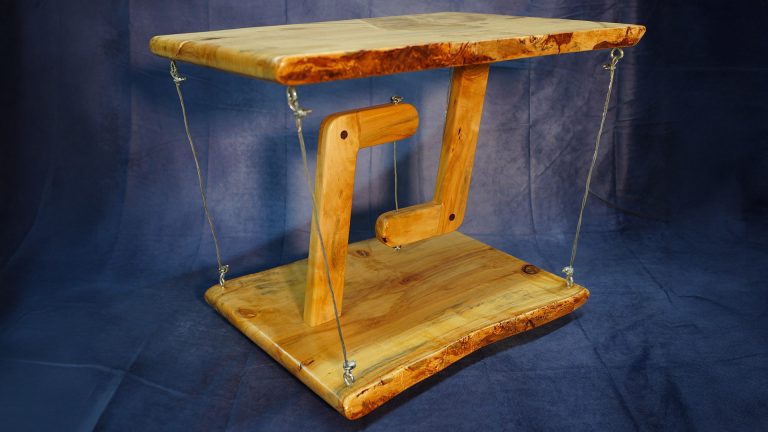
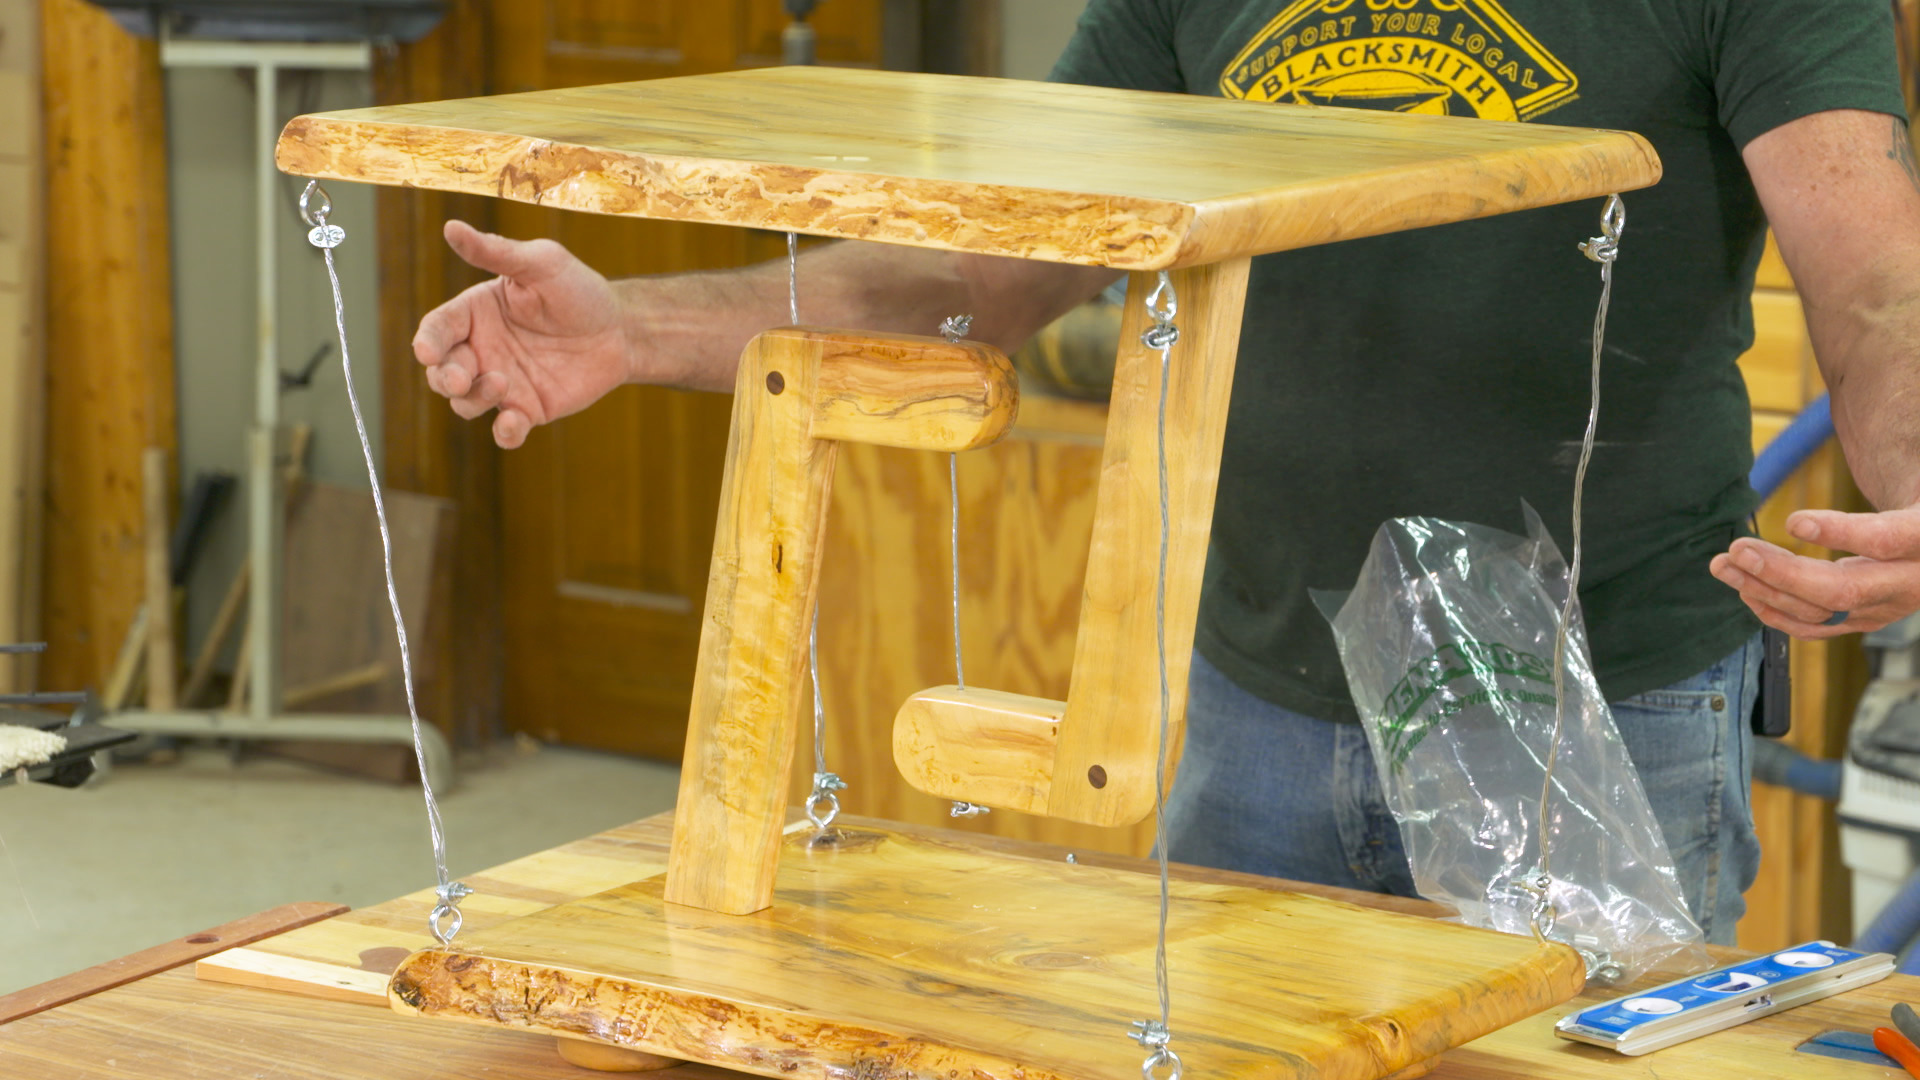
I’ve wanted to build an Impossible Table for a long time, and finally did it. These are also called Tensegrity Tables. They’re a great conversation piece because it looks like there’s nothing holding the table up.
My table uses live edge slabs for the top and bottom, and they add another visually interesting detail to the table. You could, alternatively glue up pieces to get the width of pieces you want for top and bottom.
Designing Your Table
I’ll take you through the thought processes I went through as I developed the hanger system for this table. You can apply that to the table you’re going to make.
The Hangers
You’ll hear me talk about the hangers over and over. They’re a very important aspect of the project because, in the end, the table is supported by the structure of the hangers.
Hardware
Cables and eye hooks bring everything together and, like a suspension bridge, are key to holding the Impossible Table up, and keeping it together.
Details
Feet give the table some lift off the floor, and a significant round over eases the corners to give the project a softer look.
Class Sessions
Session 1: About This Project
2:32
The goal of this class is to teach you how to develop your own Impossible Table. The hangers, the vertical components that project up from bottom and down from the top, are a critical element. I’ll take you through my design process. You can replicate my hangers for your table, or take the concepts and create your own hangers.
I’ll also teach you how to work with the cables create the “magic” that is the core of an Impossible Table.
Session 2: How I Design Mine
10:00
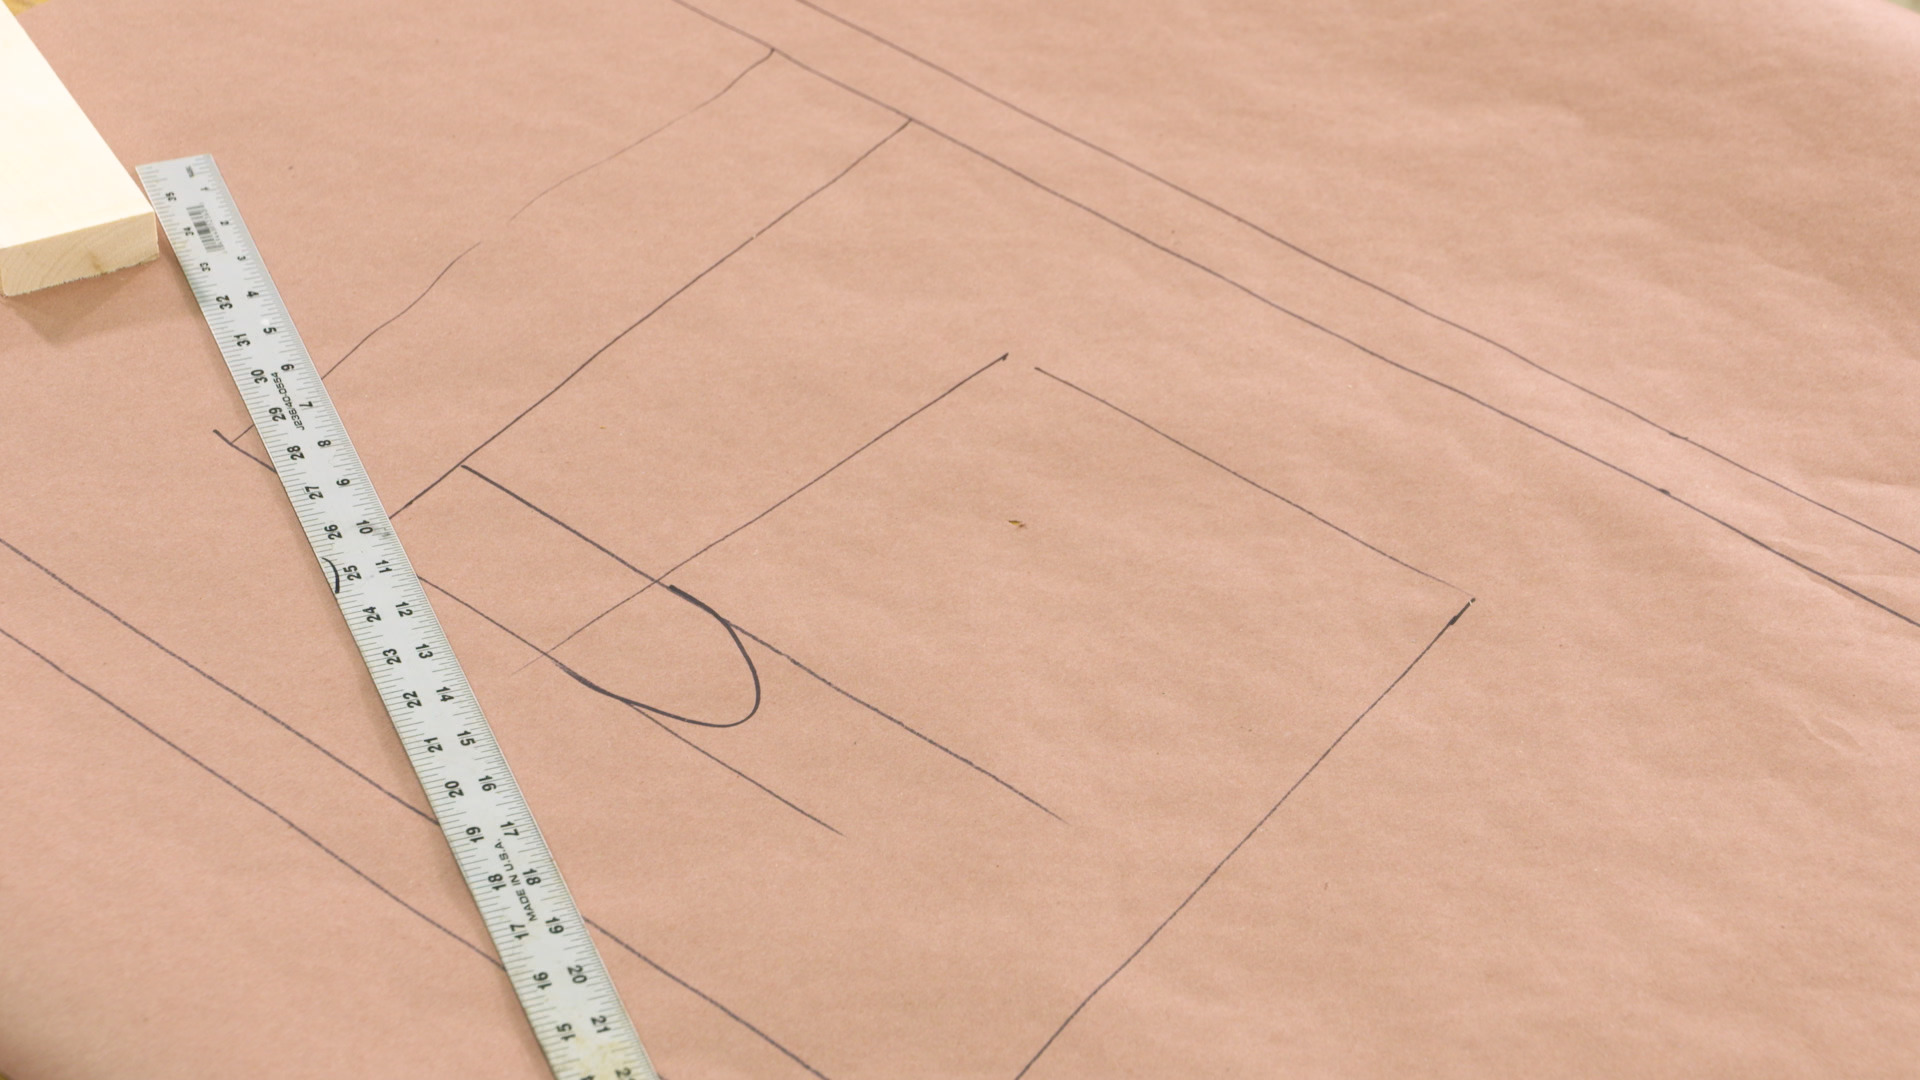
I laid the entire project out on rosin paper on my workbench. You can get rolls of rosin paper at home centers. With a 36” wide roll at your disposal you can draw the table full size.
I drew the top, bottom and feet and did it all full size. My goal is to make this table 20” tall, a nice height for a side table. Next, I could start working on the layout of the hangers.
It’s very handy to have rosin paper in your shop. Use it for drawings like this, and to protect your benches from finish and glue.
Session 3: Cut Your Parts
2:38
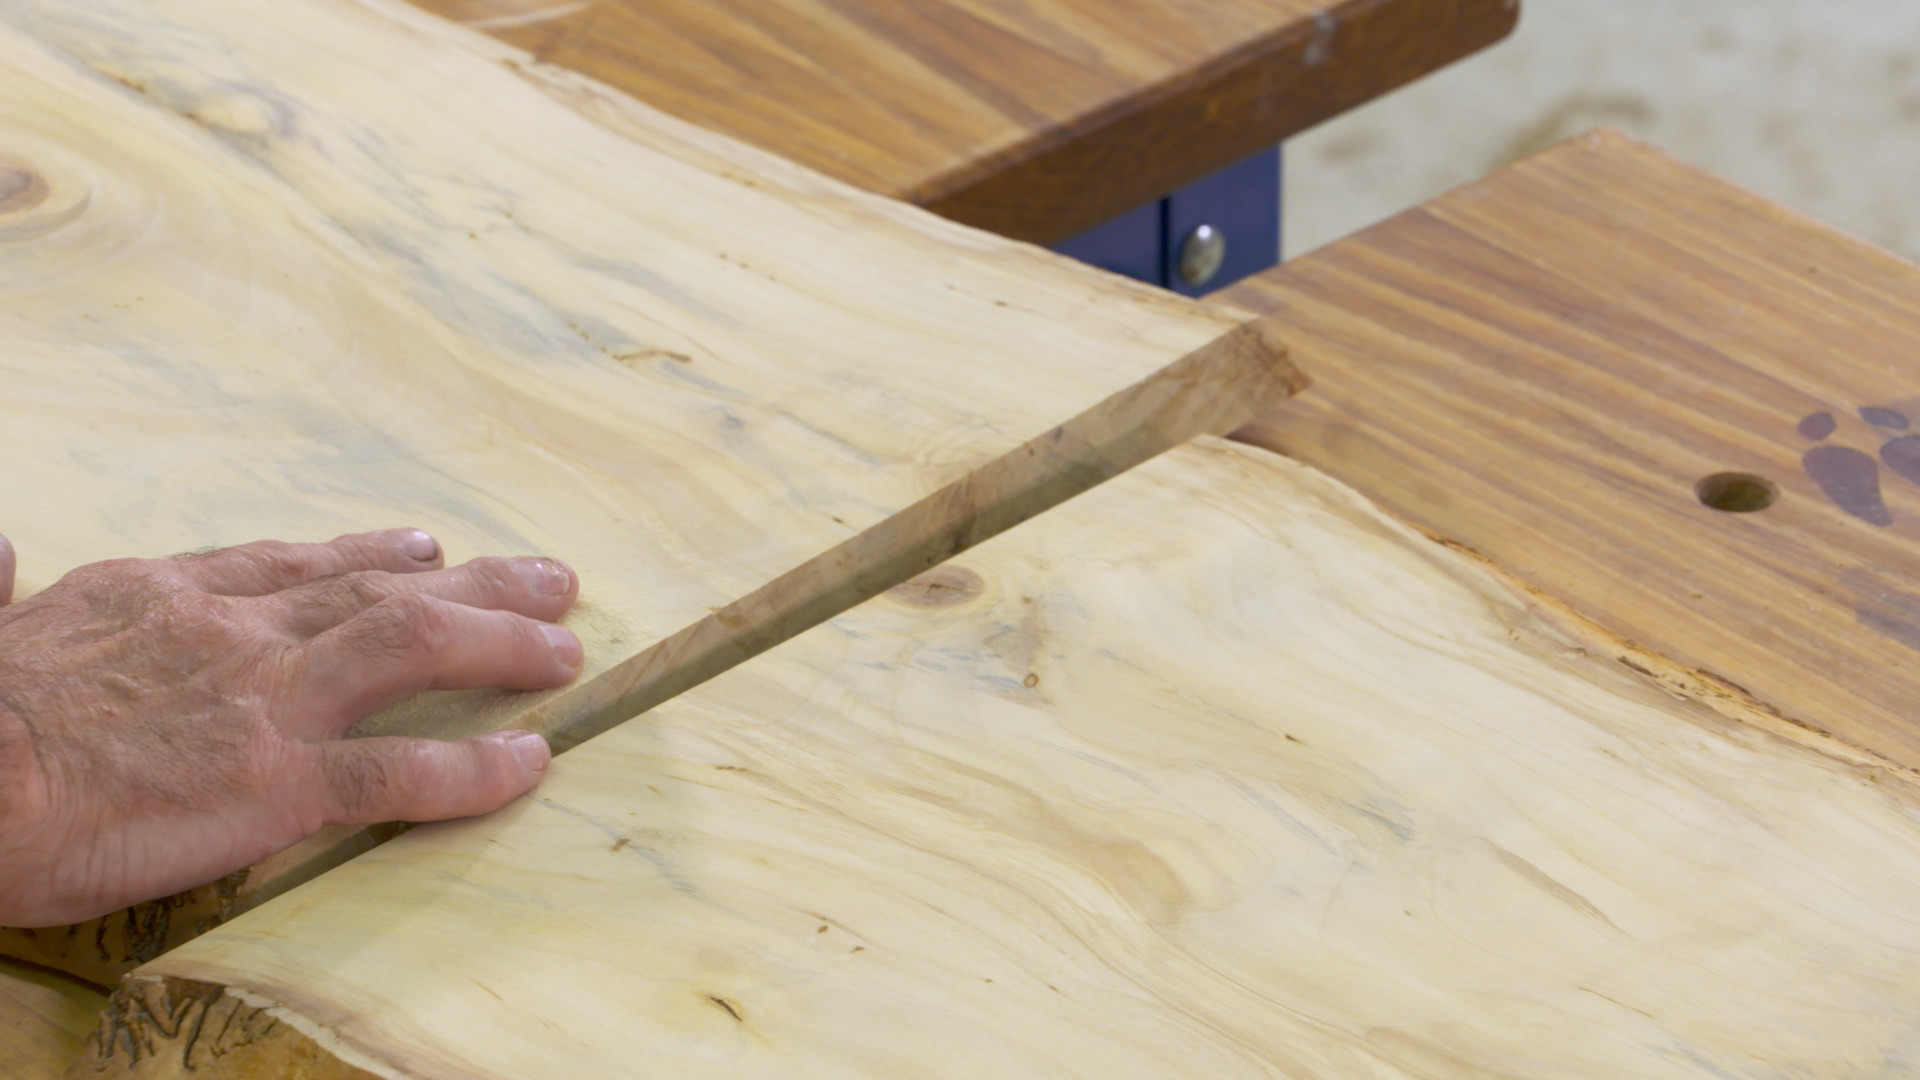
There are a number of ways you can pull the material you need for an impossible table together. I worked with a birch live edge slab, but you could also glue up pieces to get the width you need for the top and bottom.
A fun aspect of this project is that you don’t have to build it to set dimensions.
Session 4: Cut The Tenon and Half Lap
25:30
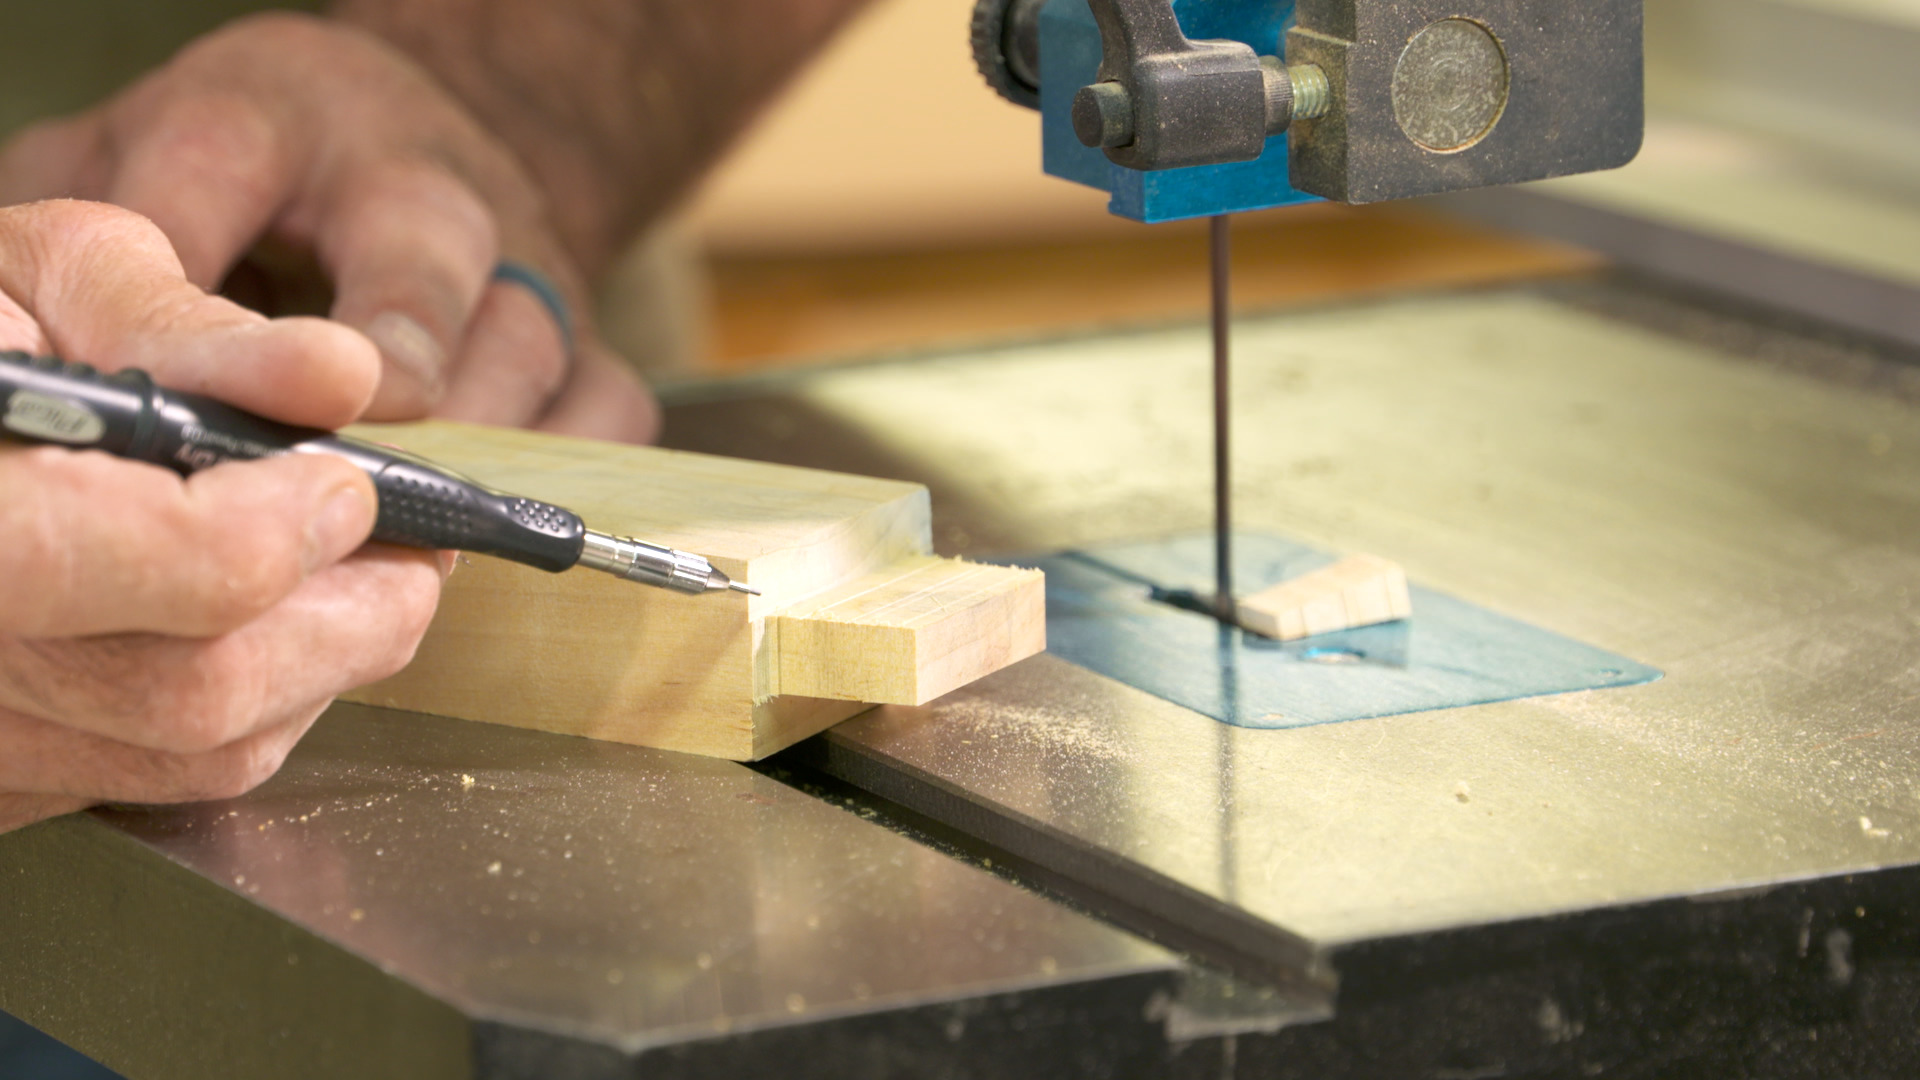
You need to work through a distinct series of operations to make your parts and create the joinery. It’s important that the half-lap and mortise and tenon joints are correctly cut so you have the strength you need in the joinery. I’ll take you through this step by step to make sure you get it right on your table. The mortise is made with a plunge router. The tenon and half-lap are done on the table saw.
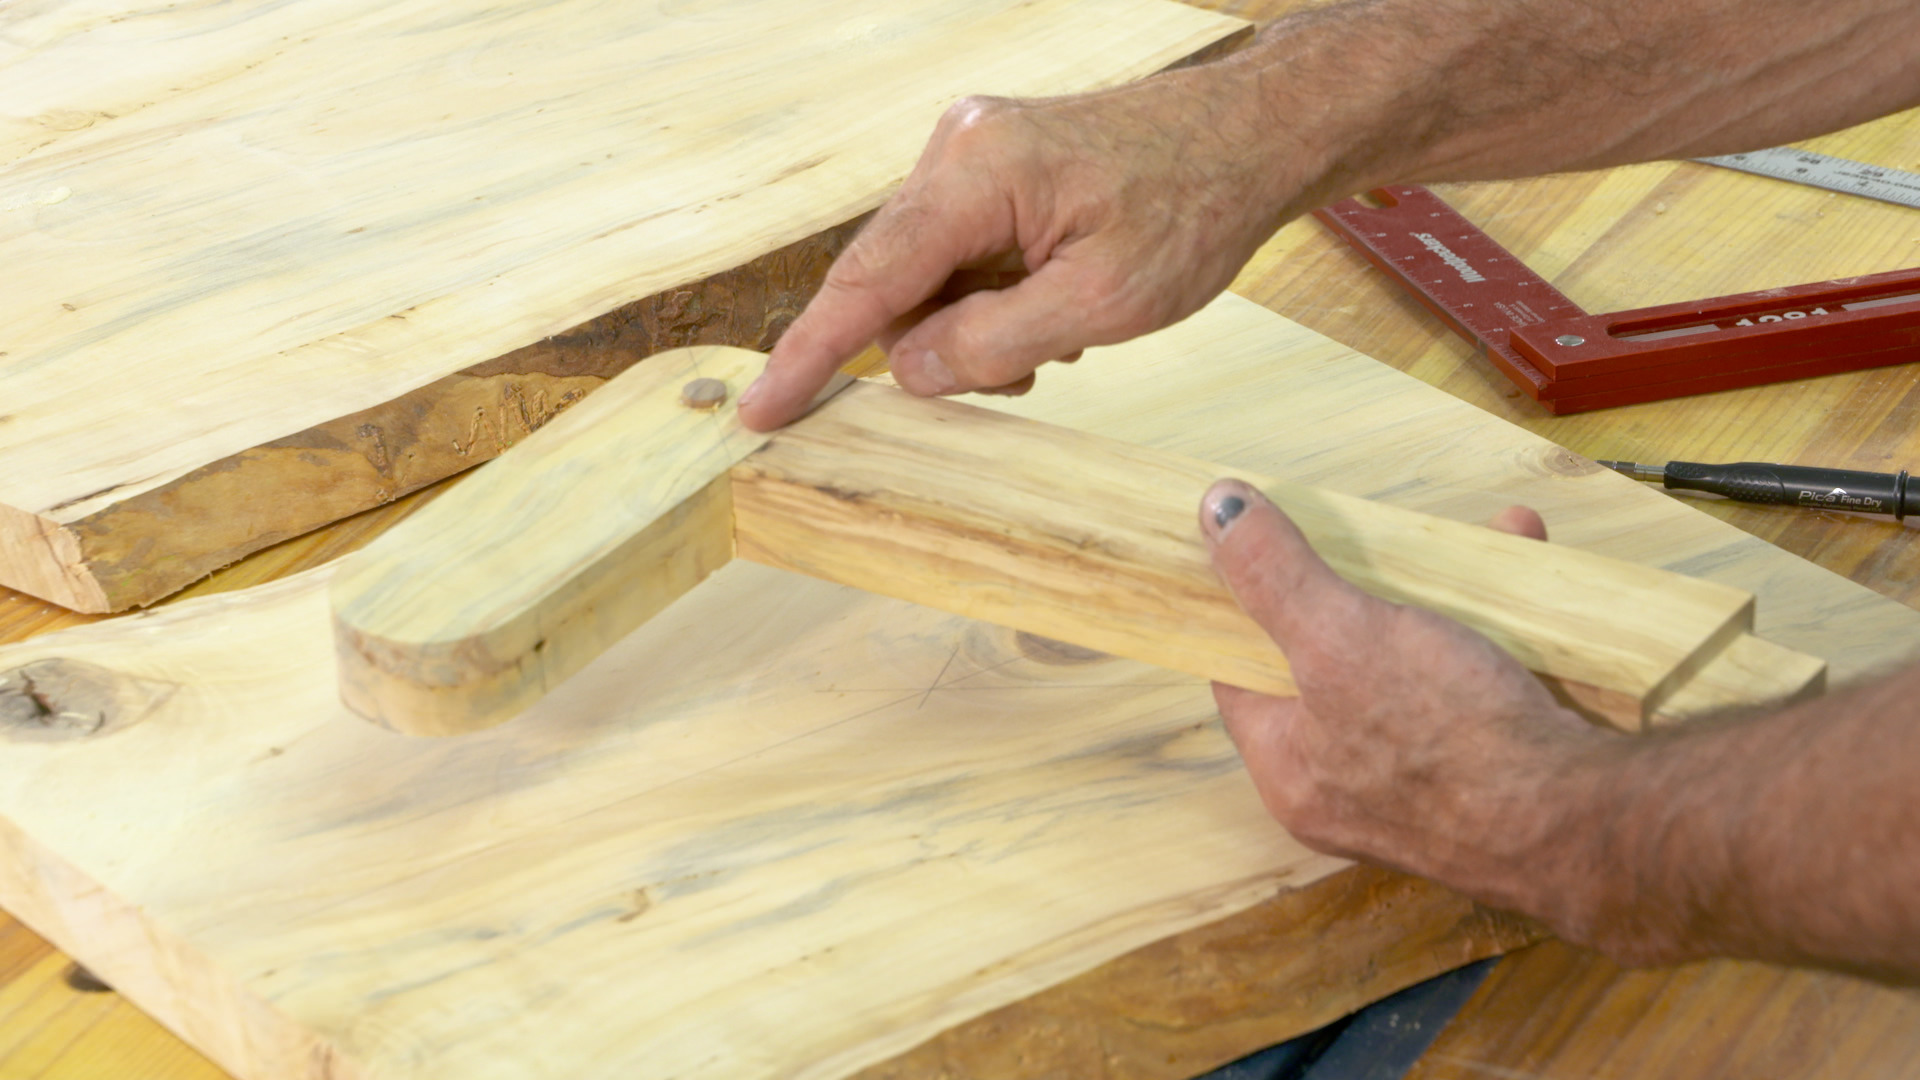
Session 5: Locate The Hangers
3:44
There are a few tricks you need to know to locate the hangers on the bottom of the top and the top of the bottom. It’s important for the mortises to be located in just the right spot. This creates proper alignment of the hangers and the joining cable. Don’t worry, I’ve got you covered.
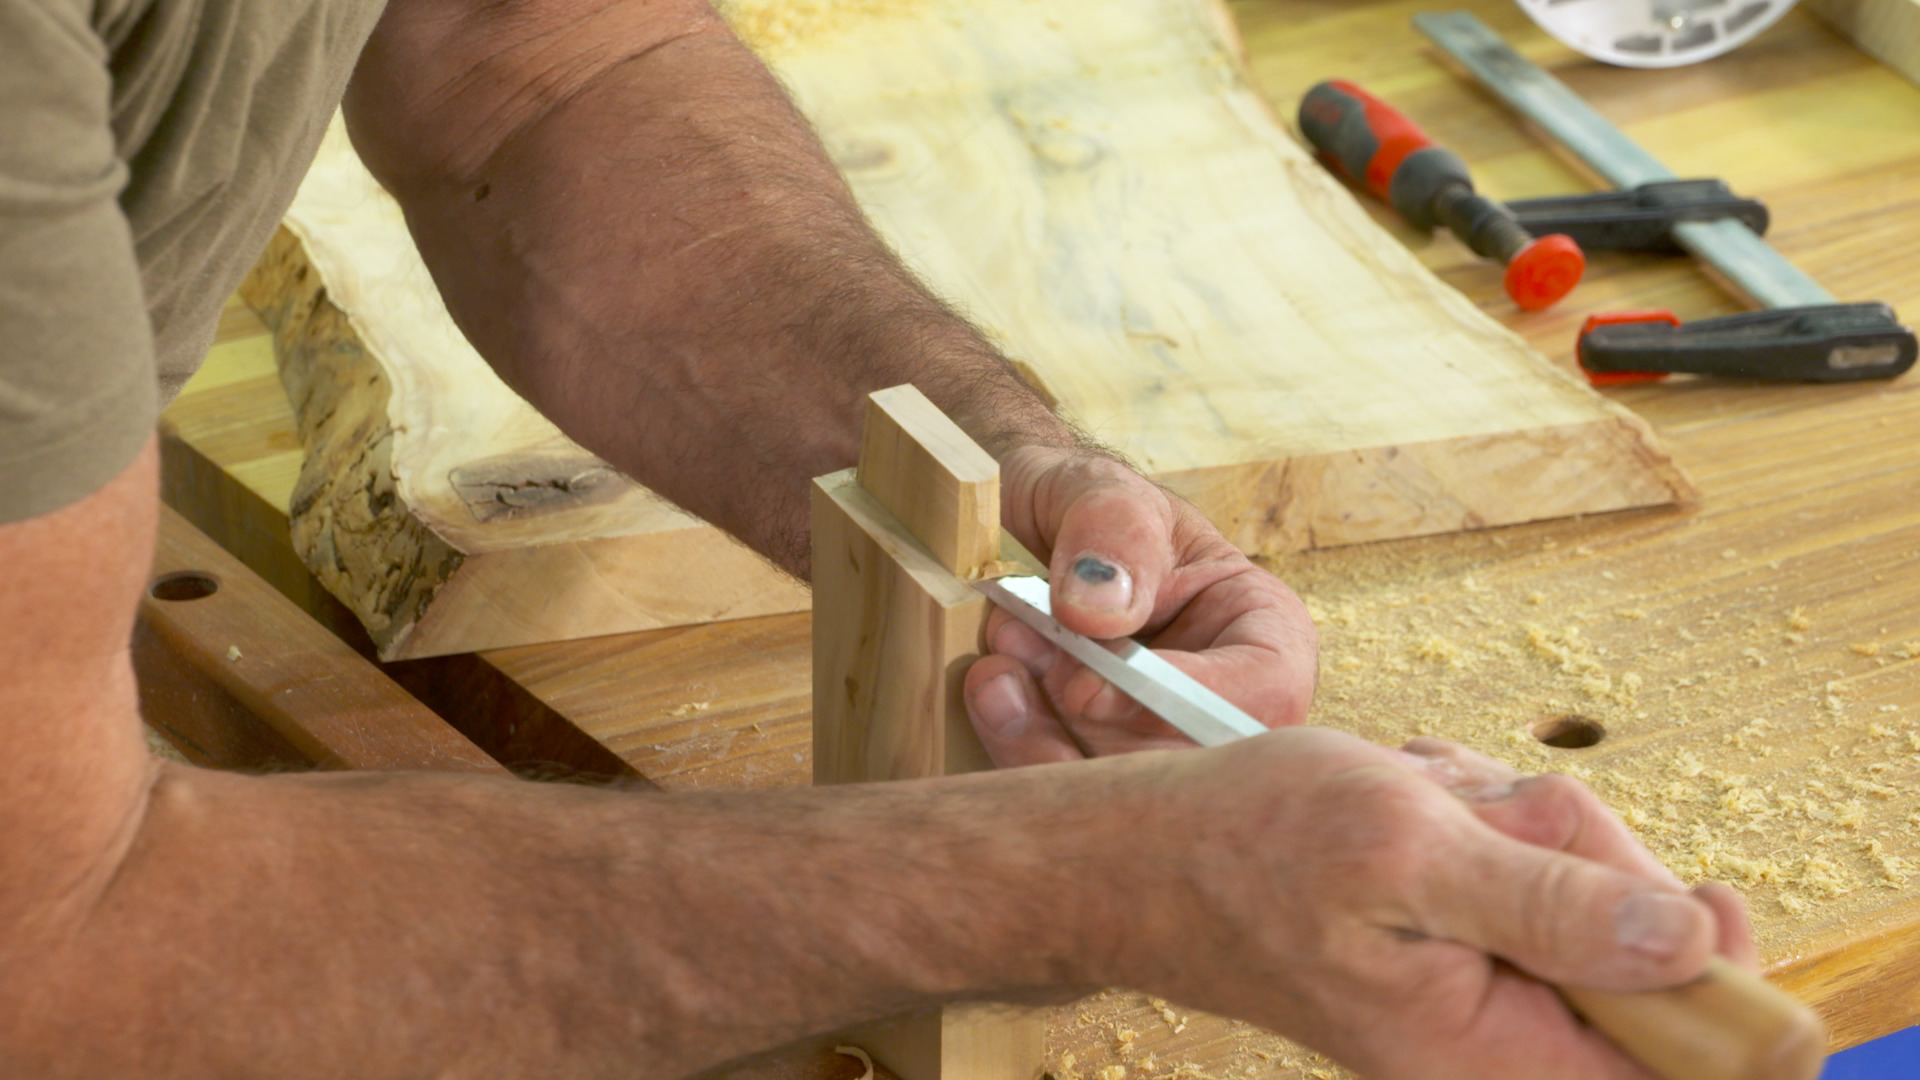
Session 6: Create The Hanger Joint
2:37
In this step you’ll grab your plunge router and, using the layout lines from the previous step, create the mortise that the hanger tenon fits into.
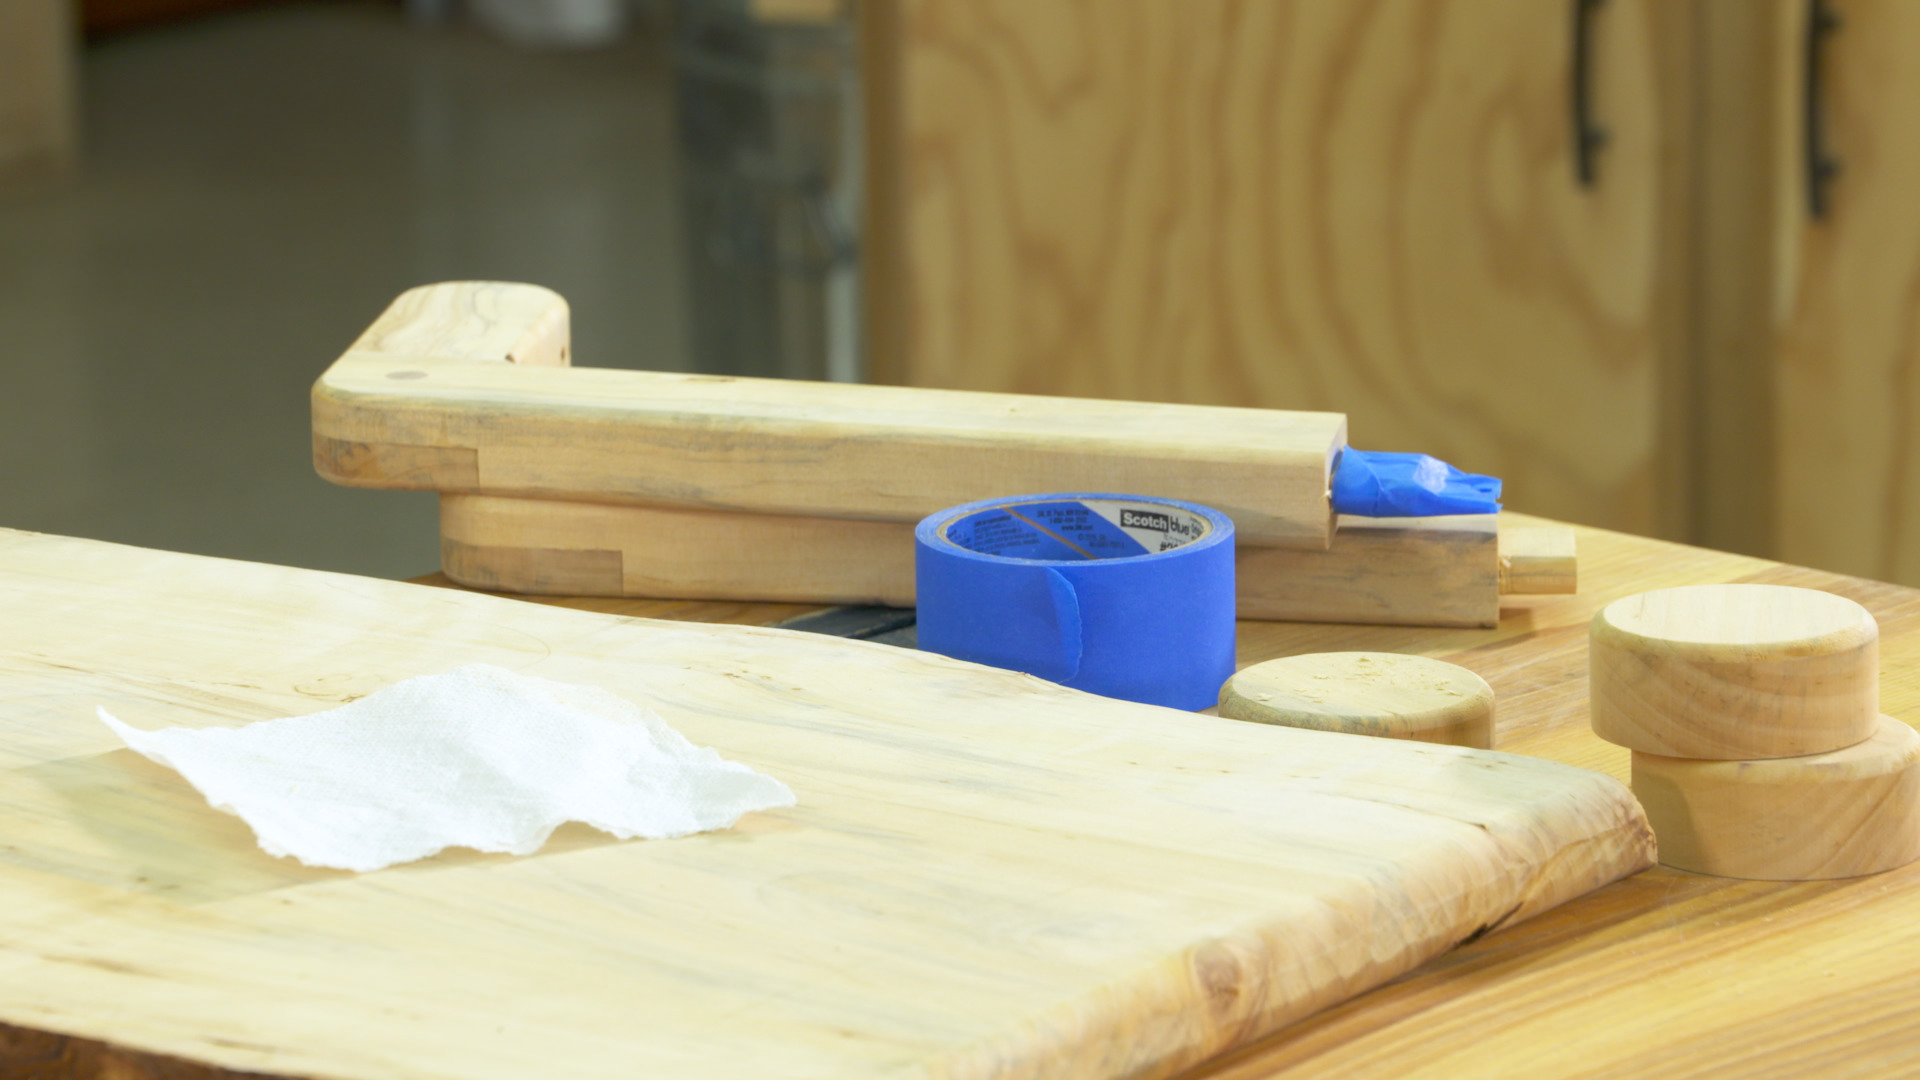
Session 7: Get Ready for Pre-Finishing
4:20
It’s much easier to finish this project before assembly, but you need to take a few steps before finishing. This involves rounding corners and predrilling for screw eyes.
I’ll show you how to protect your joints so you don’t get finish in the mortise or on the tenon that could affect the glue bond.
Session 8: Install The Hangers
4:30
Once the finish is dry assembly can begin on the table. I elected to not use yellow glue for this joint. You’ll see why.
This joint took some creative clamping. I’ll show you how to use a spacer and a crossbar to secure the hanger while the glue dries.
Session 9: Final Assembly
20:54
Everything is set and the table is ready for hardware!! This is tricky. We’re building a suspension bridge here, kind of. But thanks to the use of stilts and a defined build sequence, installing the hardware isn’t too tough.
Once the screw eyes and cables are installed, you’re ready for your great conversation piece to find a space in your home.
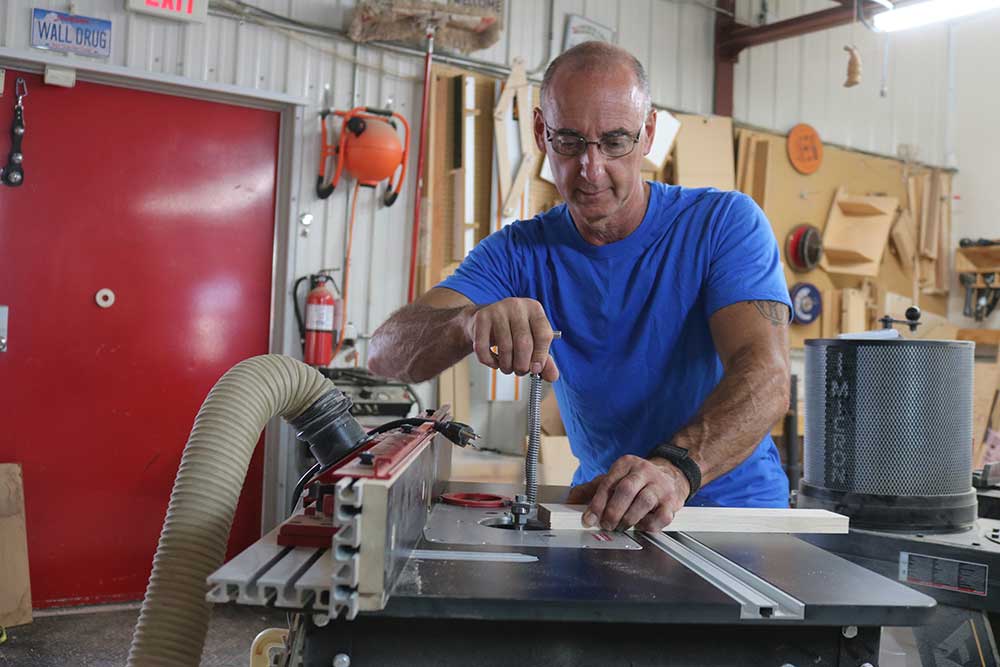
Your Instructor
George Vondriska
Formally trained in technology education, George Vondriska has been teaching woodworking since 1986. He has been the managing editor of Woodworkers Guild of America since 2007. In addition to classes at his own Vondriska Woodworks School, George teaches at woodworking shows across the country and has taught woodworking for the Peace Corps, Andersen Window, Northwest Airlines and the Pentagon.
Bonus Material
Build an Impossible Table - Resources
Bonus Materials available for download after purchase.
FAQs
Can I purchase a class to keep in my collection?
Yes, we do have a Shop where you can purchase classes to keep. Our Shop items are located under the Shop Tab.
How do I know what the Class covers?
Every Class has a free Preview video you can watch, to give you a flavor of the Instructor and the skills or project that will be covered. In addition, the Overview tab includes a thorough written description of the Class. And finally, each Class Session has a brief written summary of the content in that Session, including the length of each Session video. You will get a good feel for the Class content by reviewing these resources.
Do I have to be a Member of Craftsy to purchase a Class?
No you don’t. While Premium Members will receive regular offers for special deals on Craftsy content, Classes are not reserved exclusively for Members. If you buy a Class as a non-member, we’re sure you’d also enjoy having access to our full library of great projects and articles as a Member, so give it a try.
How do I purchase a Class?
First you should decide that the Class is what you want. Review the Class Preview video and the various written descriptions of the Class and each Session before you purchase, so you have a good understanding of the Class content. When you’re ready to purchase and gain access to the Class, simply click the “Add to Cart” button, and proceed through the Checkout process.
How do I access/view my Class?
Once you’ve paid, you can access/view your Class by going to the MY ACCOUNT section of Craftsy. The MY ACCOUNT link is in the upper right-hand area of the website. Within your MY ACCOUNT, a section labeled “My Content” is where the class you purchased will appear, including a link to watch the video of your Class. You’ll also receive an email confirmation after your purchase, which will include a link to view your Class. You can access your Class as many times as you wish, and you’ll never lose access to your Account information. Just be sure to “Log In” for access to MY ACCOUNT.
Do I have to take the Class right away?
No. Any Class you buy will be accessible to you always. You can view your Class whenever you want, and you can view individual Sessions in whatever order you like.
Is there a limit on the times I can view my Class?
No. Your access never expires. You can view any Class you purchase as many times as you want, whenever you want.
Can I view a Class on my tablet device or mobile phone?
No problem. Most newer-model smartphones or other mobile/tablet devices with an internet connection are able to play the Class videos. Simply Log In to Craftsy, and you can view any Class you’ve bought through the MY ACCOUNT section. Or, you can click on the “View Class” link within the email confirmation you’ll receive upon your purchase.
How do I get access to the Bonus Materials for the Class?
Until you purchase a Class, the Bonus material (any extra videos, download materials, etc.) will not be accessible. Once you purchase a Class, and go to view your Class, each individual Bonus element is accessible by simply clicking on each item. You’ll find the Bonus Materials directly below your main Class viewer frame. You can access the bonus materials as many times as you like and/or save them to your device.
How does the Class Q&A Resource benefit work?
Once you purchase any Class, within the Class viewing page, you’ll have access to post a question, comment or tip in the Class Discussions. This is not a “live chat,” but Craftsy contributors will answer posted questions and provide tips regularly. You can also view other Class participants’ questions and input to take part in this virtual dialogue among others who have taken the Class and are willing to share tips, answers, or ideas.
Can I print out Class details?
For any Bonus Material that is a PDF Download, yes you can. Just click on the icon/button for the Bonus element you want and print with your local printer.
What are PDF downloads?
These are simply documents, plans, or written materials that are formatted in a way to print out and retain for reference. By simply clicking on the icon/link for any PDF Download that is included with a Class, you can print that document on your own printer or simply view the contents on your computer/mobile device.
Are there any system requirements to view the Class video content?
Your Class video content is best when viewed on a computer manufactured in the past couple of years with a good broadband Internet connection (not dialup). We also highly recommend using the latest version of Firefox, Safari, or Chrome as your Internet Browser, though recent versions of Internet Explorer will work as well. The recommended screen resolution is 1024 x 768 or larger.
Why do you need my email?
We need it to acknowledge your purchase of a Class, and send you a confirmation of your transaction. Also, to maintain your permanent access to the Class videos, you’ll need to Log In to craftsy.com. We guarantee that we will not share your email with any third parties. You may receive email updates from Craftsy from time to time, with details of new Classes and updates. You can easily unsubscribe when you receive any email.
Can I get a refund if I don’t like the Class?
Because you’ll have full access to all the materials and content that is presented in the Class immediately, we can’t offer a refund after purchase. Please review the Class Preview video and the various written descriptions of the Class and each Session before you purchase, so you have a good understanding of the Class content.
How do I contact Craftsy?
If your question is about the Class content, please use the Contact Us Link – and you'll receive feedback from the Class Instructor. Even your fellow Class participants may jump in to offer tips and advice from their experience. If you have other questions or need help, you can email us at craftsy@program-director.net or call us toll-free, at 1-888-891-7203 . Customer Service Representatives will be available Monday-Friday, from 8:00 AM to 4:30 PM Central time, excluding normal holidays.
Explore Classes by George Vondriska


This site uses cookies, web beacons, pixels, tags, and related technologies, as described in our privacy policy and cookie notice, for purposes that may include website operation, analytics, optimizing a user's experience, and third-party advertising or marketing purposes. These technologies may automatically collect and share with third parties information about your use of this site, such as when you access a webpage or complete a purchase on our site. By clicking "GOT IT", you understand and agree to our use of these technologies.