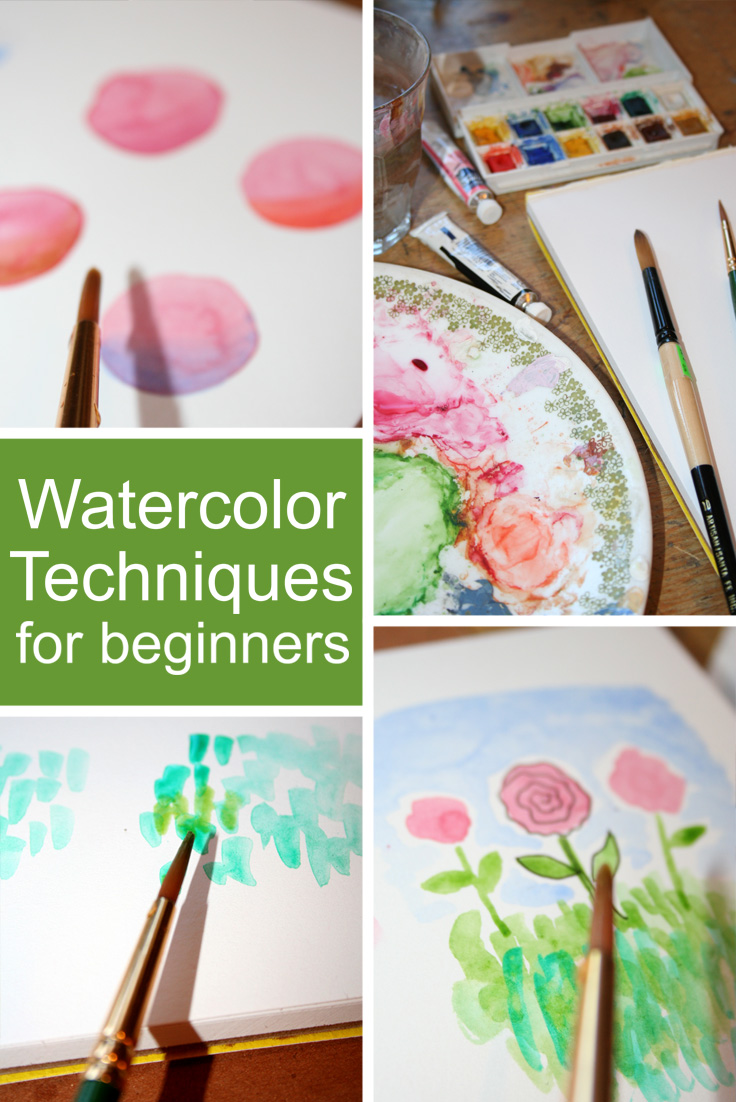
You've assembled your watercolor paint. You have brushes, paper, and water for mixing. Now all you need is to learn what to do with all of your cool watercolor gear! Intimidated? Don't be! These watercolor techniques for beginners will set you on the right path for your painting journey.
Photos and art via CakeSpy
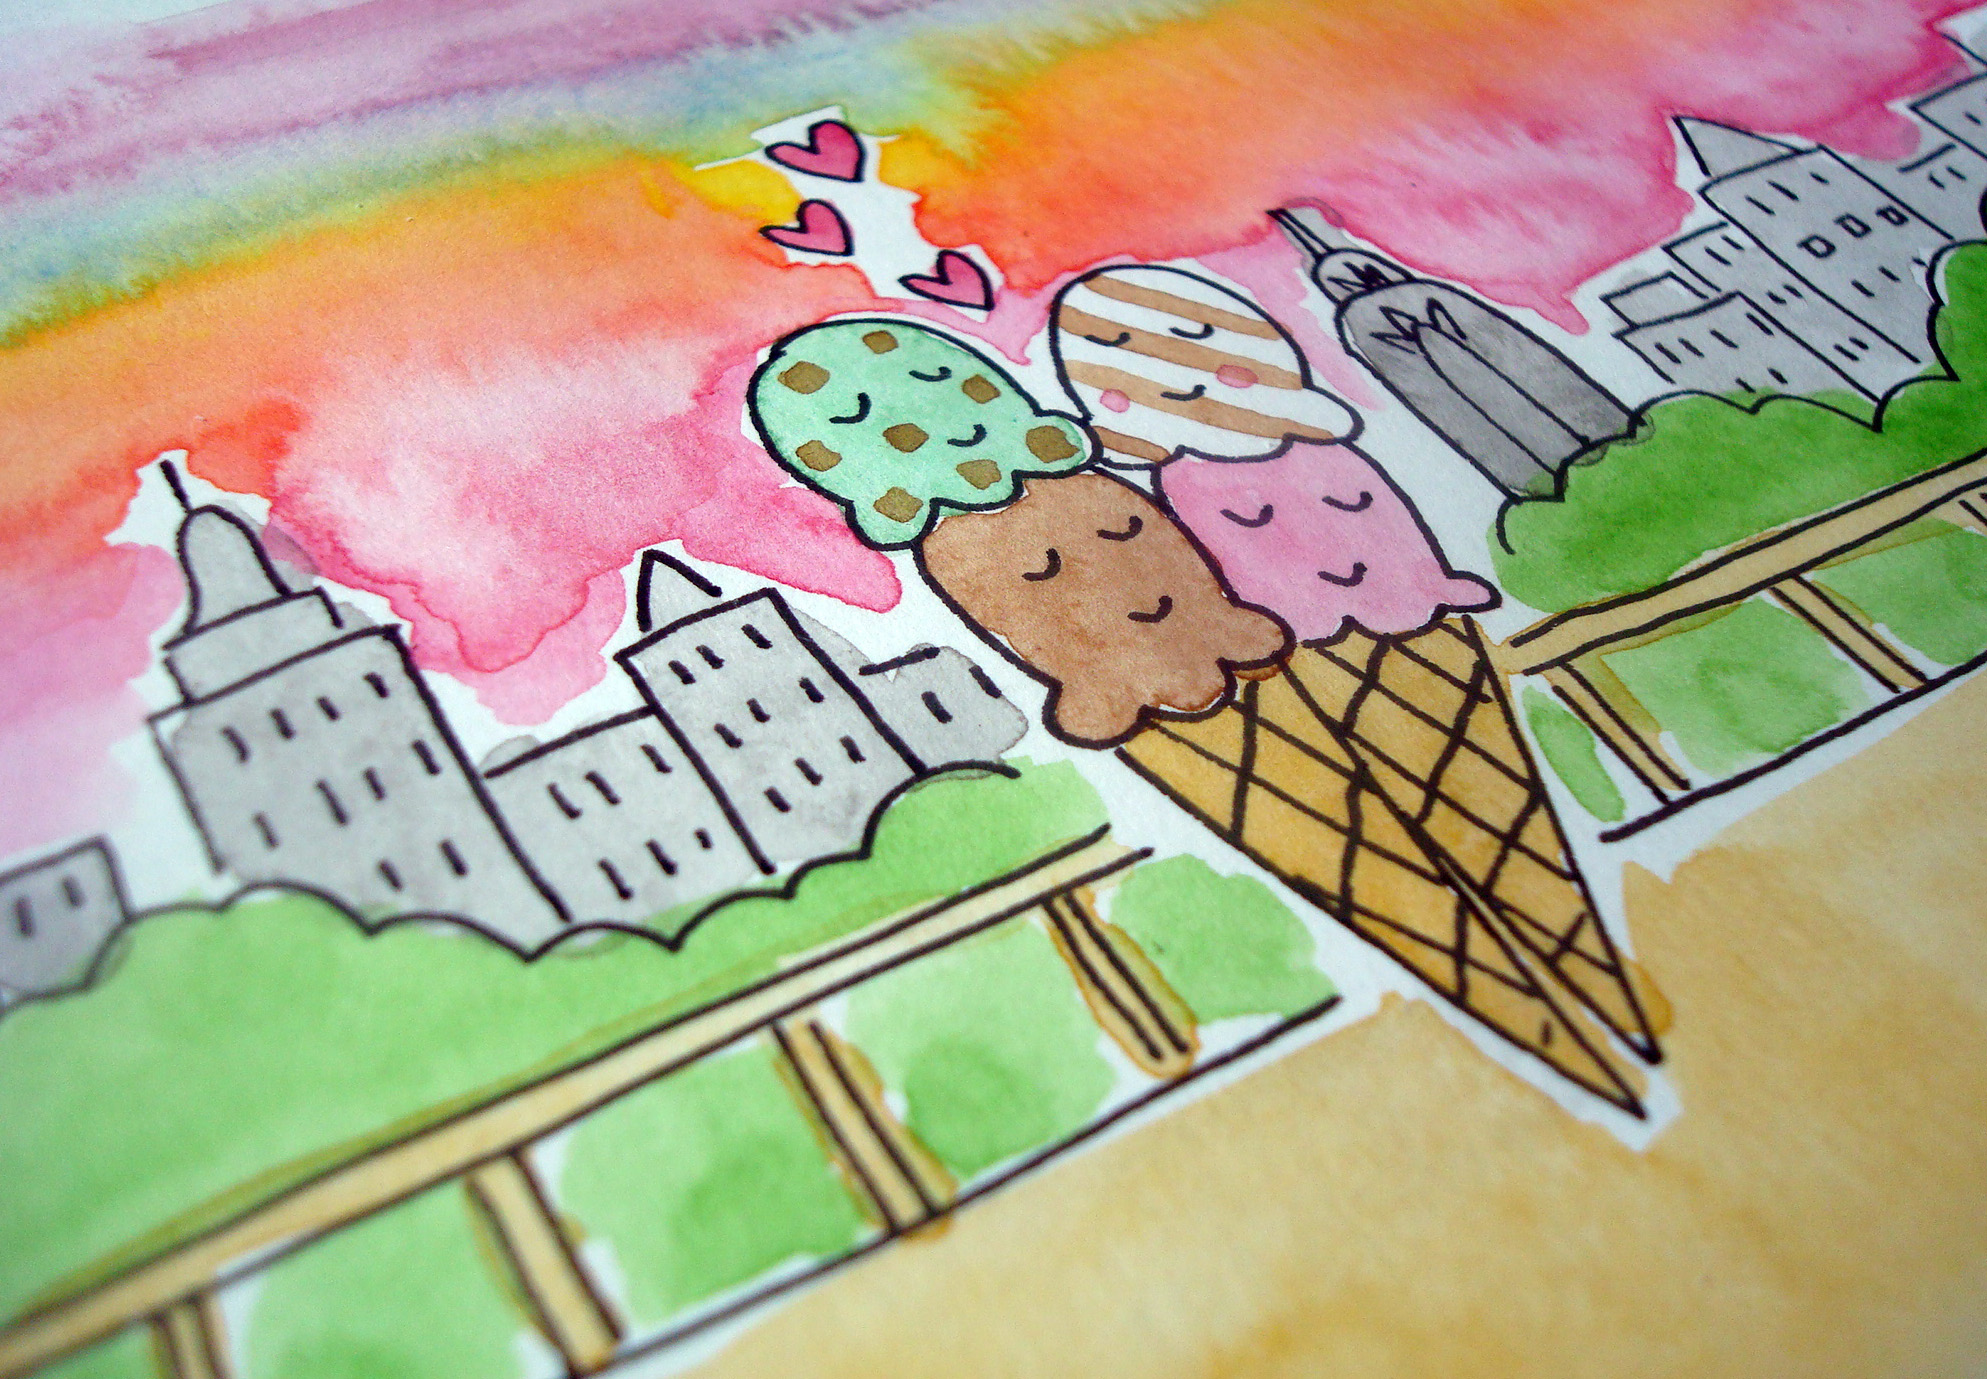
Here, we'll outline some basic techniques for the beginning watercolorist. These tips are appropriate for a variety of different styles and can be used with either watercolors from cakes or tubes, depending on your preference. In general, the best types of brushes for these basic techniques will be a round brush for detail work and a larger and more absorbent "mop" brush for washes. For more in-depth information, see our guide to the different types of watercolor brushes.
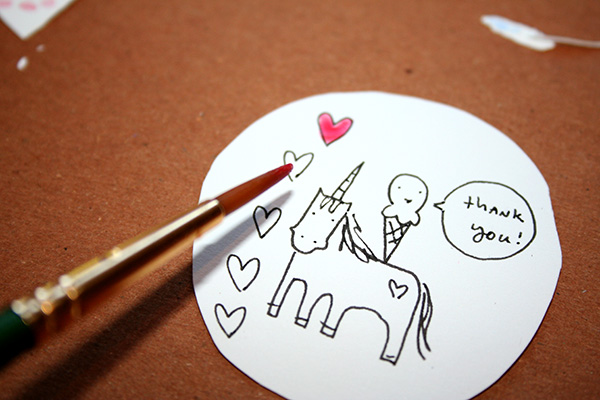
1. "Filling" areas with watercolor
Is using watercolor to paint between lines cheating? Not at all. It's actually a really helpful way to gain confidence with working in watercolor, since most people are familiar with coloring "between the lines."
To use watercolor to fill areas, simply think of the watercolor as crayons with which you are coloring in the page of a coloring book (you can even practice on our free coloring book page downloads). The watercolor will give the area a unique, textured appearance. It's a great way for beginners to get used to handling the brush, mixing paint, and working with this medium.
2. Watercolor washes
There's more than one way to approach a watercolor wash. There are two simple ways to approach it: either on a wet surface or on a dry surface.
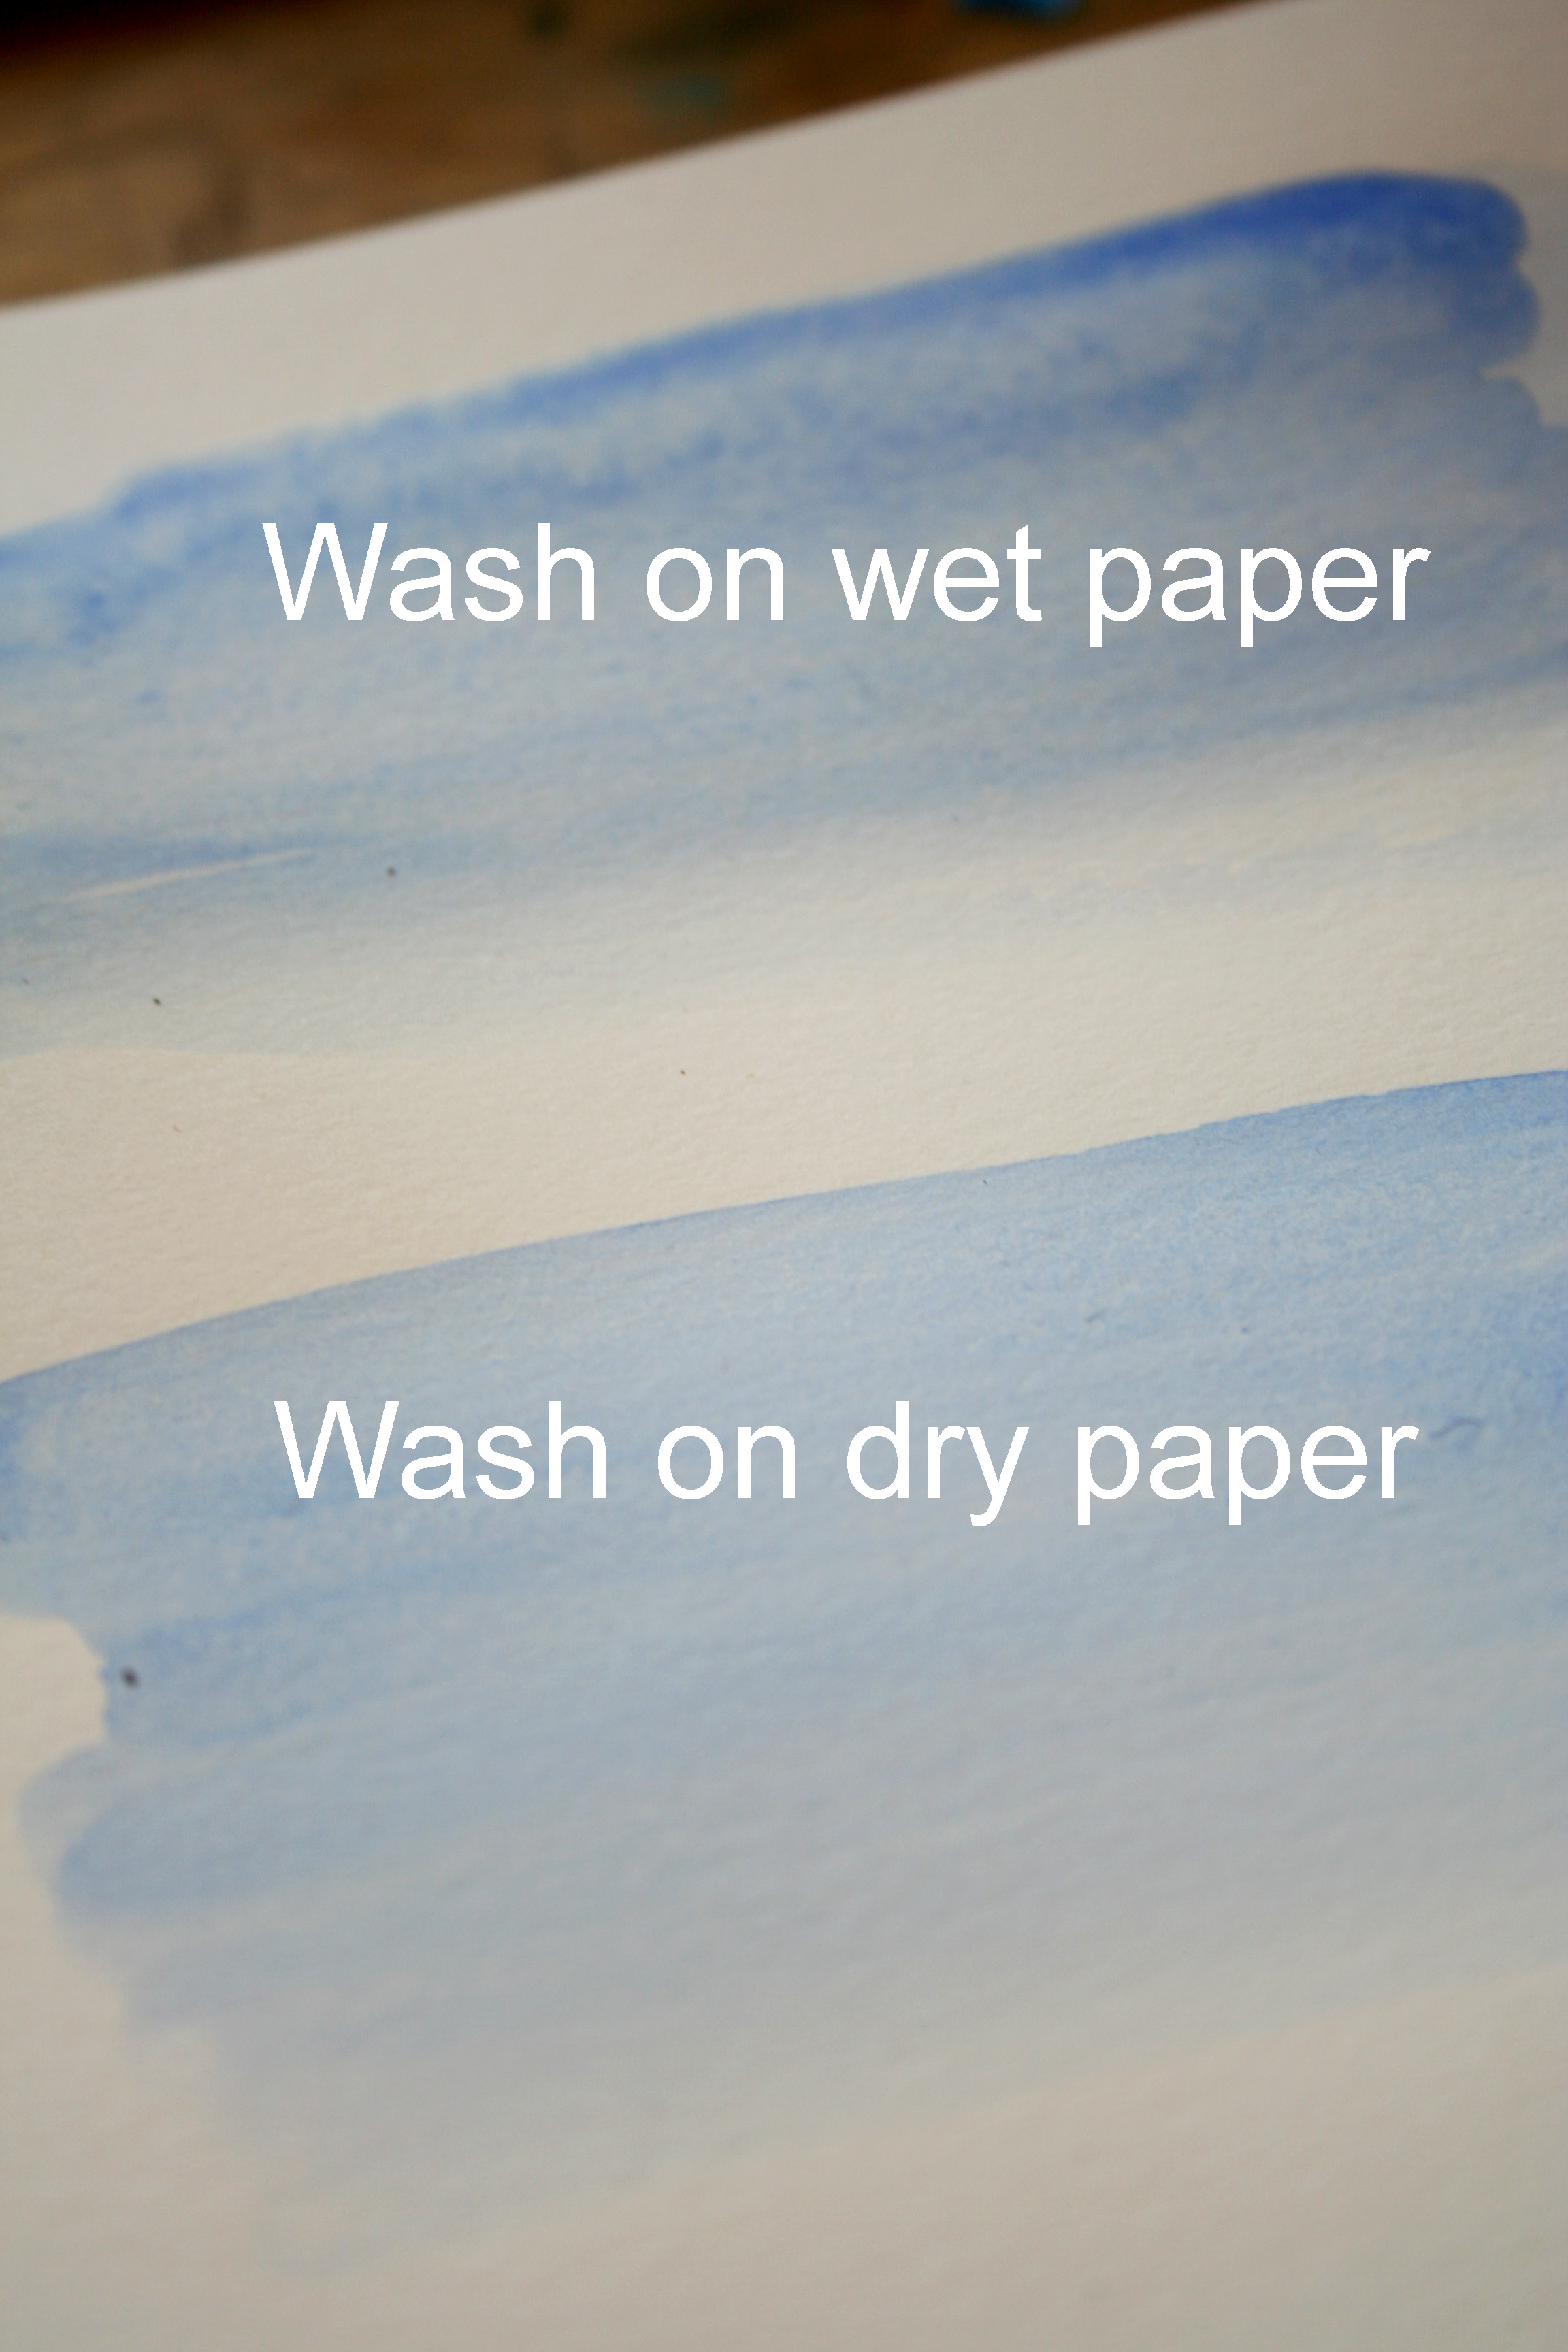
Wet surface watercolor wash
To create this type of watercolor wash, dip your brush in water (no paint) and brush it over the area you'd like to create a watercolor wash. Be generous with the water — you want the surface glistening with moisture, but not sopping wet.
Once you've wet the area, dip the brush in paint and paint lines of color within the wet area. The paint will blend together into one luminous wash of color.
Dry surface watercolor wash
You can also create a watercolor wash with dry paper. To do this, you'll want to load up an absorbent brush such as a mop brush with a very wet mixture of paint. Use the brush to create lines of paint. If desired, you can go over the paint with water to smooth any edges.
As you can see, each of these wash styles has a slightly different effect. The wet surface wash is a little softer and dreamier, whereas the dry surface wash looks more precise. You can choose which type to use depending on your preference and what works best with the piece you are working on.
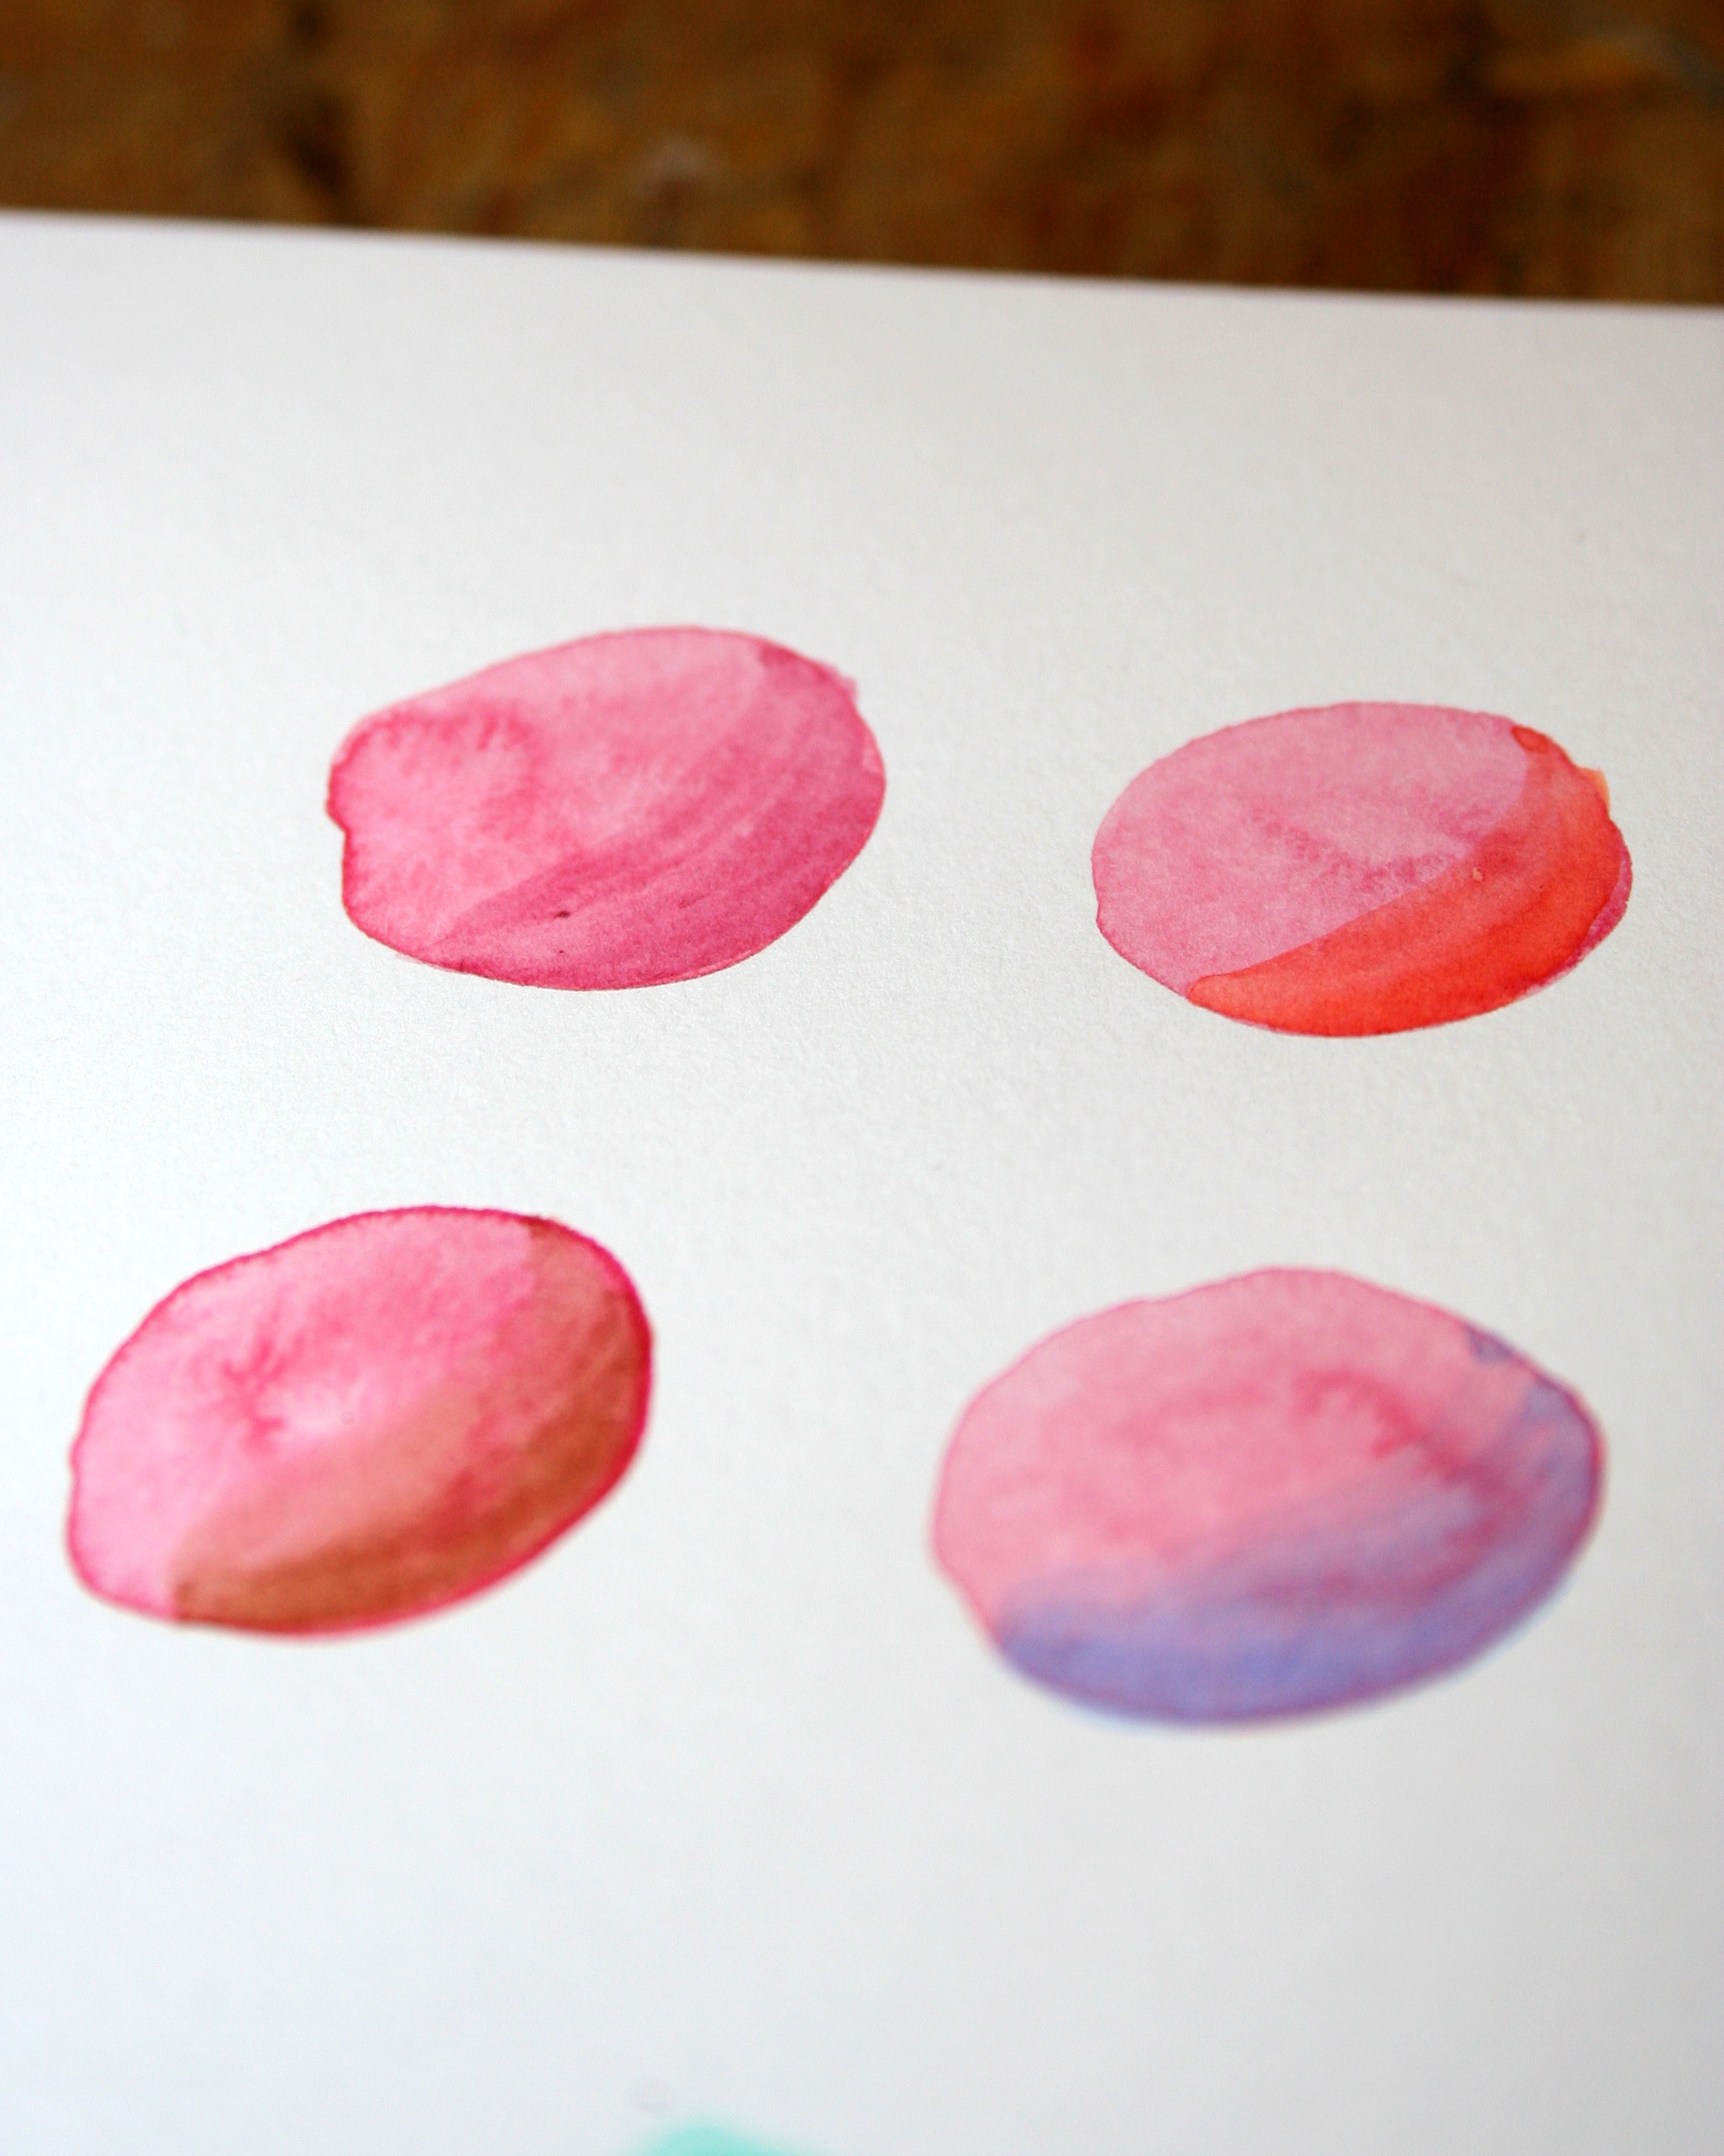
3. Gradients
Now that you've learned how to do a simple watercolor wash, the next natural step is to add a gradient. A gradient can be a graduation of tone from dark to light or of different colors blending into one another (think: rainbows and sunsets).
The basic method of a gradient is simple: Simply add a patch of fresh watercolor to a still-wet paint surface. The color can be a more intense version of the same hue, or a different hue entirely, or even a series of different colors. The idea is that the paint will blend slightly, giving a natural gradient to the tones. You can control how neat or painterly a gradient comes out by the wetness of the paint. Here are some ways to approach it...
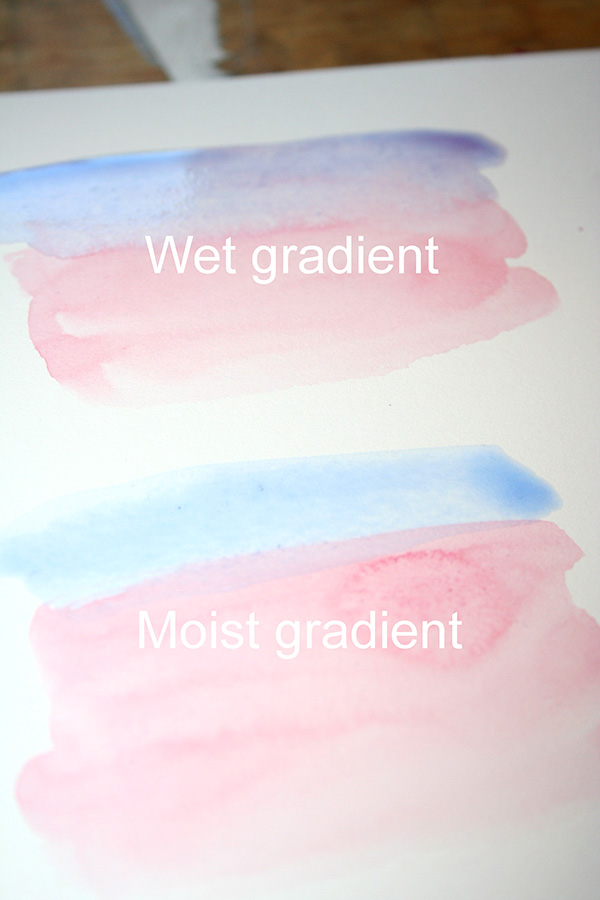
Wet gradient
Apply the second color of paint while the first color is still glistening wet. The colors will blend immediately. This method is best for using the same color or creating a more abstract look with different colors.
Moist gradient
Apply the second color of paint when the surface appears matte but is still damp to the touch. You will have a little bit more control over the colors like this, and they will retain their own distinct identities.
If the colors aren't blending as much as you'd like, you can wet your paintbrush with water (no paint) and gently brush between the colors to blend them.
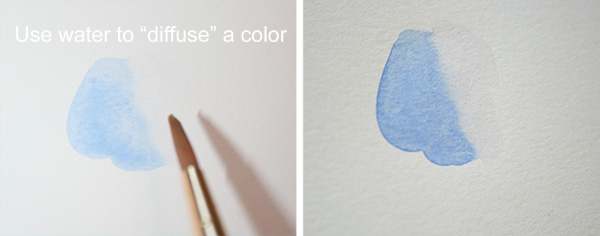
Diffuse a single color with water
You can also create a gradient by starting with a strong area of color and then using a brush wet with water, no paint, to "diffuse" the color, making a gentle gradient.
4. Layering colors and accents
Once a color of paint has dried, you can add additional layers of watercolor to add dimension, texture and color variation. This is similar to what you'd do to make a gradient, but on a completely dried surface so that the paint doesn't blend.
To do this, wait until your initial color has dried completely (not damp — dry!), then paint a second color on top. Do not add much water to the second color, as this can re-wet the initial color and make the two colors blend in ways you don't want. To make lines less severe, you can wet the brush with water and brush gently to form a gradient of the color on top so it is not so stark.
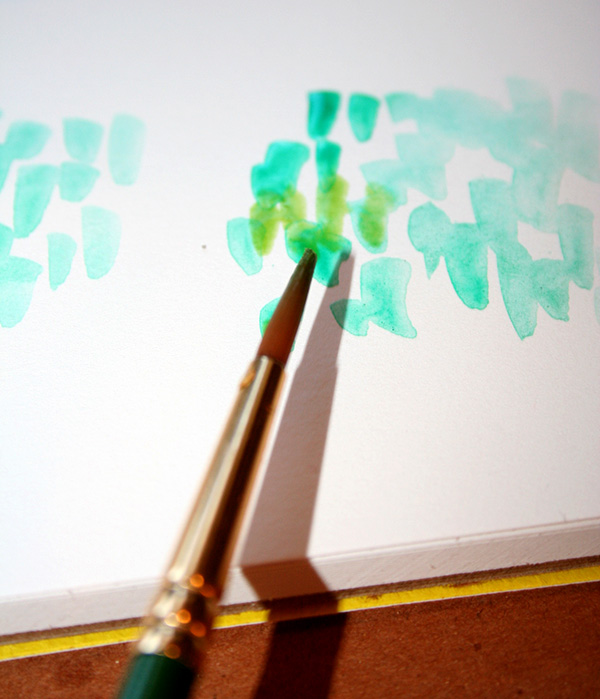
5. Create a simple texture
Creating texture with watercolor is as easy as flicking the brush. For a great texture to get started with, simply load up your brush with paint, and create small flicks of paint on the page. You can let them dry and layer more flicks on top for more texture or leave them as-is. This versatile texture is great for creating grass, foliage, or even fur on animals.
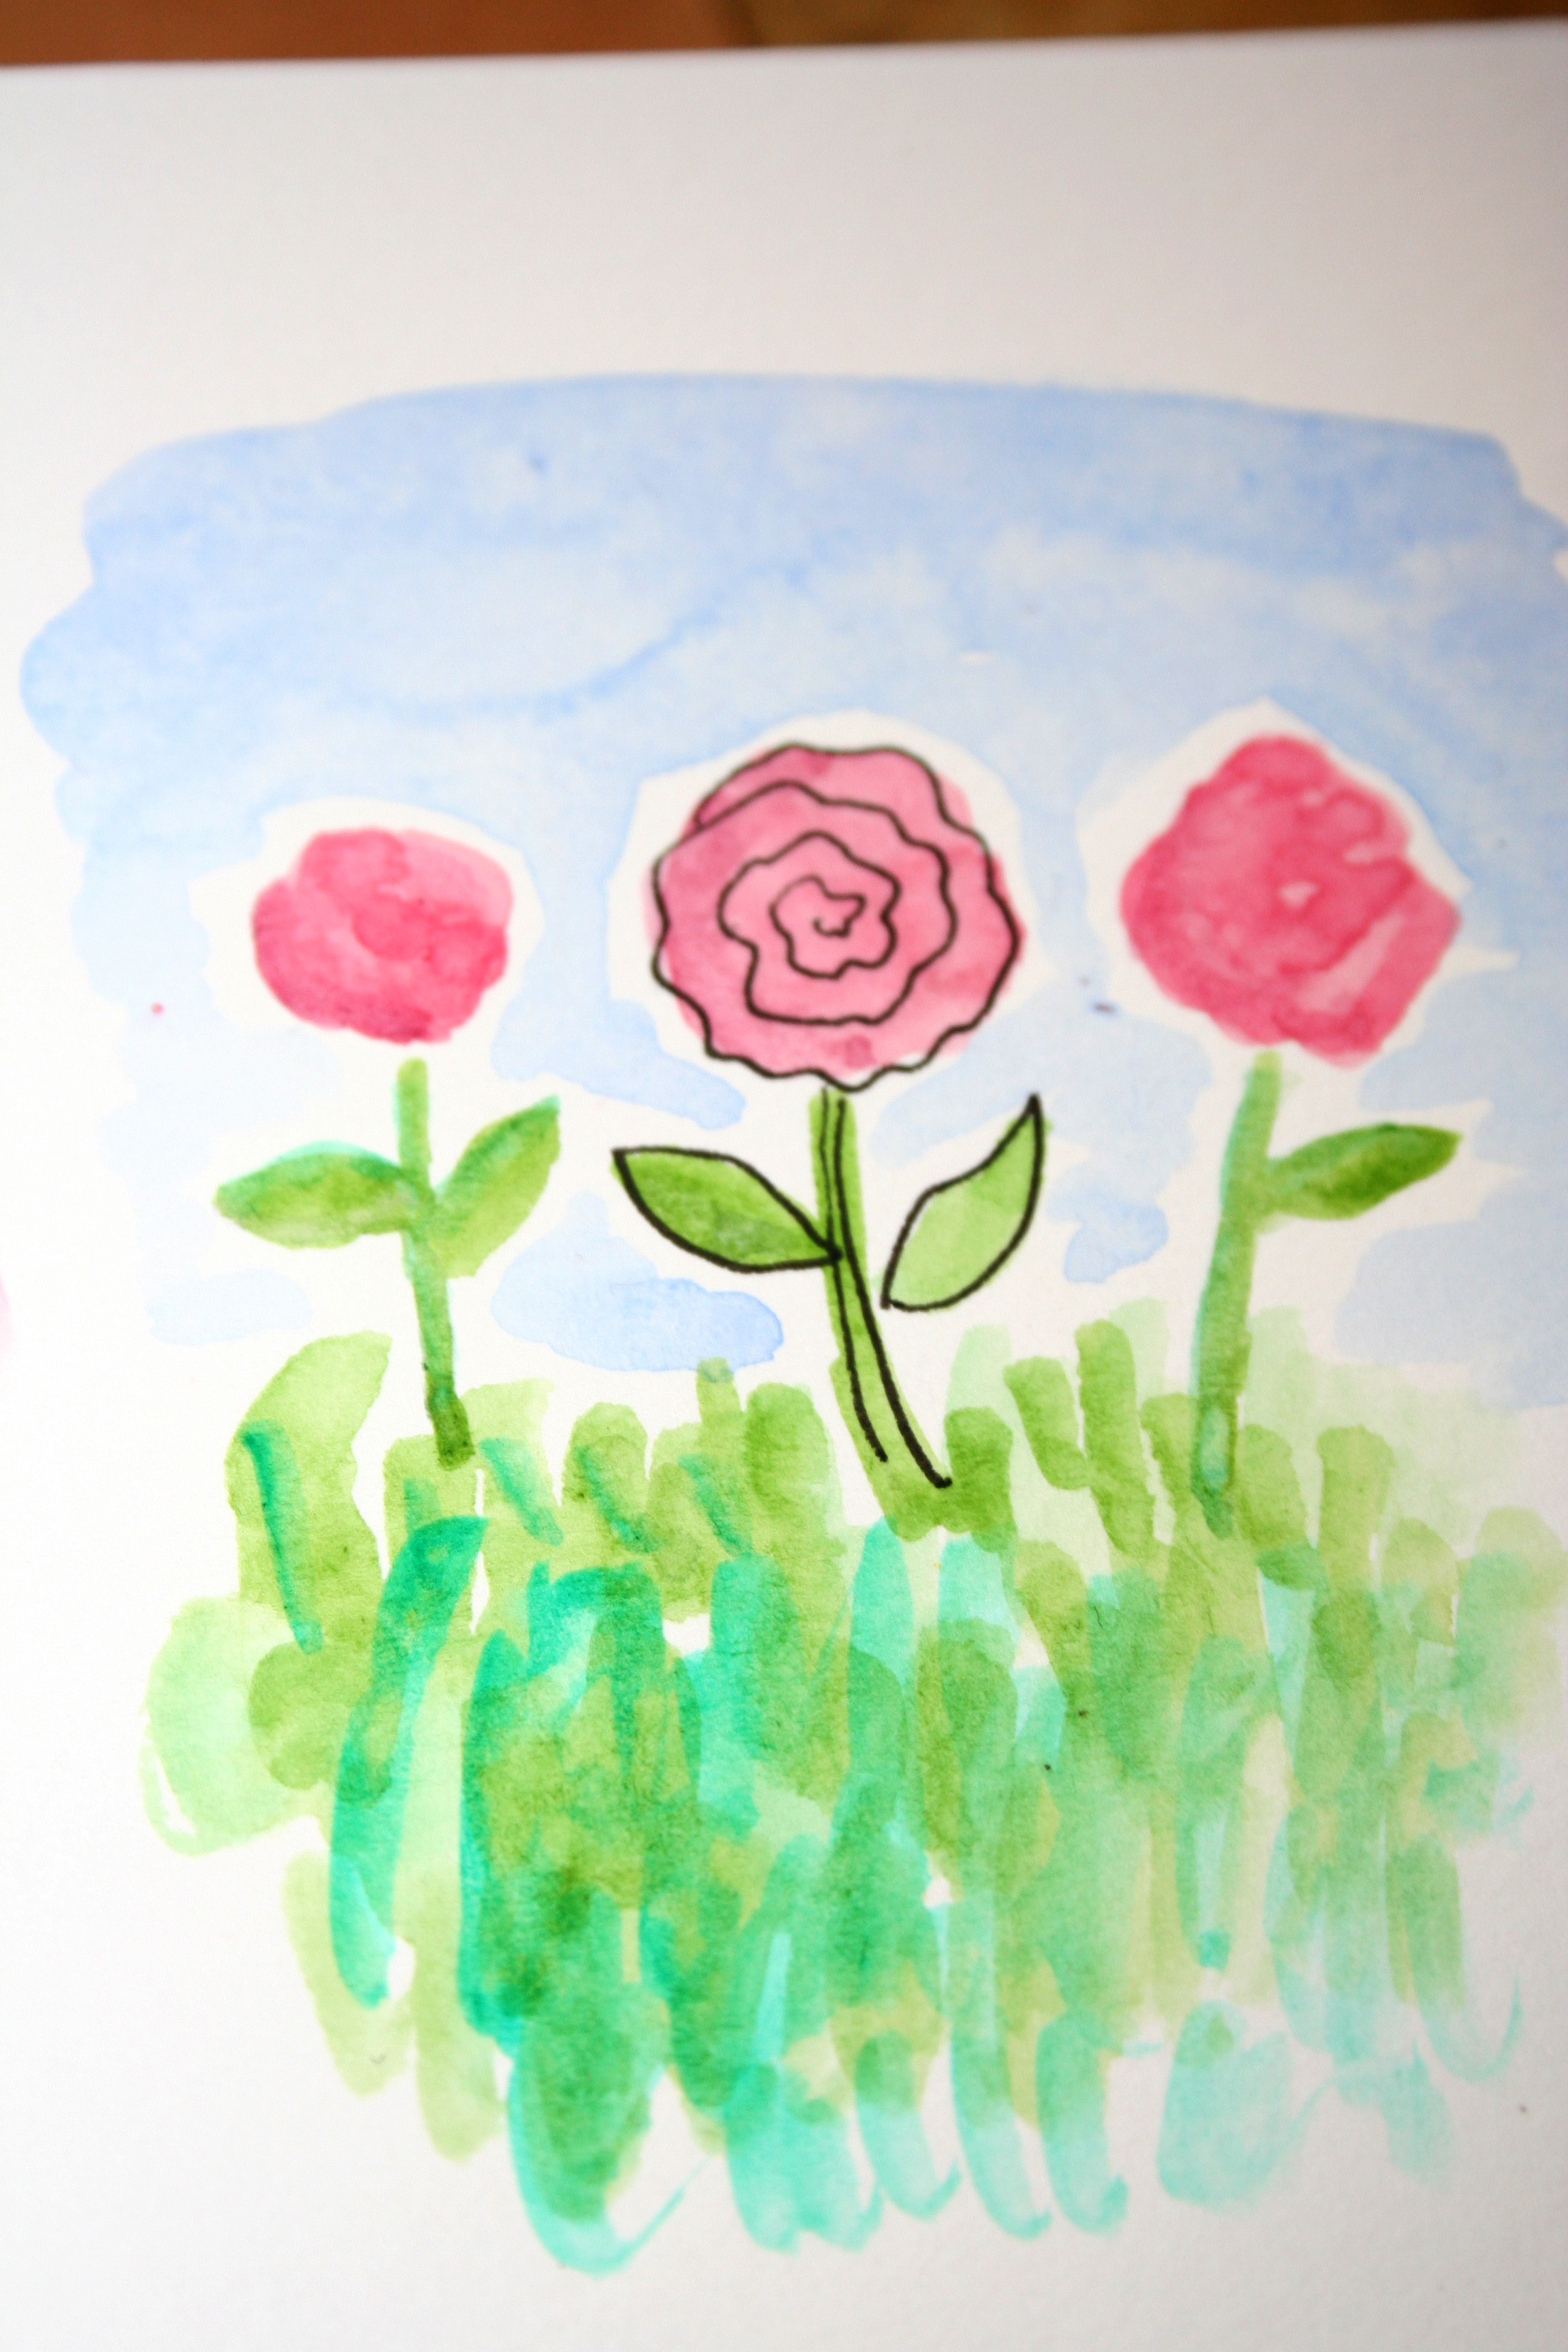
Once you begin to master some of these easy techniques, you'll be surprised by the wonderful pieces of art that begin to come together with just a few simple skills.
Wow With Watercolors!

Learn how to paint your best watercolor works with this free reference guide!Get My FREE Guide »

The "Get My FREE Guide" links to a drawing class. Is that the plan?
It looks like other people have asked about linking to the free content since October and were told a few weeks. It's now March and the links still don't work. When will they actually be up and going?
I see that the Craftsy team has been "working on" getting the content up since October of last year, but the link for the watercolor guide still redirects back to the Craftsy homepage. Any update on when this will be available? If you're not going to make it available, please just say so instead of saying "attempt to access in a few weeks" or "try at the end of the month".
Links are still not working. Any updates?
I see that in October the free guide was not available and it still not available. What is the hold-up?
I could not access the free guide referred to above. I tried "Get My FREE Guide" with no luck
The links redirect back to the craftsy main page. It would be great to explore further!