 Hey beach bums, this one's for you. Whether you're craving some fun in the sun or just got back from the shores with a new shell collection in tow, painting watercolor seashells will instantly give you that toes-in-the-sand vibe.
We've got a few different methods for tackling this soothing subject matter. Try 'em all and master a few new techniques while you're at it!
Hey beach bums, this one's for you. Whether you're craving some fun in the sun or just got back from the shores with a new shell collection in tow, painting watercolor seashells will instantly give you that toes-in-the-sand vibe.
We've got a few different methods for tackling this soothing subject matter. Try 'em all and master a few new techniques while you're at it!
Watercolor Seashells
Level: EasyWhat You Need
- Watercolor paint
- Medium and small watercolor brushes
- Watercolor paper
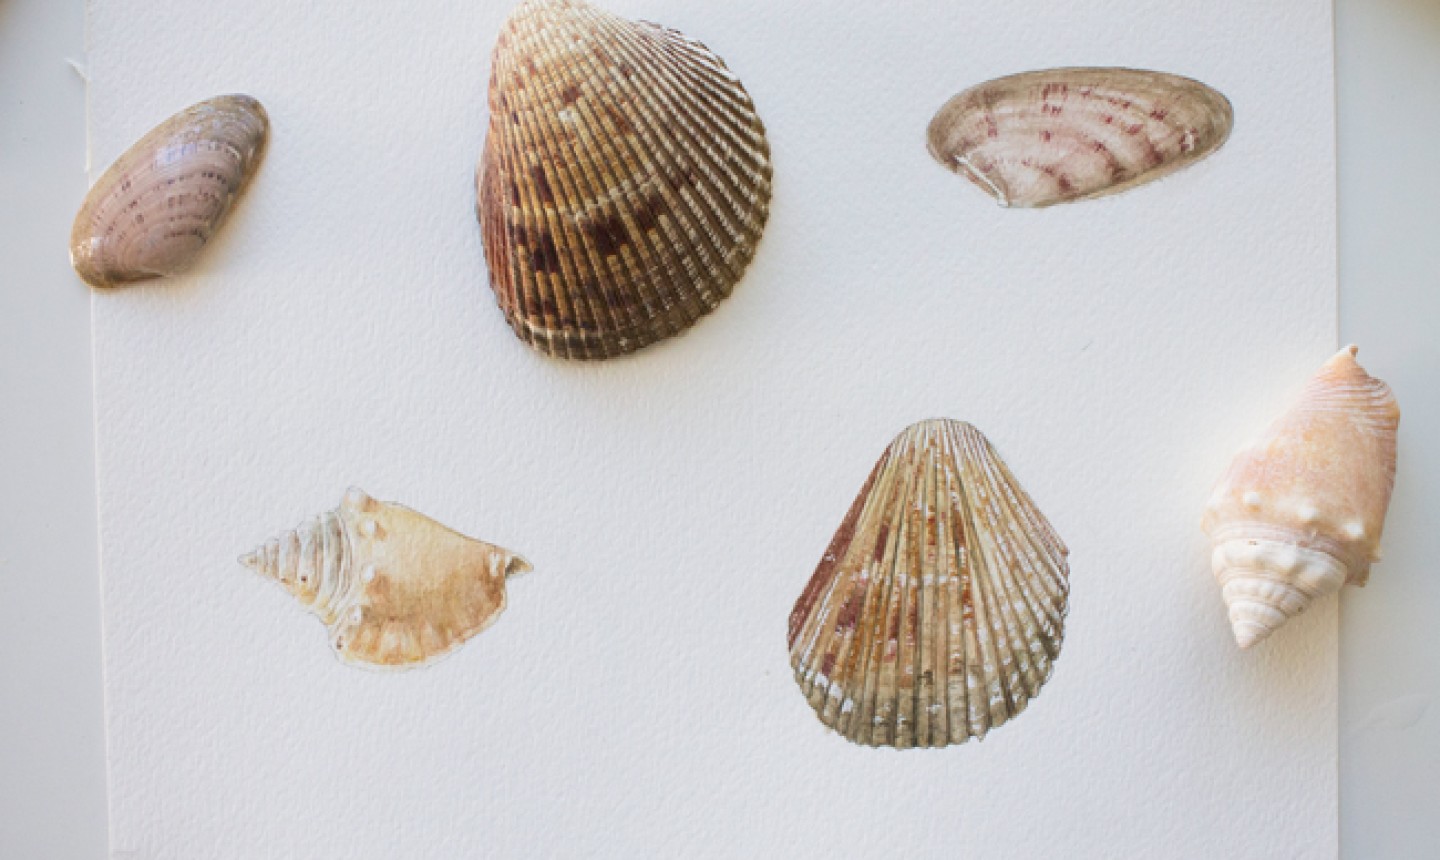
- Seashells or reference photos
- Pencil
- Eraser
- Masking fluid (optional)
- Tool for applying masking fluid, such as a toothpick or small brush (optional)
- White gel pen (optional)
Method 1: Using Masking Fluid
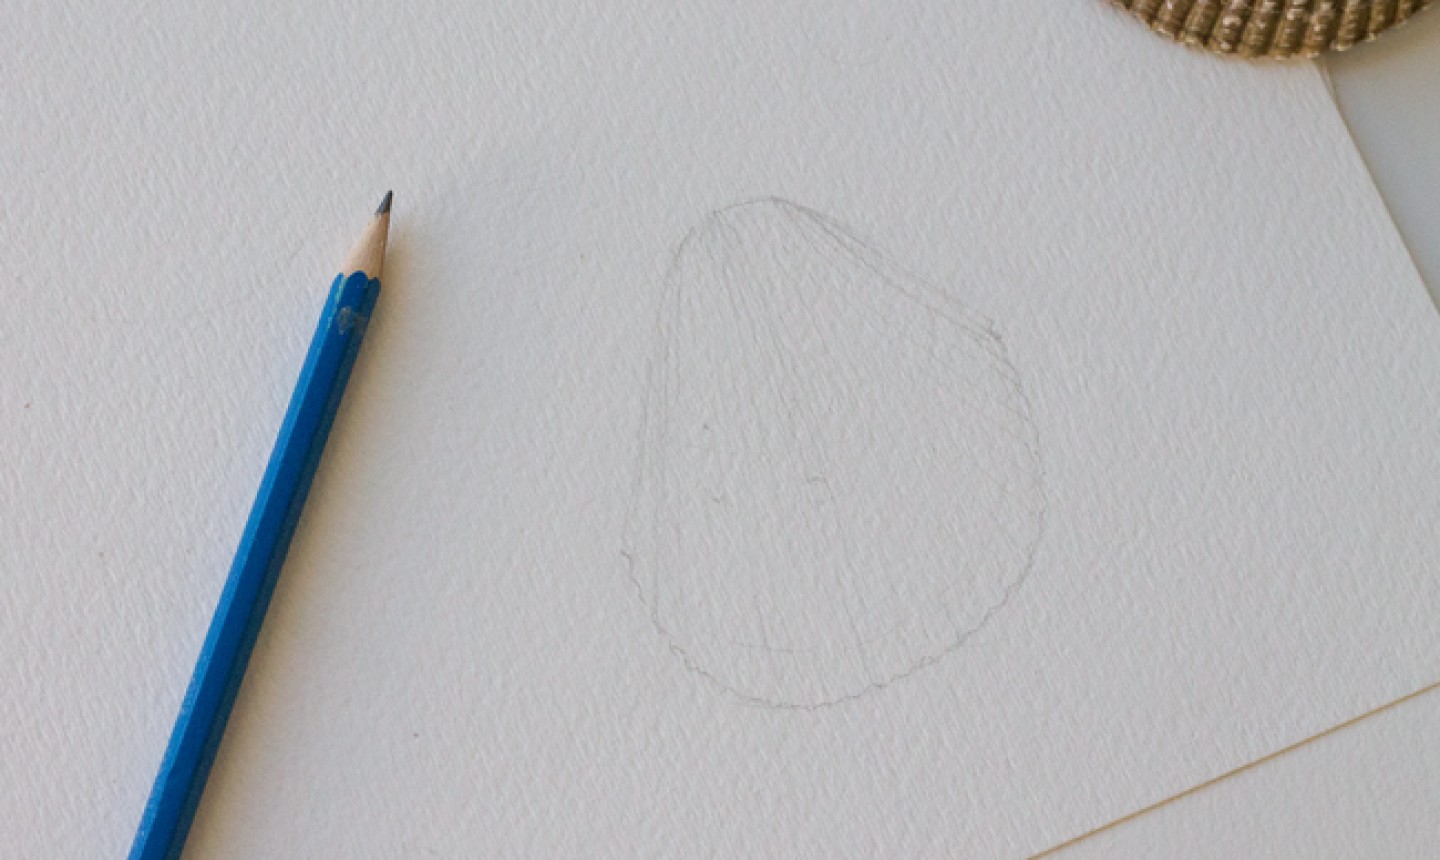
1. Sketch the Shell
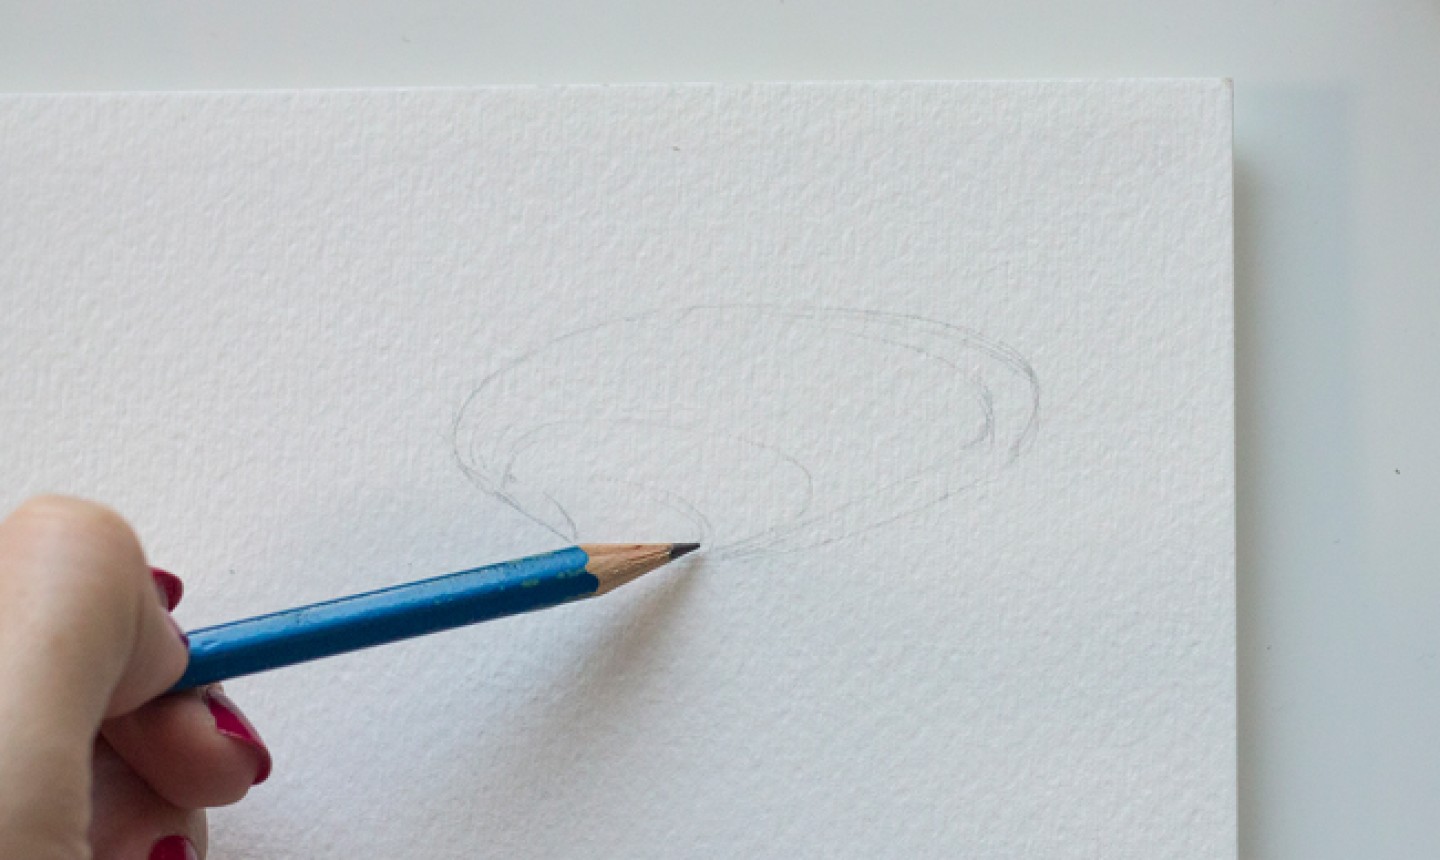 Begin by blocking out the basic shape of your shell. Draw any significant marking, lines or areas of shadows to guide you as you paint. Keep your pencil strokes light and smooth — if you lay them too dark, they'll show through your watercolors and be difficult to remove.
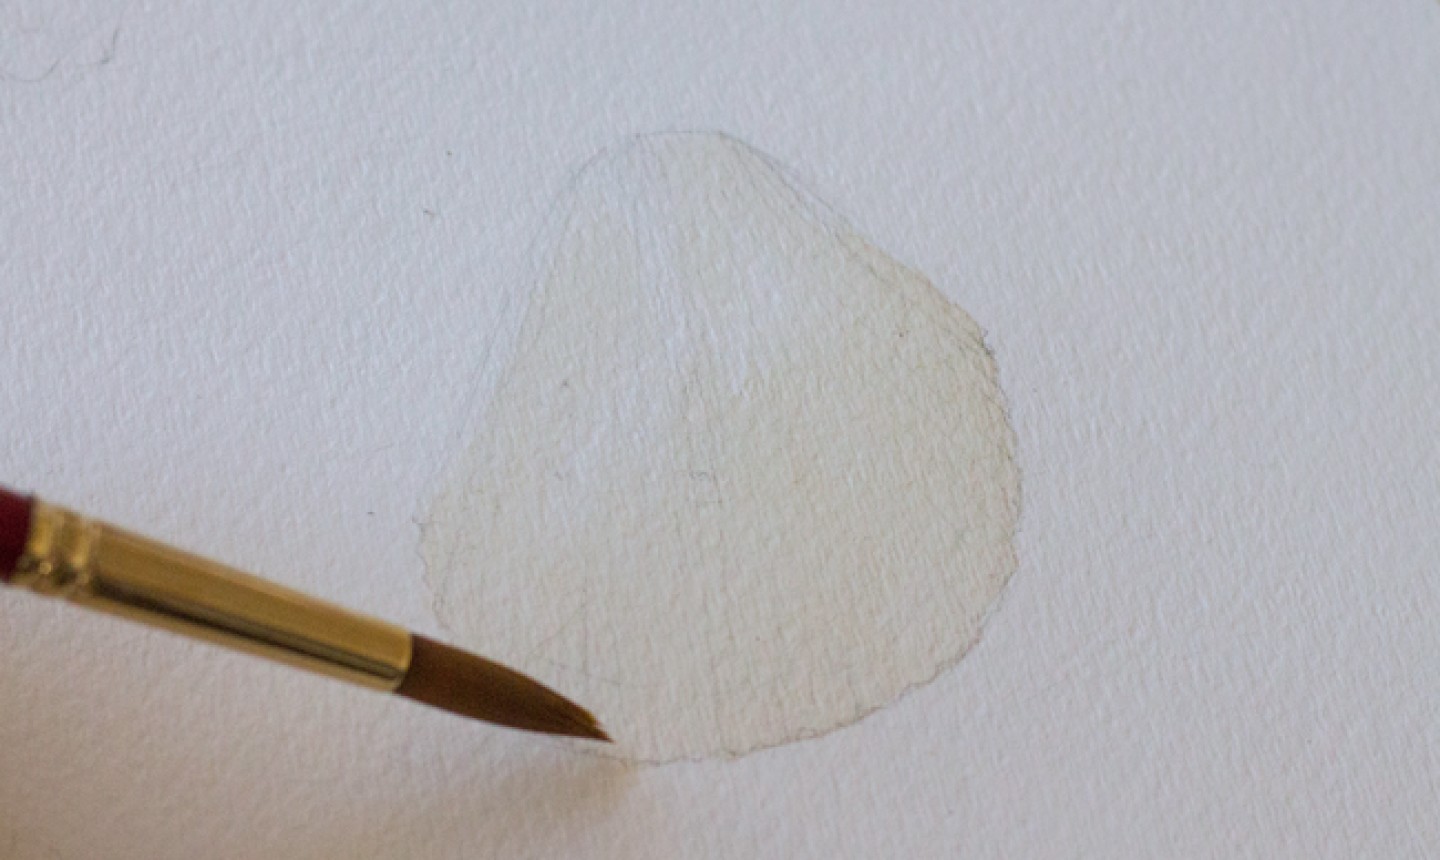
2. Isolate the White Areas
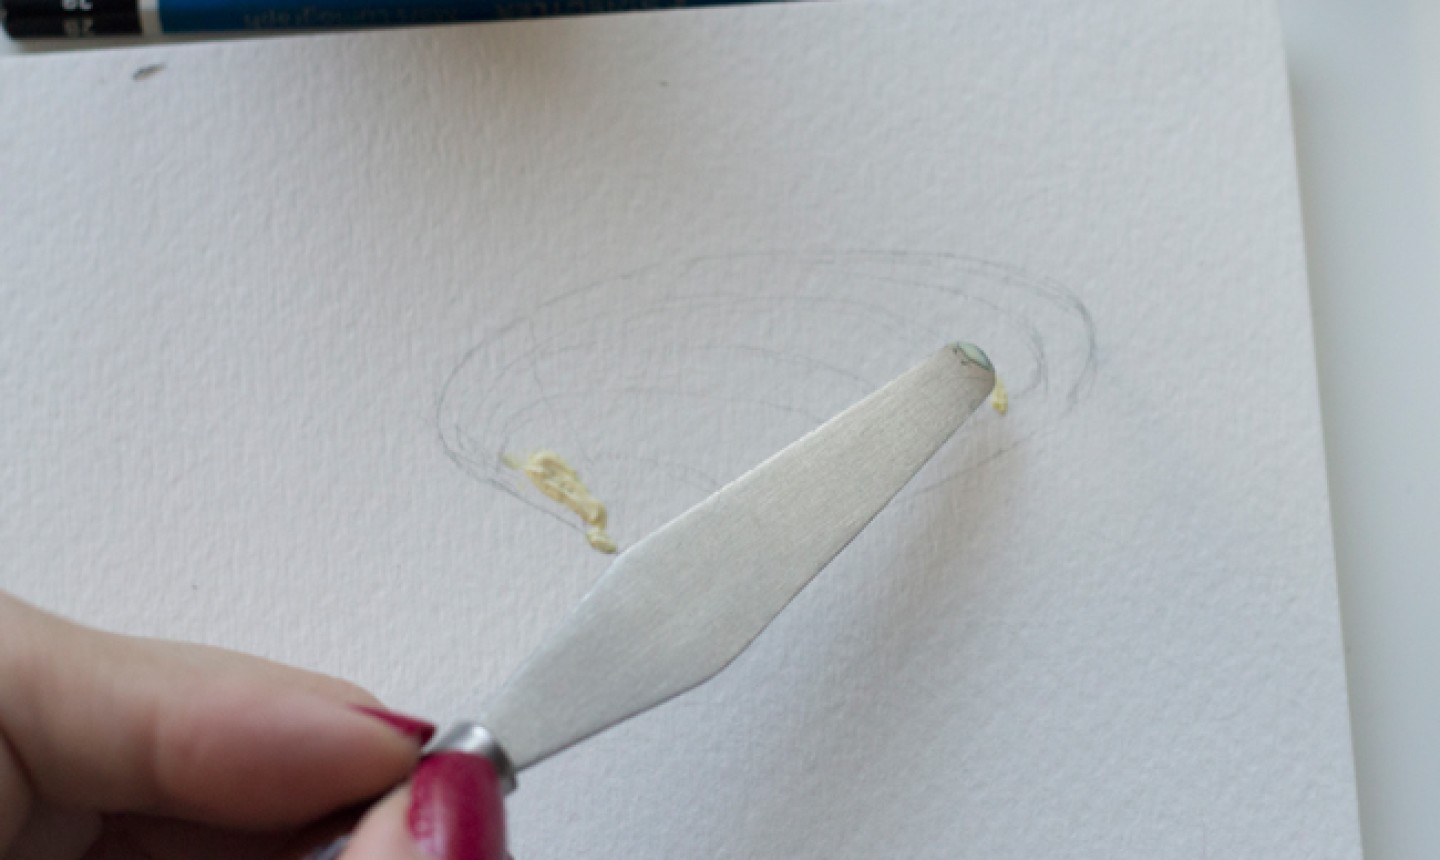 Now it's time to break out a tool every watercolorist should have on hand: masking fluid. By applying masking fluid, it's easy to keep spaces in your composition white without having to worry about painting too precisely. Just lay down the masking fluid, let it dry and paint freely, knowing the mask will come off later to reveal the white beneath.
Pro Tip: Masking fluid is fun to work with, but make sure you have a tool reserved for it, like a toothpick or an old brush. You definitely don't want to dip your nice paint brushes into masking fluid!
Apply masking fluid over the shiny, whitest areas of your seashell (these might be pretty tiny!). Let the fluid dry completely before moving on.
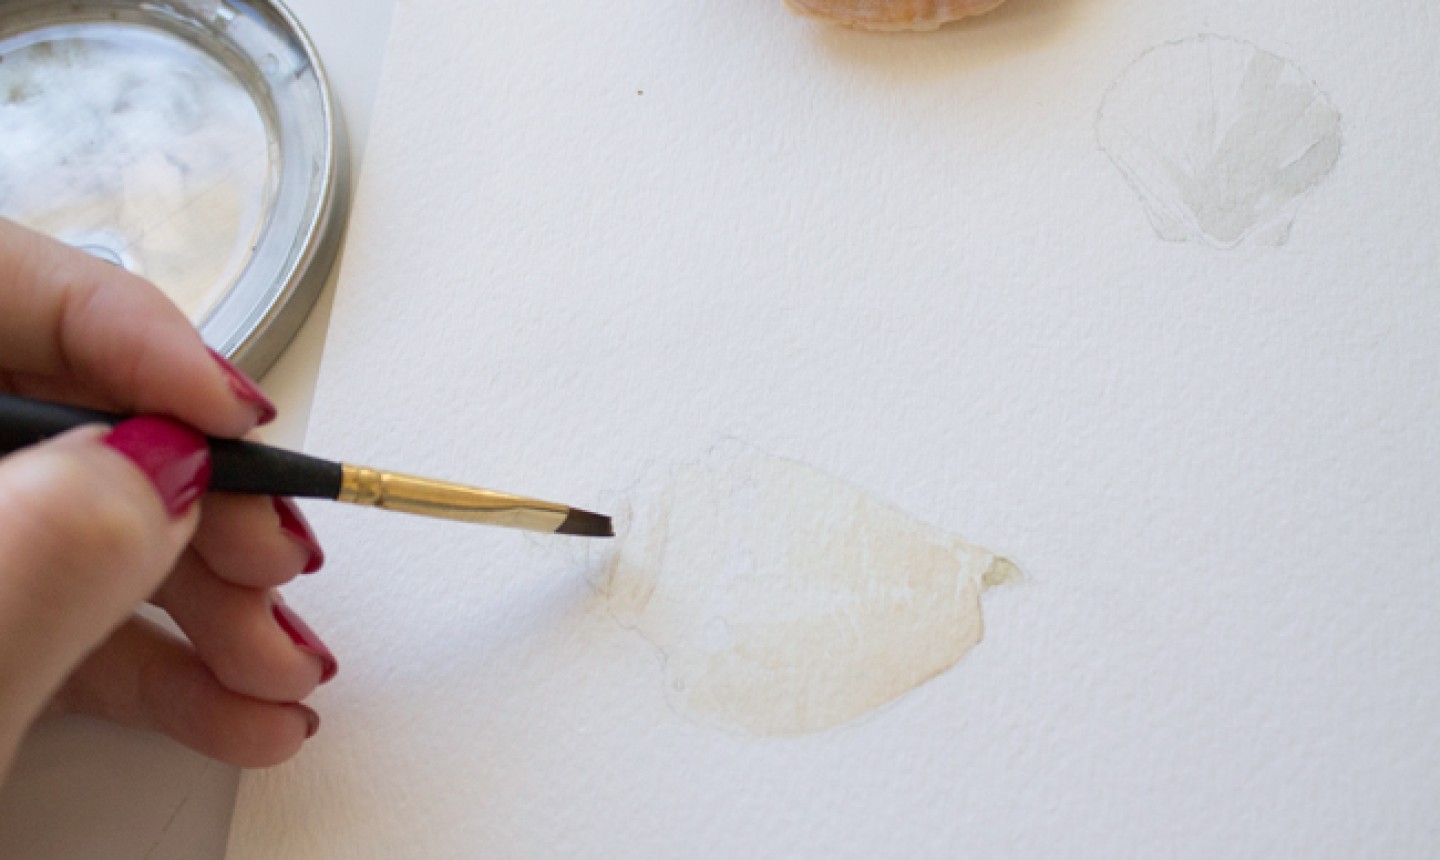
3. Add the First Wash
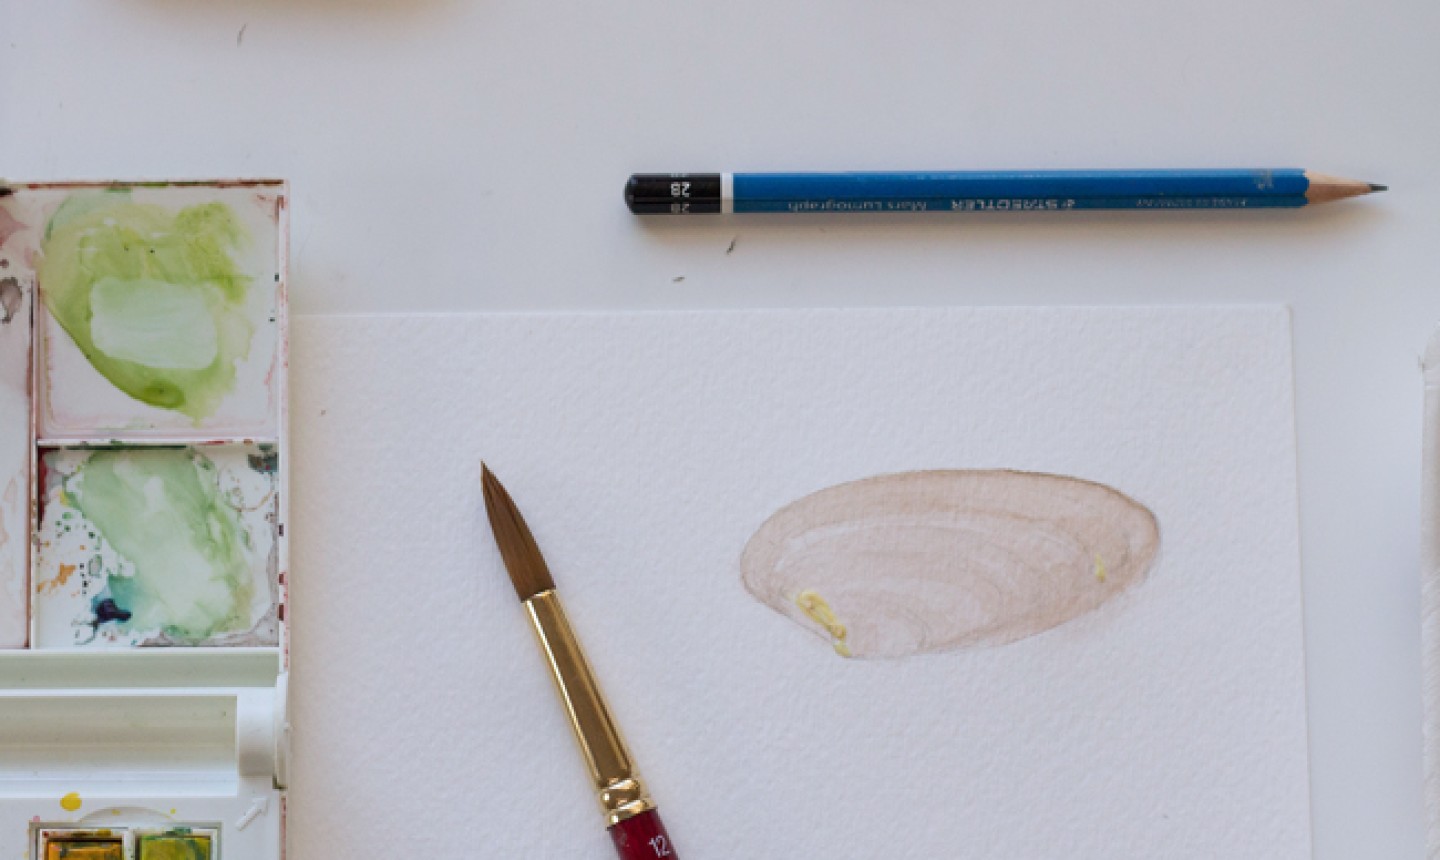 The first wash should be the lightest color you see in your shell. For this painting, it's a light pinkish-brown. Mix your watercolors together on your palette and find the perfect paint-to-water ratio that'll give you a light first wash (hint: use a lot of water and a little pigment). Let this layer dry completely.
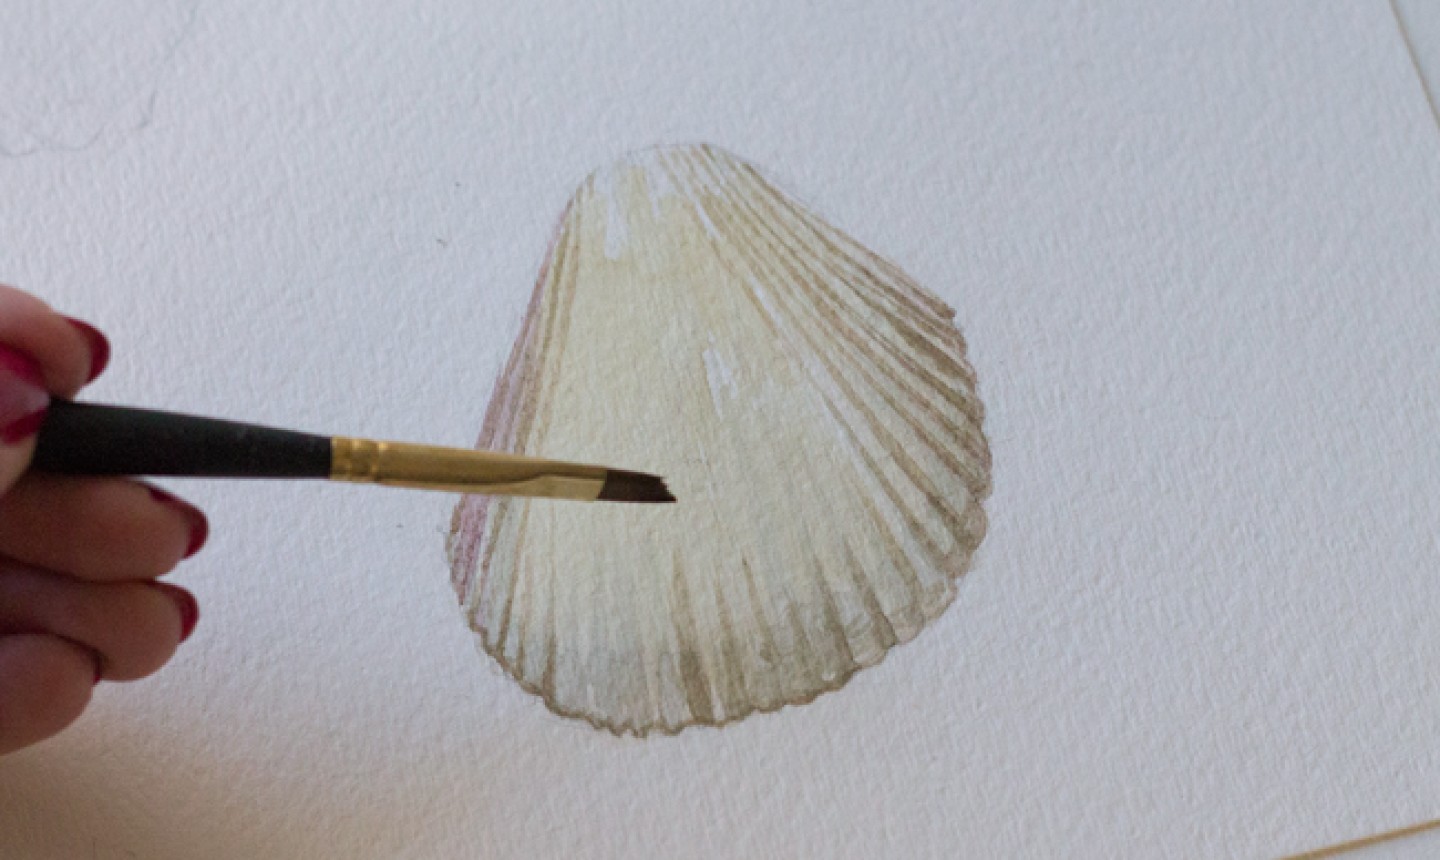
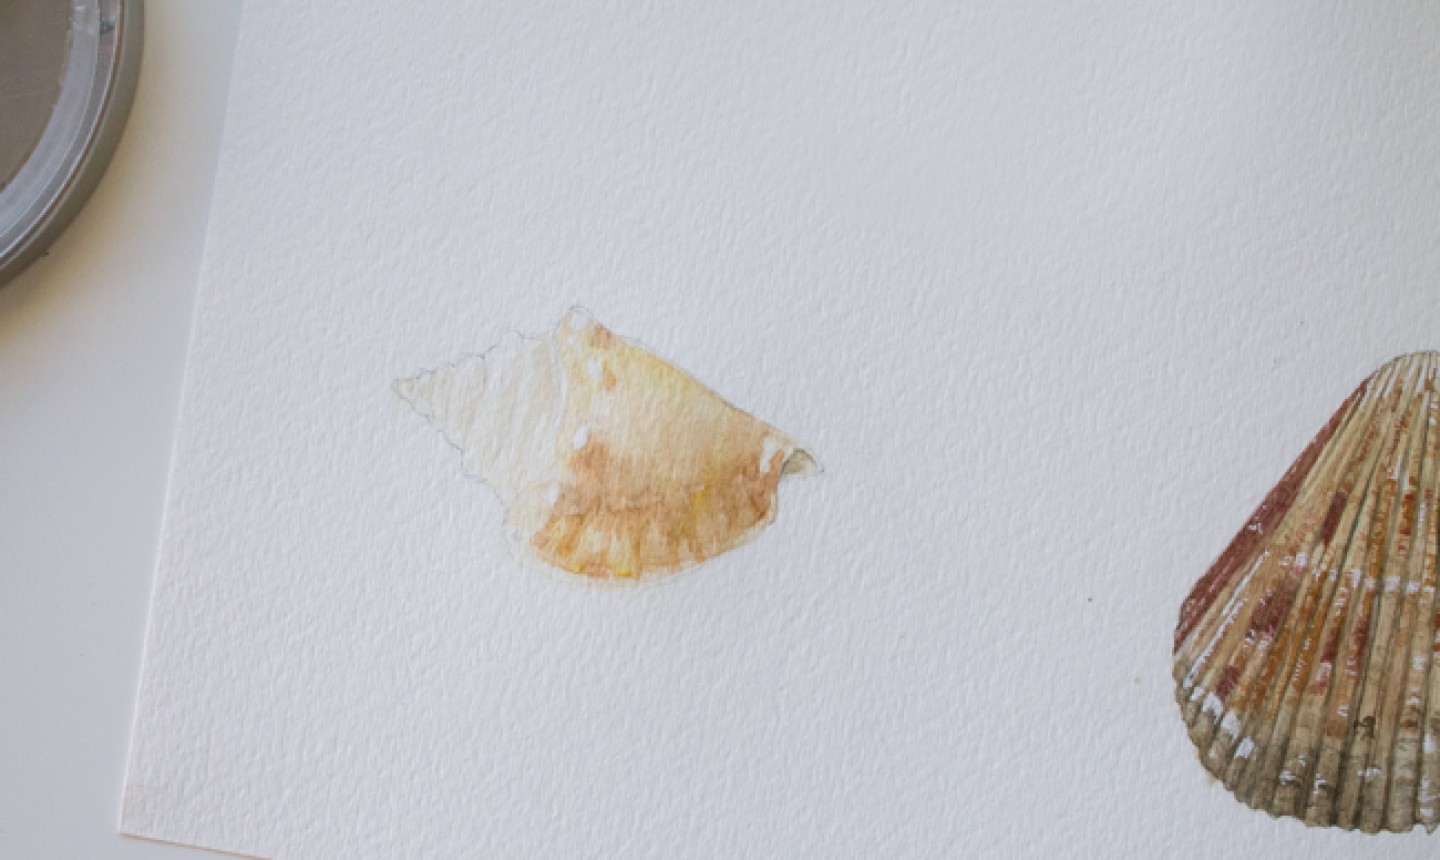
4. Paint the Details
 Using a liner brush or another small brush, mix a reddish-brown and paint the lines on the shell. We also mixed a slightly darker brown with green undertones to add more color and depth to the outer sides of the shell. Look closely at your own shell or reference photo and make the color adjustments you need. Keep building up the layers of paint as you add in more details.
Pro Tip: Always remember to let each layer dry before you add more paint, or your colors can become muddy and your carefully painted details will be lost!
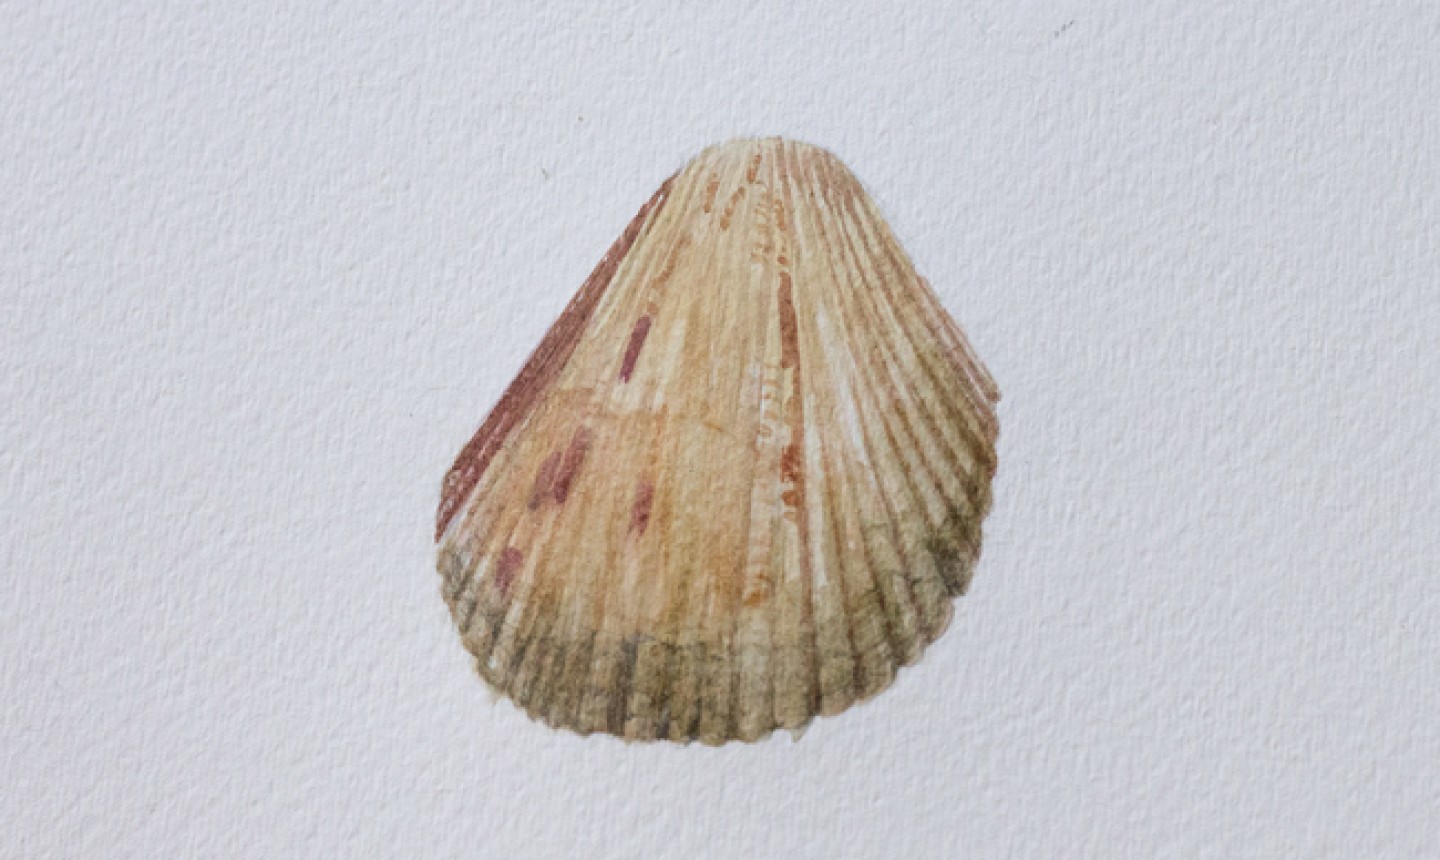
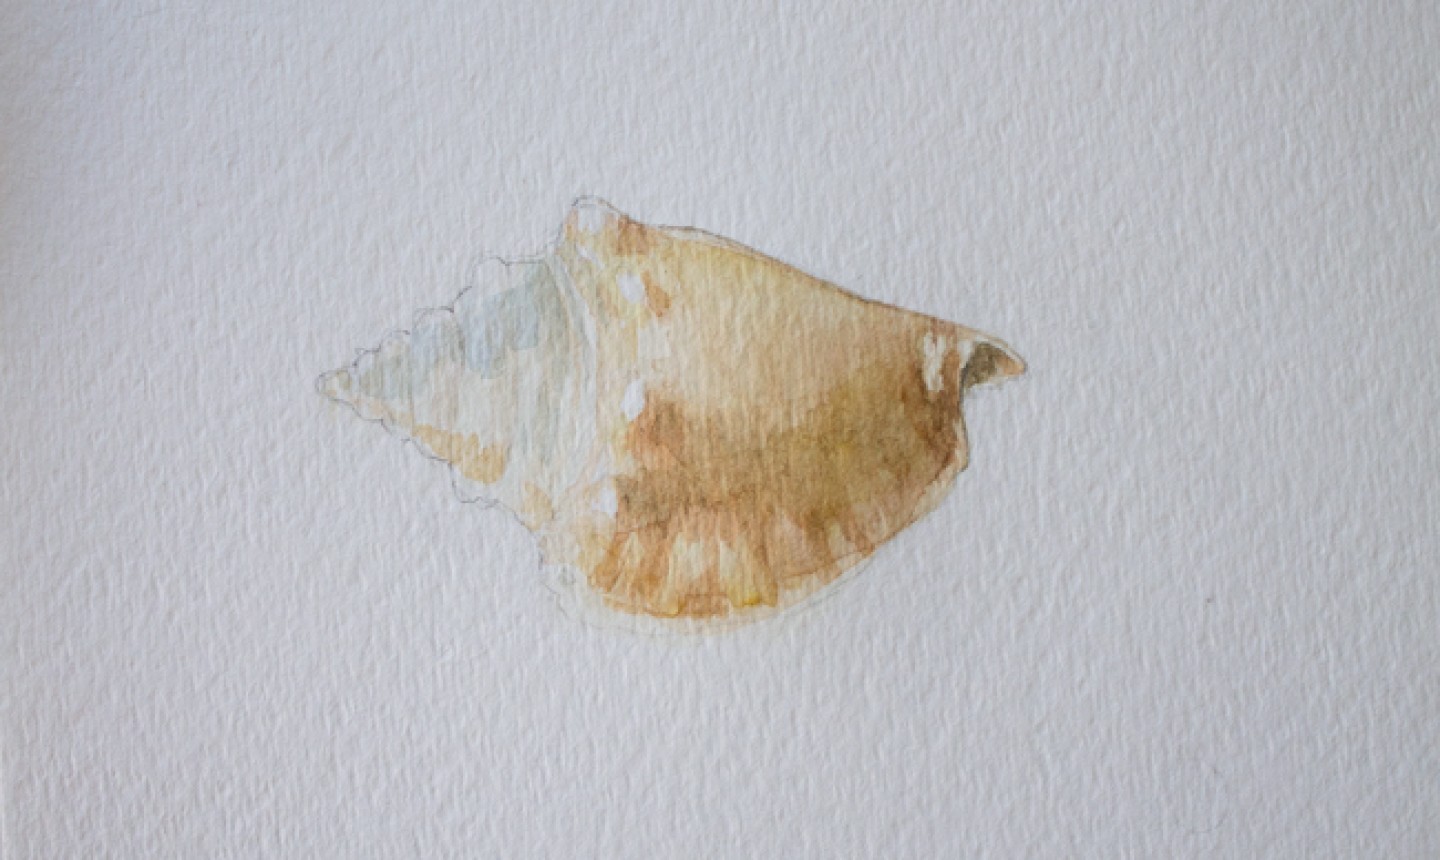
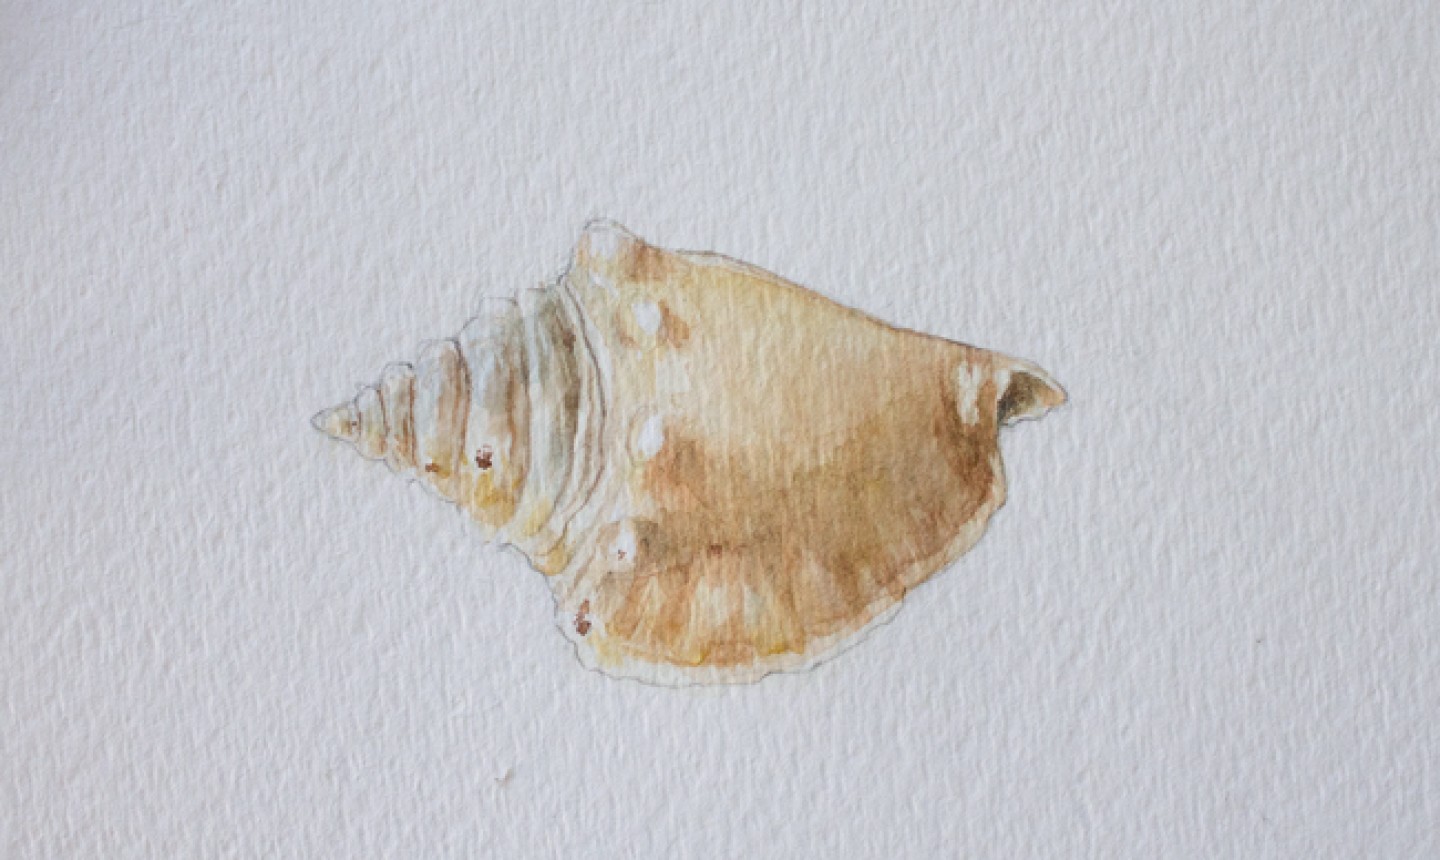
5. Remove the Masking Fluid
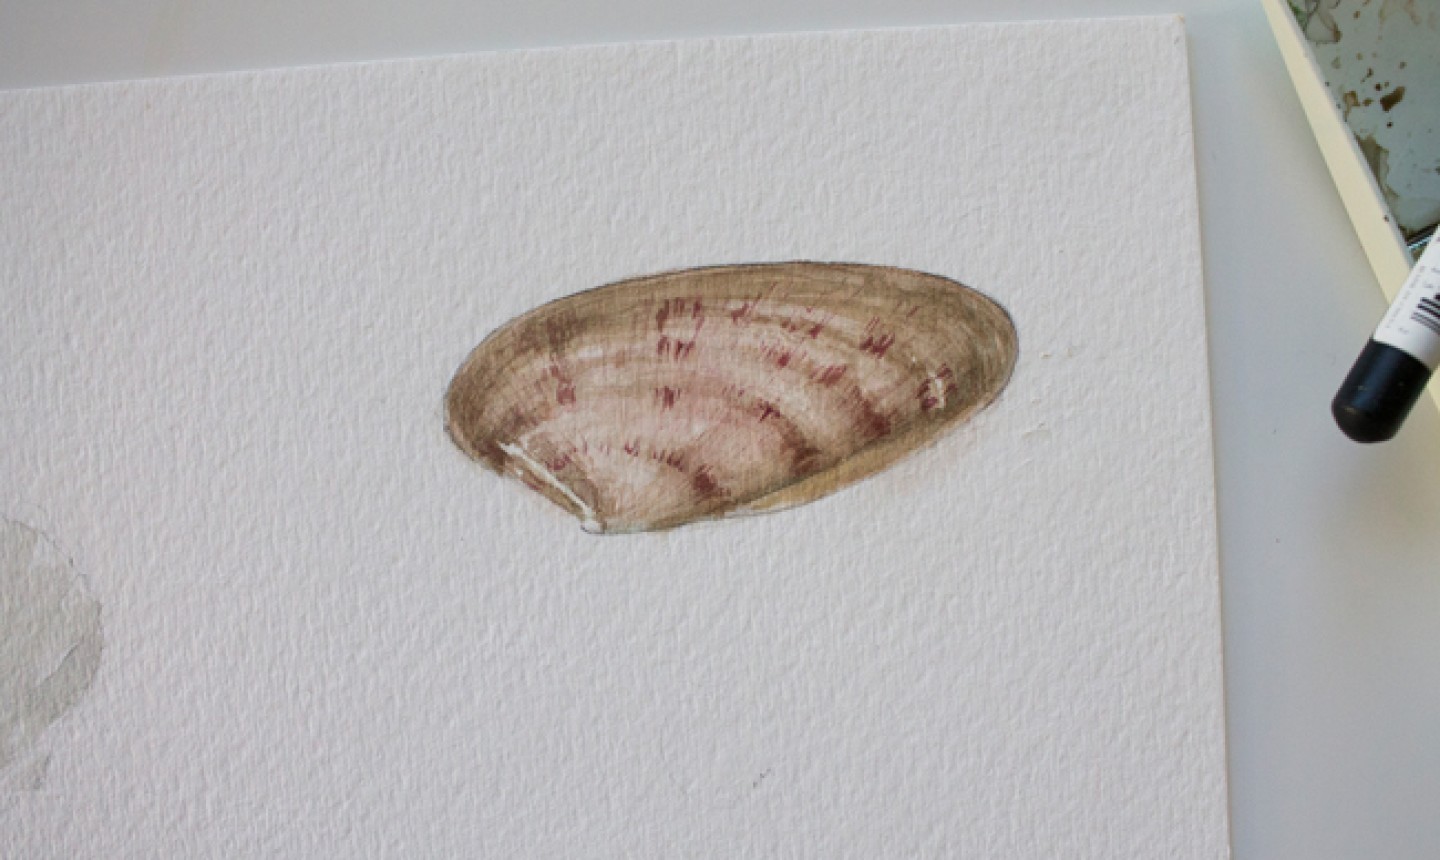 Once you’re satisfied with your painting and the watercolors are dry, remove the masking fluid. (Just rub it off with your finger — it comes off easily.) Make any necessary final adjustments to your painting, and you're done!
Method 2: Using a Gel Pen
1. Sketch the Shell
 Just as before, lightly draw the shell's basic shape and any guidelines you might need when you're painting.
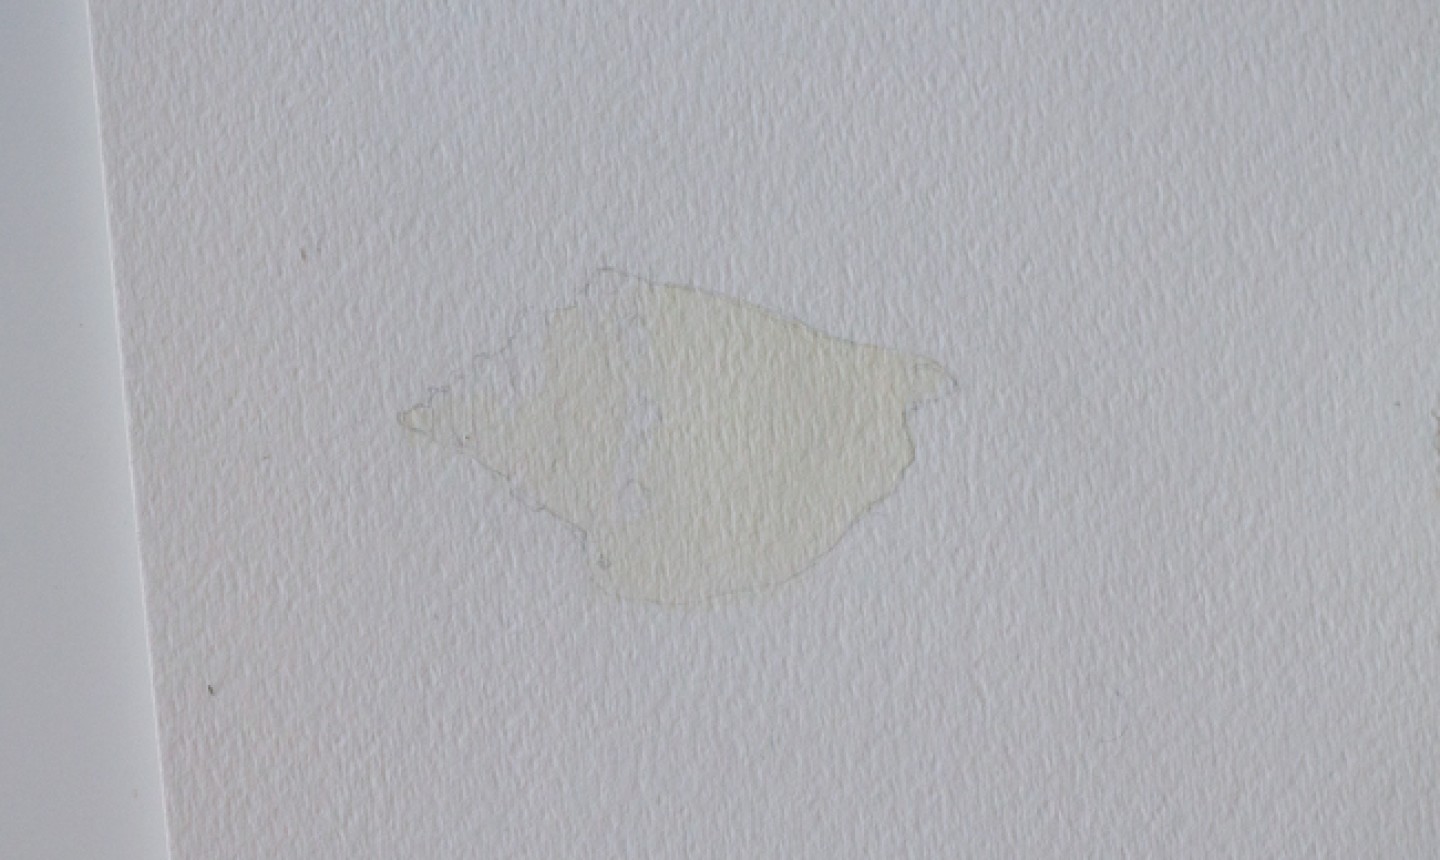
2. Add the First Wash
 Cover the surface of your shell in a light wash. Let it dry.
3. Paint the Shadows
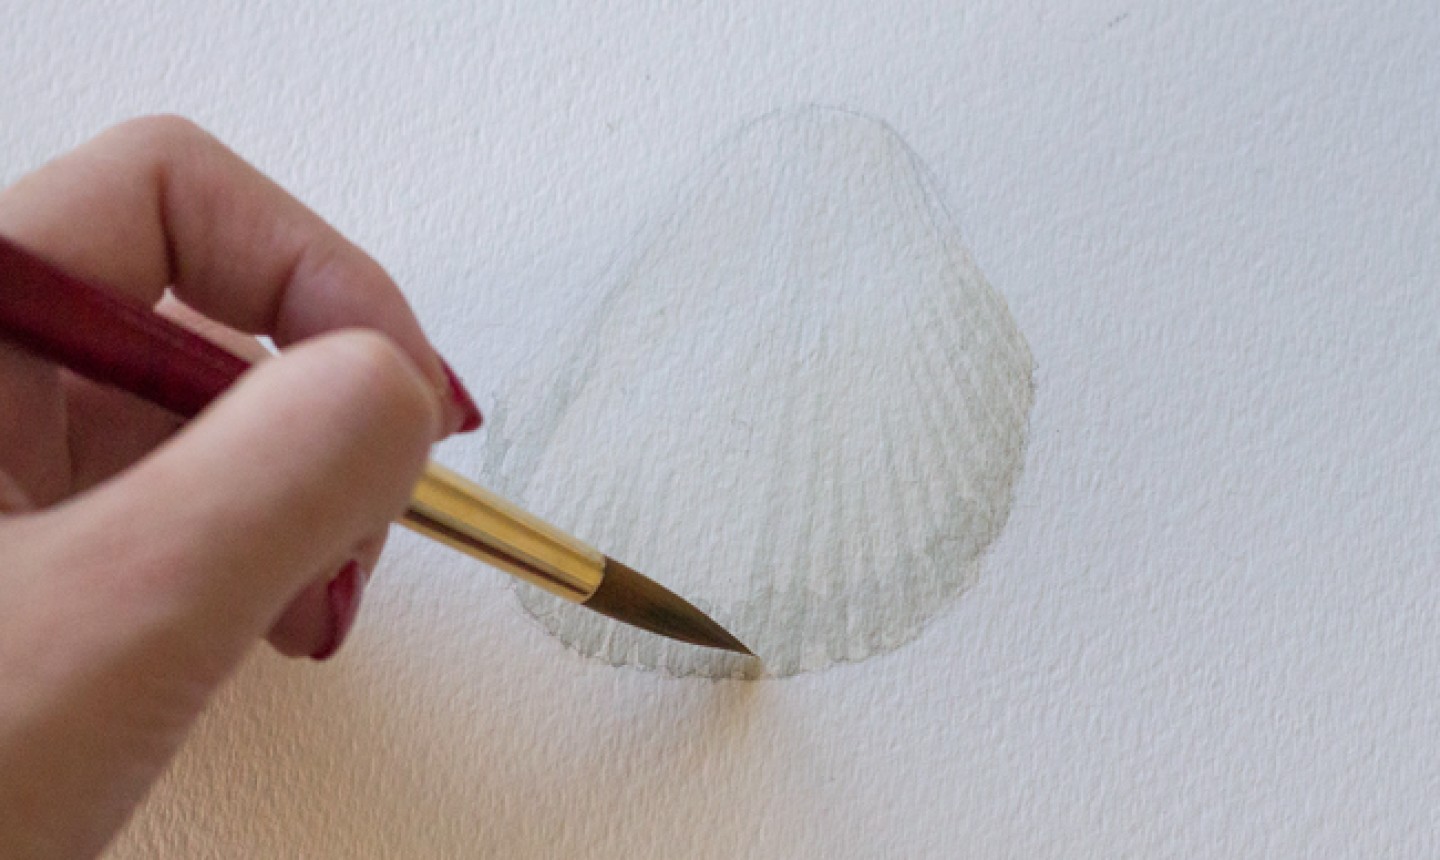 Mix some of the darker colors you see in your shell and paint them in.
 Start with your lightest shadows and slowly build each layer of color, moving toward the darkest tones. Again, let each layer dry completely before adding another.
4. Paint the Details
 Once your shadows are built, look at all the other colors present in your seashell. Using a thin brush, paint each spot and marking. Your painting will slowly begin to gain more depth and realism as you add each detail.
5. Add the White Areas
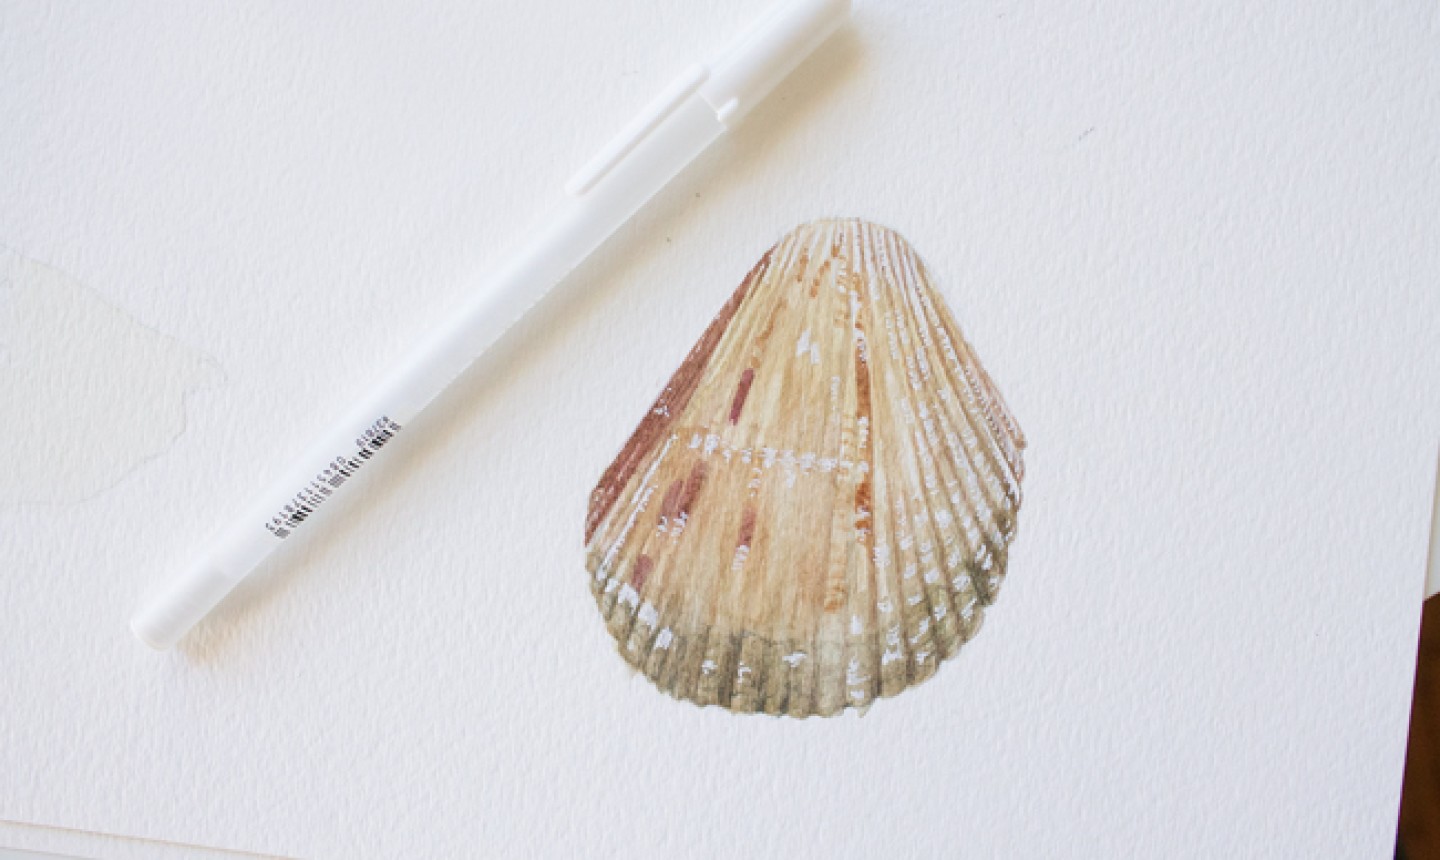 Now grab your gel pen! This is a great tool for white areas that are smaller and require more detail than masking fluid allows. Simply draw the white markings directly onto your dry painting. When you've added your final touches, your shell is done!
Method 3: Wet-On-Wet
1. Sketch the Shell
 Just like with the last two tutorials, begin by drawing your shell and mapping out the light and dark areas.
2. Add the First Wash
 Mix a lot of water to your pigment and paint the first light wash of your seashell. Paint around any areas you want to leave white.
3. Build the Shadows
 Mix a color that's only slightly darker than your base (you can easily do this by adding more pigment and less water to your base mixture). Use this to add some faint shadows, which will serve as guides in the next step.
4. Wet-On-Wet Shadow
 When these faint shadows are dry, brush a water glaze over them. Be sure to stick to the areas where you want to add color — with wet-on-wet application , the paint will flow wherever there's water.
Dip your brush into pigment and drop the color into the painting. The color will flow into the water glaze. Keep in mind: the more water you have on your paper, the less control you'll have over the paint. If you don't like how something comes out, you can always lift the watercolor to modify the look.
5. Keep the Shadows Coming!
 Don’t be afraid to get a little experimental with color. With watercolors especially, you can create some amazing paintings by applying interesting undertones. For example, in the picture above we mixed a bluish-green-gray color for our shadow.
6. Add the Details
 Add your last details, like finely detailed shadows and flecks of color and voila!, your shell is complete.
Looking to get started with watercolors? Check out the class Startup Library: Watercolors below!

Great painting
<strong>Ticket 43811 I have worked with several different mediums in art since i was a child. I became a Manual & Certified Autodesk AutoCad General Mechanical Design Drafter for a career, so Perspective Drawing is Not ever an issue after a 10 year Design Drafting Career in Engineering World. And for years, every so often, I break out & keep trying to use the WaterColor Pencils to draw & paint something that resembles any kind of watercolor painting with any kind of control. I mean, when i get done, it looks either like a watery blob splashed or spilled my glass of water on it!??? Each time, I keep telling myself that either I should have kept it as a drawing or Maybe Practice makes perfect..?? But after this eye opening article of your step by step instructions, Never hear of "Masking Fluid", But I do some Fantastic Blending with Gel Pens as my medium instead of acrylic, oil, or watercolor paint! Same Techniques really, and I use My Jellyroll White gel pen for dimension as well as black silver or black/grey glitter gel pens to add shaded shadowing and perspective depth defining characteristic of the art subject. Have you ever done an entire still life from an old photograph with all gel pens as your medium??
Great job …very inclusive
Wow.
In the past I took several courses with Craftsy, then I leaned another company took over. I tried a course but it wasn’t the same. How do I renew my membership & regain my previous courses. Thanks
u may send emails, would like to learn to paint.