
We love utilizing modeling chocolate in cake decorating — especially when it comes to creating edible flowers and characters! Using a brand new medium or technique is always exciting yet daunting at the same time, so to avoid any “newbie” pitfalls, read on to find out our top tips to make working with modeling chocolate a breeze!
Here’s our tips to help you out when working with modeling chocolate.
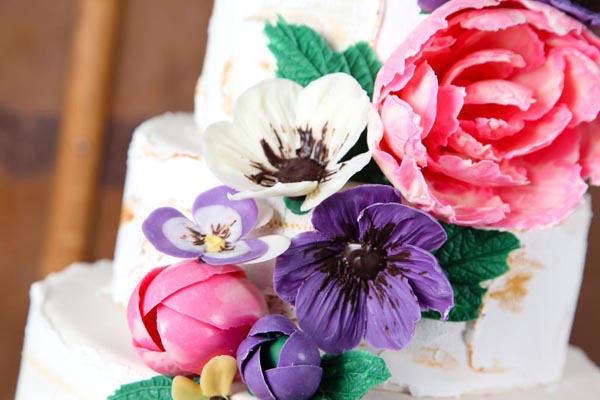
Photo via Bluprint instructor Erin Gardner
Tip no. 1: Get creative!
Modeling chocolate is one fabulous material! We love it. It is just so malleable yet durable and that’s what makes it perfect for most figure or floral work. When creating flowers remember that chocolate usually creates a fun, stylized look to any blossoms which makes it perfect for playful cake designs so think outside of the box design-wise. Try bright colors, drizzles, “splashes” and using chocolate truffles as buds or berries etc.
We love how Erin Gardner has painted the centers of her anemones with melted dark chocolate, and how she has created ranunculus flowers with heavily curved sections of chocolate!
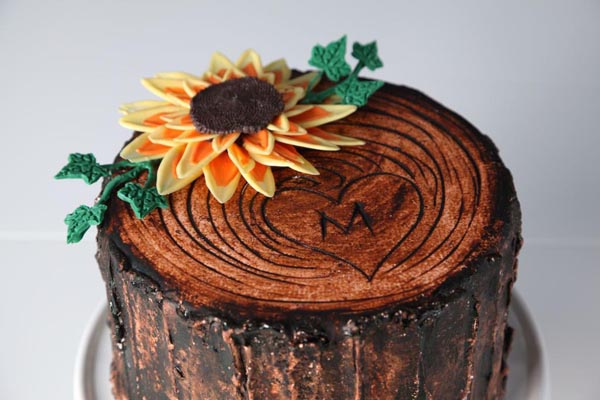
Photo via Bluprint instructor Erin Gardner
Tip no. 2: Discover texture!
The main thing we love about the cake above is the clever use of texture involved. Modeling chocolate is incredible for adding some great textural ideas from smoothing by hand, chiseling rough cut areas or scribing hard lines and patterns into. The cake above features some brilliant textures from the rings circling the center of the trunk to the rough bark look around the outside.
Why not experiment and play with your icing/modeling tools, buttercream scrapers, hard brushes and spatulas and see what you come up with?
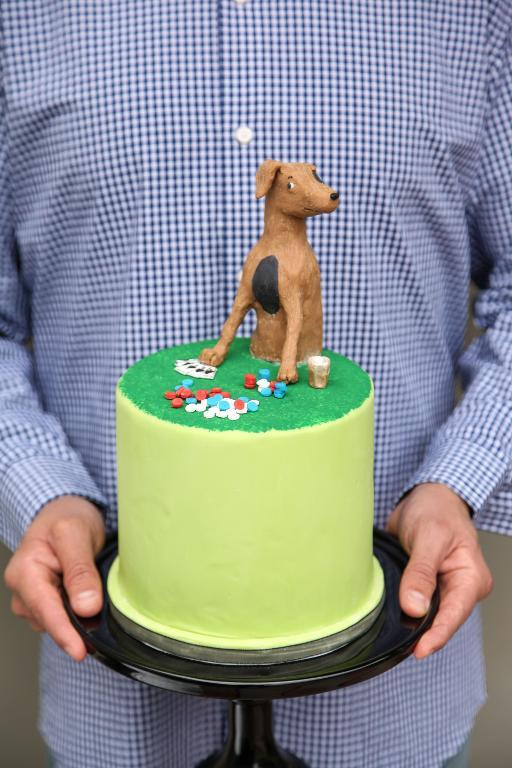
Photo via Bluprint instructor Kate Sullivan
Tip no. 3: Get into character!
Creating adorable little cake toppers like the cheeky poker playing pooch above out of modeling chocolate is a fantastic idea. Modeling chocolate is easily moldable once worked and kneaded a little, but it is one tough cookie so you can be a little more adventurous with your design ideas. Remember to test and play with a few ideas roughly before-hand. Modeling chocolate can be smushed back into a ball and re-worked if you’re not satisfied with the outcome so don’t worry.

Modeling chocolate, demystified in minutes!
Starting with her tried and true recipe, Bluprint expert Rachel Teufel will help you master a few essential techniques for making and working with this tasty fondant alternative.
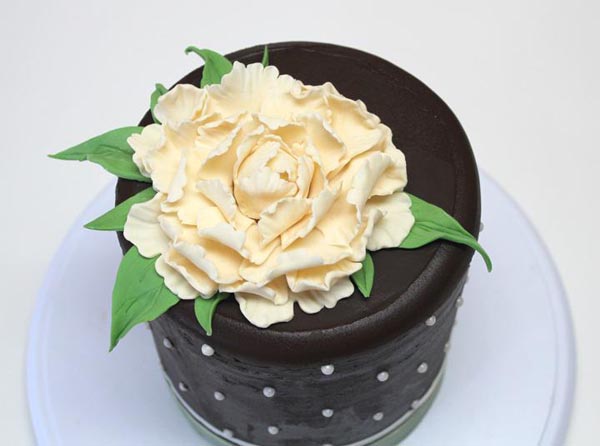
Photo via Bluprint member Bobert
Tip no.4: Keep your cool!
As with fondant or gum paste the heat from your hands or the climate can soften your modeling chocolate so stay on the side of caution and keep cool. When working with modeling chocolate in the summer months we keep ice, cold towels (kept in the fridge) and a fan nearby to keep our hands from getting too warm.
If you’re working in stages like creating lots of layered petals for a peony flower or rose be sure to store your different pieces in a cool and dark place until they’re ready to assemble! Working in the heat or with warm hands can really test your patience so be prepared!
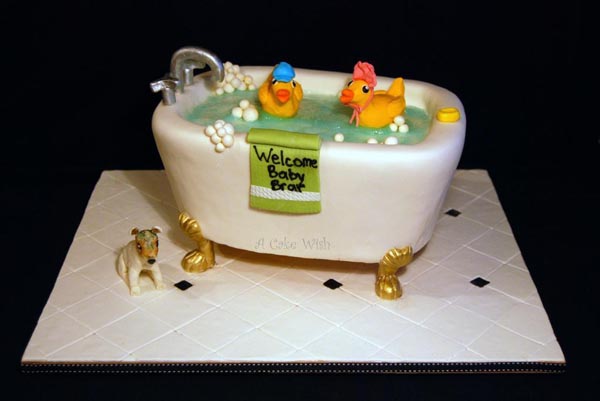
Photo via Bluprint member Googlegirl
No. 5: Add some color!
There are three main methods for adding color to your modeling chocolate; pre-coloring, mid-coloring and post-coloring.
The first involves making your own modeling chocolate using premium white chocolate (or white candy melts) and adding some gel color to the mixture before leaving it to set or making your modeling chocolate using pre-colored candy melts or chocolate buttons.
The second (mid-coloring) method is to add color to white modeling chocolate when it needs to be worked before using; both the pre and mid-coloring methods create a solid color look depending on how well you have worked the food coloring into the mix.
Finally, the post-coloring technique involves hand painting or dusting, which creates a sketch-y or illustrative look. Make sure to consider how you are to color your modeling chocolate and if it fits in with your design.
Remember that working with modeling chocolate can seem like a bit of a challenge at first, but stick to it and you’ll find a valuable material you’ll keep going back to for lots of different styles and designs!
Modeling chocolate, demystified in minutes!
Starting with her tried and true recipe, Bluprint expert Rachel Teufel will help you master a few essential techniques for making and working with this tasty fondant alternative.
Share tips, start a discussion or ask one of our experts or other students a question.
No Responses to “Delicious Decorations: 5 Top Tips for Working With Modeling Chocolate”