
We all have the same amount of time in a day, but some people always seem to get more sewing accomplished. If you want to make the most of your minutes, read on!
Time-saving strategies fall into a few main categories:
- Organization and prep
- Speedy sewing techniques
- Avoiding errors
Organization and prep
1. Collect all your supplies

Zippers, thread, buttons, interfacing, lining — a sewing project can call for a lot of components. Nothing can slow your progress faster than missing what you need!
Some sewers have a stockpile of basic supplies, while others purchase to match every fabric. Whatever your style, try to assemble all the supplies before you start a project. Then you can sit down and just sew — with no last-minute dash to the store.
2. Prep your fabric in advance
Preshrink your fabrics, including the linings, so you are ready to go. After washing, most fabrics need a good press to smooth out the wrinkles to prep for the cutting table. Do this step when you have a few spare minutes. You can carefully fold the fabric and hang over a large hanger so it’s ready when you have time to cut out.
3. Cut out more than one project at a time
If you don’t have access to a cutting space on a regular basis, try to cut out several projects in one session.
Lots of us use the dining or kitchen table for cutting — and claiming that space is easier said than done! Once you’ve cleared the space and put down your cutting mat, take advantage of it.
After cutting out a project, you can carefully fold the pattern pieces and hold them in shopping bags or plastic bins until you are ready to sew.>
4. Use pattern weights
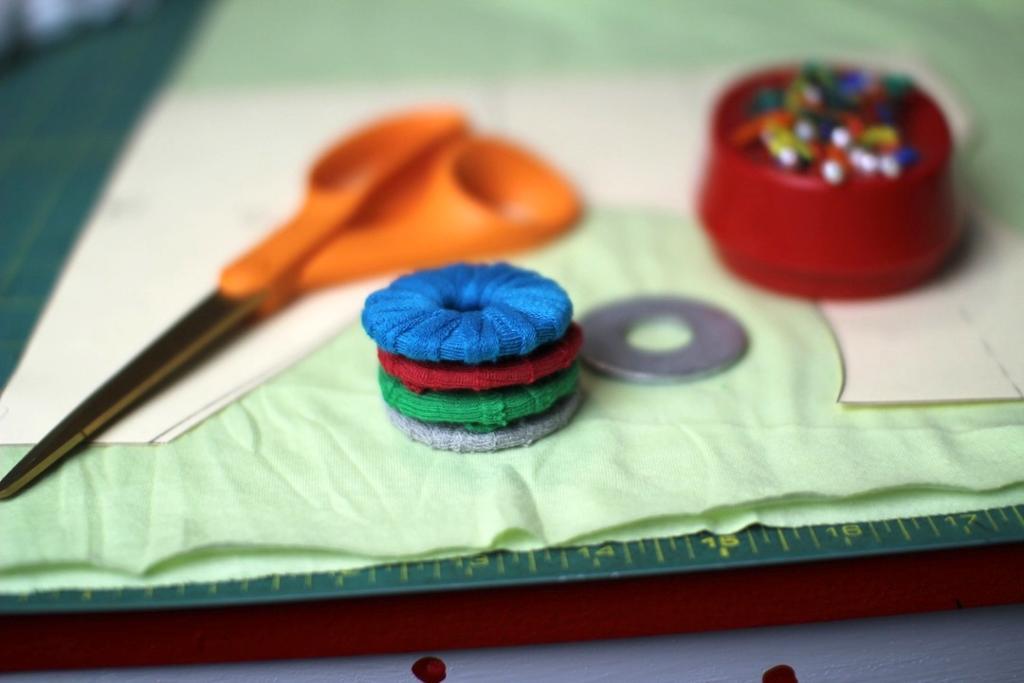
Sewing Pattern Weights by Craftsy instructor Vanessa Wilson
Skip the pins when cutting: Use pattern weights and a rotary cutter and cutting mat. Pattern weights can be anything that hold down your pattern piece on fabric. When I take this approach, I tend to raid the kitchen shelves for cans or coffee mugs.
There are lots of patterns for cute pattern weights that you can sew up with fabric scraps.
5. Have extra bobbins
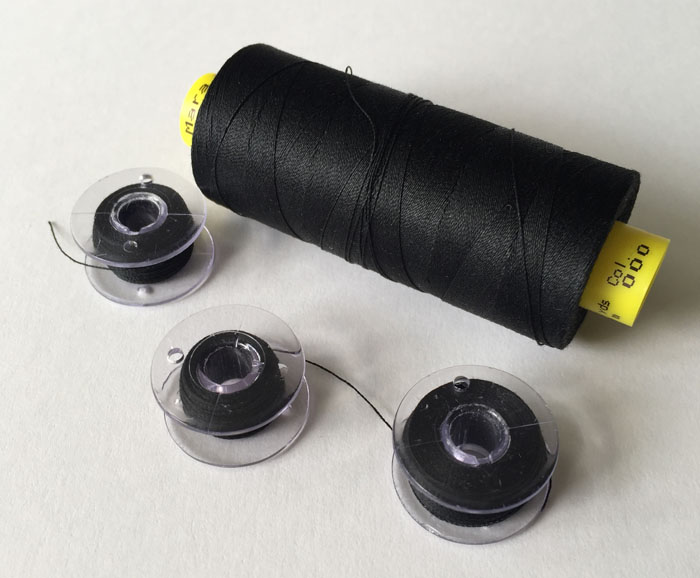
Who’s not familiar with the annoying problem of running out of bobbin thread mid-project? Before you start sewing, make a couple of extra bobbins with your project thread so you will be ready to pop a full one in the sewing machine.
6. Block fuse your interfacing
Instead of individually applying fusible interfacing to every small piece, such as facings or cuffs, apply a block of interfacing to your fabric and then cut out the small pieces. It uses up a little more interfacing but is a lot faster and now those pattern pieces are ready to sew.
Speedy sewing techniques
1. Skip the pins
Pinning and unpinning takes time, and often you can sew pattern pieces together by holding sections together with your hands. It takes a bit of practice, but you will eventually be able to sew even long seams without pins.
2. Sew items in a chain
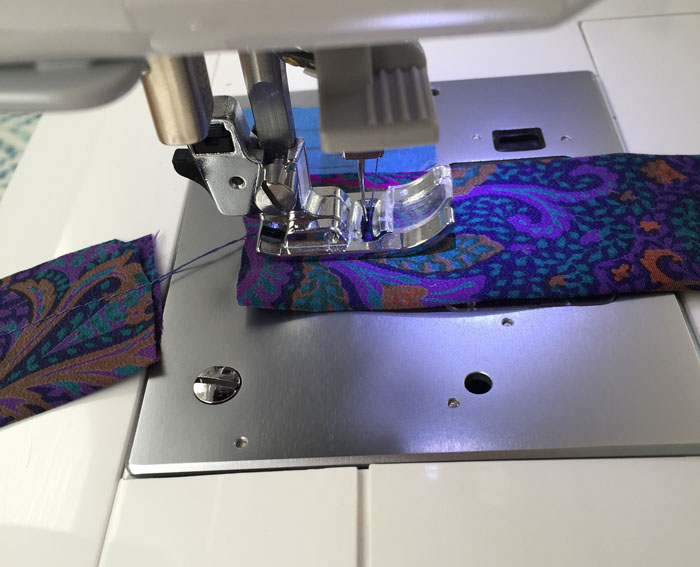
Prep lots of pieces and then move to your machine. Sew the seams in a chain without cutting. This great technique is often used in quilting, but it’s also great for for sewing up all the seams on sleeves, facings, skirts, cuffs and collars. Think economy of movement here, like production line techniques.
3. Press in batches
After you have sewn a number of sections in a chain, press in batches. Press all the darts, seams and other items you have stitched in one session at the ironing board instead of moving back and forth between sewing and pressing. If you have an auto shut-off iron, you will find you spend less time waiting for it to reheat as well.
Avoiding errors
Everyone who sews know the feeling: You complete something and take a good, close look at it — and you realize it’s not right! Maybe you sewed the wrong pieces together, or caught the underneath fabric into a seam. Here are some tips for avoiding those errors that really slow down our sewing.
1. Use good lighting
We probably all do some of our sewing late at night, and perhaps our lighting is not the best. Good lighting is an investment that pays off to help you avoid those mistakes that have you running for the seam ripper.
2. Mark the stitching line
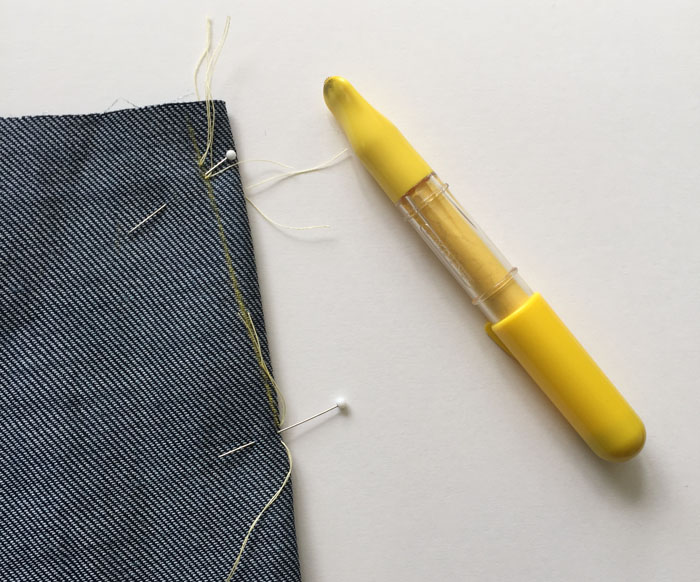
There is no rule that says you can’t mark where to stitch — so give it a try, particularly on tricky corners or curves, darts or any section where using the stitch guide on your machine will not be enough. Tailor’s chalk works well. I even use pencil at times, es pecially if I am marking on interfacing, since it will be hidden inside the garment.
3. Go slow
This may seem counterintuitive, but going slow can apply to a lot of steps in any sewing project. Go slow with your stitching on very exacting areas, like plackets or angles, so you can really watch where the needle is and turn or pivot with exactness. Going slow can also mean taking a breath, thinking where you are in the project and reviewing the steps to see if you have missed anything.
4. Read the instructions
Some sewers read the instructions in every detail and others never even take a look. Even if you don’t usually use the instructions, read them over before you start sewing and make sure there aren’t any unexpected steps.
5. Know when to stop
Learn to recognize when you are tired or burnt out. Sometimes stepping away from the sewing machine for a break is the biggest time-saving tip of all, allowing you to refresh and clear away the cobwebs. When you are tired or lose focus, errors tend to show up. Take a break and return with a fresh focus.
Share tips, start a discussion or ask one of our experts or other students a question.
No Responses to “14 Sewing Tricks That'll Save Tons of Time”