If you ever made a piece of loose-fitting clothing and thought, "Ugh, this kinda looks like a sack," we have one word for you: shirring. Shirring is a magical technique that shrinks a piece of fabric and transforms it into something stretchy. It's great for skirt waistbands, shirt hems and bodices. And all it takes is sewing a few rows of stitches with elastic thread.
Ready to shirr things up? Read on to learn some foolproof ways to nail the skill the first time you try it!
1. Consider the Fabric
Test out shirring on a few different types of material and you might notice that the more lightweight the fabric, the better the result. Light cotton fabrics like voile will shrink more than, say, a quilting cotton. Fabrics like corduroy, wool and other heavyweights are just not shirr-able. Stick to the lightest fabric you can find.
2. Use Your Hands to Wind the Bobbin
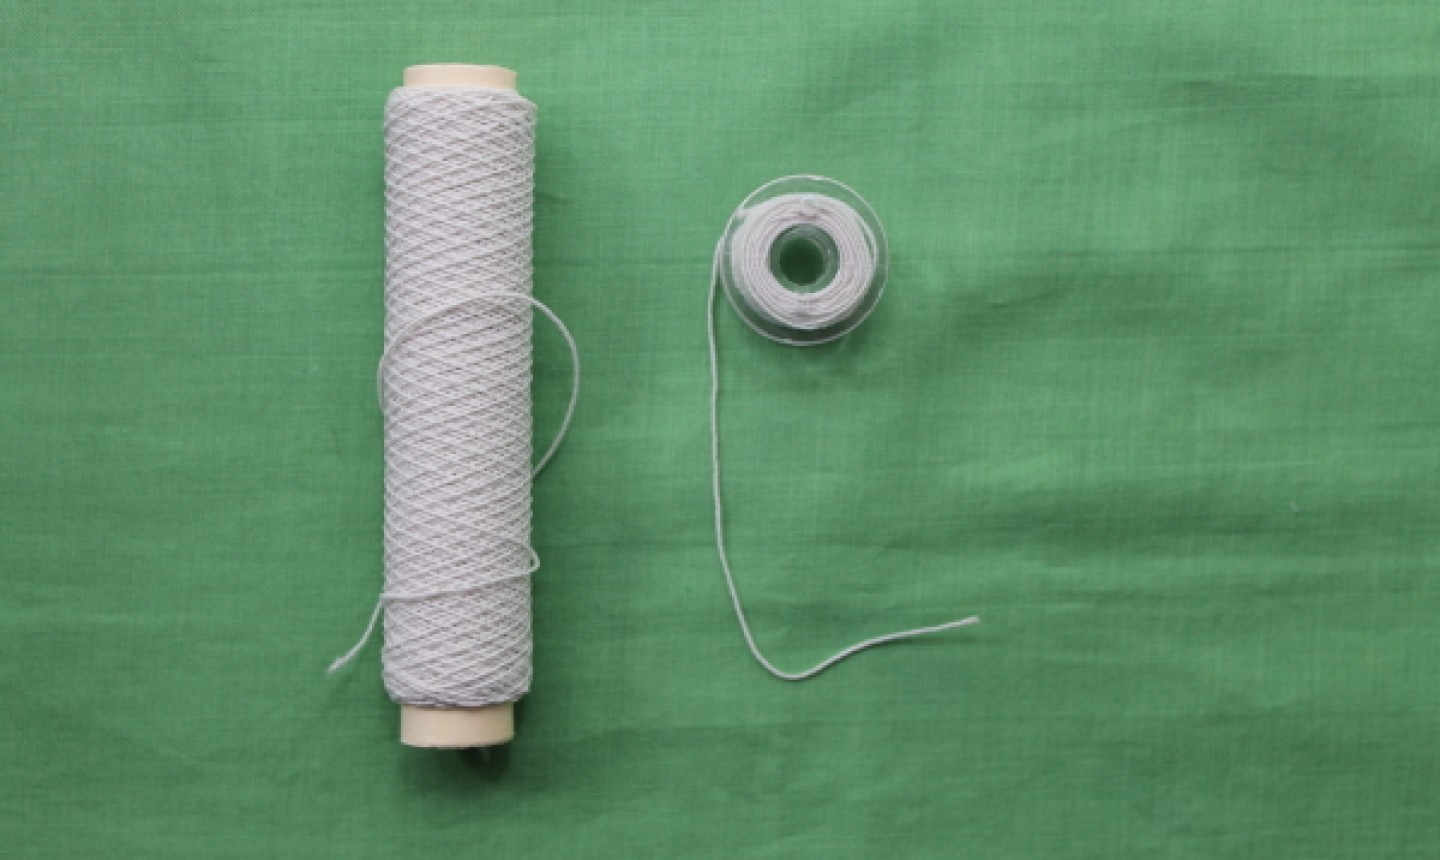
For shirring, you need to wind the bobbin with elastic thread — by hand, not by machine. As you wind, avoid pulling tightly on the elastic. Then insert the bobbin into the machine as usual and load the top thread as you normally would.
3. Find the Right Tension
You might have to adjust your tension when shirring, so test the method on a scrap piece of fabric first. Then examine the back of the scrap. If the stitches are too loose, tighten up the tension.
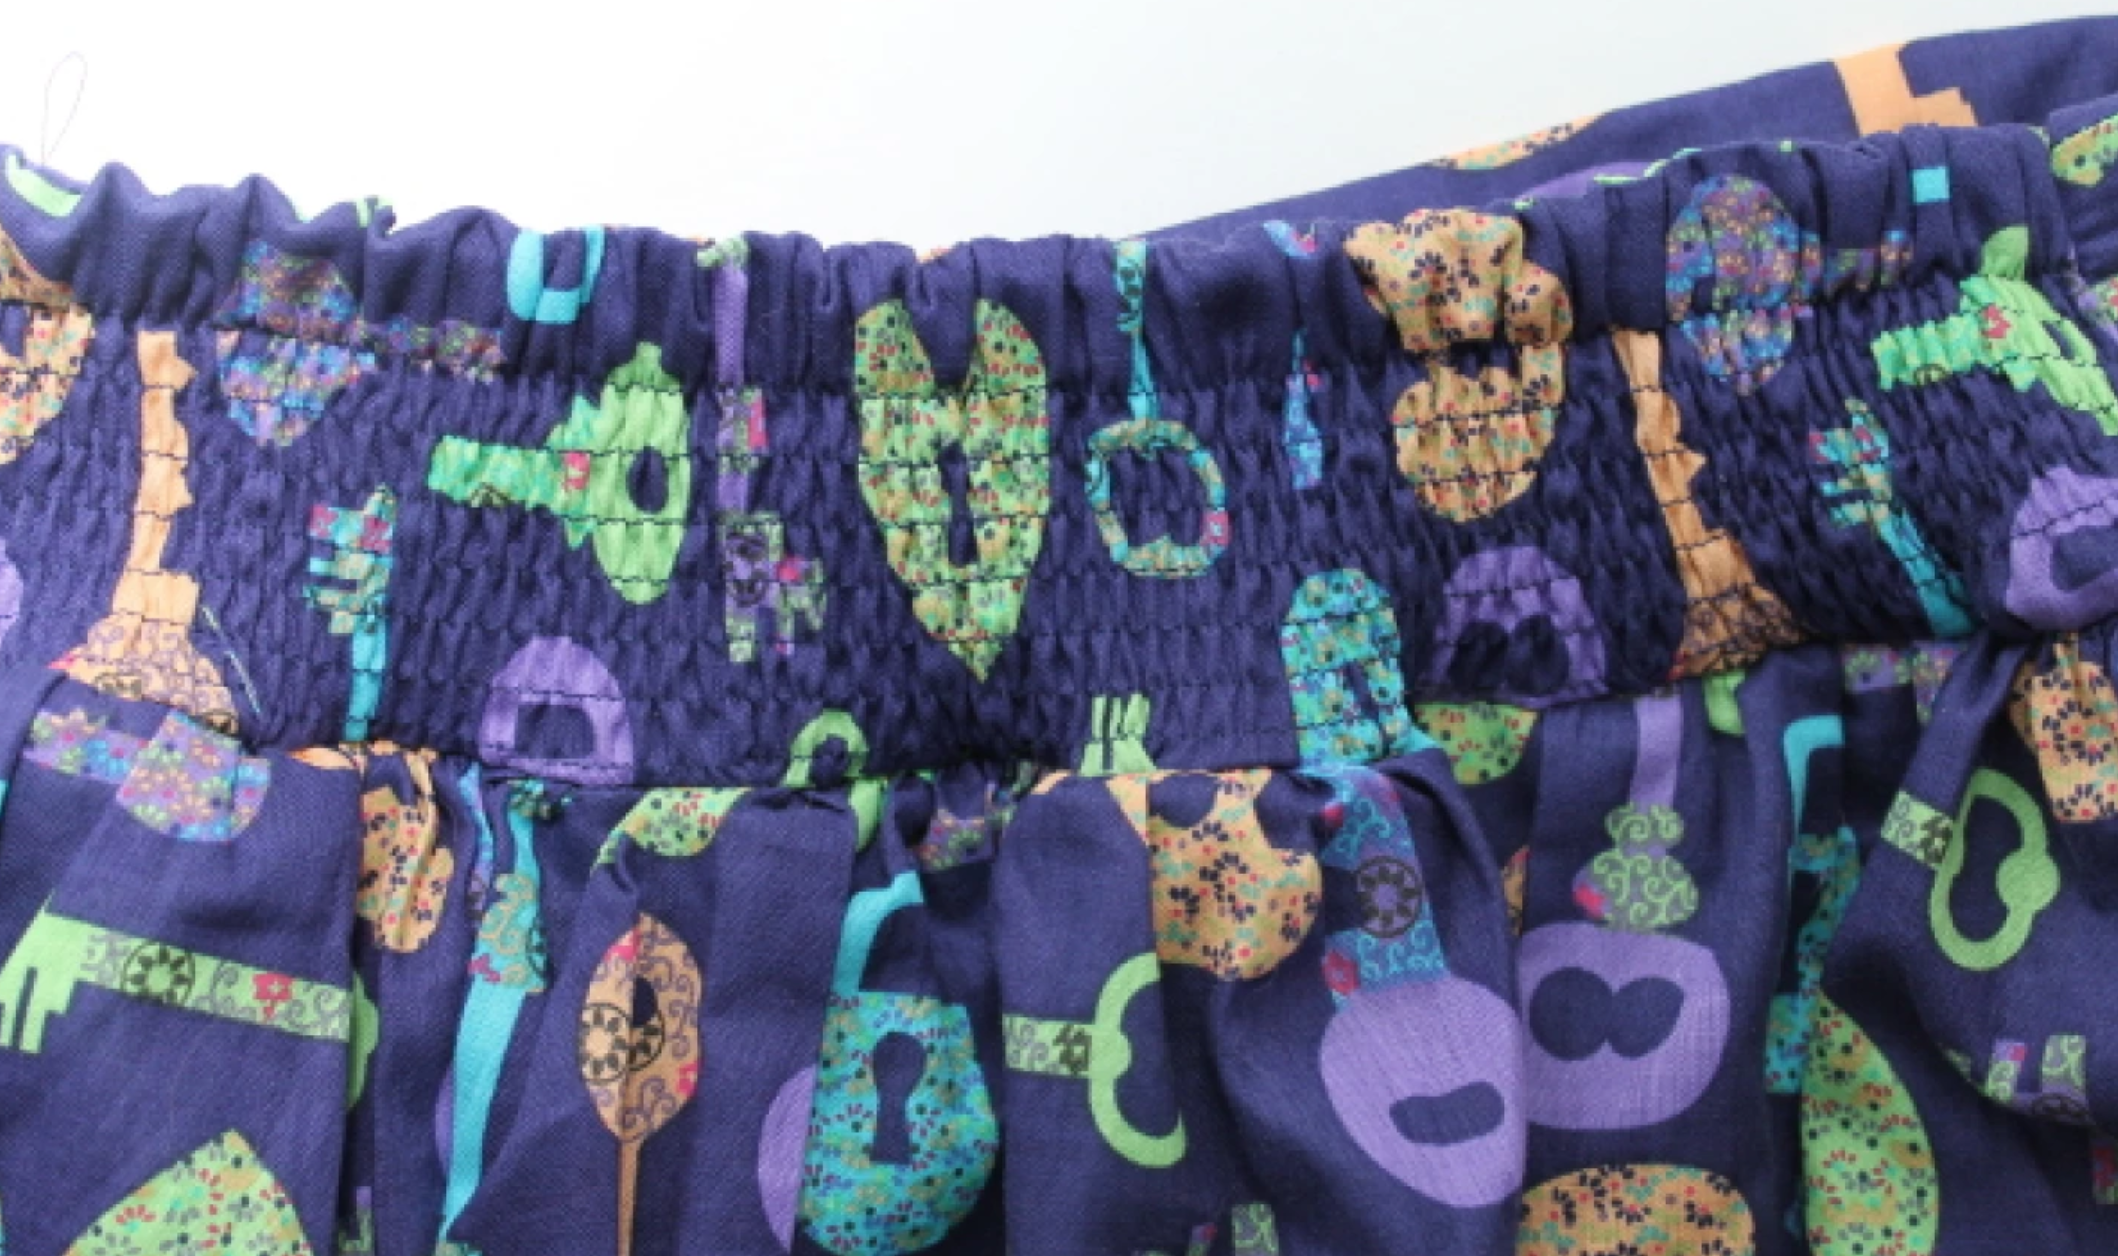
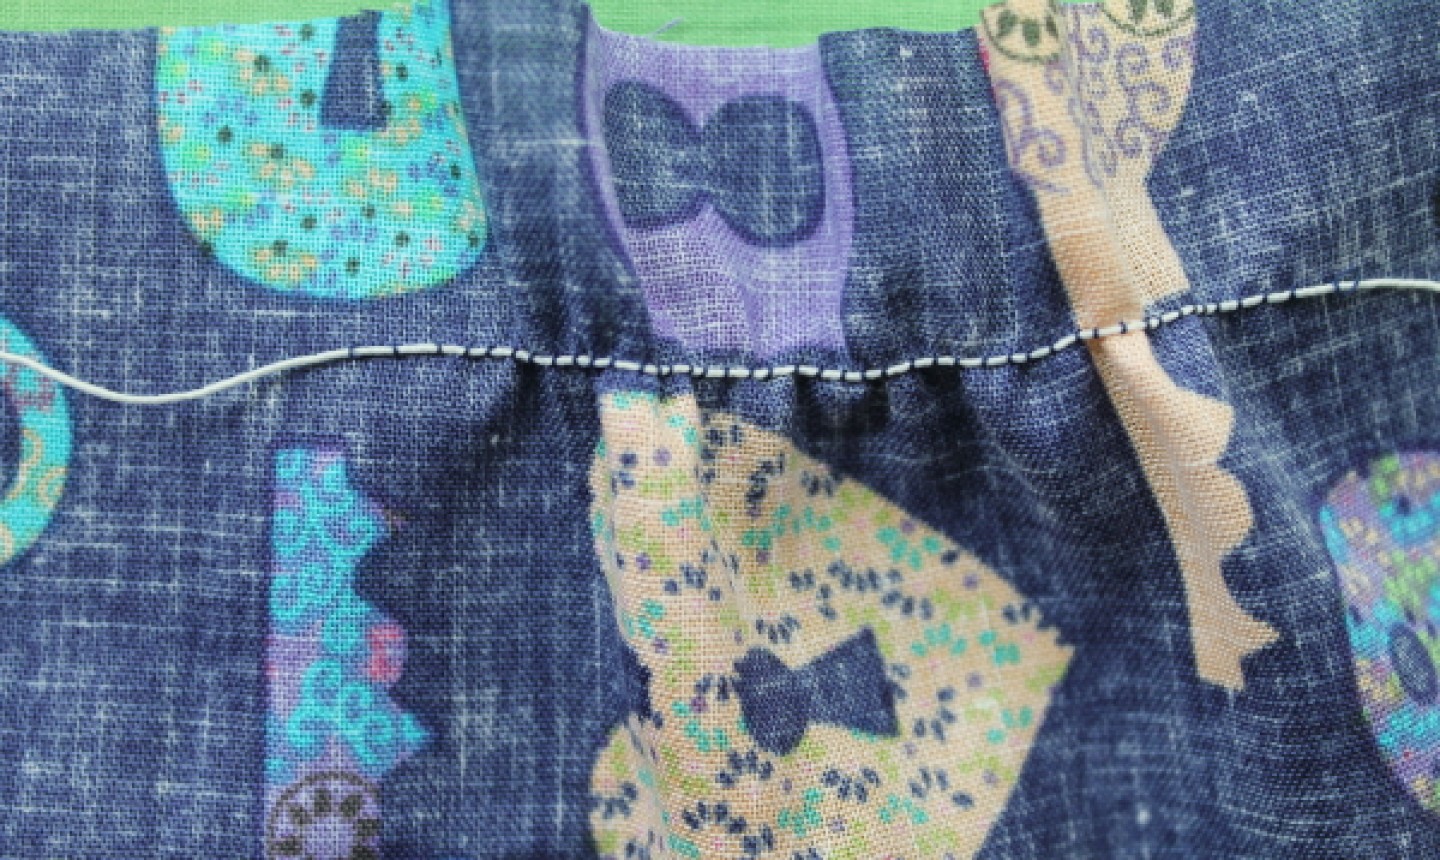
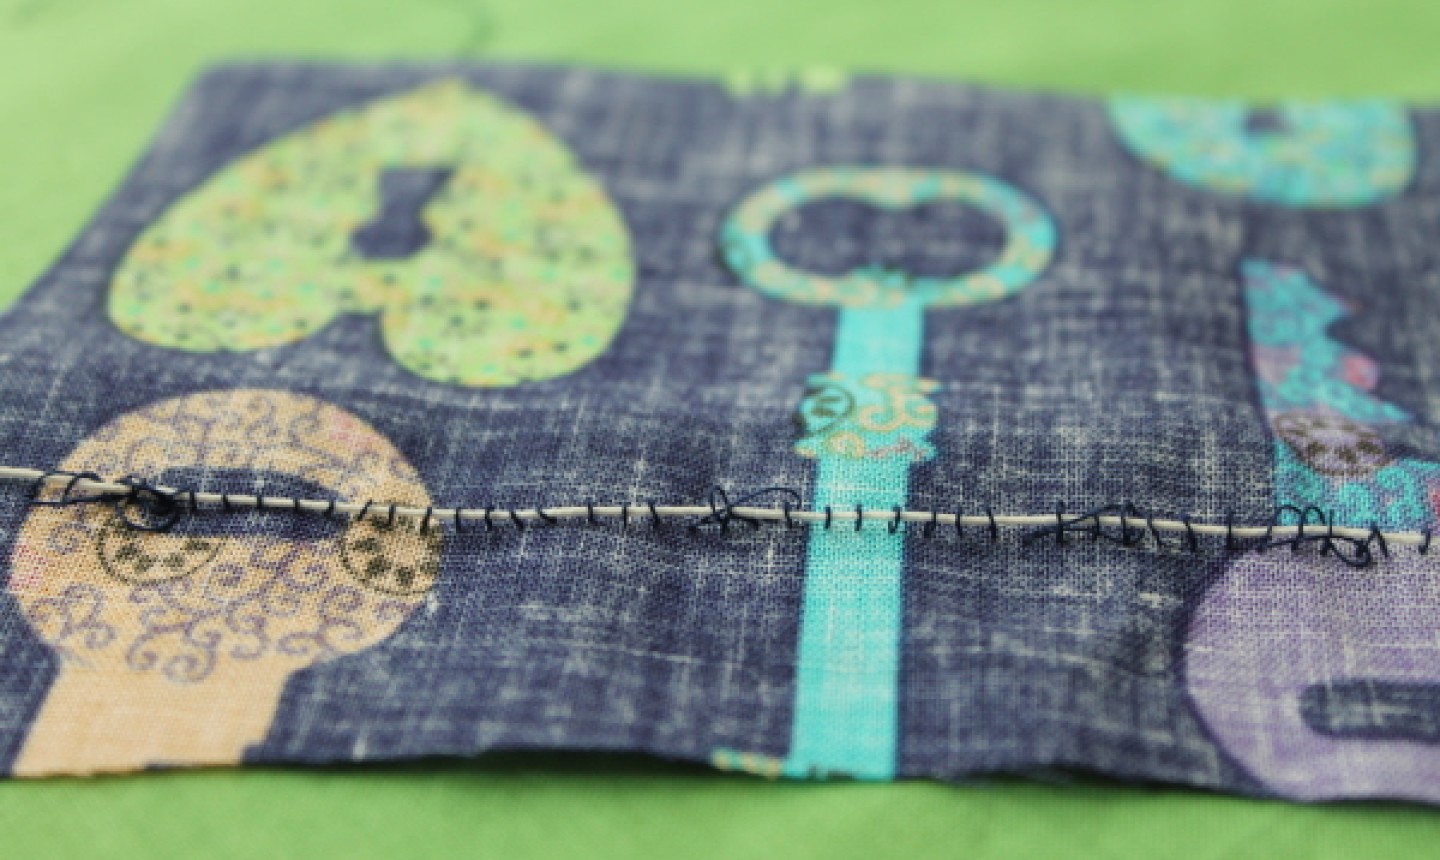
The photo above shows what good shirring tension looks like. The photo below? Not so much. Check out those loose, crazy stitches! This is what shirring looks like when you keep the tension at 2, the usual setting for sewing with cotton fabric.
At that setting, the thread isn't holding down the elastic. Some of the threads are even changing directions, another sign of tension that's too loose. You might have to turn the dial to 4 to solve the problem. Play around a bit since every machine is different.
4. Mark Things Up Before You Sew
Sure, you could use your sewing machine's needle plate to measure, but stitching along a marked line is much simpler. So take some time to mark the shirring lines with chalk or fabric marker before you start. (You're welcome!)
5. Fiddle with Stitch Length
Your goal is to make the fabric pull in even more when you shirr. So it helps to make the stitching just a little longer than usual. Try 3.5–4 mm to see if that works.
6. Don't Stop at One Row
The first line of stitching is never super stretchy, so add a few more.
7. Pull Out the Iron
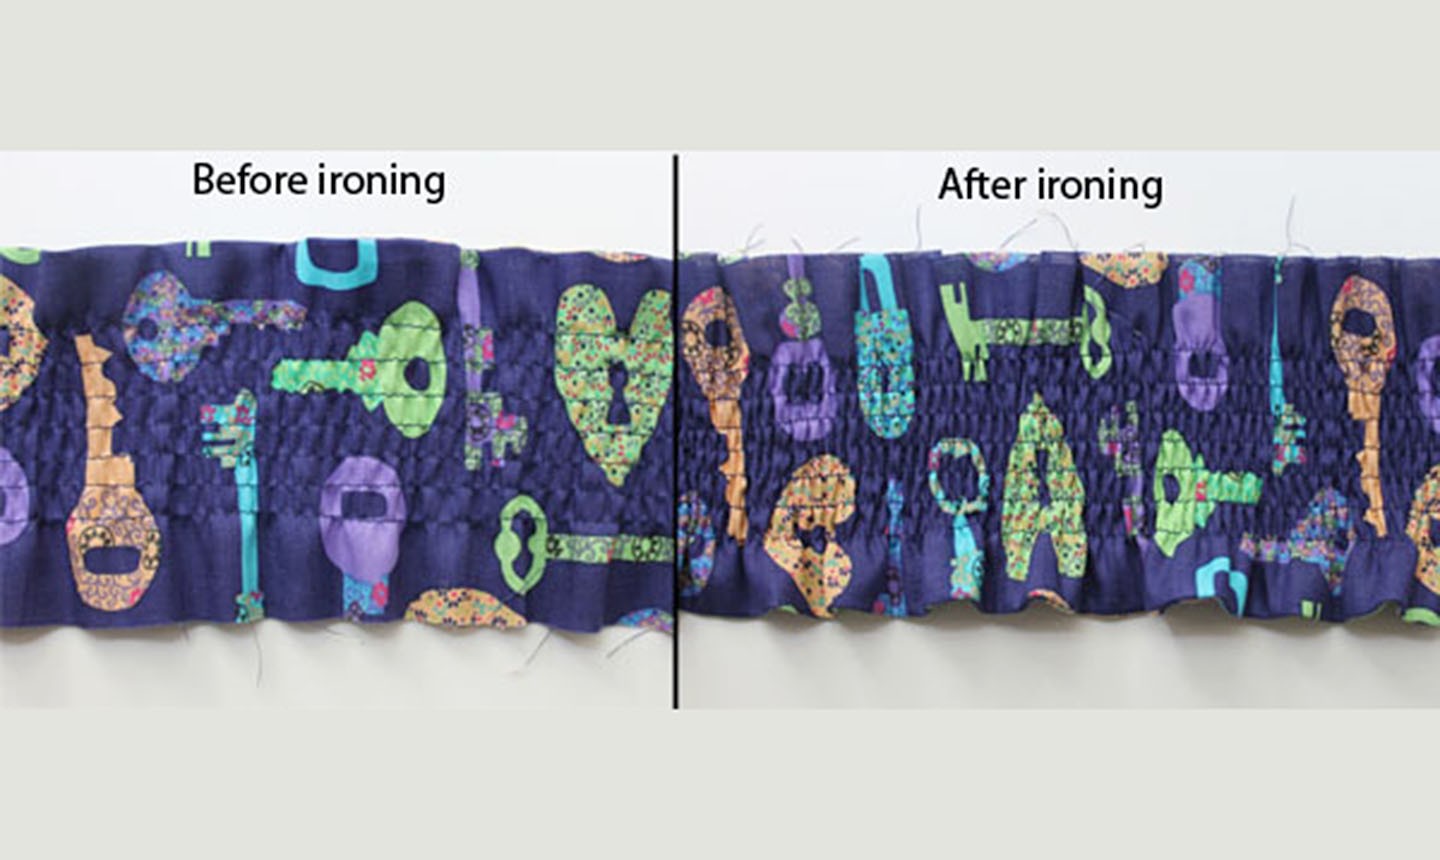
After you finish stitching, the shirring may not seem stretchy enough. No problem! Plug in an iron, turn on the steam and press lightly over the shirred stitches. We promise they'll shrink!
And now you've got a garment with shape that'll fit snugly and move with your body. Buh-bye, sad sack!

I Have a gather foot can i use this with the elastic. Please advise JO
Do you pull either of the threads; the elastic or the non-elastic thread, after sewing the lines? I am trying to add shirring to the back of some shirts to make them a bit smaller/fit tighter. I followed your explanation but still found that the elastic wasn't stretched unless I pulled it at start and finish of each sewing line.
Like
Fantastic! followed your instructions to a T and it worked perfectly first time. thank you!