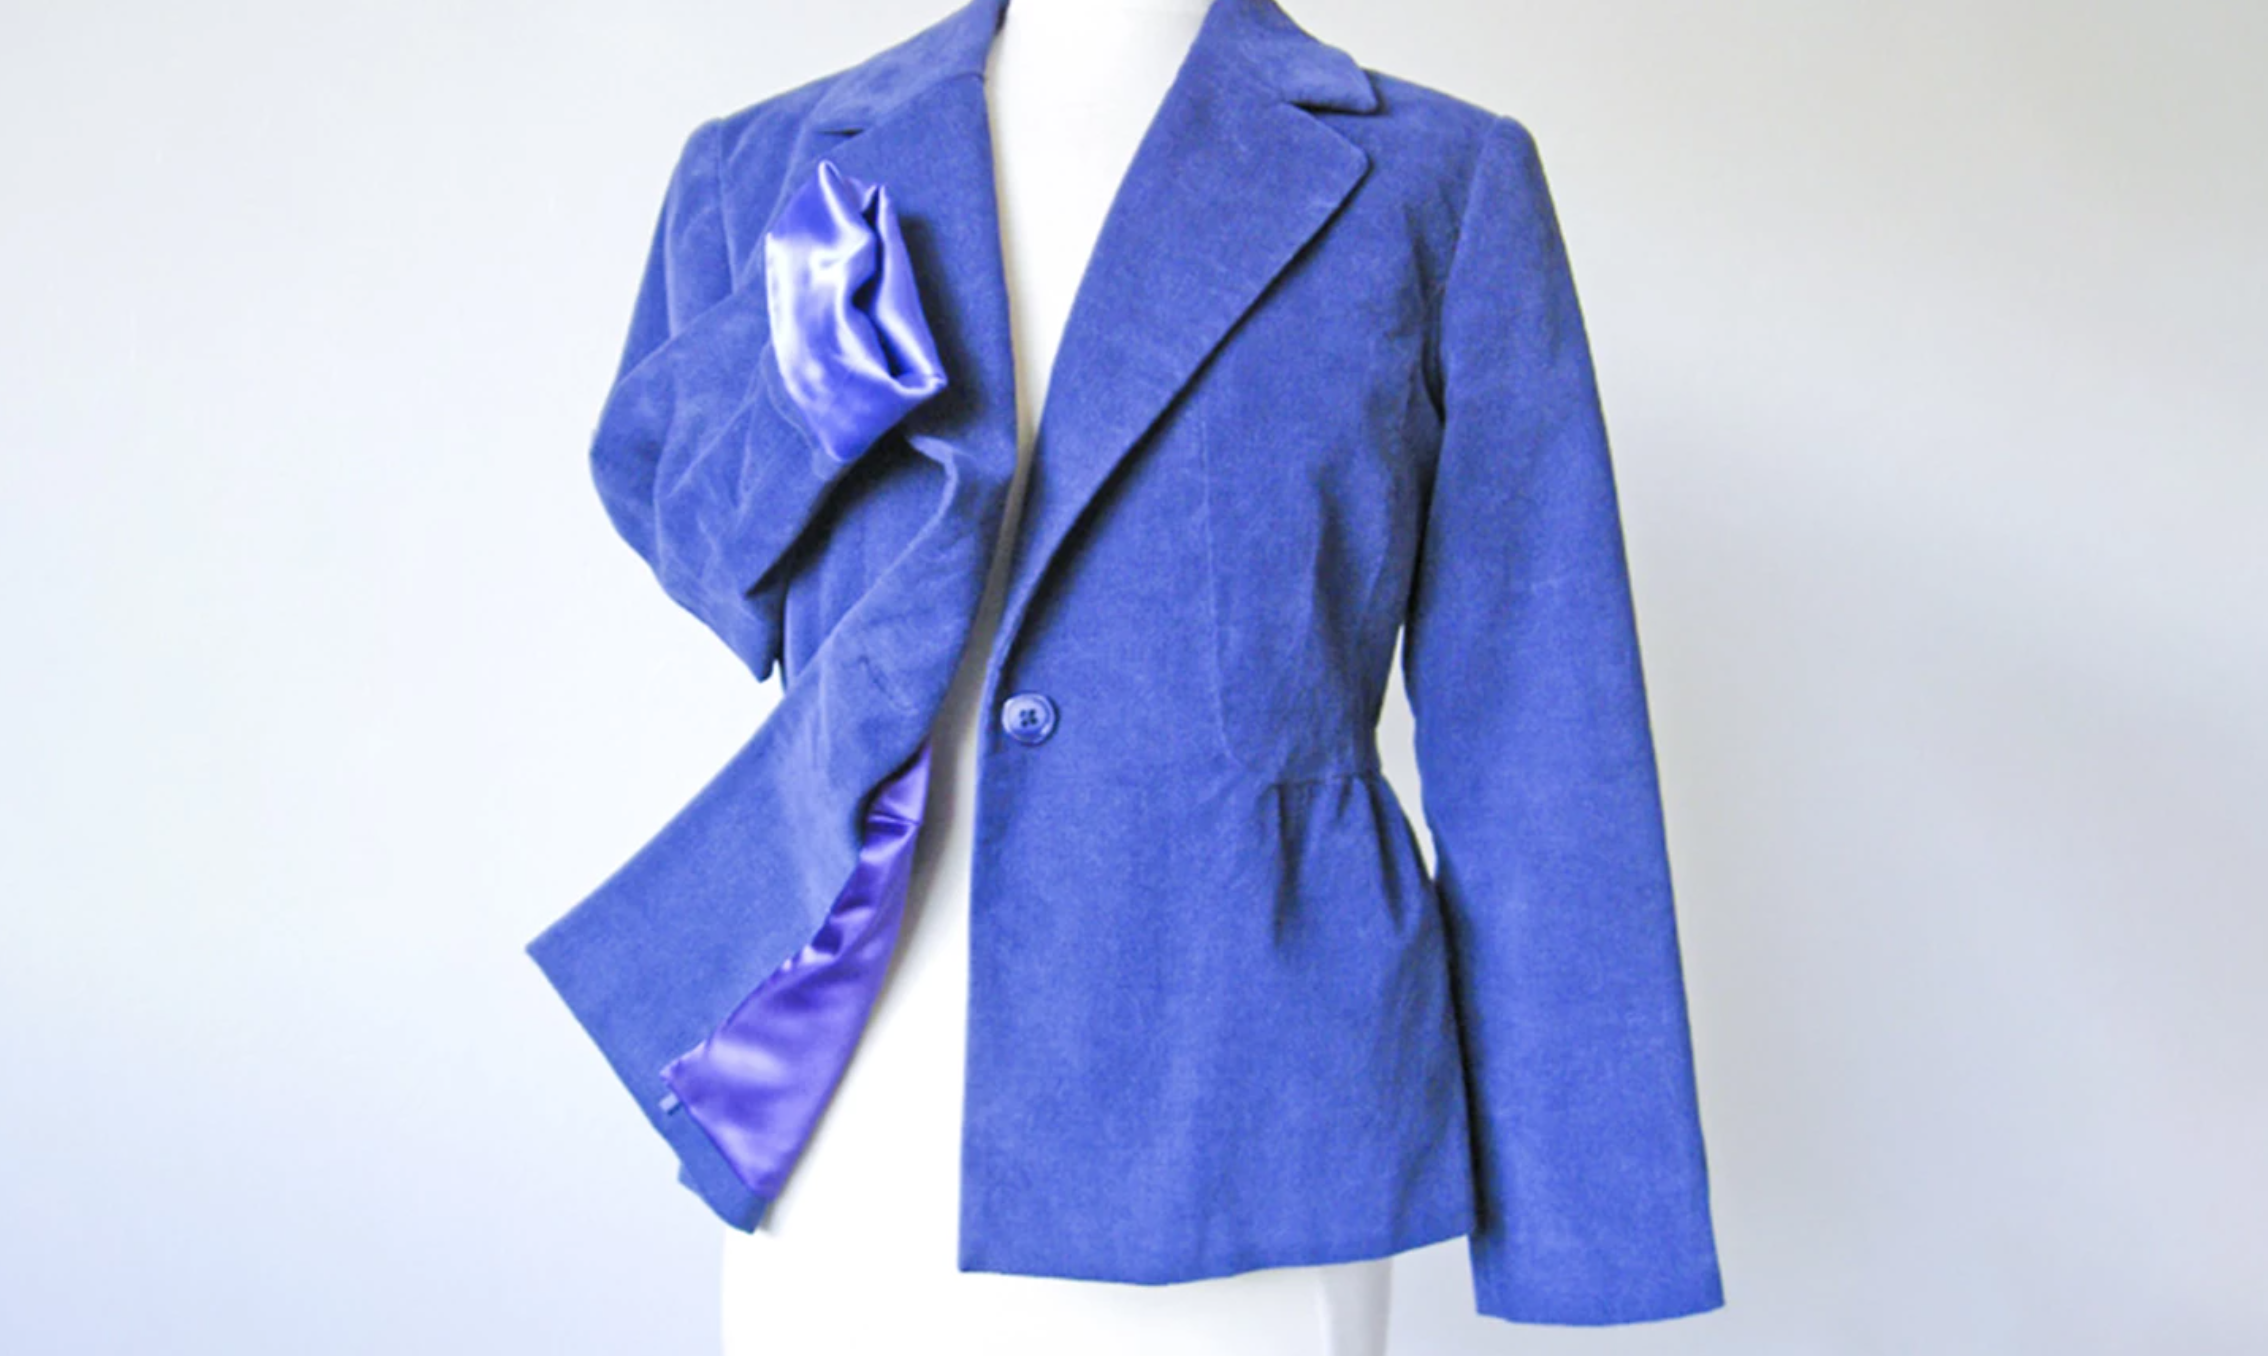
When you set out to sew the perfect jacket or coat, you may not immediately think about the sleeves. (You're probably envisioning a poppin' collar or those beautiful lapels and buttons, which is fair!) But sleeves are an obviously critical component of your design. They need to fit, taper and drape perfectly, as a properly sewn sleeve can be the difference between a coat that looks high-end and a coat that screams homemade.
Luckily, with these tips you can sew sleeves that will look 100 percent fabulous.
1. Learn the Trick to the Two-Piece Sleeve
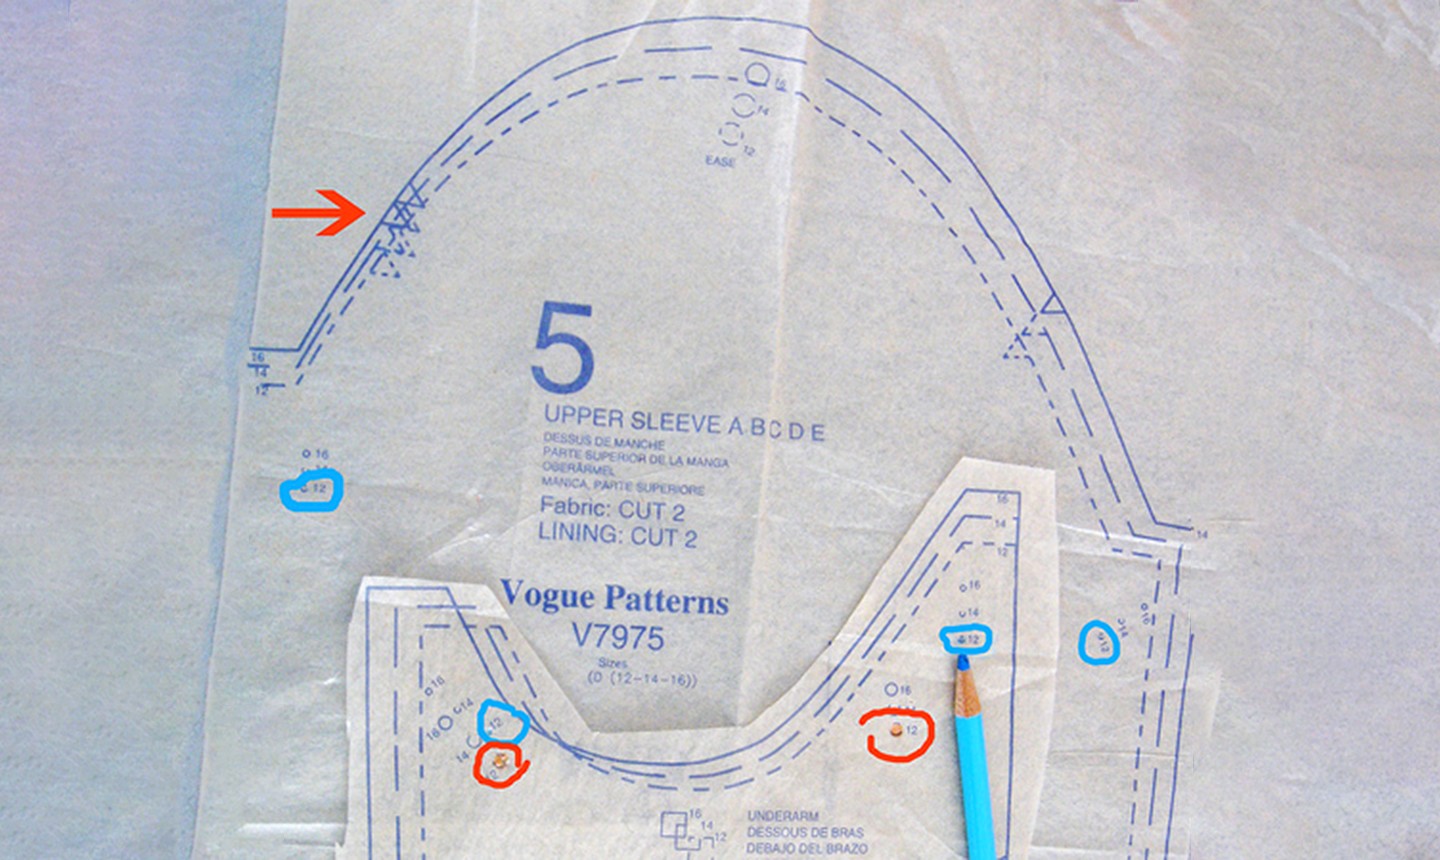
Two-piece sleeves have built-in ease in the elbow area — the upper sleeve is a bit longer than the undersleeve — that gives a natural curve to your finished sleeve. But they also have markings that can be confusing. Remember that, like all pattern pieces, a double notch indicates the back of the sleeve while a single notch indicates the front.
You may also see two sets of dots on your two-piece sleeve pattern. The large dots (circled in red, above) are the ease dots; they correspond to dots on the jacket front and back pattern pieces. The small dots (circled in blue, above) only appear on the sleeve pieces and help join the upper sleeve and undersleeve.
2. Actually Baste Your Sleeves
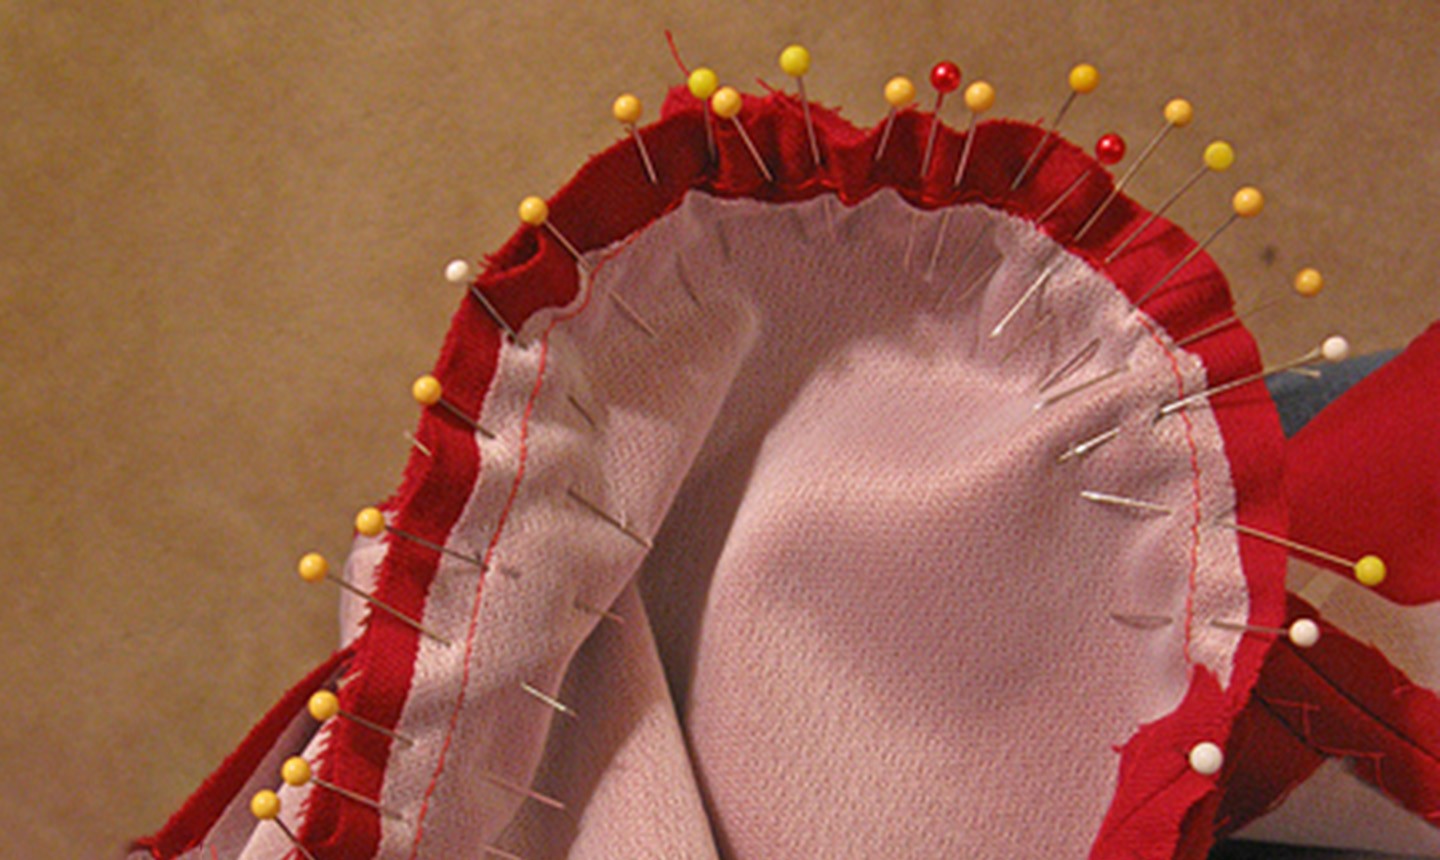
Let's be real: sometimes it feels like basting only slows down your sewing. But this extra step is totally worth it, and may actually save you time in the end. Simply pin your sleeve in, then baste using a very long stitch. Doing so allows you to remove all the pins, so you can see if the sleeve looks smooth with no ripples or tucks.
If you see any sections with visible gathers, simply remove the stitches and baste again. You can then machine stitch with ease, as there are no pins to remove as you go. And because jacket sleeves need to withstand a lot of wear and tear, it's a good idea to add a second row of stitching just ⅛" inside the original stitching to prevent your seams from popping.
3. Don't Skip the Press
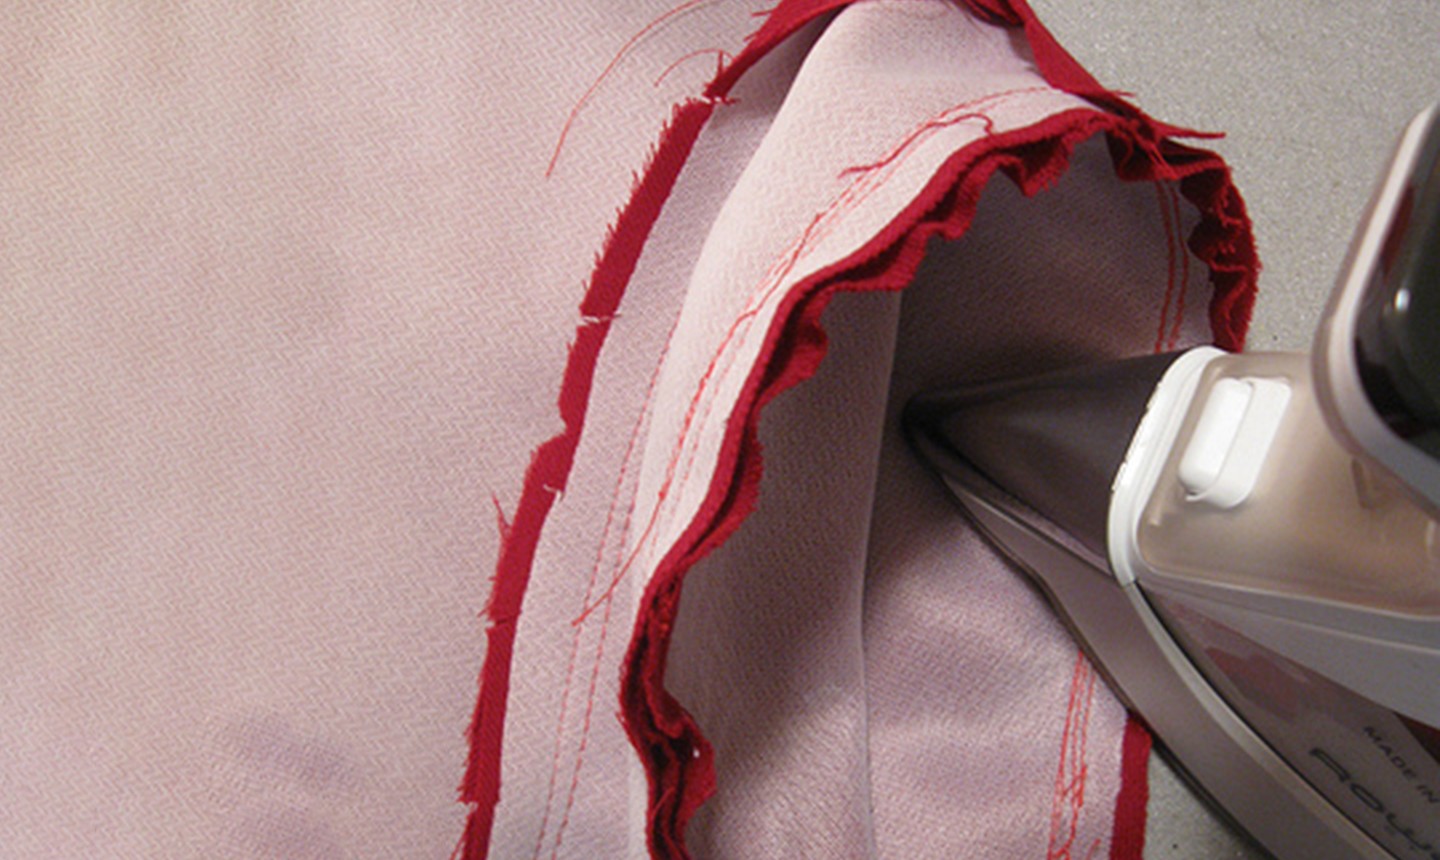
Once your sleeve is sewn in, press all the way around the seam allowance using just the tip of the iron. This smooths out the sleeve cap you just eased into the garment, and helps maintain that nice curve over the shoulder.
4. Always Trim (Some of) the Seam
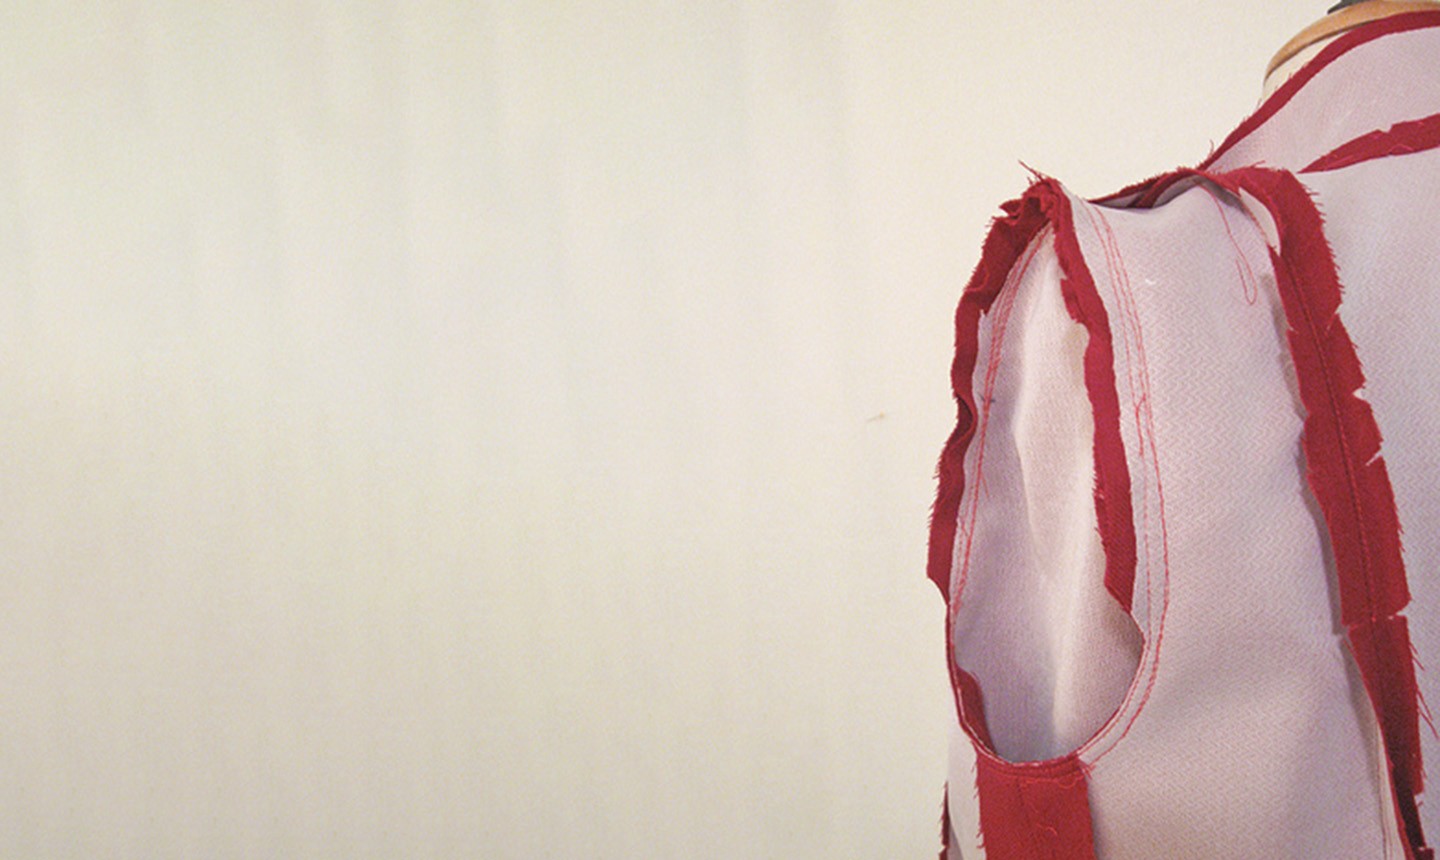
Trim the seam allowance to ¼" under the arm, about 2-3" on either side of the side seam. This will give you more movement and provide extra comfort. Leave the rest of the seam allowance as is — it functions to support the sleeve cap.
5. Sew in a Sleeve Header
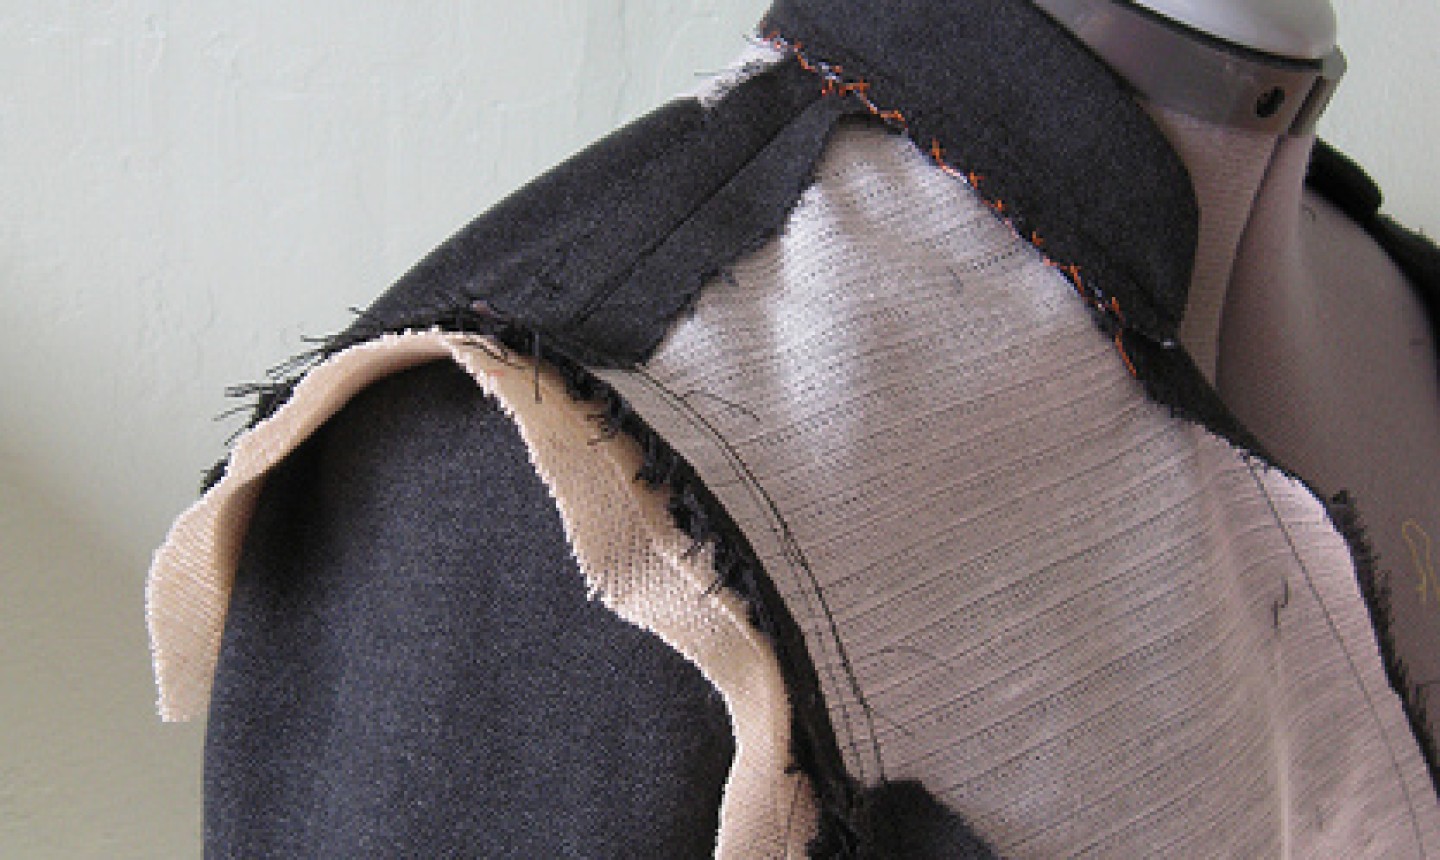
A sleeve header should be placed between the seam allowance and sleeve cap. It helps keep the cap shape and prevents the seam allowance from showing through on the outside of the garment. You can purchase sleeve heads or make your own by cutting bias strips of lambswool or flannel.
6. Consider a Shoulder Pad
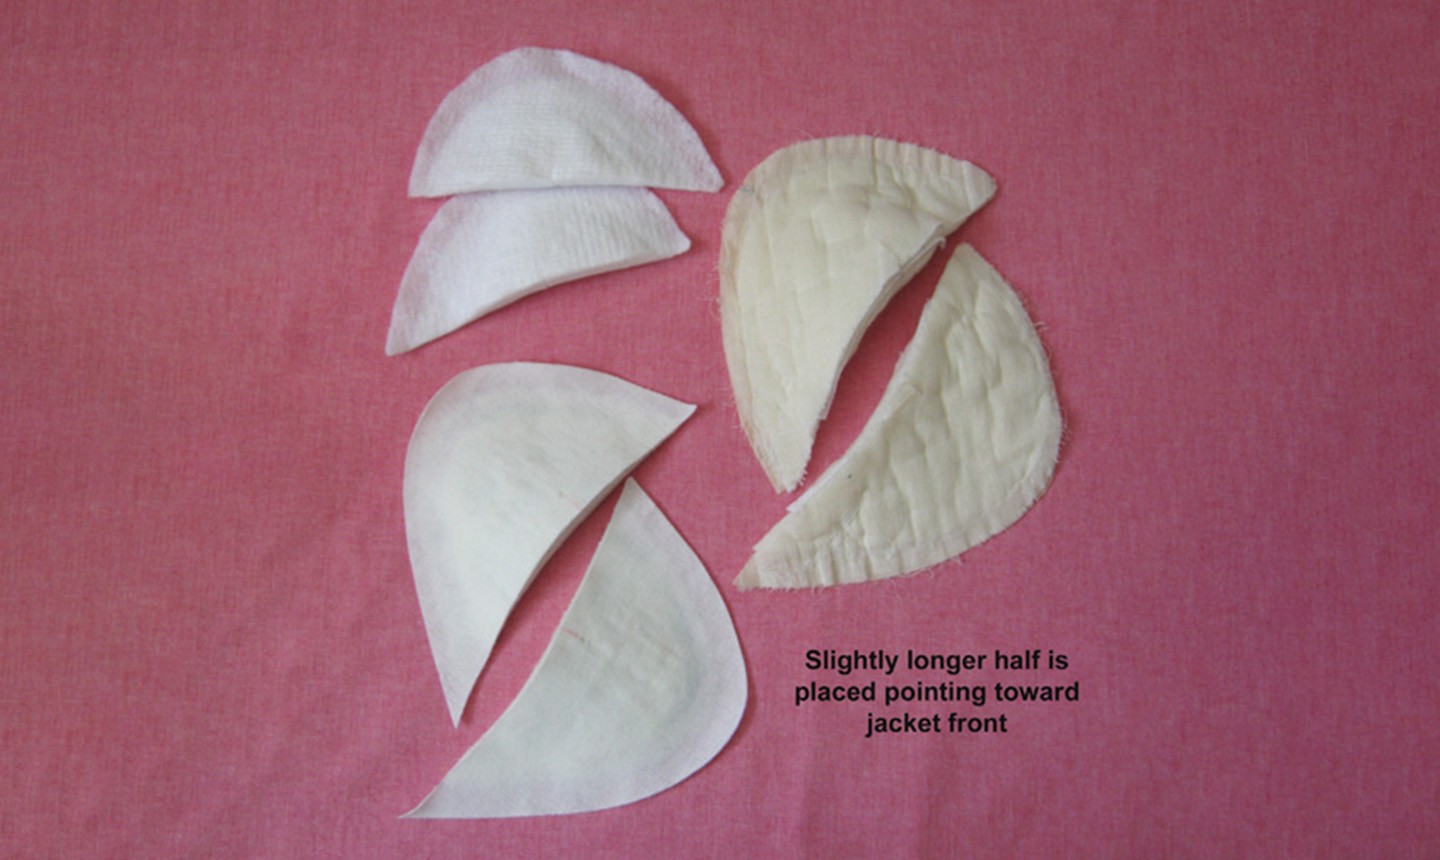
The '80s gave shoulder pads a bad wrap, but the truth is they totally belong in your tailored jacket. A very thin shoulder pad can help fill out the hollow in the upper chest, and allow the jacket front and back to hang smoothly without adding any bulk. Before you say no way, baste in some small shoulder pads and see how your jacket looks. You may be surprised at how much you like it.
Good to Know: If your pattern calls for a shoulder pad, include one. Otherwise, you'll have to alter both the jacket front and back pieces and adjust the sleeve cap so it fits correctly.

Can I have a video on this please?