
It’s time to give in and make a tulle skirt! Otherwise known as netting or illusion, tulle is no longer exclusive to weddings, costumes or tutus. It has become exceedingly popular within recent years as fashion statements for both day and evening wear.
And, as the holiday season kicks into full gear, there is nothing prettier, more feminine (and fun to sew!) than a tulle skirt to wear to the season’s upcoming parties.
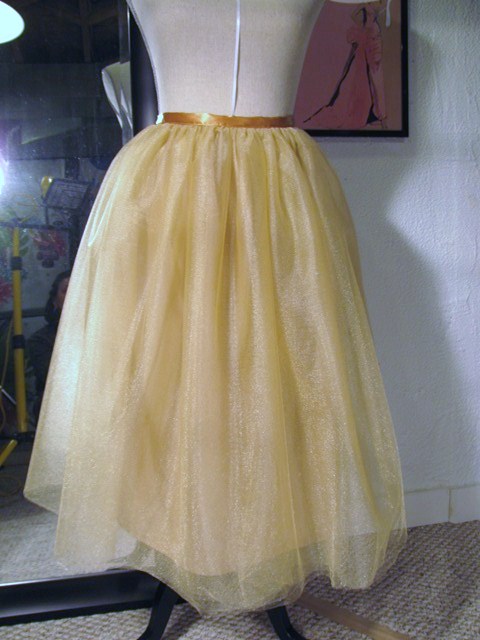
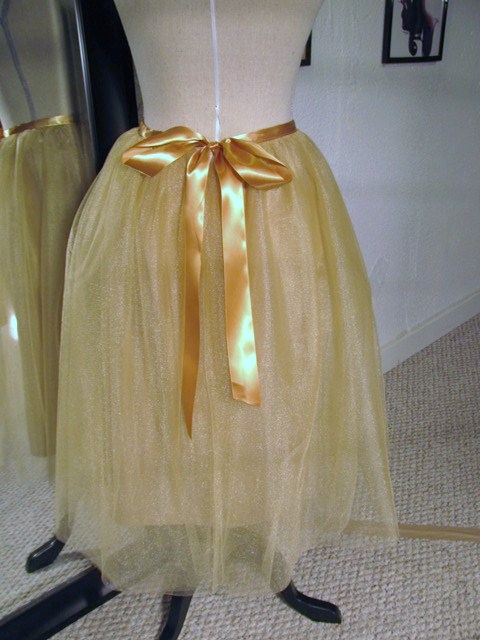
Learn how to sew a tulle skirt for a holiday party ensemble.
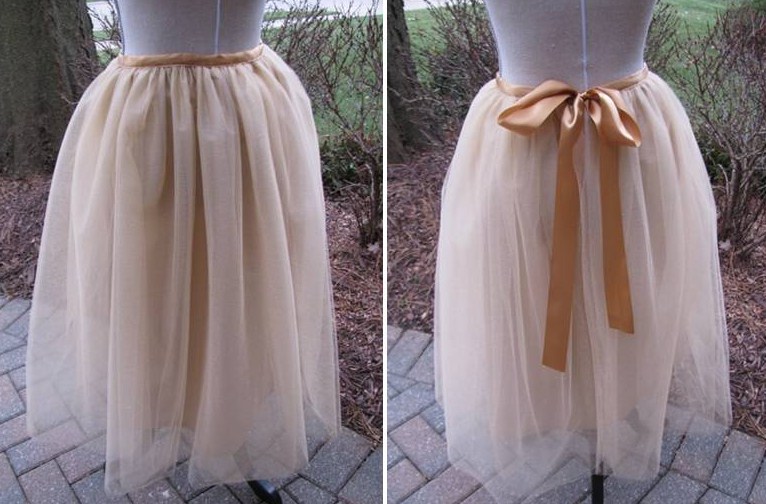
What makes tulle such a popular choice is cost. Typically priced less than $2 a yard, a tulle skirt becomes both an economical as well as beautiful garment to make. Tutorials for making tulle skirts are aplenty on the internet with most advocating a no-sew method using tulle ribbon rather than fabric. he process is fast and easy, but less formal or elegant than a real tulle skirt. This tutorial deals with making a lined version featuring a satin ribbon waistband.
Tricks to make working with tulle easier
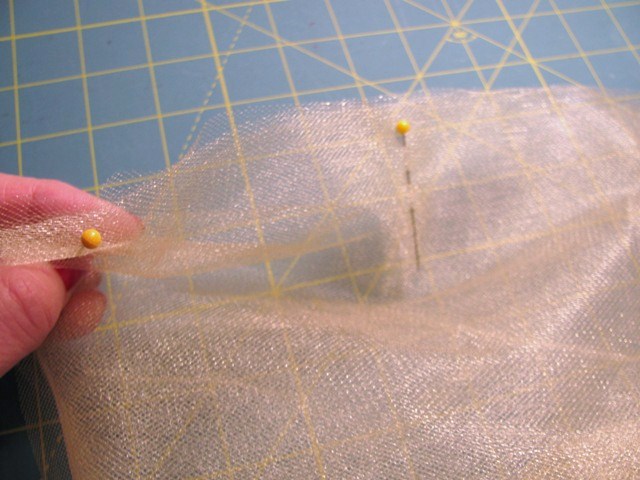
While tulle makes for an inexpensive option, working with it can sometimes be a challenge. Handling yards and yards of the stuff that often shifts and slides about is tricky, not to mention dealing with annoying static electricity it is prone to have. Here are some ways you can conquer these issues:
- A large cutting surface and plenty of pattern weights (use cans if you don’t have weights) will help keep the tulle in its place.
- To tame the static electricity simply spray a fine mist of water over the tulle while working with it. Don’t overdo the amount of water; you just want to prevent the tulle from clinging to you at every turn.
- And, let’s not forget tulle is a delicate fabric so it requires a gentle hand, a warm rather than hot iron and some patience will not only help, but pay off in a better finished product in the end.
Buying tulle
Buying basic tulle or netting is the same as purchasing any regular fabric by the yard. It is available mostly in 54″ and 108″ widths, but some can be as narrow as 36″ wide. It comes in a wide variety of colors to fit every occasion and need. And, it can be found in a multitude of finishes from matte, to shiny or sparkle, or embellished with glitter, rhinestones or pearls.
Materials
With a just few body measurements and some basic sewing an elegant tulle skirt becomes an easy weekend project. Here is what you will need:
- Several yards of 54″ wide tulle – the yardage will depend on skirt length and the amount of fullness desired
- Approximately one yard of lining material – again, amount depends on skirt length and fabric width
- Matching thread
- 3-inch-wide, double-faced satin ribbon, (one 3 yard spool should do)
Directions:
1. Determine the yardage amount of tulle needed.
- Take your waist measurement. Then measure from the waist to your desired length.
- If the desired length measurement is 26″ or less, a 54″ tulle width will accommodate two layers of the skirt. Assuming your length measurement is 26″ or less, take your waist measurement and multiply it by 3. Now multiply that number by 2. (if your length measurement exceeds 26″ multiply it by 4). Divide the number by 36 to determine the yardage amount you need to purchase.
2. Determine the yardage amount of lining needed.
- The lining will be constructed from a rectangular length of lining material that is equal to 1 ½ times the waist measurement by the desired skirt length plus 2″ added for both the hem and waist seam allowances.
- Purchase the lining material based on those calculations.
3. Make the lining.
- Cut the lining to the dimensions stated above.
- Press a ½” double rolled hem in place. Do not sew at this point.
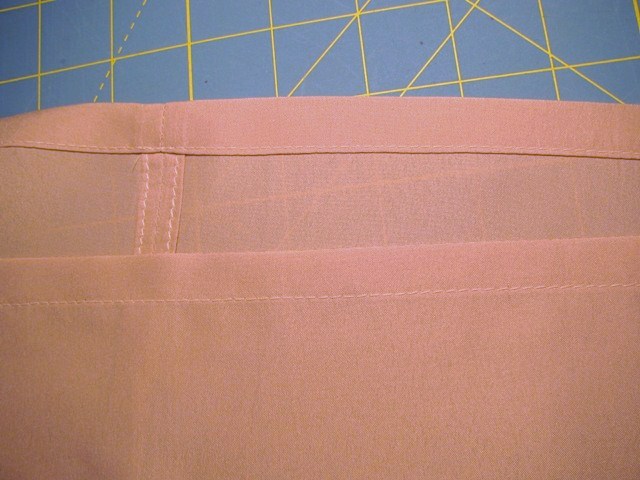
- At the top edge stitch two rows of gathering (basting) stitches, one 6/8″ from the edge and the other 3/8″ from the edge. Leave long thread tails at both ends.
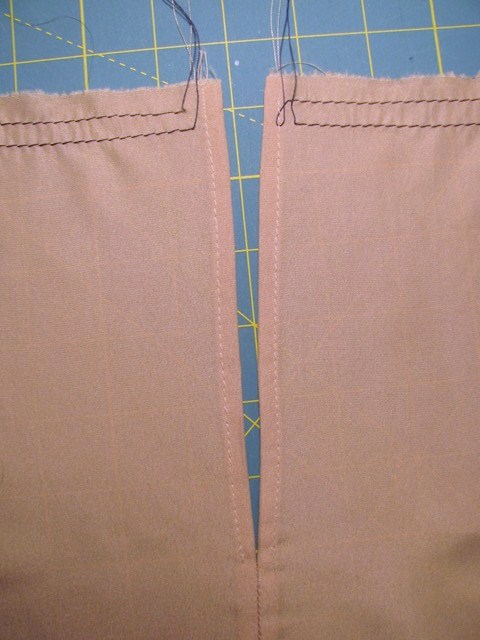
- Stitch together the shorter ends from the hem up to 6″ from the top edge using a ½” seam allowance. This will be the skirt’s back seam. The opening will allow you to slip on the skirt with ease. Press the seam open. For the opened portion of the seam, fold and stitch a ¼” double rolled hem.
- Pin the bottom rolled hem in place and stitch to finish.
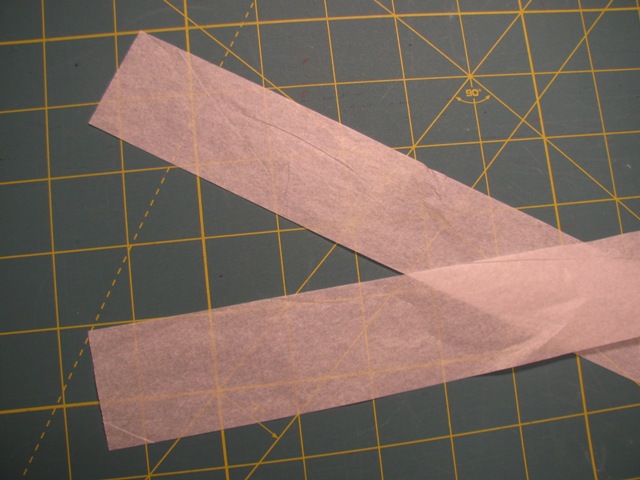
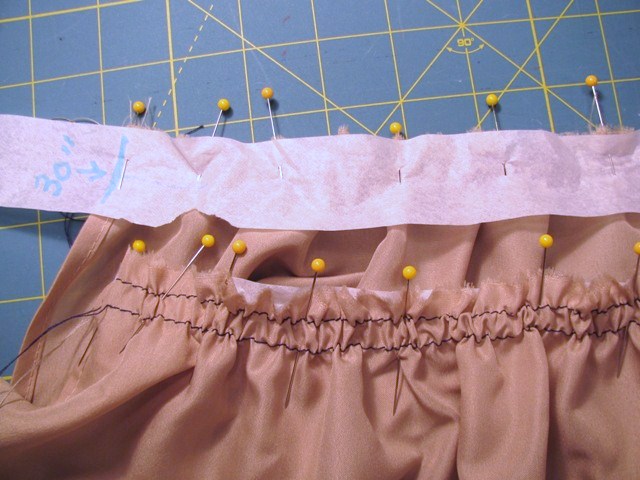
- Cut several 1 ½” wide strips of tissue paper. Tape enough strips together to equal the waist measurement.
- Pin the ends of the tissue strip to those of the lining top edge and then gather the lining to fit the length of the strip.
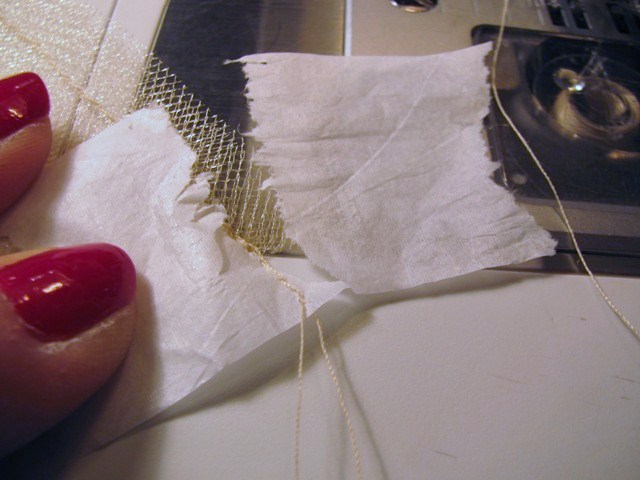
- Stitch the lining to the tissue strip sewing in between the two rows of gathering stitches. Tear away the tissue and then fold the waistline in half and mark the midpoint with a pin. Set the lining aside.
4. Cut the tulle.
- Using the waist measurement multiplied by 3, cut 2 (or 4) lengths of the tulle fabric.
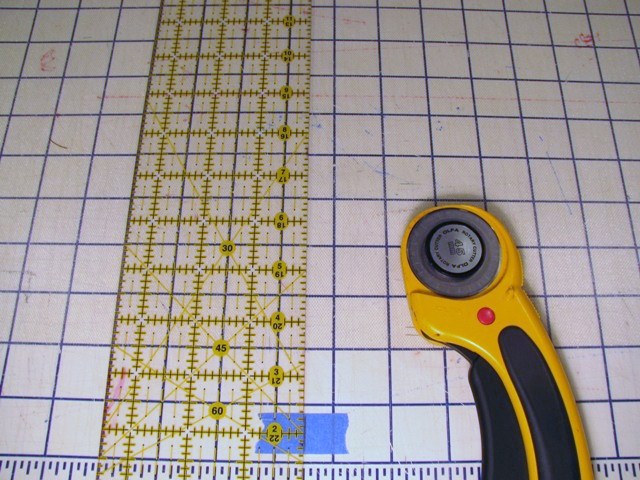
- Lay the layers on top of each other making sure edges are aligned. Hold down the tulle with cans or pattern weights and then cut down each length of the tulle to the desired skirt length.
Tailor-tip: A good see-thru ruler and very sharp rotary cutter will produce the cleanest cuts. A long, sharp dressmaker or serrated shears are your next best options.
5. Separate the layers.
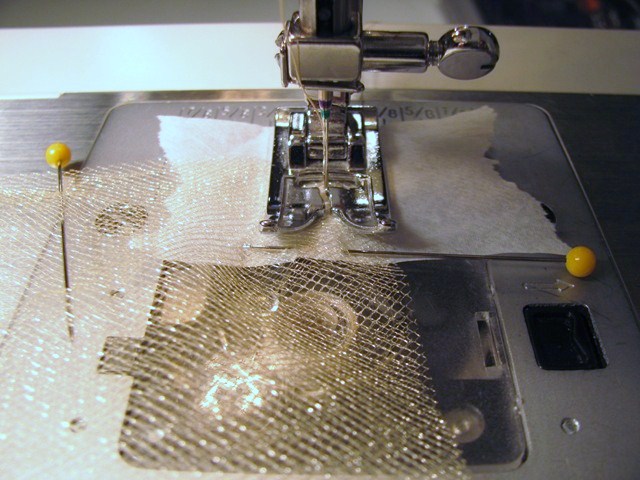
- Using the sewing machine set at a straight stitch and 3mm stitch length, stitch the short ends of each layer together (use ¼” seam allowances) to create the back seam leaving 6-7″ open at the top. This opening will allow you to slip the skirt on and off — just as you did with the lining. Complete all four layers this way.
6. Assemble the layers.
- Gather the four layers, aligning the top edges together and arranging the back seams so all are facing in the same direction, and align vertically.
- Pin the top edges together.
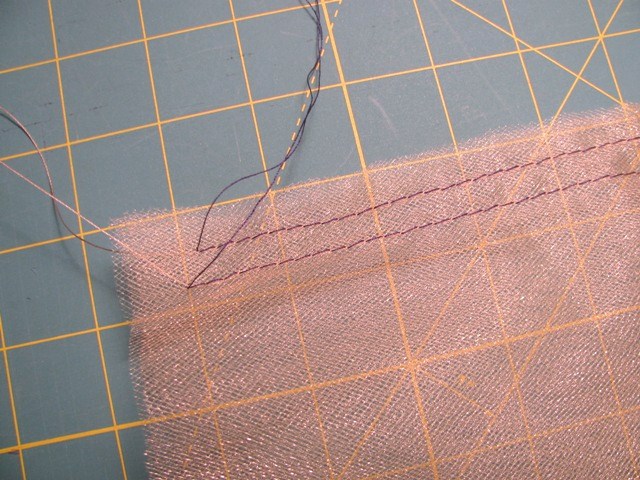
7. Stitch!
- Using the sewing machine set at the largest stitch length setting and using two different and contrasting colors of thread stitch two rows of gathering stitches along the entire length and through all four layers of tulle.
Tailor-tip: Because the length of tulle will be quite long, it is best to use a strong nylon thread when stitching the gathering rows. They are less likely to break and are easy to pull out when the skirt is finished so they will not be visible.
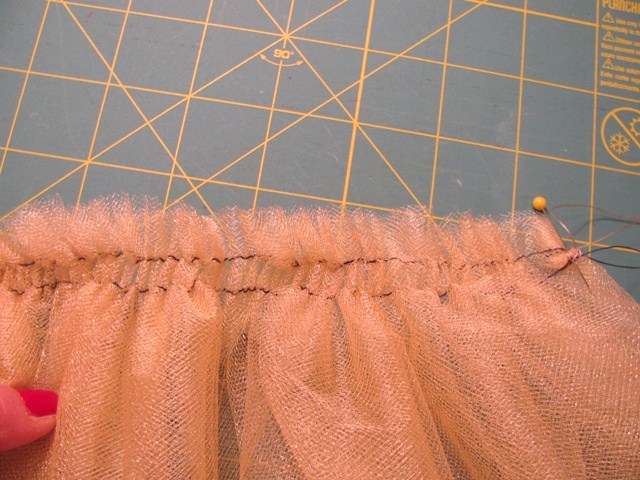
8. Mark and pin for the final fit.
- Fold the length in half and mark the midpoint of the top of the tulle layers with a pin.
- Pin the tulle layers to the lining matching the back seams together and the midpoint of the lining to the tulle. The wrong side of the tulle should be facing the right side of the lining (lining seams will be on the underside of the skirt). Gather the tulle to fit the waist measurement of the lining. Pin securely in place.
 9. Get rid of the gathering.
- With the stitch length set to 3mm stitch the tulle to the lining sewing in between the two rows of gathering stitches. Remove all the gathering stitches.
10. Make the finishing touches!
- Trim the seam down to approx. ½”.
- Cut a length of ribbon that is equal to the waist measurement plus 2 x 24″ for the ties.
- Fold the center portion of the ribbon in half – enough to equal the waist measurement – and press in a crease. Center the ribbon onto the gathered tulle and pin in place.
- Stitch the ribbon onto the tulle
Share tips, start a discussion or ask one of our experts or other students a question.
No Responses to “Perfect Party Outfits: Sewing a Tulle Skirt”