
Dainty butterflies adorning cakes, cupcakes and cookies is always a popular request. They’re perfect for spring designs! While it’s easier and quicker to reach for the infamous plunger cutter to create butterflies, you can add a little something extra by piping them in royal icing. Follow our easy royal icing butterflies tutorial to find out how!
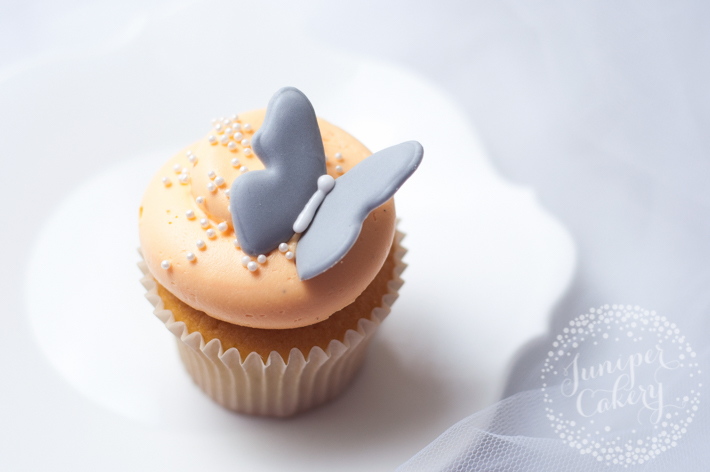
Follow this royal icing butterflies tutorial to make butterflies that’ll almost flutter off of your cakes!

What you need:
- Piping-consistency royal icing
- Flooding-consistency royal icing
- Piping bags
- Small, seamless round piping tip (we used a PME Seamless Supatube 1.5)
- Parchment paper
- Food-safe cardboard folded into a series of V shapes
- Printed butterflies template
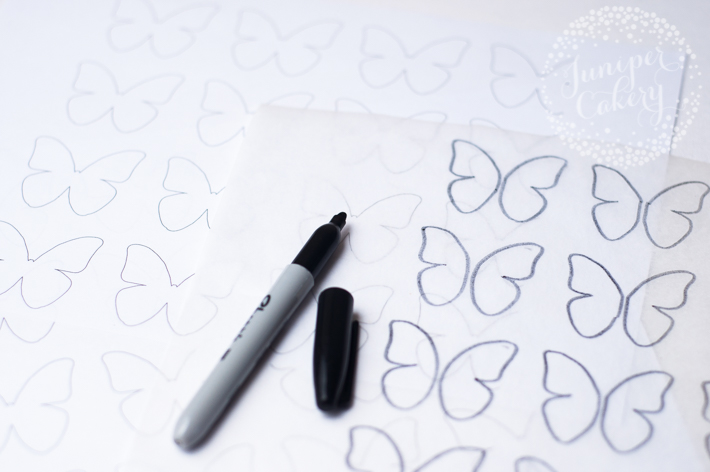
Step 1:
Place your butterfly template under a sheet of parchment paper or a silicone mat. We used a silicone sheet that we generally use for baking our cookies.
If you’re piping straight onto parchment paper, you may find that your paper moves around, which causes you to stop and re-align your outlines. If that’s the case, staple the top of the template to your parchment paper. When finished, just snip off the staples and separate. You can also pipe small dots of royal icing along an edge between the two papers.
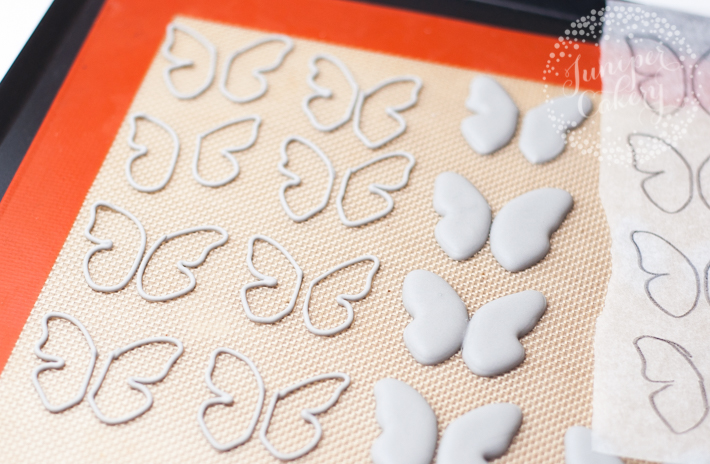
Step 2:
With a piping bag filled with piping-consistency royal icing and fitted with your small round tip, carefully pipe the outline of the butterfly wings. Remember not to include the body!
Step 3:
Fill each wing with royal icing in flooding consistency. At this stage, you can also pipe out medium-thick filigree-style designs inside of the wings. You can also pipe in different colors of icing for patterned wings!
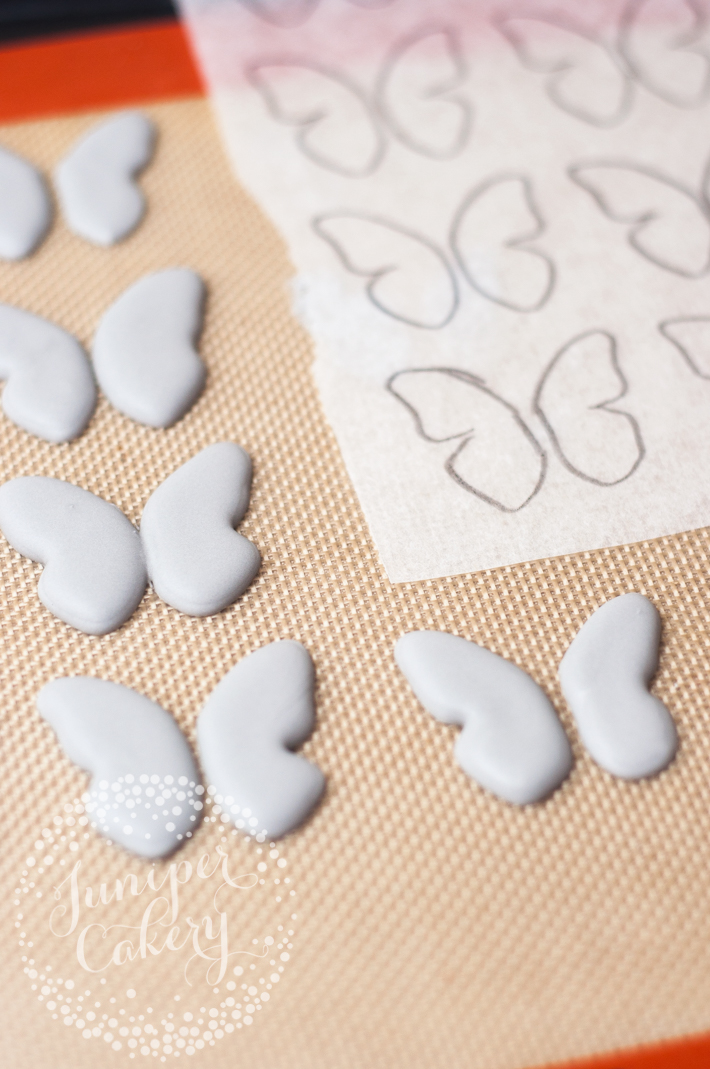
Step 4:
Once set, carefully peel each wing off the paper. It can help to carefully roll the paper off the edge of a countertop instead of pulling on the wings. Also, it may help to ease a small tapered palette knife under each butterfly.
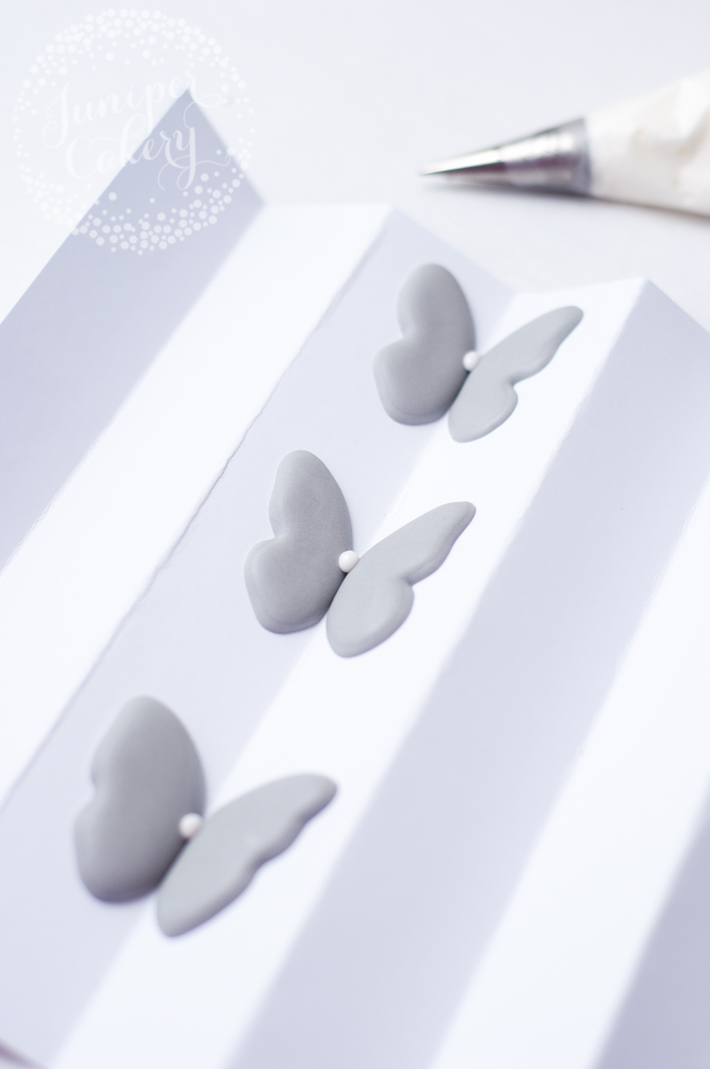
Step 5:
On your folded cardboard, arrange rows of wings along the V-shaped folds. (You can also put folded pieces of parchment paper over the cardboard so that the butterflies are on a non-stick surface.)
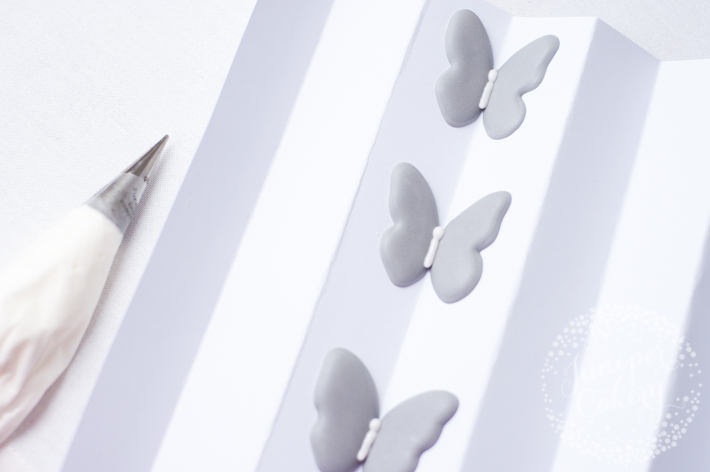
Step 6:
With your piping bag, pipe the butterfly bodies between the two wings so it attaches to both wings. Leave to set.
Royal icing butterflies can be incredibly delicate to handle, so do remember to be very gentle handling each wing or full butterfly.
Storing royal icing butterflies
It’s best to create these a day or two before you need them and to store them in a clean and cool environment. We store ours on cake dummies padded with foil to help support the wings. Then we put them inside an unused cardboard box in a dark cupboard away from the kitchen area. Any moisture in the air from weather or baking may cause your butterflies to soften.
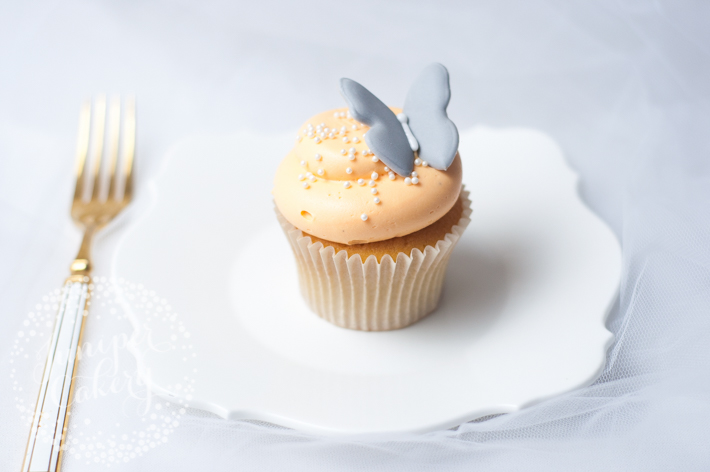
How to decorate with butterflies
Pretty royal icing butterflies are wonderful additions for soft spring and summer cakes: Nestle one or two inside a bouquet of sugar roses, or perch one on the nose of a gum paste teddy bear cupcake topper! Once they’re fully set, you can even add intricate hand-painted designs using edible paint.
Share tips, start a discussion or ask one of our experts or other students a question.
No Responses to “Flights of Fancy: How to Make Royal Icing Butterflies”