Ready, set, resin! The coolest jewelry is the kind you make yourself — especially when it's this fast and easy. Let's go!
Resin Jewelry
Level: Easy
Acetate Terrazzo Bracelet
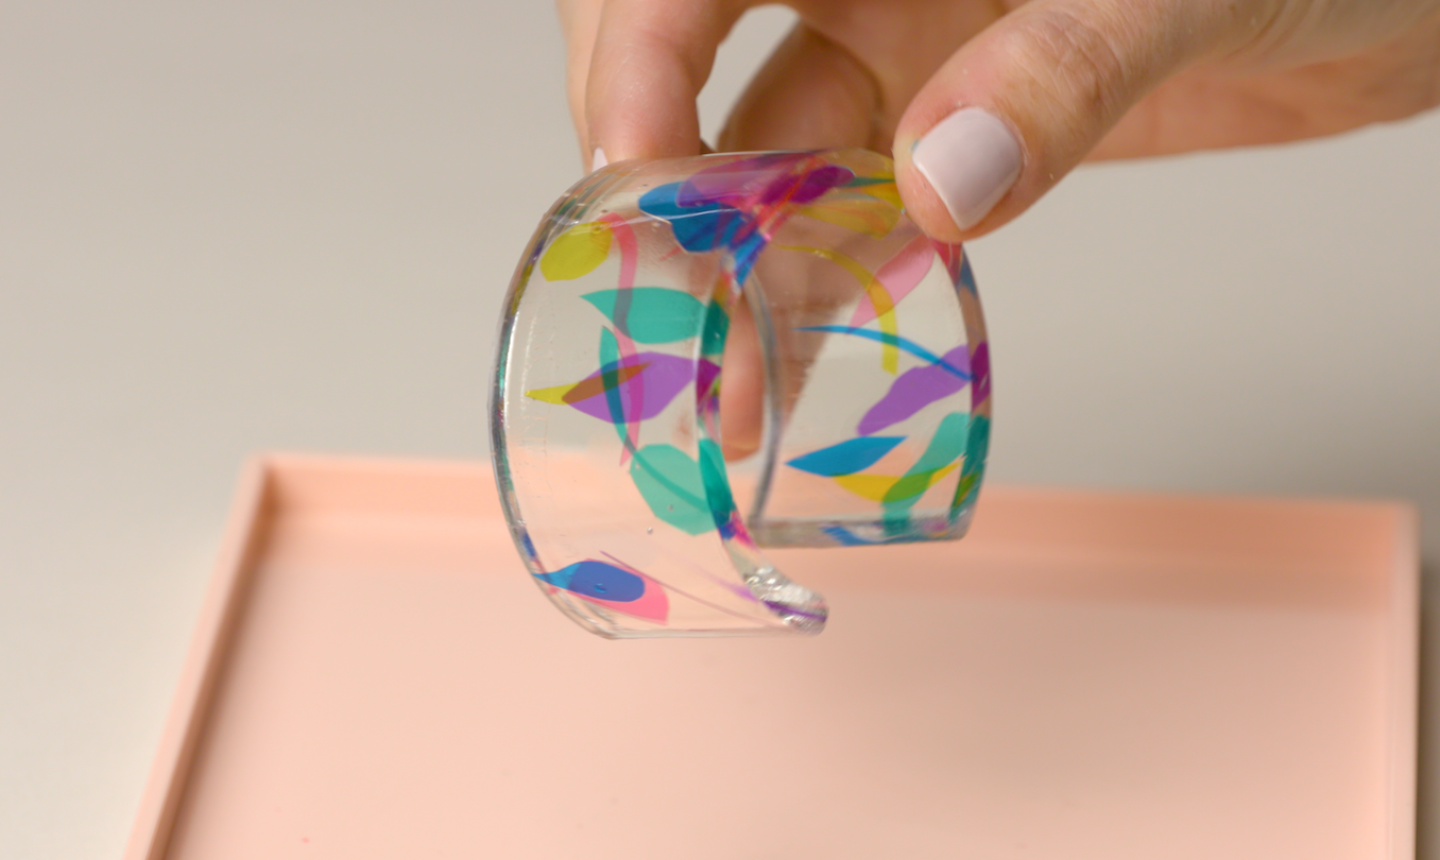
What You Need
Instructions
1. Cut Up the Paper
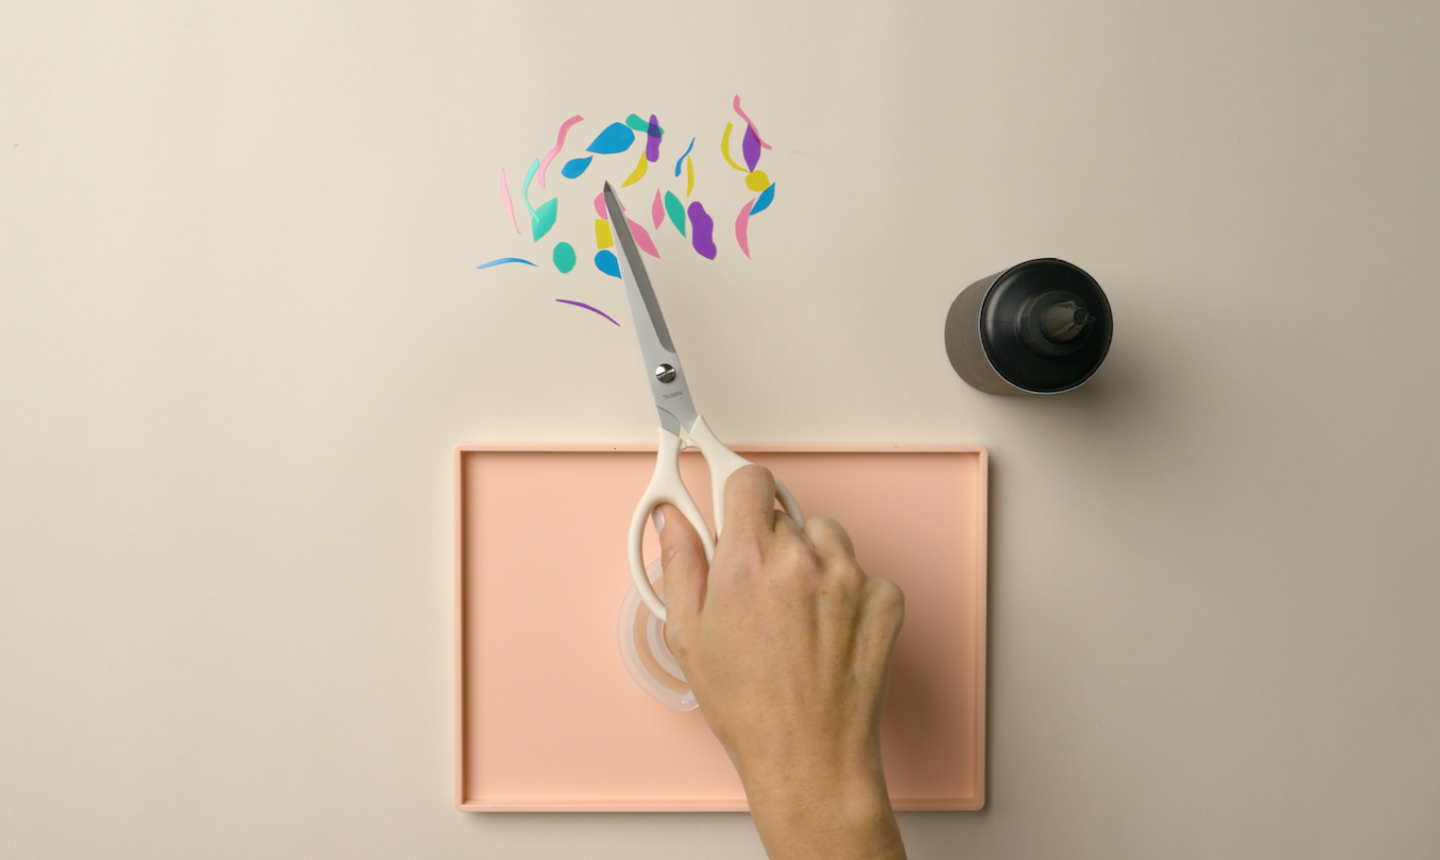
Cut the acetate paper into small pieces. Play around with different shapes and have fun!
2. Pour the Resin
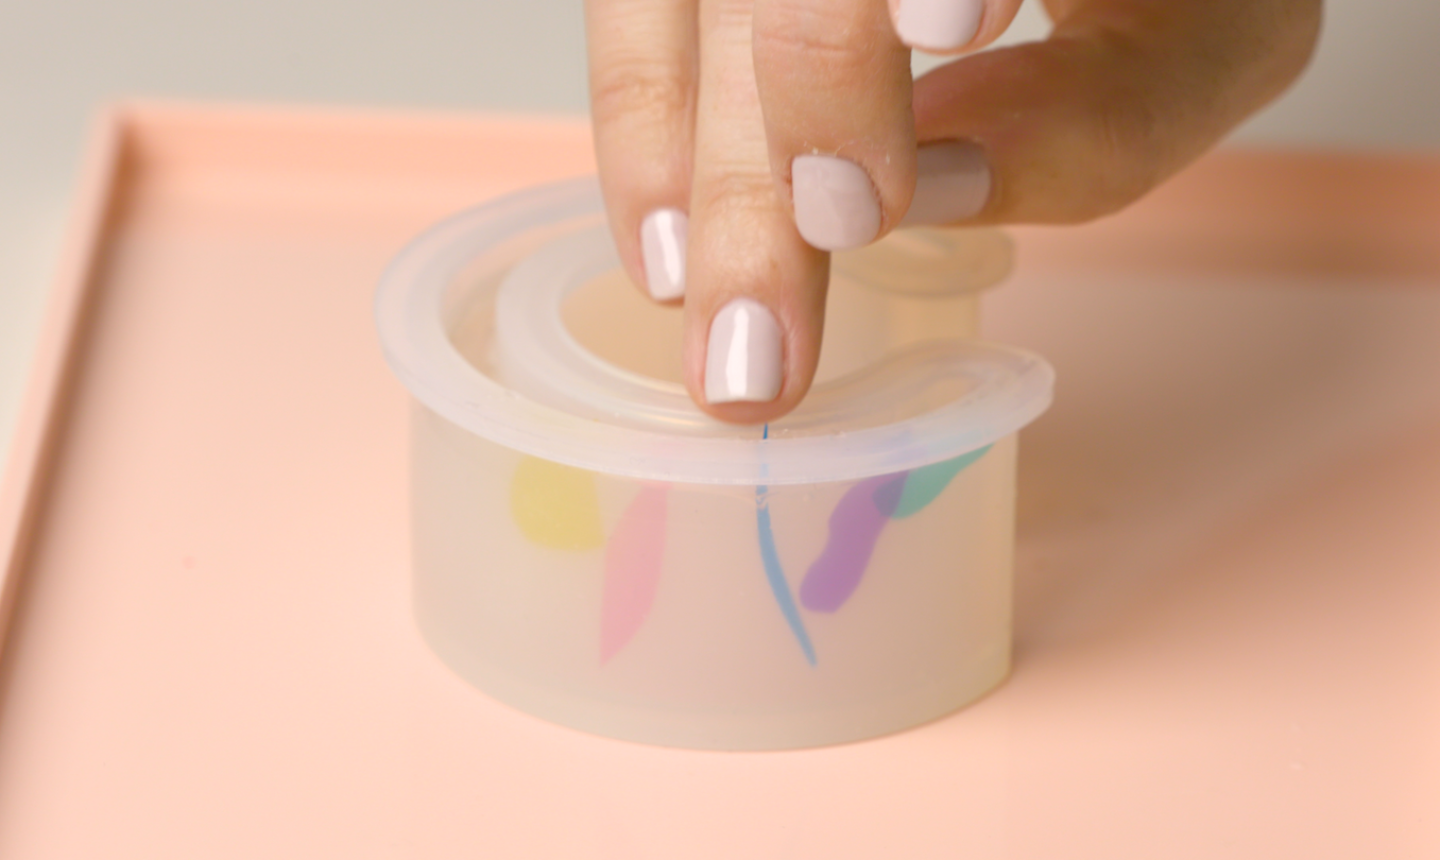
Fill the cuff mold with UV resin and slip the acetate paper inside. Top with a bit more resin to make sure none of the paper is sticking out.
3. Dry
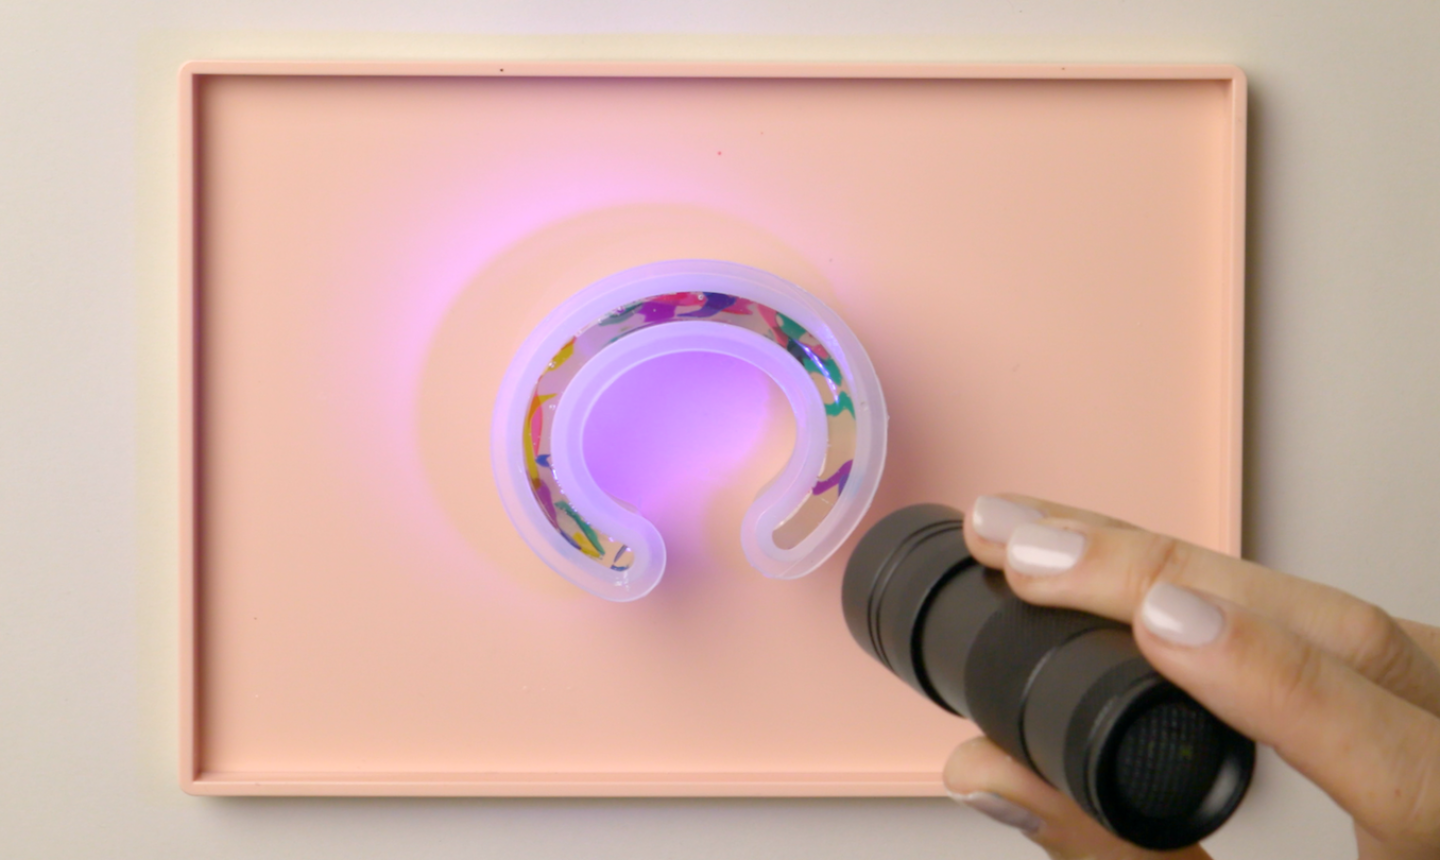
Shine the UV light above the cuff mold for 3 to 5 minutes to dry the resin. Then just pop the bracelet out of the mold and slide it around your wrist!
Marble Ring with Nail Polish
What You Need
Instructions
1. Pour
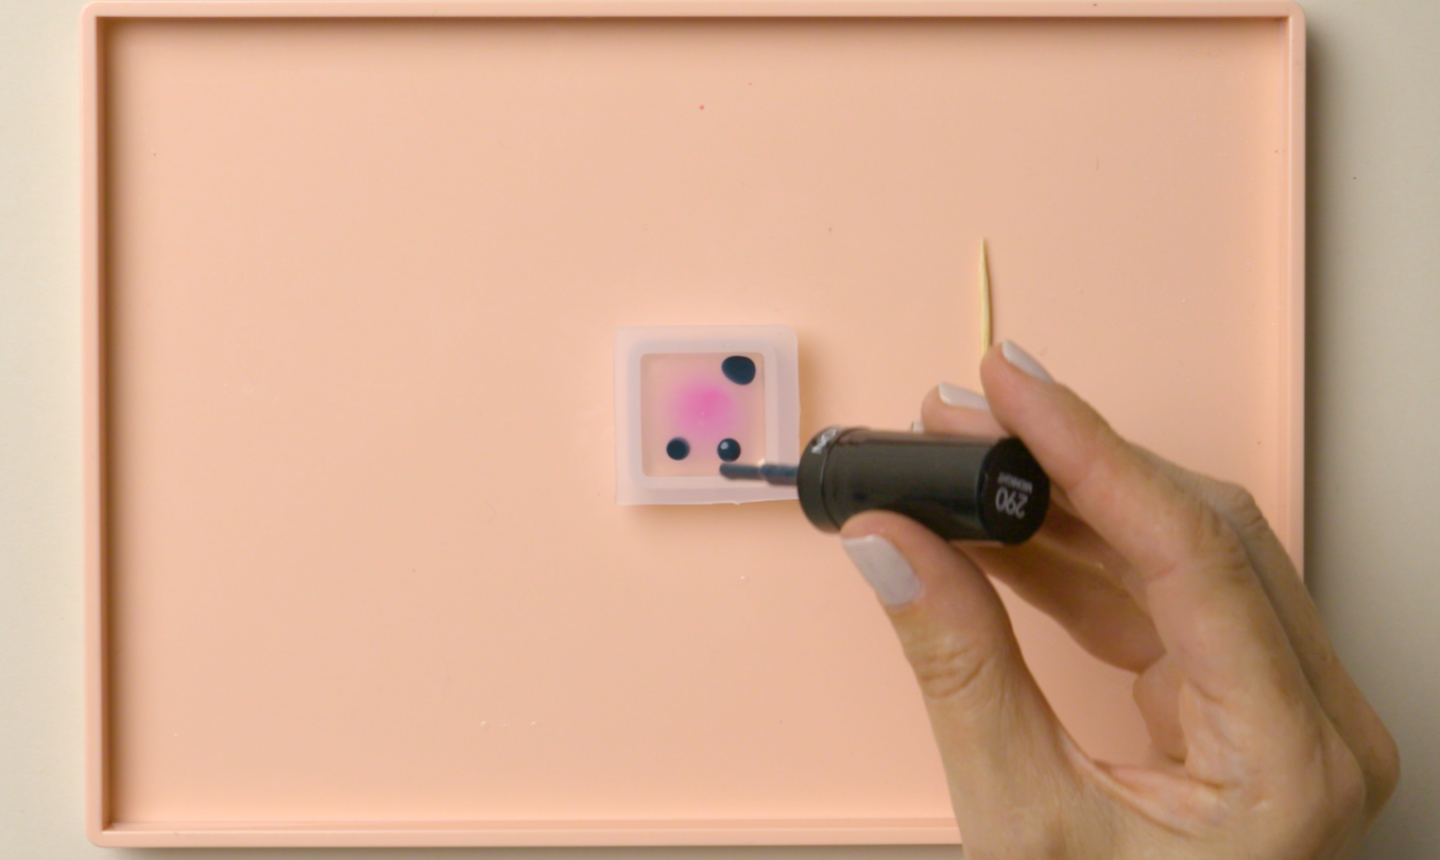
Fill the silicone mold with UV resin and add a couple drops of your fave nail polish on top.
2. Marble
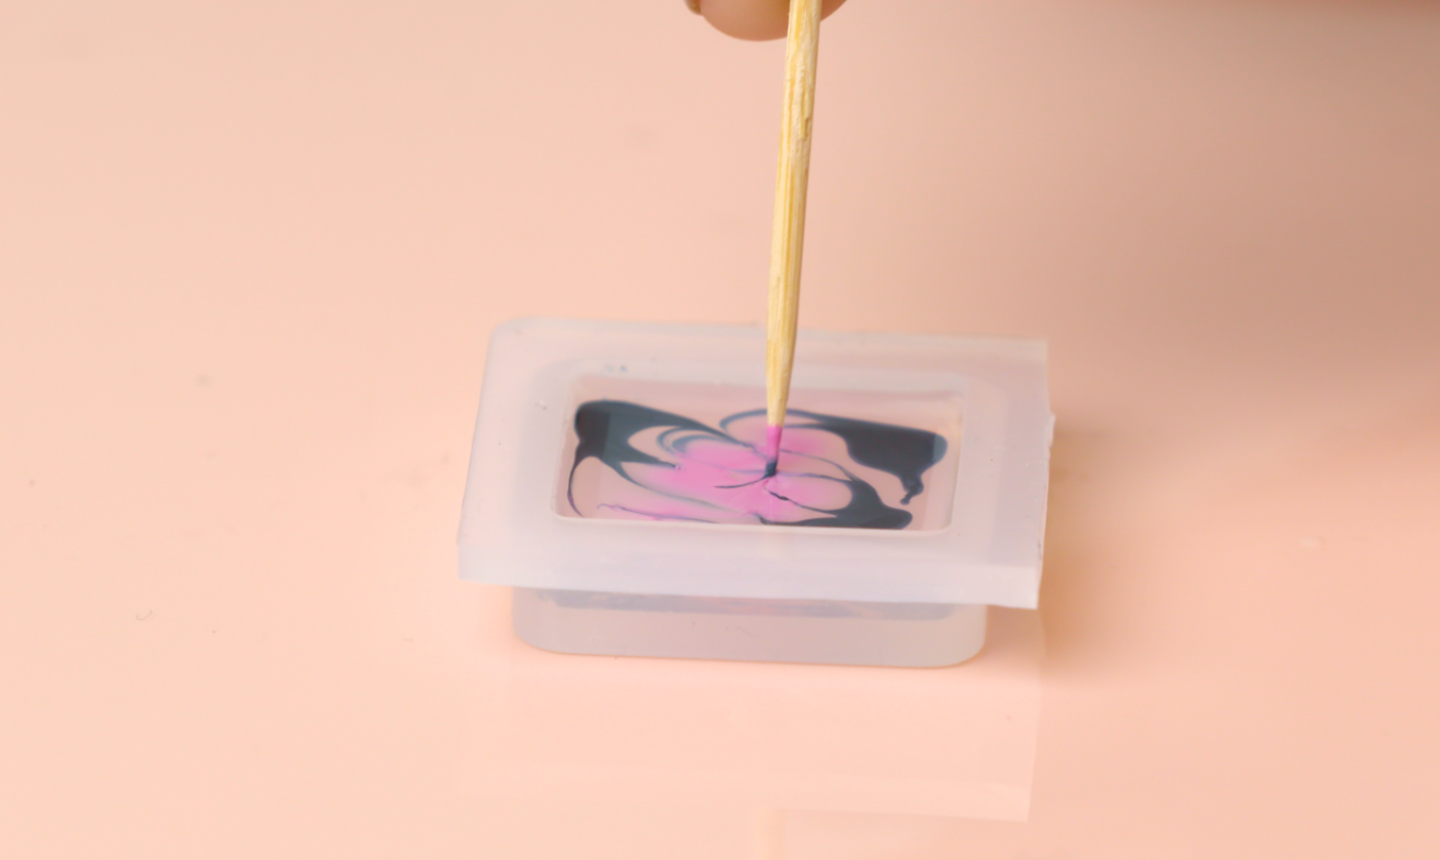
Use a toothpick to swirl the colors around and create a marbled effect. Shine the UV light onto the mold for 2 to 3 minutes. Add another layer of resin and again shine the UV light for 2 to 3 minutes to dry.
3. Attach the Ring
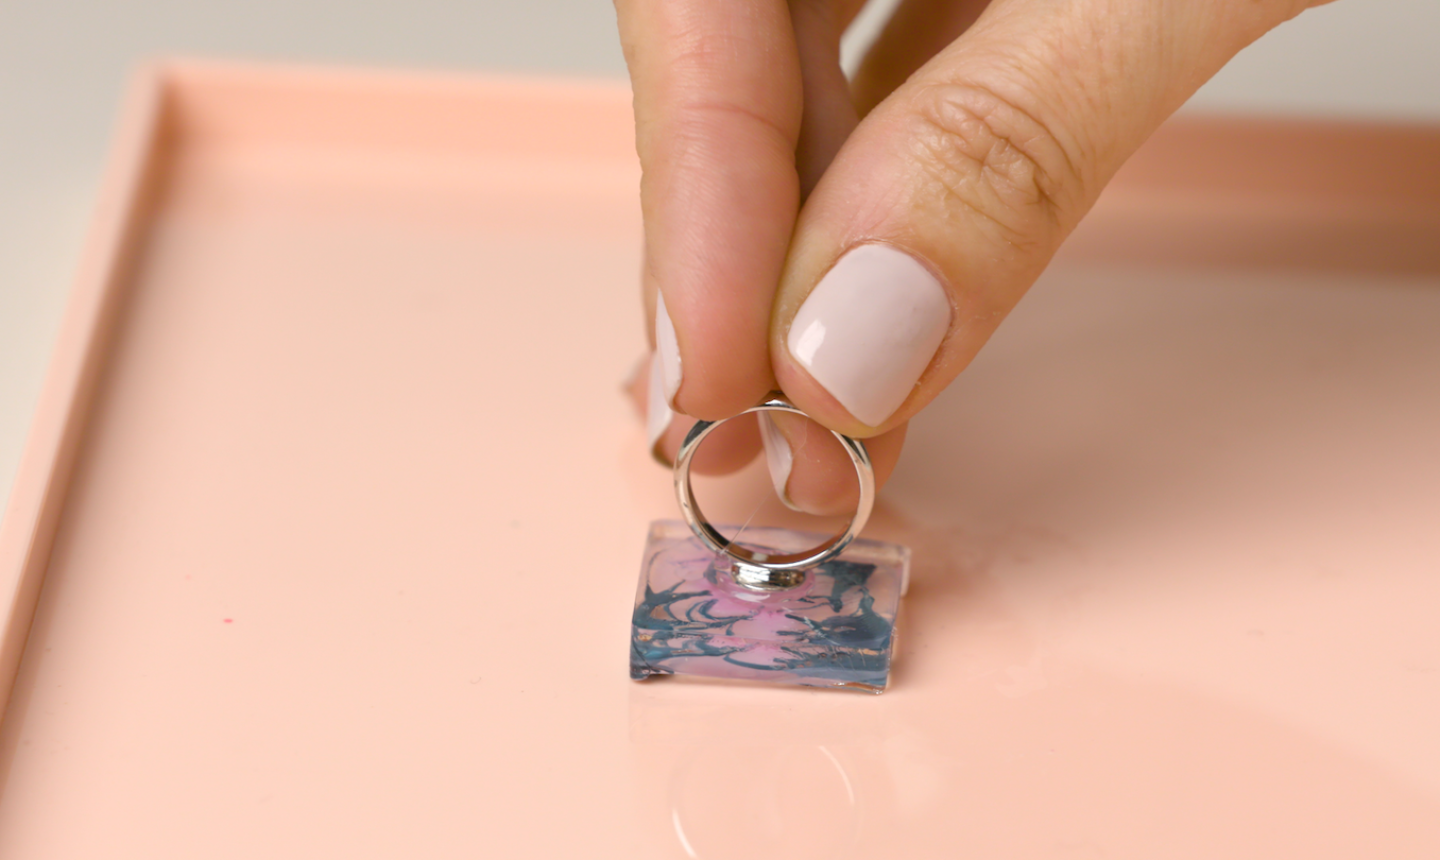
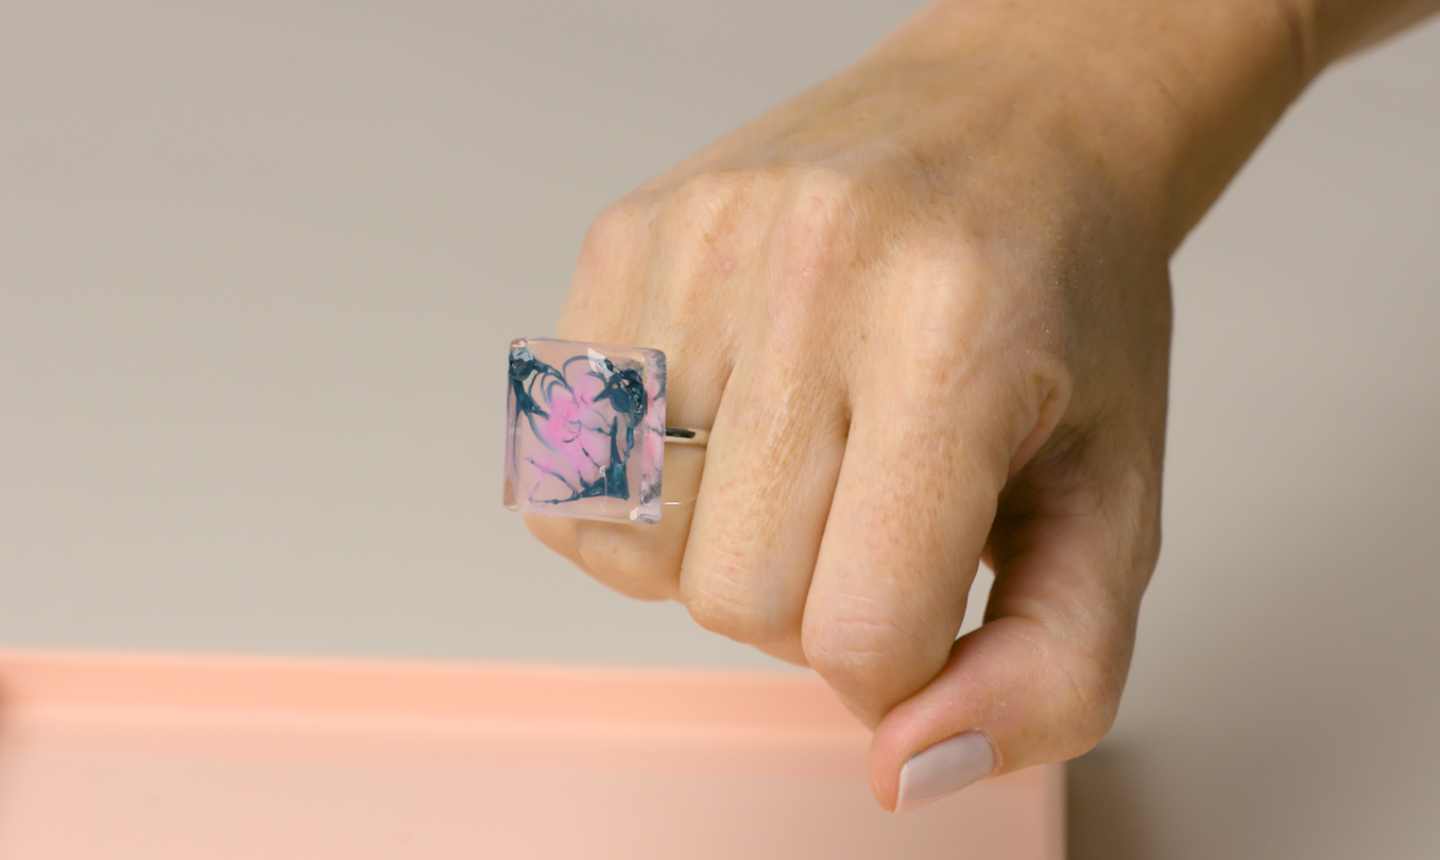
Pop the design from the mold. Use super glue to attach a ring to the back of the square and let it dry. Voila — you’ve got a new statement ring.
Wooden Teardrop Pendant
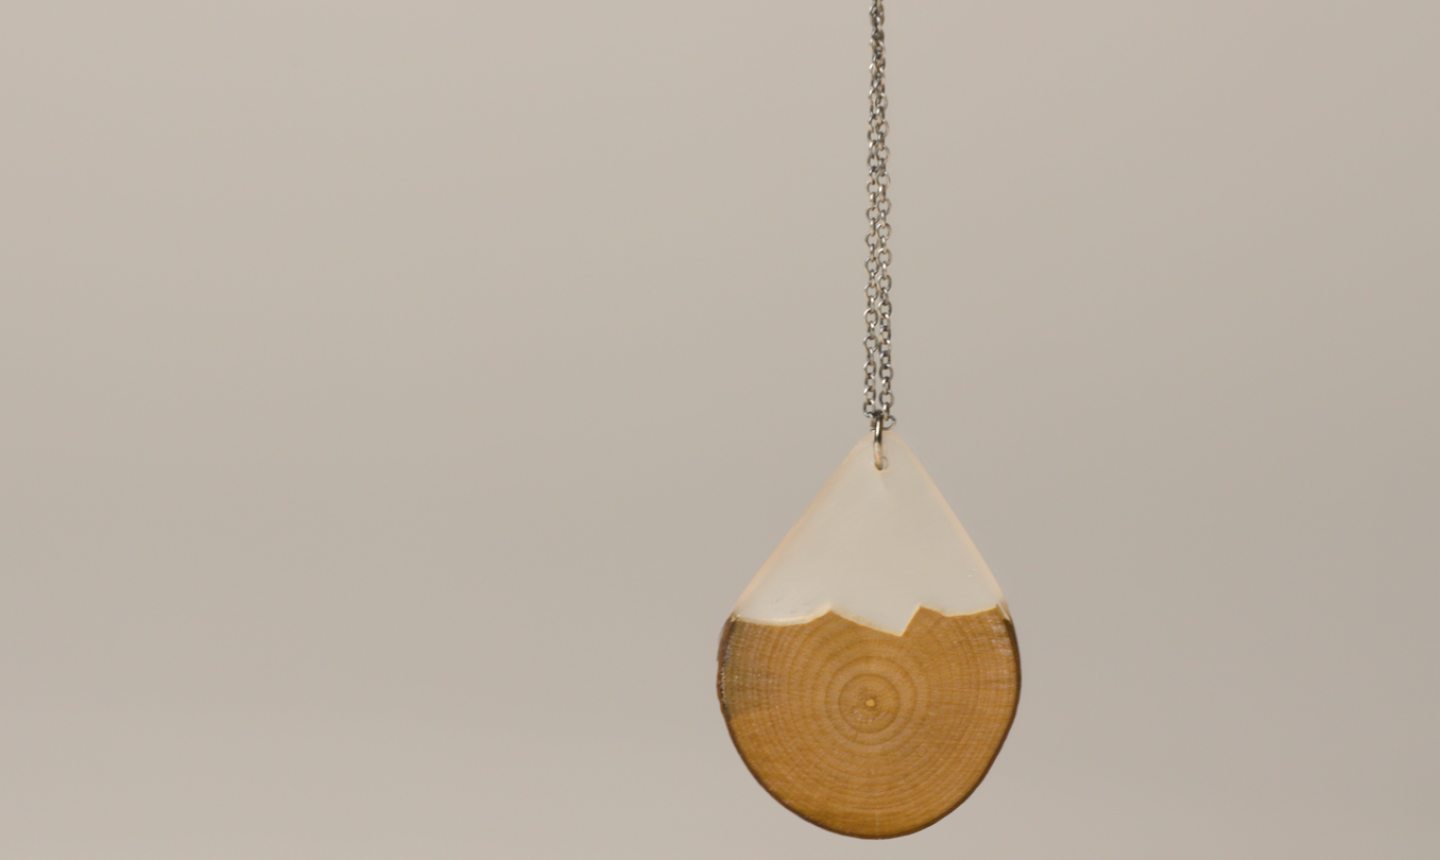
What You Need
Instructions
1. Snap the Disc
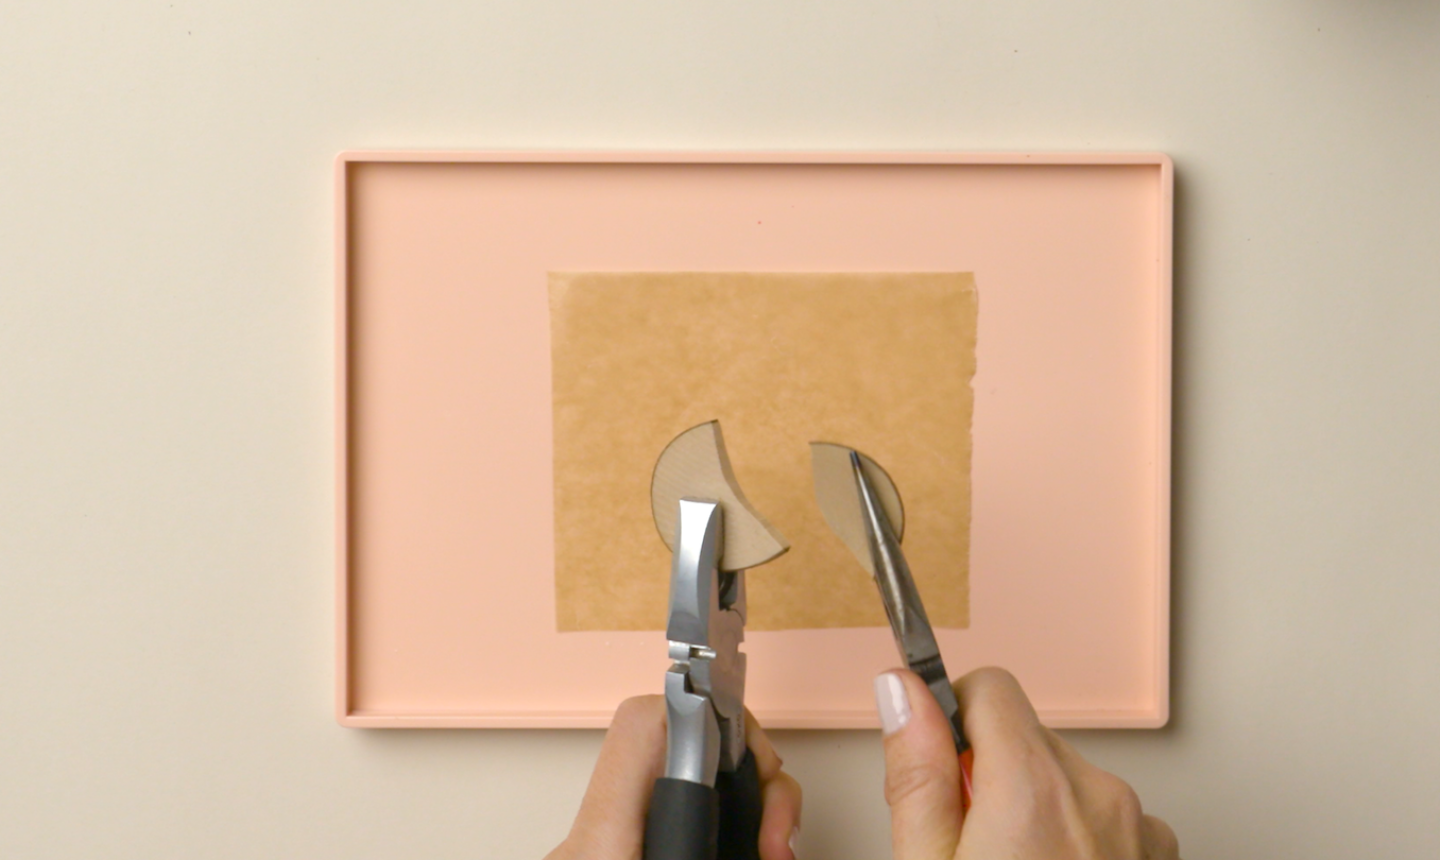
Hold a thin, small wooden disc with pliers. Snap it roughly in half.
2. Make the Pendant Top
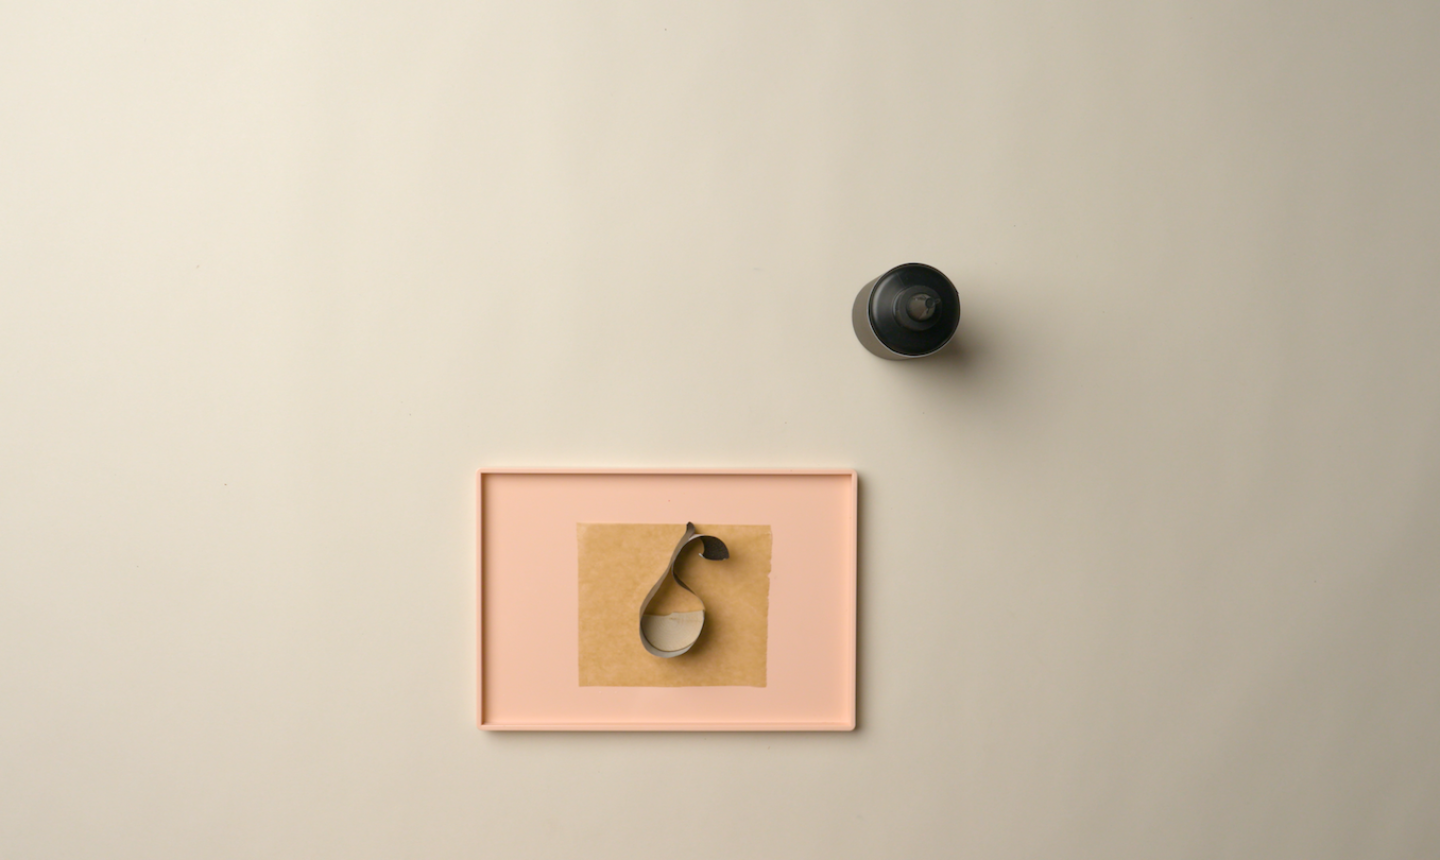
Wrap masking tape around the wood as shown, forming a tear drop of empty space at the top.
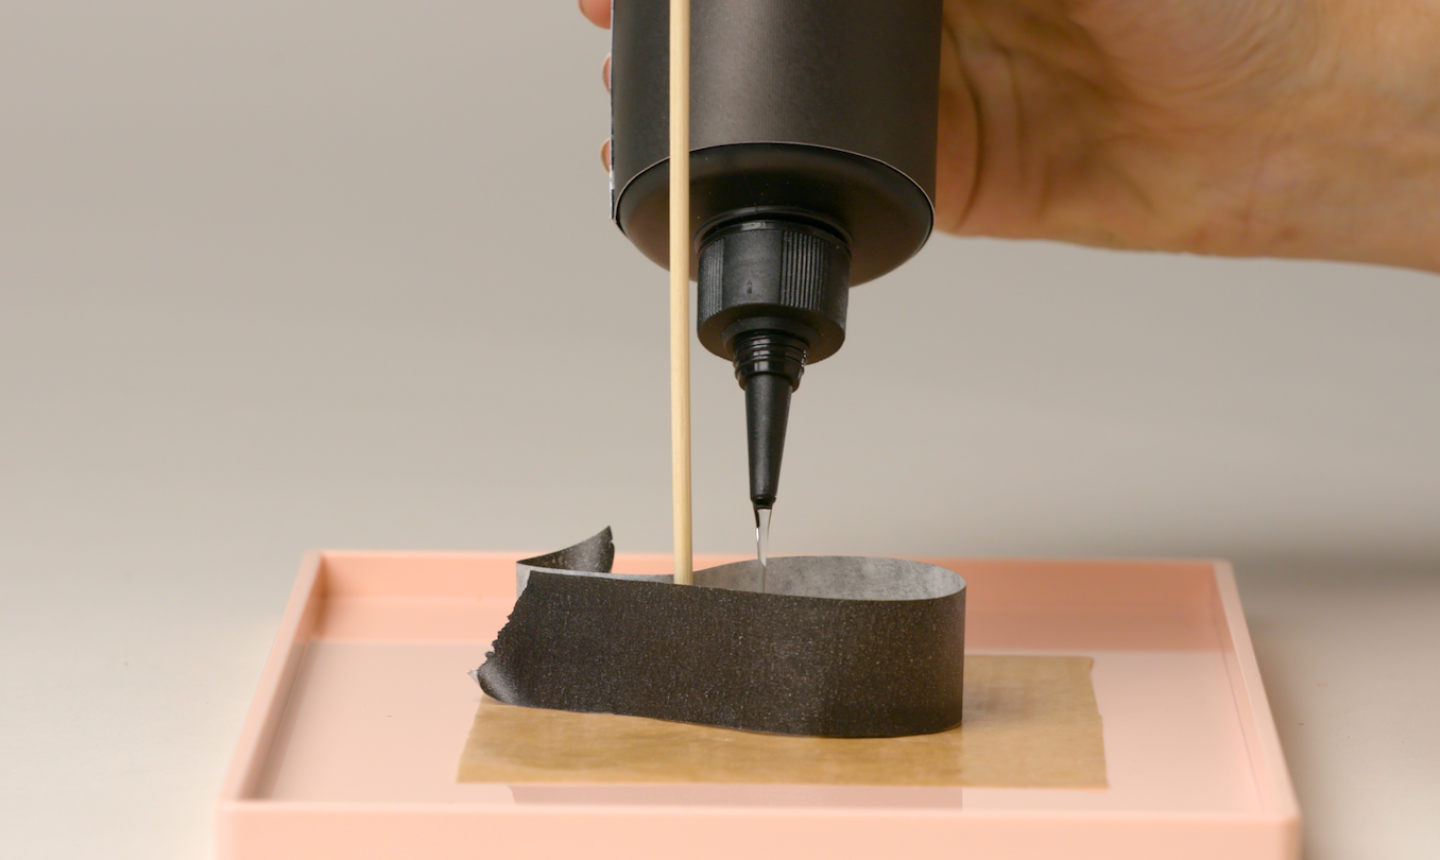
Place the wood onto wax paper and hold a skewer vertically inside and toward the top of the tear drop. This will help form the hole where you'll attach a chain.
Pour resin into the empty space between the tape and wood. Shine the UV light for 2 to 3 minutes to dry the resin.
3. Shape
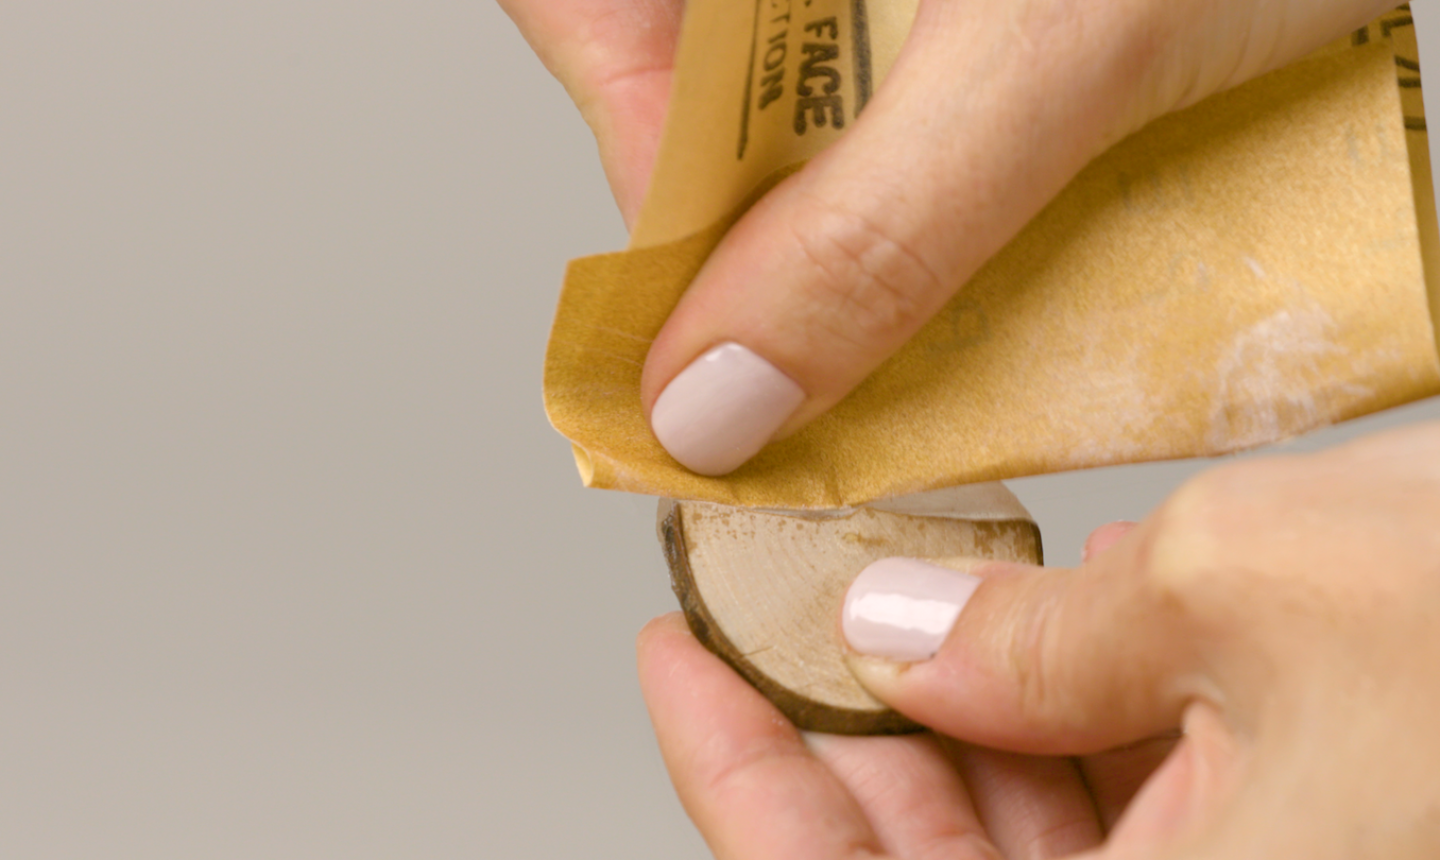
Remove the skewer and peel back the tape. If the resin seeped below the tape, just pull it off. Sand the sides to smooth it into the perf teardrop shape.
4. Add the Chain
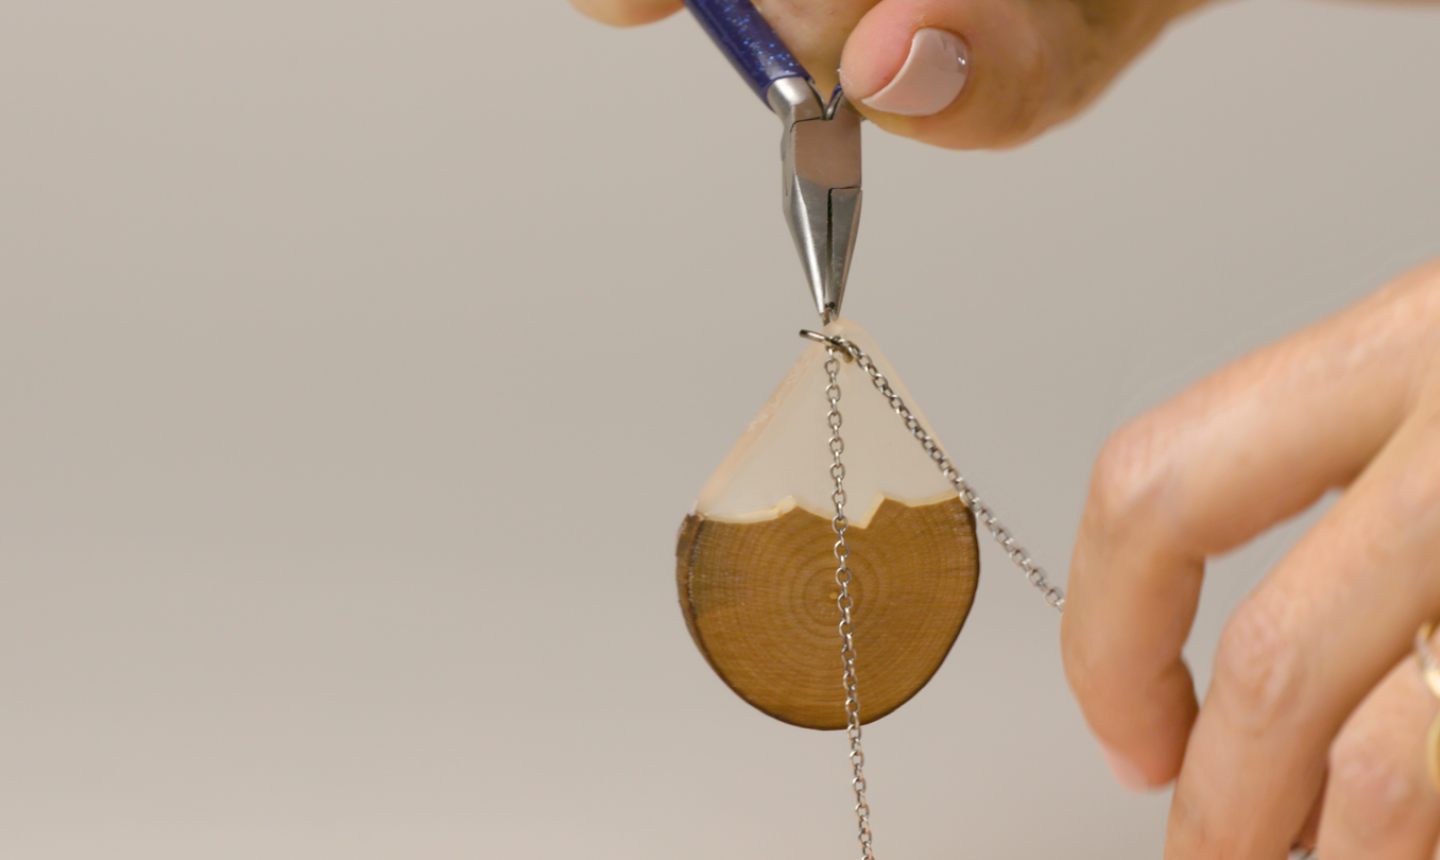
Use pliers to secure the chain through the skewer hole. Now you can wear it!
Acetate Sprinkle Earrings
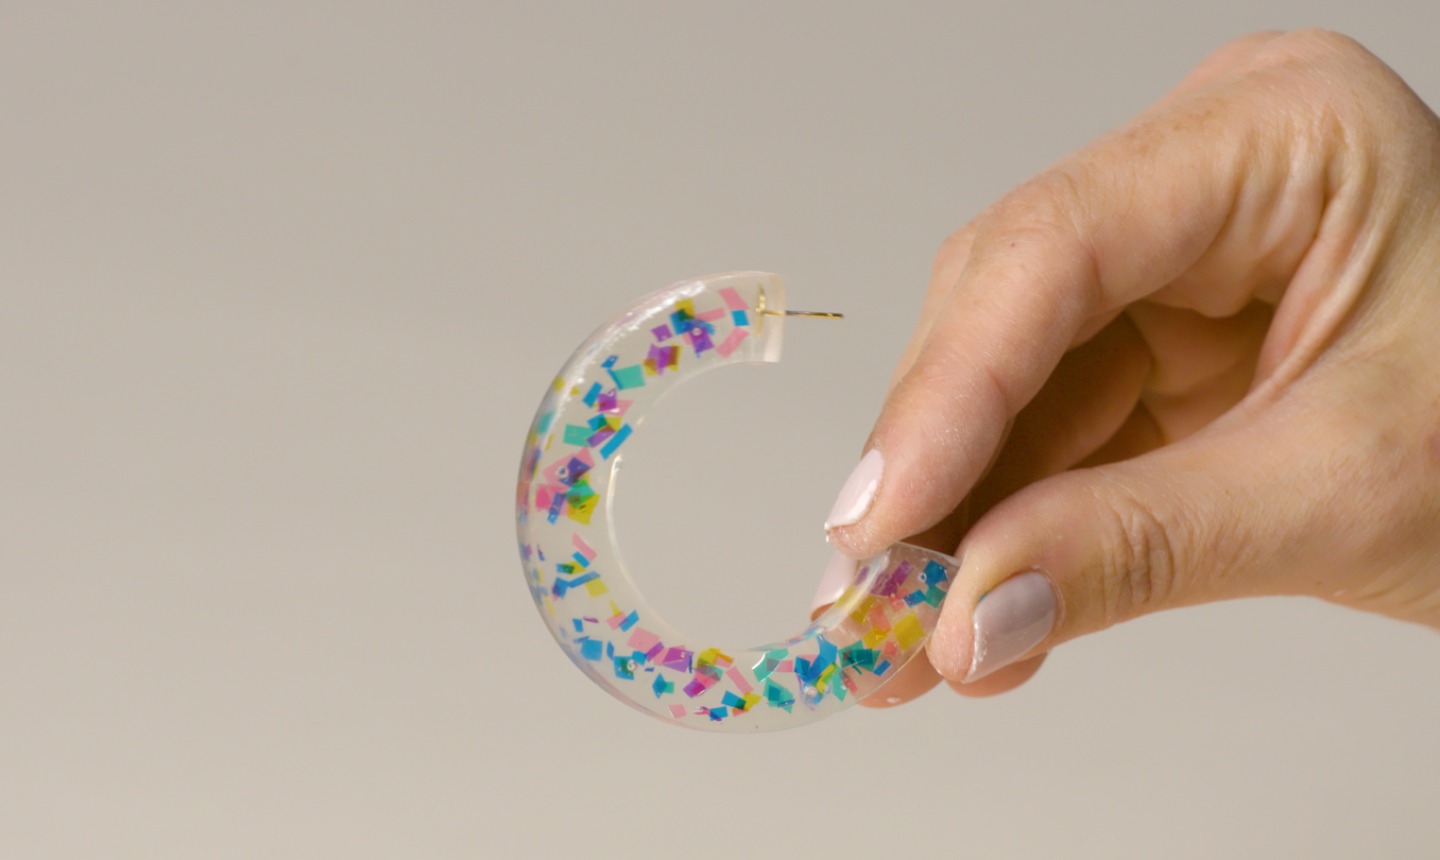
What You Need
Instructions
1. Prep
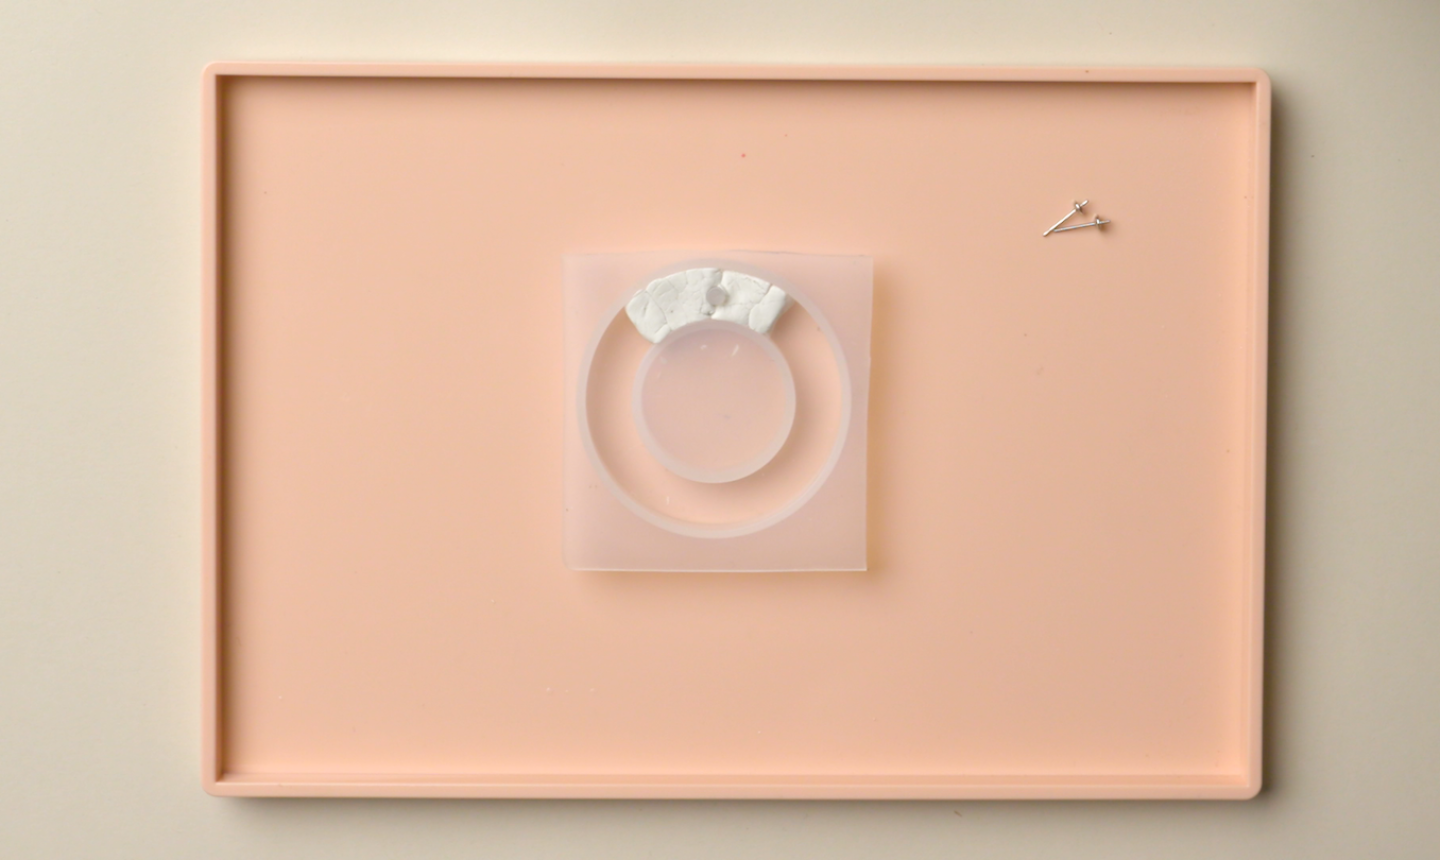
Cut the acetate paper into little bitty pieces — it should look like confetti when you’re done! Then add air dry clay to the donut mold. The empty space will be the size of your hoop earrings, so adjust to the size you want by adding more clay.
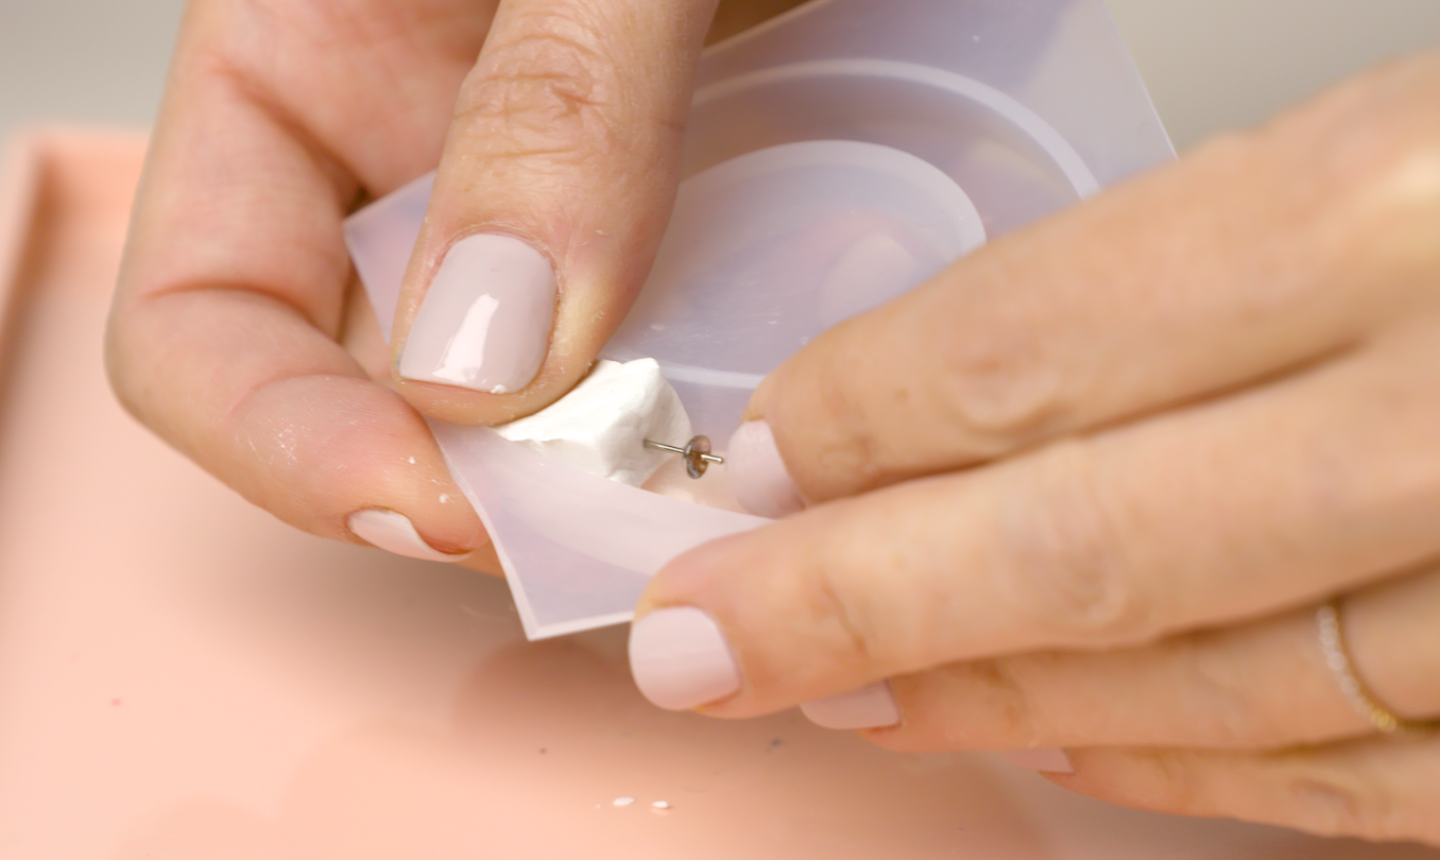
Push an earring post into one side of the clay. The shorter side should be sticking out, so the longer side is embedded into the clay.
2. Pour
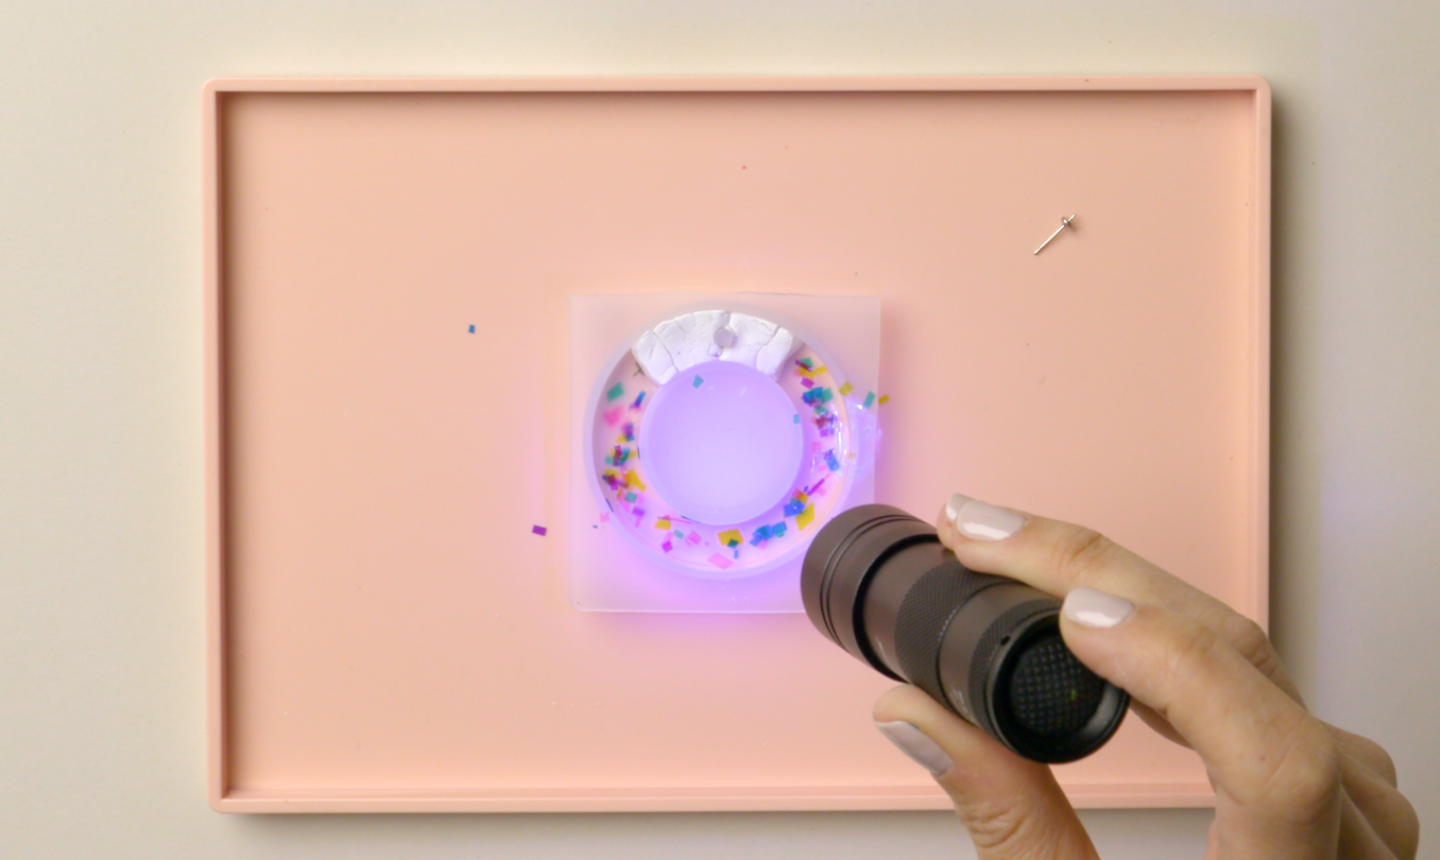
Pour the resin into the donut mold and sprinkle the acetate paper pieces on top. Seal it with another layer of resin and shine the UV light for 2 to 3 minutes until dry.
3. Finish It Up
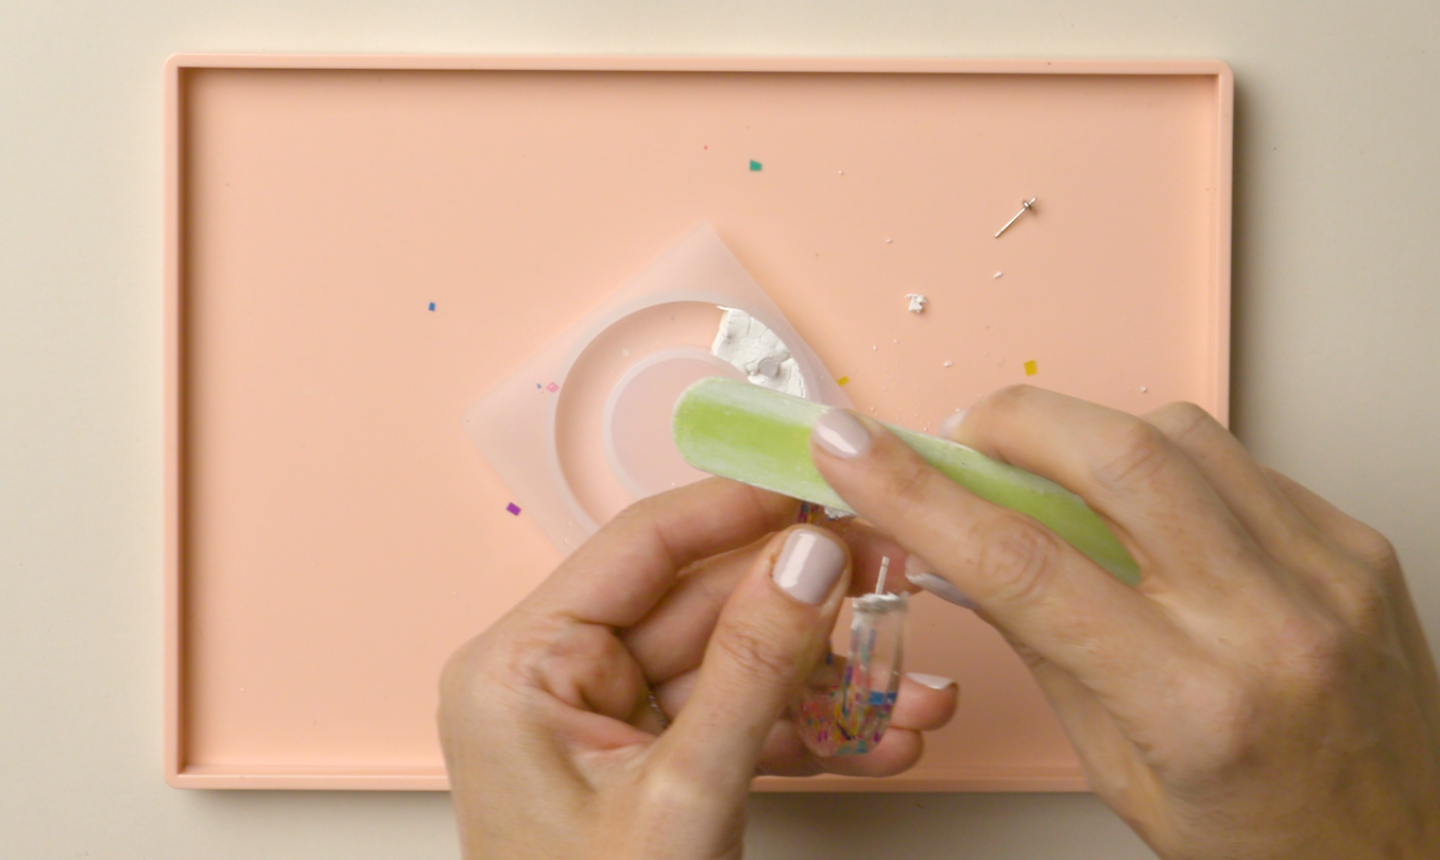
Pop the earring out of the mold and remove the clay. Use a nail file to sand away any clay residue.
4. Repeat
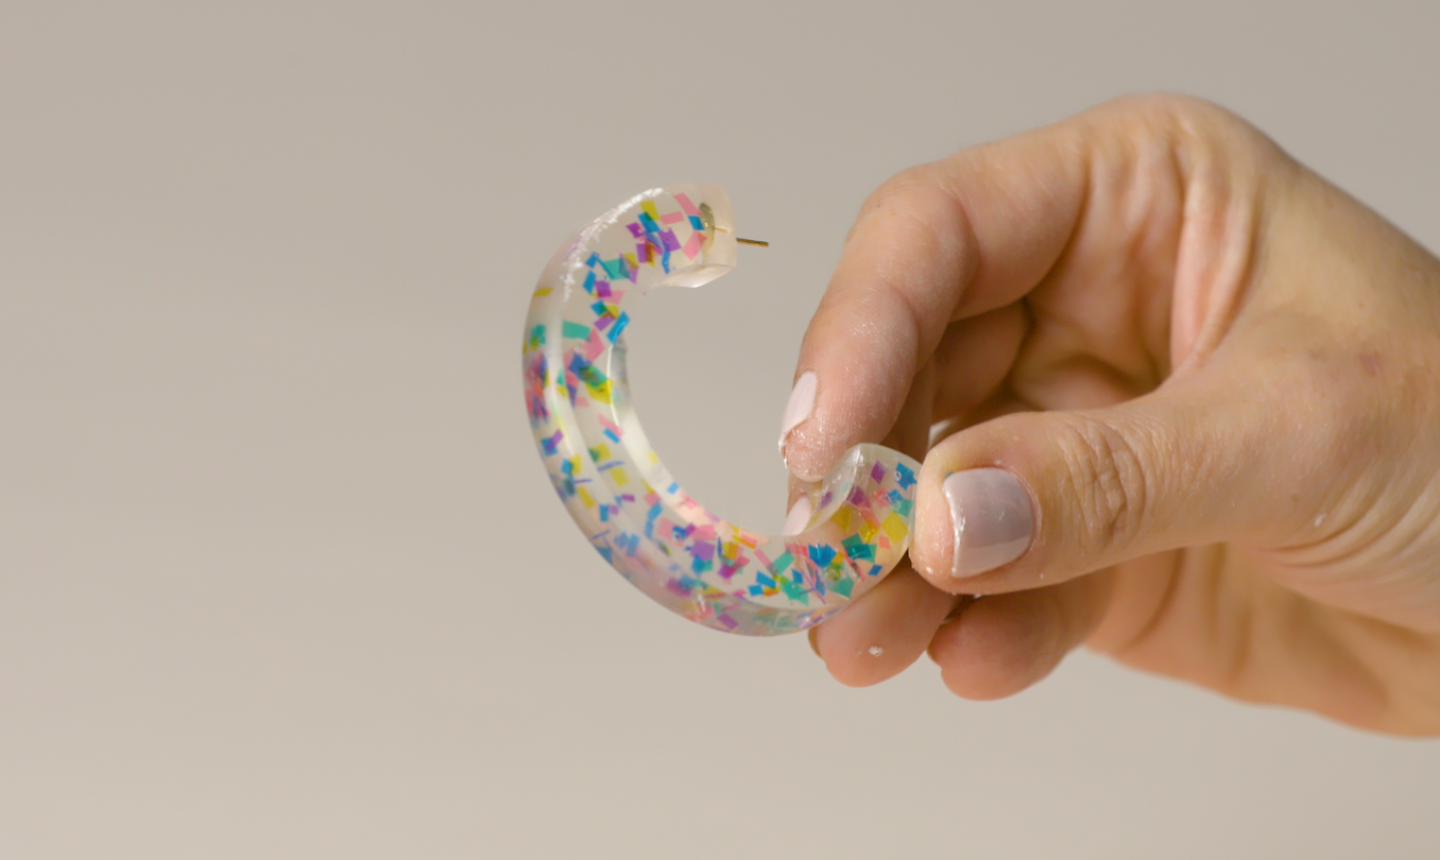
Repeat these steps for the second earring, slide on the backs and you’re done!

All the stuff you need are at Amazon. EVERYTHING IS AMAZON..
Question: in the ring project, is the nail polish regular polish or the UV gel type? You don't mention that the polish needs to harden before pouring in more resin so I'm going to assume it is UV Gel Polish. Would be good to edit the items needed to indicate this. Love that ring by the way! The possibilities are endless!
Loving the earrings but impossible to find the same type or earring posts. Where can we get them?
great. what is the best uv resin to use?
It's so cool, I love the idea of using the nail polish to get a marbled look in UV resin.