Paper quilling is insanely cool, but if you're a beginner the learning curve can be steep. Luckily, knowing a few key tips and hacks makes all the difference. You got this!
1. Use Colorful Backgrounds
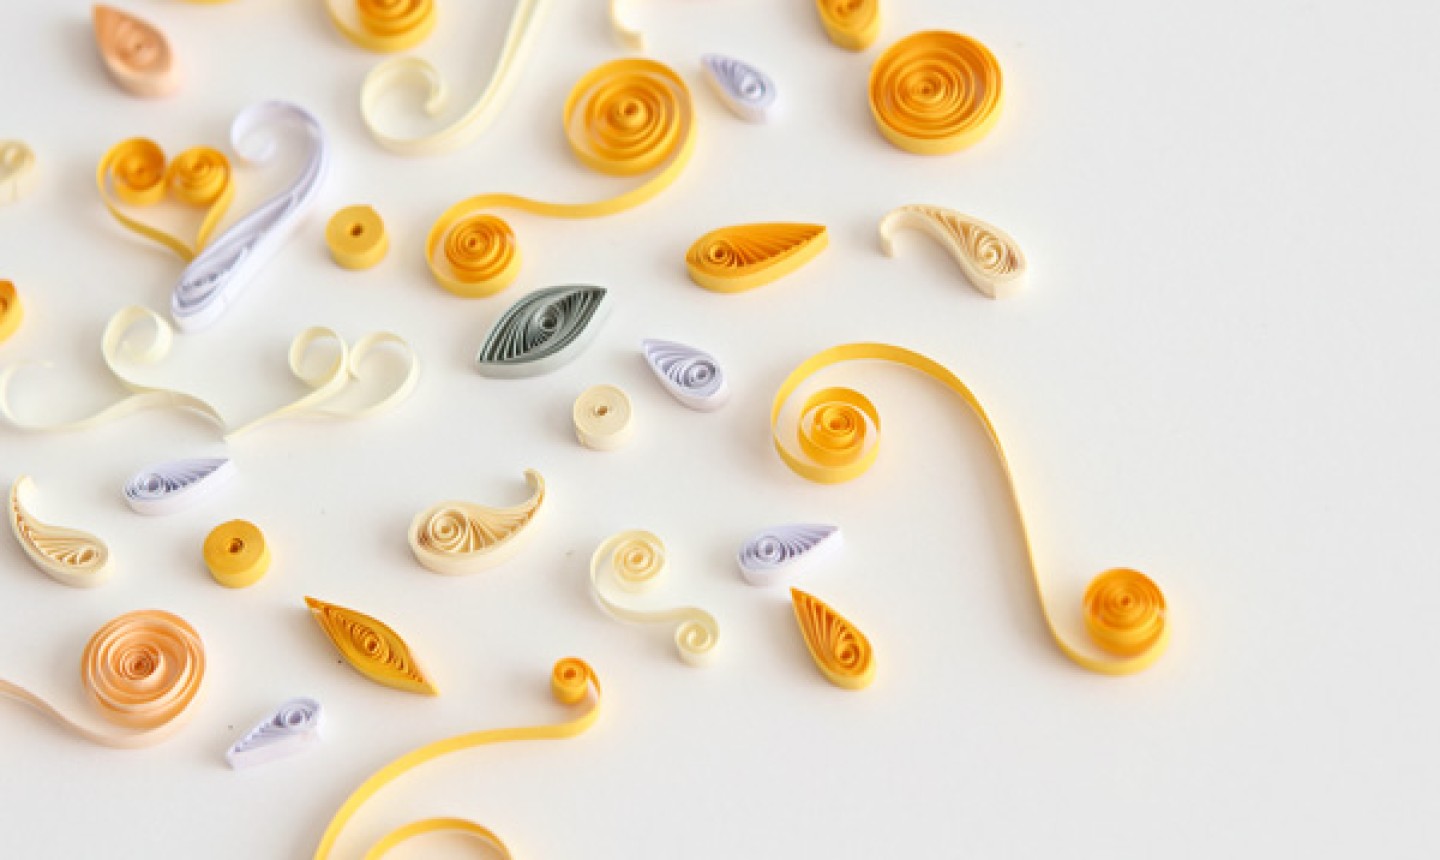
A stark white background can be distracting and call attention to every little imperfection, whereas a colored background offers slightly less contrast to your quilled shapes and is much more forgiving. It'll help viewers see exactly what you want them to focus on — the overall gorgeousness of your design!
2. Choose Thread Snippers Over Scissors
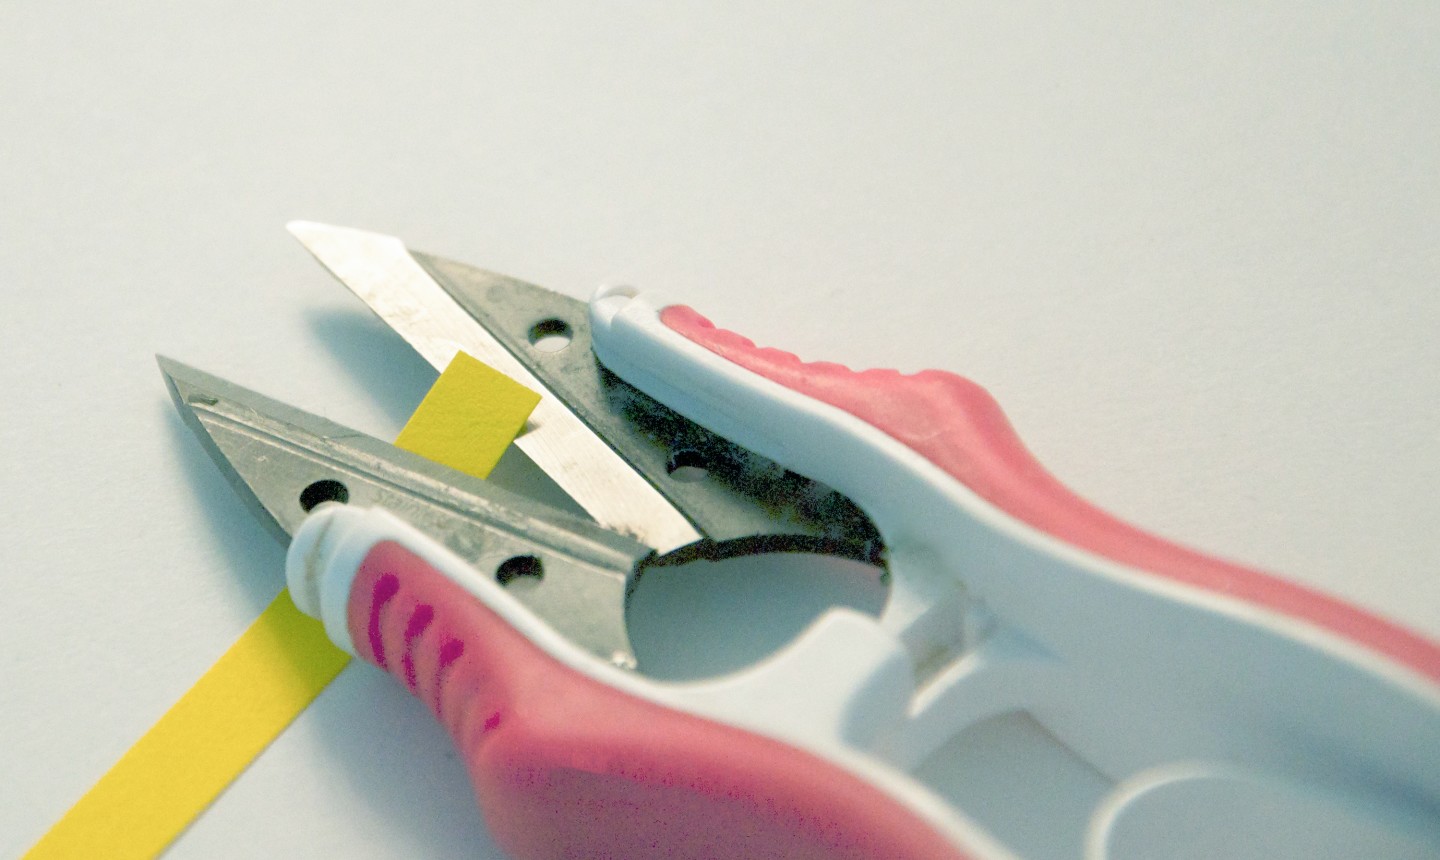
Choosing the right paper quilling tools is important, and bulky scissors are not your friend in this delicate craft. You're better off with a lightweight pair of thread snippers. They're perfect for snipping off the glue-bound ends of quilling paper, and their small size helps them fit easily into any quilling tool box.
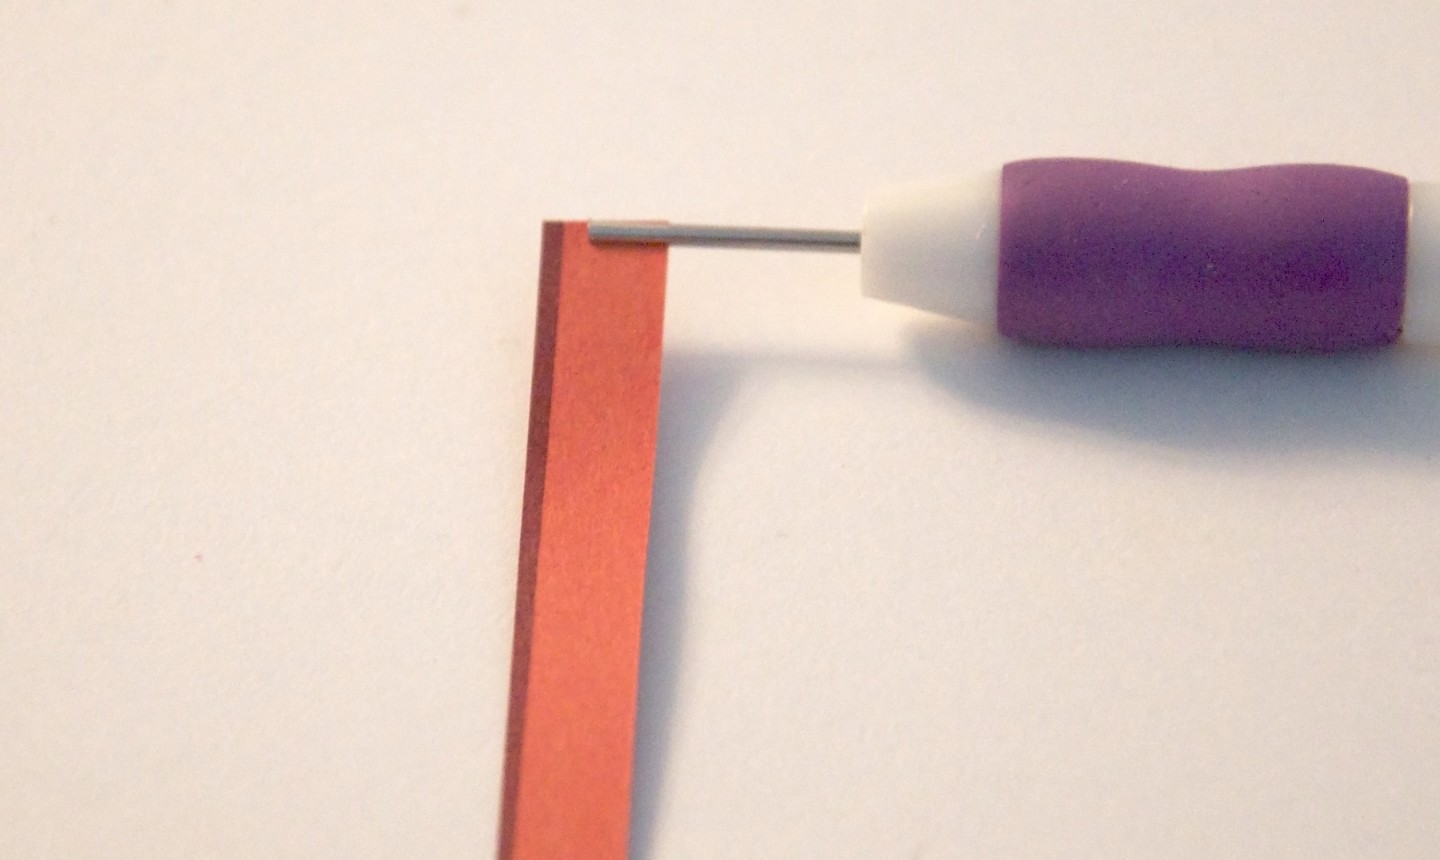
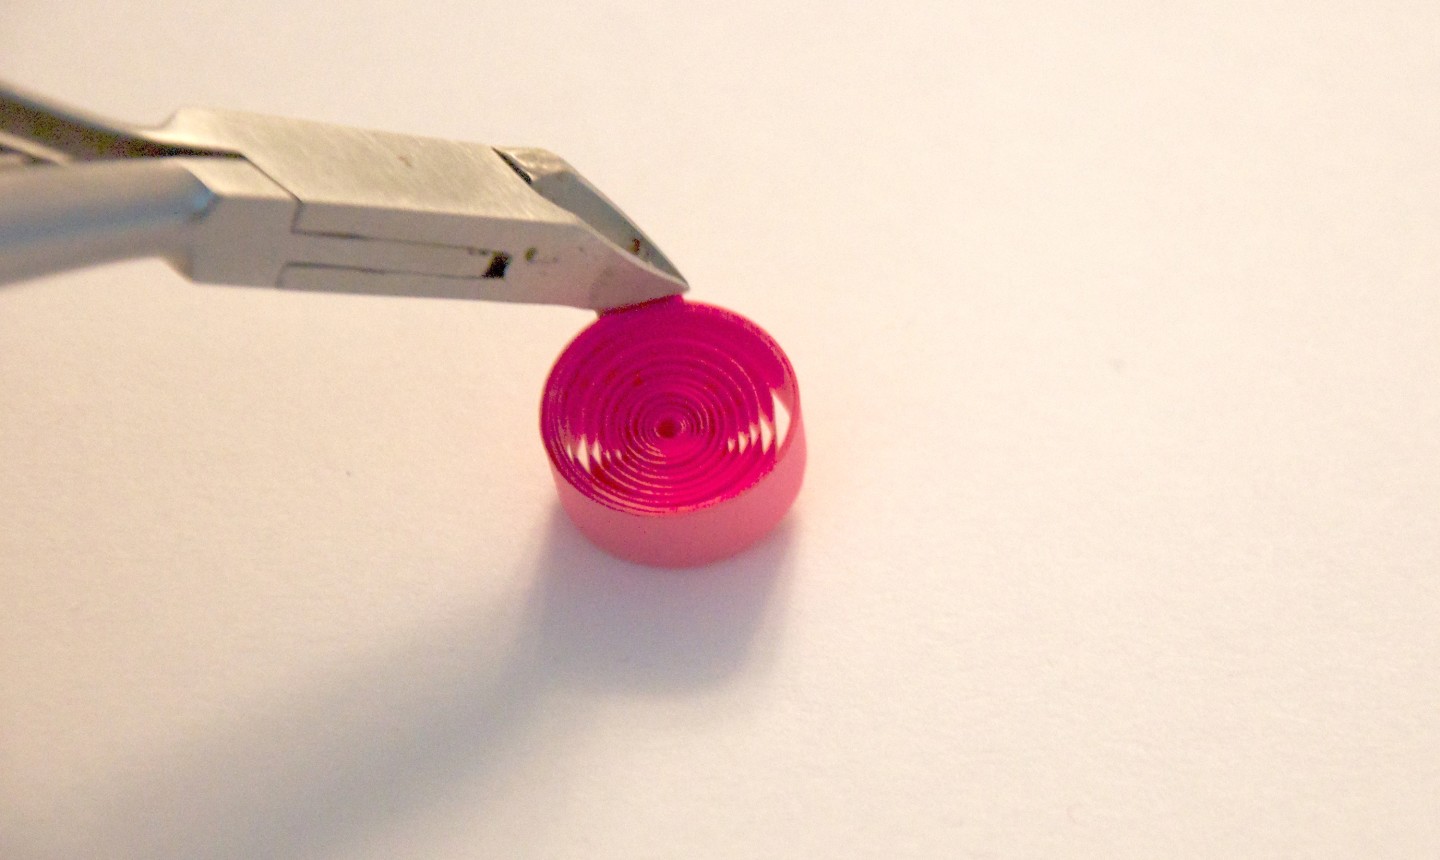
3. Get a Perfect Center in Every Coil
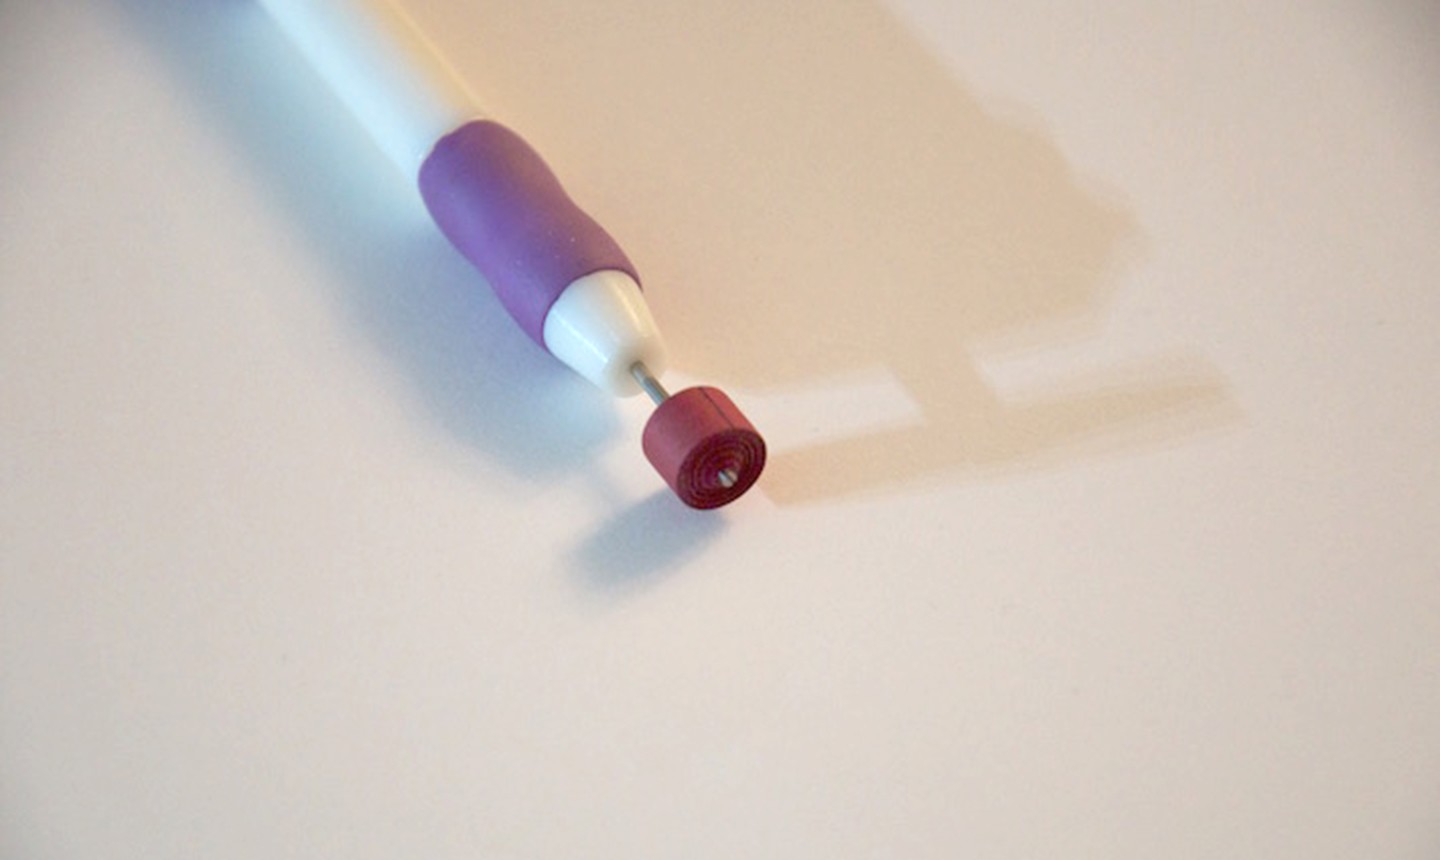
You don't need a needle tool to make perfect coils. If used the right way, a slotted tool can give you the round center you want without crimping.
One trick is to keep turning your quilling tool after you've reached the end of your strip, until you feel the tool give way. The tool tears the small piece of paper that would've been the crimp, leaving you with a perfect coil. If your quilling tool can't stand up to this kind of twisting, you can also use a pin or piercing tool to smooth out the crimp afterward.
4. Rip Instead of Snipping
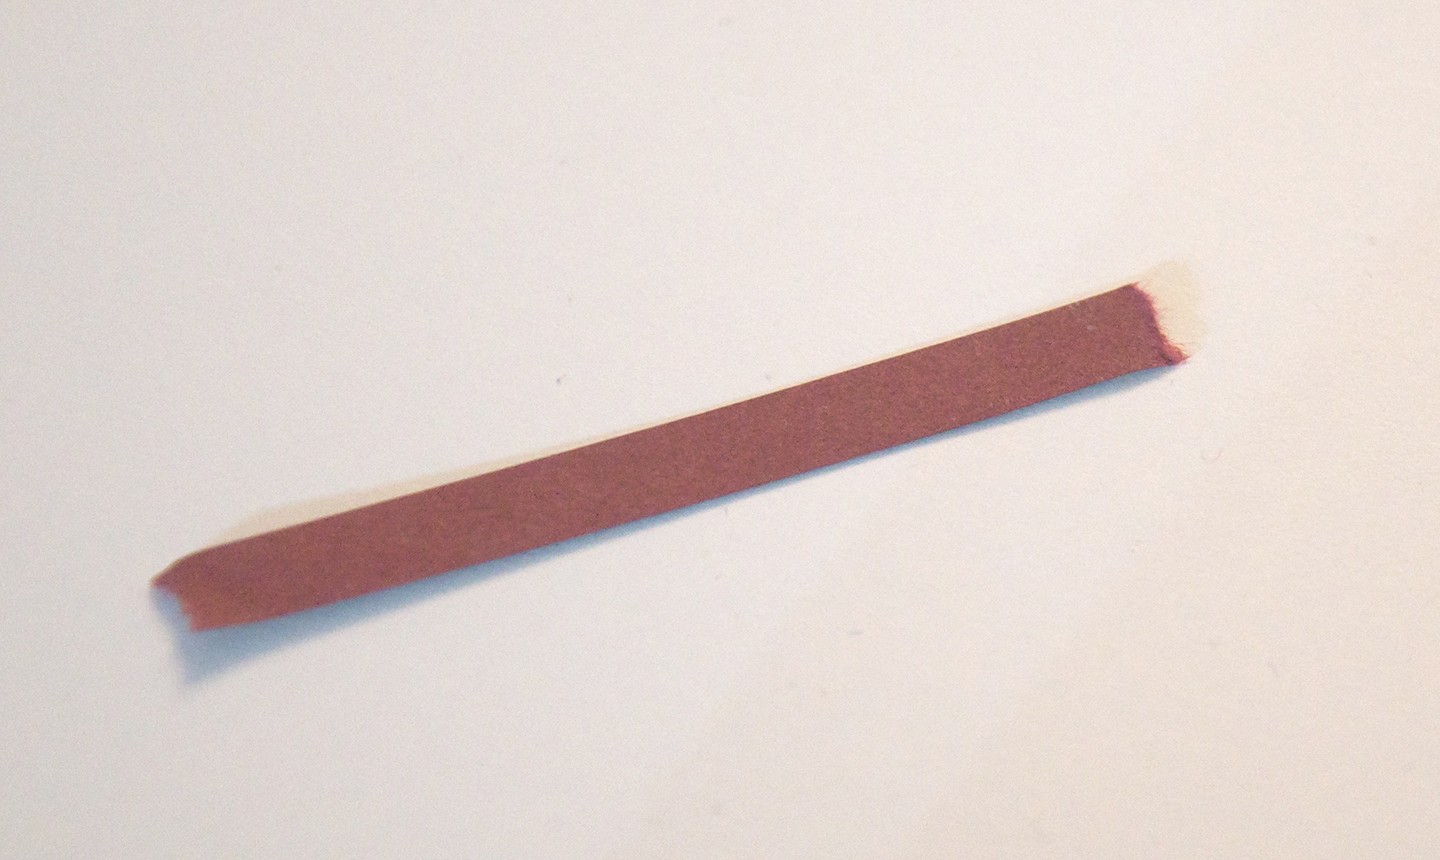
Sure, you want to make clean lines and hide all the seams in your shapes whenever possible. But sometimes there's nowhere to hide. If you don't like the look of sharp paper seams, you can rip the end of your quilling strip instead of snipping it with scissors. That way the join will have a softer effect.
5. Roll With, Not Against, the Edge of the Quilling Strip
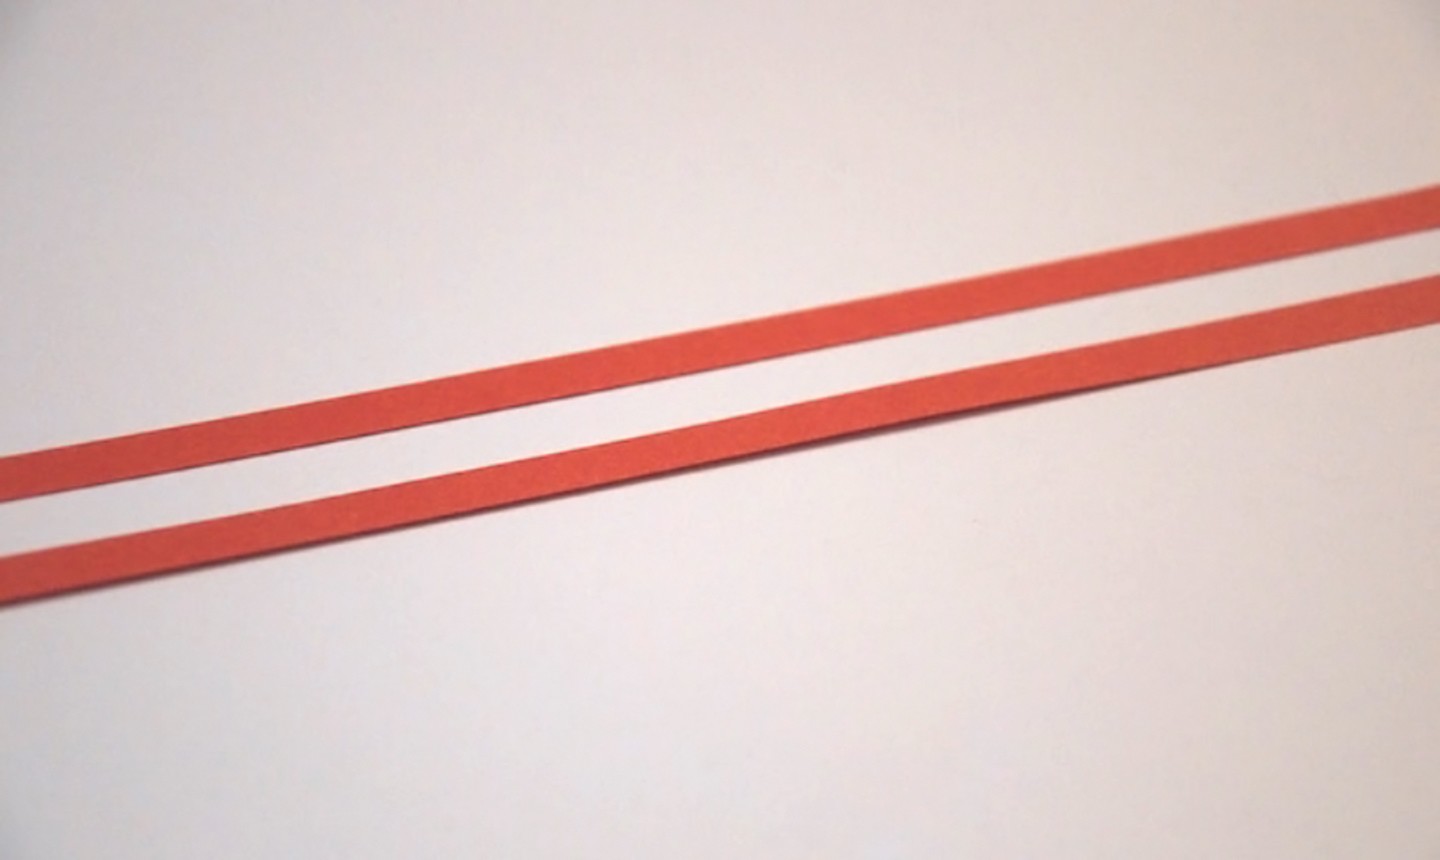
When quilling paper gets cut, the blade slices it from above in a downward motion. This makes both of the long edges roll slightly downward. The effect is so minimal that it's hard to see with the naked eye, but you can feel it when you run the strip between your fingers.
For a more perfect coil, roll with the curve (the downward curve should be facing down). It might be a bit tricky to do this on your first few tries, and skipping this step won't hurt the way your quilling looks. But once you start paying attention, doing it this way becomes almost instinctive.
6. Use a Needle Form Before a Quilling Comb
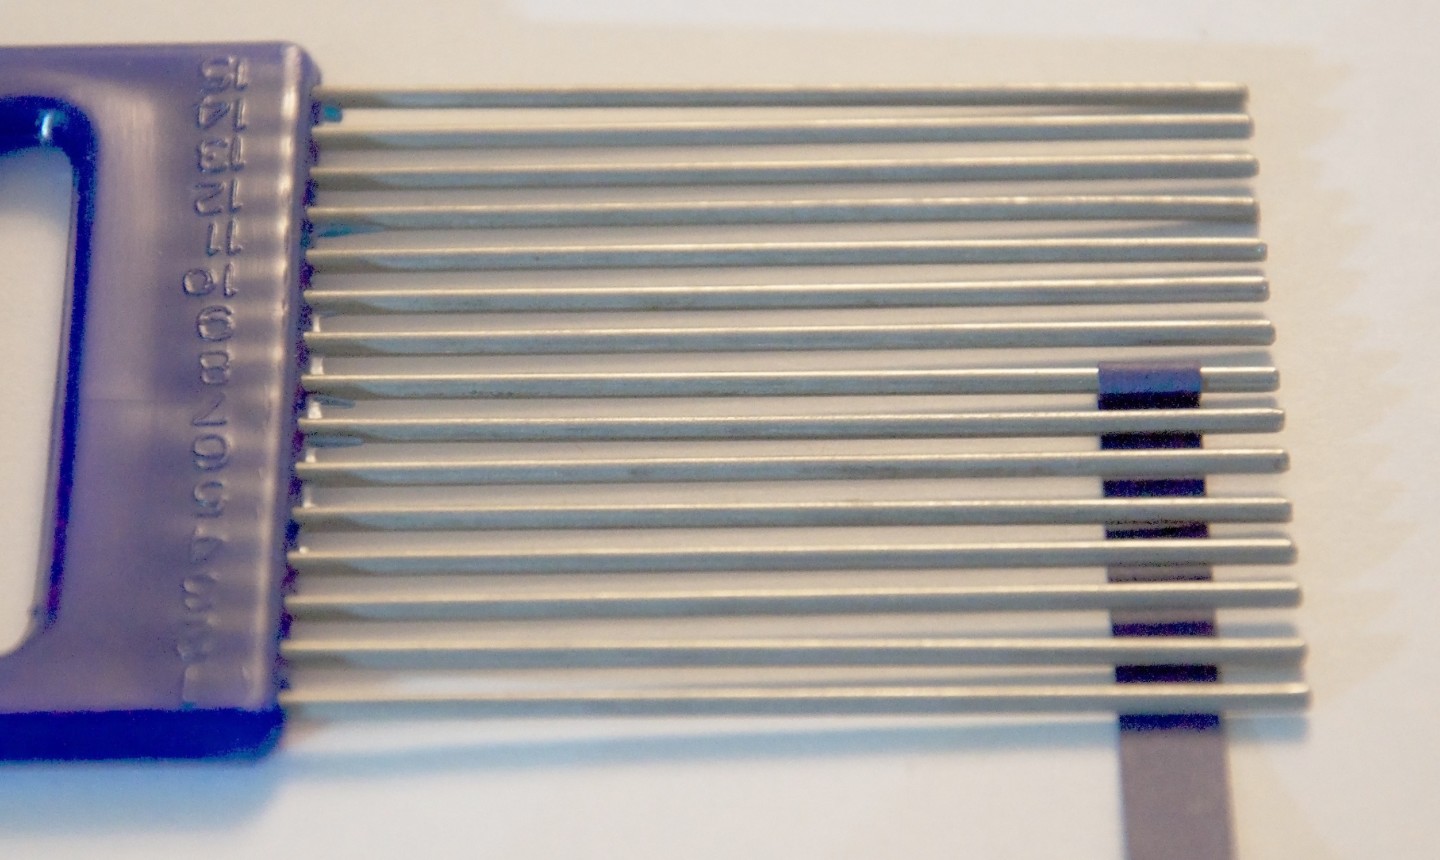
Quilling combs can seem tricky and time consuming to use. You may feel like they're not worth the effort, but try this tip before you give up on them: first, roll a small coil using a quilling needle form. Then, transfer the coil to your quilling comb and make your shape. This method — needle form first, quilling comb after — should help keep the center of your coil in place (and your sanity intact).
7. Double Up Your Strips for a Grippy Roll
When you're rolling an extra-large coil, the center will usually end up breaking free from the quilling tool before you're done. All you can do at that point is to roll the rest by hand. But you can avoid all that by doubling up the strip to start your coil: the double thickness will keep everything where it belongs. To do this, you can either fold your first strip over, or use two strips on top of each other.
8. Use Nippers to Fix Your Mistakes
Nobody's perfect, and no matter how precise you are in your work, almost every project is bound to have a little blooper somewhere. That's where cuticle nippers come in. Available in any drugstore in the nail care aisle, nippers will let you easily snip off an uneven edge or remove unwanted glue after it's dry.
9. Get Your Sponge Ready
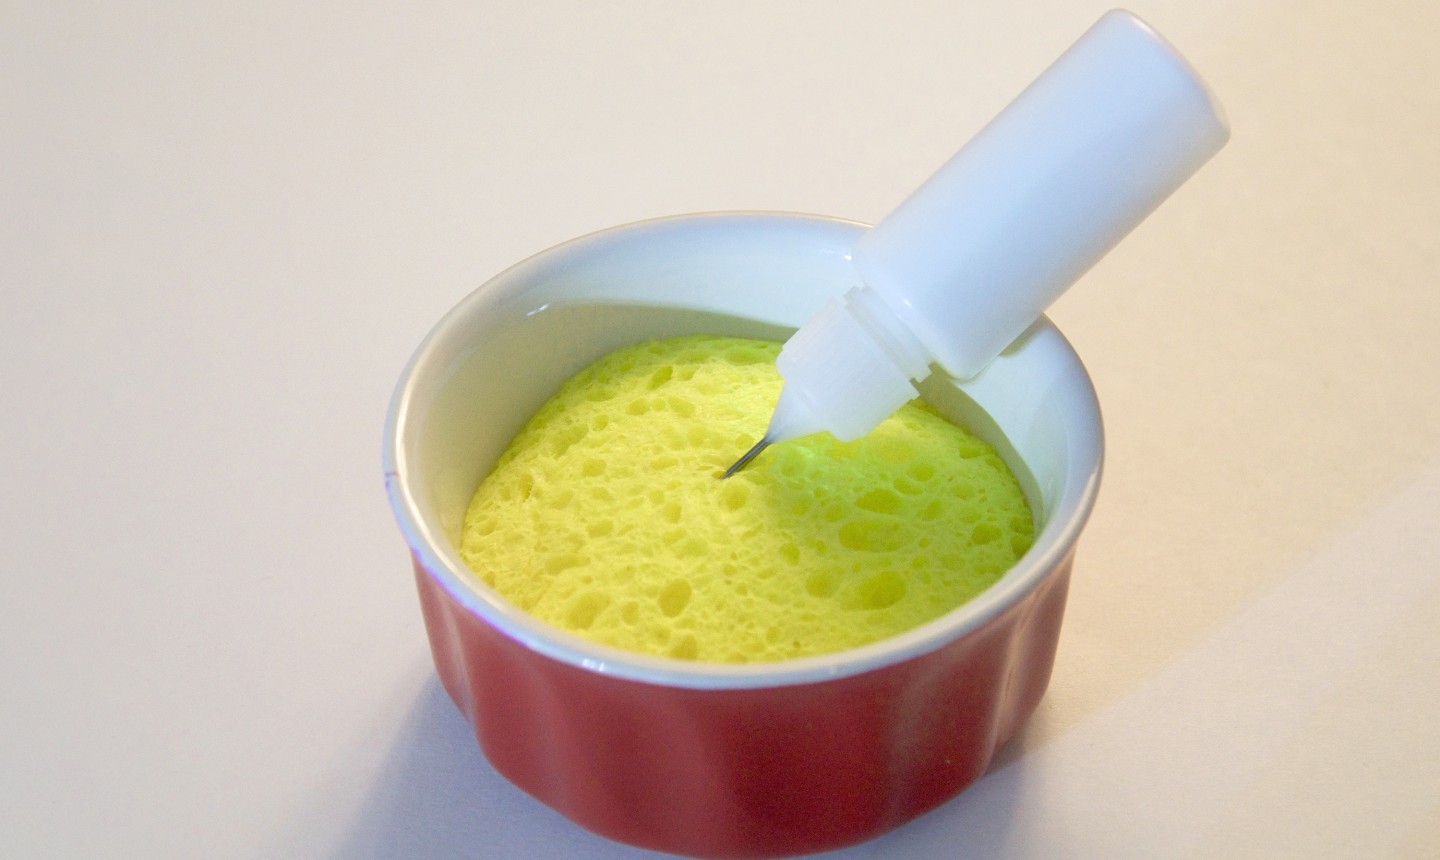
A sponge is a quiller's best friend, and a setup like the one in the image above is magic. The container holds your needle-tip glue bottle upside down so it's ready to go the next time you need it, while the moist sponge keeps your glue from drying out and clogging the tip. You can also use the surface of the sponge to wipe away any glue that finds its way onto your fingers.
To make your own, just cut a kitchen sponge and put it inside a little bowl or ramekin. You can even create a setup that's compact enough to fit inside your quilling kit.
10. Be Friends With Your Eye Pin
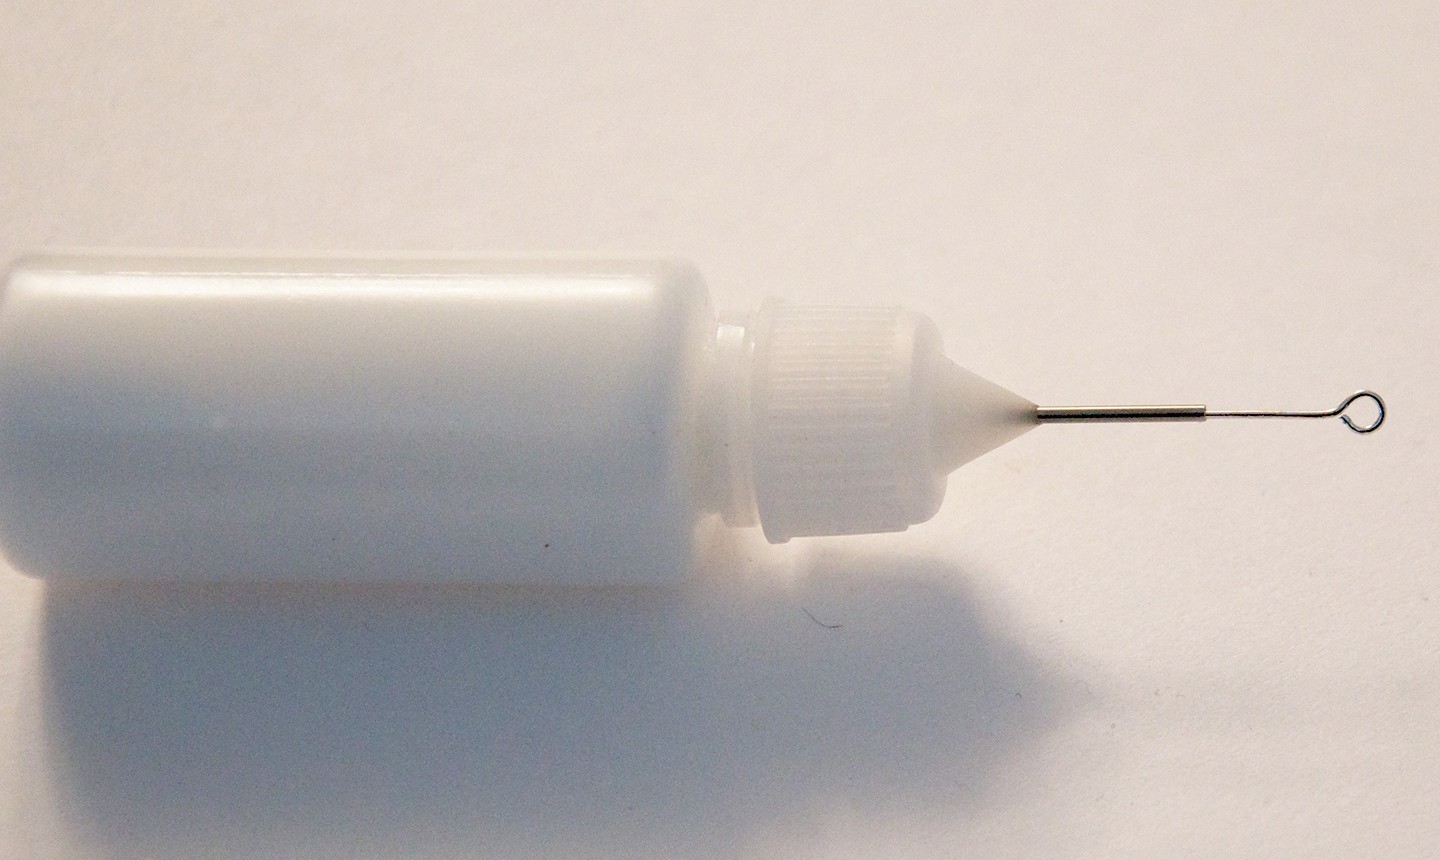
So you left your cap off and now your needle tip is clogged. It's OK — you probably didn't know about our sponge trick yet (see tip 9 above). But there's still hope! With an eye pin, you can unplug the tip and get back to making your art. The eye pin's blunt end makes it a safer option than a sewing pin. Just avoid leaving the eye pin in the tip for a long time, since the pin can rust and discolor your glue.

Some of my strips have glitter and some are glossy. It's difficult to get them to stick. What kind of glue is the best for these strips?
To avoid rust on your pin use stainless steel pins.
I came across quilling, what a total surprise to find such a cool craft with history. Right now I don't have any questions but when I pick up my quilling again I will be right here to get answers. Thk you
Where did you get your thread clippers. Thicker handle would be helpful with arthritis
I am 78 and just learning. Having a hard time keeping coils from unraveling, but practice makes perfect. Great craft when eyes are not condusive to needlework
I have been quilling since I was a young girl but I never had the time to put into it and I would love it if I could make some beautiful pictures. I have made Snowflake ornaments but that is it. I would love to make a humming bird or a cardinal or even a carnation which is my mother’s favorite flower. Could you teach me?
Thank you for sharing these tips. I will be trying them with my quilling projects.
Like to join
Thank you for the tips. Very helpful and will use them as I learn.
Thank you for posting this!