
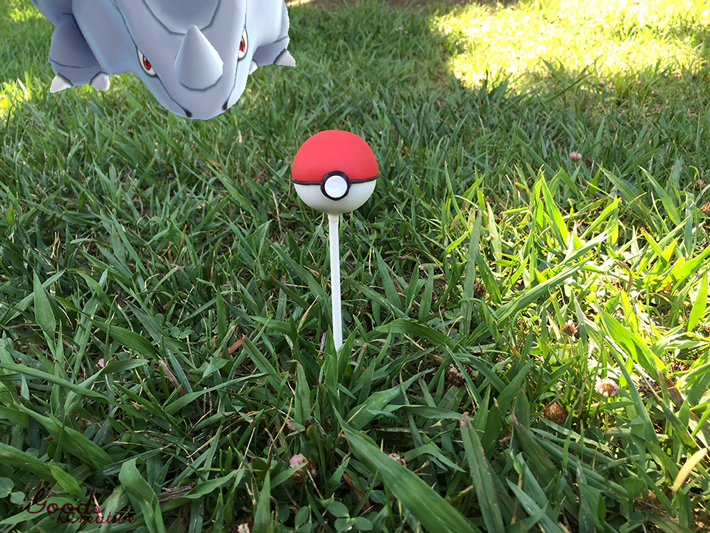
If you wanna be the very best, you’ll definitely need these Pokémon cake pops in your bag! You’re sure to make your Pokémon fans swoon with these edible Poké Balls. You might even lure others to take part in the craze as well!
I choose you, Pokémon cake pops!
These Pokémon cake pops take only 7 easy steps — with no tricky shaping or sculpting. Make sure to keep your phone on you while you create, so your steps will count toward hatching your Pokémon eggs (wink wink)!
You’ll need:
- Cake pop dough ready for shaping
- Portion scoops
- White, red and black candy wafers
- Medium candy eyes, sprinkles or round confetti sprinkles
- Paramount crystals, EZ-Thin or virgin coconut oil (solid)
- Lollipop sticks
- Zip-top bag
- Toothpicks
Line your work surface with waxed paper for easy clean up.
Step 1: Shape the cake pops
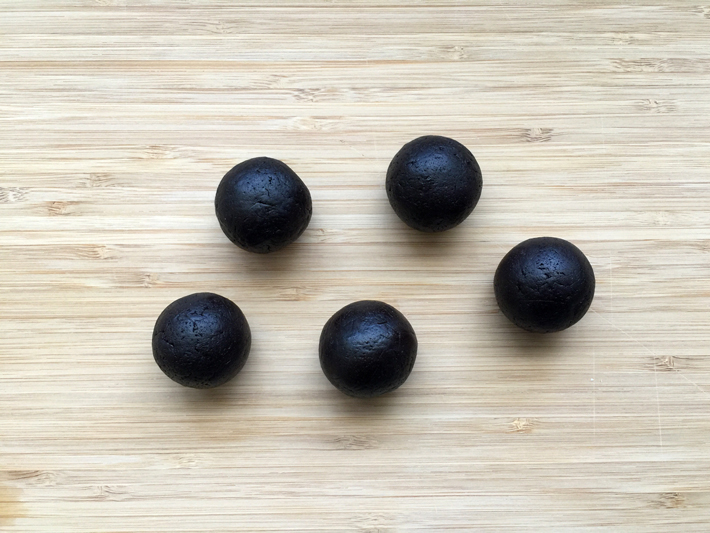
Use a cookie/portion scoop to portion your cake dough and roll the dough into balls. Place on a waxed paper–lined cookie sheet and refrigerate. For tips on making great dough, check out my shaping tutorial.
Step 2: Melt the candy wafers
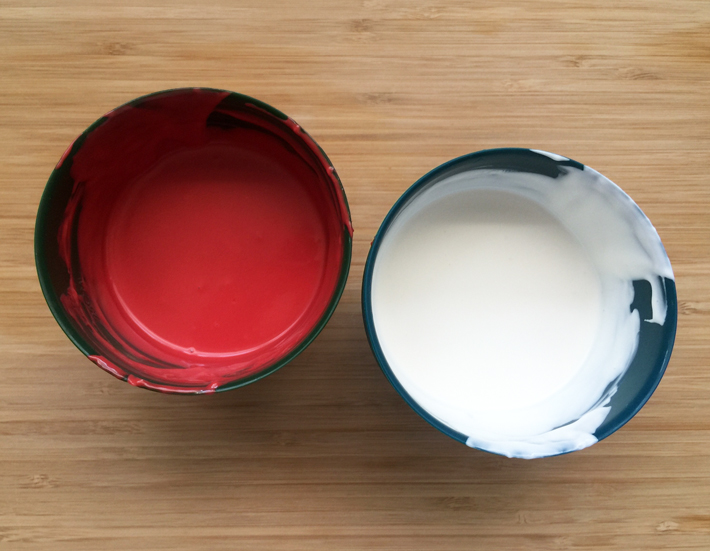
Melt both white and red candy coatings in separate, microwave-safe bowls (preferably plastic or silicone). Heat in the microwave for 1 minute at 50 percent power and stir. Continue to heat in 30-second bursts at 50 percent power, stirring after each interval, until melted and smooth. Use paramount crystals, EZ-Thin or virgin coconut oil (solid) to thin the candy coating.
Step 3: Insert the lollipop sticks
Remove the chilled cake balls from the refrigerator and let them sit at room temperature for a couple of minutes, to take the chill off. Dip about ⅓” of each lollipop stick into the white candy coating. Insert each stick into the balls until they’re about halfway through. Do this for all the pieces.
Step 4: Dip the cake pops in white candy coating
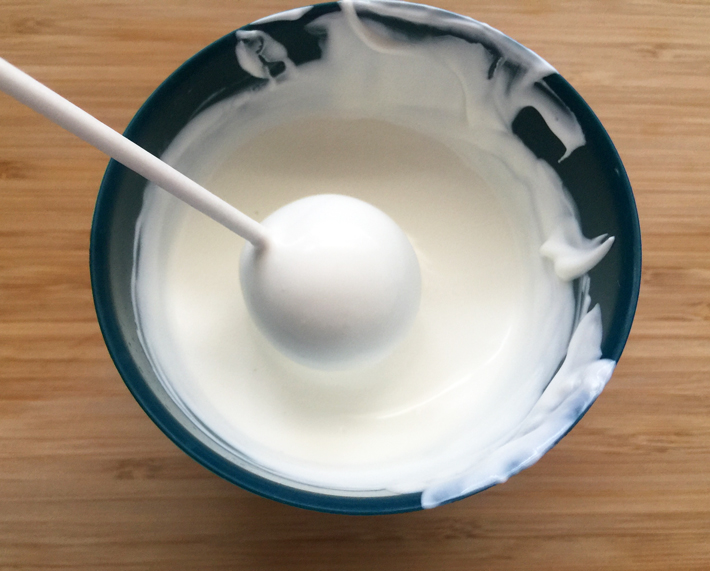
Dip each cake pop into the white coating. Gently shake off the excess and use a toothpick to pierce any air bubbles you notice. Place on a cake pop stand to dry completely.
Step 5: Dip the cake pops in red candy coating
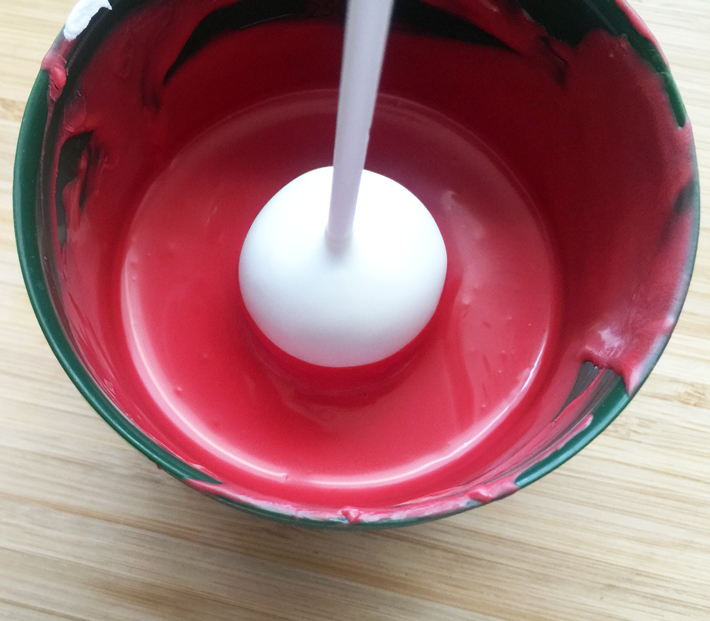

Once the white coating has set, dip each cake pop halfway into the red coating. Use a toothpick to pierce any air bubbles and place on the stand to dry thoroughly.
Step 6: Add the black line
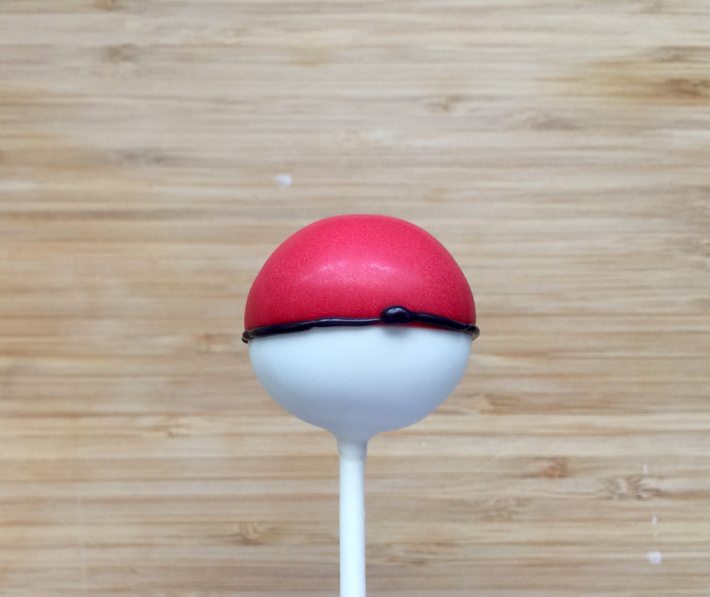
Melt black candy coating (see Step 2), thin and pour into the corner of a zip-top bag. Snip the tip and pipe a line where the red and white coatings meet.
The easiest way to do this (if you’re right handed) is to hold the cake pop with your left hand and hold the “piping bag” with your right hand. Rotate the cake pop with your fingers and squeeze the piping bag over it. You’ll squeeze a continuous line around it!
Step 7: Add the final details
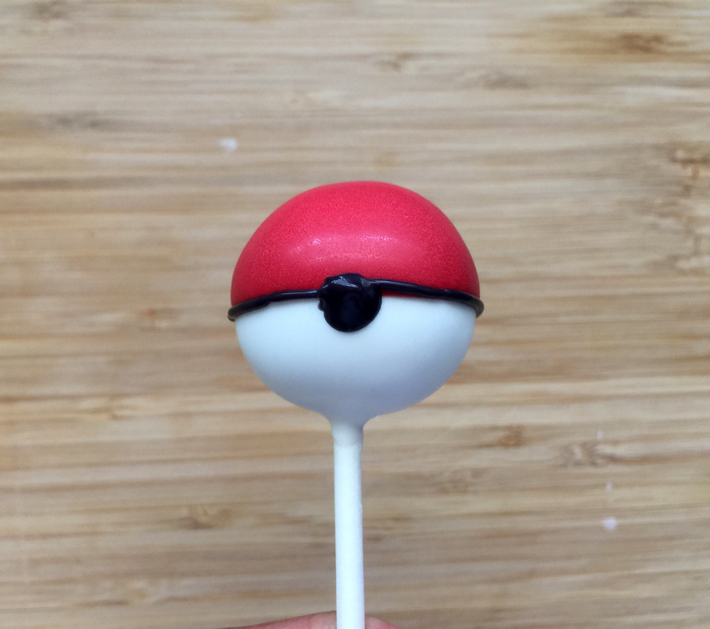

Immediately after piping the line, pipe a large dot of black just by squeezing the piping bag in the spot where you started/ended your line.
Gently push an eyeball candy, backwards, into the space. We want only the flat, completely white area of the eyeball visible. Alternatively, you can use flat, round, white confetti sprinkles.
Share tips, start a discussion or ask one of our experts or other students a question.
No Responses to “Become a Pokémon (Cake Pop) Master!”