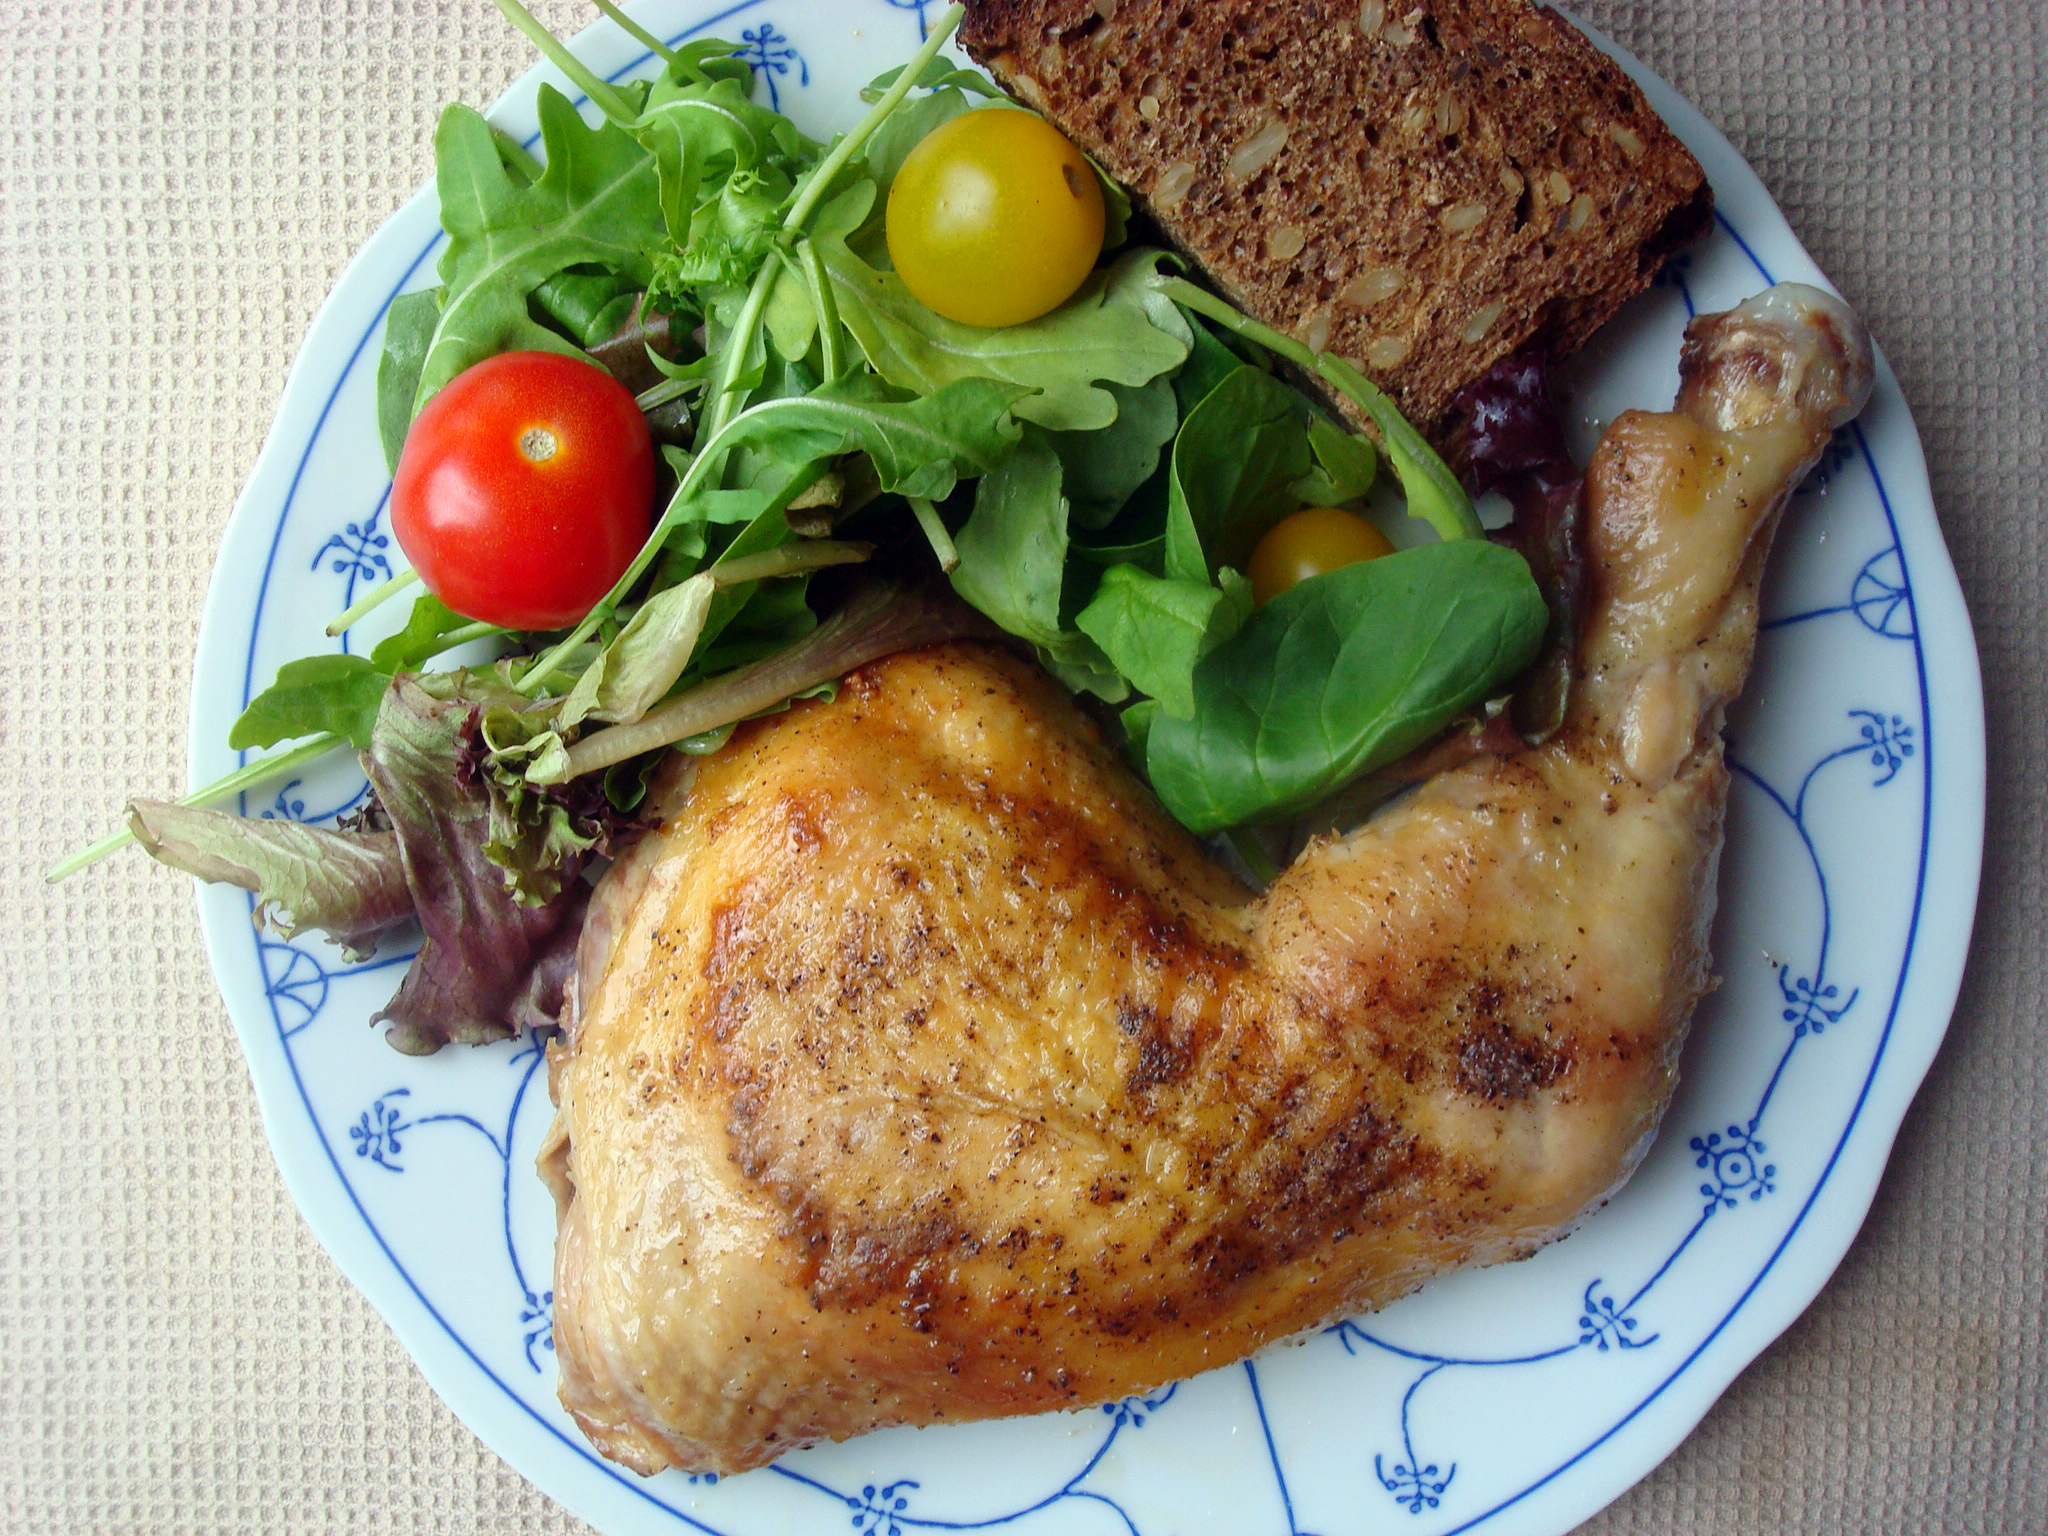
Making moist, tender pan-fried chicken legs is both an art and a science. How on earth do you attain that perfectly crispy skin while maintaining tender, moist meat that is cooked through without being dried out?
Read on for the secret to perfectly prepped pan-fried chicken legs.

Photos via CakeSpy, unless otherwise noted
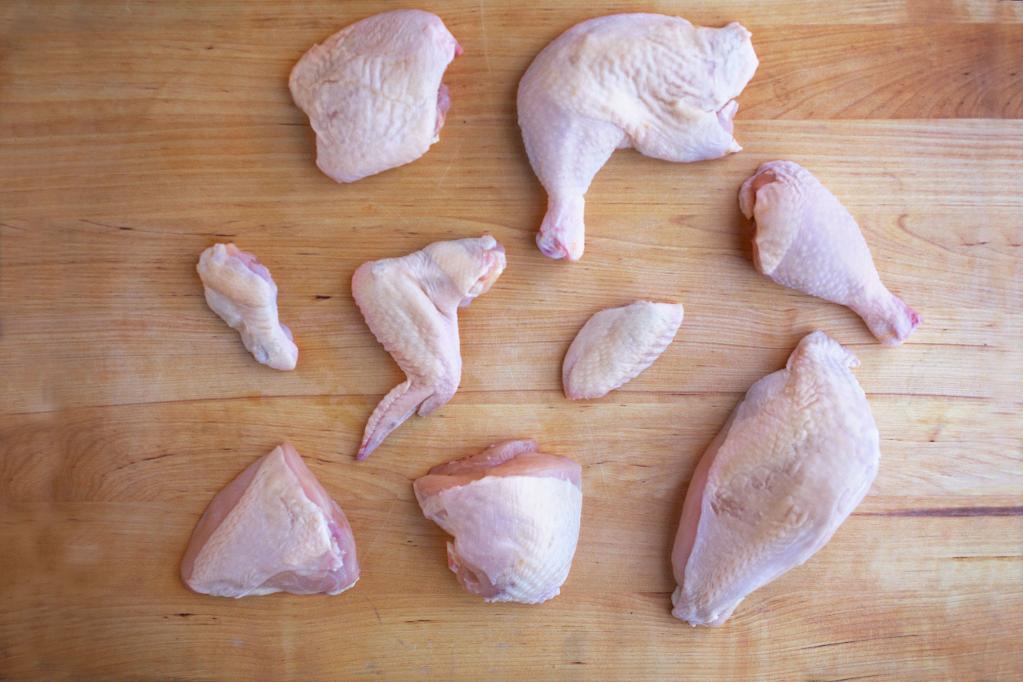
Choose the right cut of meat: ideally bone-in, with skin.
By leaving the skin on the chicken legs, you allow the chicken's own fat to render and infuse the entire leg with flavor. The bone helps seal in moisture while cooking the legs through, which means that you'll have flavorful chicken that practically falls off the bone.
This recipe is a study in delicious simplicity. Made with minimal supplies, this technique is so simple that you'll master it on the first try. It's easy enough that it can be put into regular rotation on your weeknight dinner menu, but it's certainly tasty enough to serve when you've got company coming.

Chicken cuts via Craftsy instructor Marge Perry
Recipe notes:
- This recipe can be made with just chicken thighs, or just drumsticks, rather than the entire leg quarter. Follow the same steps but be aware that the cooking time will be reduced drastically due to the smaller surface area of these cuts.
- For this recipe, a 12-inch skillet was a perfect amount of space for two bone-in chicken leg quarters, each of which will comfortably serve two (as long as you can agree on who gets the drumstick).
- What should you serve alongside your perfectly cooked chicken? Roasted vegetables, a cooked grain on the side, or mashed potatoes are always welcome additions. Parker house rolls or homemade bread are a simple, cozy accompaniment.
- A spatter screen is an asset to making this recipe with minimal mess. You don't want to cover the cooking chicken until at least halfway through the process; this will keep it from getting too soft.
Recipe for perfect pan-fried chicken legs:
Makes 4 servings
Ingredients:
- 2 bone-in chicken leg quarters with skin
- 3 tablespoons mild-flavored oil, such as vegetable or canola oil
- Salt, pepper, and seasoning to taste
Step 1:
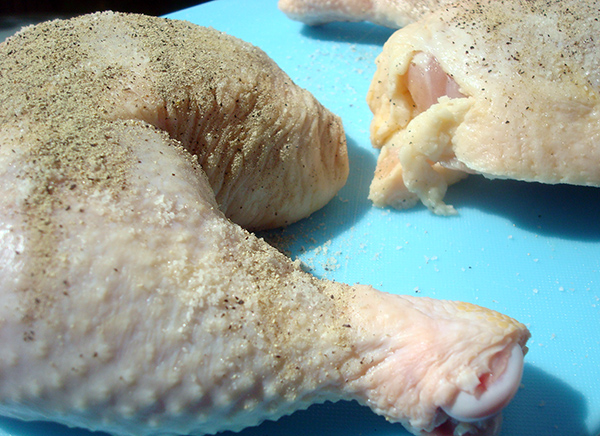
Clean the chicken and dry it thoroughly. Any water will spatter once the chicken hits the pan, and you don’t want that — it could burn you, and it's a huge pain to clean up. Generously salt and pepper the skin-side of the chicken.

Step 2:
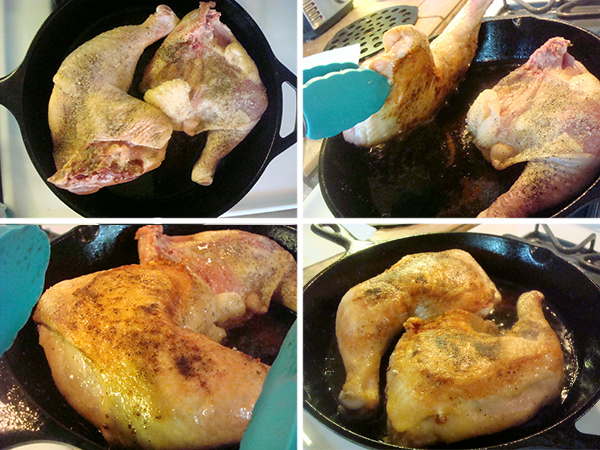
Heat the oil in a 12-inch iron skillet or heavy-bottomed non-stick skillet. Get the oil nice and hot, but don’t let it smoke.
Test the heat by flicking a drop or two of water on the surface; if it dances, reduce heat to medium. Place the chicken, skin side down, in the pan. Season the bottom side, which is now facing up. Cook, uncovered, for 30 minutes. The skin will gradually turn golden and the fat will drip off on the bottom of the pan.
If you try to lift a corner of the chicken, it should look golden and the skin should not stick to the bottom of the pan. If it is not quite at this point, give it another 5 minutes (up to 35 minutes).

Step 3:
Flip the chicken (gently, so oil doesn't spatter on you), and cover. Cook for 25-30 minutes more, or until the chicken closest to the bone slices of cleanly. Place the chicken on paper towels to cool and blot for about five minutes before serving.
If you are not serving the chicken right away, reheat it in the oven at 475 degrees F for about five minutes before serving. This will get the skin nice and crispy and toasty.

Thank you diabetic trying to learn new things. With chicken
I am going to try this recipe because I am staying on a sailboat and it is very difficult to cook anything that calls for an oven to be used in the warm/hot weather Thank you