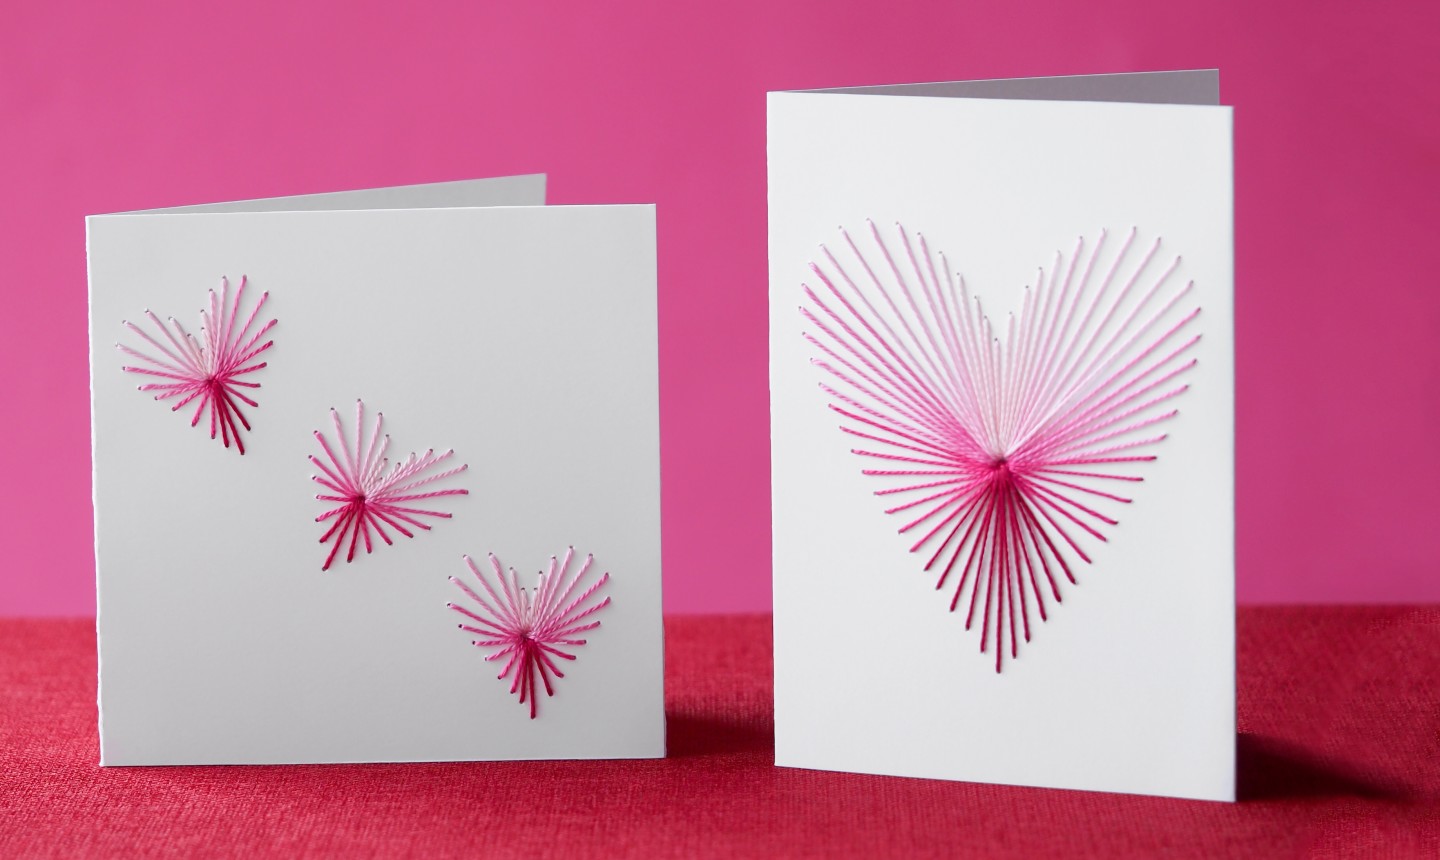
Take your embroidery skills to paper and you can create one of the coolest handmade cards anyone's ever received. This ombré design is actually pretty simple to make, even if you're a total embroidery newbie. Plus, it's guaranteed to make your loved one smile.
Embroidered Heart Card
Level: Easy
What You Need
Instructions
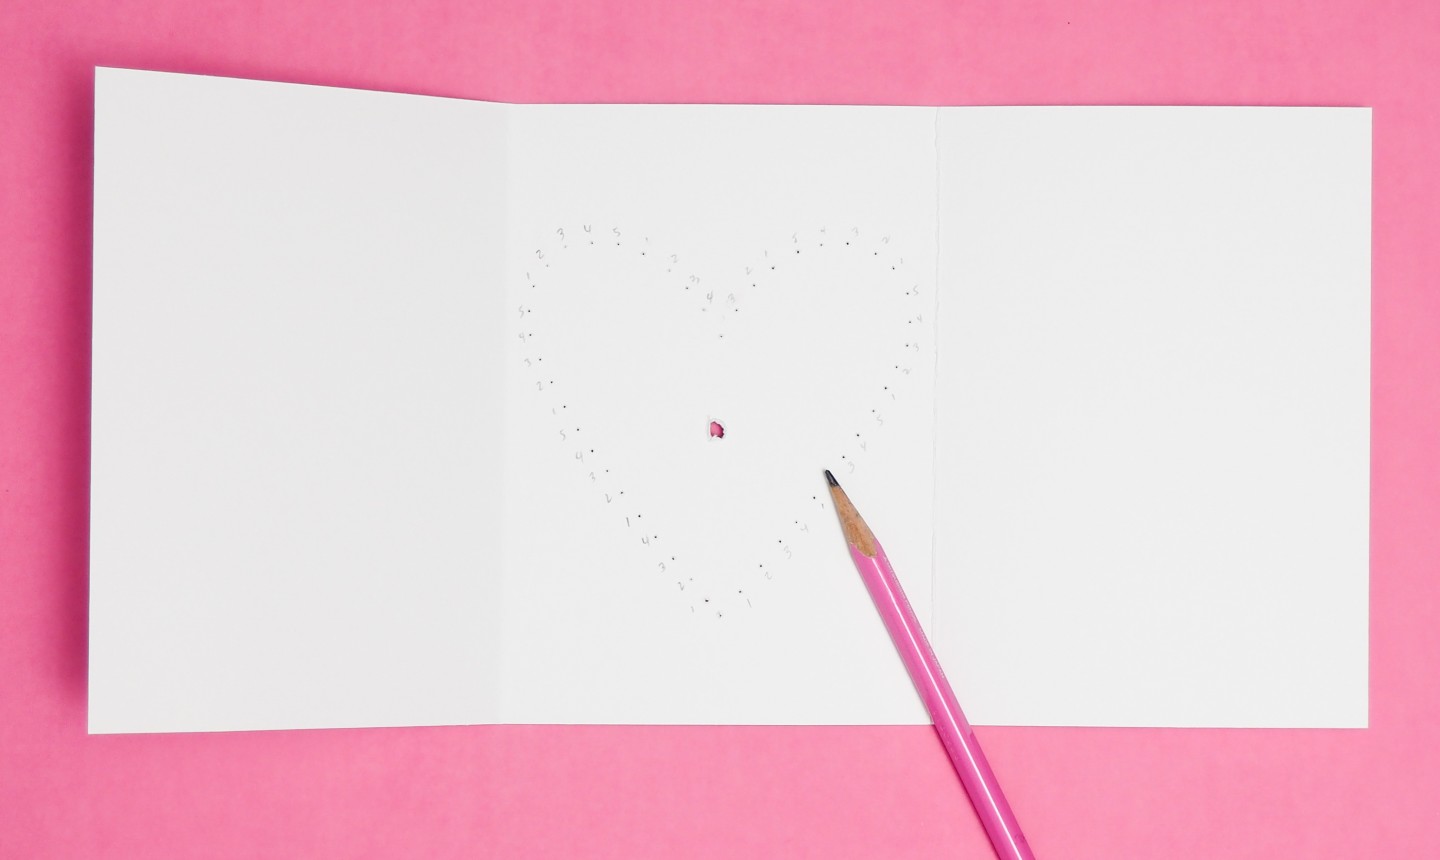
1. Cut a Heart
Cut a paper heart approximately 3½" x 3¾" from the square of computer paper. Use a pencil to mark dots around the edge of the heart, about a ¼" apart.
2. Measure, Snip, Fold
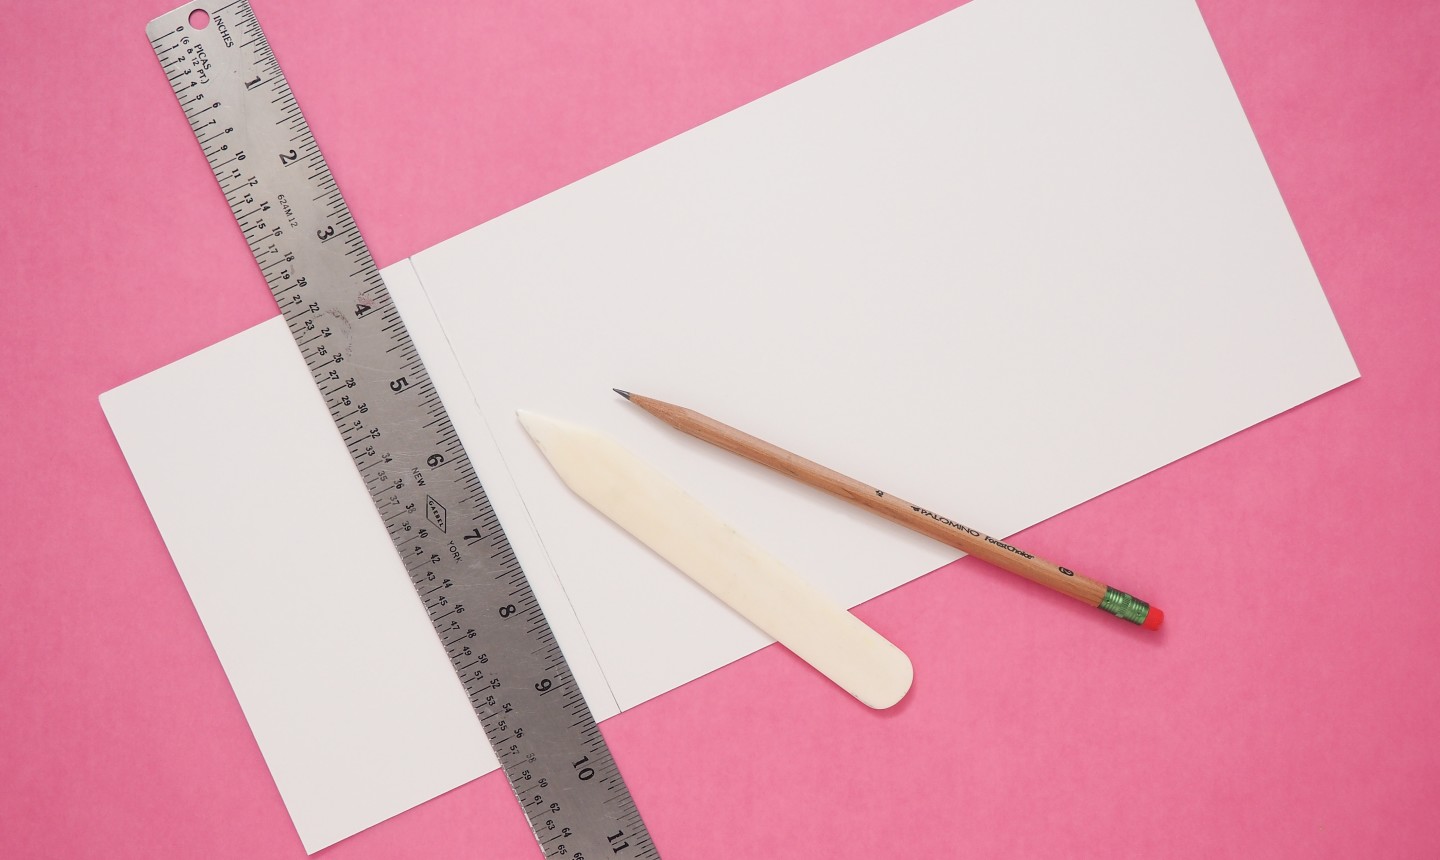
Before you start creating the card itself, first determine the final size you want it to be. (Ours is 5" tall x 4" wide.)
Trim the card stock to the height you want. Multiply the desired finished width by 3, then add ½" for folding. Cut at that number. (Ours is 12½".)
Fold your card into thirds, so the left panel folds over the center and the right panel folds over the left. Use the bone folder to score each line and fold.
3. Punch It
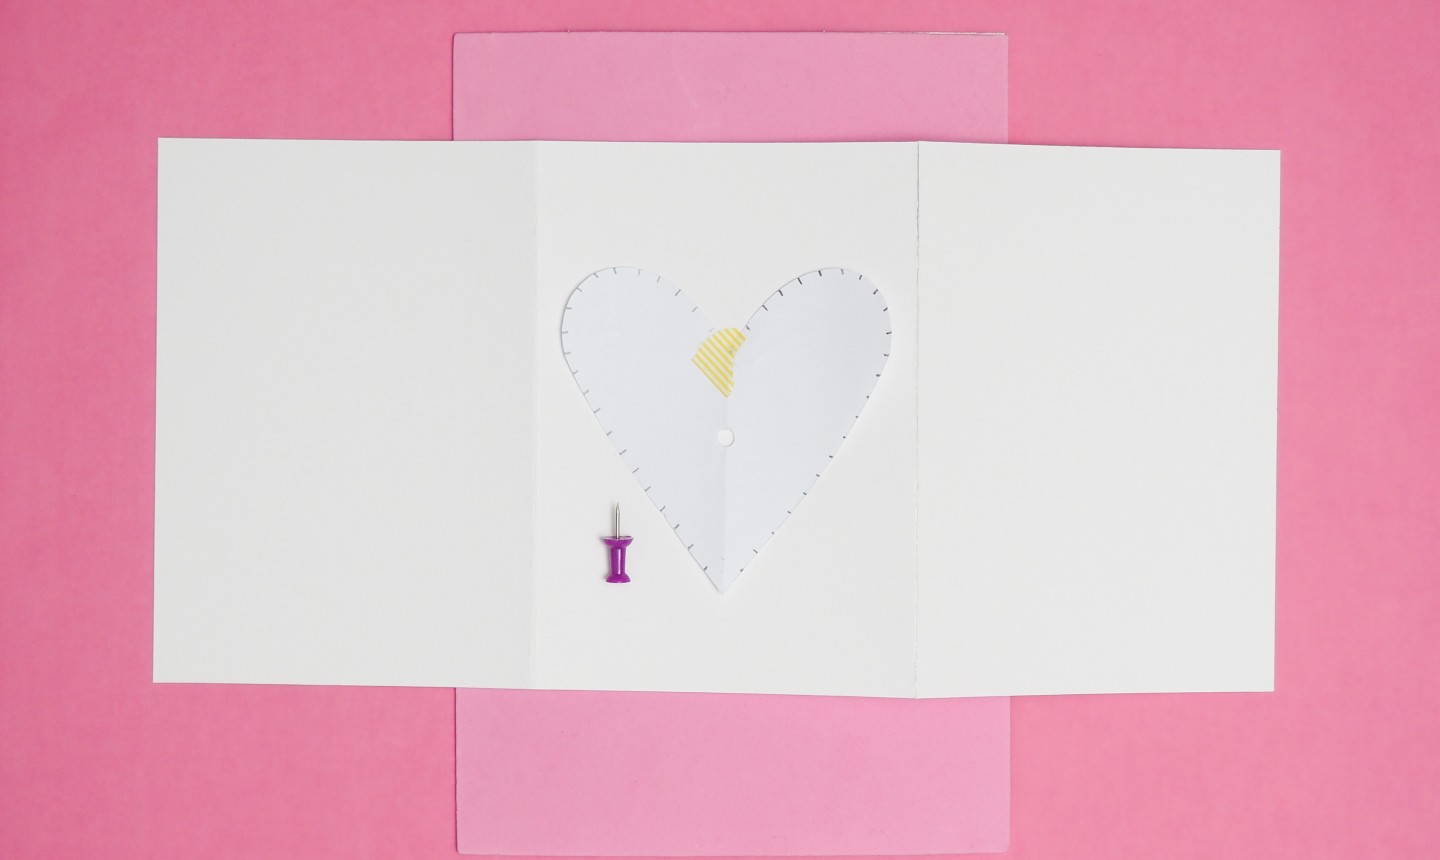
Open the card so the back side faces up. Use a piece of washi tape to secure the paper heart to the center panel. Place the fun foam underneath.

Use a thumb tack to punch small holes around the heart, following the marks you made in step 1. Once you've punched all the way around the perimeter, remove the paper heart template.
4. Make the Center Point
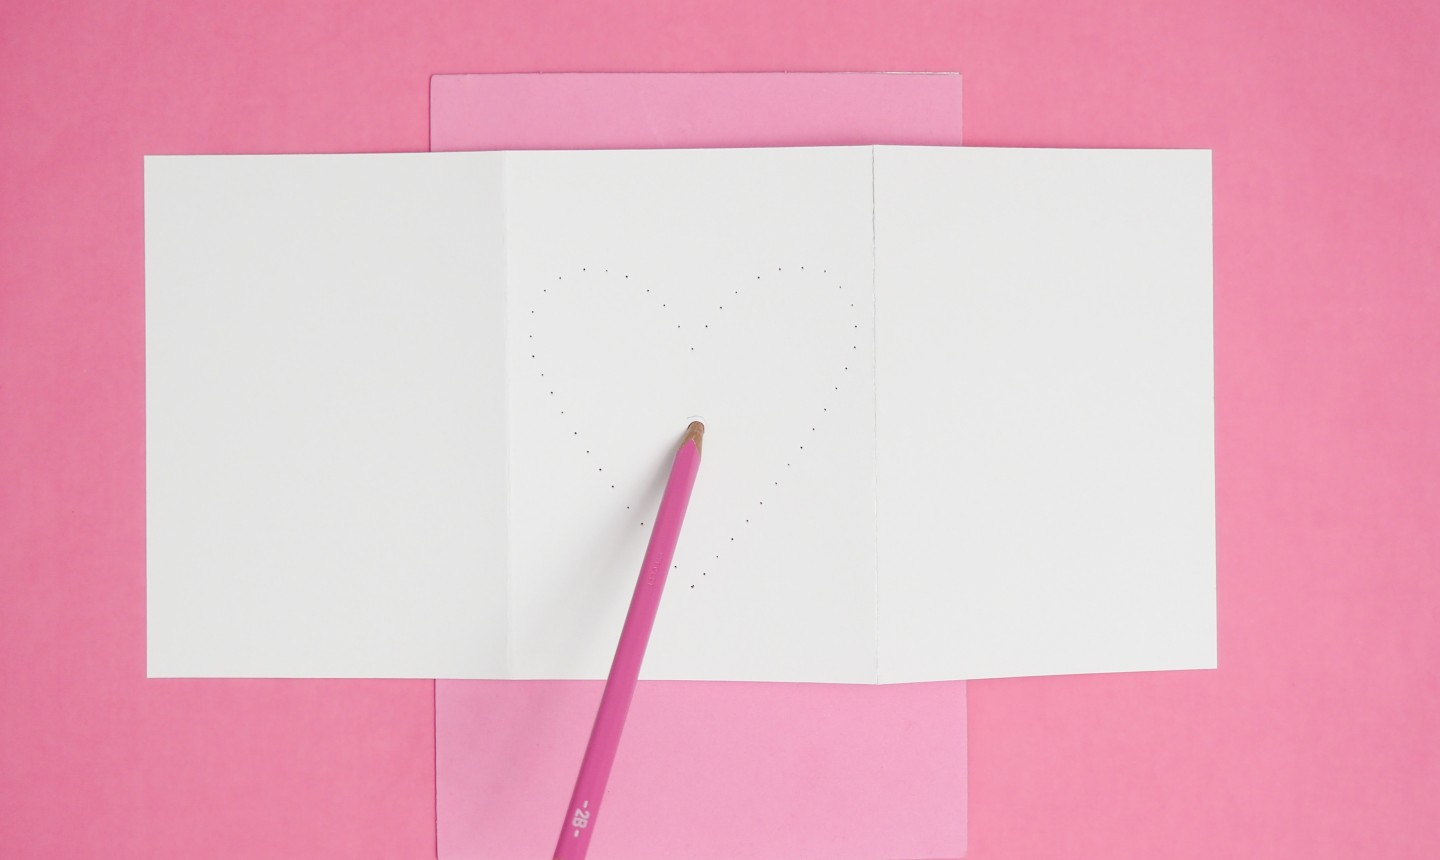
On the front of the card, mark a small dot about ⅓ of the way down from the heart's top. Make sure it's as centered as possible, then push the pencil point straight through the hole.
5. Plan the Color Pattern
Use the pencil to label the holes for a corresponding color. Use 3-5 colors of floss to create a bright ombré effect.
Good to Know: This side of the center panel will be hidden once the card is finished, so don't worry about marking it up.
6. Start Stitching
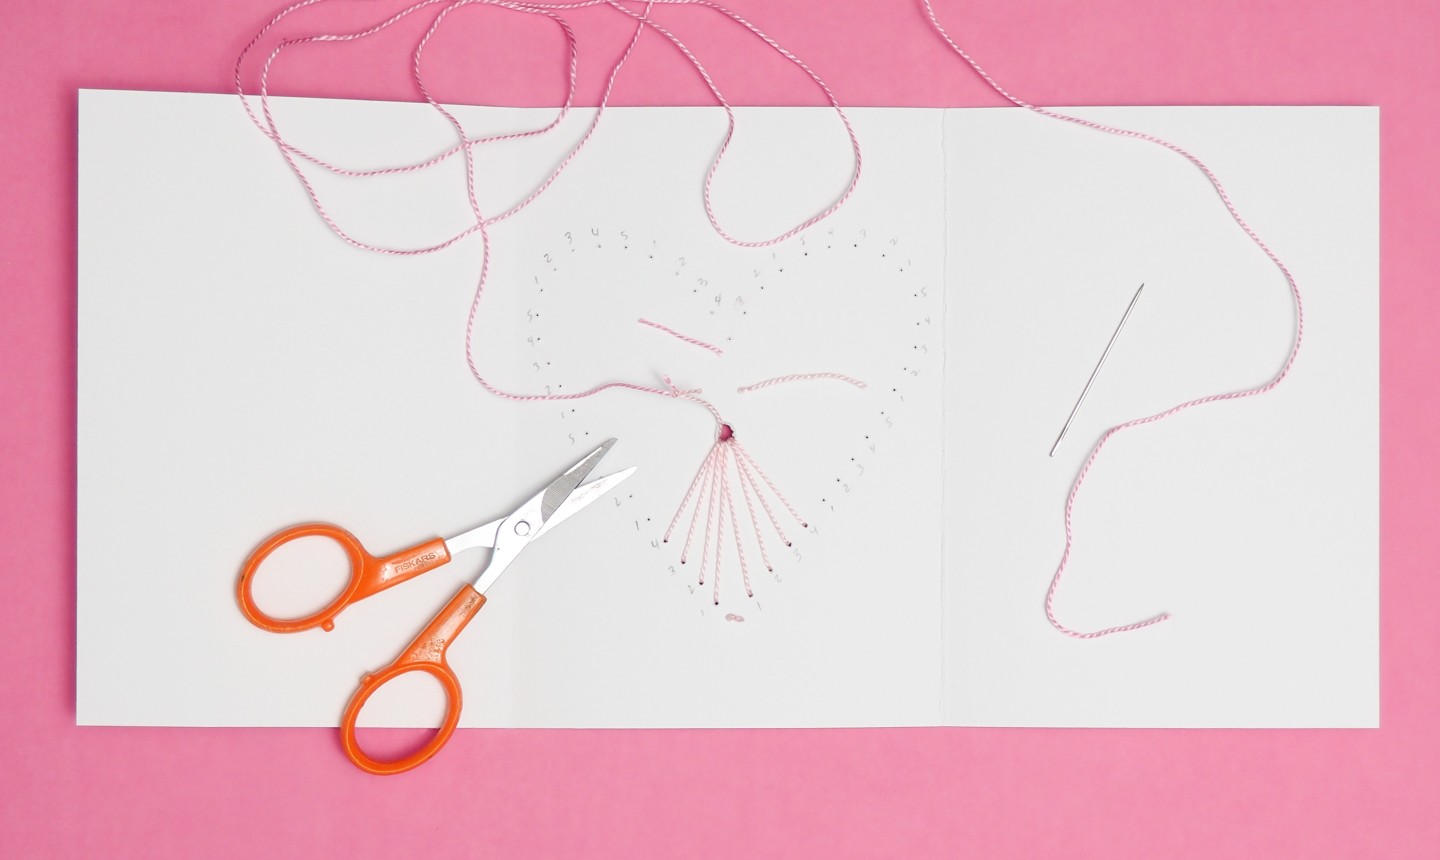
Thread a needle with your first color of floss, tie a knot around the end and push it down through the center hole. Thread it back through one of the holes that outline the heart. This is the first "line" in your ombré design.
Continue stitching like this — pushing down through the center hole and back up a perimeter hole — until you've completed your first section of color.
7. Change Colors
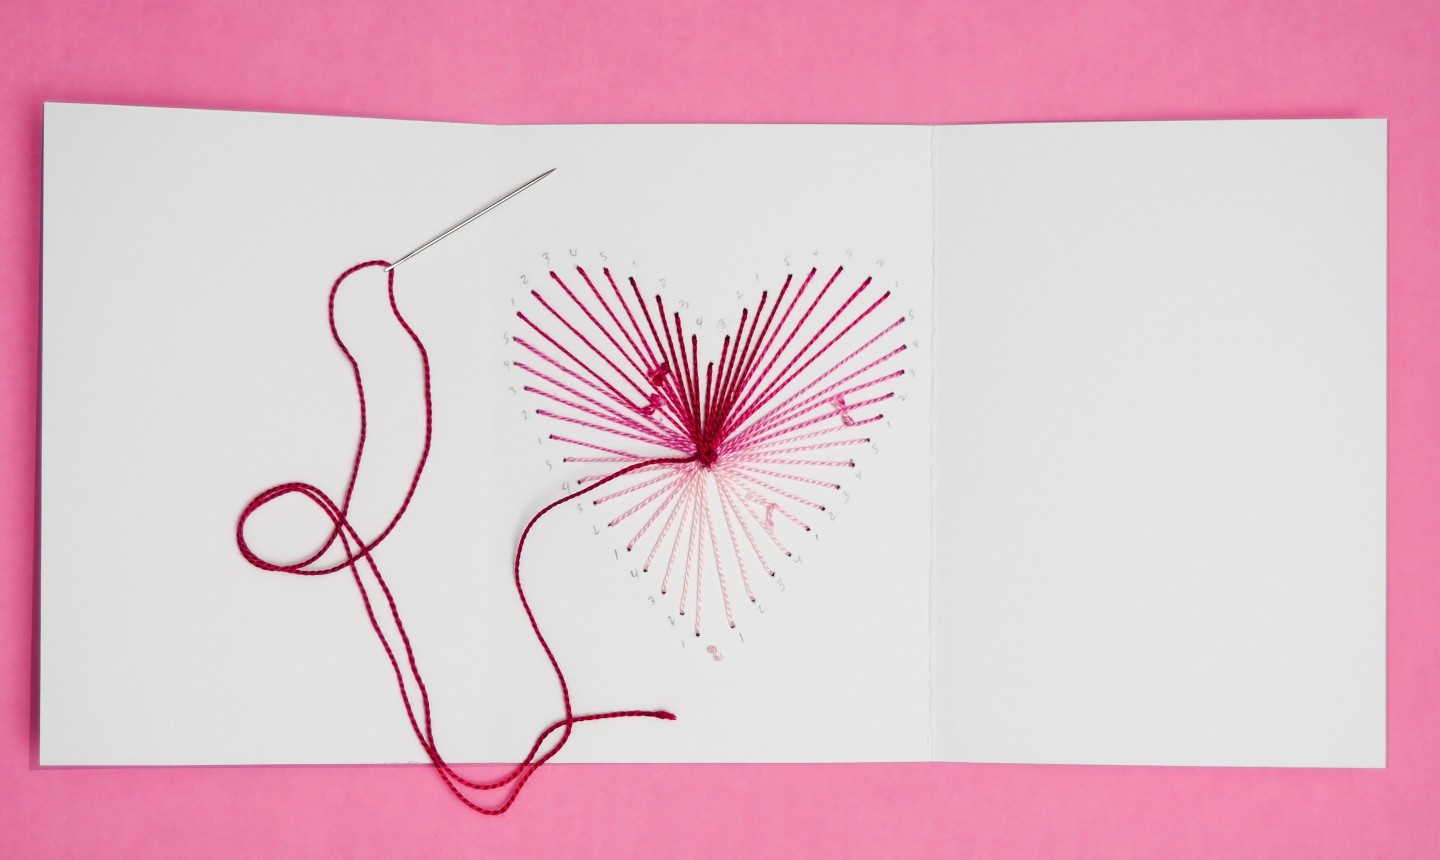
When you finish your first color, tie the end to the beginning of your second color. Trim off any excess and thread the needle with your new hue. Make sure the tie is in the back of the card (the side facing you, with the pencil labels). Continue stitching the same as you did above.
8. Final Touches

When you finish the design, tie the floss into a knot in the back to secure it. Add double-sided tape around the edges of the panel and the floss to secure it. Use the bone folder to fold the left panel over the embroidery (this hides the messy back of your stitches), then fold the right panel over.
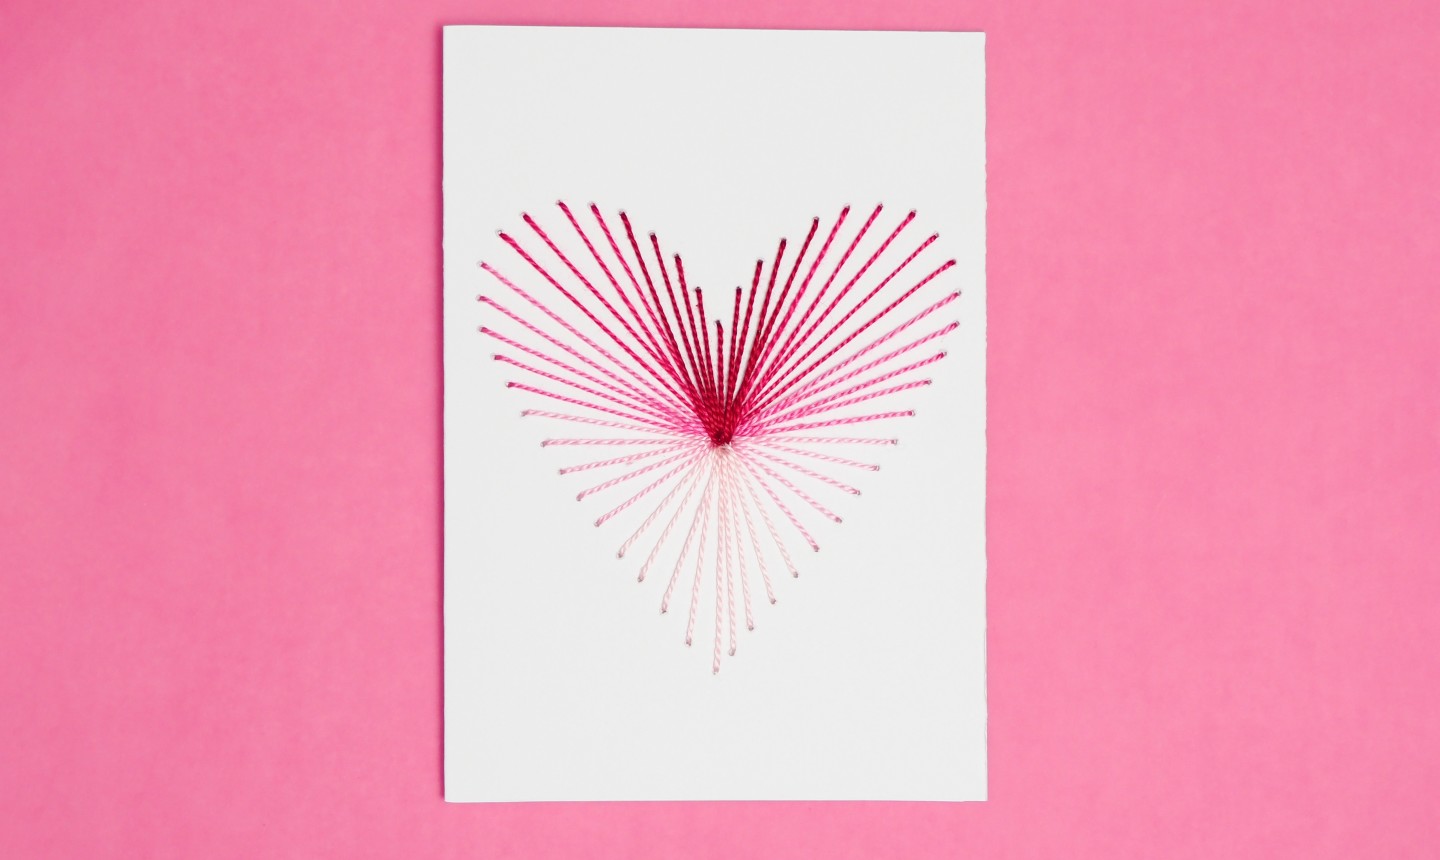
Flip your card over and see how cool it is!
Photos by Kimberly Stoney.

I wish there were instructions about how many holes to do for each color. Everything else was detailed except that.
Great project for me and my teen nieces.
Very cool. Will try this .
The instructions weren't clear
Cute idea, I love ombre anything!
Cute card.
Fun tutorial. It's a shame there's no way to save it in a list of some sort so I can come back later once I have the supplies together.