
If you’re new to modeling chocolate the very thought of working with it may be terrifying. After all chocolate is a hard medium to master, right?…Wrong! Not only is it a fantastic skill to add to your cake decorating repertoire, it tastes great and its pliability means it can be used where fondant sometimes fails. So here’s a straightforward how-to creating modeling chocolate for cupcakes that is sure to get you started!
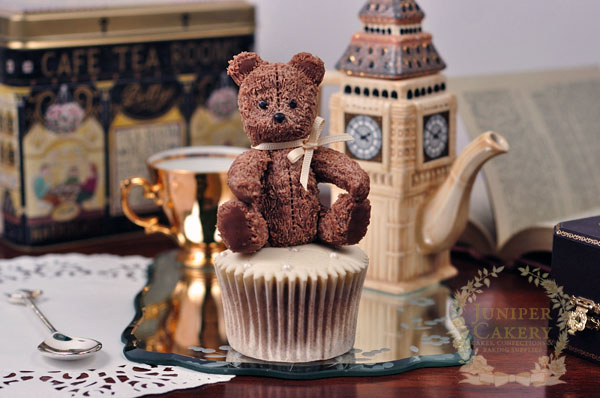
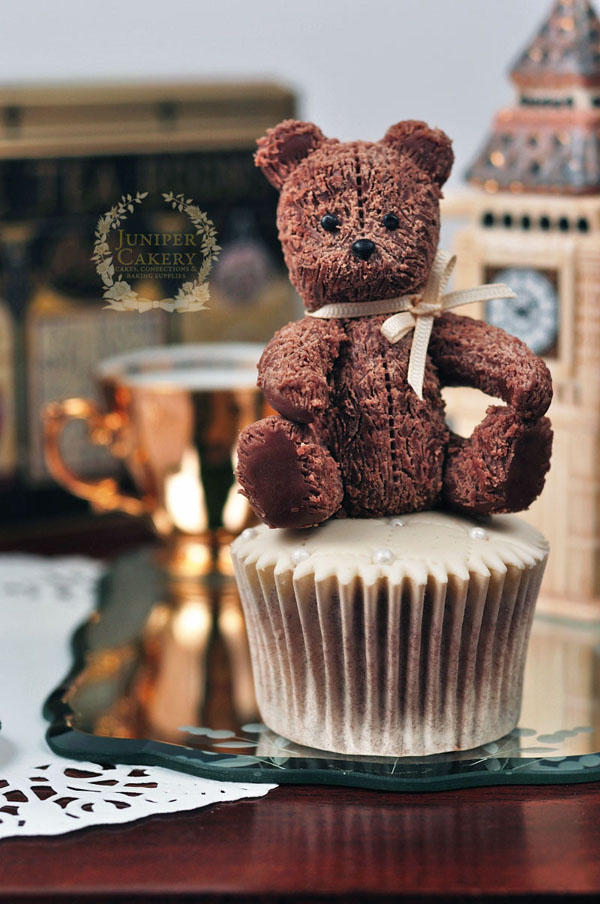
Here’s how to create an antique teddy bear with modeling chocolate
Materials and tools
- Modeling chocolate
- Ball tool
- Black fondant
- Cocktail stick or scribing tool
- Edible glue
- Fondant smoother
- Paintbrush
- Edible glaze
All photos via Juniper Cakery
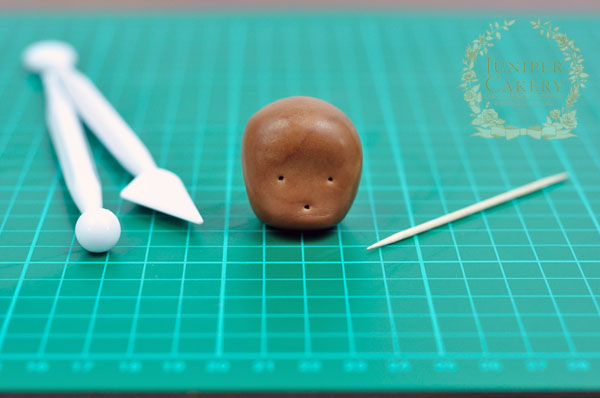
Step 1:
As modeling chocolate does become stiff and unworkable when left, it is important to begin by handling it as body heat will help make it pliable again. Once kneaded and ready to use, form a smooth ball but don’t worry too much if there are any imperfections. Use a flat, non-stick surface to press the ball against to flatten the back. With your finger and thumb begin to pinch together rubbing the modeling chocolate until it makes a very slight chin and muzzle. Working toward the lower half of the bear’s face use a cocktail stick or scribing tool to mark where you will later place the eyes and nose (this will look strange at this stage we admit). Antique teddy bear’s have quite a large forehead which will only add to this little teddy’s charm!
Tip: When trying to mold modeling chocolate small tears, stretches and imperfections can happen but these can be simply rubbed out due to the chocolate being heat sensitive.
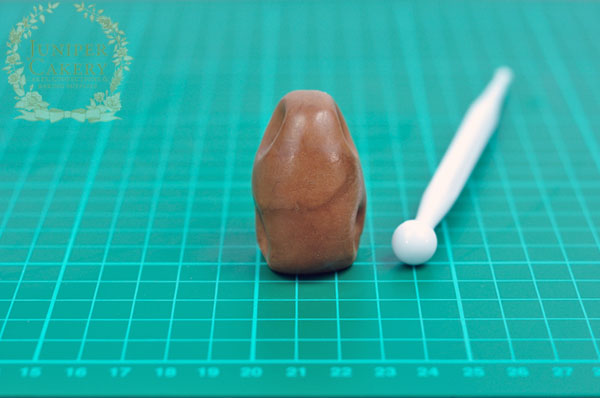
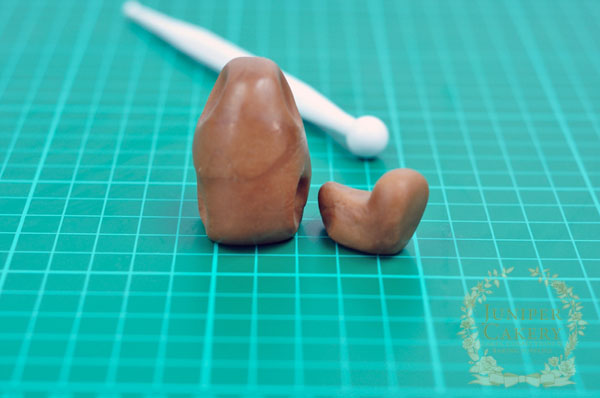
Step 2:
Take a generous amount of modeling chocolate (approximately twice as much needed for the head) and mold it until you have a short, fat cigar shape. At each tapered end use your finger and thumb to pinch and indent two groves; these will be the bear’s arm and leg sockets.
Tip: Body heat can cause modeling chocolate to melt and become shiny. Try wearing food grade gloves when working as this can act as a heat deterrent or add fondant, this is also useful for achieving different shades of brown. If your modeling chocolate does have a shiny appearance due to handling and shaping don’t worry, this will lessen when left at room temperature.
Step 3:
To make the bear’s legs begin rolling two sausage shaped pieces of modeling chocolate out on a flat, non-stick surface. To give your bear lovely round paws use your surface once again to mold until you’re happy with the shape. To make the bear’s arms repeat the rolling two ‘sausage’ shapes but on a smaller scale and this time be sure to taper on end.
Tip: Modeling chocolate holds its shape really well which is perfect for creating those stiff looking antique teddy bear arms.
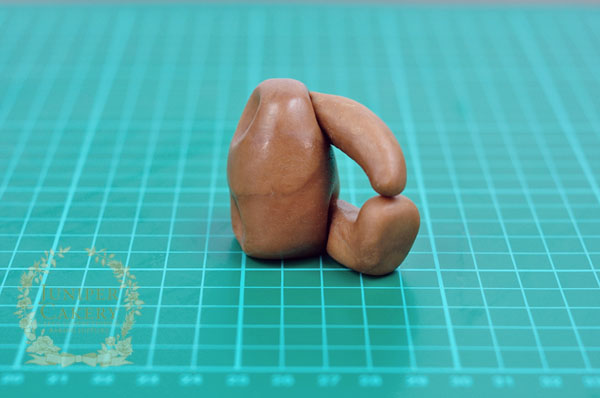
Step 4:
Using small amounts of edible glue paint the teddy’s sockets and stick the legs and arms in place. Rest the front paws on its back paws for that classic teddy bear pose.
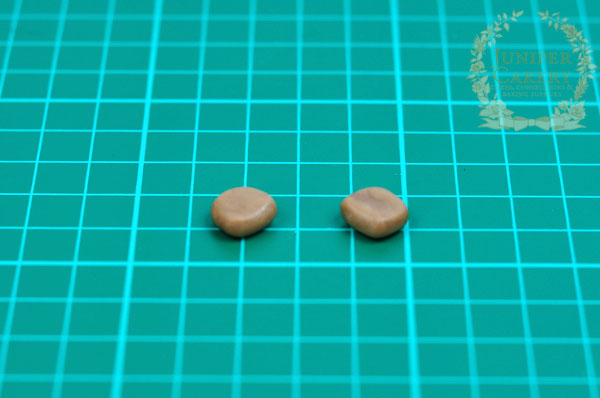
Step 5:
To make two little ears roll two very small balls of modeling chocolate, flatten between your thumb and finger and shape into squares. Attach these to the teddy’s head with edible glue and use the ball tool to indent and shape.
Tip: Modeling chocolate will mold together seamlessly if worked correctly so edible glue is not always needed.
Step 6:
Stick a cocktail stick between the bear’s ‘shoulders’ all the way through its body and gently slide the head into place ensuring the cocktail stick doesn’t protrude.
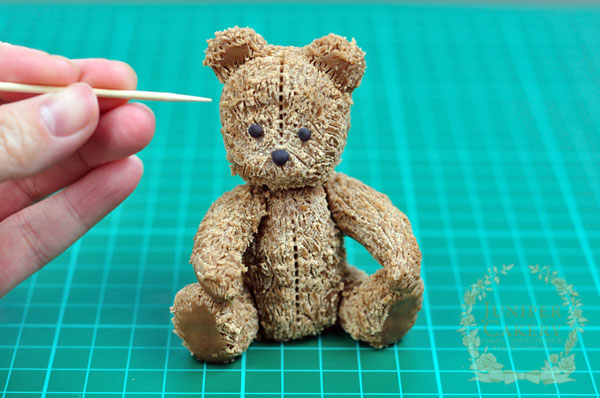
Step 7:
With black fondant create two eyes and a button nose by rolling tiny balls. Stick in to place with edible glue and paint with glaze spray to get a glossy look.
Step 8:
To create the fur effect use a cocktail stick or scribing tool to create small scratches, nicks and bumps and there you have it, your own adorable antique teddy bear!
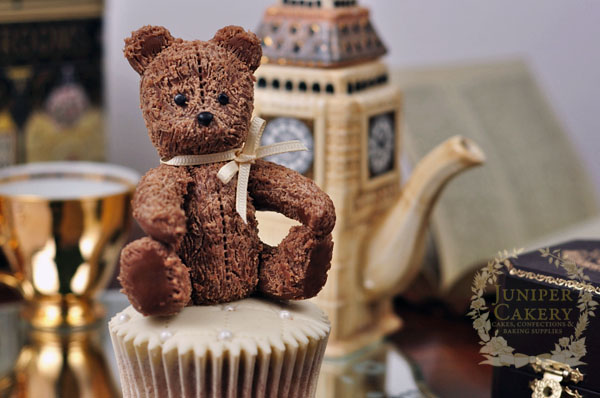
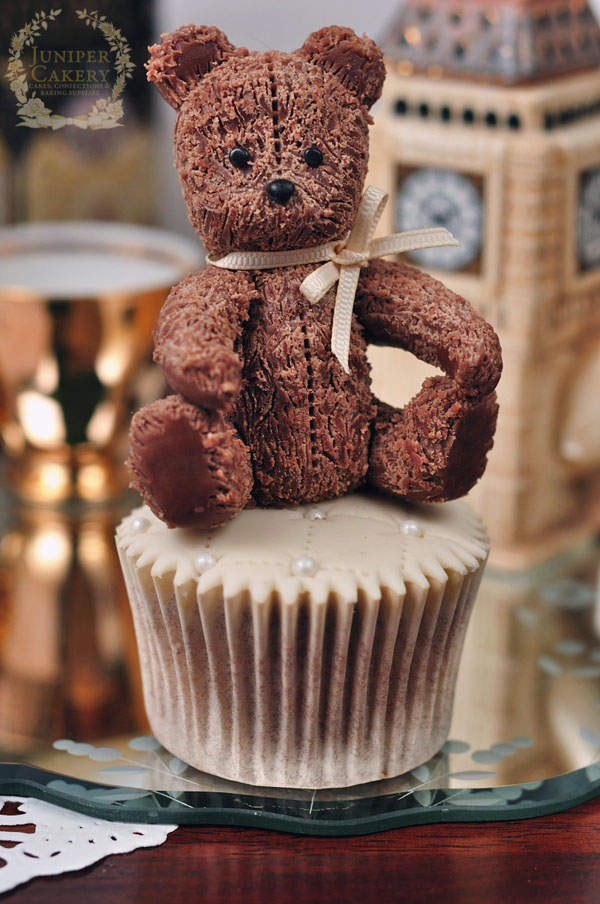
We hope you feel a little more confident and excited to use modeling chocolate in your next cupcake design.
Modeling chocolate, demystified in minutes!
Starting with her tried and true recipe, Craftsy expert Rachel Teufel will help you master a few essential techniques for making and working with this tasty fondant alternative.
Share tips, start a discussion or ask one of our experts or other students a question.
No Responses to “Sweet Teddy Bear Topper Tutorial: Modeling Chocolate for Cupcakes”